As we all know
Life is not a linear process ...there are always other things to be distracted by...like refurbishing...or in my case restoring the interior of much of my house..that was a major part of last year
So time spent on the E Type for the second half of last year was limited, but fun in so much as the effort spent on the details
Soon after Barry and I installed the engine I began the rewarding process of building up the engine bay, I had waited this long and postponed installing any of the smaller items until the engine lump was installed...so now was pay back time
In no particular order, a bit like taking presents from under the Christmas tree I select various bubble wrapped items from the study and carefully installed ....bolts and screws to be aligned....as always.....
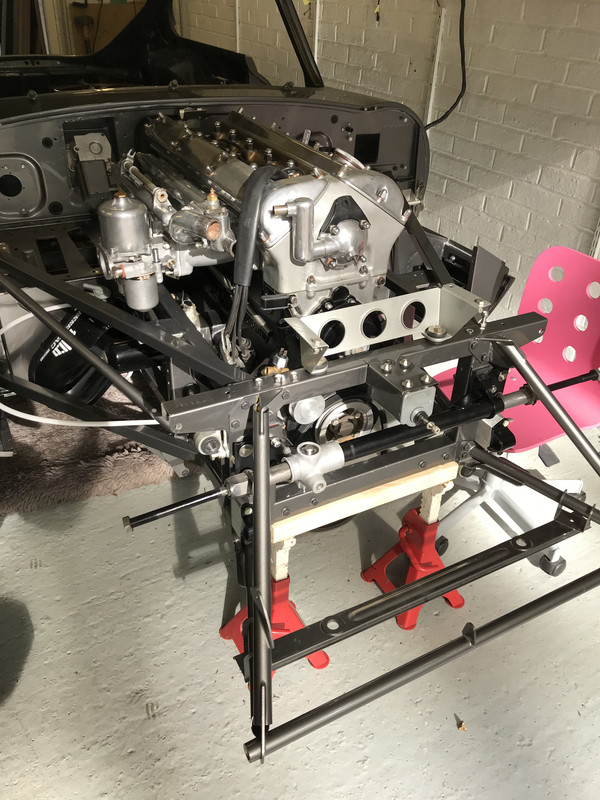
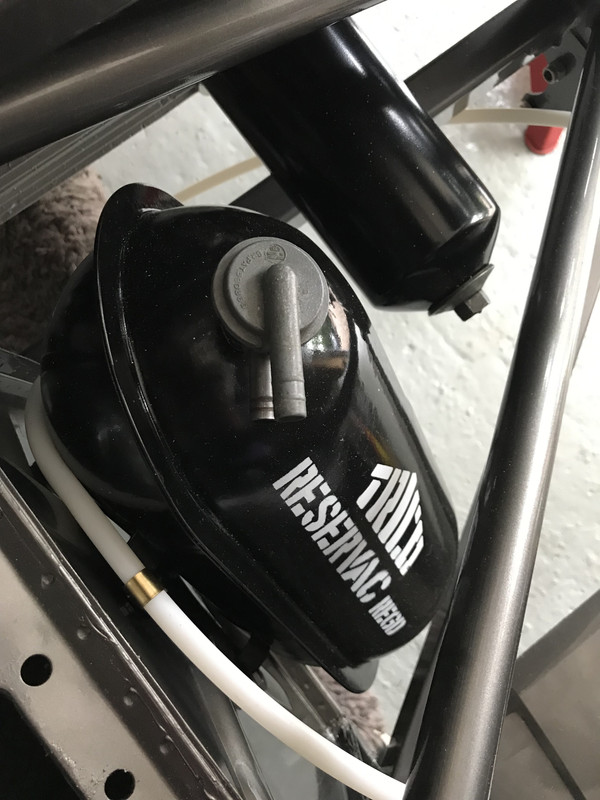
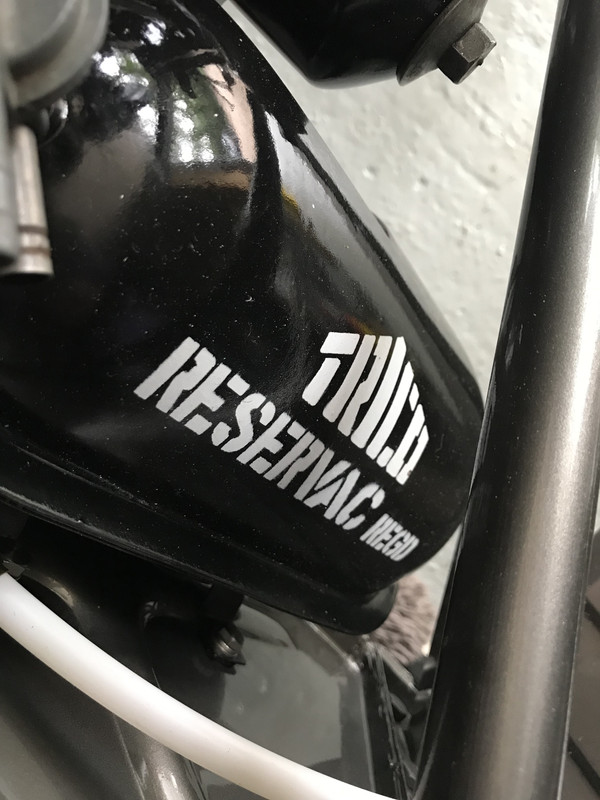
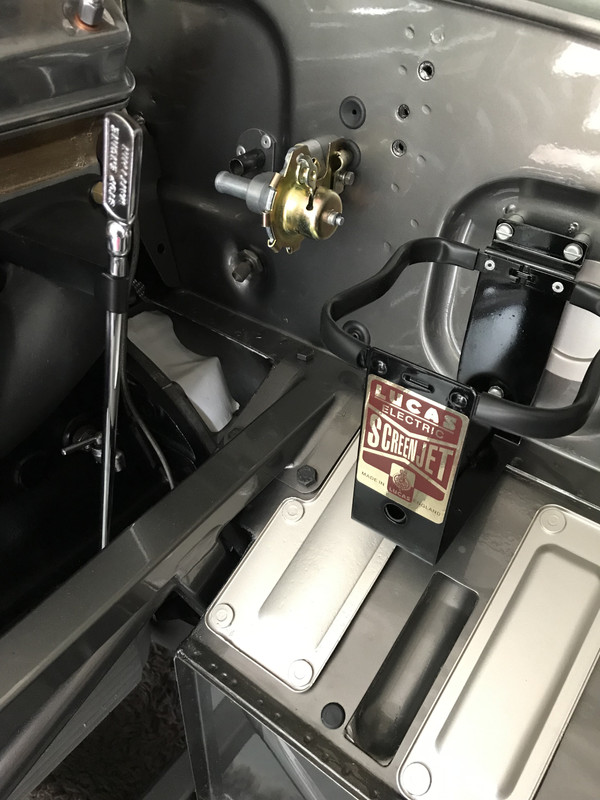
the Trico vacuum assist tank was a mini project itself as I had to create the stencil myself and do a period correct "average" spray job so it wouldn't look too precise...

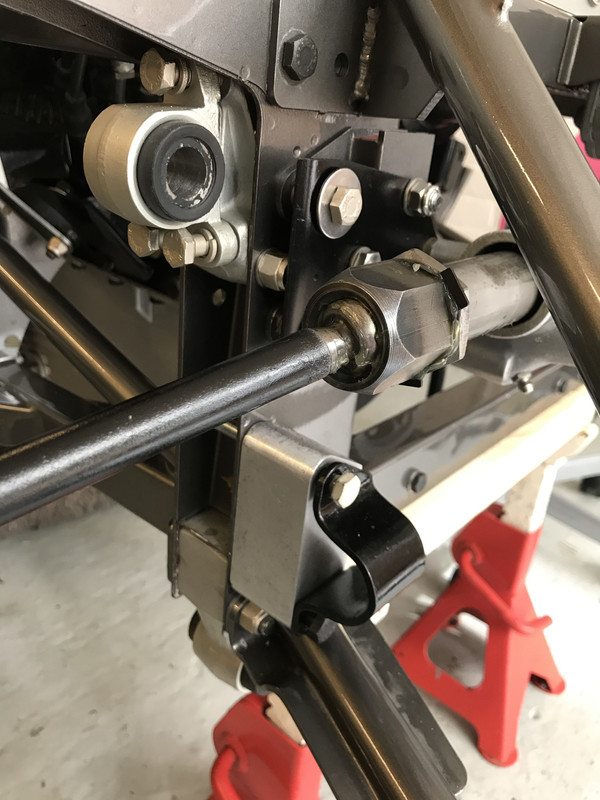
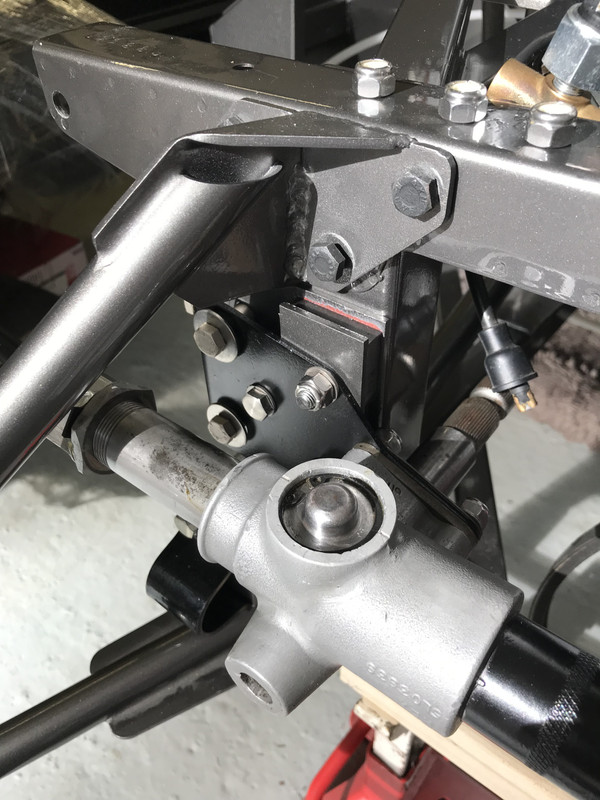
and the steering rack was a combination of later parts from a right hand drive unit, partly built into the casings of my original, so as much of the old style remained
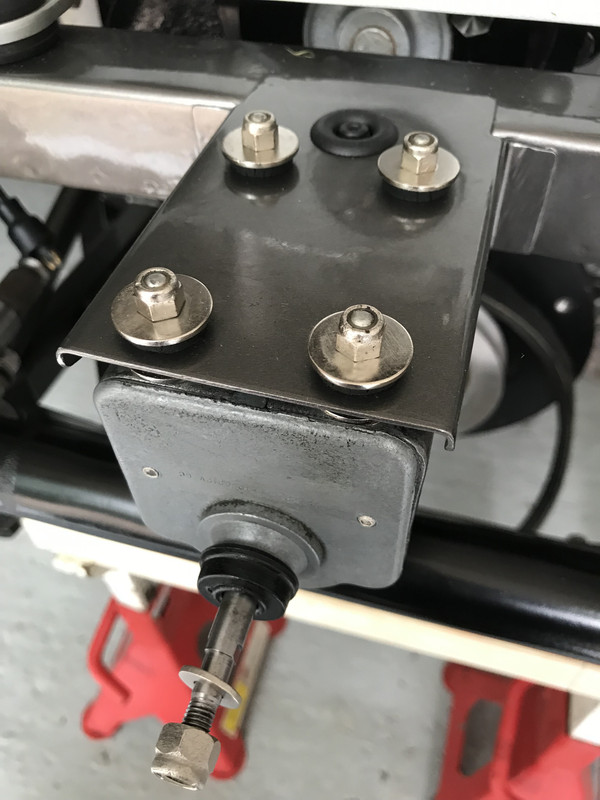
and the cooling fan motor was a full restoration retaining all the original fixtures....perfectly aligned as standard
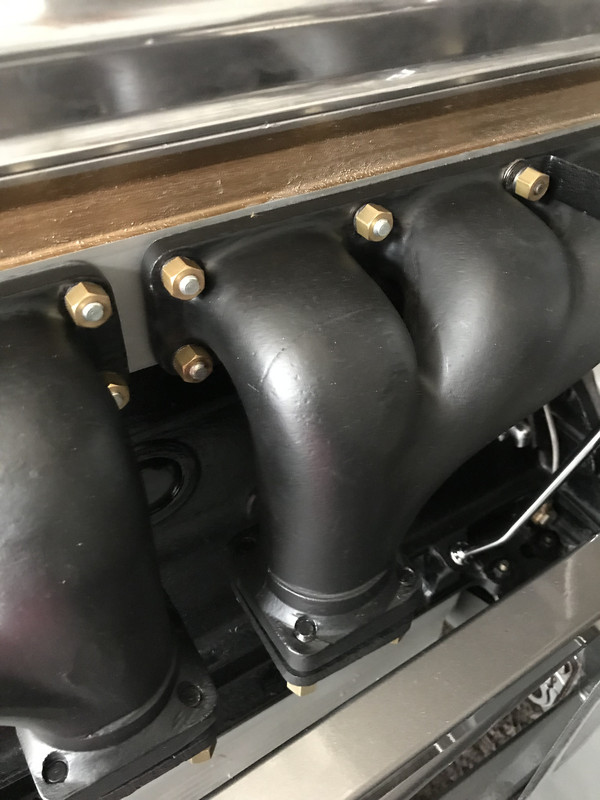
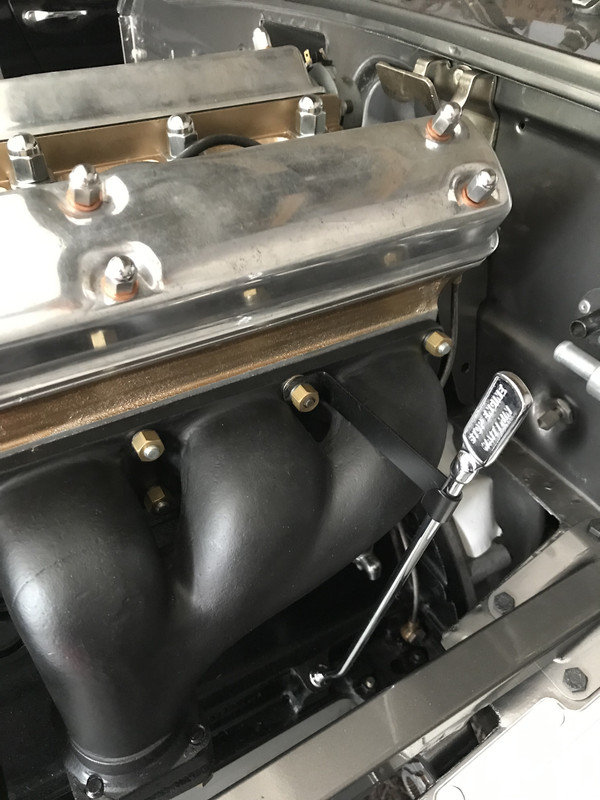
and the refurbished manifolds (barbecue spray...the best form of high temperature protection...), plus new brass nuts....
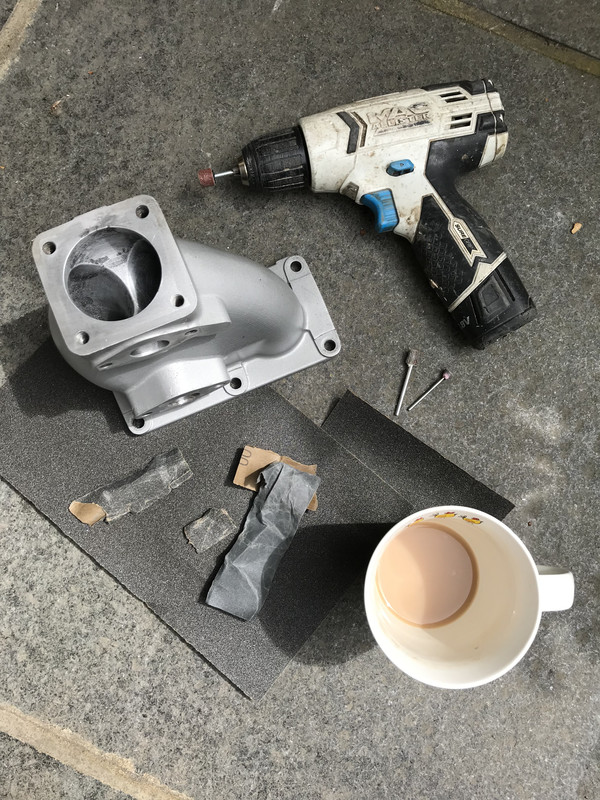
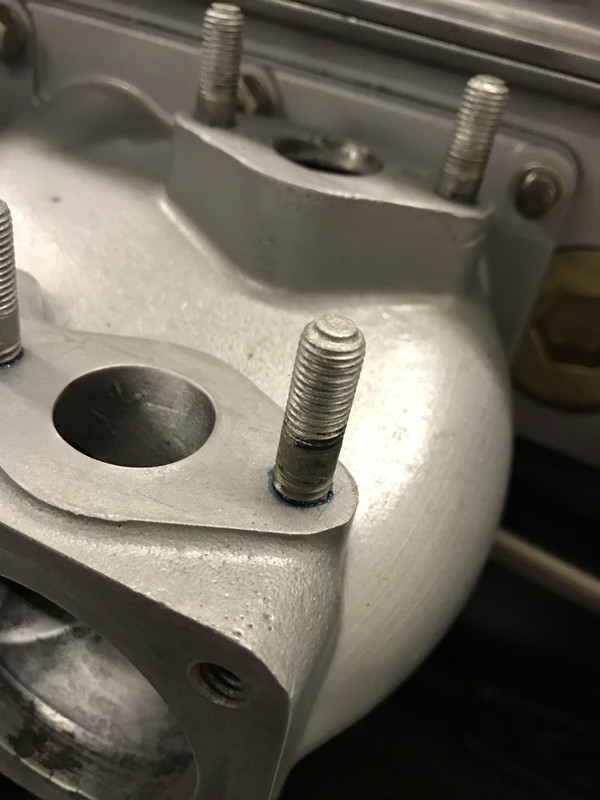
And whilst installing the carburettors I remembered I need to polish up the inner airways....I had already spent hours filing, sanding and then vapour blasting...(.and then clear lacquer coating) the outer surfaces of the aluminium castings to remove any evidence of joints.....so I continued that internally.....small casting marks were visible and it seemed appropriate to do something about them.....and also to clean ....de-rust....and paint the various studs
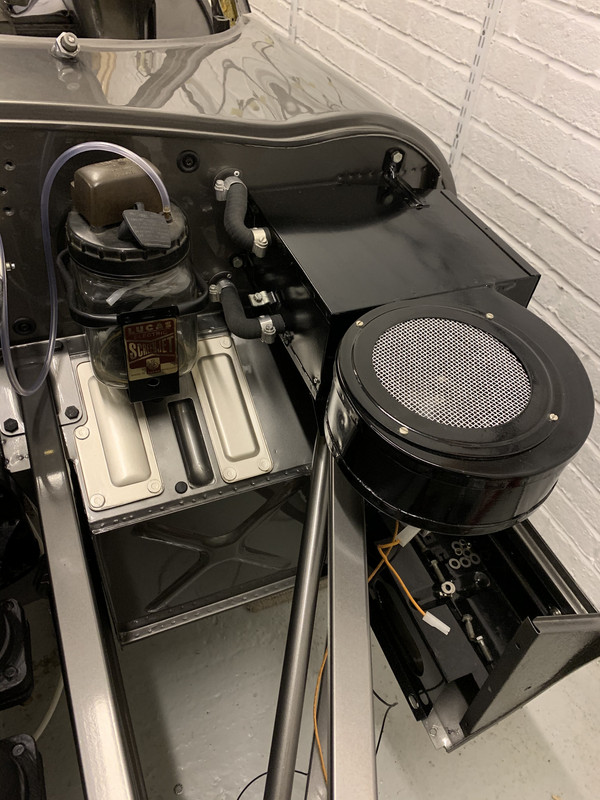
and continuing the gentle theme of upgrades....you will have noticed a simple square opening in the nearside end of the bulkhead....this is the air intake part that feeds from the heater unit and supplies the cabin....to ease air flow it is possible to buy a fabricated deflector.....i decided to make my own (from old aluminium from a damaged part of the interior of the car....so keeping old metal once again...) to ensure it was a perfect fit....not the usual compromise of one size fits all that applies to the mass market...
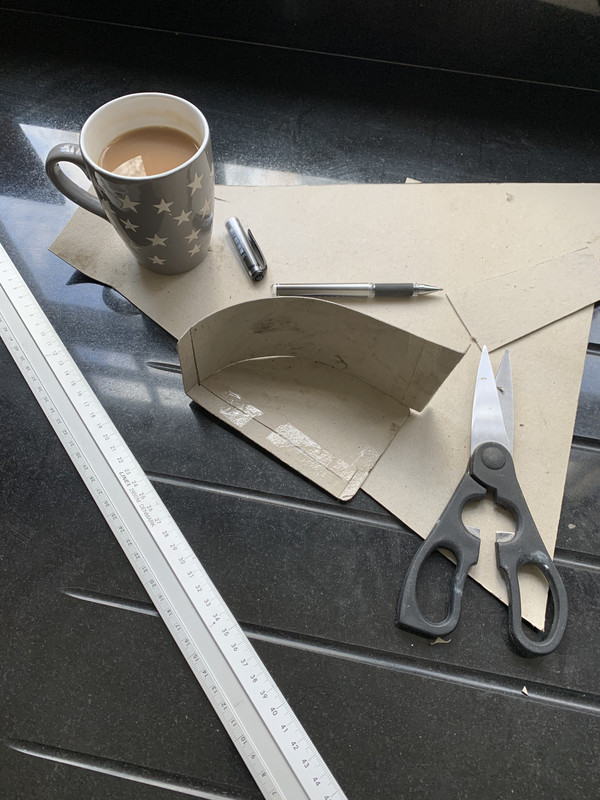
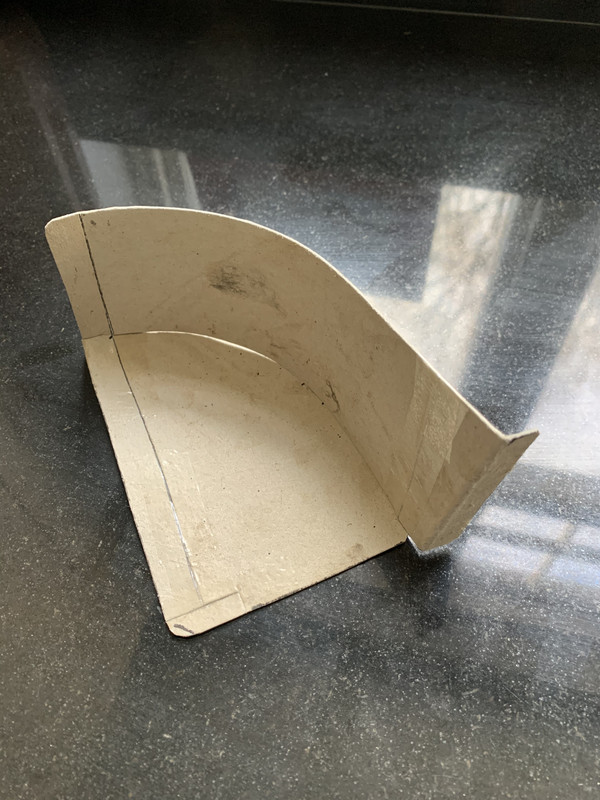
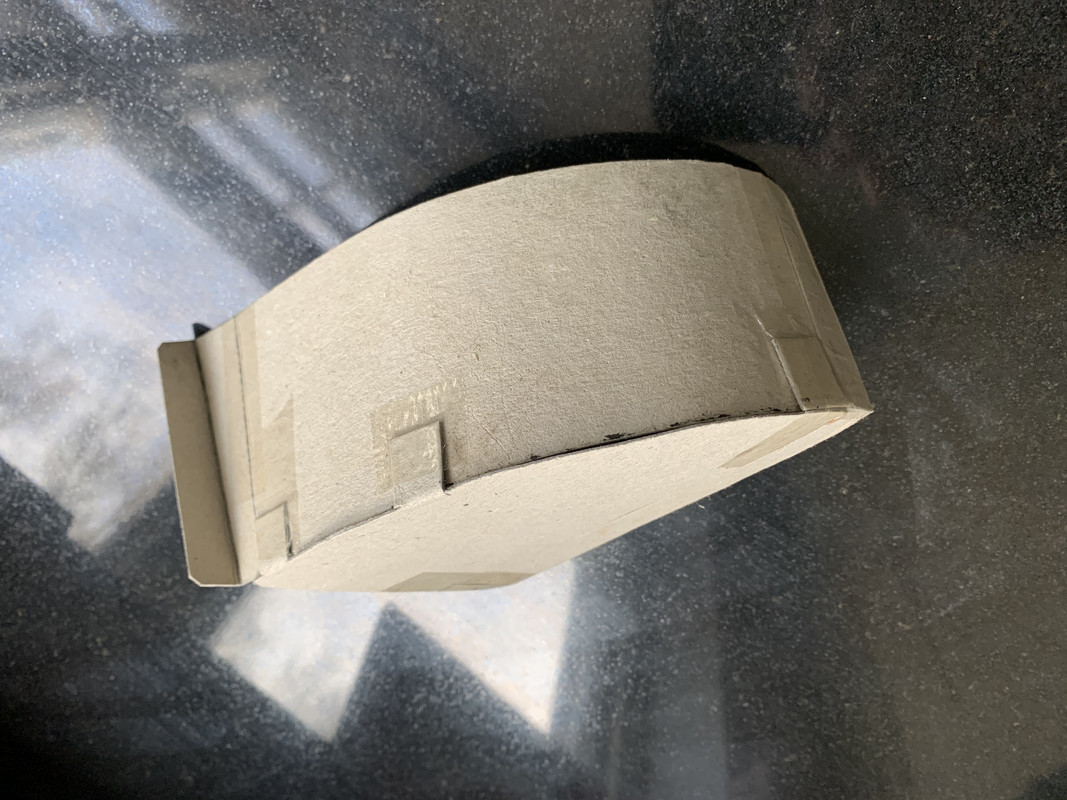
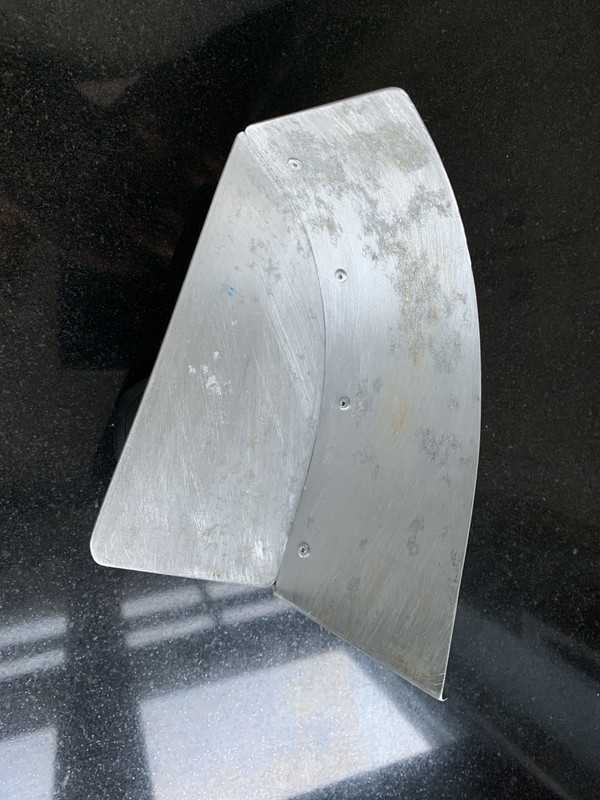
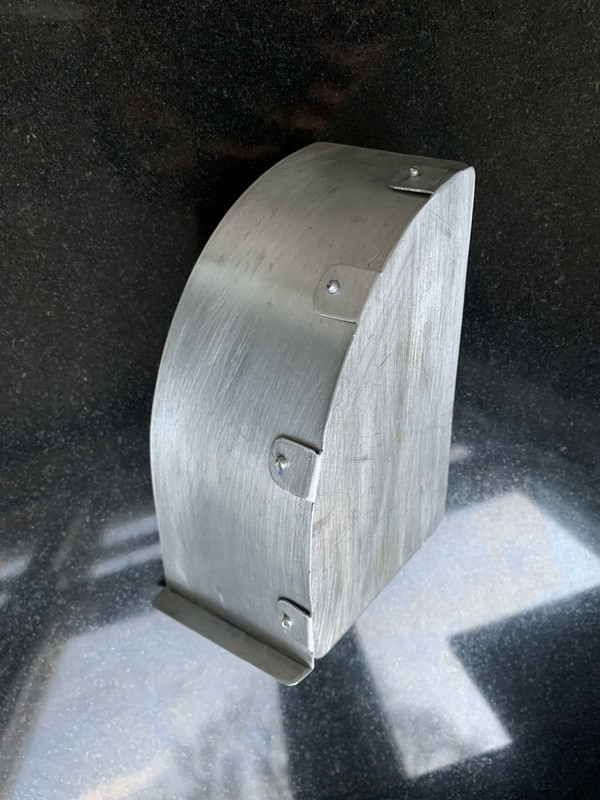
It was coated with epoxy and gunmetal top coat prior to installing the heater unit itself..
I decided a long time ago to have Barry alter the rake of both seats, to allow a more relaxed and comfortable driving position, that and the fact that the steel bucket frames were corroded meant a full blast clean and repaint was required
I wanted to replicate the actual BS paint finish, but drew a blank with any codes from research....so comparing the original colour to the BS-381 colour charts I bought 4 sample pots, none of which were correct...so I tried my own methods of mixing them
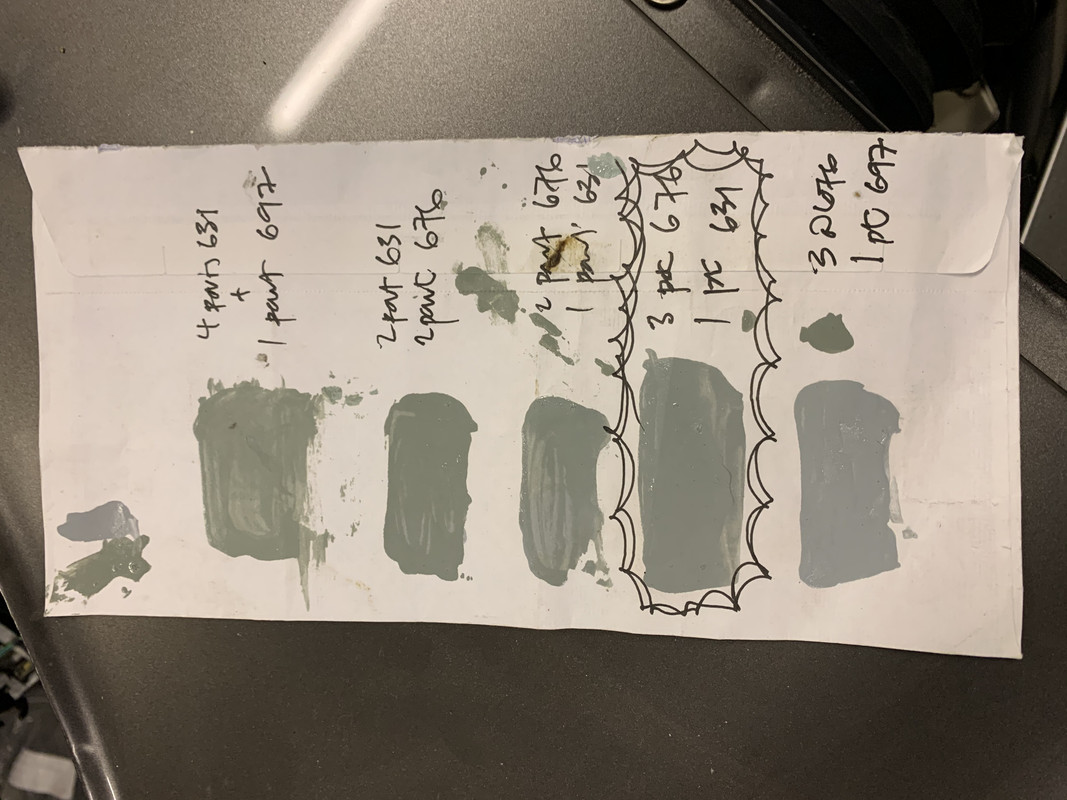
Subtle varying parts of each in combination provided a decent solution...although the final result based on the paler beige epoxy base coat and undercoat was not totally correct....
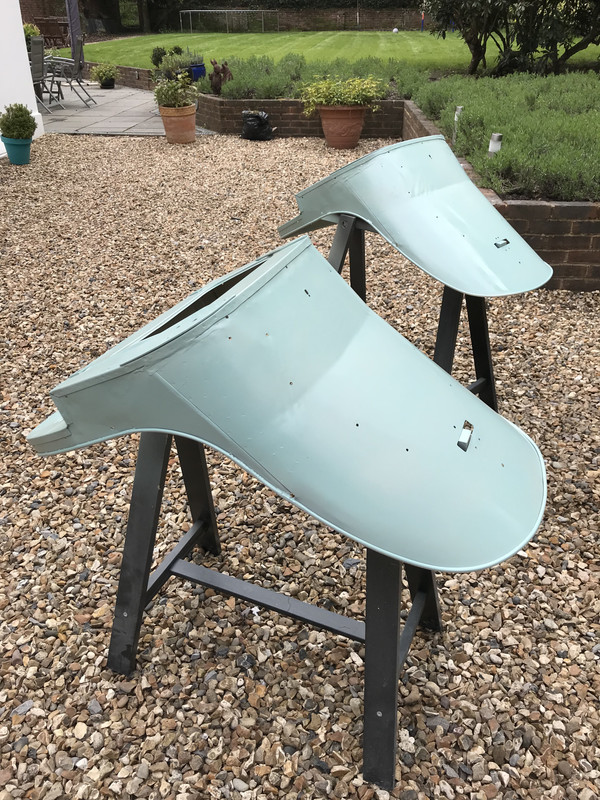
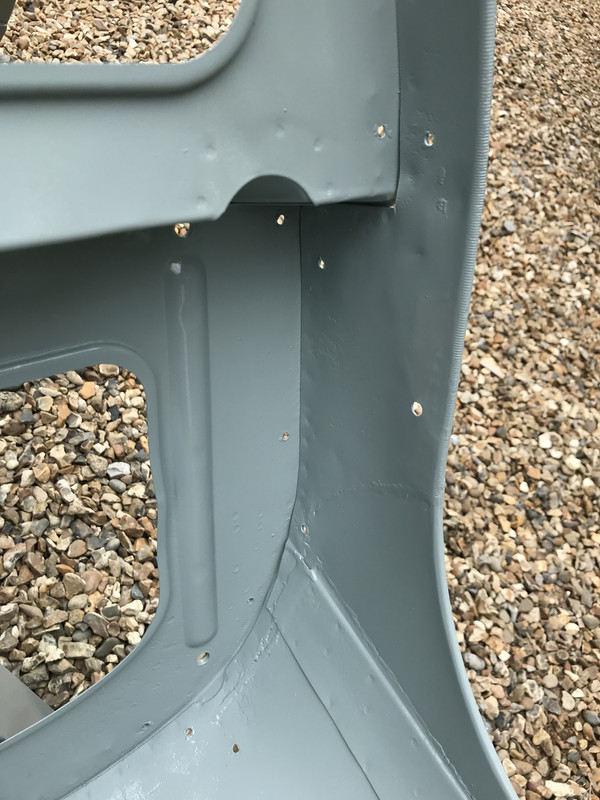
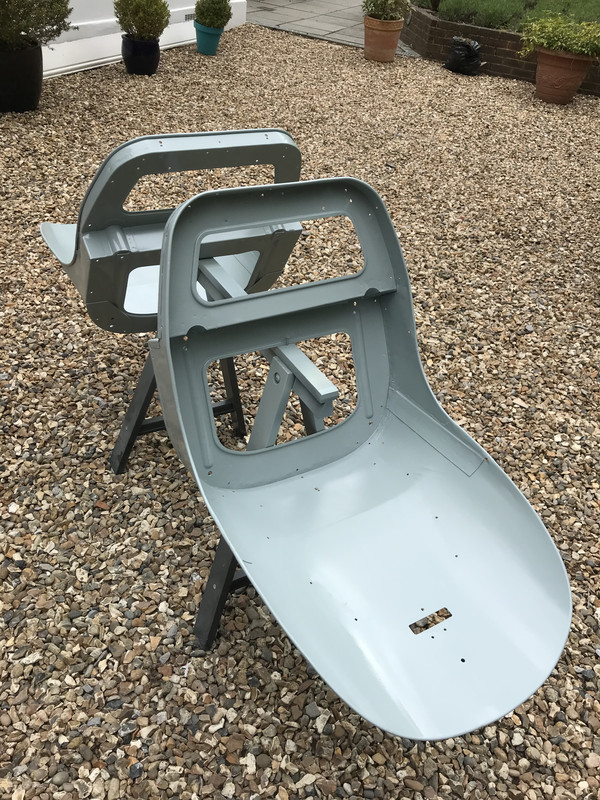
However....it was a bit of fun, and provided a reasonable egg shell colour...vitally important considering not a single surface will be visible once installed..!
As an aside, I have read recently that the dove grey colour used for a small selection of other engine bay components is the correct seat base colour...however I have to say having used that colour on my car already....mine was certainly not dove grey...it was much more grey and blue
October and cooler wetter weather arrived all too soon.....but so did the opportunity to install the rear suspension assembly
With new mounts employed all round, the unit was a tight fit, and took us hours to ease into place...probably like most things to do it a second time would be shorter, but the whole process is a constant one of learning along the way
With the anti roll bar added and the prop shaft bolted into place it really is a lovely combination of materials, finishes and colours....
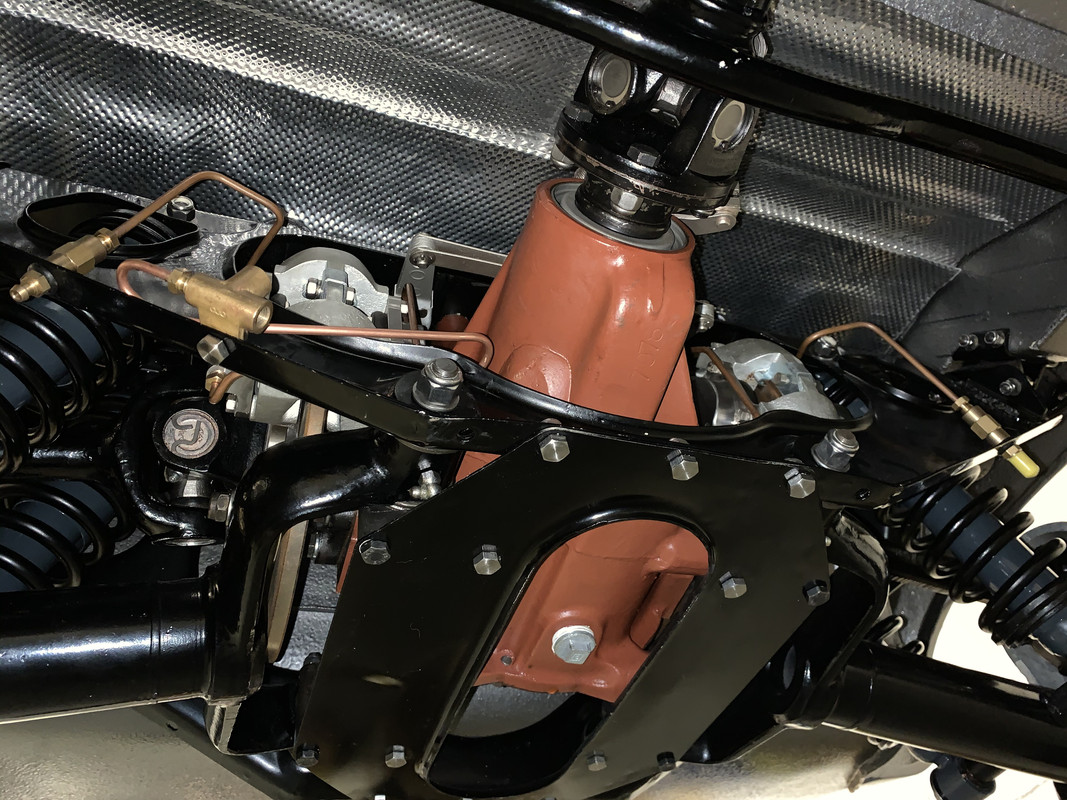
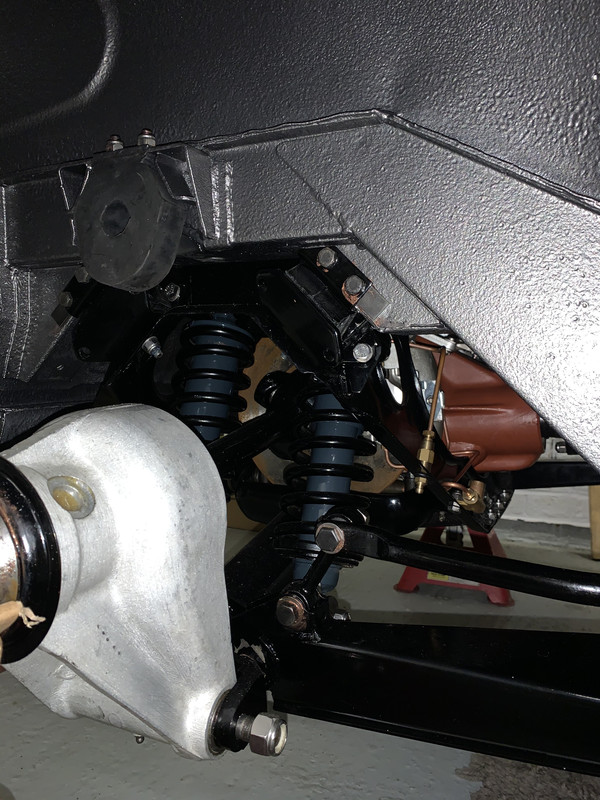
you can also see a hint of the period correct blue colour for the dampers....more on that later....and the dimpled heat reflective material I used on the underside....gorgeous
for the eagle eyed reader you will also see that some of the fixings have not markings....this is because I have used stainless in some exposed areas, but as I don't want any modern looking markings, where I use stainless I also grind off the raised detail so they are plain....
Apart from learning, the other aspect of this restoration process is research....there rarely seems to be something that doesn’t require searching of old photos...or consulting the Spare Parts Catalogue....or even looking at the manual
Quite some years ago I happened on a torsion bar setting tool for the front suspension, which as these are rarely up for sale I promptly bought
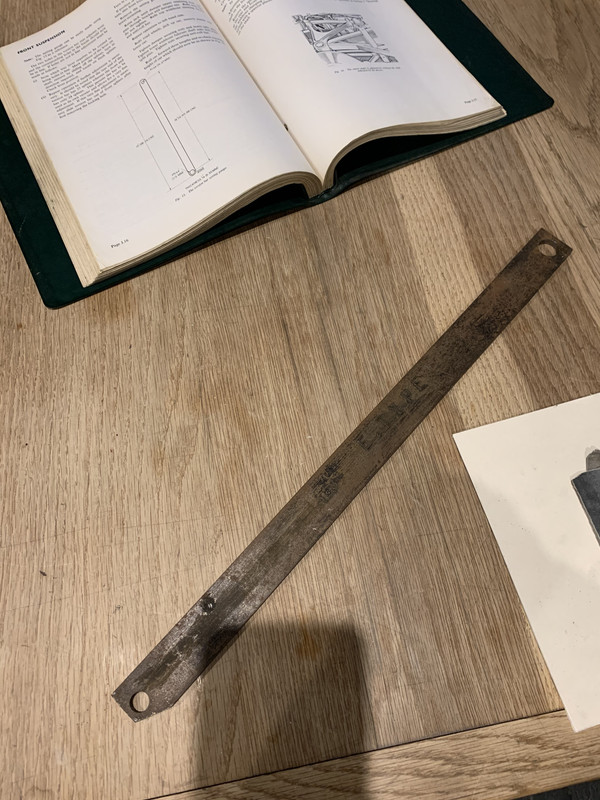
However upon checking it’s dimensions (45.42cm) found them not to match those listed in my original copy of the Works Manual....what to do
Simple.....
Cut and re-weld the setting tool to the dimensions listed in the manual....
Simples....
Er....no
Installing the torsion bars was in itself a challenging episode...just as with a 911 they have splines at each end...with different teeth spacing to permit fine adjustment...unlike a 911 however, the alignment of the female socket to locate the front splines is influenced by the actual alignment of the lower wishbone...and no matter how I tried ....with the wishbone assembly installed (which permits no fine adjustment) I could not get the torsion bar to slide in easily ....so I had no choice but to undo earlier work, undo one of the wishbone mounting points and get back under the car
Lying on my back with right hand aligning the rear splines....left hand aligning the front splines and using my knee to raise and lower the wishbone to achieve the perfect angle needed I ultimately achieved success...
4 hours actually for the offside........plus just 1 hour for the nearside
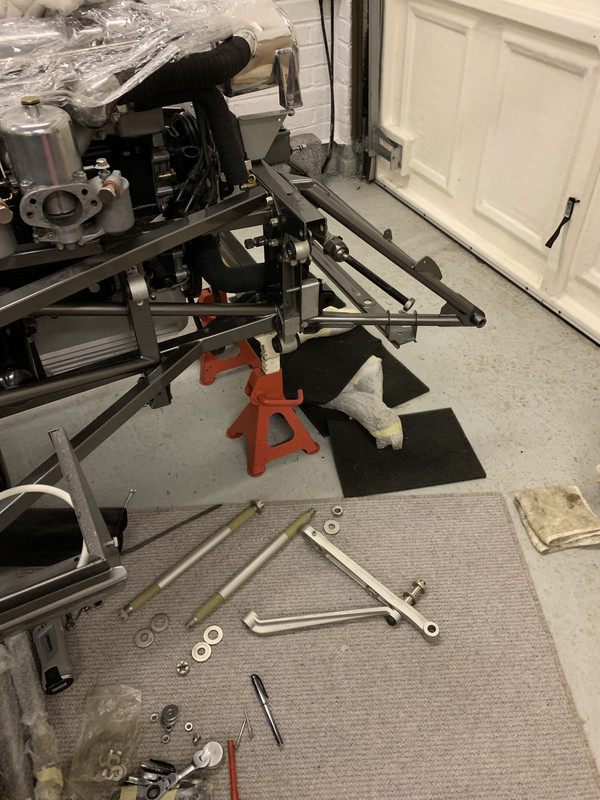
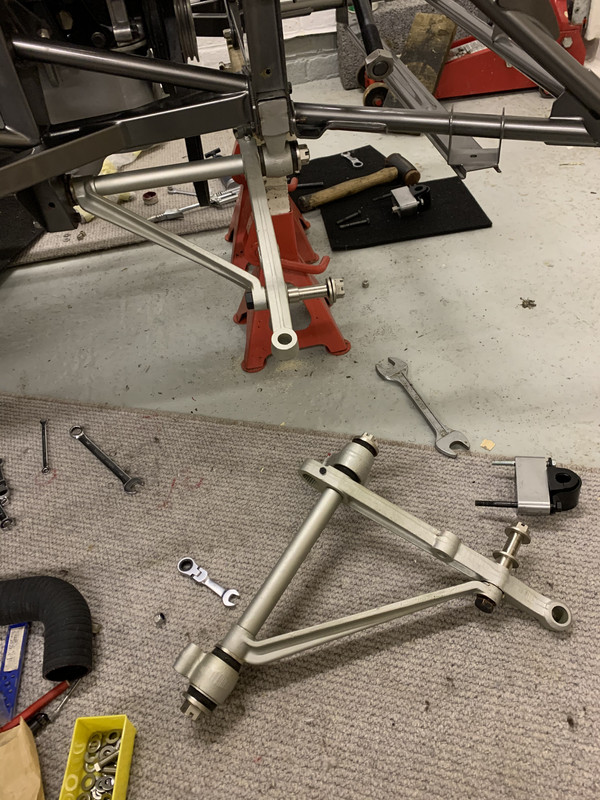
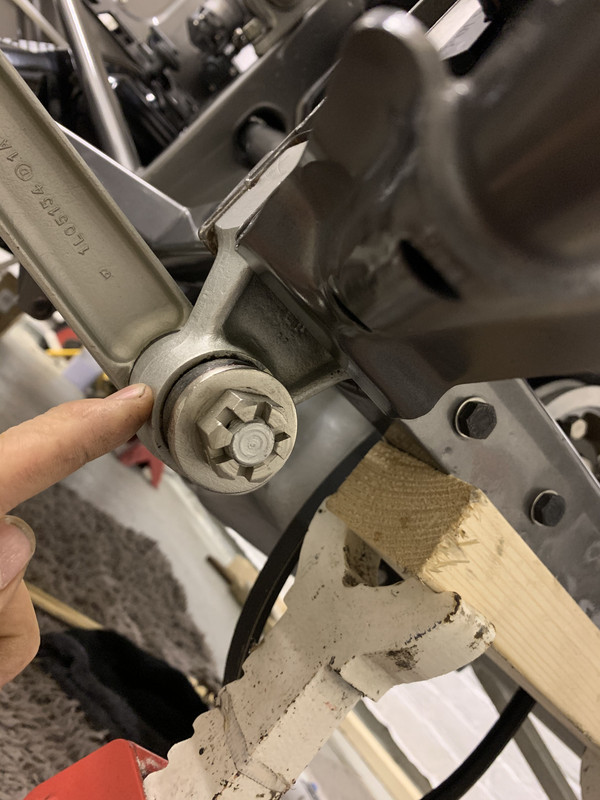
Or so I thought.....
Having installed the torsion bars...I double checked everything and whilst the setting tool had accurately created the 45.88cm from upper damper bolt to lower wishbone bolt....the lower wishbone was pointing down at quite some angle....and when I placed the jack under the wishbone to simulate a car sitting on its wheels I lifted the whole front of the car seemingly way before the wishbone came close to horizontal
Plus the dampers were really stretched to maximum extension at this point ....
Something felt wrong.....that kind of feeling when your not convinced of being right...but don’t have experience to know either way....not a great feeling
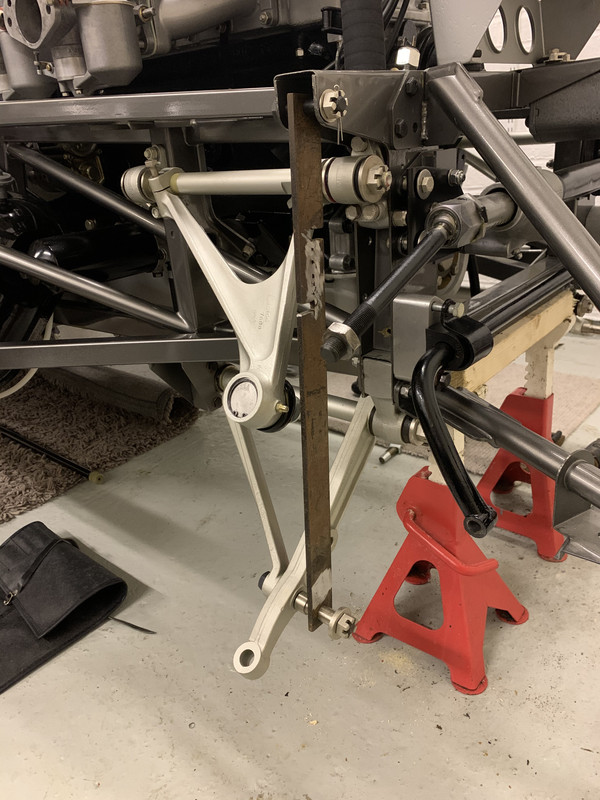
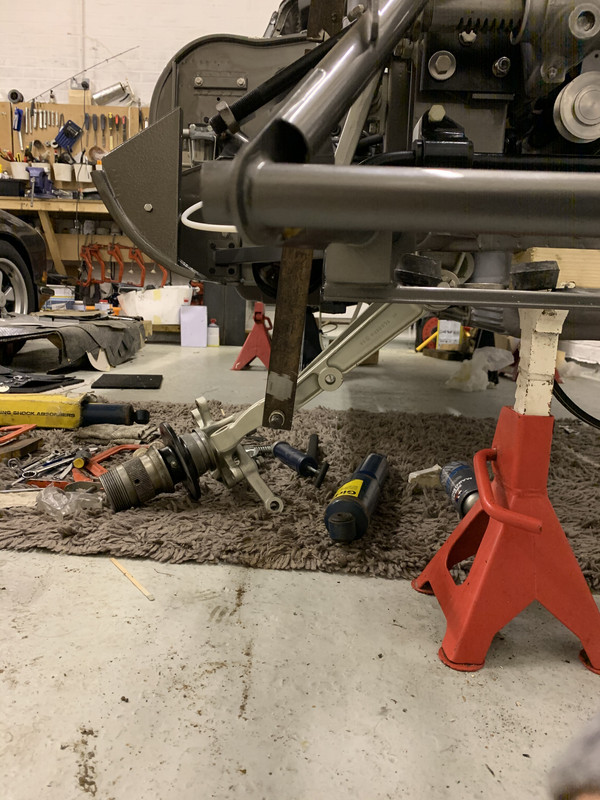
The suspension is an assembly made up of many small parts....and if I wasn’t correct at the stage I would be clearly continuing at risk of complete abortive progress later on....and a big strip down...potentially damaging paintwork and finishes to all the components and fixings
Research.....and asking questions...easily achieved these days thanks to the wonderful “interweb”
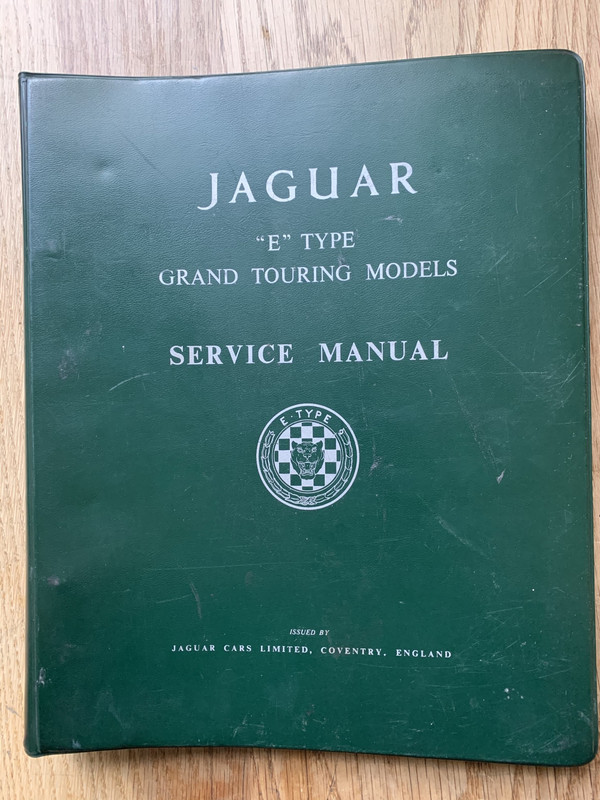
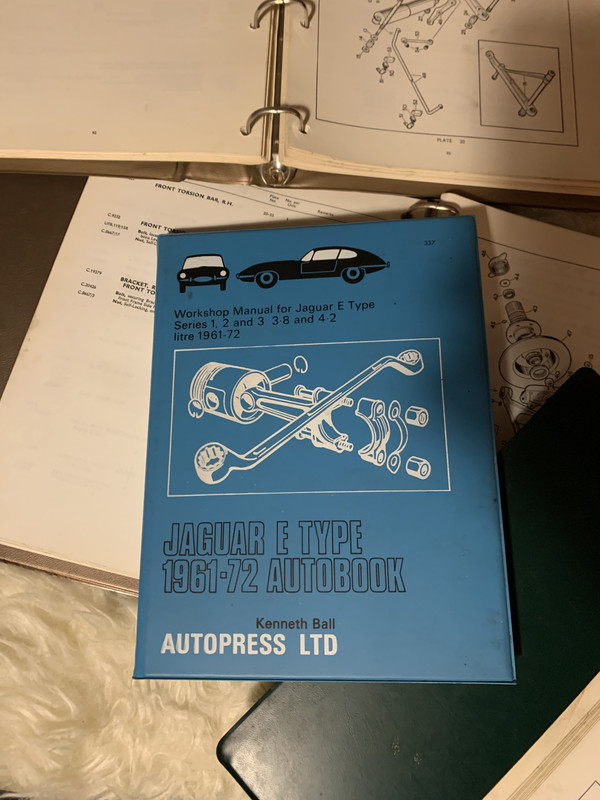
If I has looked more closely I would have realised that my Jaguar Workshop manual and later published books conflicted in their advice...I didn’t as I took the manual as gospel.....it’s just that time moved on and my manual (undated) was a very early version....and in December 1961 the specification for torsion bar setting changed such that the torsion bar tool was made with a smaller dimension....guess what......45.24mm
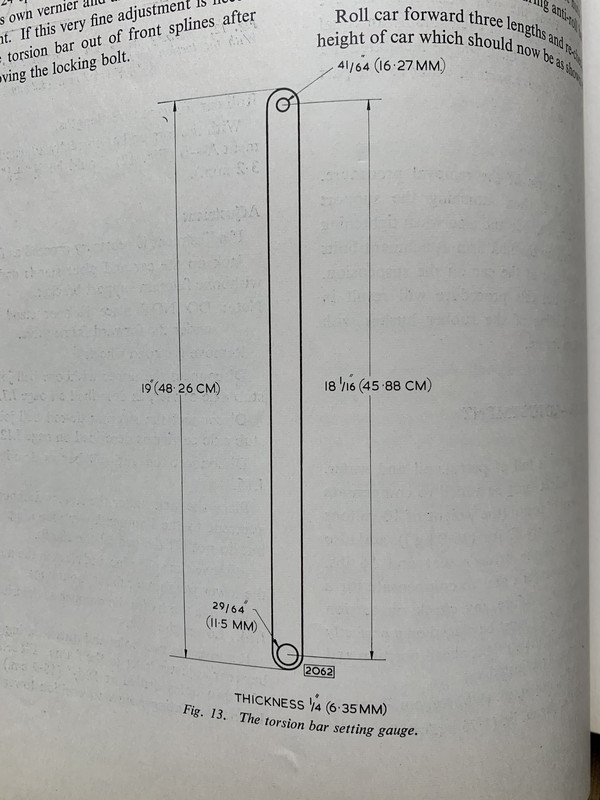
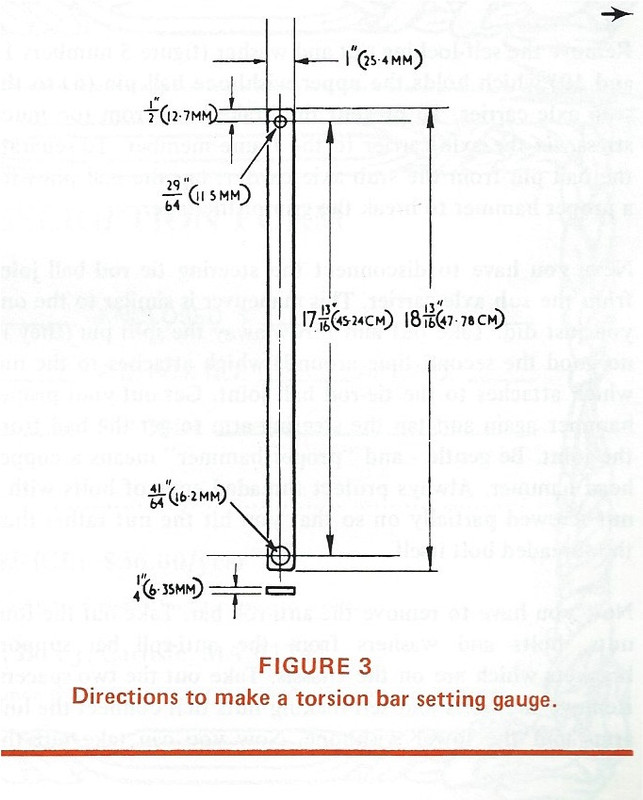
Now that 6.64mm....or 1/4” may not seem like much but it actually made an appreciable difference
Which was good as I had to pull apart all I hade done....and start all over again
Grumpy....frustrated.....actually no...all part of learning...don’t let it get you down....this is a leisure interest not a job, so out with the welder ( which was also playing up....!) cut and re-weld...back exactly where it was originally.....
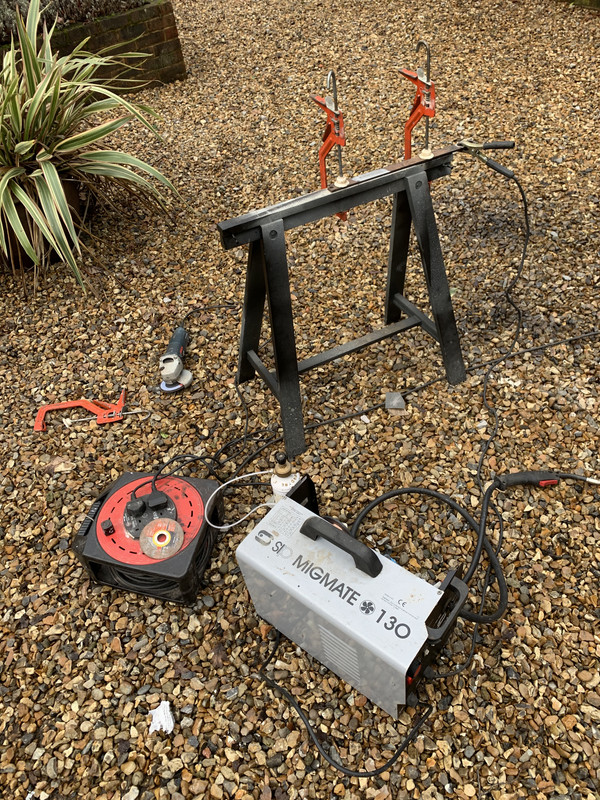
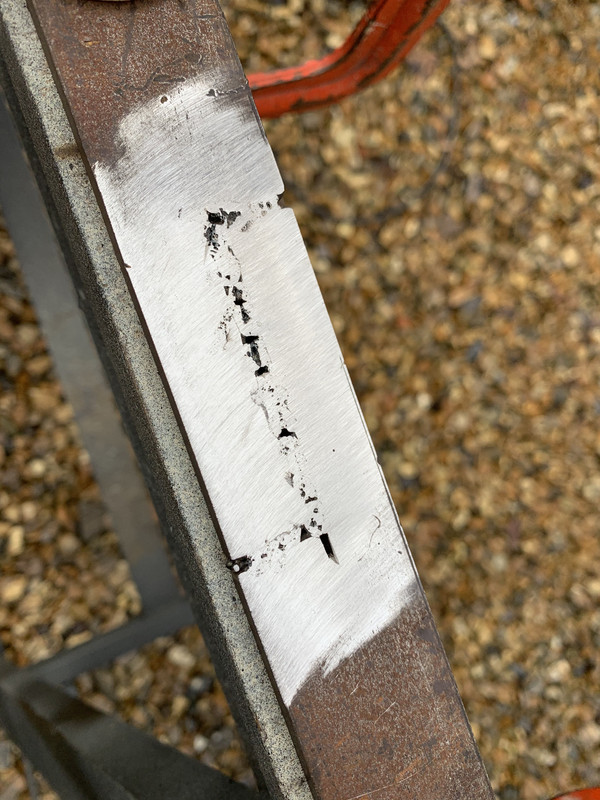
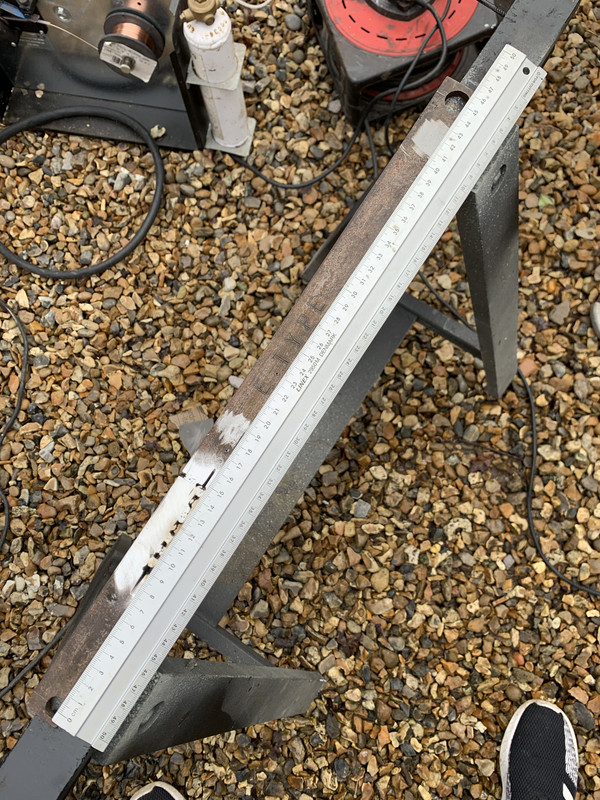
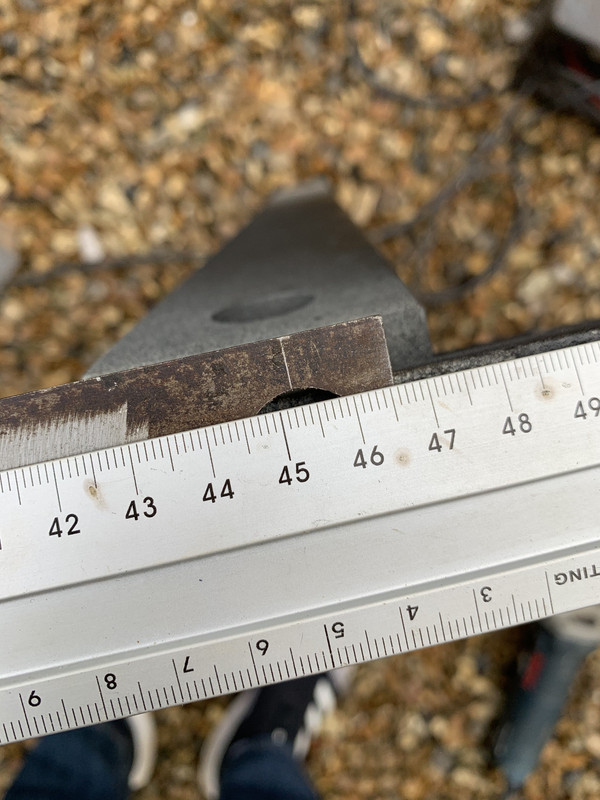
this time I managed to pull apart and rebuild both sides in 3 hours.....not bad....and it was done whilst laughing at the whole affair...and ironically it all assembled more easily...perhaps it meant I was putting the bars in exactly where they had been for the previous 50 years ...who knows
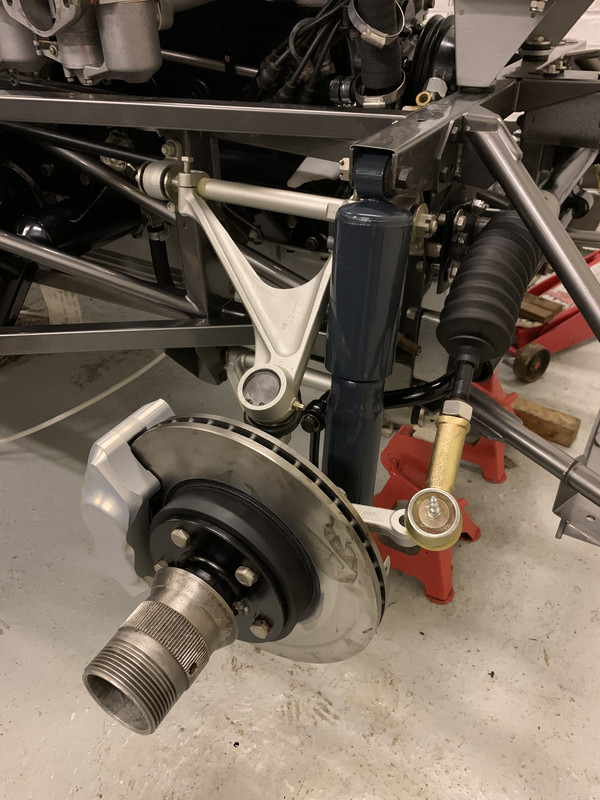
More importantly it meant I could install these lovely items.....
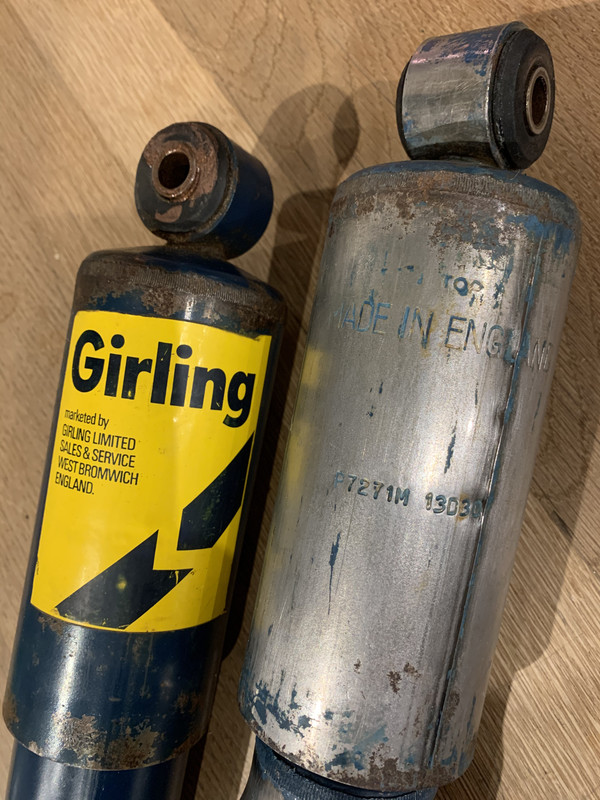
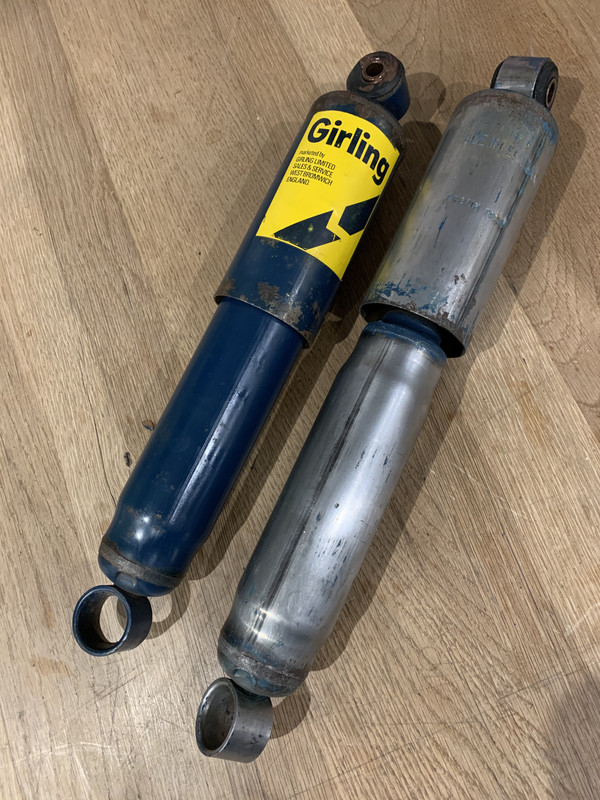
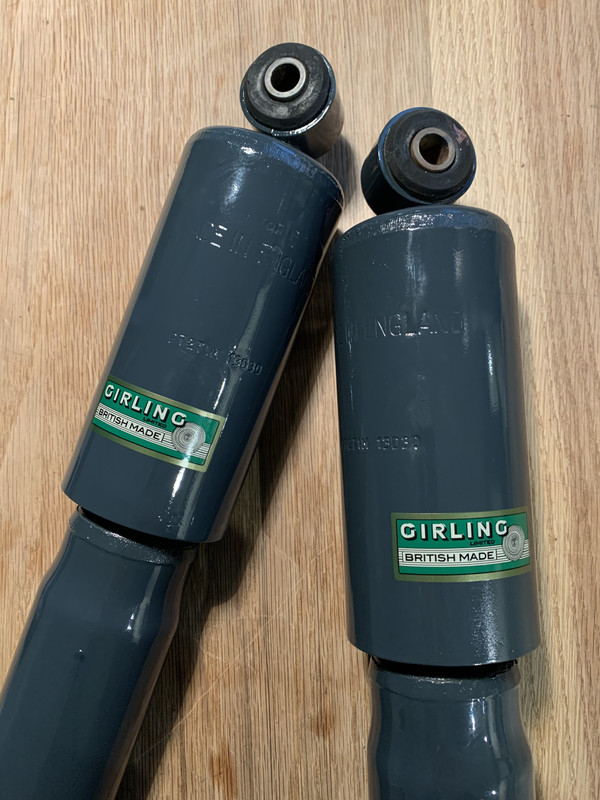
NOS ...original Girling dampers that I had found a few years ago....minimal work to remove old paint (incorrect colour as they were from the late 1960’s) and etch prime and top coat with BS 633 “RAF Blue”...complete with new period correct Girling stickers
So a Mosquito squadron colour on this most essentially English car with an engine that looks like it should be from a Spitfire....kinda cool I thought....
next....these lovely bad boys.....specially requested to avoid having black highlights tom the lettering to maintain the discrete look of the finished car
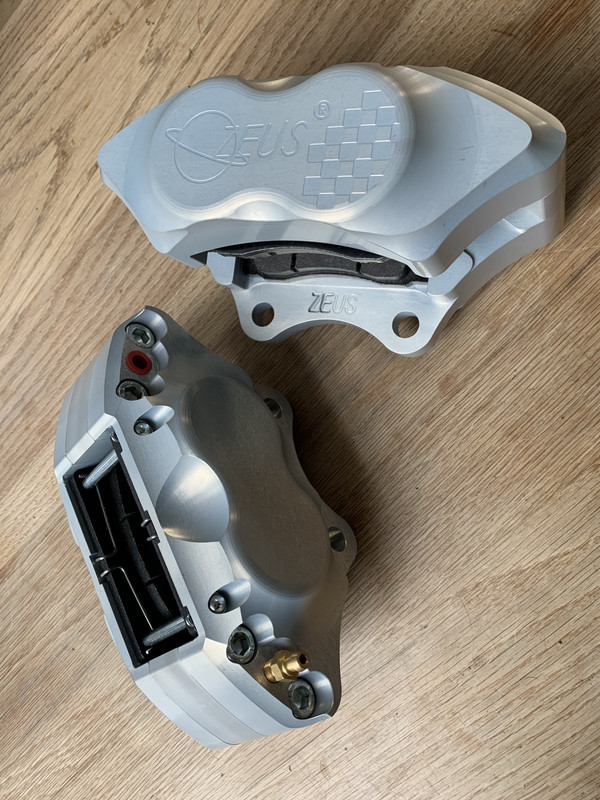
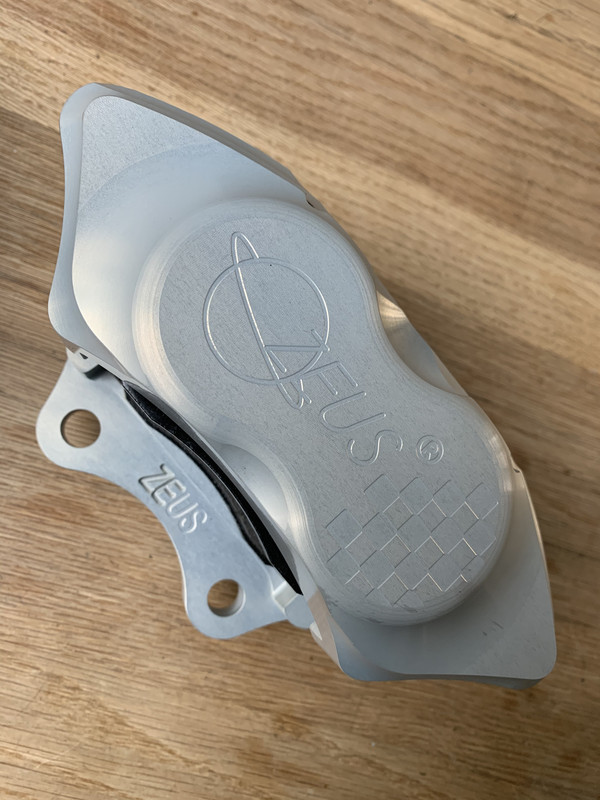
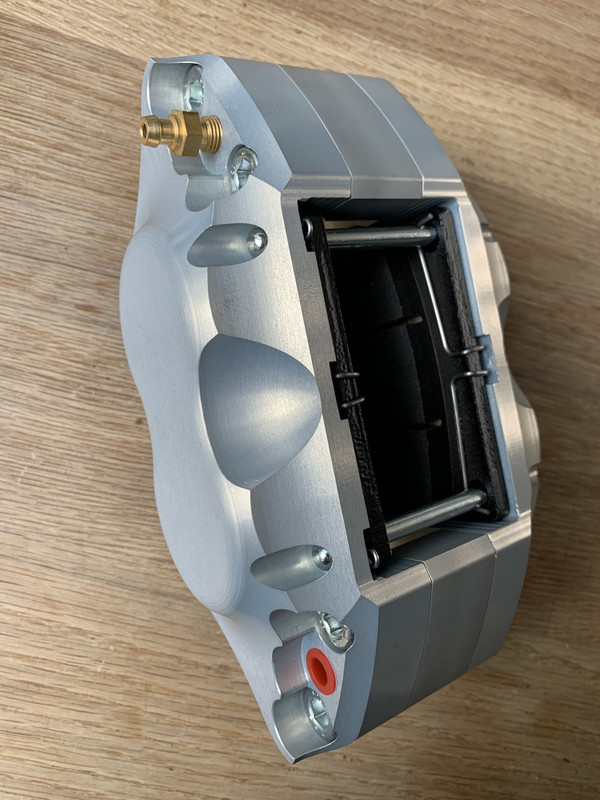
they are beautifully crafted....and bring me fully up to date with this shot, which i have just taken tonight..
thanks for looking....apologies for the large delay in sharing....







 Fabulous attention to detail as ever