964 C2 - Rolling Resto

Ongoing and archived Porsche (and other marques) restoration threads from DDK members

Moderator: Bootsy

Post Reply
rhd racer
Me and DDK sitting in a tree! KISSING
Posts: 2545
Joined: Wed Jun 23, 2004 9:47 pm
Location: Nottinghamshire

Re: 964 C2 - Rolling Resto

Post by rhd racer »

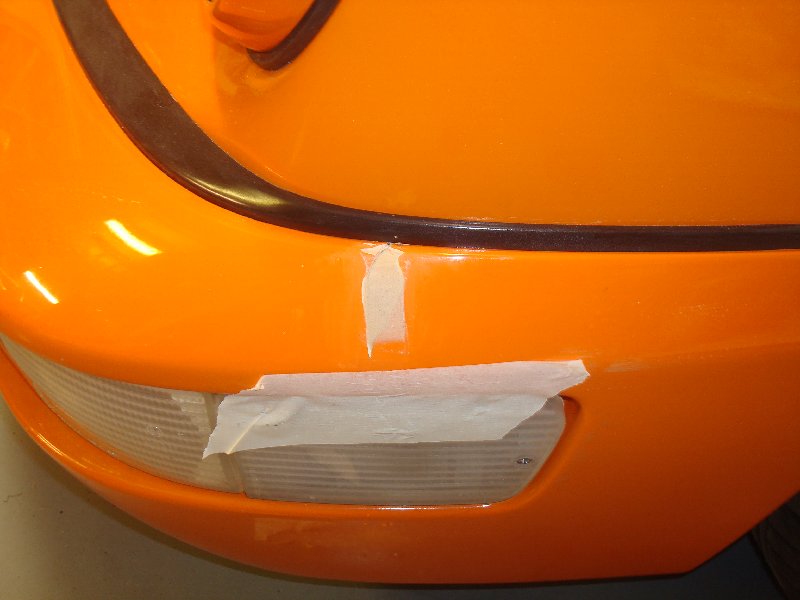
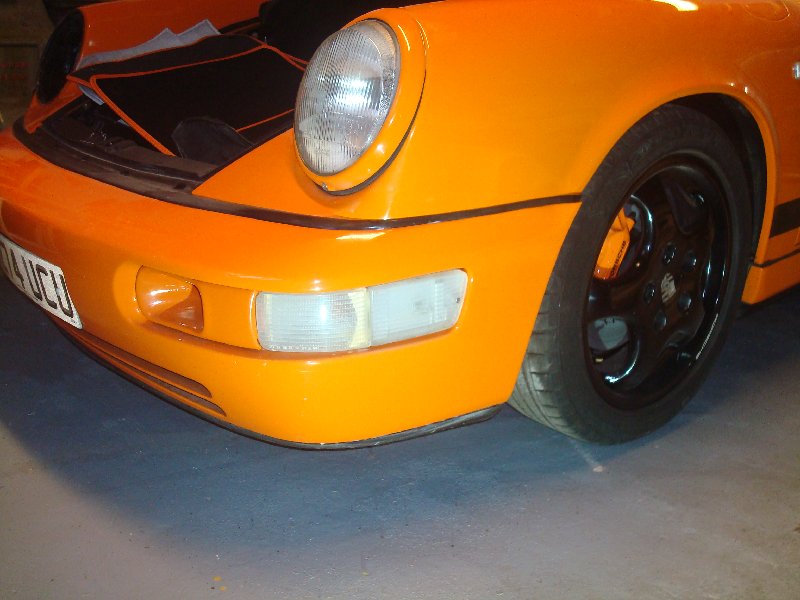
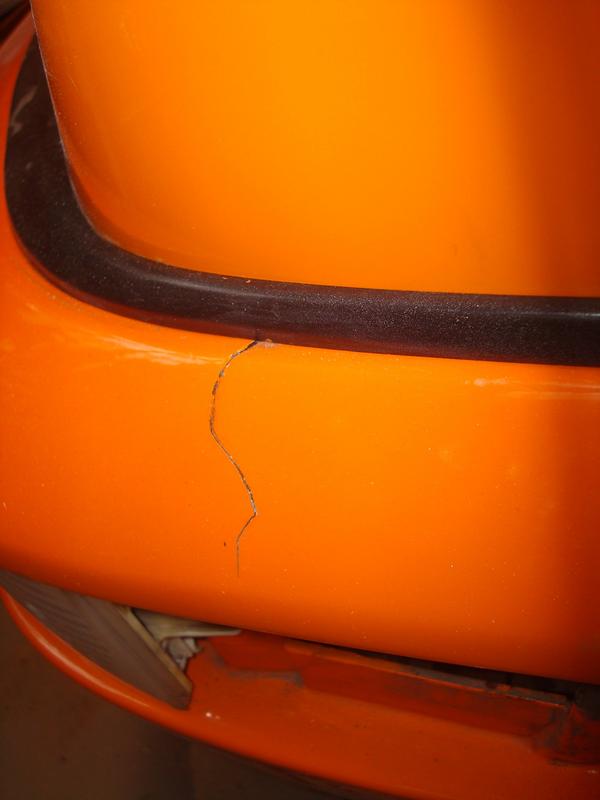
So with that job parked, the next job was to do some body repairs. A reminder of the crack in the front wing - my plan being to do an invisible repair to bring the car up to an acceptable standard while I decide what to do regarding the full repaint.

Image

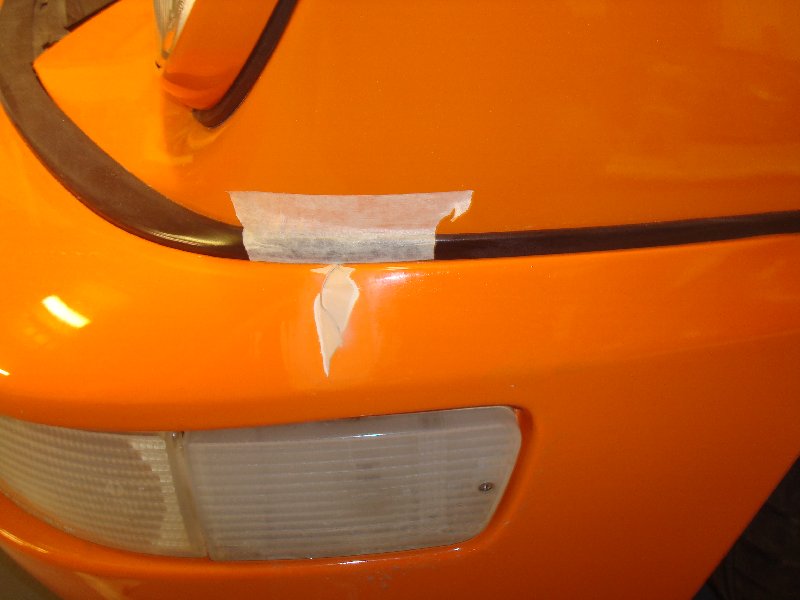
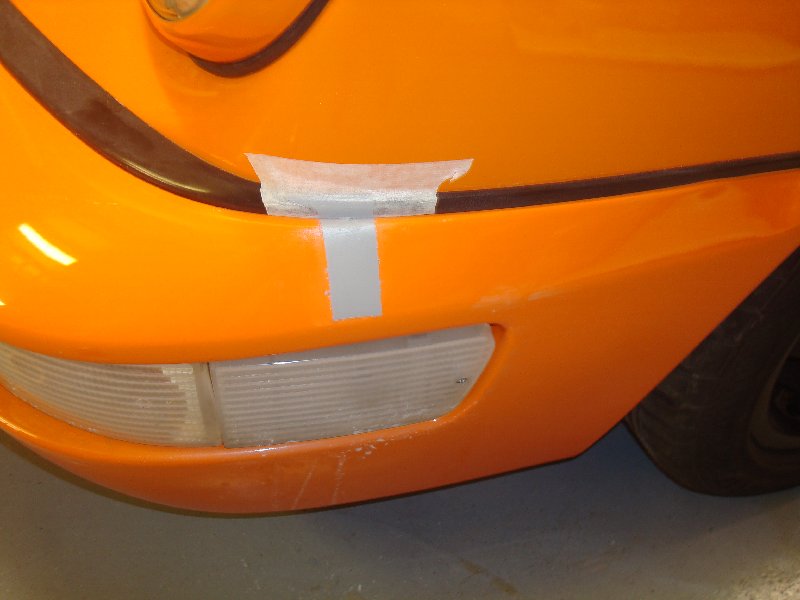
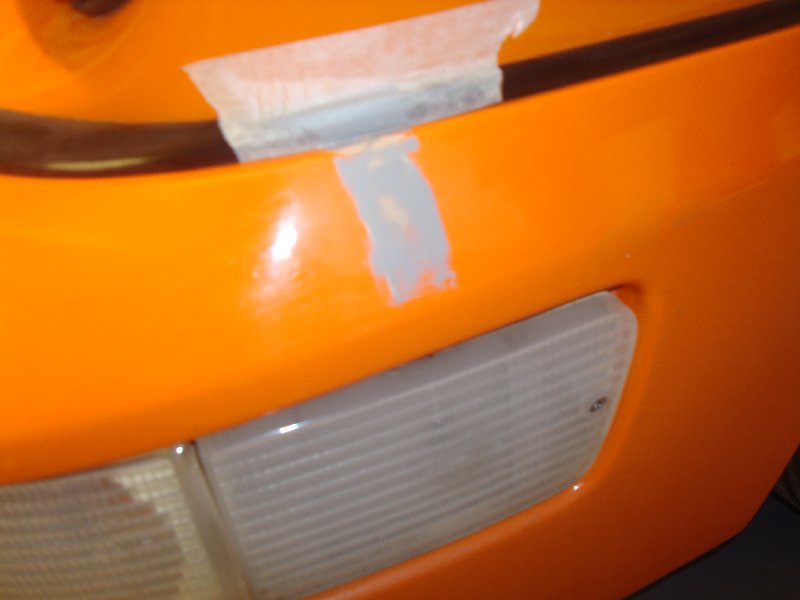
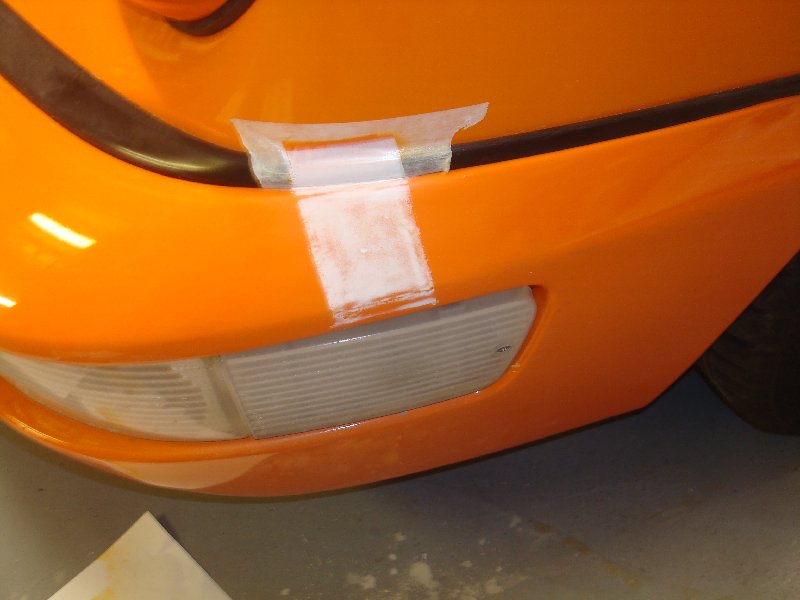
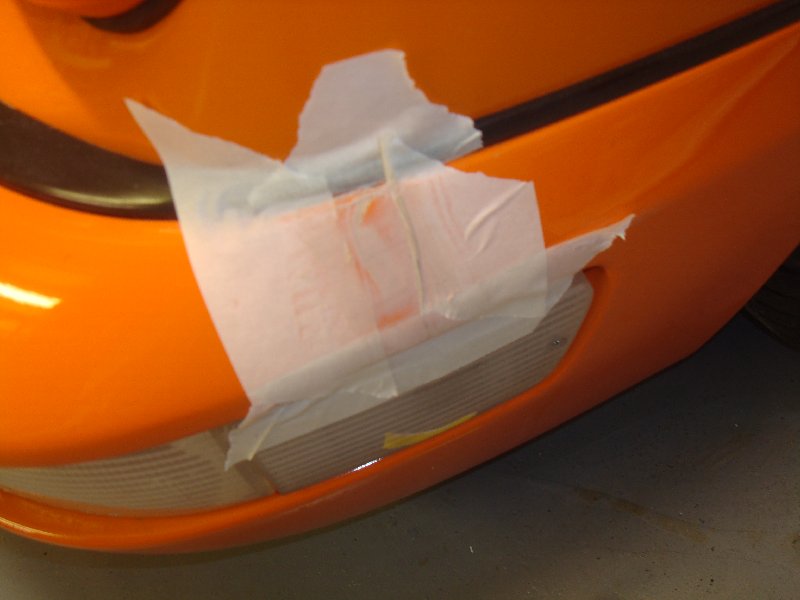
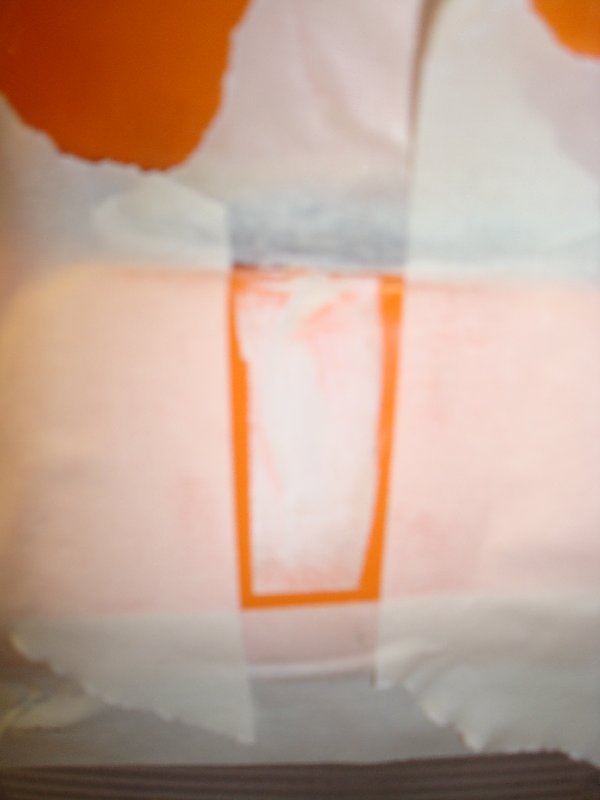
The plan was to contain the filling and painting to as small an area as possible, so I simply masked my working area, sanded the crack flat with some course paper because some fibreglass resin had seeped through when repairing, and giving a good key for filling
Image

Image

Image

Image

Image

Image

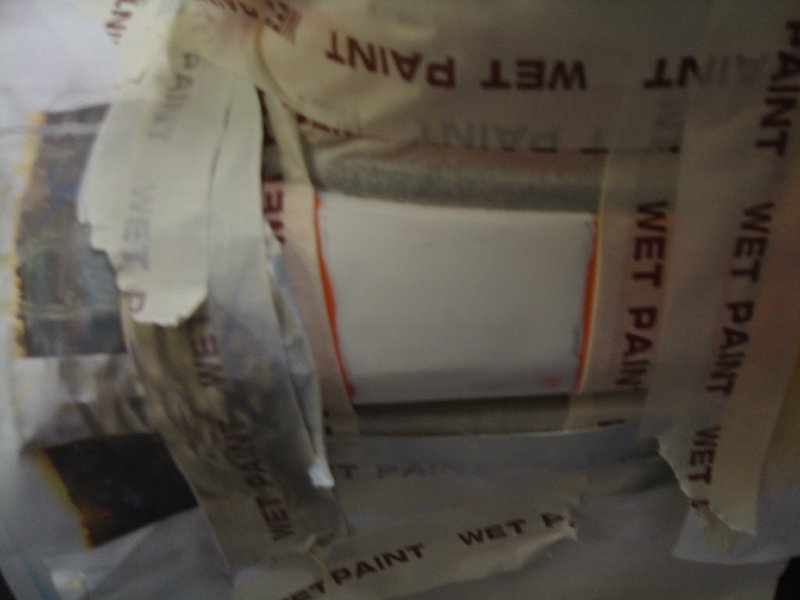
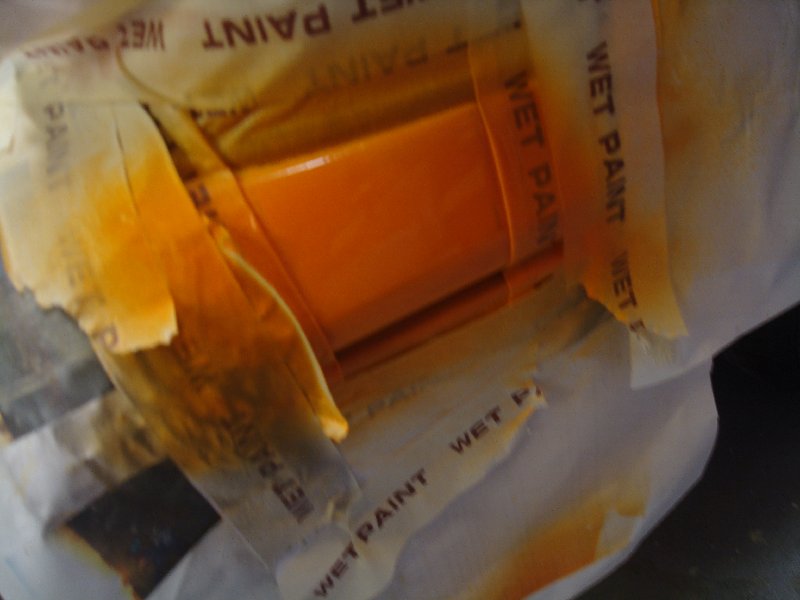
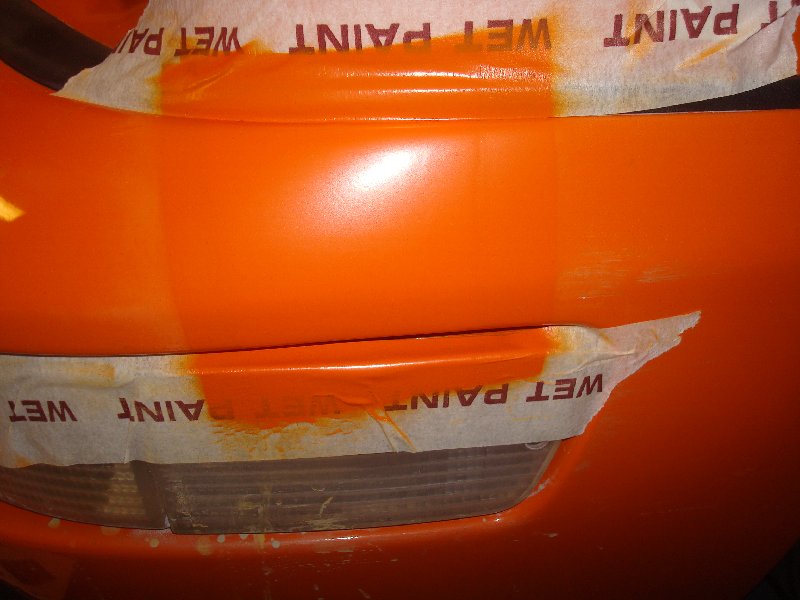
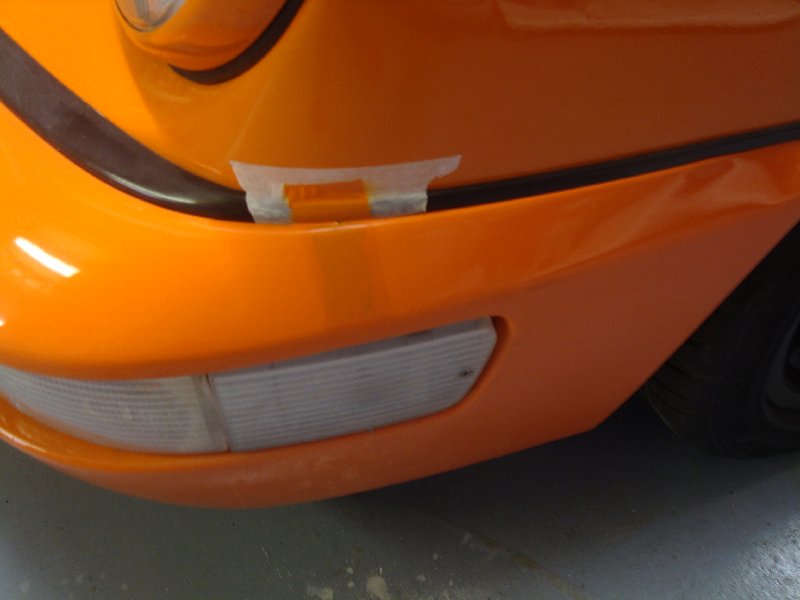
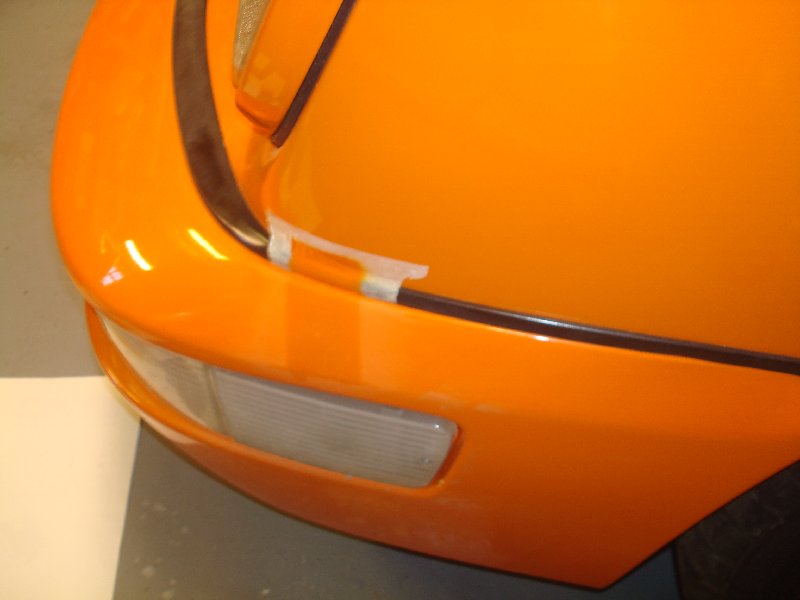
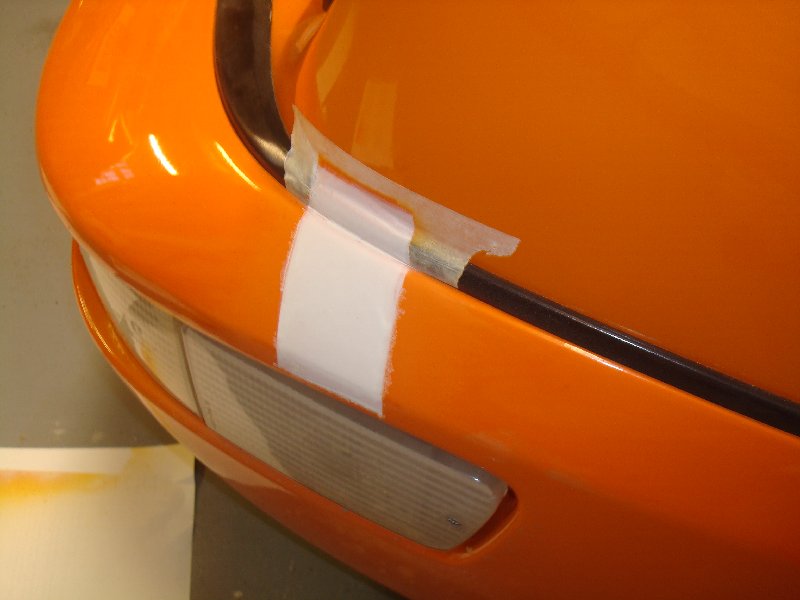
All going very well. A slow process of fill, flat (320, 600, 1000 grades) - again all 'contained' by the masking paper to prevent scope creep! - then a bit of high build primer, and repeat the flatting. This, condensed into a few pictures looks like it took 5 minutes, but was spread over several hours. Then, as I had with the brake ducts, cracked out the orange base coat. At this point, it all went very Pete Tong and what was a the end of a job, became the start of another much longer one (this is a story that will repeat later on another panel)....
Image

Image

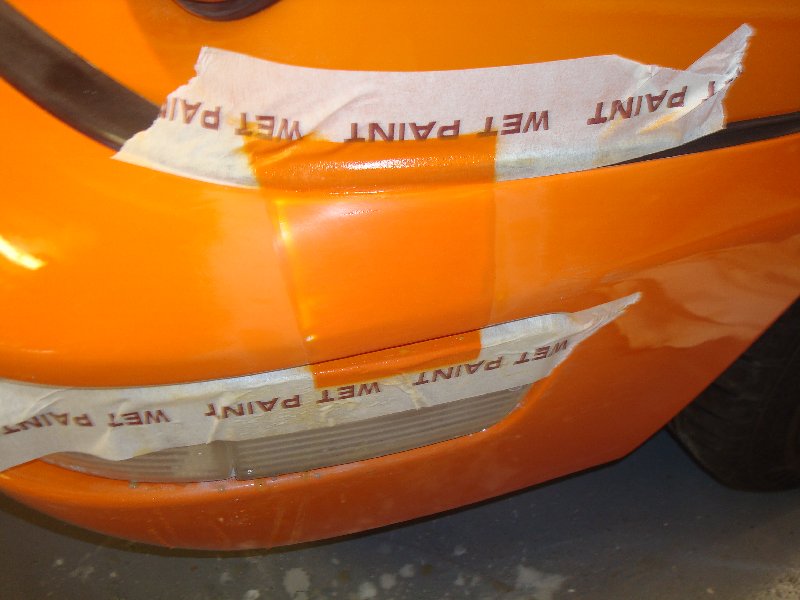
As you can see there is a marked colour difference. This is despite not doing anything different. Slightly perplexed, and a little disappointed (because the repair was otherwise completely invisible from a shape point of view) I did a quick spray out on a piece of old steel to test my theory
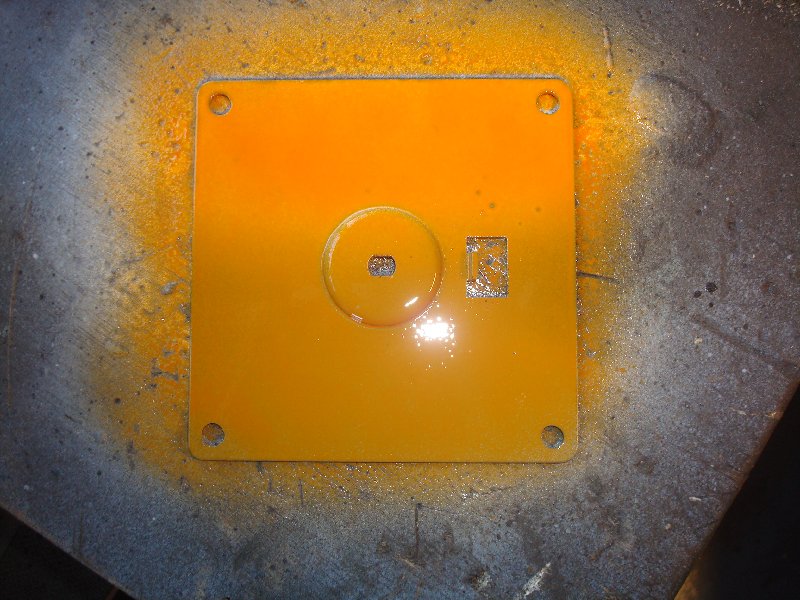
Image

Hopefully the above shows a significant colour difference between the two halves - on one I used a white base layer of primer before spraying the orange. This lifted the colour and gave a perfect match.

I think I got away with it on the brake ducts, because they are low down on the panel, distinct and separate with shadows around them so the slight colour difference does not stand out. On the bumper, mid panel, it did not work at all.
93 964 C2
99 Boxster 2.5 > 3.4 hill climber

71 914/6 3.0 - gone

'You see Paul, hill climbing is like making love to a beautiful woman. You get your motor running, check your fluids, hang on tight and WHOA..30 seconds later it's all over!' Swiss Tony
rhd racer
Me and DDK sitting in a tree! KISSING
Posts: 2545
Joined: Wed Jun 23, 2004 9:47 pm
Location: Nottinghamshire

Re: 964 C2 - Rolling Resto

Post by rhd racer »

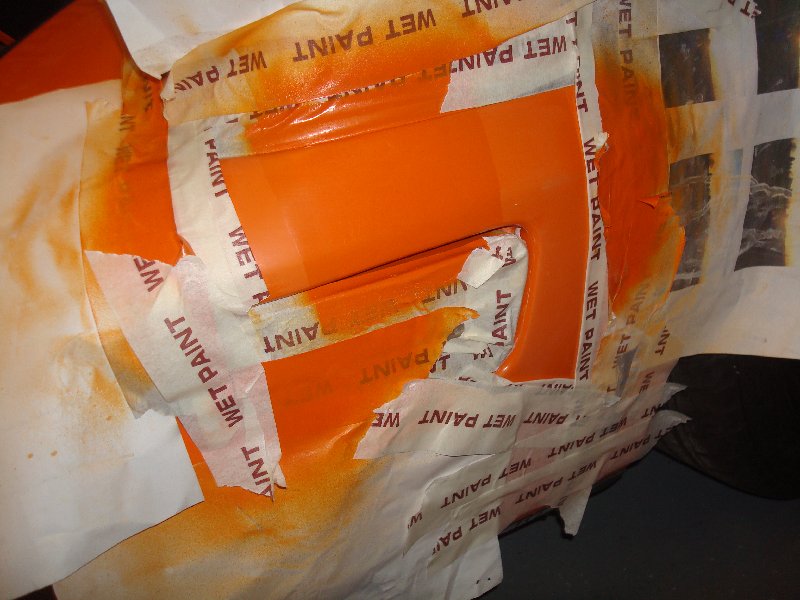
So, it clearly needed some base coat, and because I have already sprayed the orange over a wider area, I needed to flat back a wider area and extend my repair area to get some consistency. I then ran into some problems with the basecoat, which for some reason would occasionally cause some reaction (despite being very careful to wipe down with panel cleaner before every coat) so there were many more attempts at getting it spot on again than in the images here. However, over the course of a week, on and off, I got back to something that was ready for top coat

Image

Image

Then the area gets bigger post reaction

Image

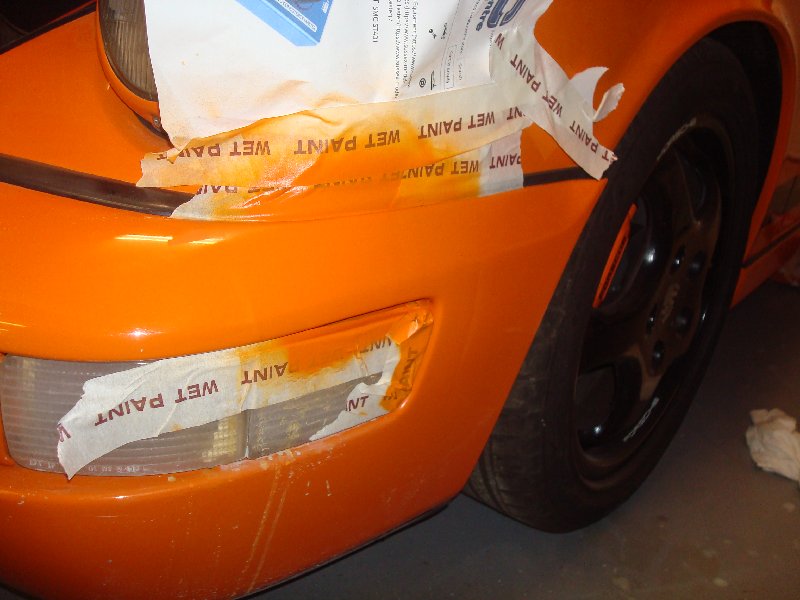
Once flatted, and I was happy with it, comes the clever bit for blending. Using masking tape clearly gives a straight edge and a ridge which needs flatting, which is fine for primer which is very soft. However for top coat a more subtle blend is required so the masking tape edge can be softened by folding 1/3 of the edge of the tape over. This gives you a 1/3 width sticky edge to adhere to the panel, and 1/3 of the original width which is not sticky, because it has the paper face on both sides. This allows the paint to just go under the edge of the non hard edge, and create a blend. I did this, over three or 4 coats, over ever larger blend areas which had been very lightly keyed first. It allowed me to blend down below the indicator which had some marks from probably the same incident that caused the crack which would not buff out. At the top of the bumper, obviously the rubber provides a nice hard edge to work too

Image

Image

Image

Image

And here it is now, just waiting for the weather to warm up a bit so I can flat with 1000 grade and apply the lacquer

Image

Bearing in mind this is all rattle can painted to the standard GT3 lava orange code (no paint to sample here), I am pretty pleased with the results.

However, I was doing this in conjunction with another panel which threw up some similar challenges, so it has been a frustrating few weeks....
93 964 C2
99 Boxster 2.5 > 3.4 hill climber

71 914/6 3.0 - gone

'You see Paul, hill climbing is like making love to a beautiful woman. You get your motor running, check your fluids, hang on tight and WHOA..30 seconds later it's all over!' Swiss Tony
rhd racer
Me and DDK sitting in a tree! KISSING
Posts: 2545
Joined: Wed Jun 23, 2004 9:47 pm
Location: Nottinghamshire

Re: 964 C2 - Rolling Resto

Post by rhd racer »

The next job in my sights was actually the main driver of doing the front bumper - that was just a 'whilst I am there 5 minute job' :lol:

This is the other bit of the bodywork which really lets it down

Image

To which there is an obvious solution...

Image

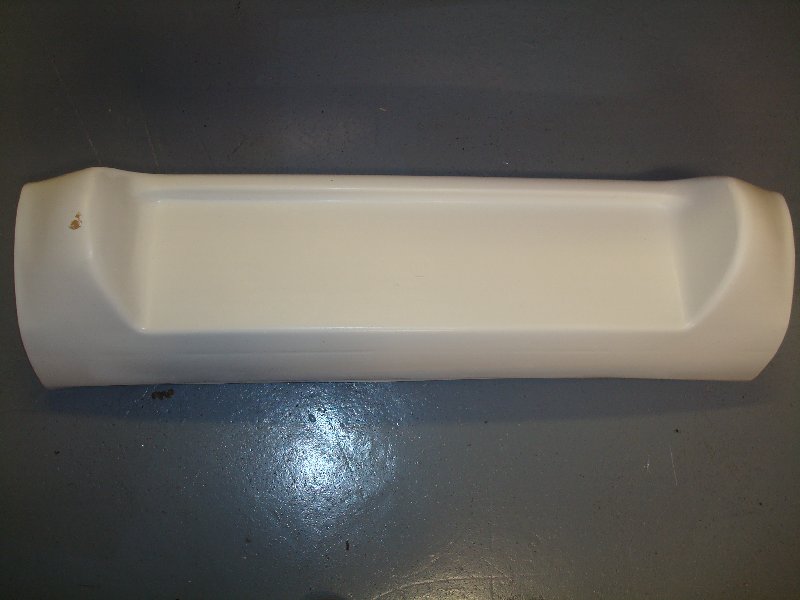
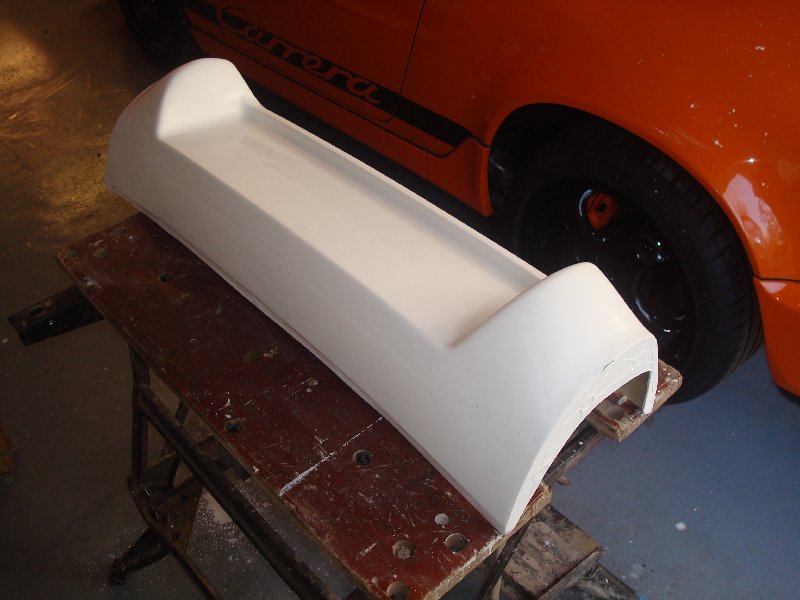
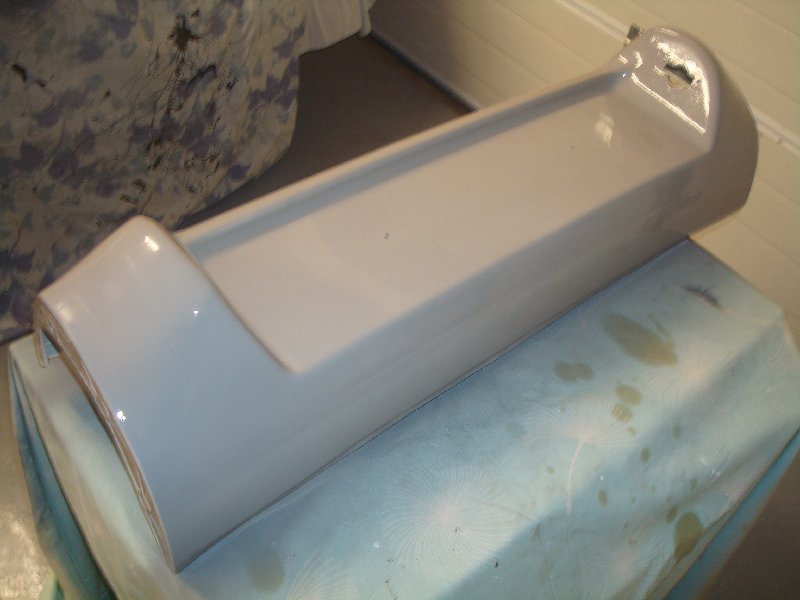
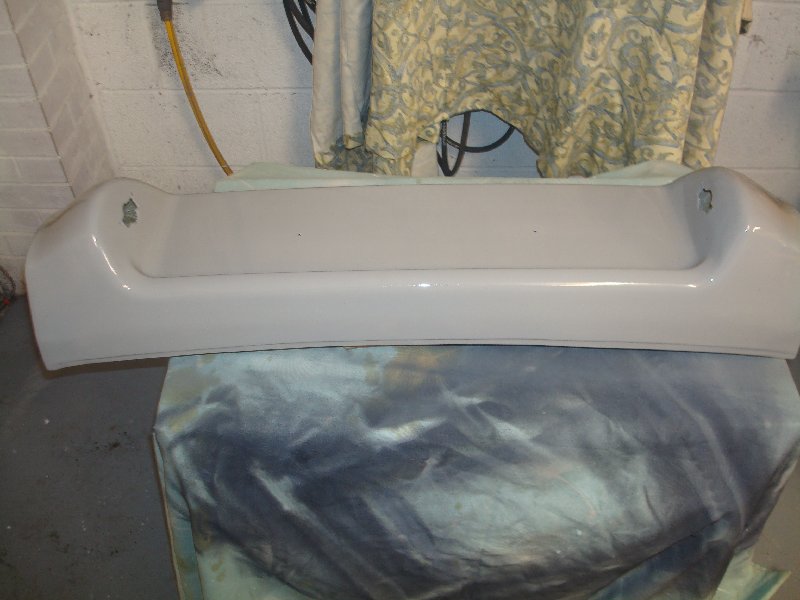
An RS centre section. To be entirely honest, prior to ownership I had no idea they were different. If you are unclear, basically the number plate lights are to the side of the plate rather than above it, and they use early 911 number plate lights (SC / 3.2 era) which instead of being flush mounted like the 964 ones are, sit very proud as a result of their shape.

The panel itself was not expensive, something like £80, and the lights £40 ish, so a pretty cheap mod that matches the front bumper mods if I can get a good paint match. If being the operative word - if not satisfied I will patch up what is there. The driver for doing this now is that the bumper is much easier to remove with the engine out due to the exhaust. I also need to replace the rear reflector panel at the same time, with the one I picked up almost a year ago.

James - I will investigate the rear light housings then and hopefully come up with some ideas for you.

I have no patterns to position the number plate lights, just a series of pictures, and some useful ones in the latest 911 & Porsche World, featuring a gorgeous RS clone featuring all genuine parts. It would have to be a series of educated guesses.

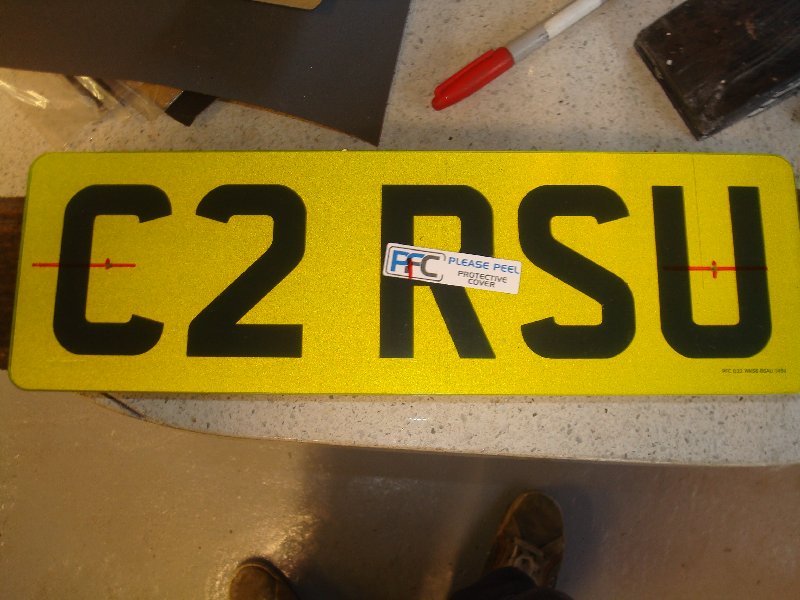
So I started with the number plate positioning which, looking at photos, seemed a little bit lower than my current plate which used the original OE fixings. I wanted to fix the plate now, so as to position the lights correctly but also because I had bought myself a little present for the car, and wouldn't be using the current plates

Image

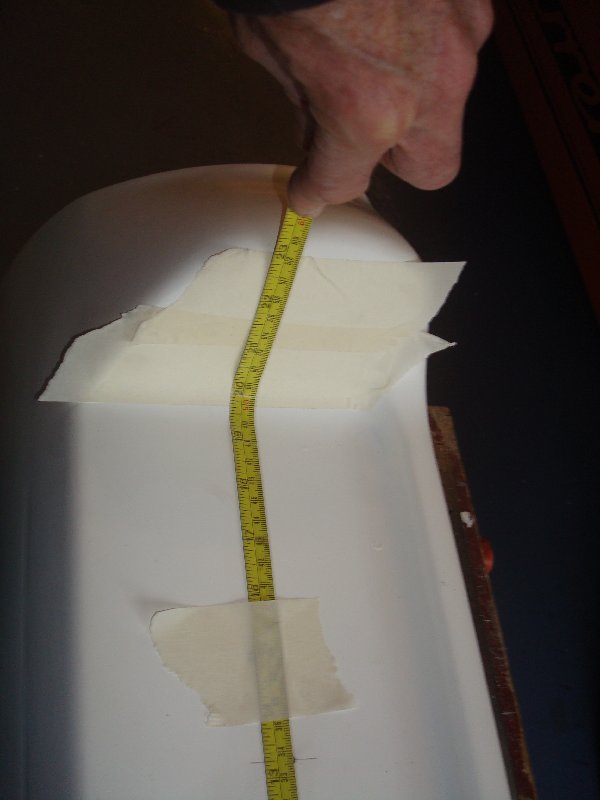
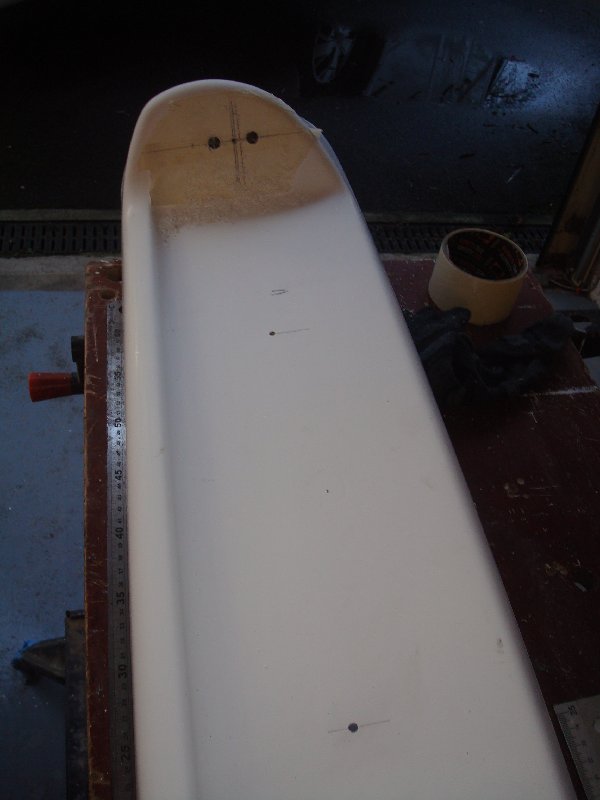
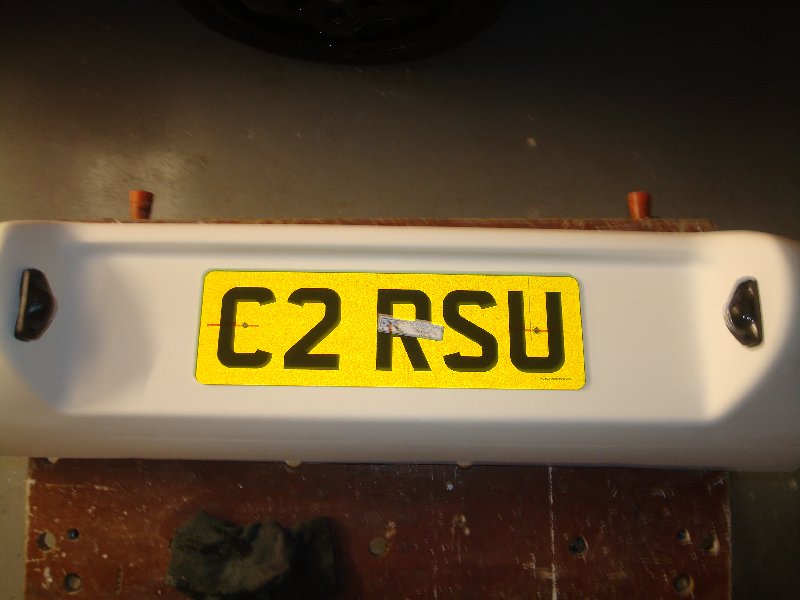
These were bought at a DVLA sale and suit the intent of what I am building but also that it is really a C2 - plus they were pretty reasonable. I then had them made as small as possible, but with full road legal spacing and sizing, just a smaller overall plate. What I didn't want to do was use the OE fixings and find out that with the new plates that would equate to half letter half background - which is exactly what happened! Lots of measuring later, I set my fixings 1cm wider than OE, and 0.5 to 0.75cm lower, to mirror my research of genuine RSs.

Image

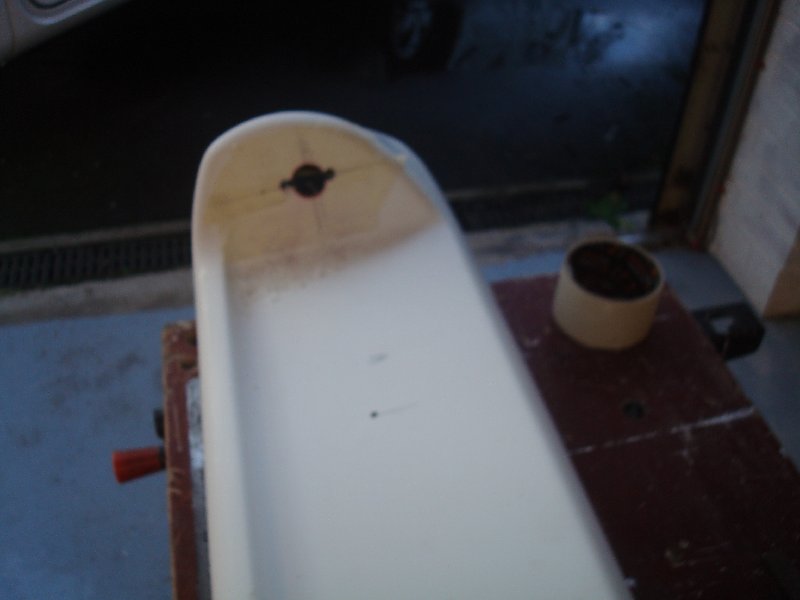
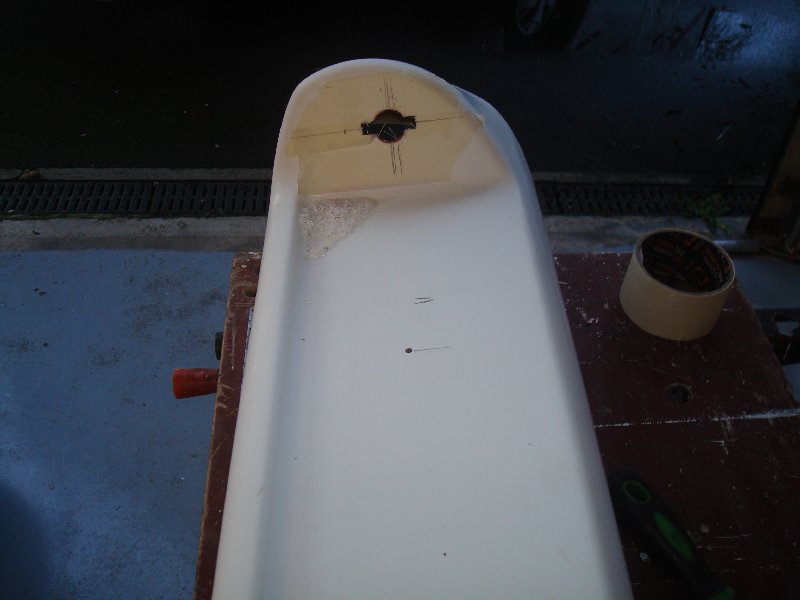
This then gave me a straight line upon which to find the centre point for the number plate lights. However the line was difficult to accurately mark so I ended up adjusting by eye

Image

Image

Image

Image

It was a pretty simple 2 drilled holes, one holesaw cut of 26mm, and then some opening of the former with a square file to mirror the square shape of the lights. Mocked up, it looked like this

Image
93 964 C2
99 Boxster 2.5 > 3.4 hill climber

71 914/6 3.0 - gone

'You see Paul, hill climbing is like making love to a beautiful woman. You get your motor running, check your fluids, hang on tight and WHOA..30 seconds later it's all over!' Swiss Tony
rhd racer
Me and DDK sitting in a tree! KISSING
Posts: 2545
Joined: Wed Jun 23, 2004 9:47 pm
Location: Nottinghamshire

Re: 964 C2 - Rolling Resto

Post by rhd racer »

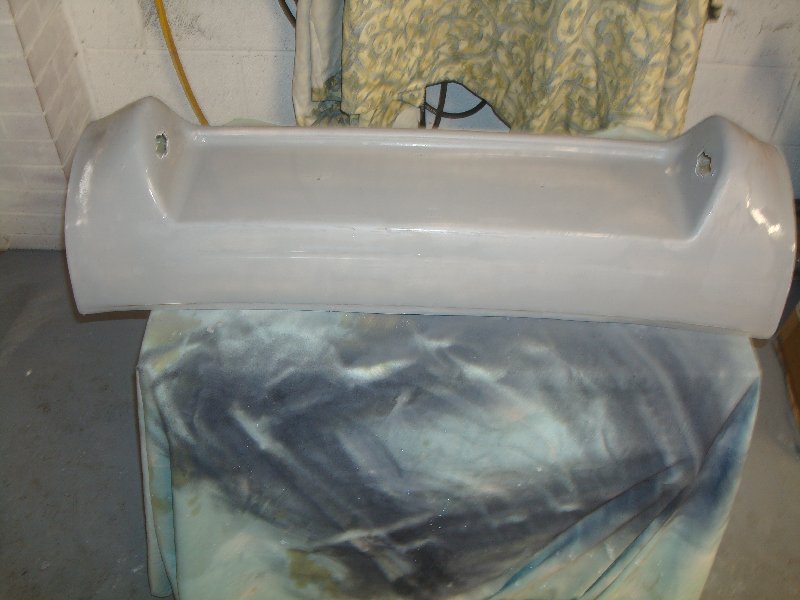
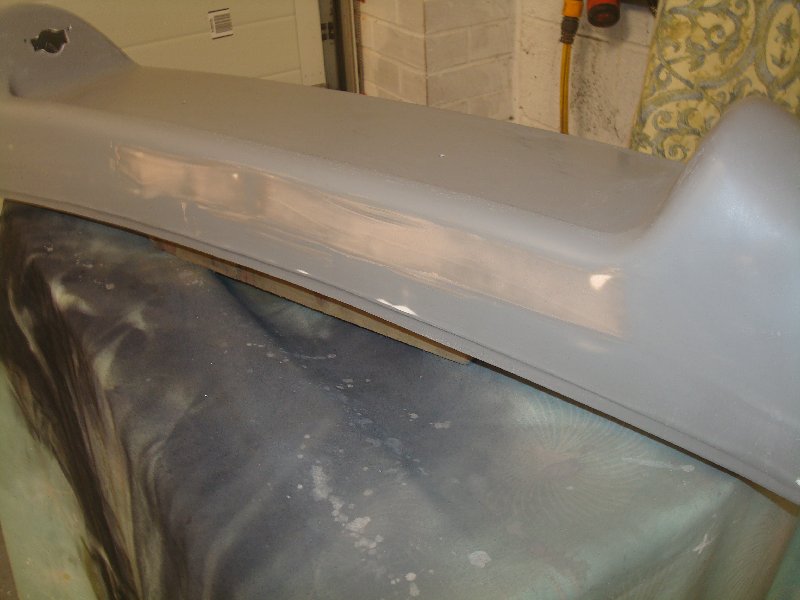
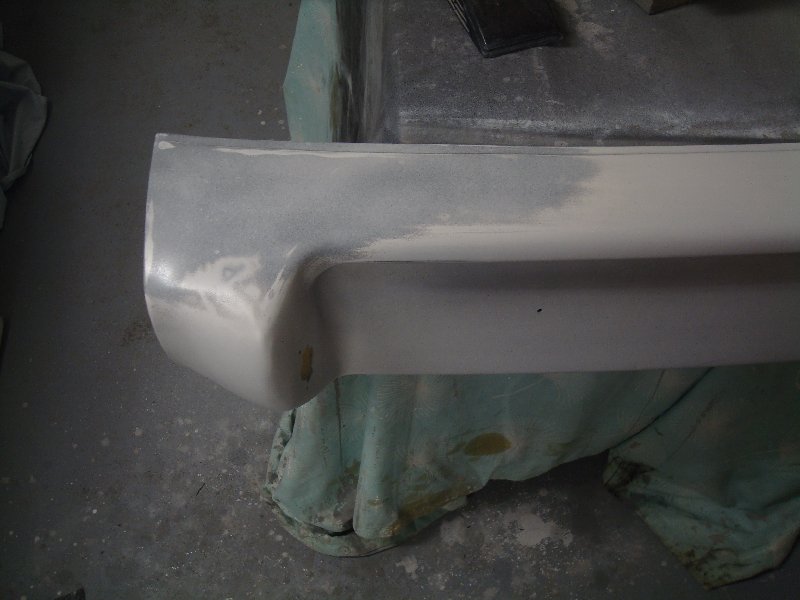
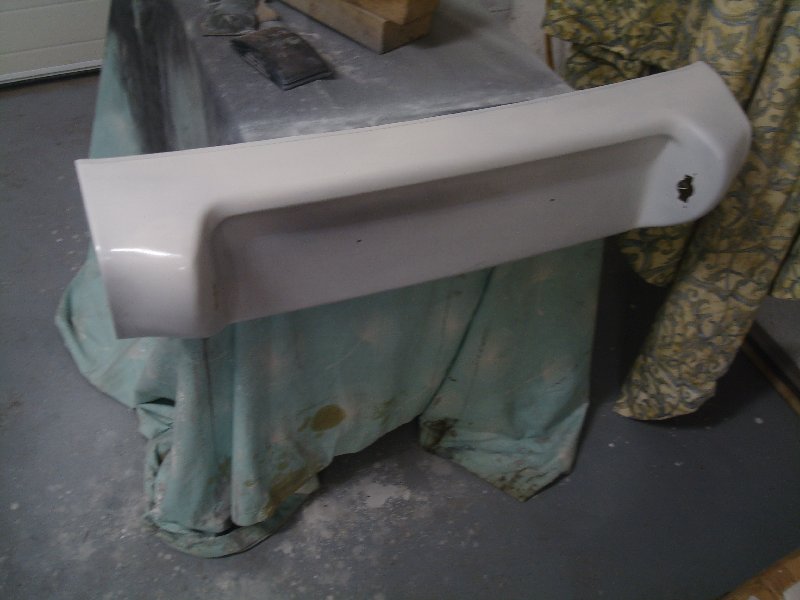
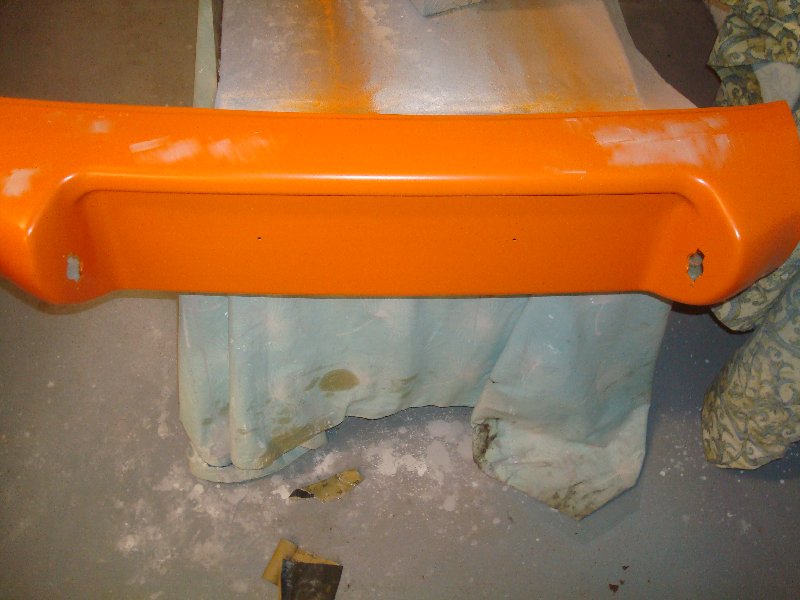
It needed plenty of flatting to key it, and remove some of the marks from the mould, but on the whole it was much better than I expected. However, things started to go slightly array when I put some paint on it

Image

Image

Image

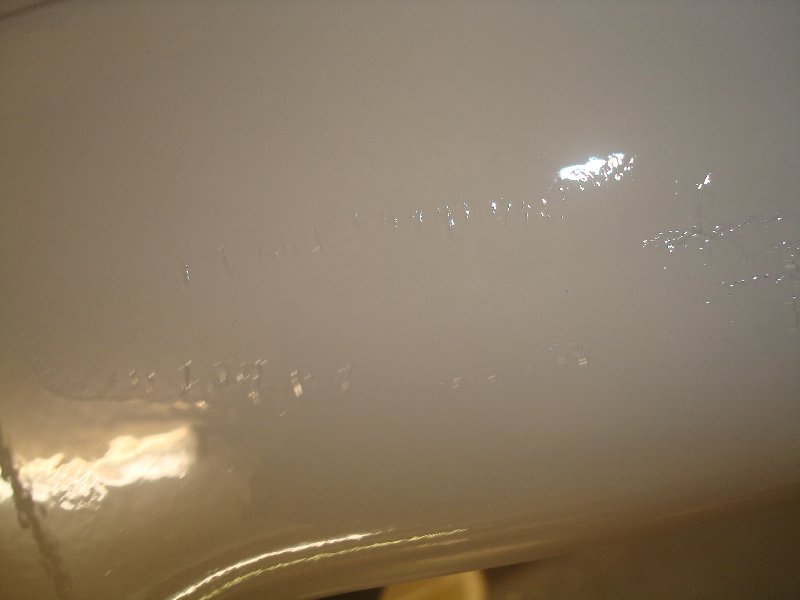
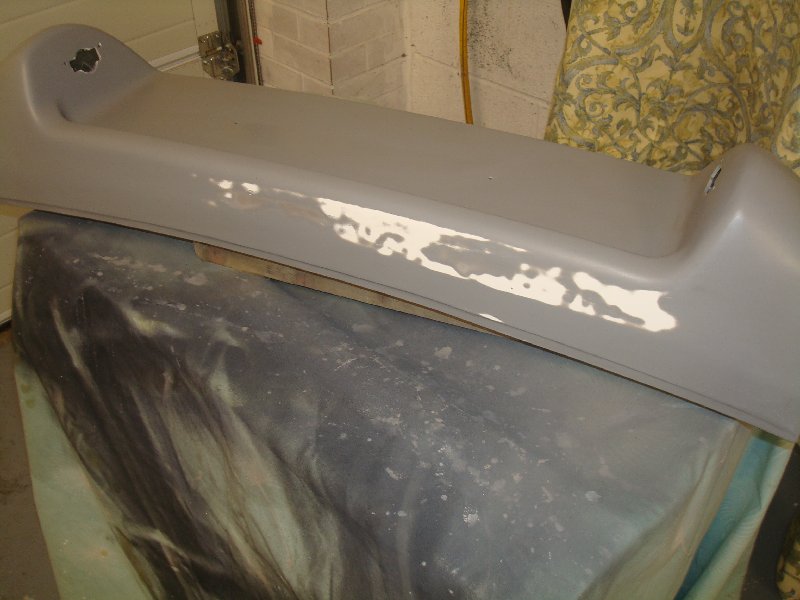
Same drill as before, it went on well and looked pretty good. Then after some flatting and re-application, after cleaning with panel thinners in between again, I started getting some reaction coming through, and sinking, which I decided to try and fill my way out of (a process which largely worked but was slow and somewhat soul destroying)

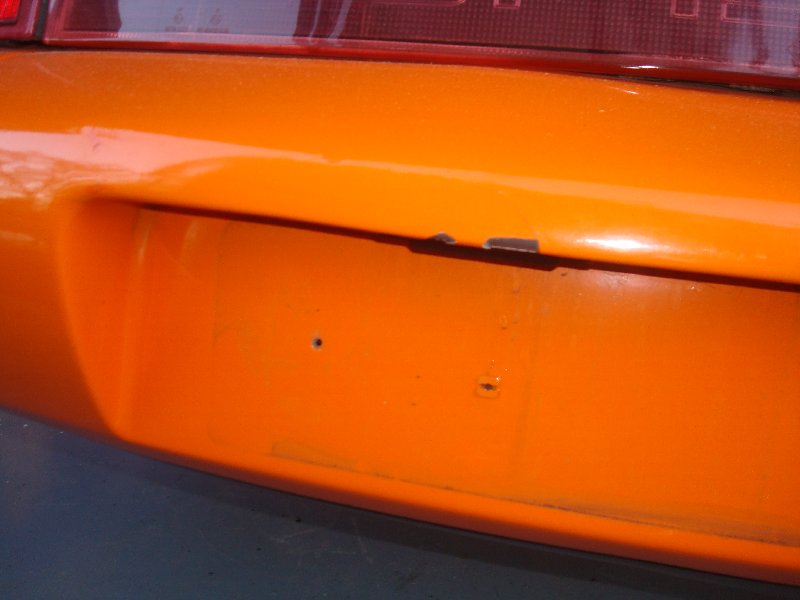
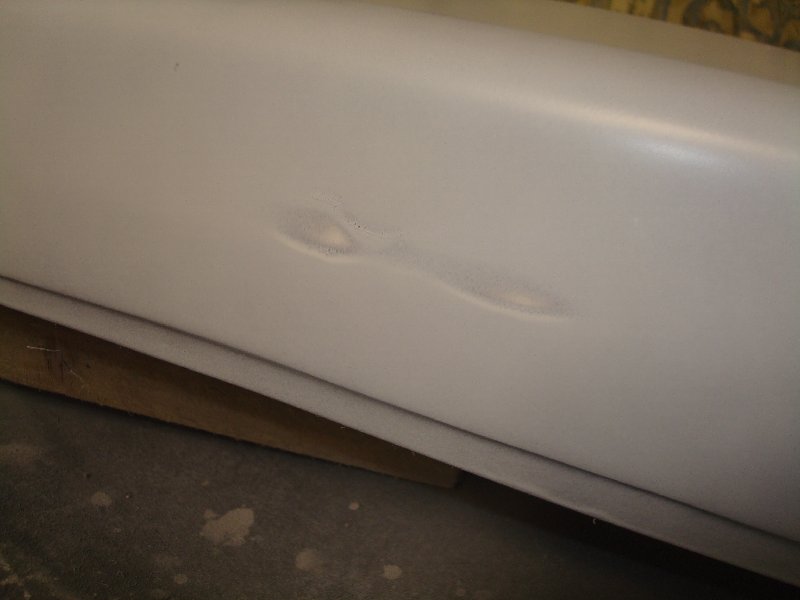
The first shot shows a slight indent where the OE number plate screws would go (something I could not see initially in the resin alone)

Image

Image

Image

Image

Image

Image

As you can see, this went on forever......the only good thing is that we have a drying room at home (probably the single best thing we put in when we extended) which allowed me to reduce curing times significantly as it is about a constant 30 degrees in there.. I did get called out a few times by the females in the house because of the smell though!

Finally in base coat and happy with it

Image

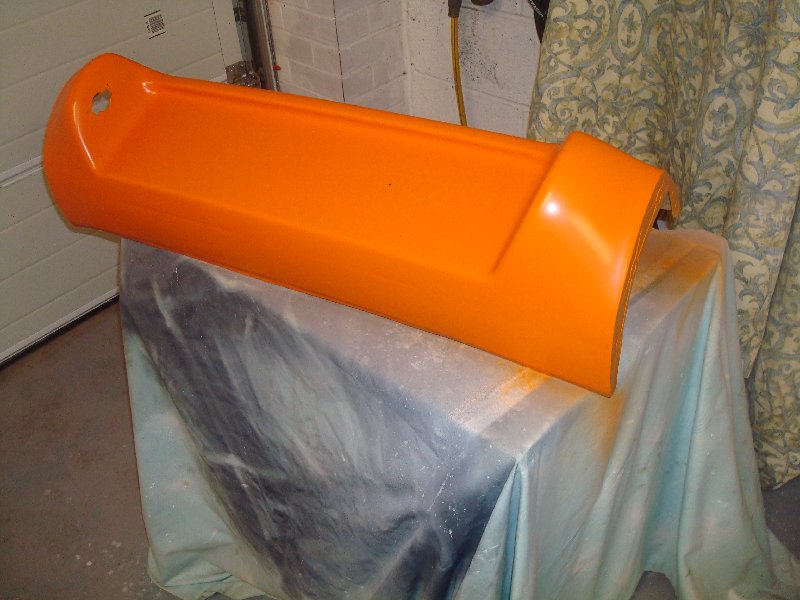
And then orange

Image

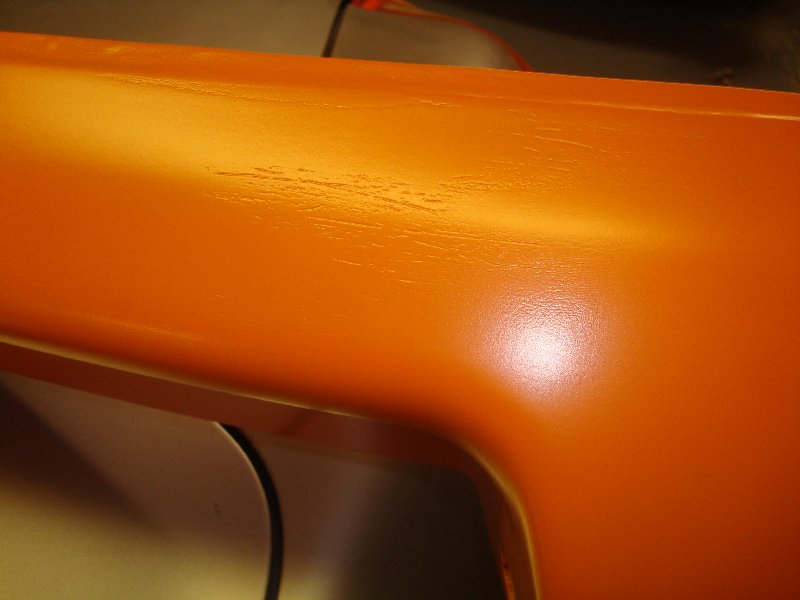
But that then promptly sank, despite being cured for a long time and the panel and paint being heated before painting.

Image

It wasn't terrible, but I am a perfectionist and wasn't happy with it (and it was on the top, why could it not be on the bottom?), so I have resorted to a quick skim over it.

Image

So that's all back up to date, but I have a small mountain of parts to go on, once these bits are finished off. It is a bit cold to be painting now so it will have to wait for the weekend. The colour again looks ok, so hoping I will get away with this centre section only
93 964 C2
99 Boxster 2.5 > 3.4 hill climber

71 914/6 3.0 - gone

'You see Paul, hill climbing is like making love to a beautiful woman. You get your motor running, check your fluids, hang on tight and WHOA..30 seconds later it's all over!' Swiss Tony
User avatar
hot66
Moderator
Posts: 19227
Joined: Tue Nov 11, 2003 4:17 pm
Location: North Yorkshire

Re: 964 C2 - Rolling Resto

Post by hot66 »

dont worry too much about the bulb holders / rear light wiring .. I bought a used rear light loom from ebay so have solved the problem 8)
James

1973 911 2.4S
1993 964 C2
2010 987 Spyder

1963 Honda C100 Supercub

Its not how fast you go, but how you go fast ;)
rhd racer
Me and DDK sitting in a tree! KISSING
Posts: 2545
Joined: Wed Jun 23, 2004 9:47 pm
Location: Nottinghamshire

Re: 964 C2 - Rolling Resto

Post by rhd racer »

Jolly good James

So, with the weather warmer I managed to finish the front bumper. I just gave it a very quick wet and dry and polish and am pretty pleased. I will give it a proper go when I finish the rear bumper.

Image

This is hardly paint worthy of these pages compared to some of the work going on in this section currently, but not bad for a low cost local repair

Then onto the rear bumper, I finally got it to the point I was happy with the orange base coat before it got cold again. Now warmed up, hopefully I can get some lacquer on this weekend, and I think I am going to go with the orange underside of the sills and rear corner bumpers like Jason's.

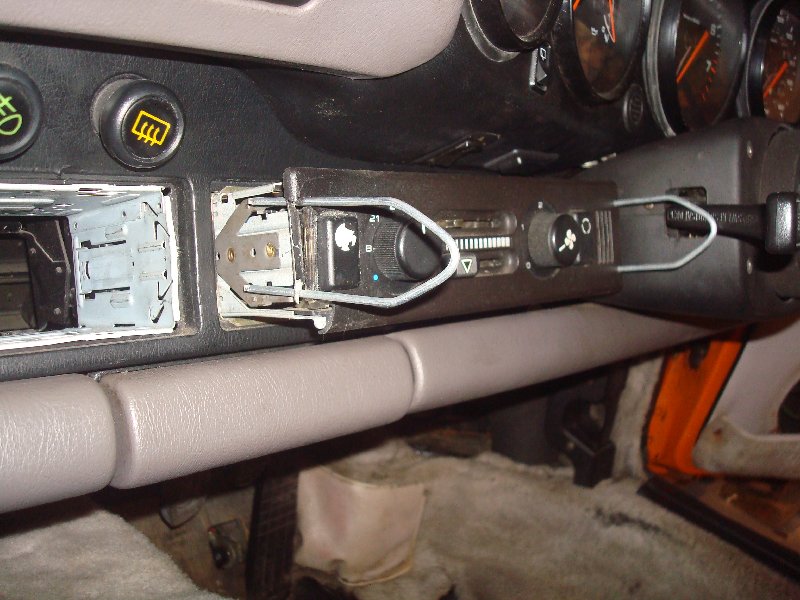
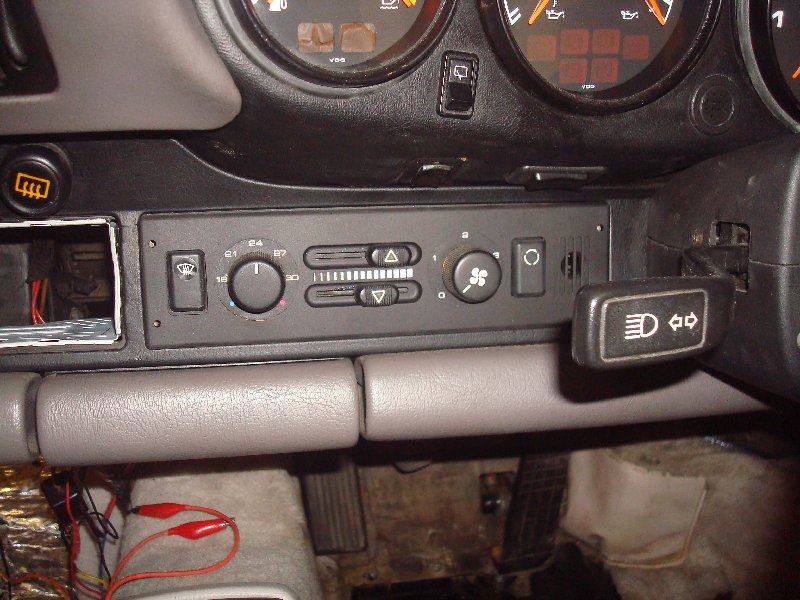
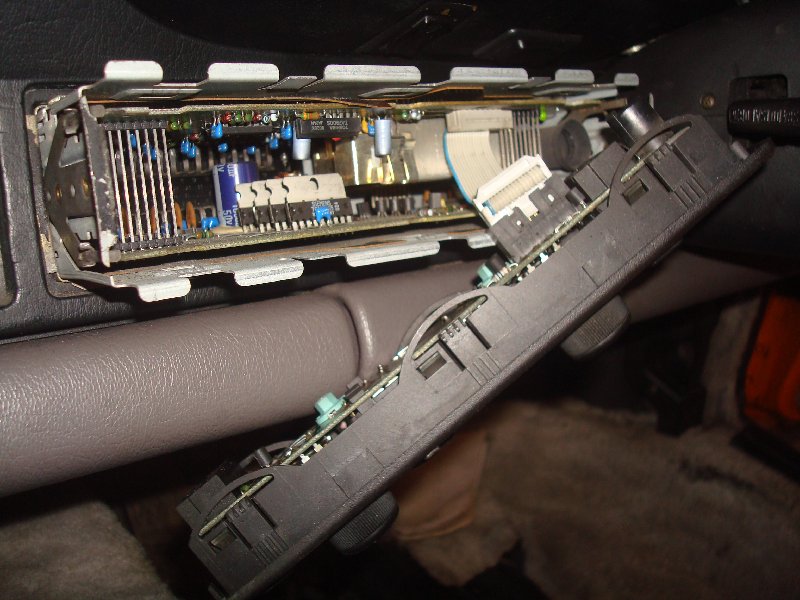
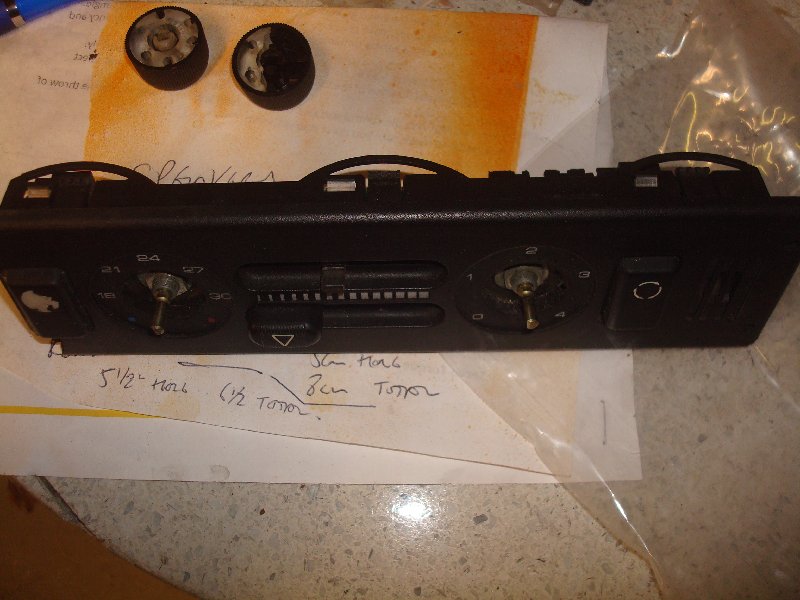
So, looking for a job to do in the cold I have picked up where I left off with the interior work. First up was the cracked heater fascia. This was a bit of an eye sore, so I was keen to do it. It comes out easily enough, using a Blaupunkt style stereo key, although I understand you can use those cracker screwdrivers!

Image

And then the front carefully unclips and the electrical connection pulls out. Mine had certainly had a life before, and been removed several times as some of the clips were already broken.

Image

On the bench the rotary switches just pull off, as do the slider controls

Image

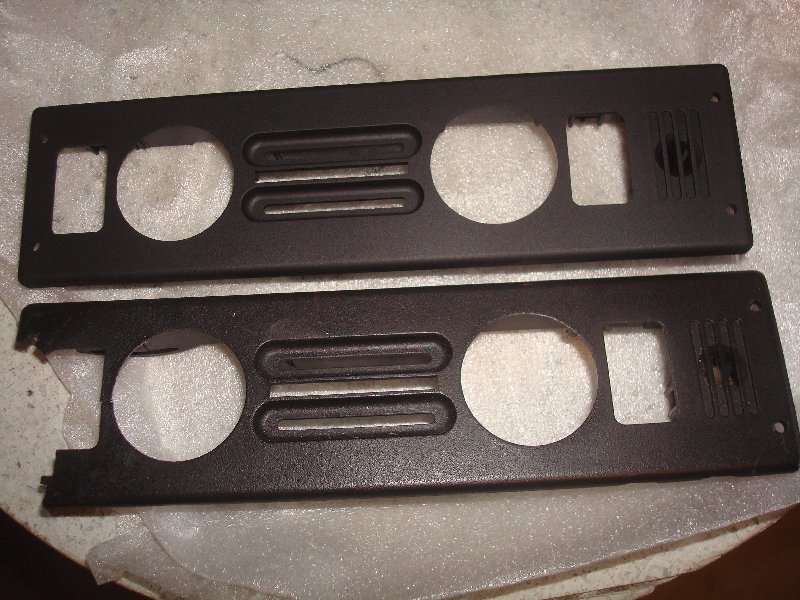
At this point, lie most jobs where you start getting into it I looked through my box of new parts and could not find the fascia panel anywhere. I could find the tiny pack of stickers that came a few weeks later only. Frustrated, having wasted 2 hours looking everywhere, I resigned myself to ordering some more (I could find nothing else that came with the same order so presumed I had thrown it away). £80 down, I was not happy, and doing dry January so not able to console myself either!

The next morning I had a brainwave. The bits I had ordered were small and light, and in a jiffy bag, and I often keep the bags or useful boxes for ebaying things. Sure enough, up in the garage loft was a jiffy bag that was slightly fuller than the others.....A phone call later, order part cancelled and £80 saved :oops:

More importantly, I could crack on

Image

Reassembly, as they say, is the reverse of removal, and after replacing the bulbs which had failed all is working again, plus fitting a new sticker to the left rotary control, and the dash looking loads better. I didn't need the other stickers, so £48 seems a bit heavy for one sticker, but otherwise it would grate on me. And 2nd hand these units are £700 with faded rotary controls!

Image
93 964 C2
99 Boxster 2.5 > 3.4 hill climber

71 914/6 3.0 - gone

'You see Paul, hill climbing is like making love to a beautiful woman. You get your motor running, check your fluids, hang on tight and WHOA..30 seconds later it's all over!' Swiss Tony
rhd racer
Me and DDK sitting in a tree! KISSING
Posts: 2545
Joined: Wed Jun 23, 2004 9:47 pm
Location: Nottinghamshire

Re: 964 C2 - Rolling Resto

Post by rhd racer »

Then I set about the wiring for the new stereo, and ran the leads from the sub to the front. A little investigation revealed wires twisted together and wrapped in tape, so these were soldered and shrink wrapped. :roll:

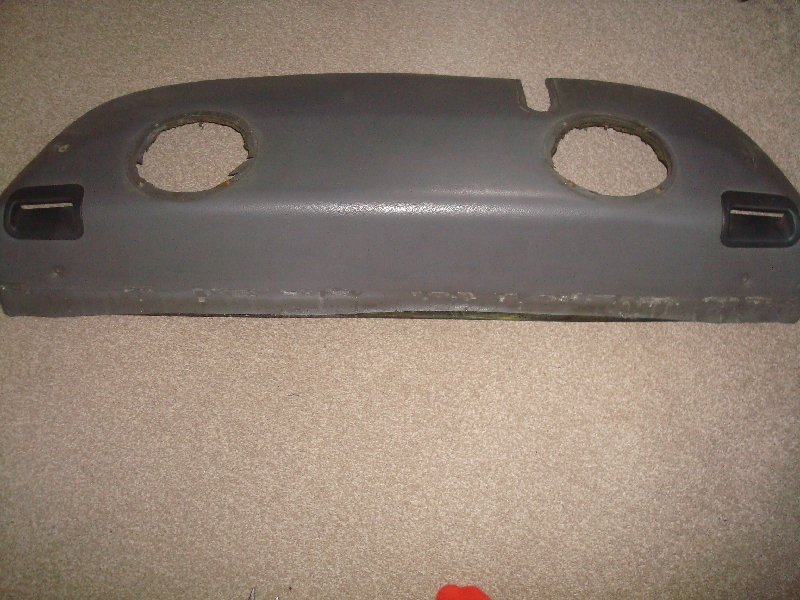
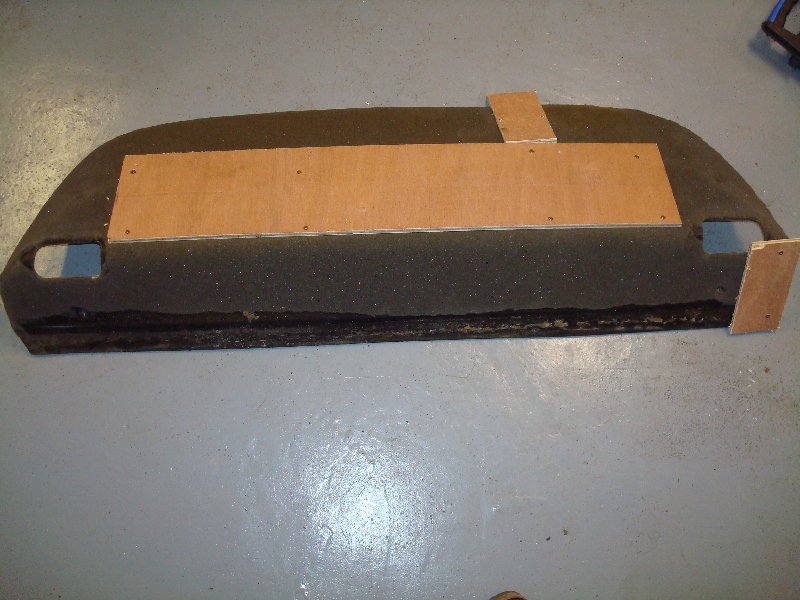
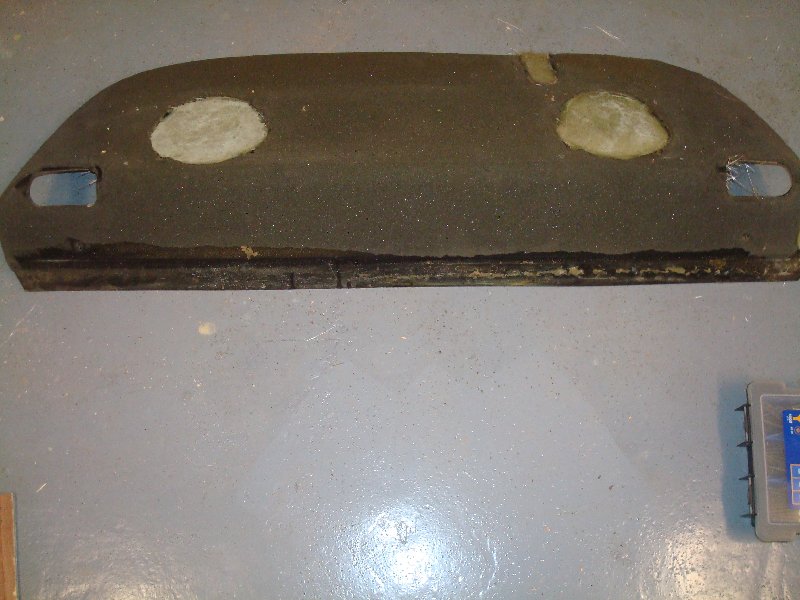
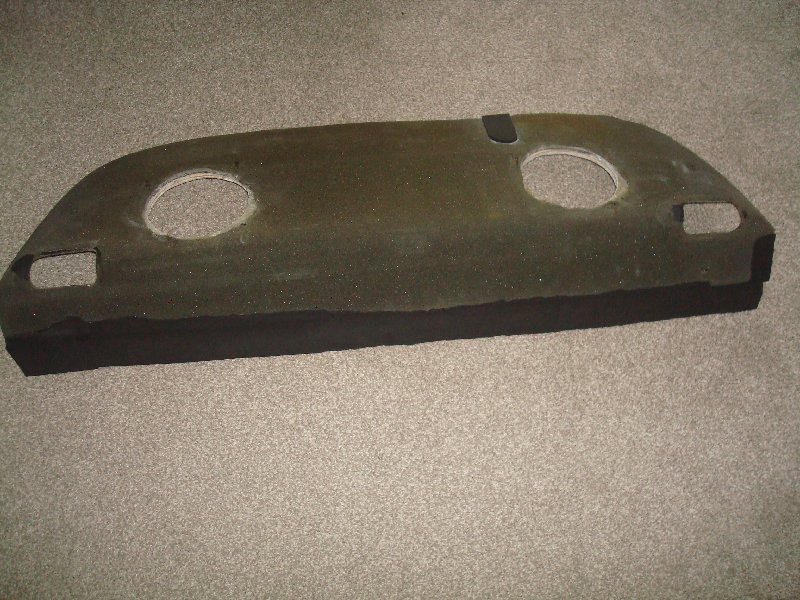
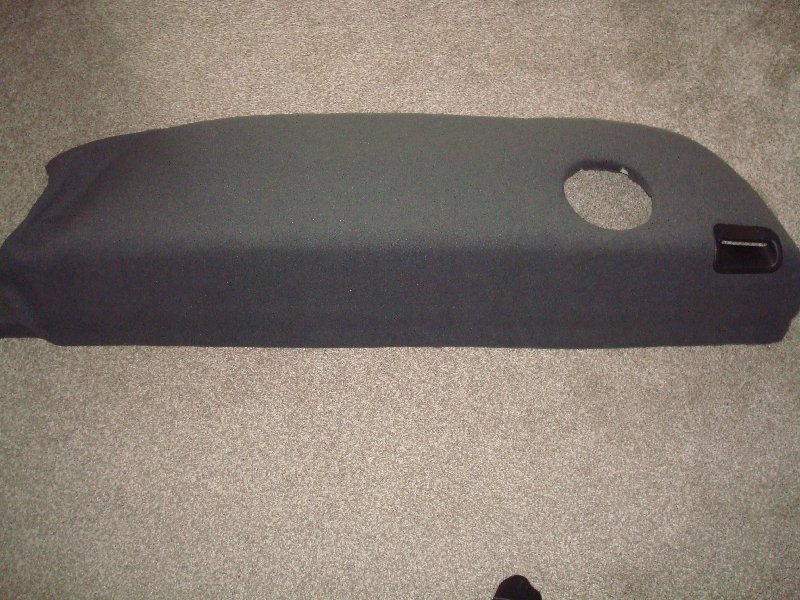
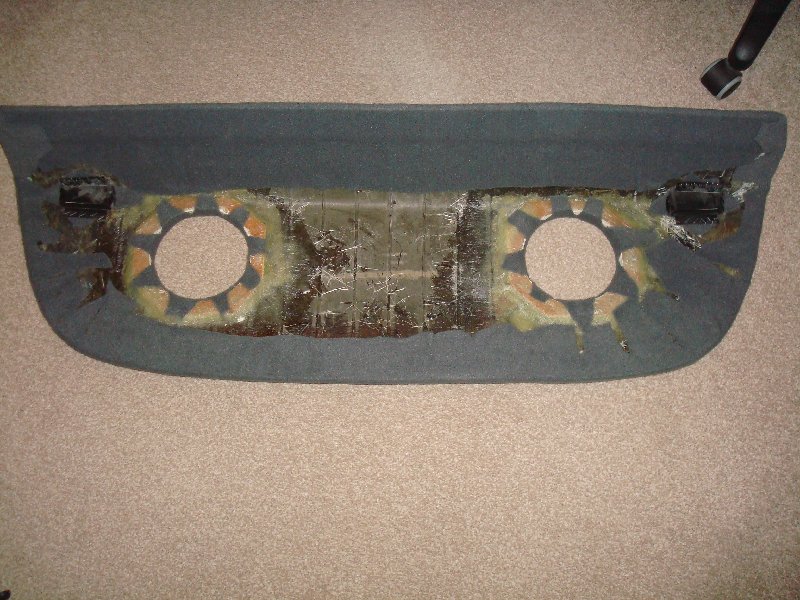
So onto the parcel shelf, a nasty item with old glue on it that wouldn't come off, so recovering was in order. It was at least dry, some sort of fibreboard that would fall apart if wet. A starting point.

Image

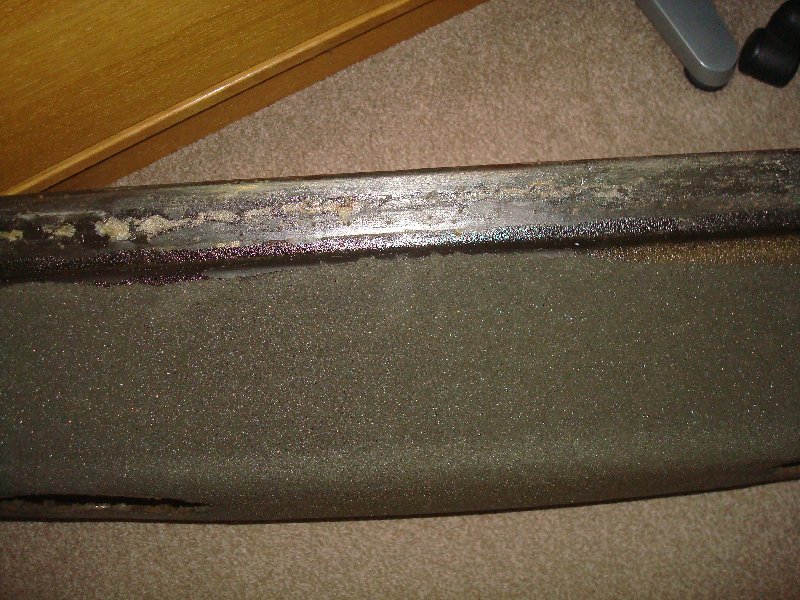
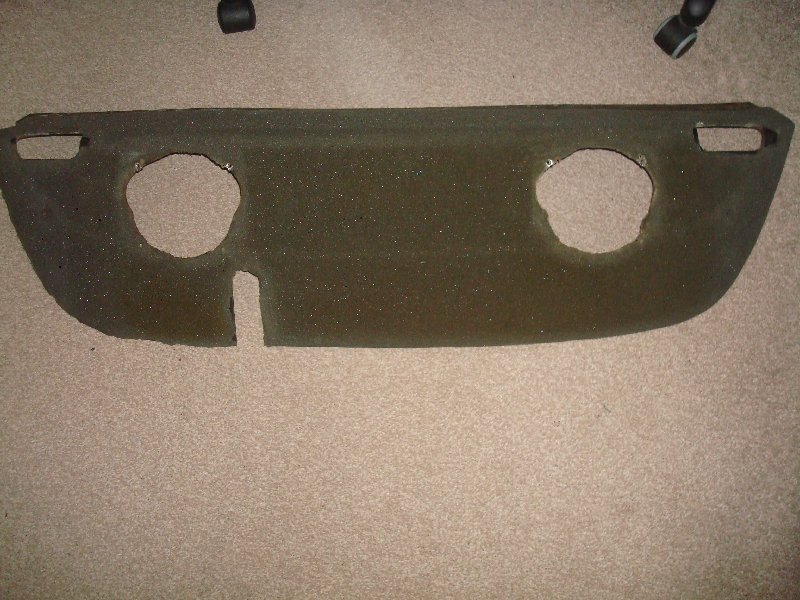
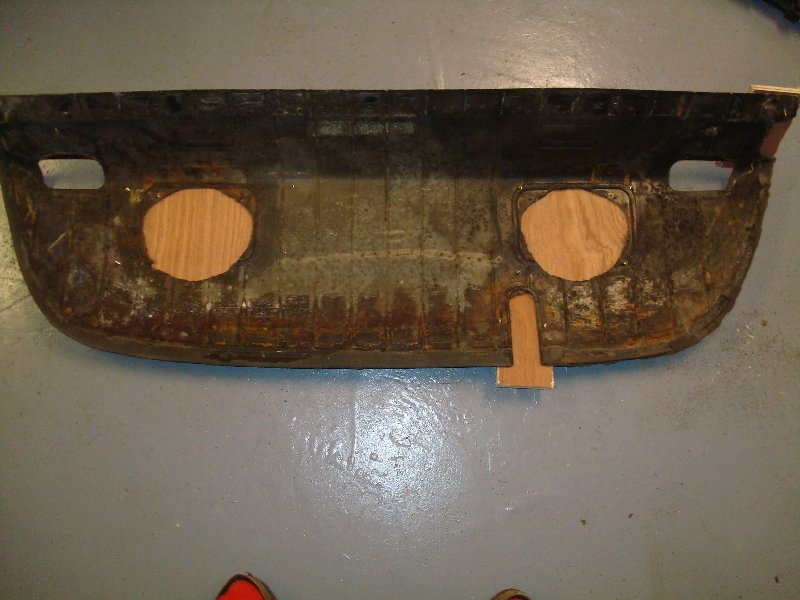
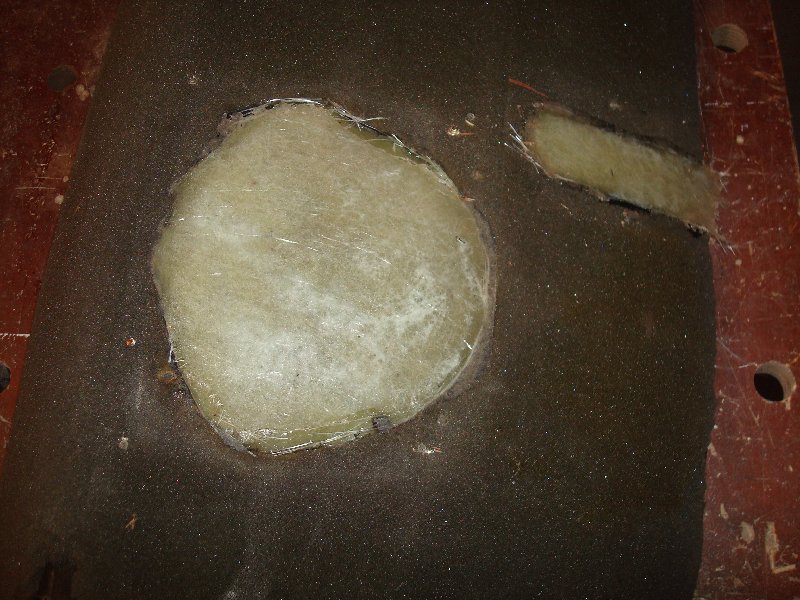
So I decided to take the vinyl off, and it revealed a layer of sponge beneath, some of which came away with the top layer annoyingly. Furthermore, it showed how the rear speakers had been put in by something other than a craftsman, and the holes were terrible. So terrible in fact that the new speakers (6.5" JBLs) would not fit properly because the holes were not round. What a cock up

Image

Image

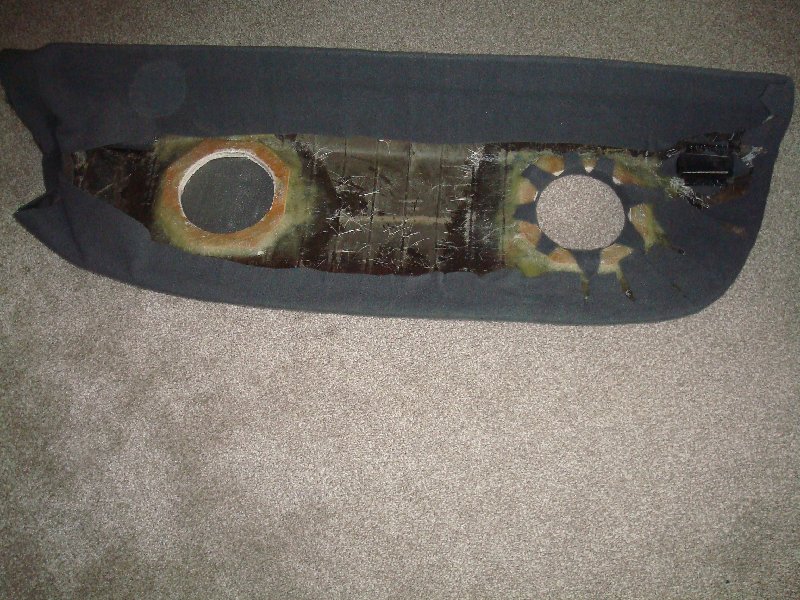
So I resigned myself to filling the holes completely, and then recutting the speaker holes. So I screwed some wood to the outside, covering the speaker holes, the wiper mechanism slot (following rear wiper delete), and a historic broken bit

Image

Image

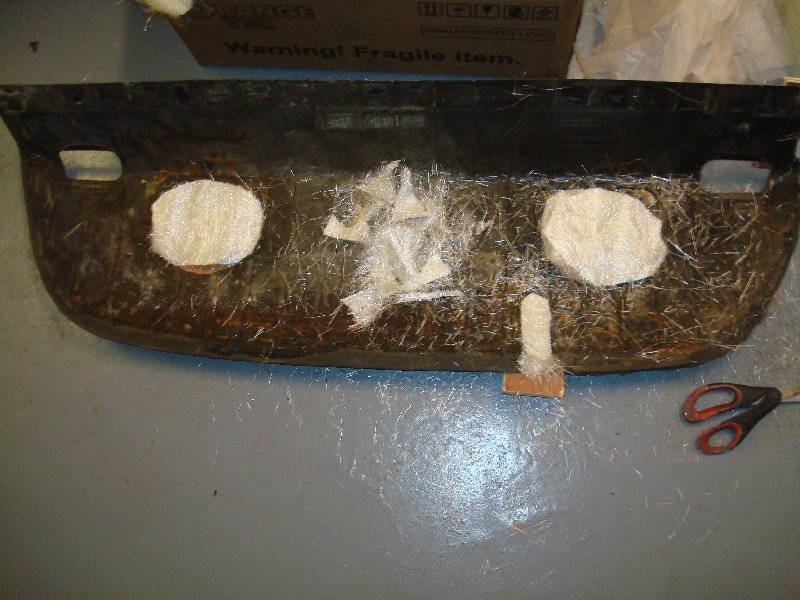
I then cut out some fibreglass matting into the right approximate shapes and set about filling them

Image

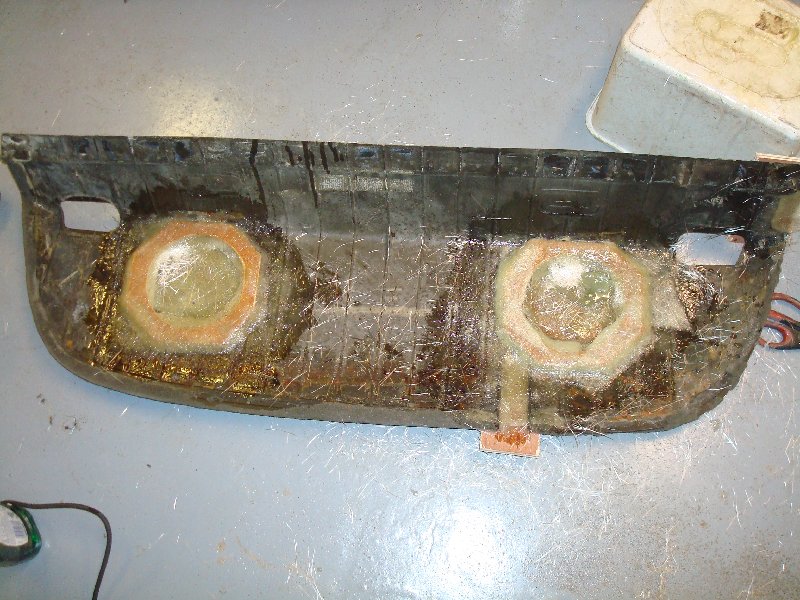
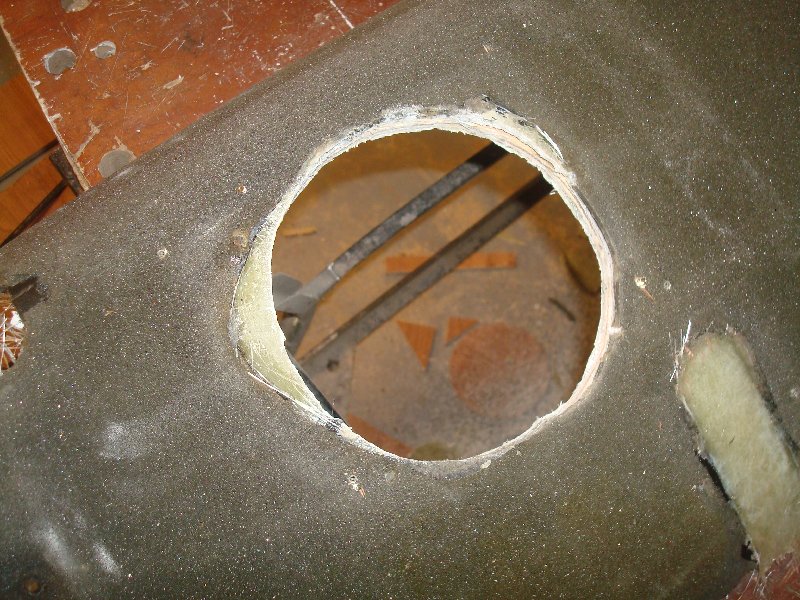
And I knocked up some hardboard ring from some scrap with the right sized hole and fibreglassed these into the rear so that I had something to screw the speakers down to

Image

Image

Image

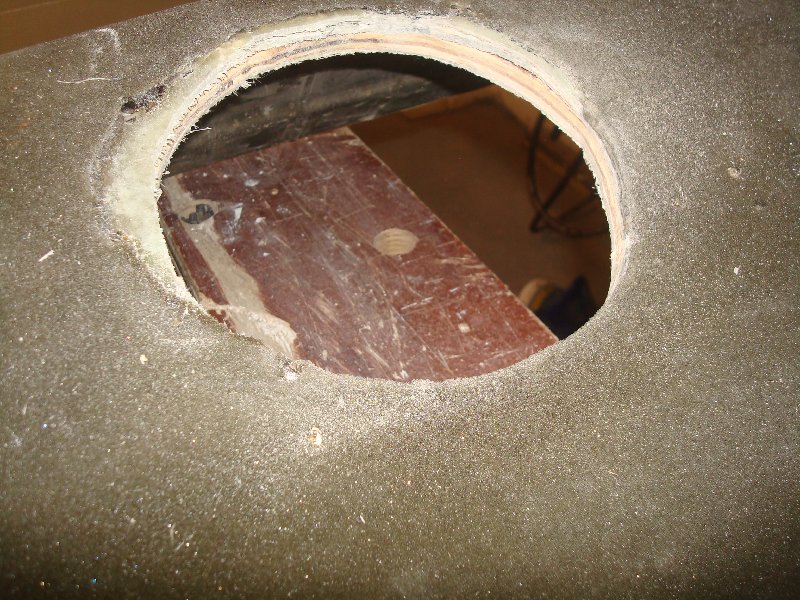
Then to cut out the right sized holes for the speakers, by simply jig-sawing out from the reverse to my wooden inserts

Image

It was a lot of work to fill those stupid gaps from whichever of the previous owners did this!

Image

I then filled in the gaps left by the lifted sponge with the self adhesive sound deadening brought earlier

Image

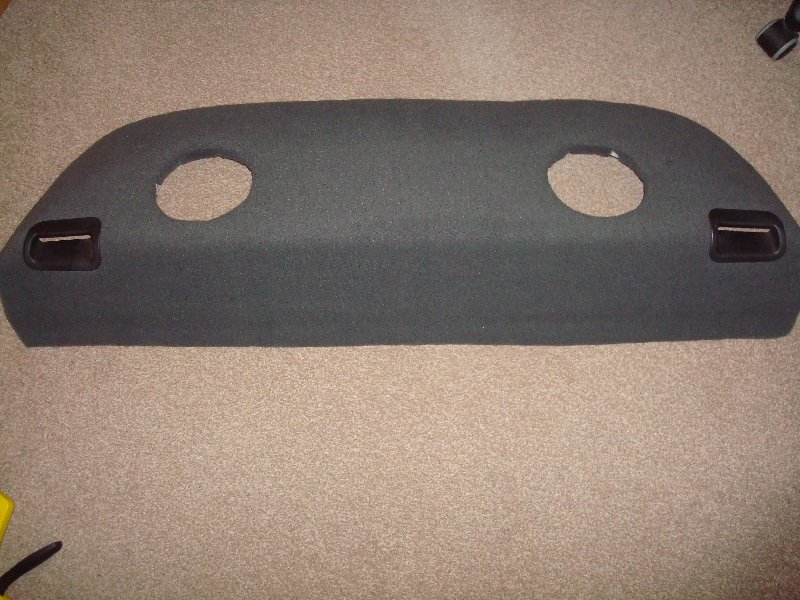
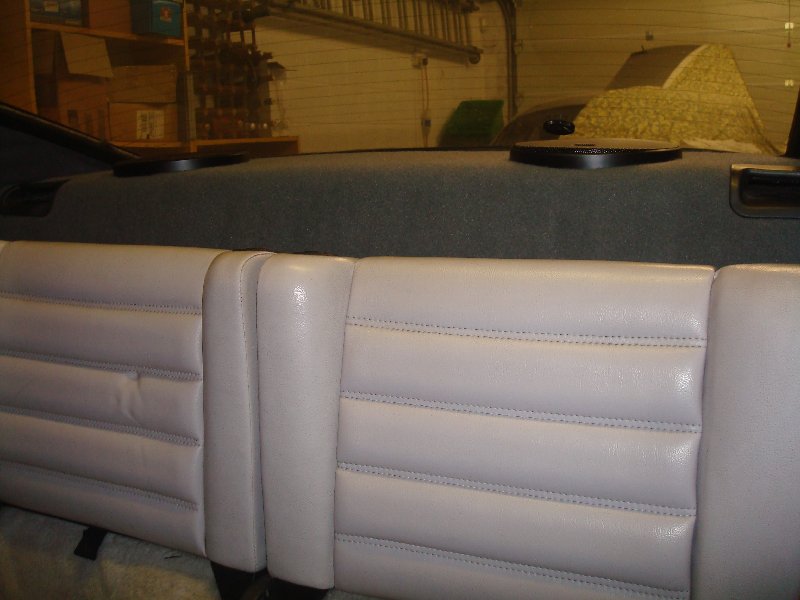
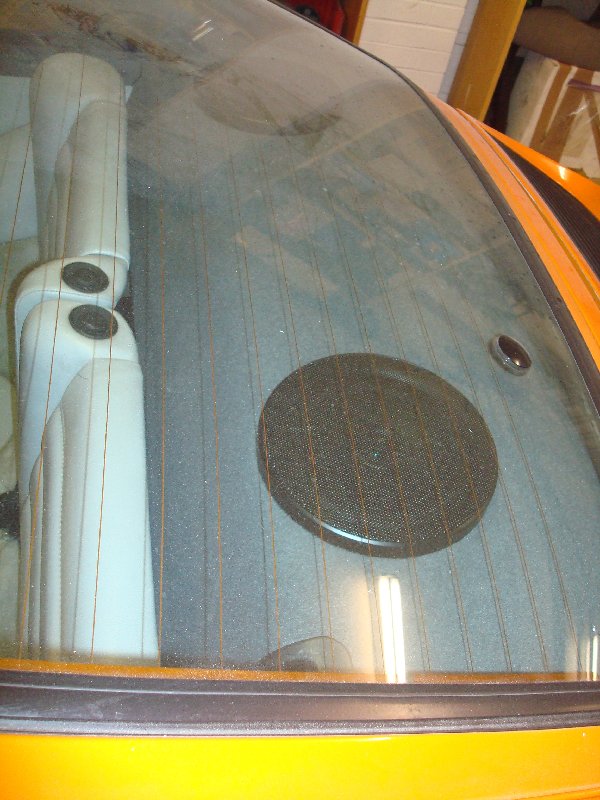
Which then gave me a base to cover it. I used a self adhesive parcel shelf carpet, which adds a different texture to the interior but I think looks well. The seat belt trims just staple in
Image

Image

Image

Image

Image

Image

Sounds good too, even without any fronts working.
93 964 C2
99 Boxster 2.5 > 3.4 hill climber

71 914/6 3.0 - gone

'You see Paul, hill climbing is like making love to a beautiful woman. You get your motor running, check your fluids, hang on tight and WHOA..30 seconds later it's all over!' Swiss Tony
rhd racer
Me and DDK sitting in a tree! KISSING
Posts: 2545
Joined: Wed Jun 23, 2004 9:47 pm
Location: Nottinghamshire

Re: 964 C2 - Rolling Resto

Post by rhd racer »

So I have been distracted by getting the Boxster ready for this season and there has been little progress. However today the car took a trip to Hertfordshire

Image

Still with black eyes, I was unhappy with the lights so have removed them in case they bounce down the road....

To reunite it with this....

Image

I would love to be involved in the refit but Angus and I could not make diaries work so he is going to fit later this week. What a star


Sent from my iPhone using Tapatalk
93 964 C2
99 Boxster 2.5 > 3.4 hill climber

71 914/6 3.0 - gone

'You see Paul, hill climbing is like making love to a beautiful woman. You get your motor running, check your fluids, hang on tight and WHOA..30 seconds later it's all over!' Swiss Tony
jjeffries
DDK slapper chatter
Posts: 315
Joined: Sat Jan 03, 2015 9:23 pm

Re: 964 C2 - Rolling Resto

Post by jjeffries »

Good work. John
rhd racer
Me and DDK sitting in a tree! KISSING
Posts: 2545
Joined: Wed Jun 23, 2004 9:47 pm
Location: Nottinghamshire

Re: 964 C2 - Rolling Resto

Post by rhd racer »

So it has been a while updating, with Covid slowing progress but the end is in sight and I have an MOT booked for Monday.

In Hertfordshire.....

Image

Image

Super clean and oil free!

Image


Sent from my iPhone using Tapatalk
93 964 C2
99 Boxster 2.5 > 3.4 hill climber

71 914/6 3.0 - gone

'You see Paul, hill climbing is like making love to a beautiful woman. You get your motor running, check your fluids, hang on tight and WHOA..30 seconds later it's all over!' Swiss Tony
rhd racer
Me and DDK sitting in a tree! KISSING
Posts: 2545
Joined: Wed Jun 23, 2004 9:47 pm
Location: Nottinghamshire

Re: 964 C2 - Rolling Resto

Post by rhd racer »

I have a video of it running but cannot quote make it work off Tapatalk


Sent from my iPhone using Tapatalk
93 964 C2
99 Boxster 2.5 > 3.4 hill climber

71 914/6 3.0 - gone

'You see Paul, hill climbing is like making love to a beautiful woman. You get your motor running, check your fluids, hang on tight and WHOA..30 seconds later it's all over!' Swiss Tony
rhd racer
Me and DDK sitting in a tree! KISSING
Posts: 2545
Joined: Wed Jun 23, 2004 9:47 pm
Location: Nottinghamshire

Re: 964 C2 - Rolling Resto

Post by rhd racer »

And safely home, modelling RS settings. Busy weekend ahead putting back interior and final MOT work

Image

.

Image


Sent from my iPhone using Tapatalk
93 964 C2
99 Boxster 2.5 > 3.4 hill climber

71 914/6 3.0 - gone

'You see Paul, hill climbing is like making love to a beautiful woman. You get your motor running, check your fluids, hang on tight and WHOA..30 seconds later it's all over!' Swiss Tony
911hillclimber
Nurse, I think I need some assistance
Posts: 20690
Joined: Mon Mar 10, 2008 6:26 pm
Location: West Midlands

Re: 964 C2 - Rolling Resto

Post by 911hillclimber »

That will make a nice start of 2021 on a hill!
73T 911 Coupe, road/hillclimber 3.2L
Lola t 492 / 3.2 hillclimb racer
Boxster 987 Gen II 2.9
rhd racer
Me and DDK sitting in a tree! KISSING
Posts: 2545
Joined: Wed Jun 23, 2004 9:47 pm
Location: Nottinghamshire

Re: 964 C2 - Rolling Resto

Post by rhd racer »

No Graham, purely a weekend fun car this one....

So, car back Fri pm, MOT booked 7am Monday - no pressure then. First up was a number of warning lights; brake pad sensor warning light first. I checked continuity on all the sensors and no issues (not expected, given the fronts were new and the rears perfect). So a bit of googling reveals that the parking brake switch failing can cause that, so I have one on order.

Next up is the fan belt tensioner. All appears well, so that is another sensor to order.

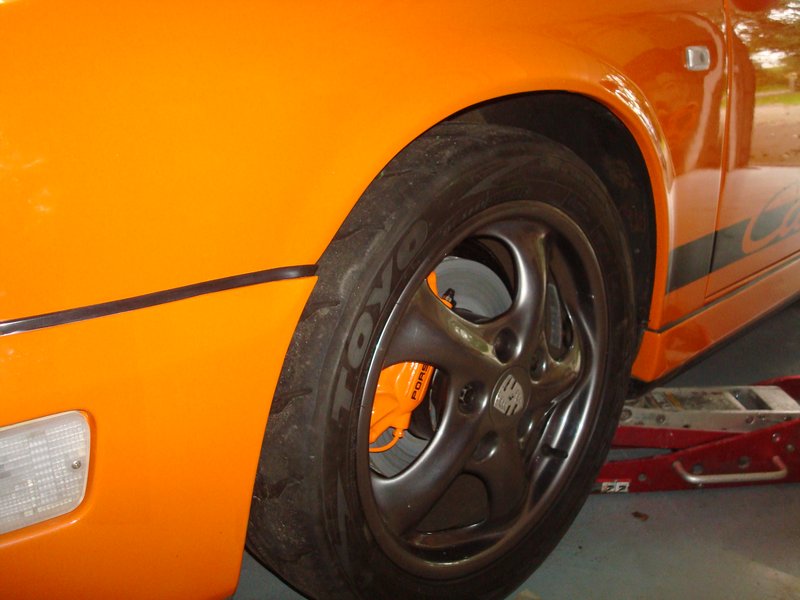
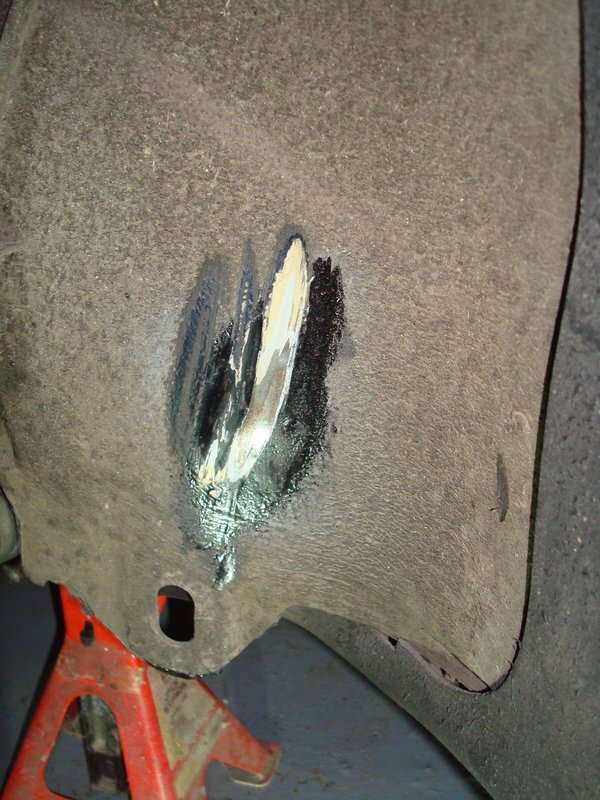
Then tyres rubbing the front inner wing on the near side. My suspicion was that the tyres were causing this - they are 10 years old and going in the bin this week, but have a very pronounced shoulder. So I took one of the Boxster wheels off and measured the offset from the tyre wall to inner face. The Boxster was 0.5cm shallower, so thought that would be enough to clear. Wrong!

Image

The tyre still rubbed the inner wing

Image

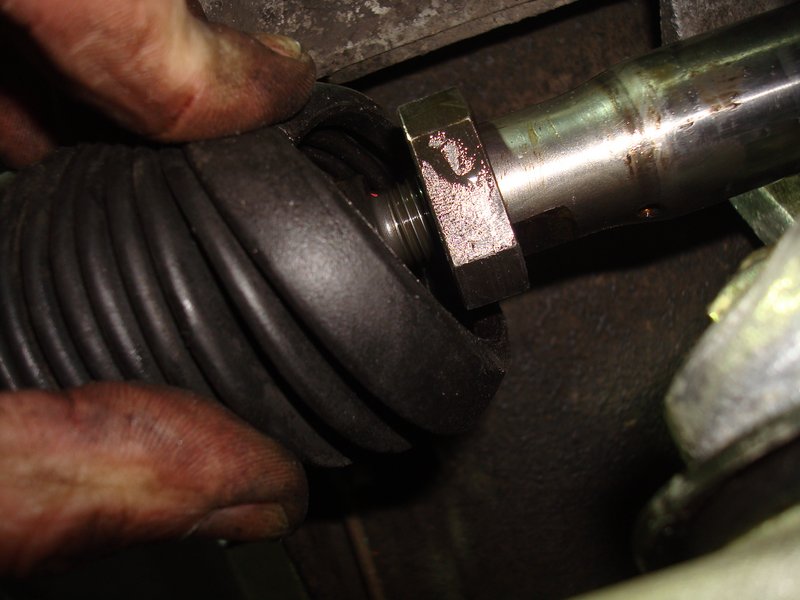
A bit more googling suggested that the steering rack would have bump stops (these were standard on cars with 17" wheels evidently, and required if upgrading a car originally with 16s). I didn't know where they were but guessed they woyuld be under the gaitor, and sure enough they are. So a bit of trial and error and I set the stop on the nearside.

Image

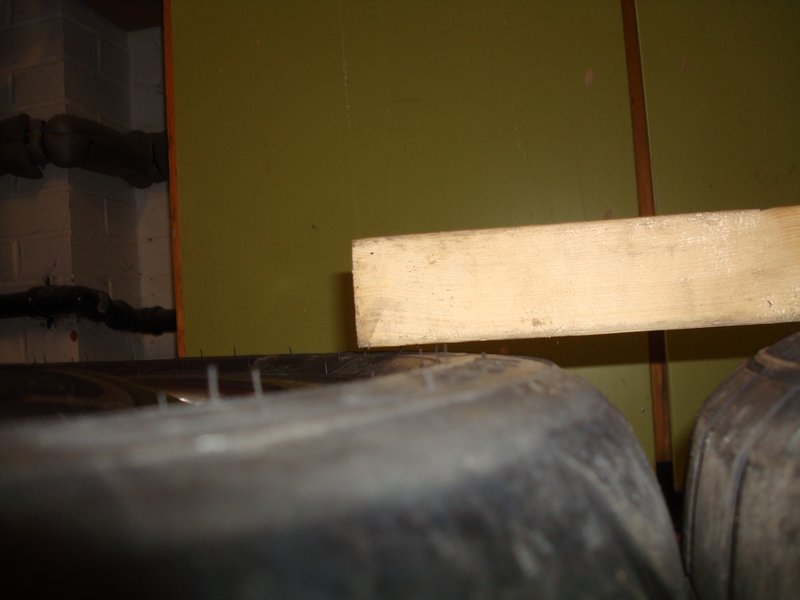
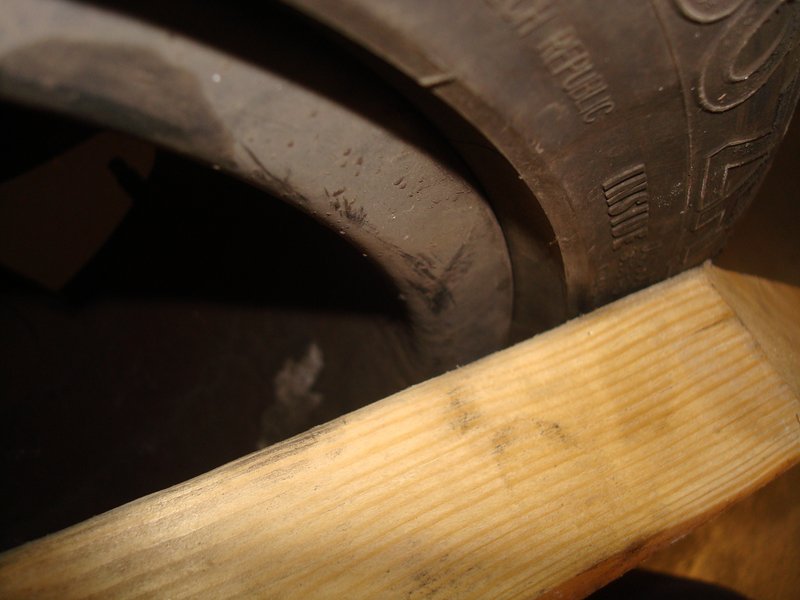
So whilst at it I was planning what tyres to buy this week, or at least sizes so I carried on googling. My big shouldered 205s now have about 10-15mm clearance on each inner wing, and 225s are supposed to be the tyre of choice for dialling out the standard under-steer. Using a plank of wood I have a play with the Boxster 225s versus the 205s of the 964, and unbelievable the 225 was actually narrower!

Image

(Hopefully you can see about 10mm of daylight). The shoulders of the Continentals are very pronounced - must be to help old ladies park next to kerbs....

Image

So I will go up to 225s on the front
93 964 C2
99 Boxster 2.5 > 3.4 hill climber

71 914/6 3.0 - gone

'You see Paul, hill climbing is like making love to a beautiful woman. You get your motor running, check your fluids, hang on tight and WHOA..30 seconds later it's all over!' Swiss Tony
rhd racer
Me and DDK sitting in a tree! KISSING
Posts: 2545
Joined: Wed Jun 23, 2004 9:47 pm
Location: Nottinghamshire

Re: 964 C2 - Rolling Resto

Post by rhd racer »

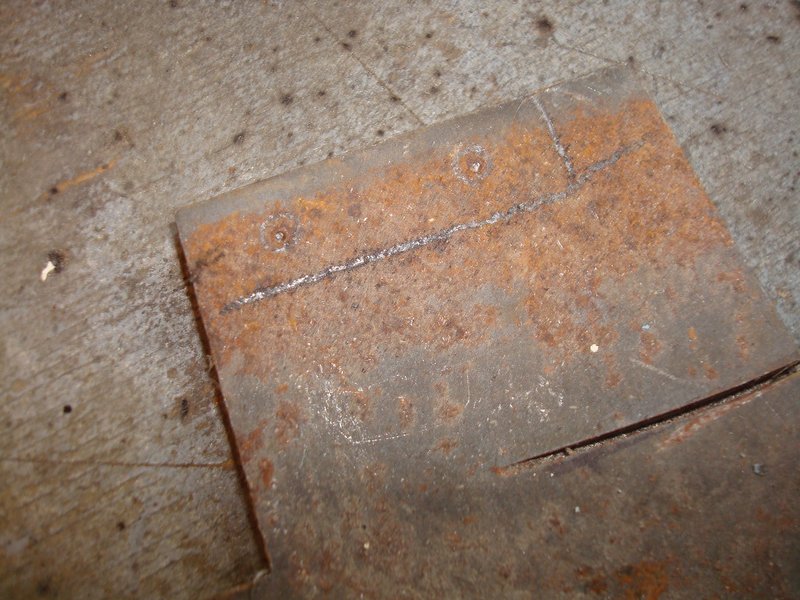
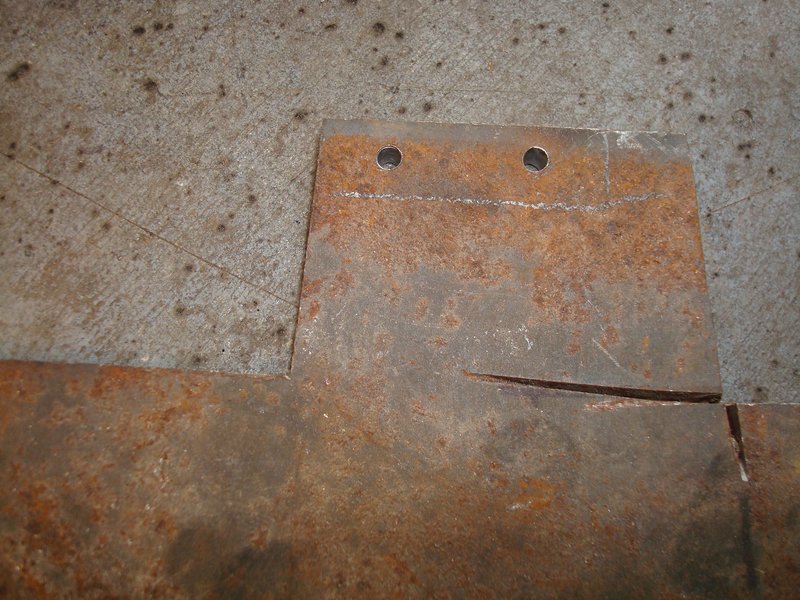
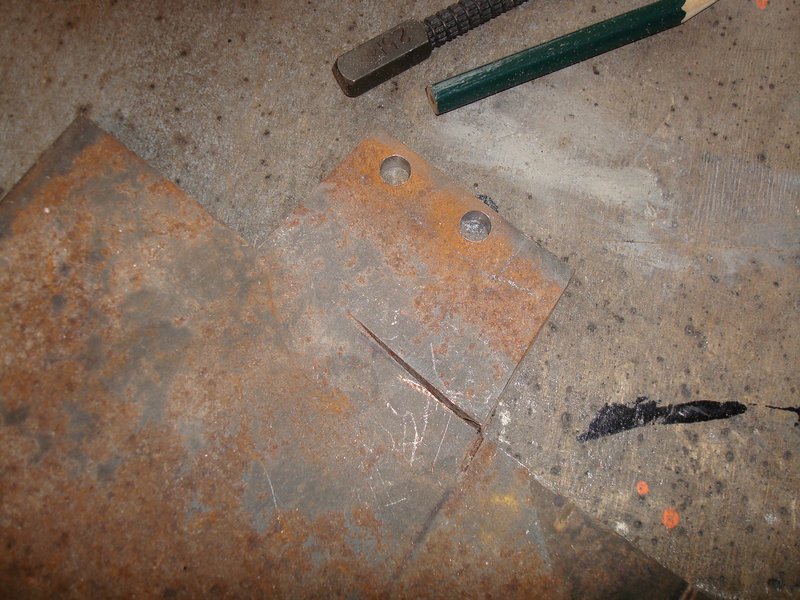
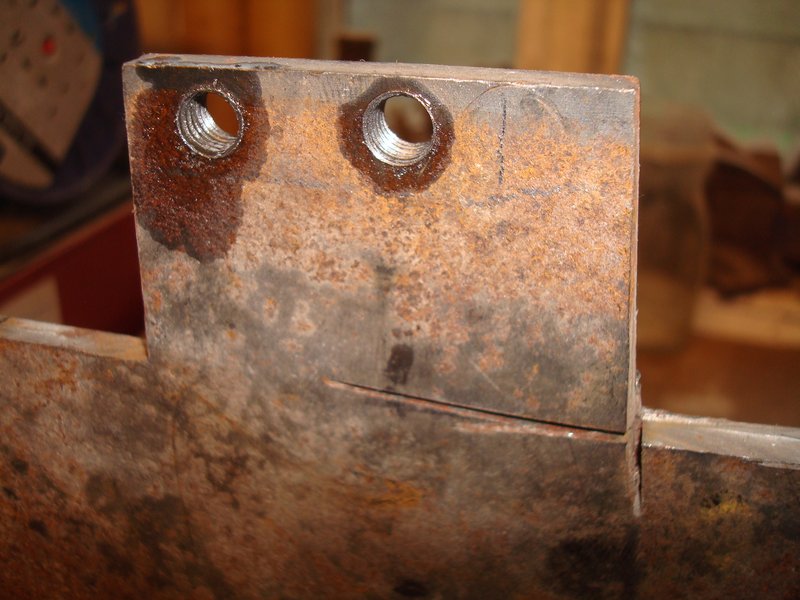
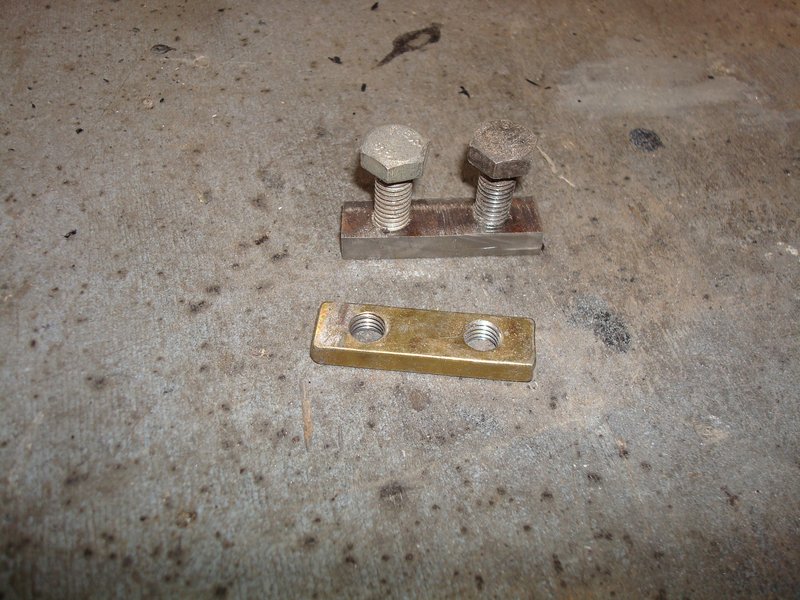
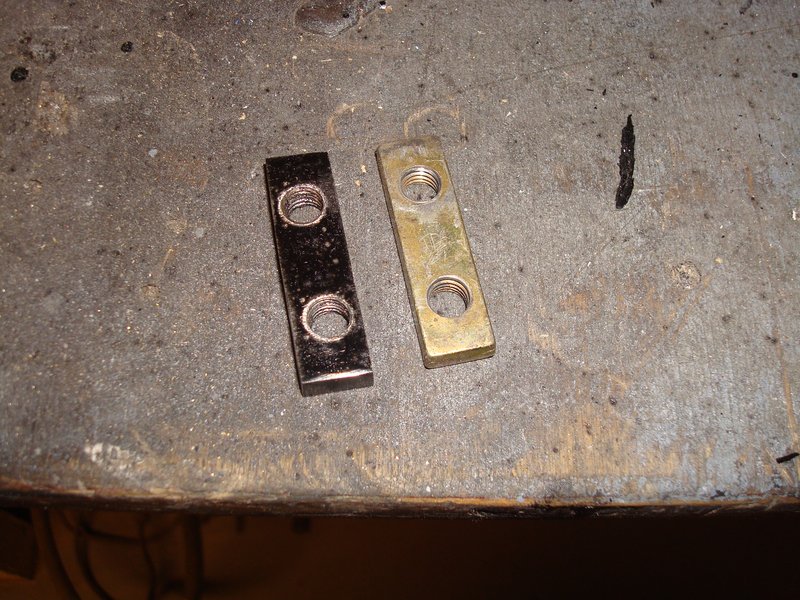
Next up was to make a new front seat mounting plate (you may remember that the seat had been fitted by someone with a slightly crude hex nnut instead of the standard blind fixing). So I got some very heavy plate, marked out, punched and decided to drill and tap first so I had lots of material to grip in the vice and in the pillar drill. I worked up through 3 drill bits to 7mm to make light work of it, and used cobolt tipped bits.
Image

Image

Image

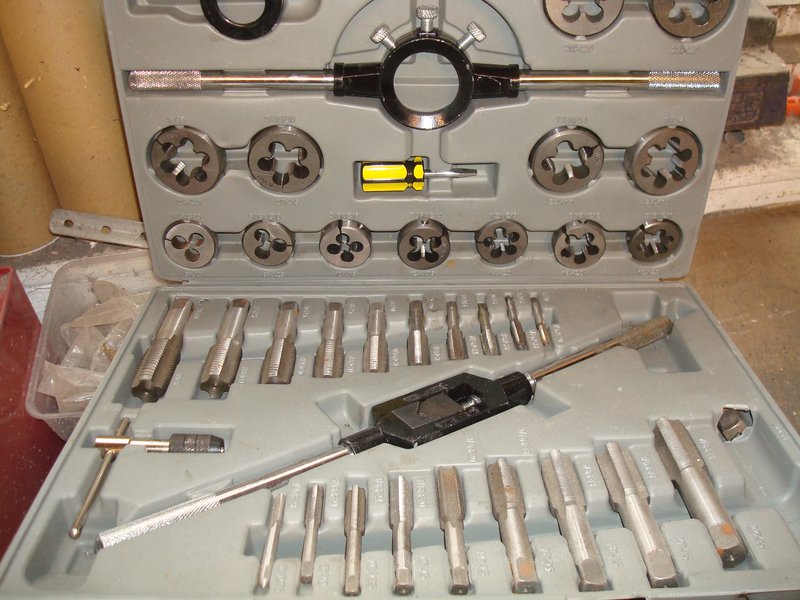
Then out with the big tap and die set and tapped an 8mm thread before cutting out

Image

Image

Before a lick of paint to finish off

Image

Image

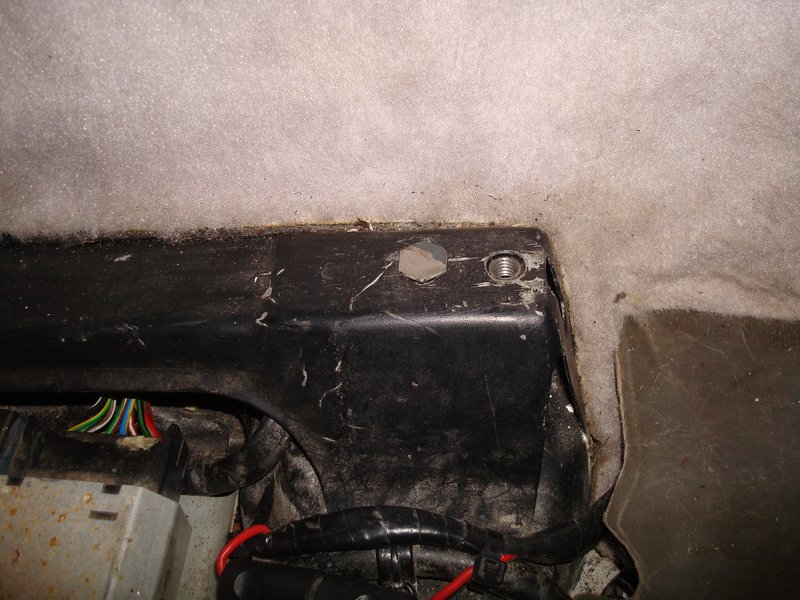
What I didn't know, was that when I came to fit the seats that the aforementioned previou crude repair had completely bent the seat mount , and destroyed the guide that holds the blind fitting I had just made. This made the seat a pig to fit, and after an hour of dropping the blind plate that was floating in it's channel a had to resort to what I would call a 'field repair' - a chopped down bolt to hold the plate in place so I could bolt up the seat. The mount also has a hairline crack in it, so I will repair over the winter when I do the interior properly.

Image
93 964 C2
99 Boxster 2.5 > 3.4 hill climber

71 914/6 3.0 - gone

'You see Paul, hill climbing is like making love to a beautiful woman. You get your motor running, check your fluids, hang on tight and WHOA..30 seconds later it's all over!' Swiss Tony
Post Reply