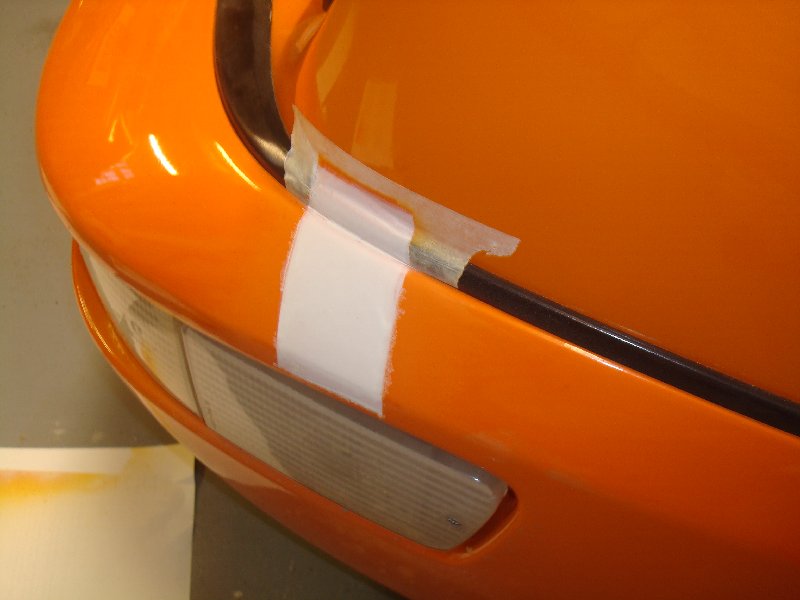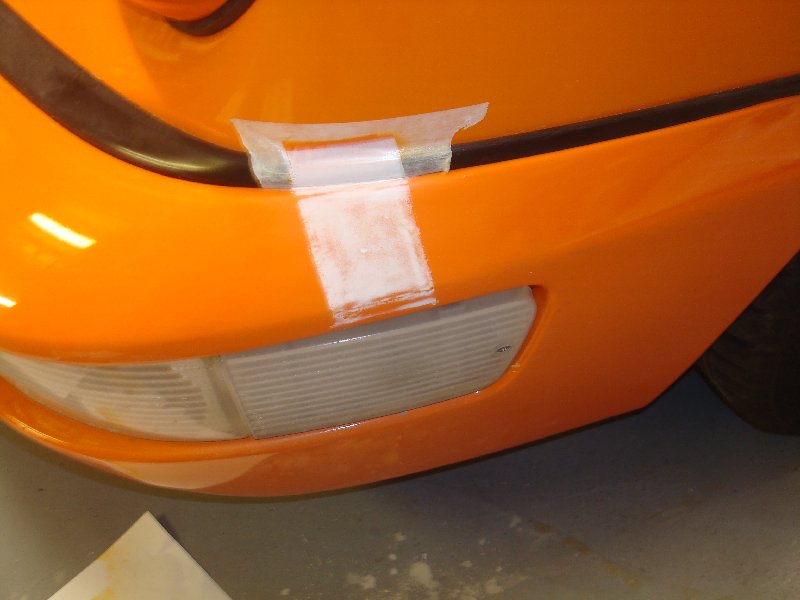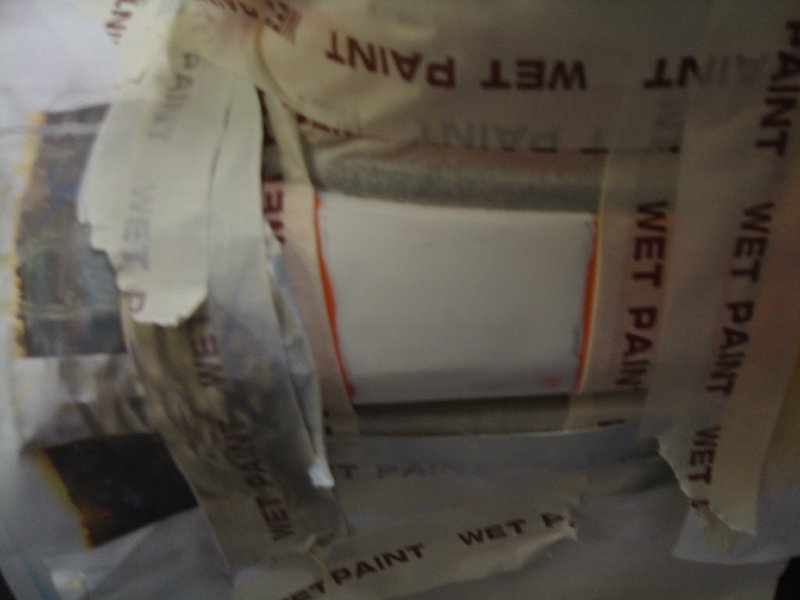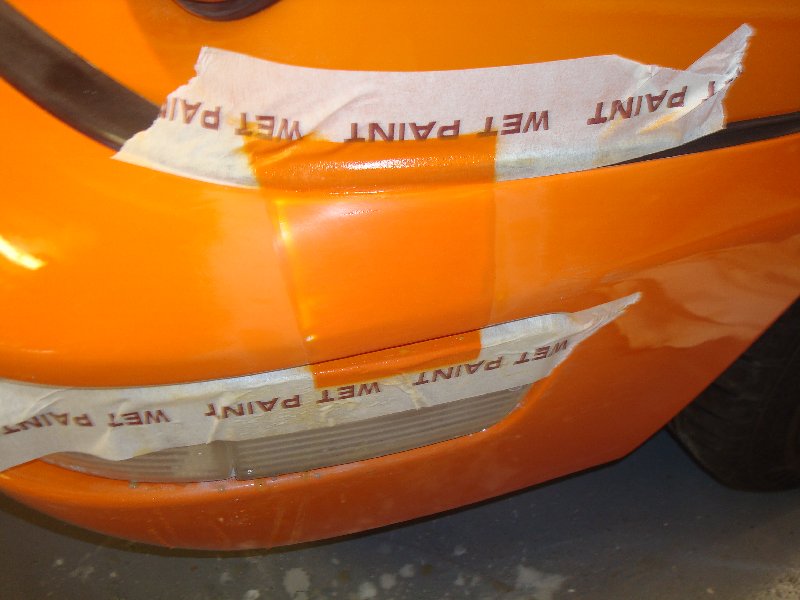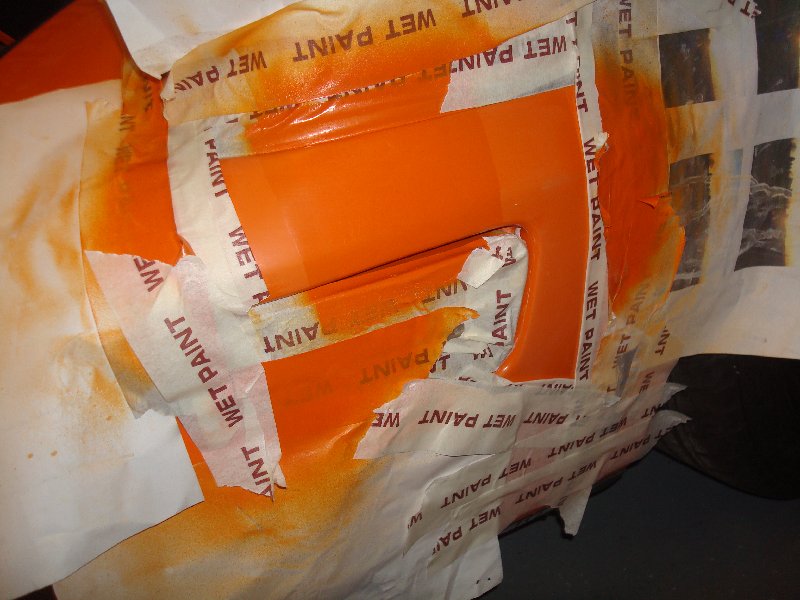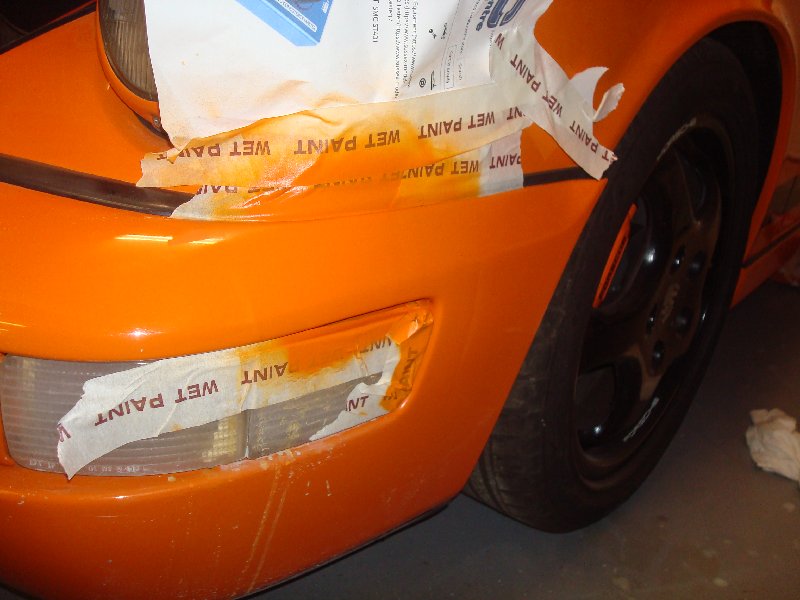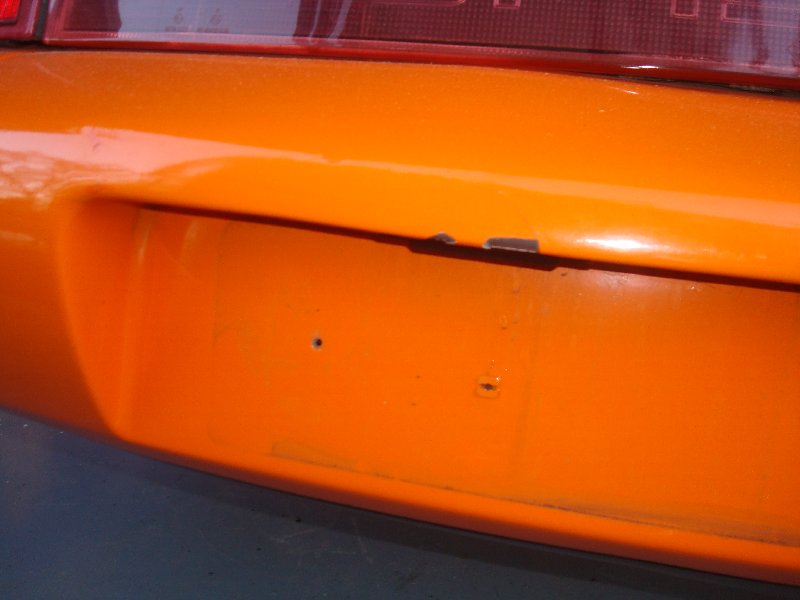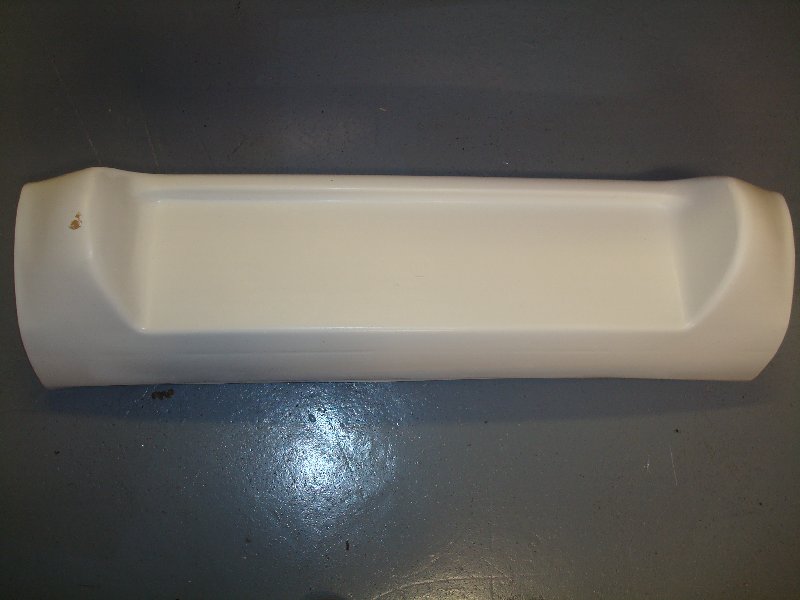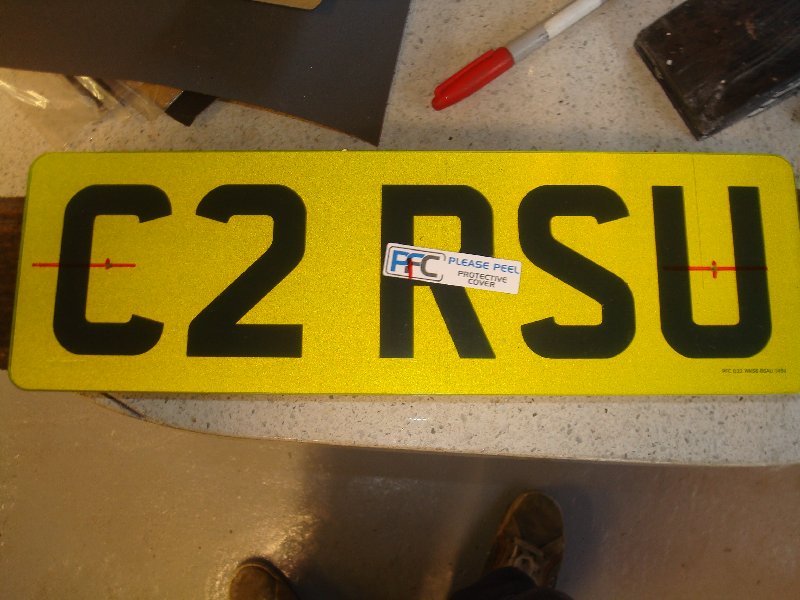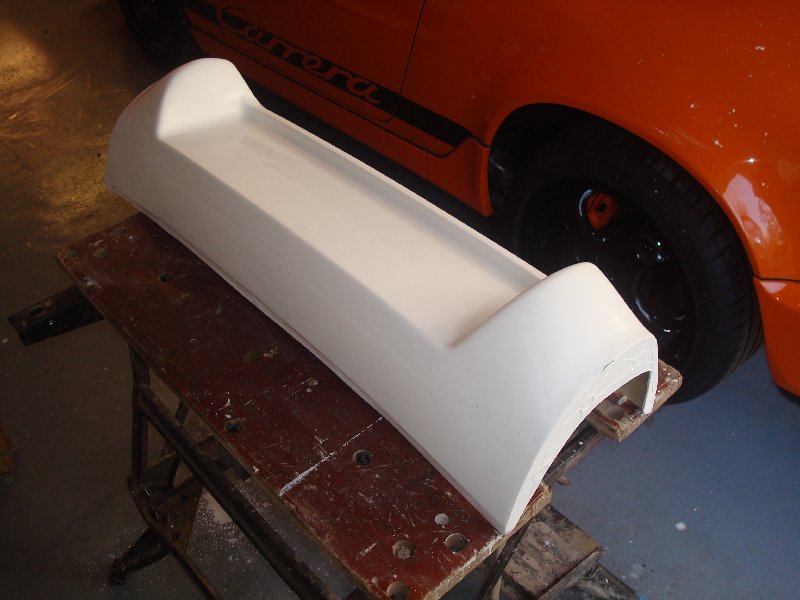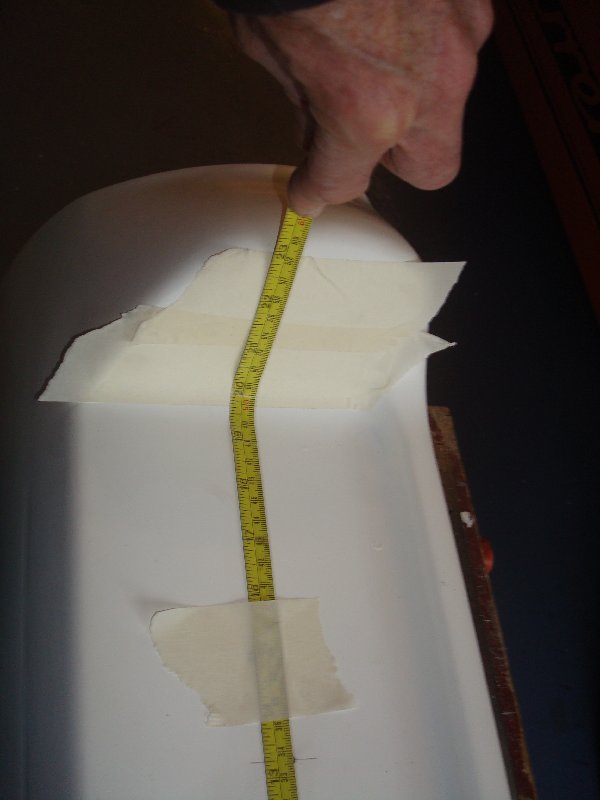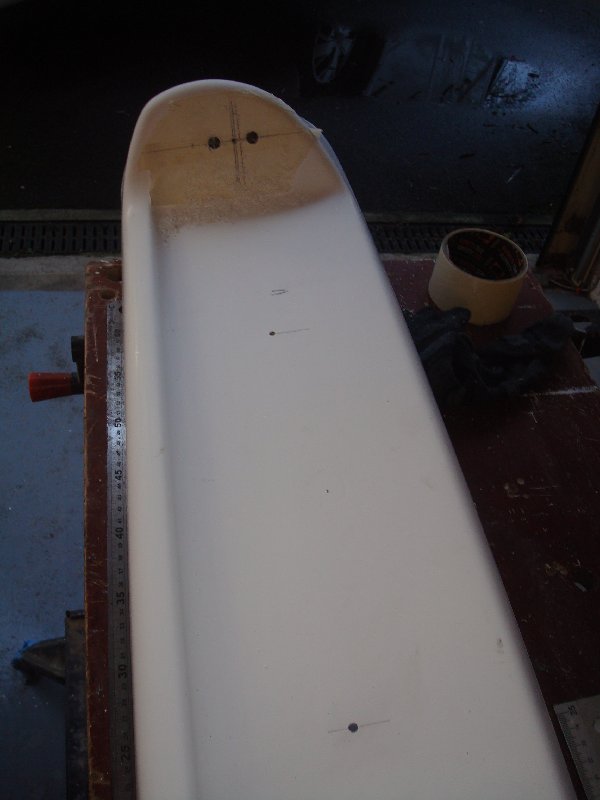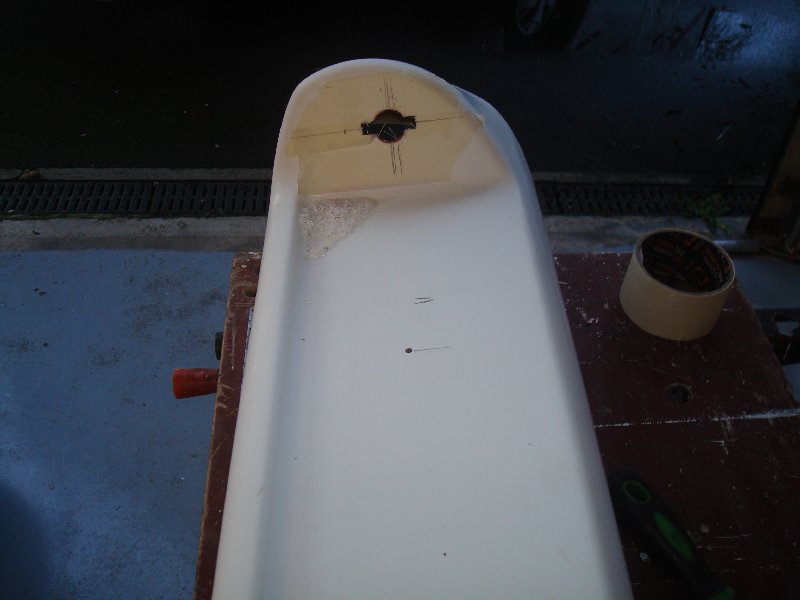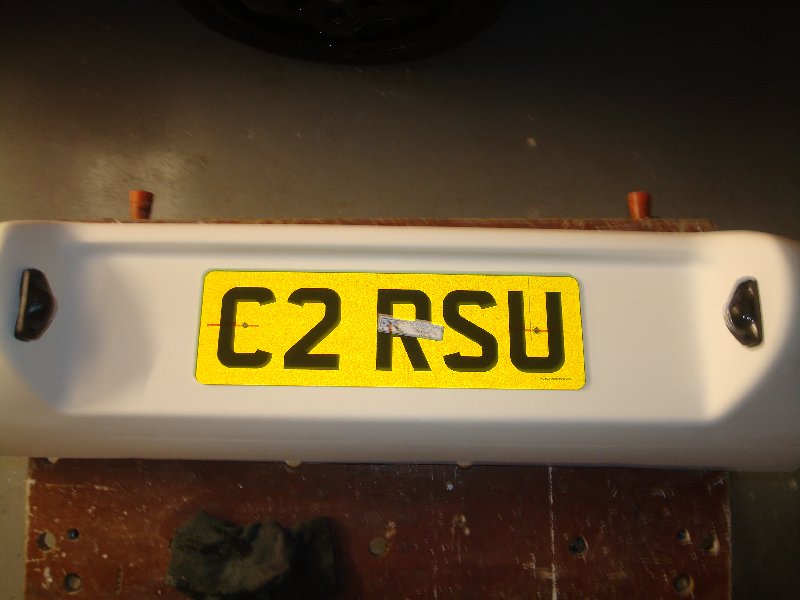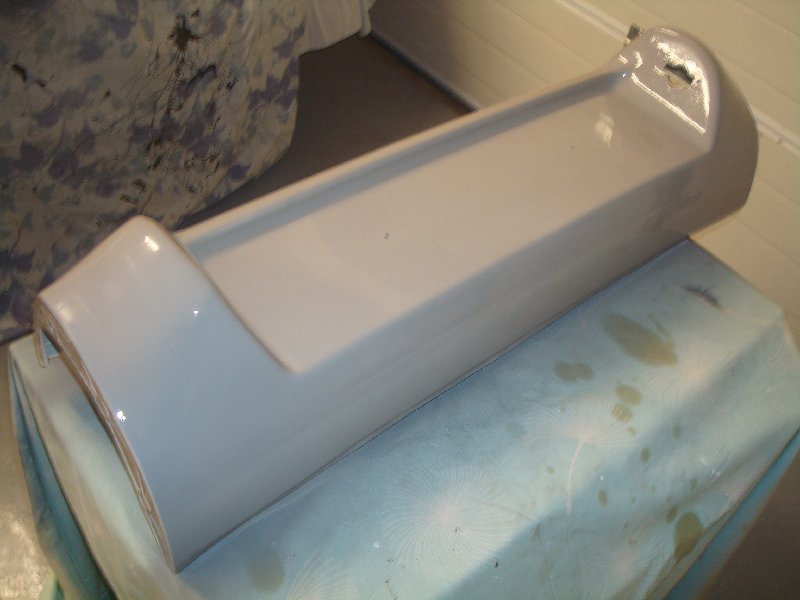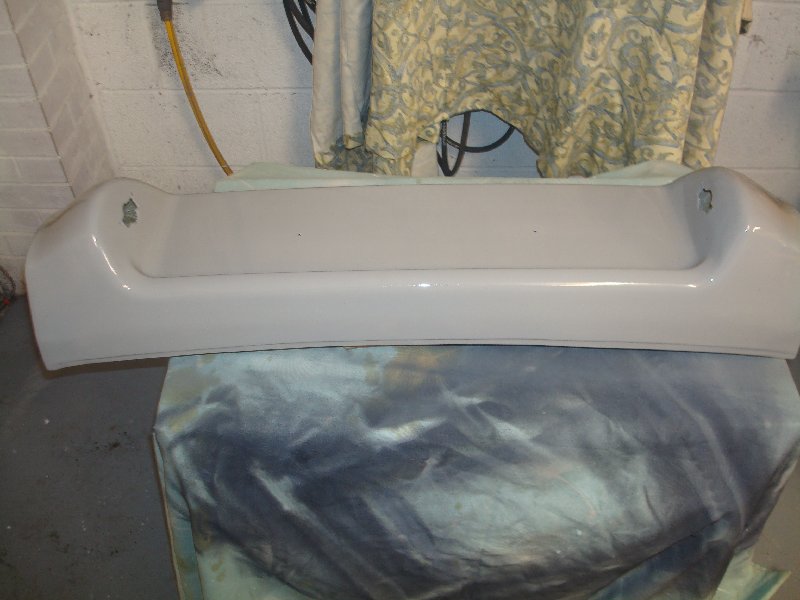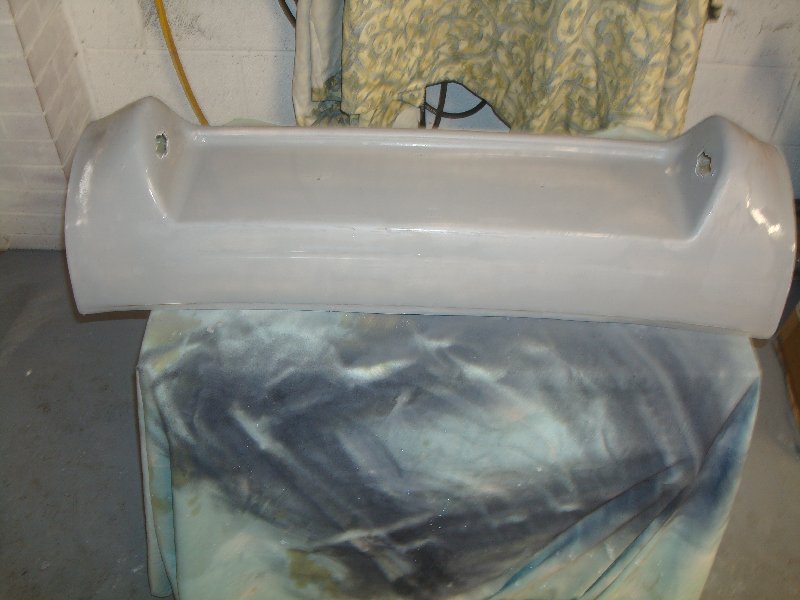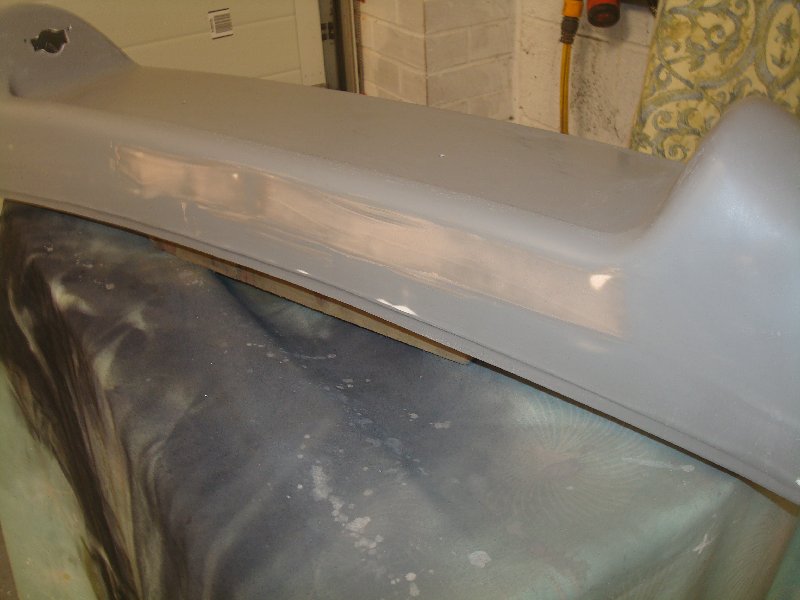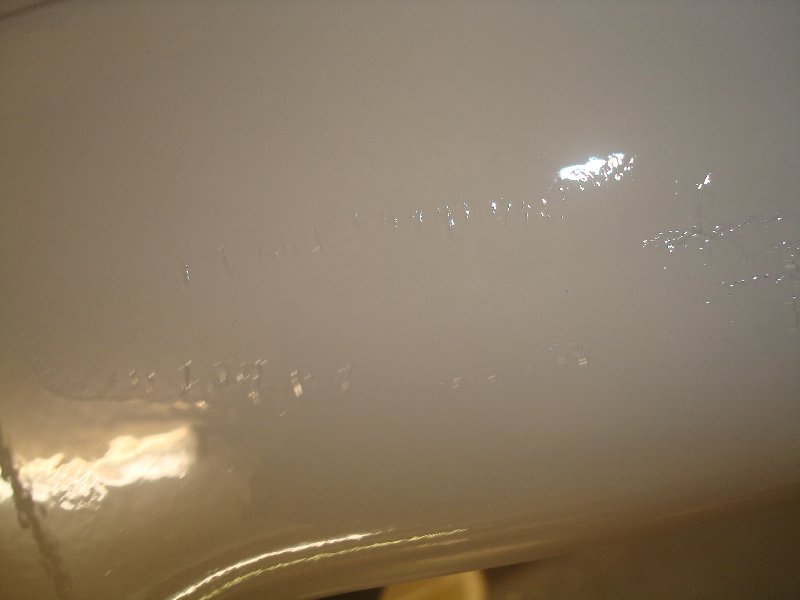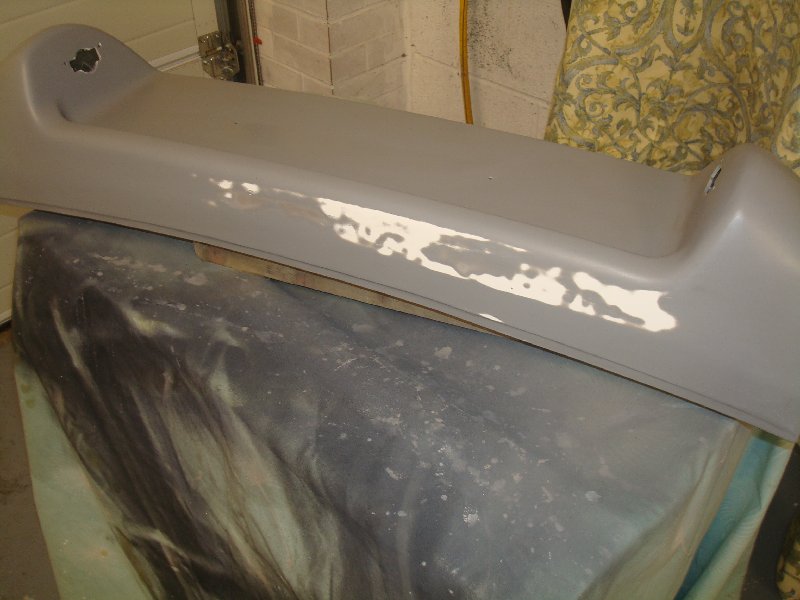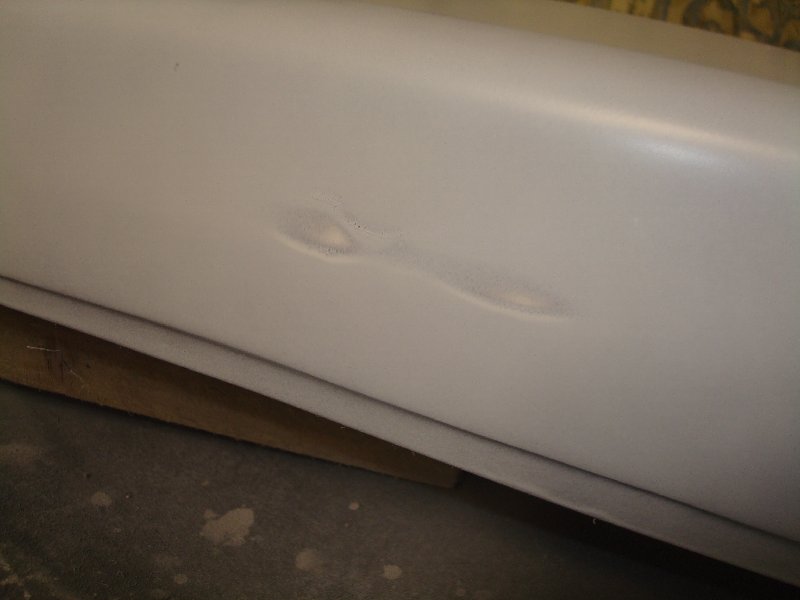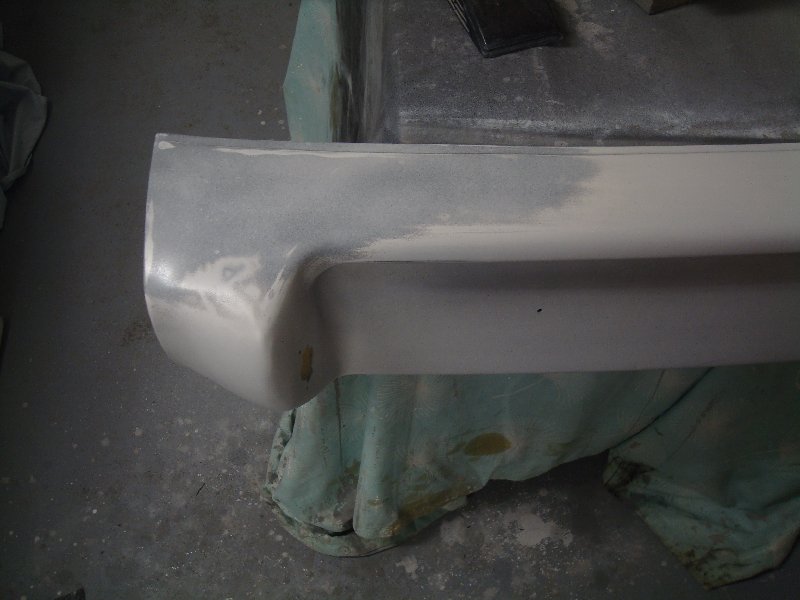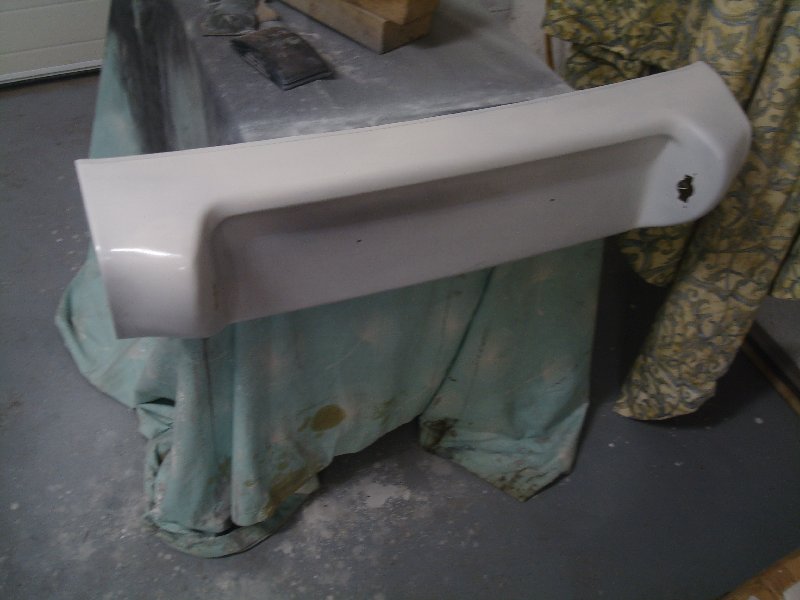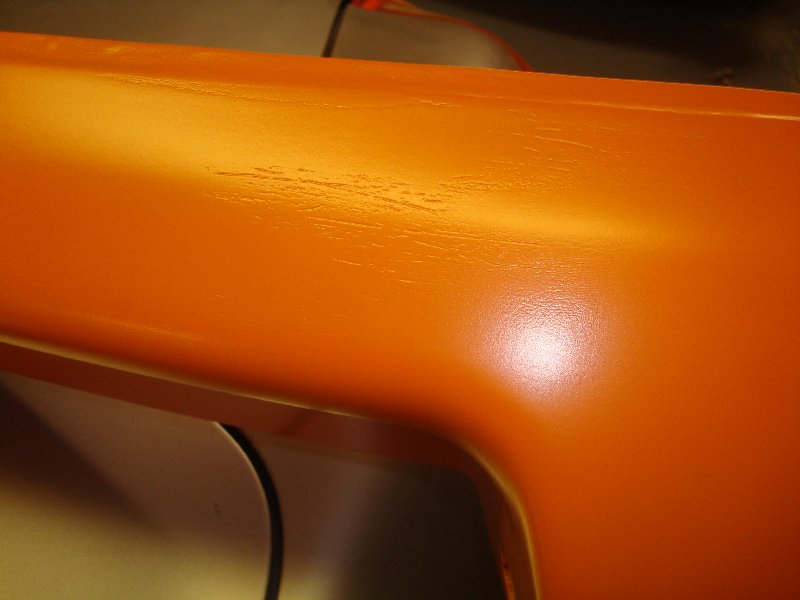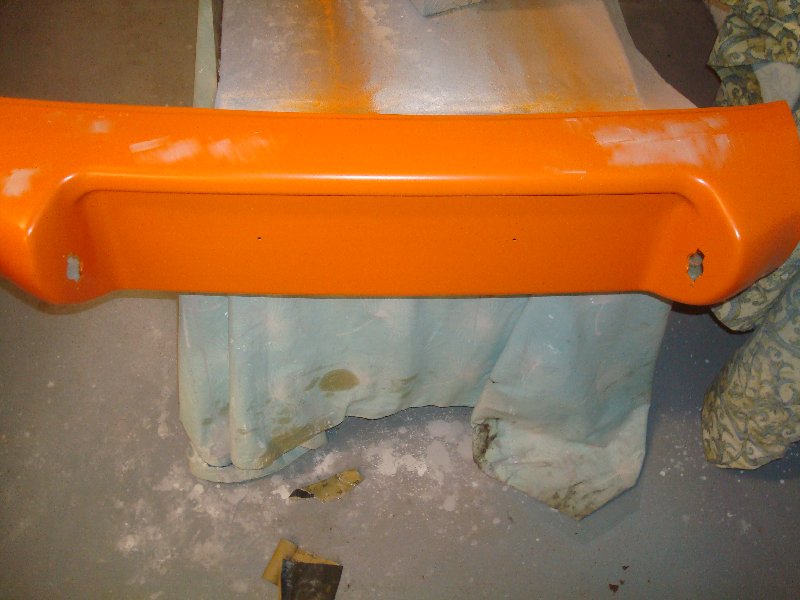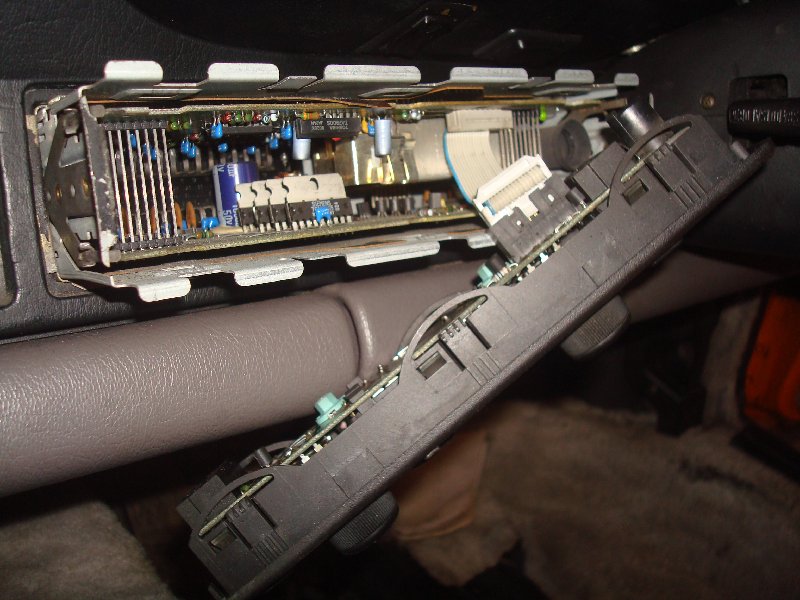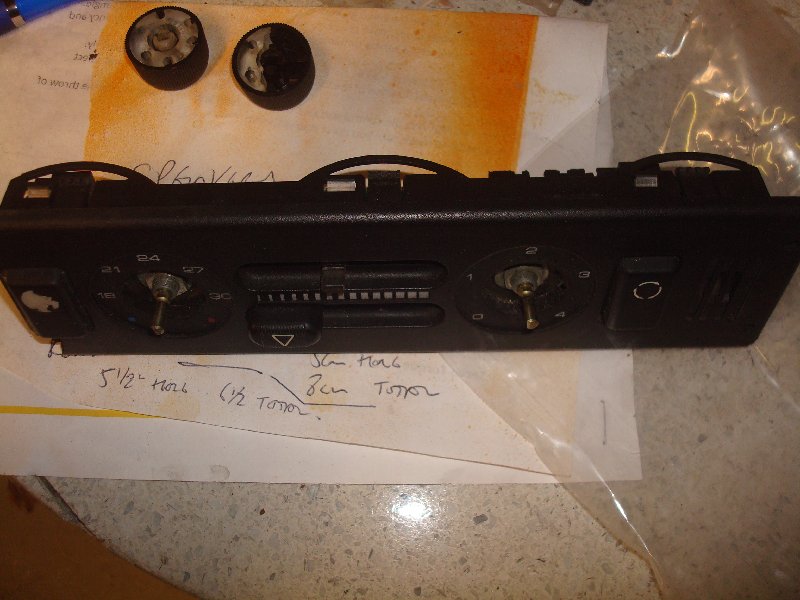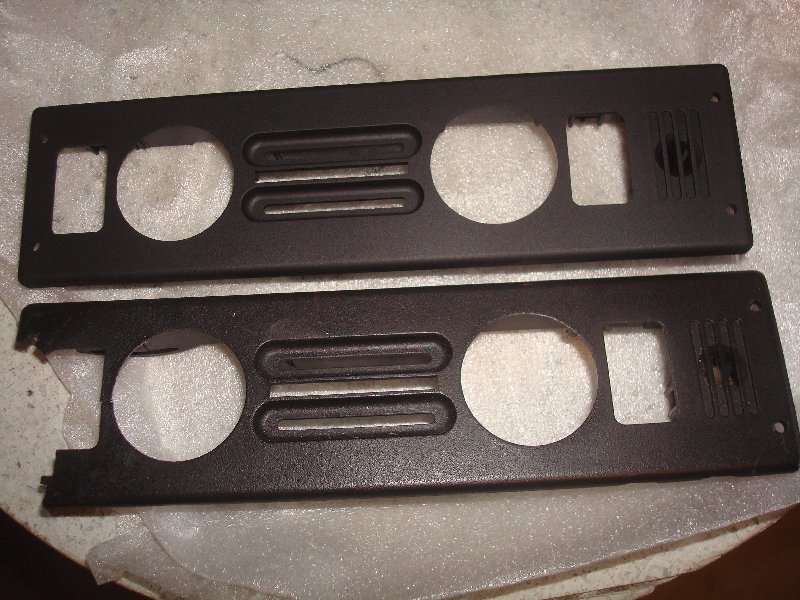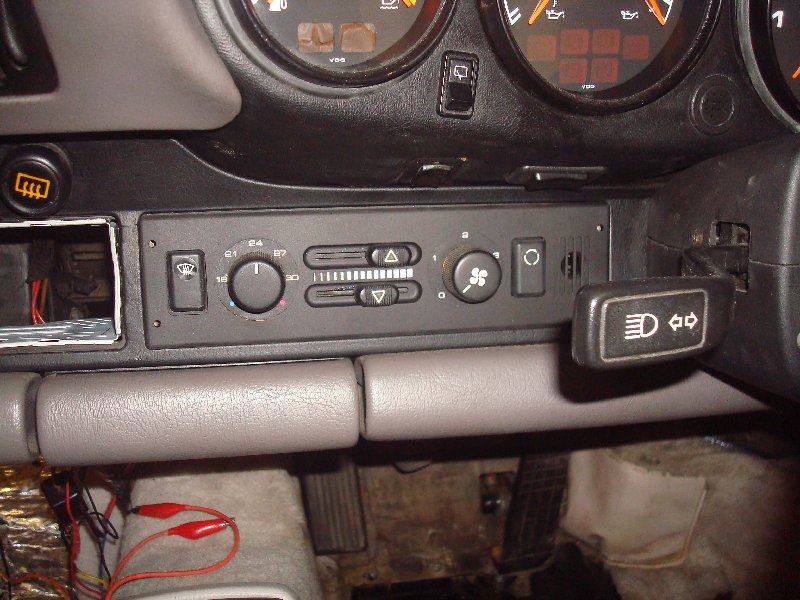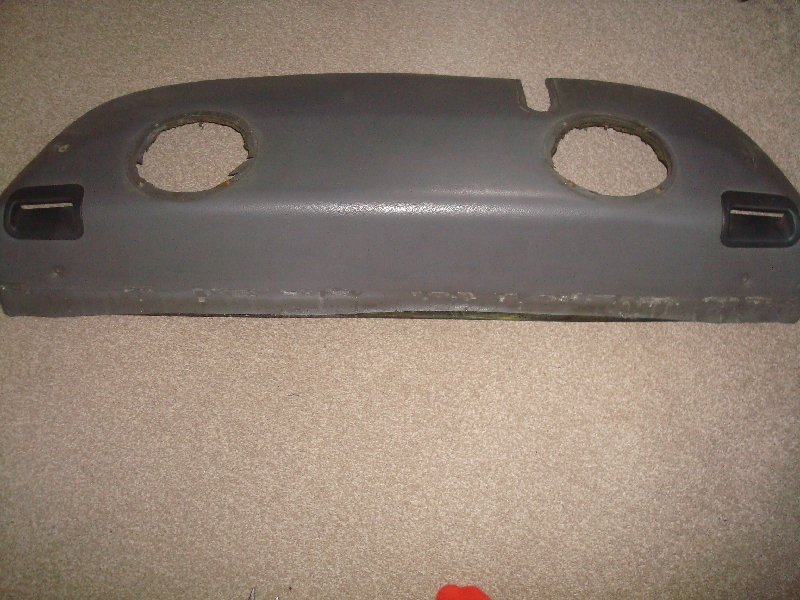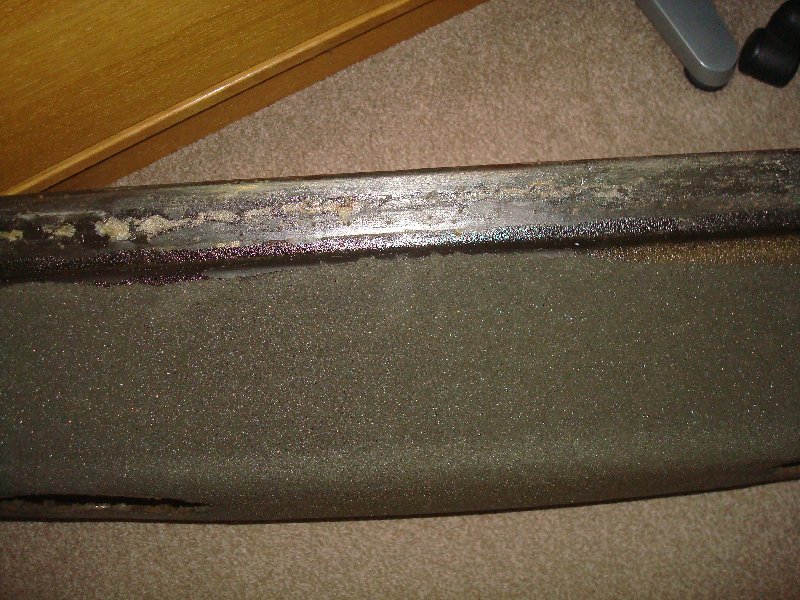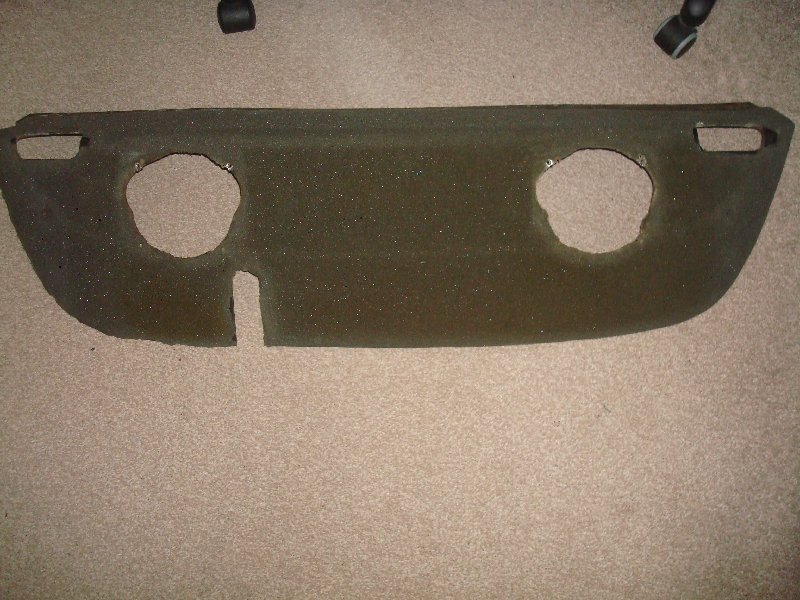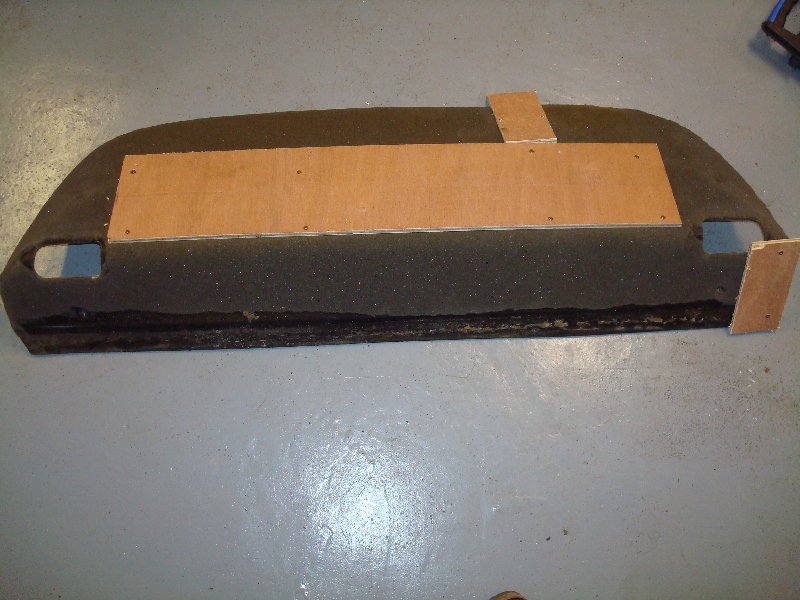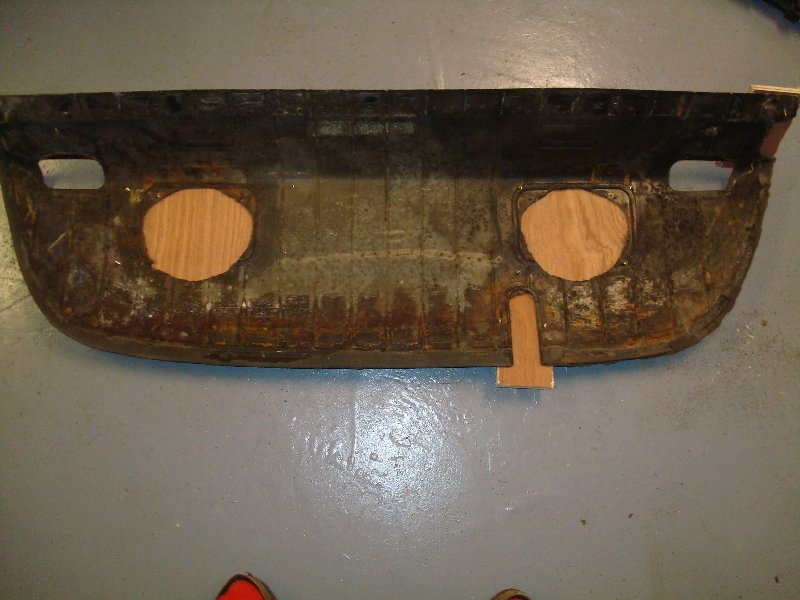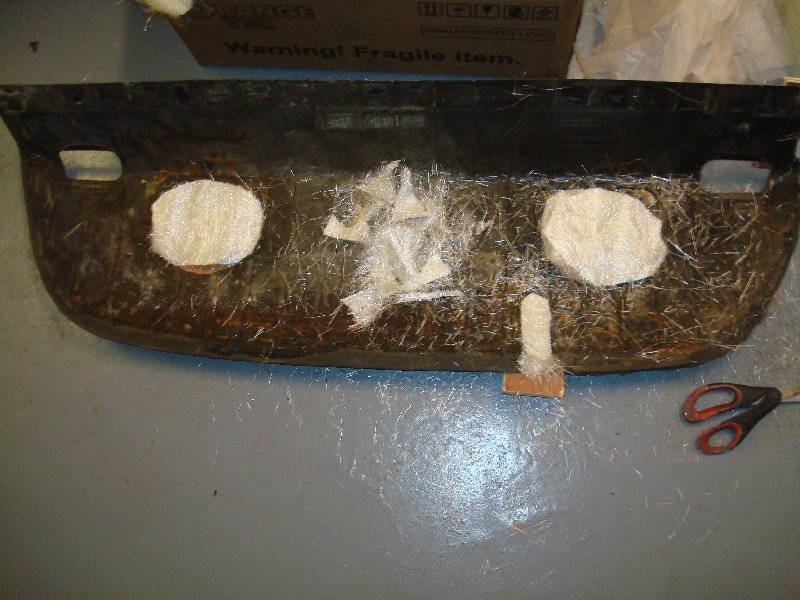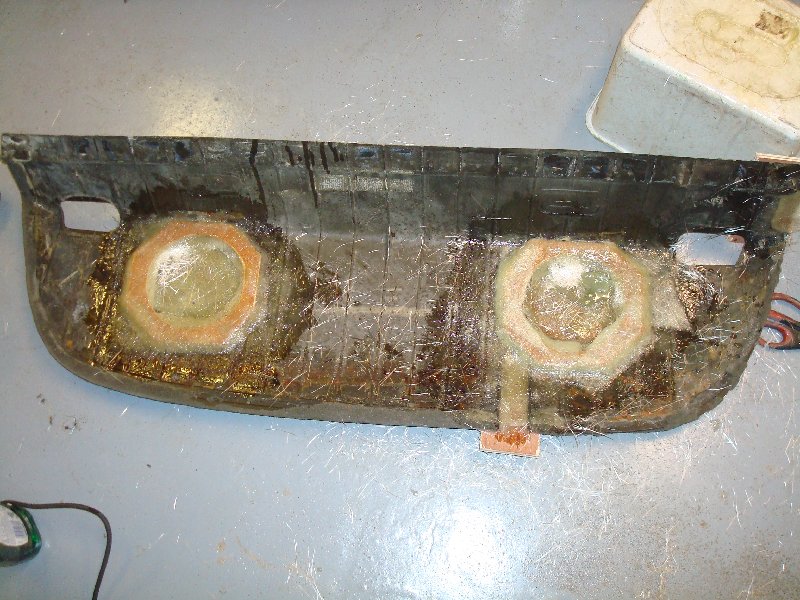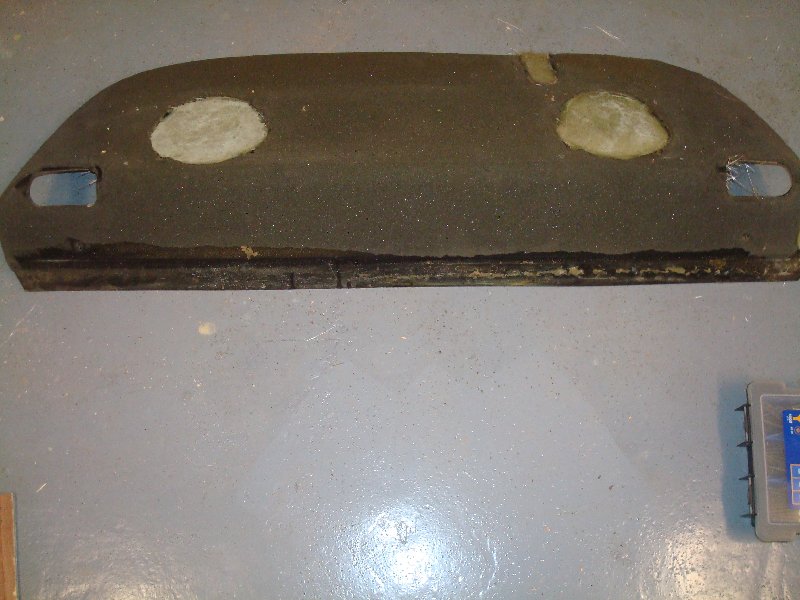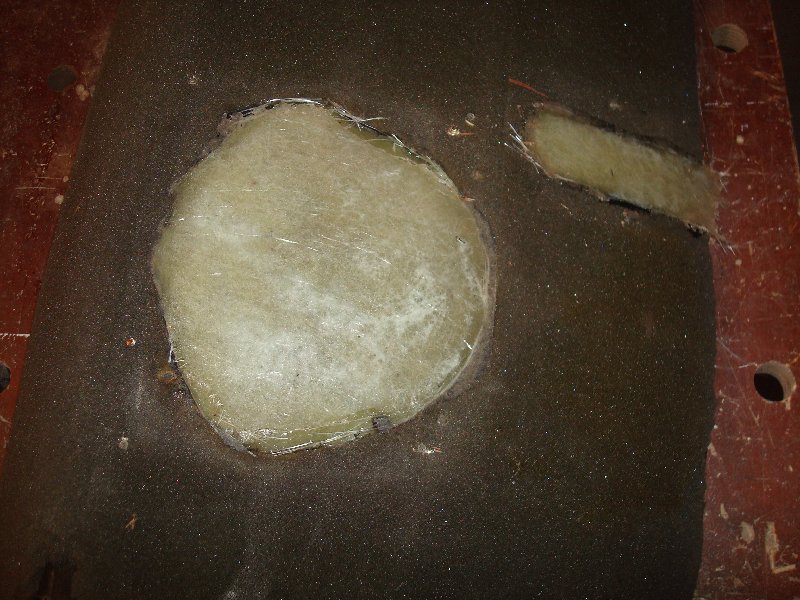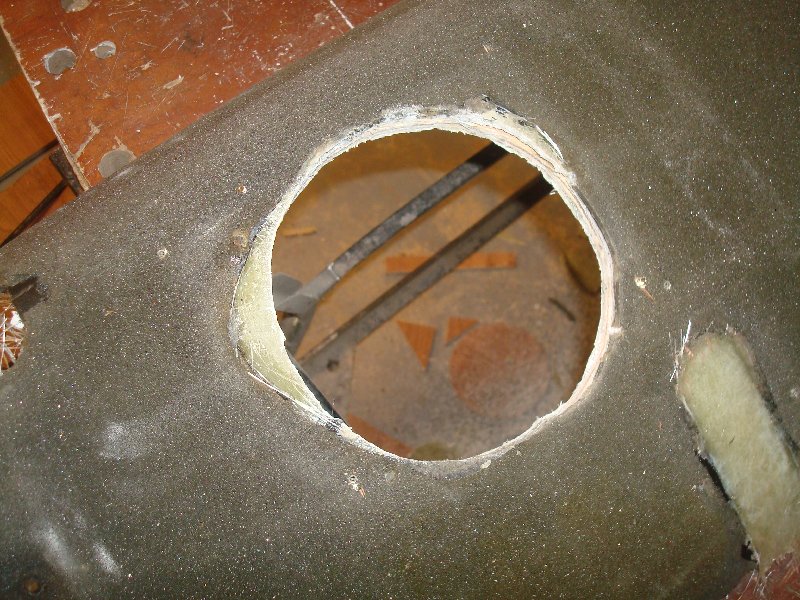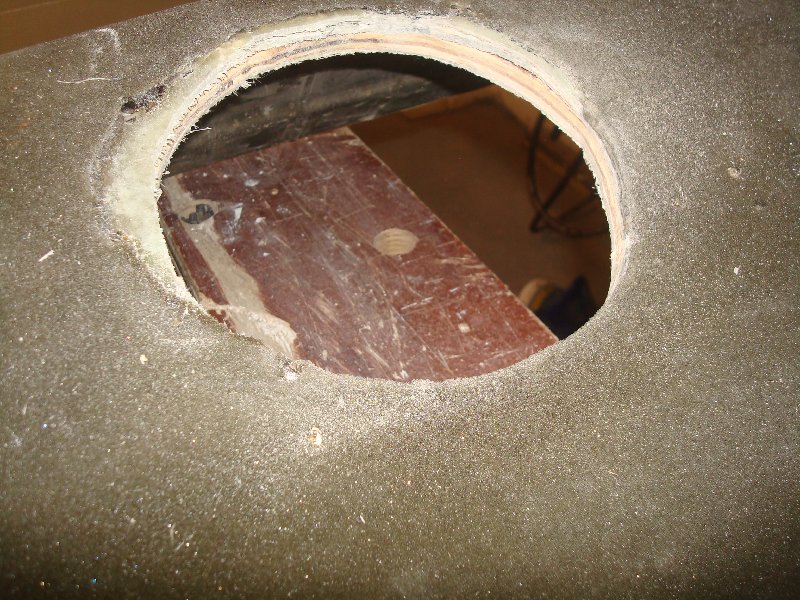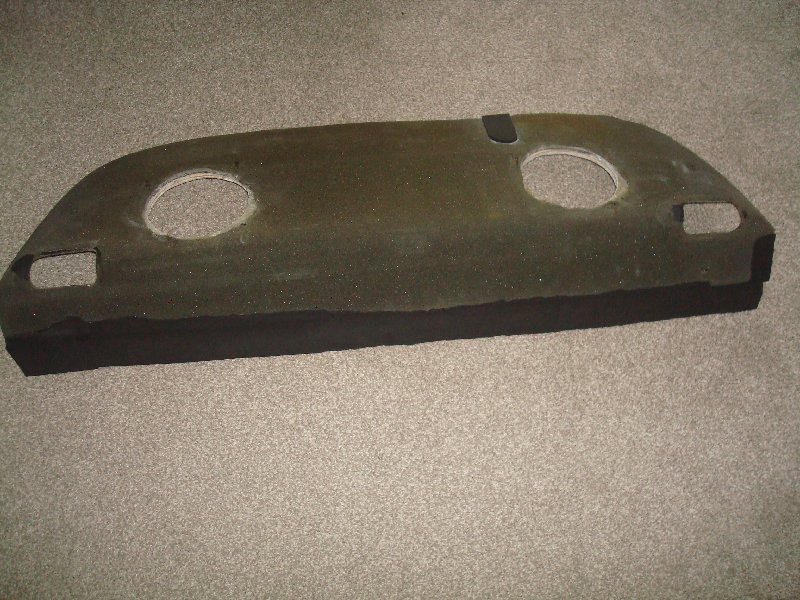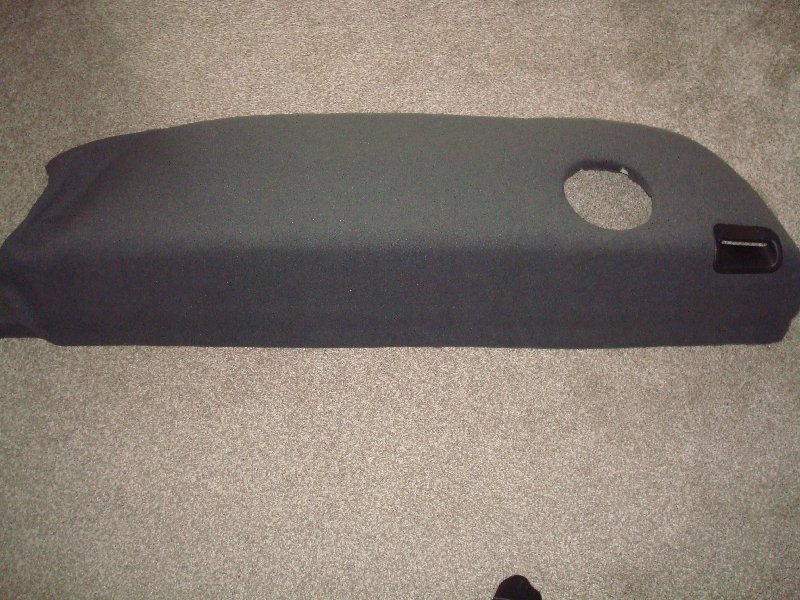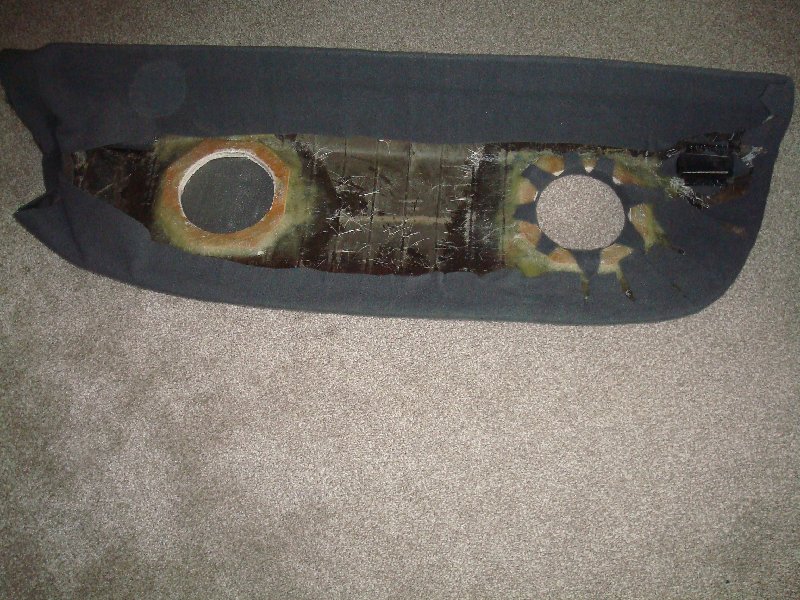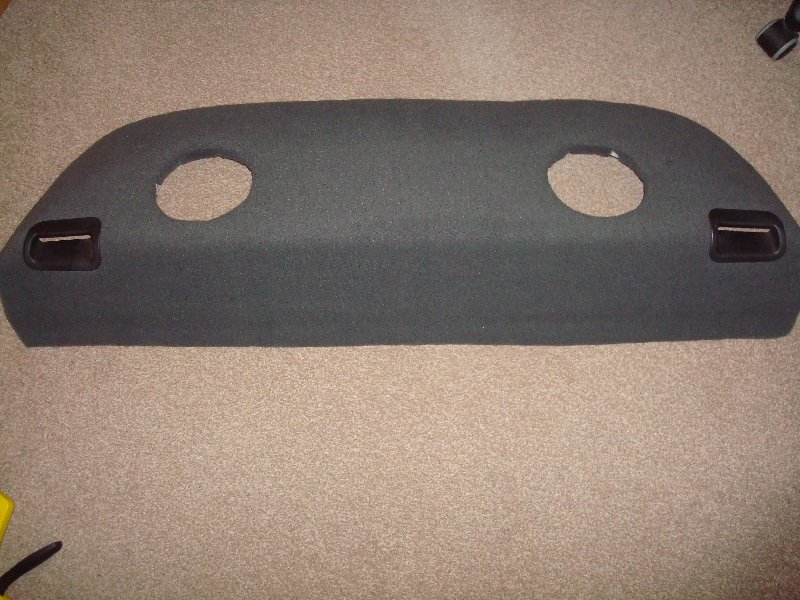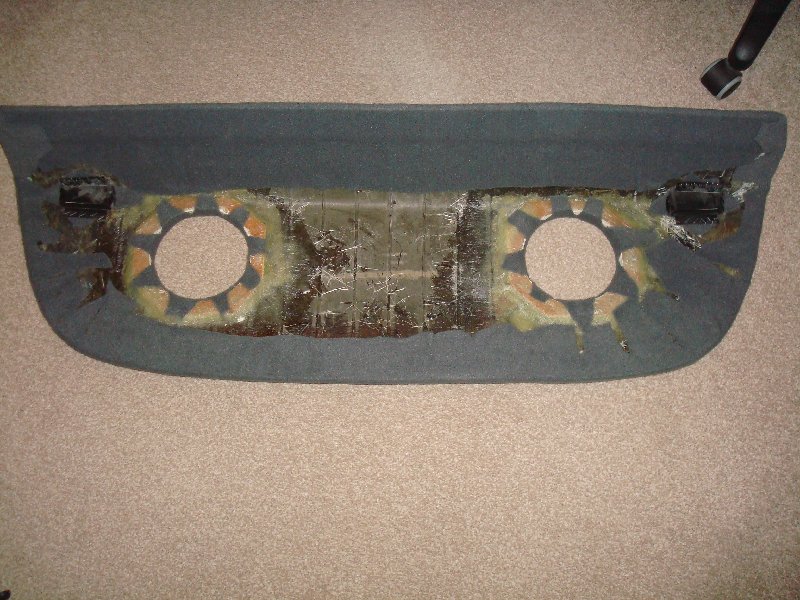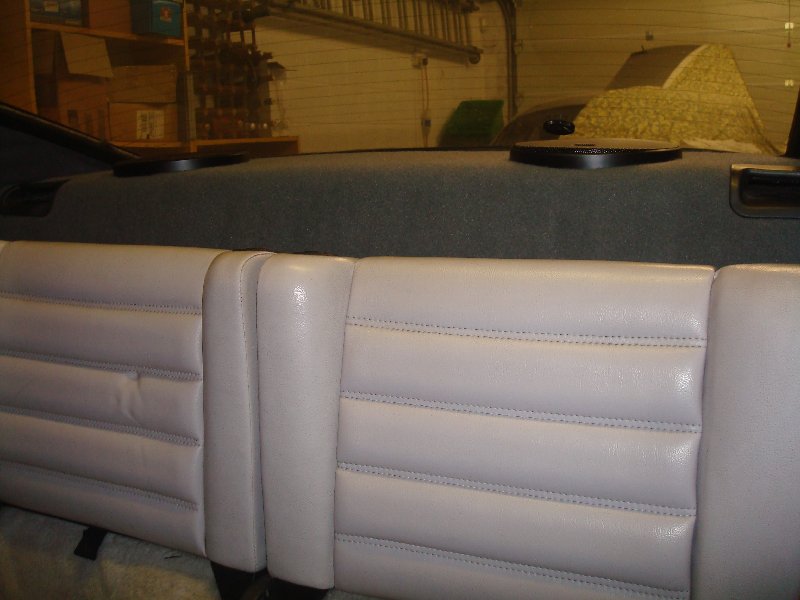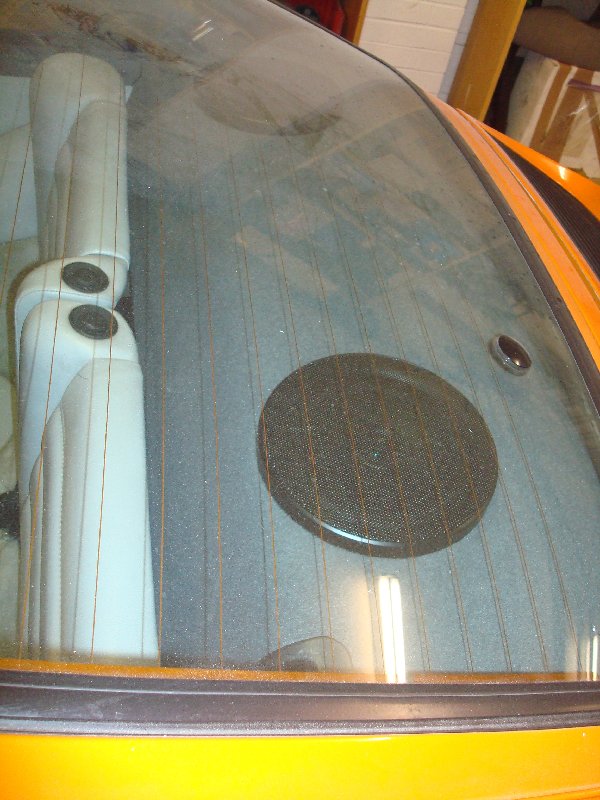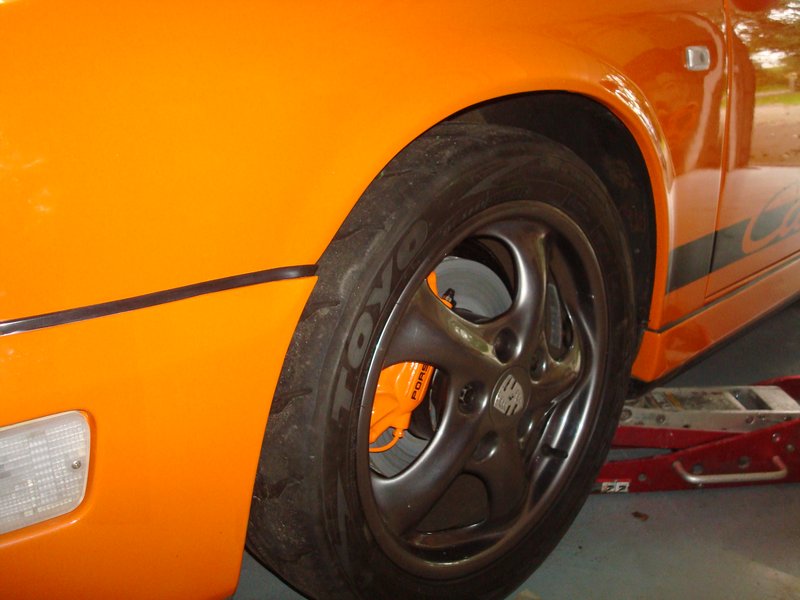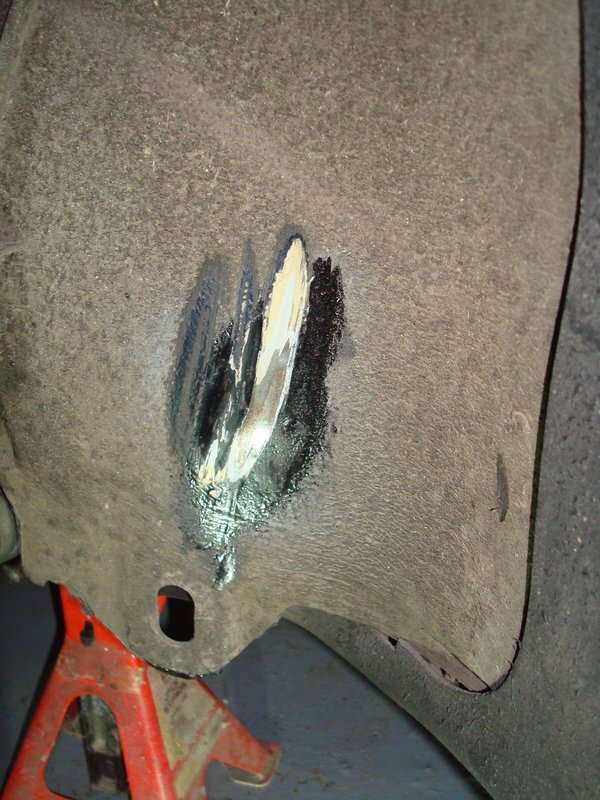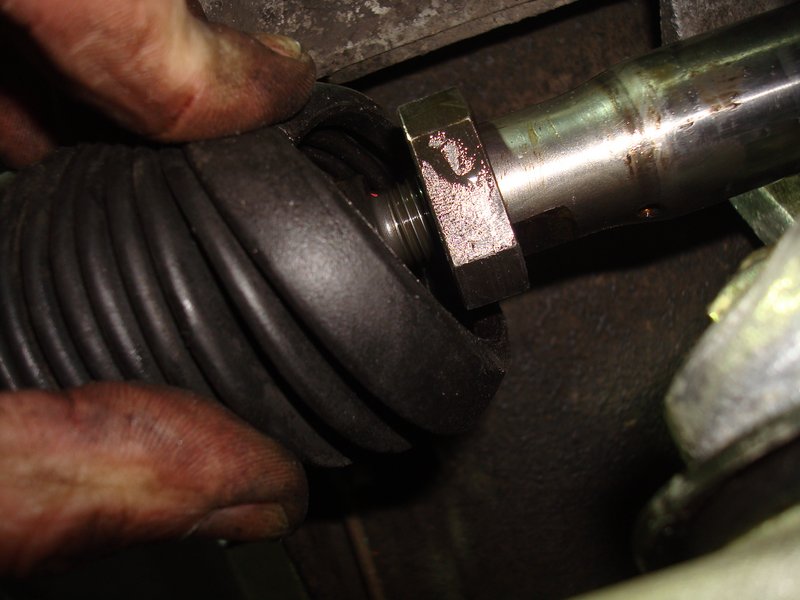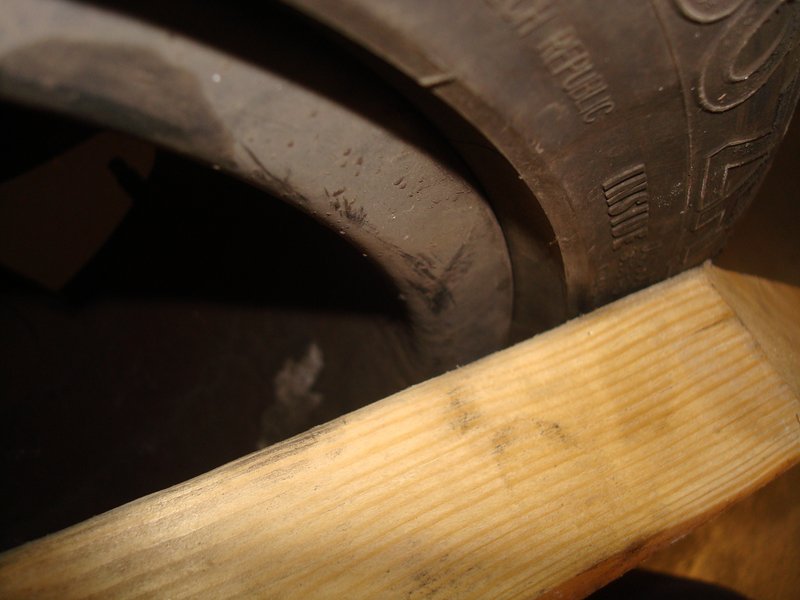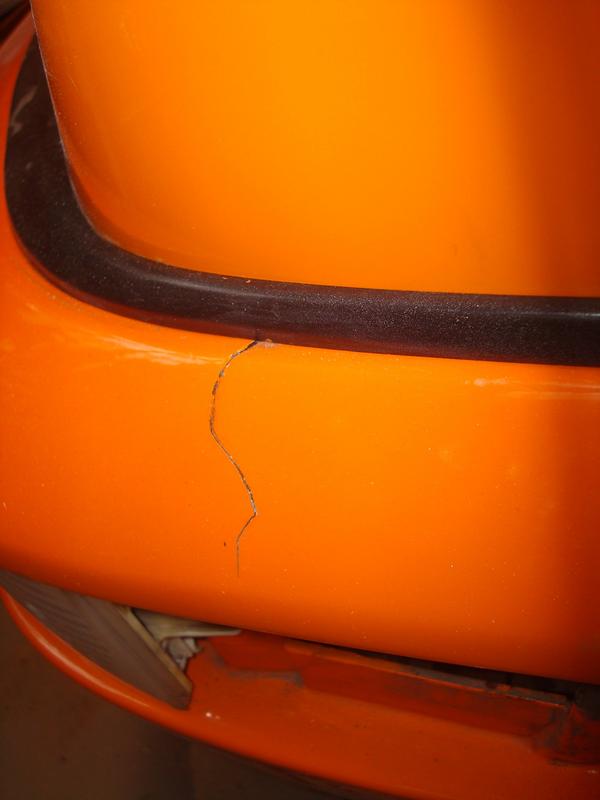
The plan was to contain the filling and painting to as small an area as possible, so I simply masked my working area, sanded the crack flat with some course paper because some fibreglass resin had seeped through when repairing, and giving a good key for filling
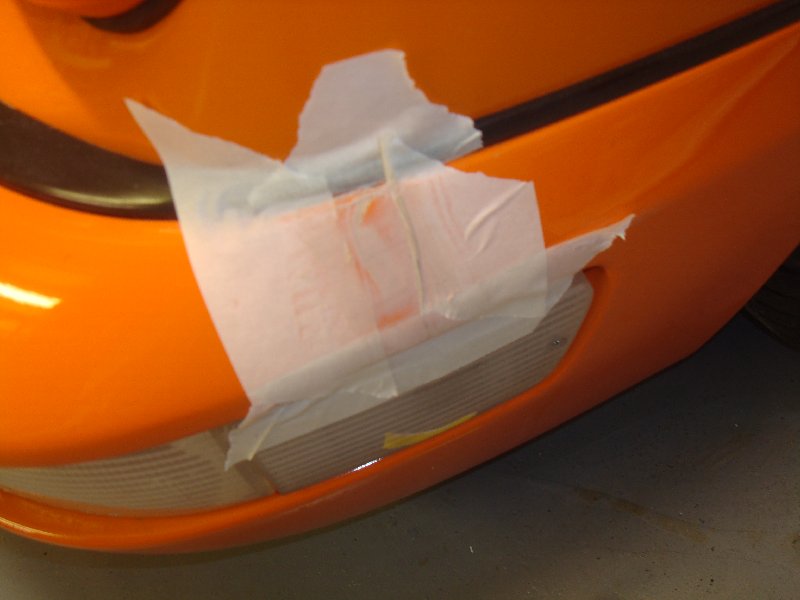
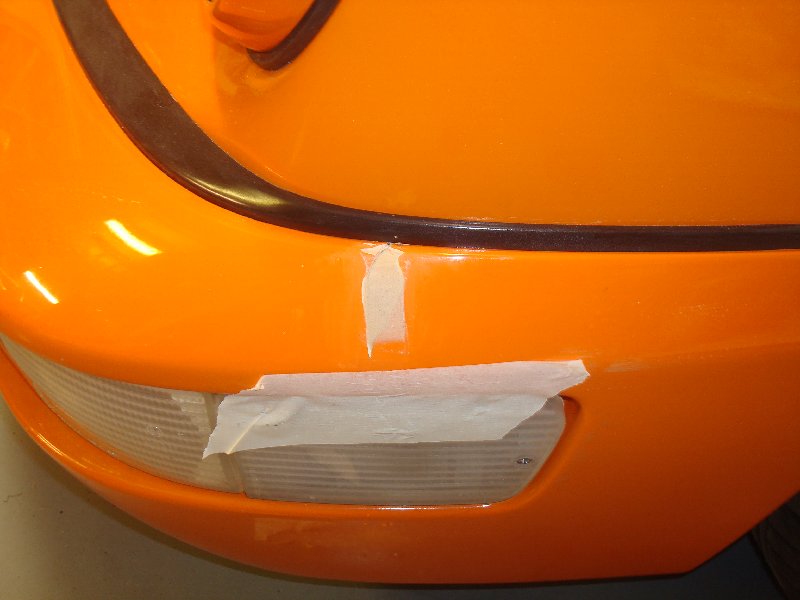
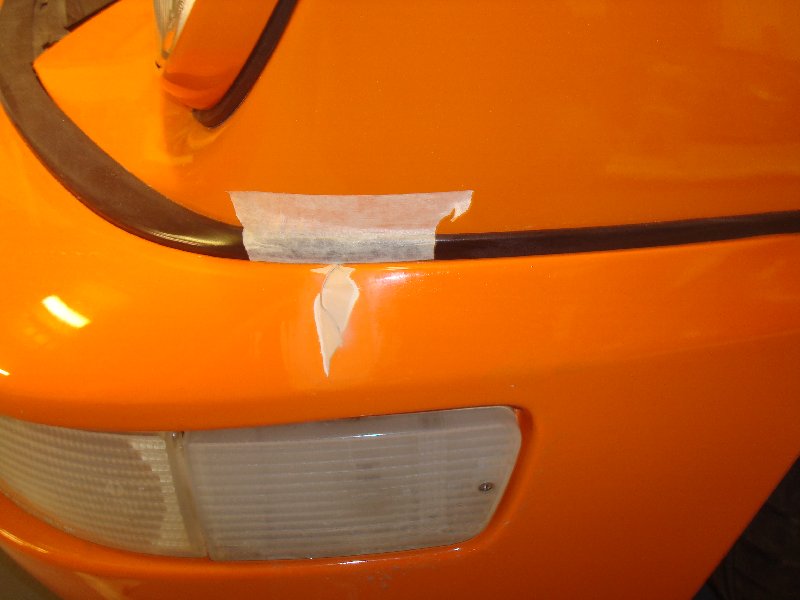
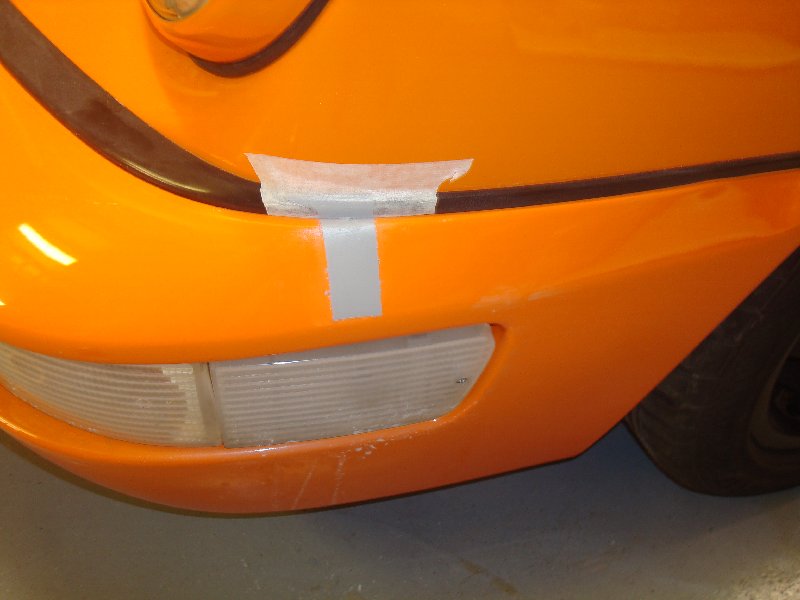
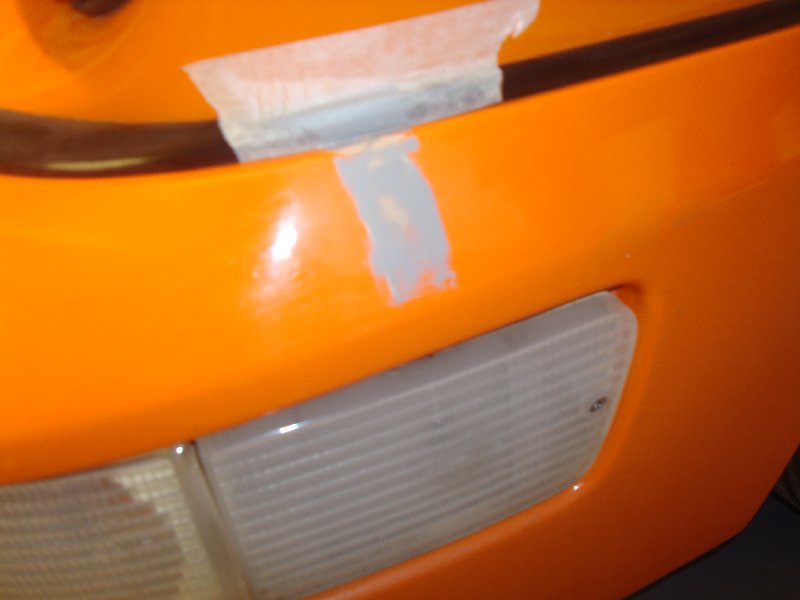
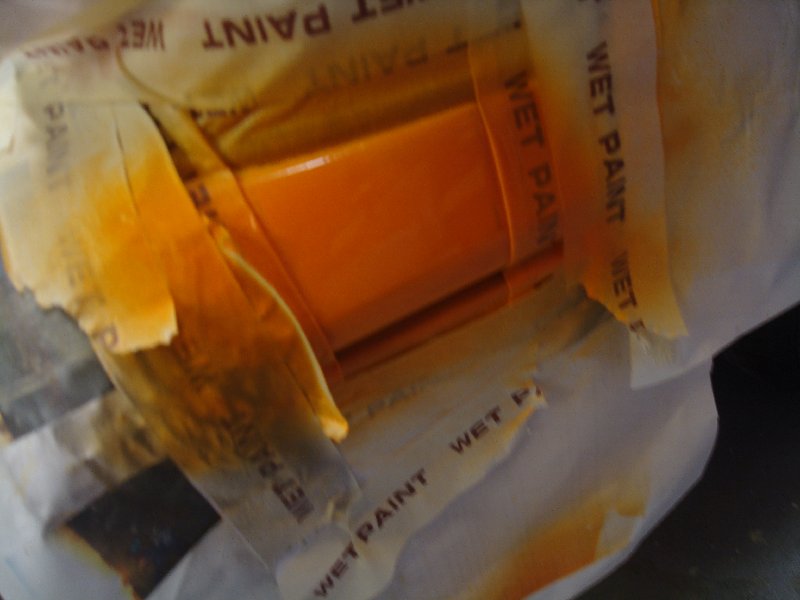
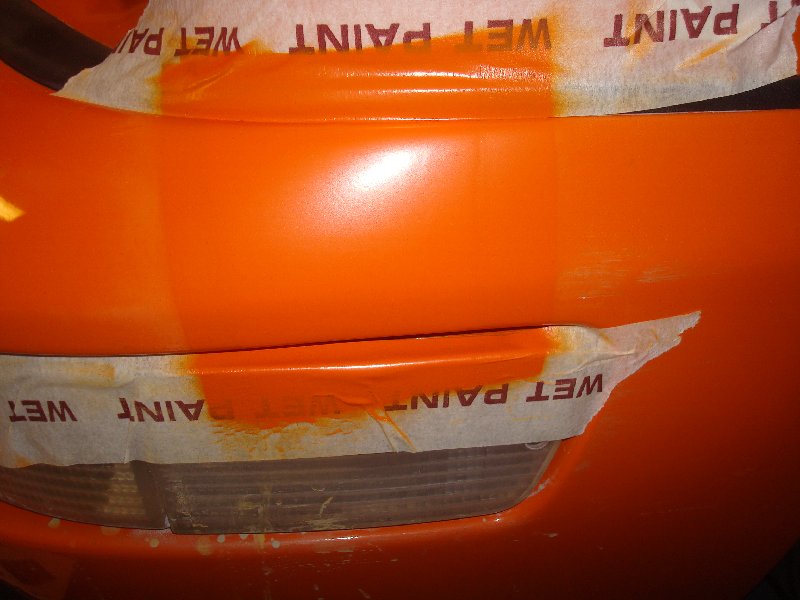
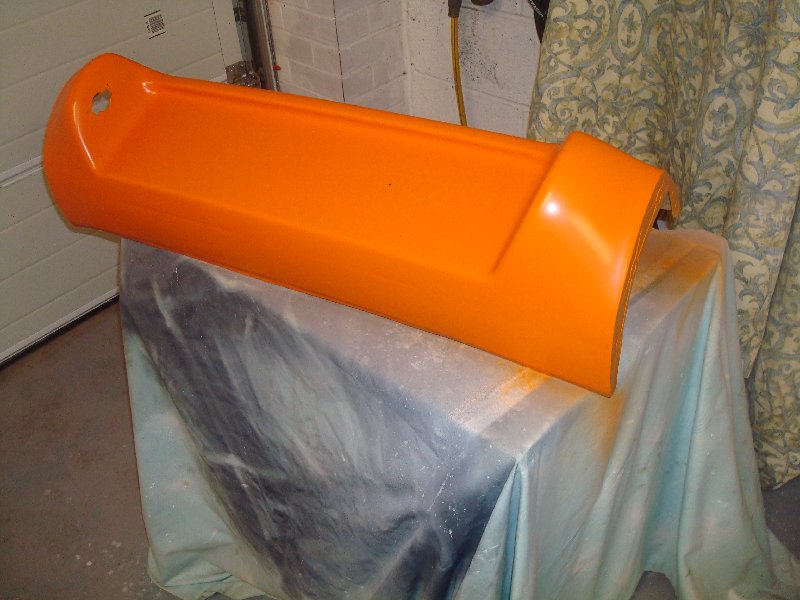
All going very well. A slow process of fill, flat (320, 600, 1000 grades) - again all 'contained' by the masking paper to prevent scope creep! - then a bit of high build primer, and repeat the flatting. This, condensed into a few pictures looks like it took 5 minutes, but was spread over several hours. Then, as I had with the brake ducts, cracked out the orange base coat. At this point, it all went very Pete Tong and what was a the end of a job, became the start of another much longer one (this is a story that will repeat later on another panel)....
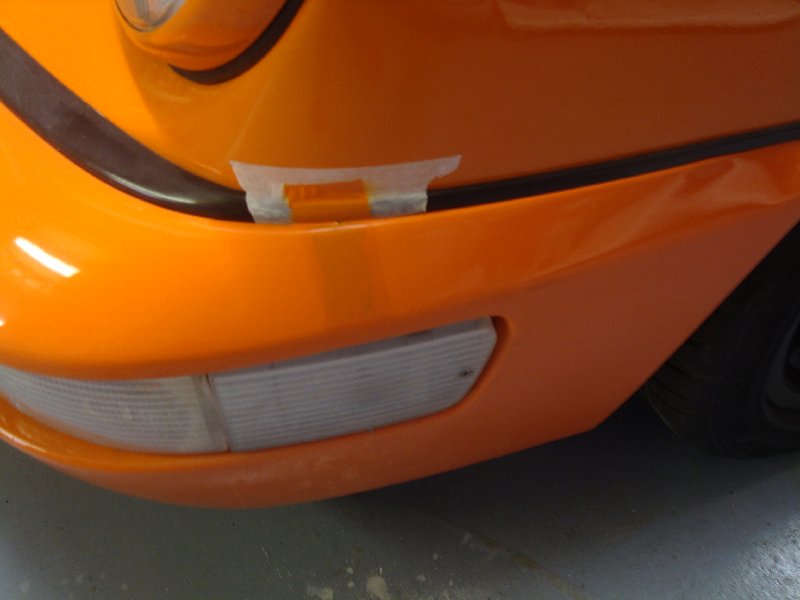
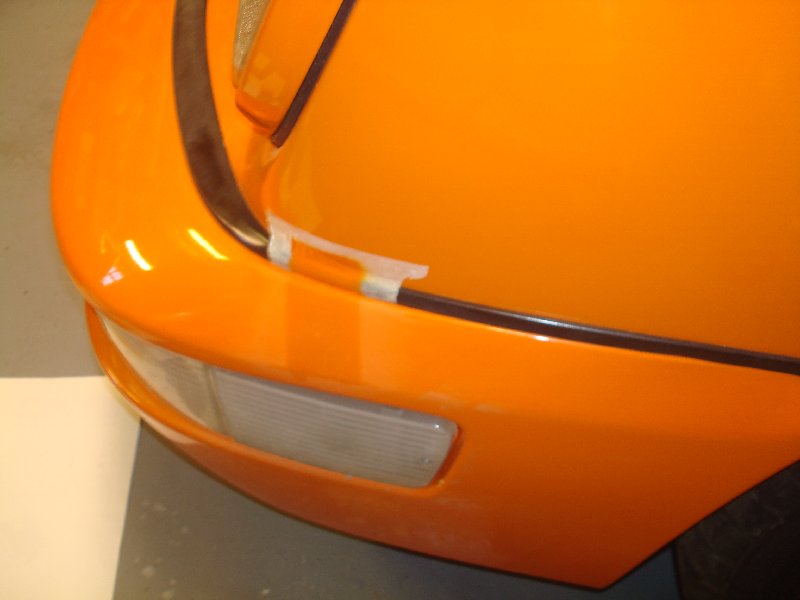
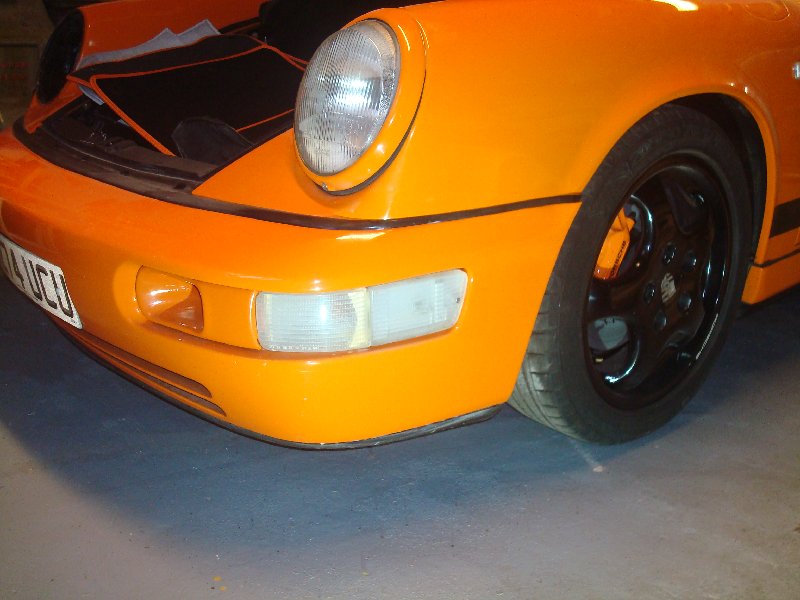
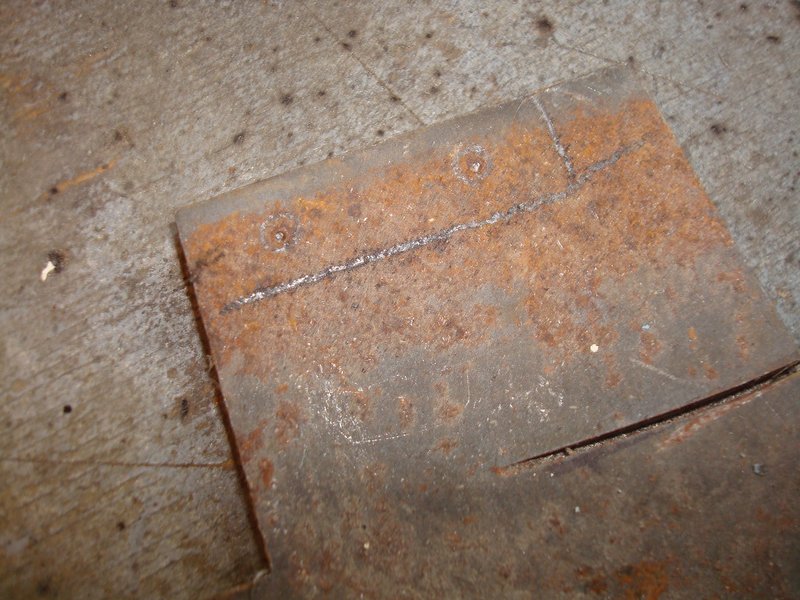
As you can see there is a marked colour difference. This is despite not doing anything different. Slightly perplexed, and a little disappointed (because the repair was otherwise completely invisible from a shape point of view) I did a quick spray out on a piece of old steel to test my theory
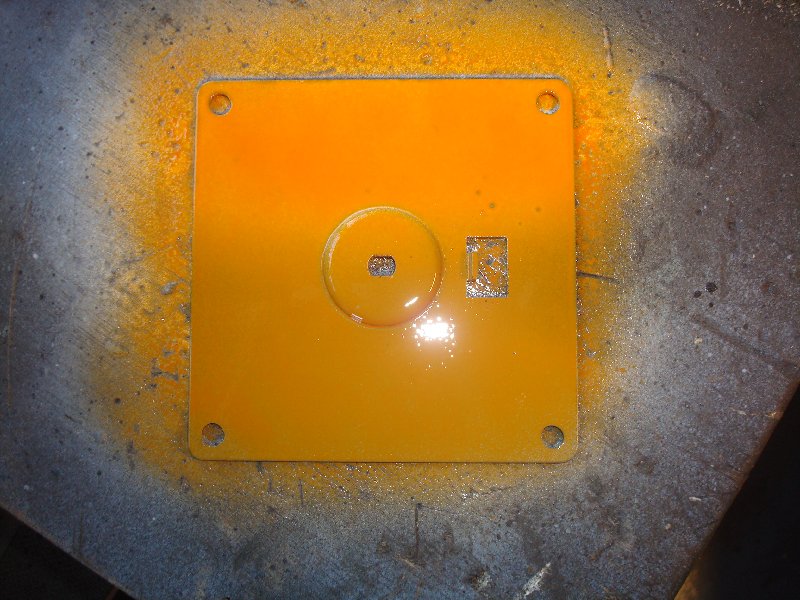
Hopefully the above shows a significant colour difference between the two halves - on one I used a white base layer of primer before spraying the orange. This lifted the colour and gave a perfect match.
I think I got away with it on the brake ducts, because they are low down on the panel, distinct and separate with shadows around them so the slight colour difference does not stand out. On the bumper, mid panel, it did not work at all.