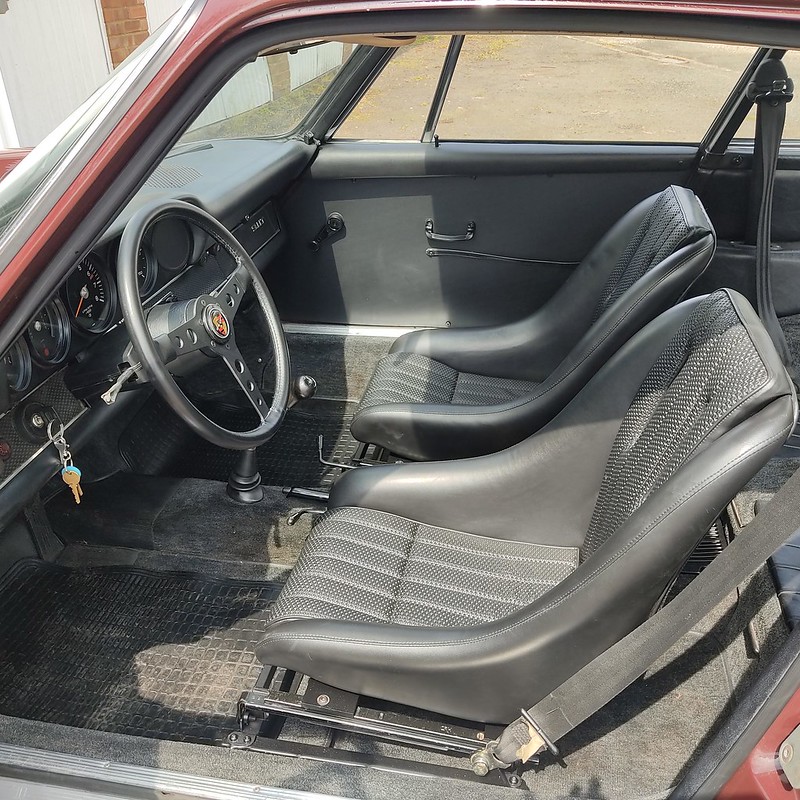
1971 Burgundy 911T

The place to post image of your PORSCHES

Moderator: Bootsy

Post Reply
Lightweight_911
Nurse, I think I need some assistance
Posts: 17999
Joined: Wed Nov 12, 2003 10:48 pm
Location: Worcs/W Mids border

Re: 1971 Burgundy 911T

Post by Lightweight_911 »

bjmullan wrote: Sat Apr 06, 2024 9:37 am - how did you get the dials out?
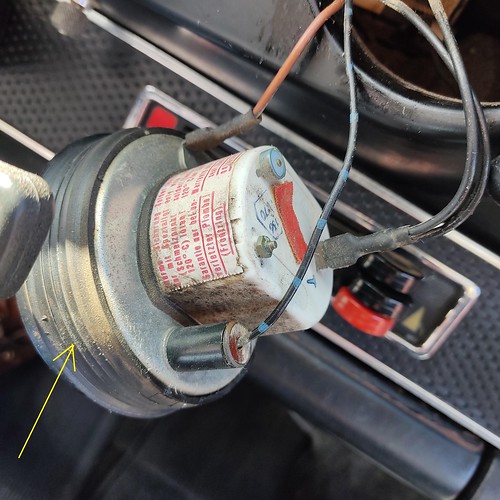
Brendan - the '70-on cars did away with the retaining brackets/threaded studs on the rear of the instruments &, instead, utilised 'concertina' rubber seals to hold them in the dash - so they are much easier to remove/replace.

Image
Andy

“Adding power makes you faster on the straights;
- subtracting weight makes you faster everywhere”
Lightweight_911
Nurse, I think I need some assistance
Posts: 17999
Joined: Wed Nov 12, 2003 10:48 pm
Location: Worcs/W Mids border

Re: 1971 Burgundy 911T

Post by Lightweight_911 »

.

In parallel to the interior refurbishment, I was continuing to clean up the front luggage compartment.

Initially, once the Perlon mats had been removed, it looked like this:

Image

Image

- but, with a bit of brushing/vacuuming & a wipe over, it was already significantly better:

Image

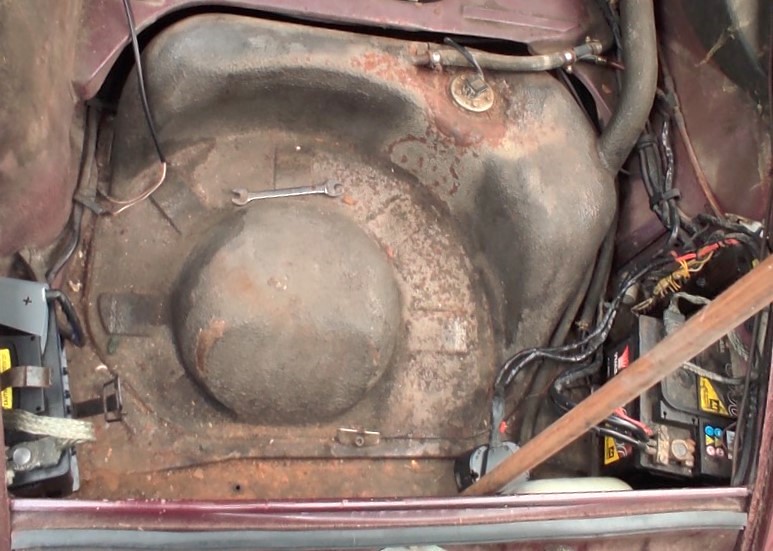
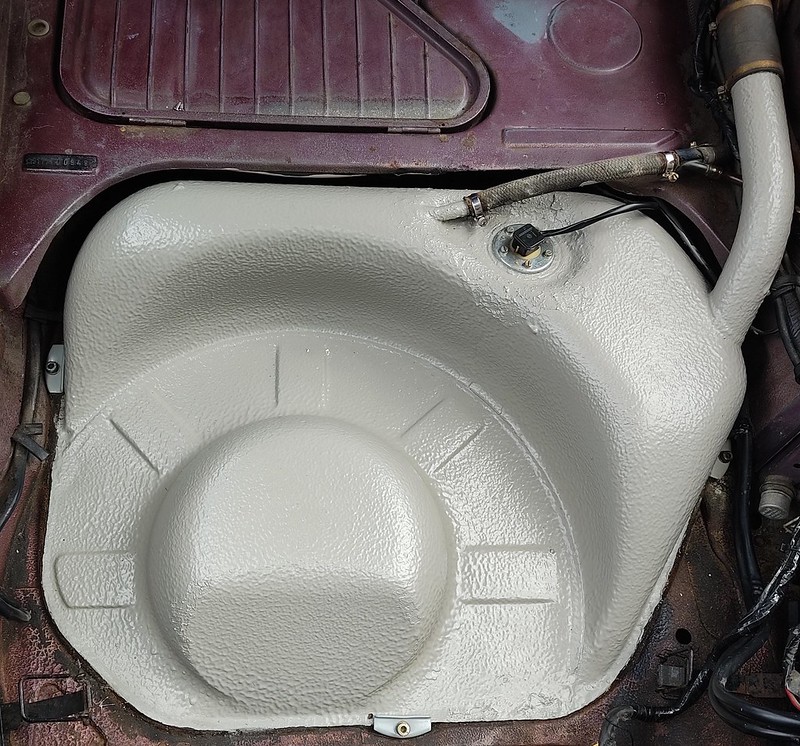
I felt that it could be further improved by painting the fuel tank &, although this would have been better with the tank out of the car, I had no intention of removing it at this stage.

Most of the time a 911's fuel tank is out of sight under the (Perlon) 'carpet' - & much of it is hidden by the spare wheel & tyre anyway - but I would know what was lurking under there so wanted to 'spruce it up'.

After wire brushing & painting the few bare metal areas with Kurust, I gave them a stippled brush coating of Gravitex stone chip.

Rather than the typically-chosen stone grey for the paint finish I opted for more of a beige tint &, after having some paint mixed, I gave the tank a couple of (brush) coats :

Image

Image

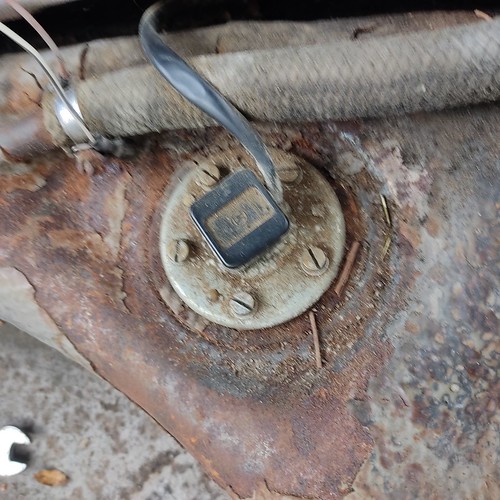
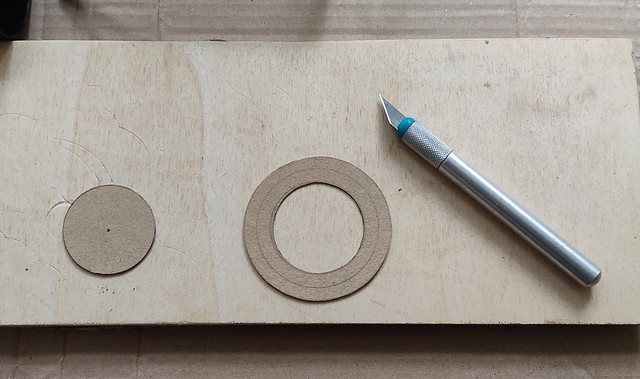
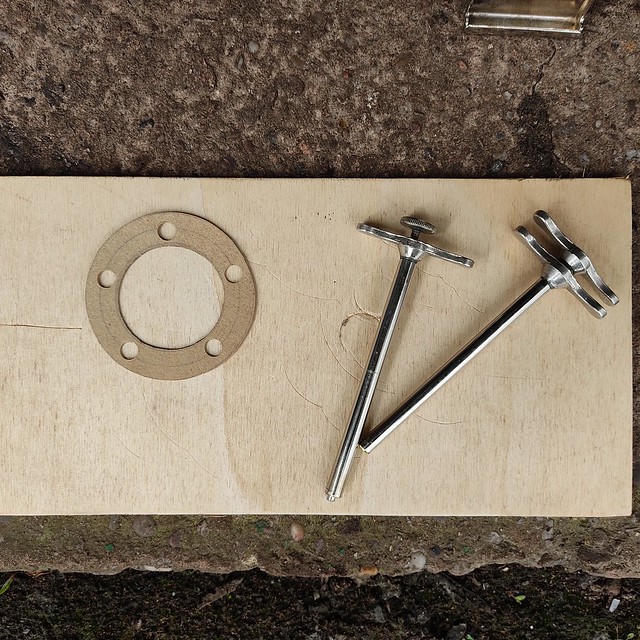
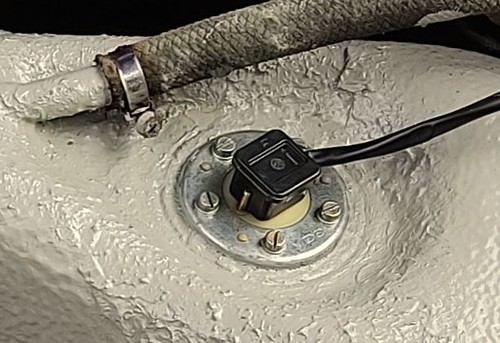
I also took the opportunity to remove the sender unit & give it a good clean, making a new gasket whilst it was out & then refitted it.

Image

Image

Image

It's by no means perfect but to my mind looks a thousand times better* ... :)


Image


* once I have the car back home I'll replace all of the old/hardened/discoloured vapour venting hoses which will smarten up the area further.


.
Andy

“Adding power makes you faster on the straights;
- subtracting weight makes you faster everywhere”
Lightweight_911
Nurse, I think I need some assistance
Posts: 17999
Joined: Wed Nov 12, 2003 10:48 pm
Location: Worcs/W Mids border

Re: 1971 Burgundy 911T

Post by Lightweight_911 »

.

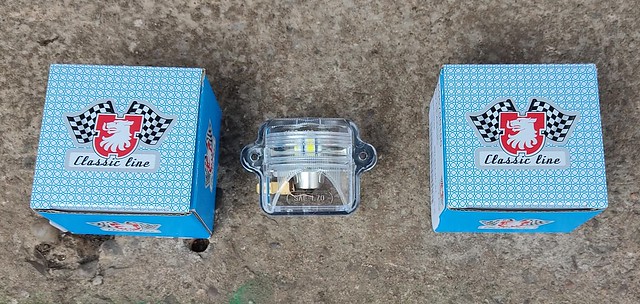
Both underbonnet lamps were missing from my car & I was somewhat surprised at just how much the prices for these Hella lamps varied - cheapest I found were from Heritage Parts (even more so with a DDK discount !) & the most expensive were over 200% dearer ! :roll:

In addition I decided to convert them to LED bulbs - so all in all a reasonable total of ~£30 for 2 lamps & 2 LED bulbs.

Image

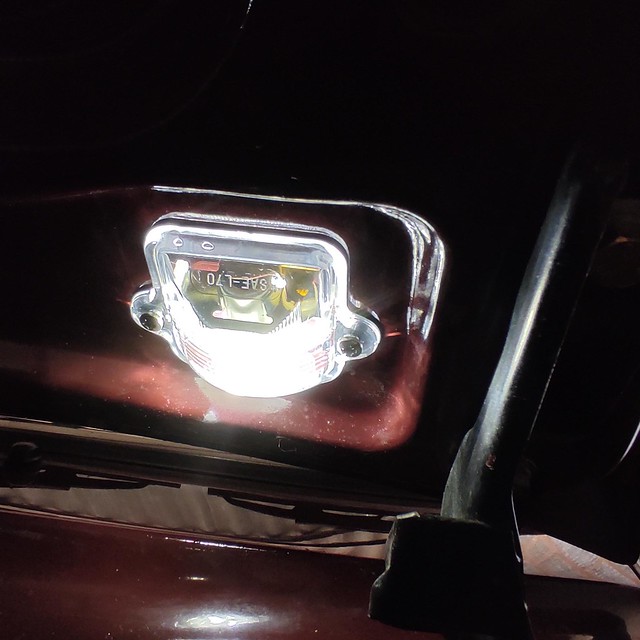
- & this is improved illumination provided by switching to LED's:

Image


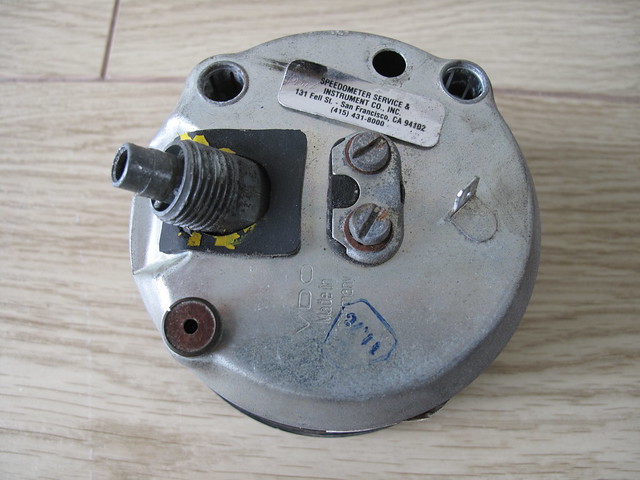
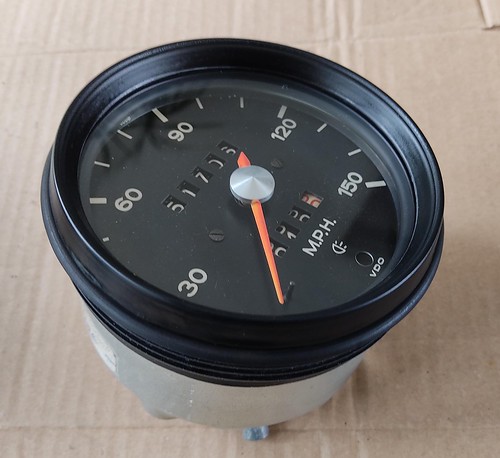
Next gauge to receive some attention was the speedo:

Image

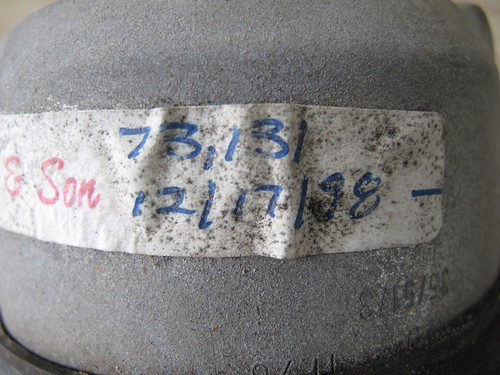
- it turned out that it wasn't the first time it'd been apart:

Image

Image


- & after dismantling/cleaning/repainting:


Image

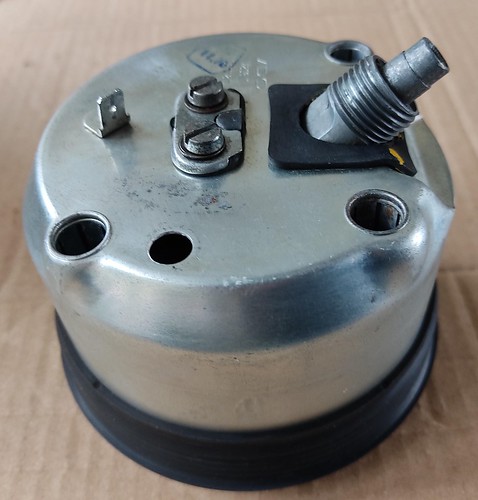
- then re-assembled:

Image

Image

- & stickers re-applied:

Image

Image


- followed shortly afterwards by the oil temp/pressure gauge.

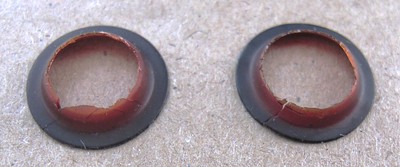
The only slight problem was that the red warning lenses for oil pressure & charge light disintegrated upon removal:

Image


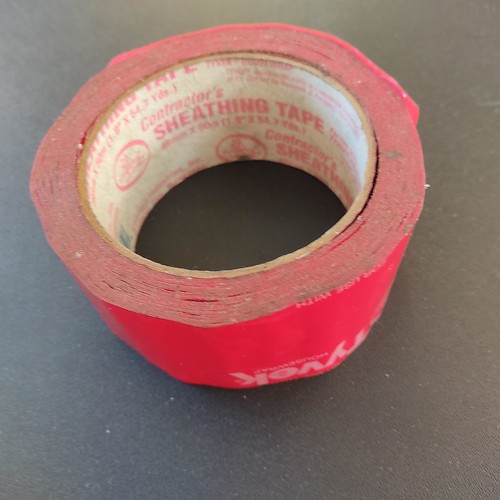
I was sure I had an old roll of red lens repair tape somewhere in the garage - which I did but it was too thick & not translucent enough.

However, I did find a roll of red see-through adhesive tape - 'contractor's sheathing tape' - no idea where it came from but I used it anyway ...

Image

Image

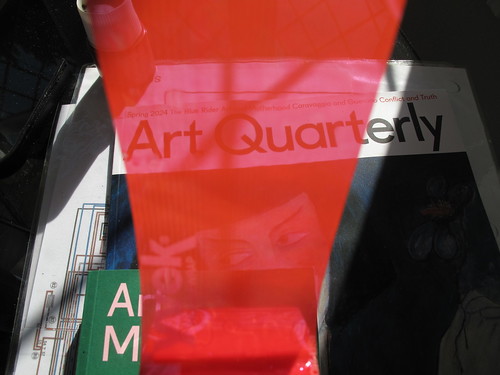
Hopefully it'll do the trick :


Image
Andy

“Adding power makes you faster on the straights;
- subtracting weight makes you faster everywhere”
Lightweight_911
Nurse, I think I need some assistance
Posts: 17999
Joined: Wed Nov 12, 2003 10:48 pm
Location: Worcs/W Mids border

Re: 1971 Burgundy 911T

Post by Lightweight_911 »

.

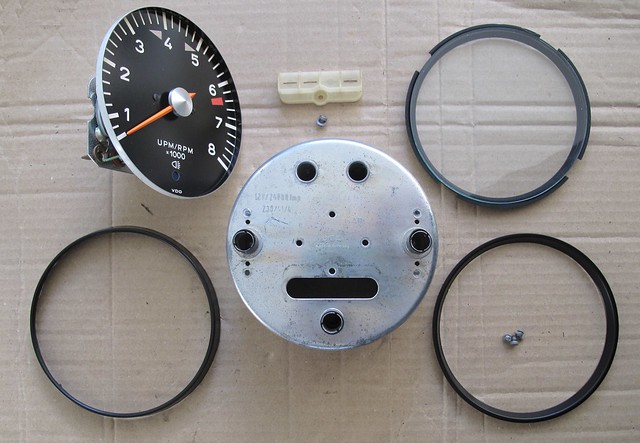
Finished off refreshing the gauges by removing the rev counter - which involves taking off the steering wheel/hub followed by the column plastic 'clamshells' :

Image

- I think that's the first 911 I've owned where there wasn't any damage to the threaded fixing lugs or the fragile plastic side lugs.

Dismantling/cleaning/repainting the bezels all went according to plan

Image

- only the green lenses behind the indicator 'tell-tale' warning lights required some attention as the arrowed areas had faded:

Image

I didn't have any translucent green acrylic so simply coloured the faded areas in with a green felt tip marker ...

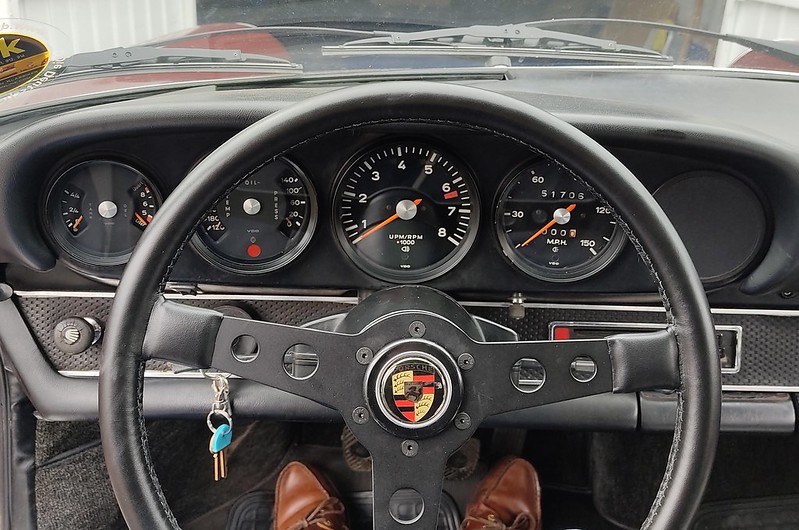
Gauges all back in & looking much better:

Image


Also managed a bit more progress on the passenger side lightweight RS-style door panel


Image

- just need to cut out the access hole for/& fit the leather pull strap ...


.
Andy

“Adding power makes you faster on the straights;
- subtracting weight makes you faster everywhere”
Gunscrossed
DDK above all
Posts: 181
Joined: Mon Jan 12, 2009 1:00 pm
Location: Essex

Re: 1971 Burgundy 911T

Post by Gunscrossed »

Fantastic thread Andy, lovely car (sort of wish I’d bought it but would never have done it the justice you are).
DarthMJH
I luv DDK!
Posts: 889
Joined: Sun Oct 09, 2011 10:47 am
Location: NW London

Re: 1971 Burgundy 911T

Post by DarthMJH »

Hi Andy, great work as always. I have a couple of questions.
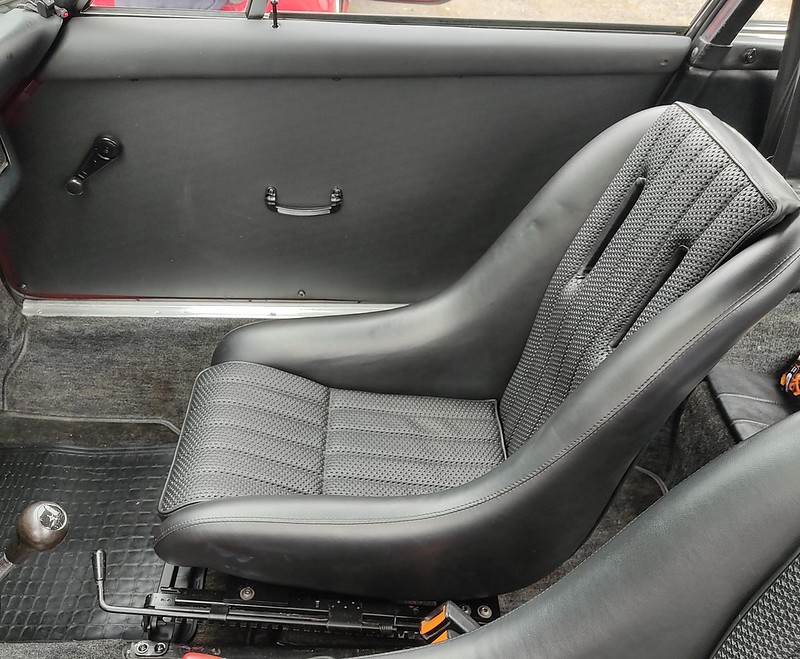
How did you attach the seat belt receiver to the lightweight seat mounting? I have attached mine but it’s not that elegant.
Also how did you remove and refit the bezel around the rev counter? Did you use a knife to bend the metal around the gauge to get it off, and then use a small screwdriver to bend it back?

Cheers
Mike
1973 RHD 911T
1995 993 C4 (Sold - ULEZ :cry:)
Lightweight_911
Nurse, I think I need some assistance
Posts: 17999
Joined: Wed Nov 12, 2003 10:48 pm
Location: Worcs/W Mids border

Re: 1971 Burgundy 911T

Post by Lightweight_911 »

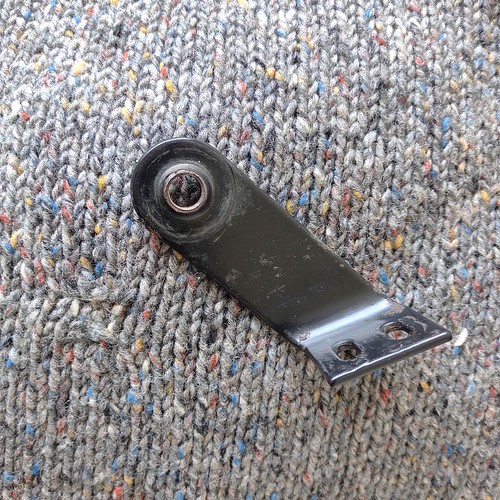
DarthMJH wrote: Sat Apr 20, 2024 10:35 am How did you attach the seat belt receiver to the lightweight seat mounting?
I used the angled brackets from the original comfort seats - this is the passenger side (before repainting):
Image

- had to enlarge/elongate the holes slightly & then mounted it between the lwt cross bar & the original seat runner support bracket :

Image

- sorry, that's the only picture I took of the fitting.
DarthMJH wrote: Sat Apr 20, 2024 10:35 am Also how did you remove and refit the bezel around the rev counter ?
To remove the bezels I use a small blunt screwdriver & go round the rear edge multiple times levering the lip up/out a little at a time.

When replacing I use a selection of 'tools' - short lengths of hard plastic & hardwood dowels - again going round the rear edge mutiple times until the bezel is crimped on.


.
Andy

“Adding power makes you faster on the straights;
- subtracting weight makes you faster everywhere”
DarthMJH
I luv DDK!
Posts: 889
Joined: Sun Oct 09, 2011 10:47 am
Location: NW London

Re: 1971 Burgundy 911T

Post by DarthMJH »

Thanks Andy. Did you use the same bracket to attach the receiver the other side of the seat, the inside?
Mike
1973 RHD 911T
1995 993 C4 (Sold - ULEZ :cry:)
Lightweight_911
Nurse, I think I need some assistance
Posts: 17999
Joined: Wed Nov 12, 2003 10:48 pm
Location: Worcs/W Mids border

Re: 1971 Burgundy 911T

Post by Lightweight_911 »

.

No MIke - the car has inertia reel seatbelts & utilises this Factory part for the receivers:


Image


- sorry I don't have a specific picture but this screen shot from another one is the best I have:

Image


.
Andy

“Adding power makes you faster on the straights;
- subtracting weight makes you faster everywhere”
DarthMJH
I luv DDK!
Posts: 889
Joined: Sun Oct 09, 2011 10:47 am
Location: NW London

Re: 1971 Burgundy 911T

Post by DarthMJH »

Thanks for that Andy. Didn’t know that was available
Mike
1973 RHD 911T
1995 993 C4 (Sold - ULEZ :cry:)
IanM
DDK rules my life!
Posts: 1391
Joined: Thu Dec 18, 2003 10:45 pm

Re: 1971 Burgundy 911T

Post by IanM »

DarthMJH wrote: Sun Apr 21, 2024 7:54 pmDidn’t know that was available
But the question is - How do you install that? On top of the tunnel like this?
D2B61C72-2B9A-46F5-A6CB-236E6678B8BD.jpg
Anyway, inertia seat belts were first introduced in around 1970, so you can use the angled brackets from the stock comfort seats (both inner and outer).
You do not have the required permissions to view the files attached to this post.
Lightweight_911
Nurse, I think I need some assistance
Posts: 17999
Joined: Wed Nov 12, 2003 10:48 pm
Location: Worcs/W Mids border

Re: 1971 Burgundy 911T

Post by Lightweight_911 »

.

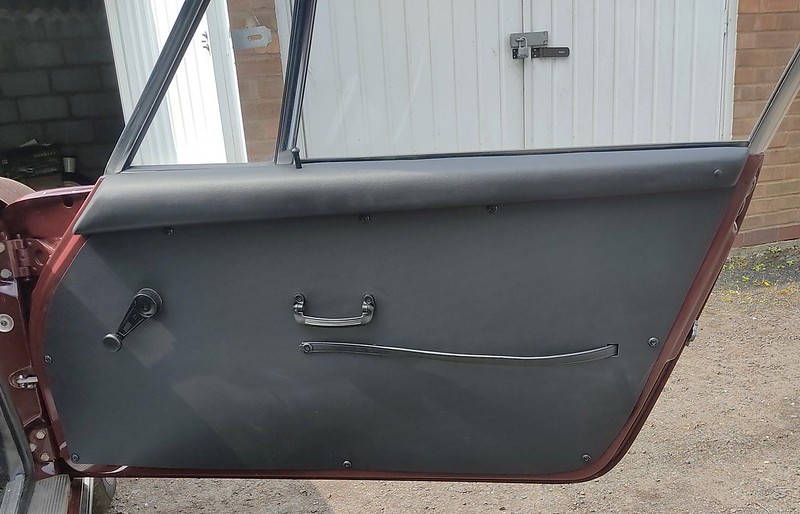
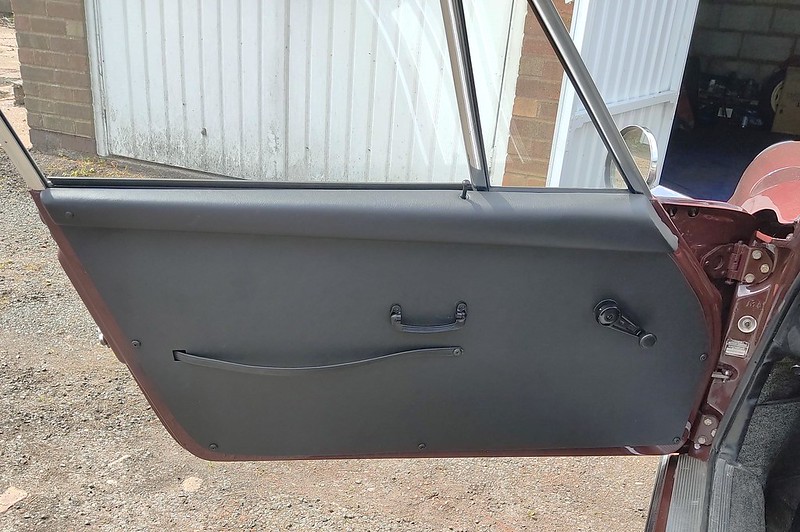
Finally finished making my RS LWT-style interior door panels - just need to remove it all & paint the perimeter of the door shell satin black once I have the car at home:

Image

Image

Image
Andy

“Adding power makes you faster on the straights;
- subtracting weight makes you faster everywhere”
Lightweight_911
Nurse, I think I need some assistance
Posts: 17999
Joined: Wed Nov 12, 2003 10:48 pm
Location: Worcs/W Mids border

Re: 1971 Burgundy 911T

Post by Lightweight_911 »

.

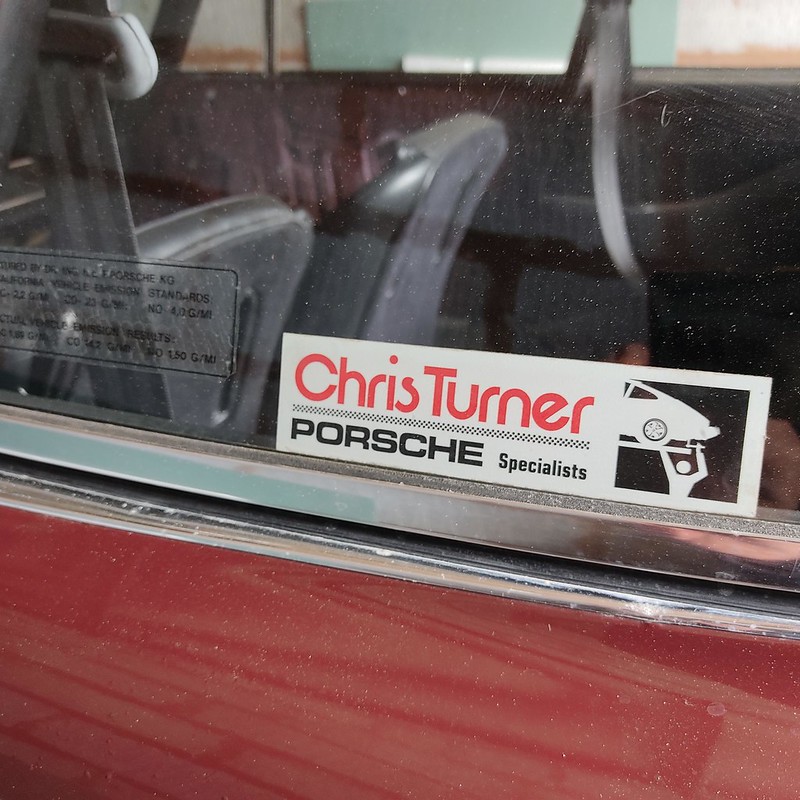
Also finally found a use for this sticker in a tribute to my old friend Chris (from a batch produced by James Puttock several years ago):


Image
Andy

“Adding power makes you faster on the straights;
- subtracting weight makes you faster everywhere”
Lightweight_911
Nurse, I think I need some assistance
Posts: 17999
Joined: Wed Nov 12, 2003 10:48 pm
Location: Worcs/W Mids border

Re: 1971 Burgundy 911T

Post by Lightweight_911 »

.

Removed the final parts of the US fuel tank vapour recirculation system - the plastic rectangular expansion tank (from up by the n/s bonnet hinge) & its associated (old/brittle) hoses at the front & the old braided hoses running from the rear of the tunnel up to the engine compartment:

Image

Image


The expansion tank will be cleaned up & repaired then refitted with new PVC tubing - taking the opportunity to convert the system to the simpler ROW version (which dispenses with the charcoal canister & its associated recirculation circuit).


.
Andy

“Adding power makes you faster on the straights;
- subtracting weight makes you faster everywhere”
Lightweight_911
Nurse, I think I need some assistance
Posts: 17999
Joined: Wed Nov 12, 2003 10:48 pm
Location: Worcs/W Mids border

Re: 1971 Burgundy 911T

Post by Lightweight_911 »

.

Since I'm planning on replacing the std air cleaner assembly with a pair of K&N Watershields, I fitted the 'period' VDO plastic washer bottle (mentioned earlier in this thread) as an oil vapour catch tank in the right hand rear corner of the engine compartment:

Image

I'm using some new/more flexible 25mm ID hose so removed the old braided vent hoses.

Image

- however I don't like the glossy finish & the printed details so, after cutting the hose to the required lengths, I de-glossed them using wire wool & talcum powder:

Image


Just waiting for the hose clamps to arrive now ...

.
Andy

“Adding power makes you faster on the straights;
- subtracting weight makes you faster everywhere”
Post Reply