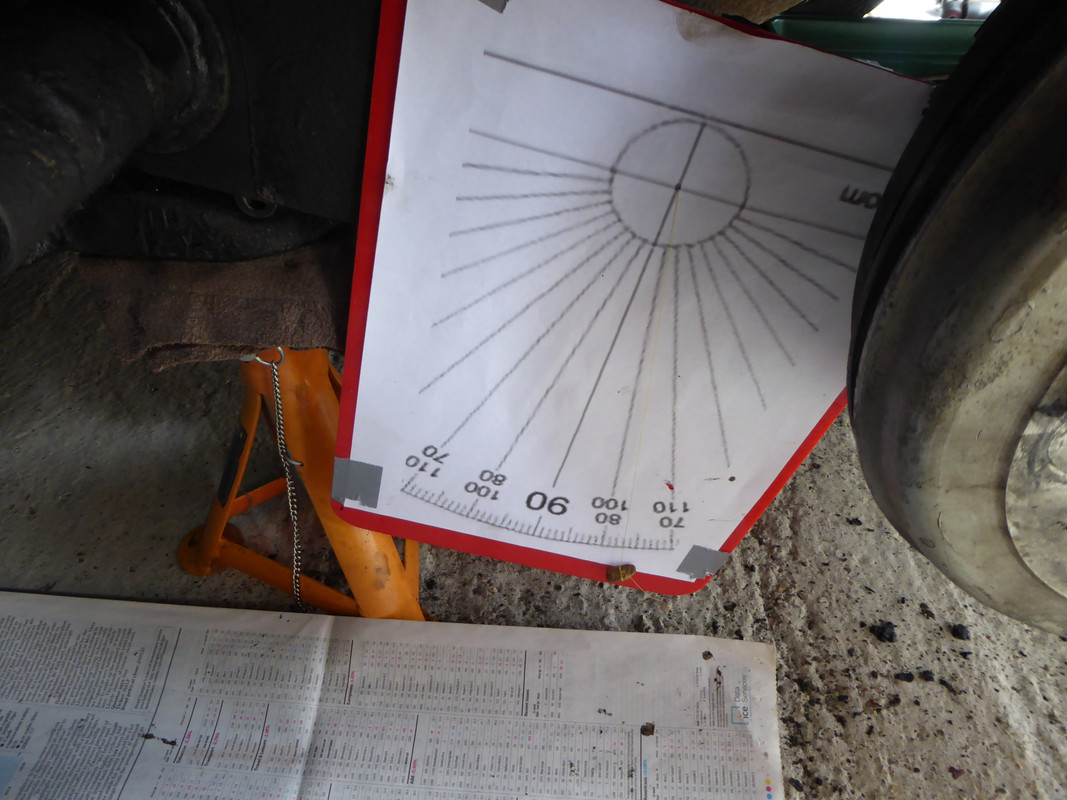
Preparation involved checking toe in using the parallel string method and a couple of weeks daily application of the internet penetrating cocktail of acetone / automatic transmission fluid to the rear torsion bar cover bolts. I used an old Calpol syringe to apply this
Get yer shocks off
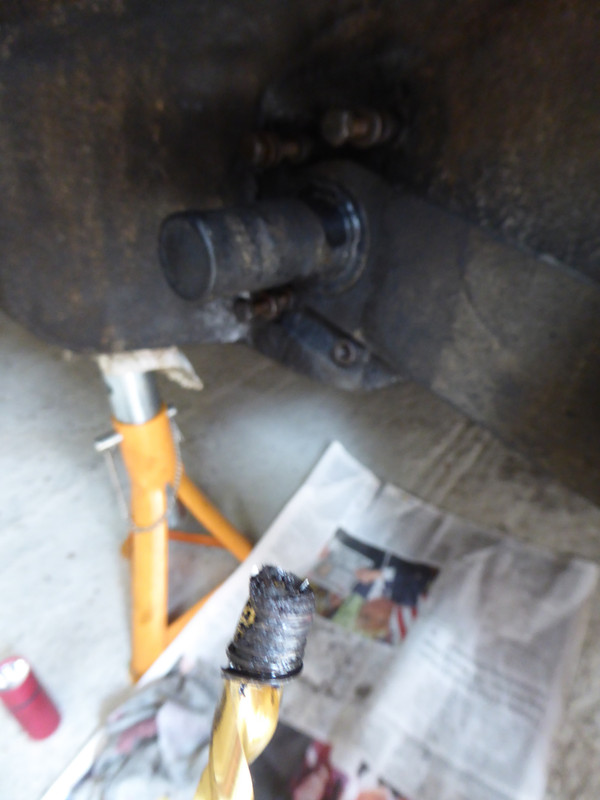
What’s worse than finding a maggot in your apple? Finding half a maggot. The same principal applies to rusty bolts in your rear suspension. Given my time again I would have bought a penetrating rust killer rather than trying to work the bolt out. Dan made me feel better by telling me 7 out of 8 of his had snapped…
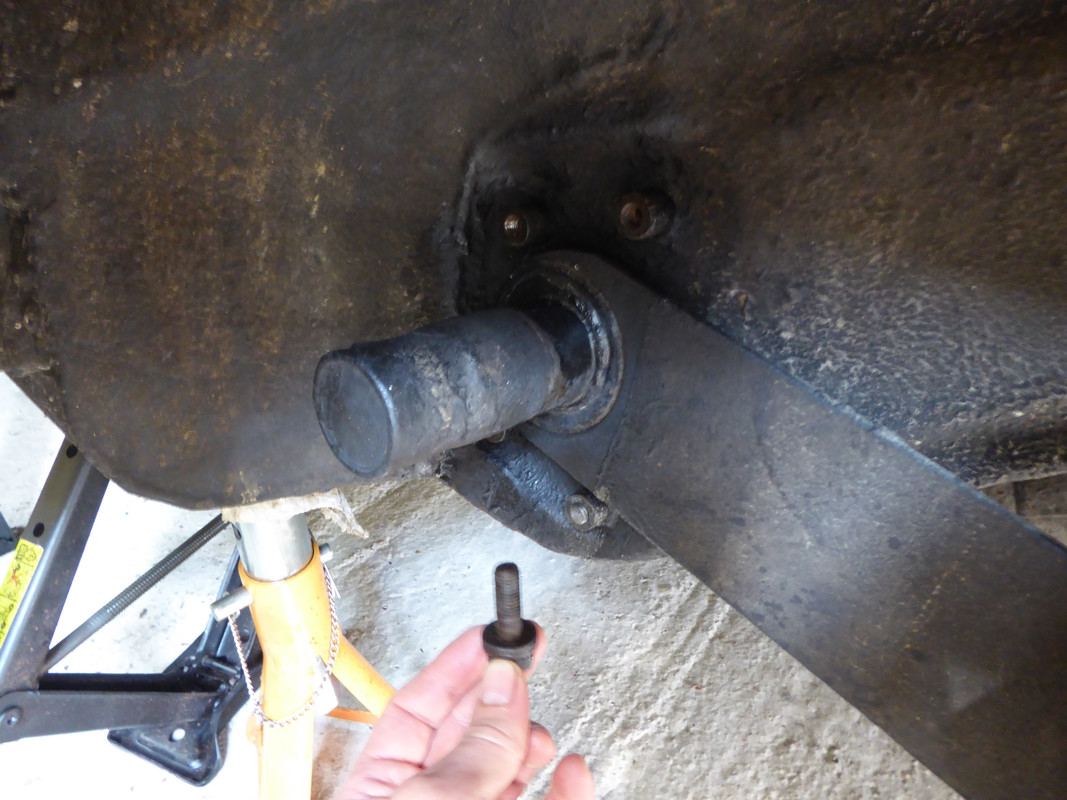
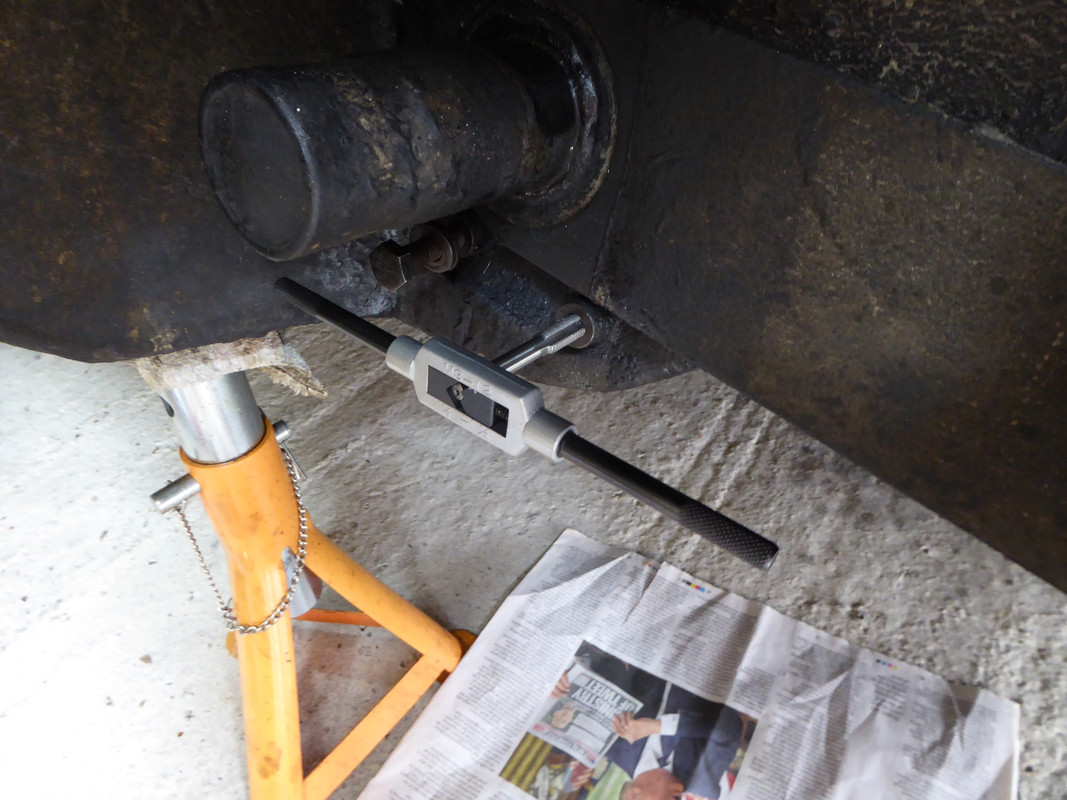
Finally drilling out the broken bolt with a reverse drill bit. Having not done this before I was worried about damaging the threads on the captive nut. Due to the narrow gap between the body and the bolt and the need to keep the drill bit straight I bought a Clarke angle drill adaptor from Machine Mart to drill out the bolt, however on first use the (not reverse) cobalt bits we’re slipping in the chuck and the angle drive failed. Does anyone have a sensibly priced solution for this?
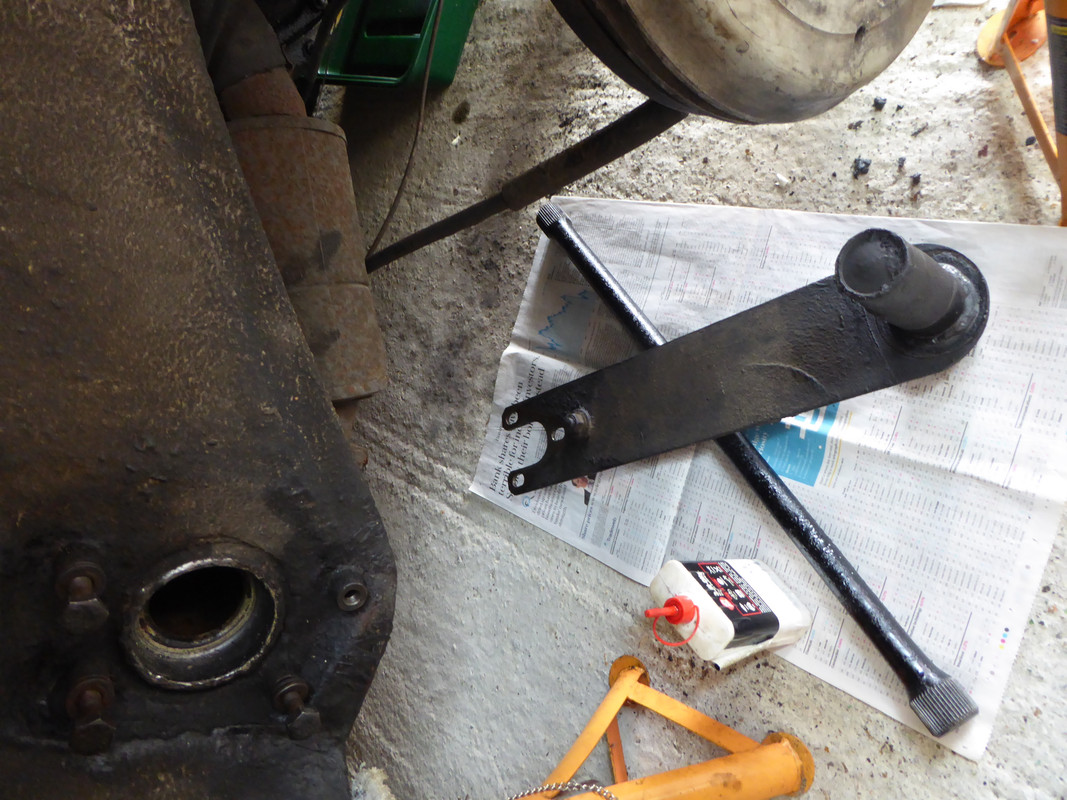
Cleaning up the threads
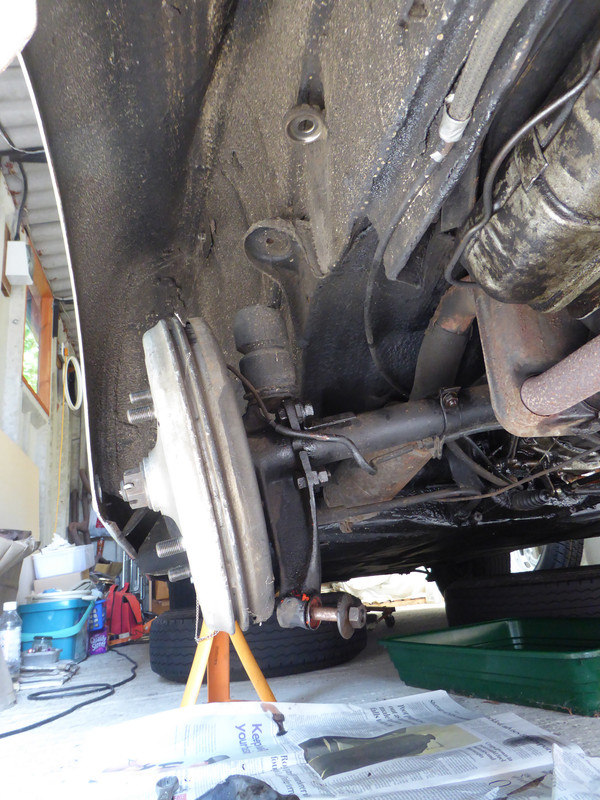
I worked round the radius arm easing it off a bit at a time with a large flat blade screwdriver. The torsion bar came out with a bit of wiggling
Homemade VW245a. At least in my case, the radius arm 13° angle in relation to horizontal described in the workshop manual / specs book for setting the ride height did not generate the correct factory camber. Maybe this is why you see some cars riding high at the rear?
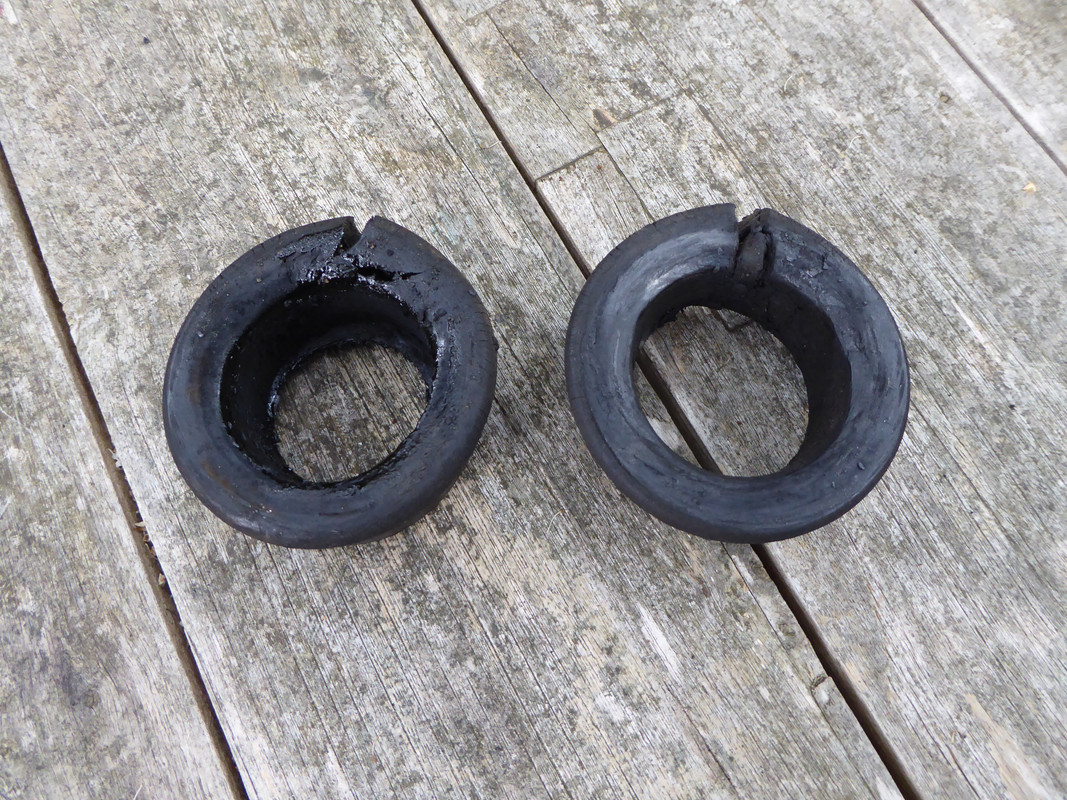
Old and new rubbers. Harder bushes are available but I decided to stick with stock. Per the manual I dusted the rubbers with locksmith’s graphite powder ordered on Amazon from China

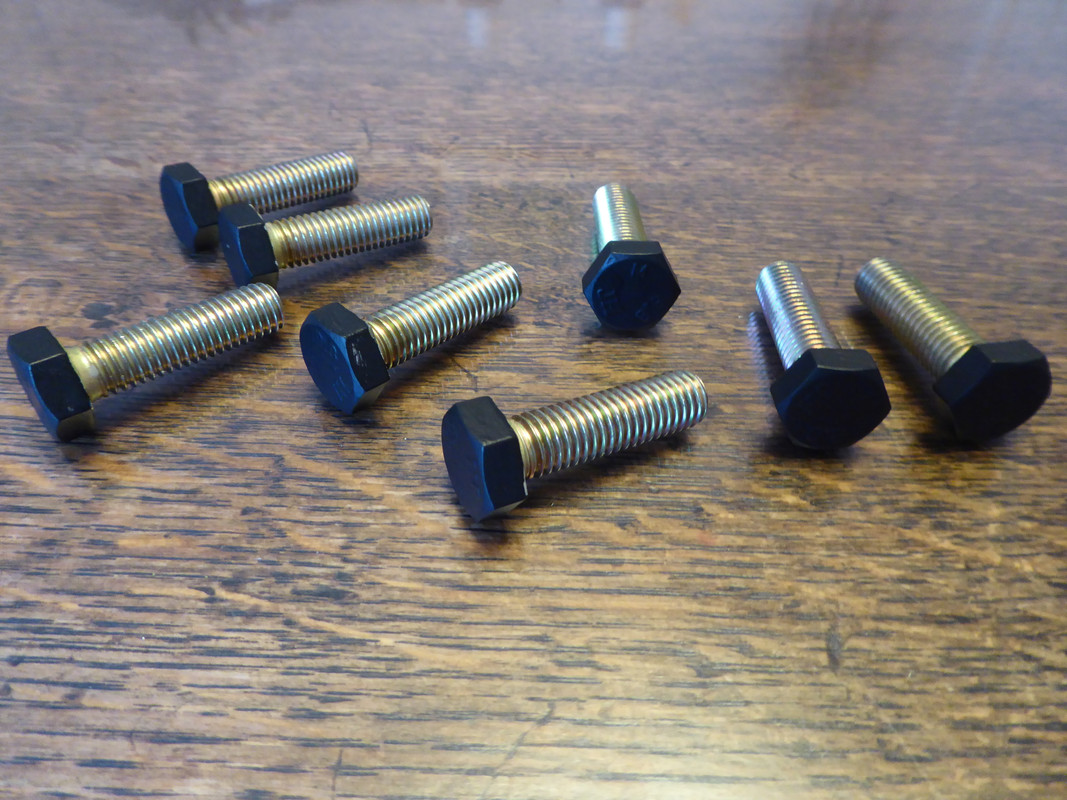
The bolts were already plated so I decided against black oxide. Rather than getting into black plating I primed the heads then painted them with some matt black my daughter was using on a model Lancaster bomber she was making. Annoyingly it was only after painting I realised Porsche had sold me 16mm ATF bolts rather than the correct 17
The book says 65 – 72 ib ft. I reduced this by 40% as I had liberally smeared the captive nut and bolt with Copaslip in case the next person to tackle this job was me. I’m not sure how much of the torque is to compress the rubber bush but this still felt pretty tight to me
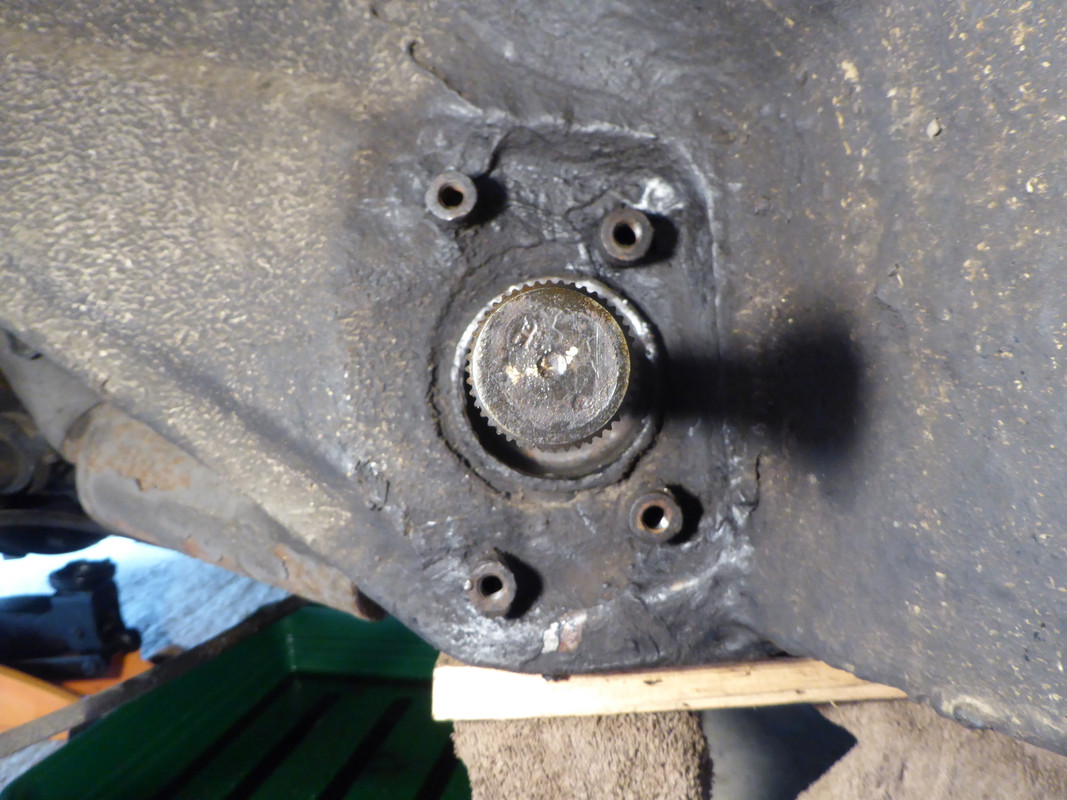
Having taken photos on disassembly, rather than trial & error I was able to use the H on the end of the torsion bar at 10 o’clock in this picture to return to the previous setting
and set the radius arm by the position relative to the lowest captive nut. (The radius arm may sit slightly lower with the new bush)
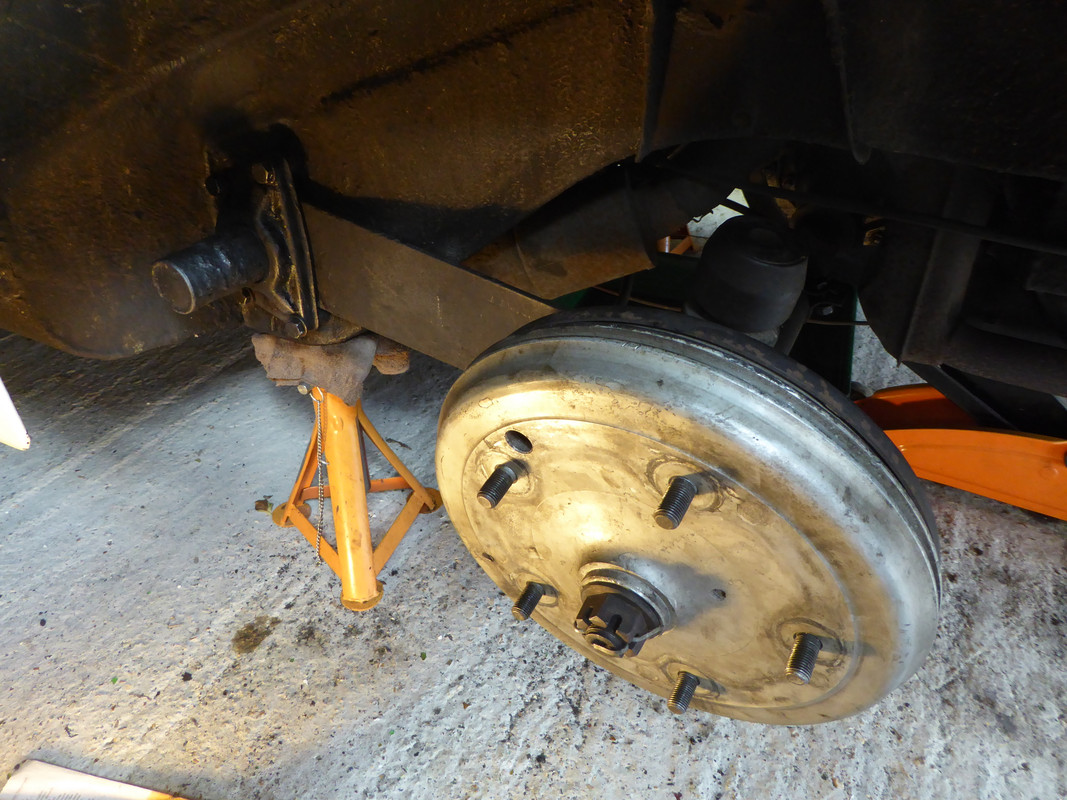
The passenger side was much easier now I had the knack of resting the axle as far back as possible on the jack from my wife’s Honda and lifting the radius arm up over the axle, plus all the bolts came out. The split rubbers on this side were probably the source of the squeak
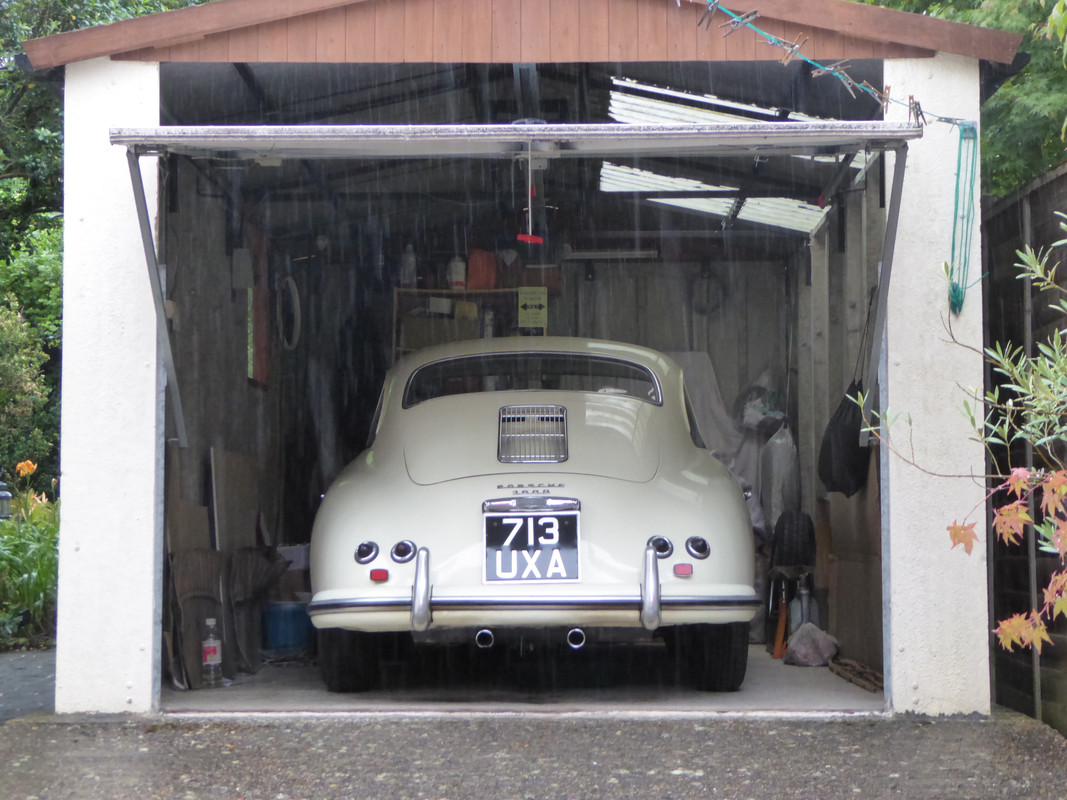
A double garage would have been handy for this job to save shuffling the car over to do each side. Thanks to Dan and Dave for advice along the way