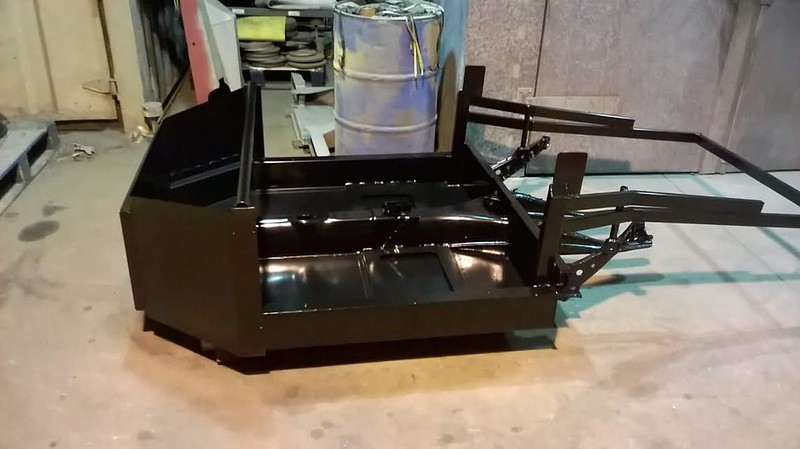
I had Friday off work last week and had 2 tasks on my list of things to do: Rear Trailing Arm rebuilds (ready for when the suspension goes to Red 9 for fitting and set-up next month) and Fuel Tank modifications to fit Suburu in tank pump into beetle fuel tank.
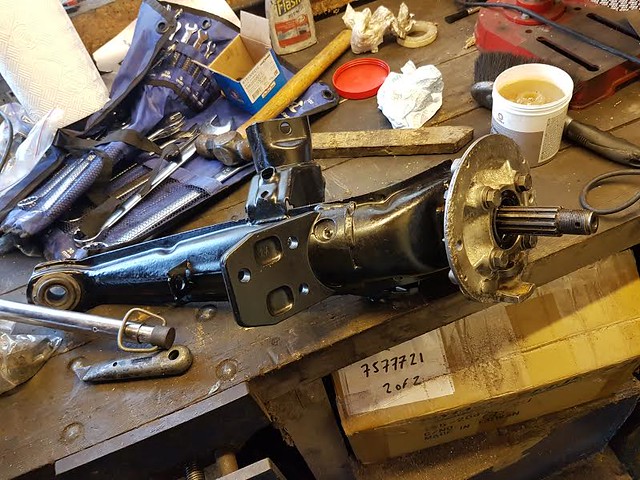
The Rear Trailing arm rebuilds went pretty much to plan just installing new bearings and seals, used the diagram I found on the Internet to make sure I got everything in the right place.
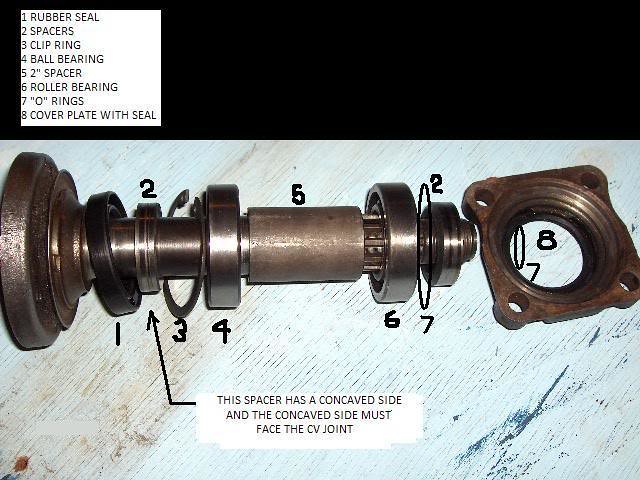
One schoolboy error I made though was I didn't realise that the bushes had an inner and outer metal sleeve and I left the outer sleeve in when I got the arms powder coated. Had to cut these out with a hacksaw so that I could get the new ones in. Got the new ones pressed in at my local garage for a donation to their tea and biscuit fund....
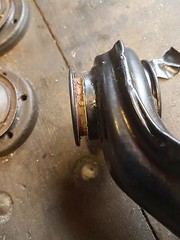
And here is one of the arms all assembled - just need to re-install the brakes when I get the chassis back home...
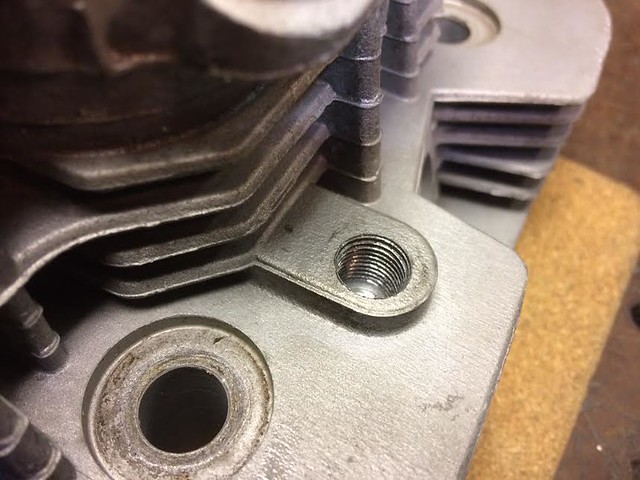
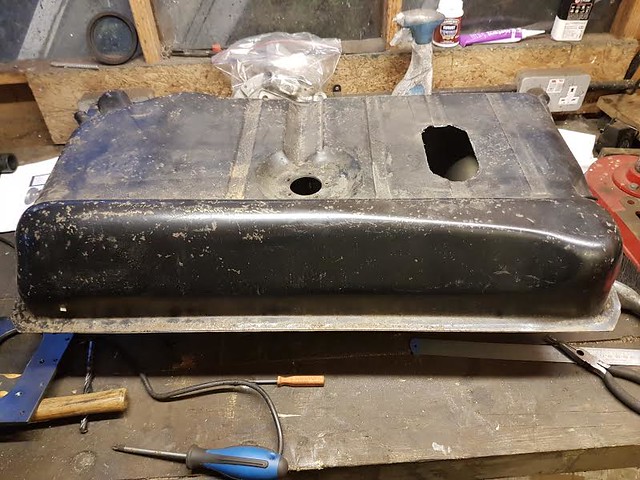
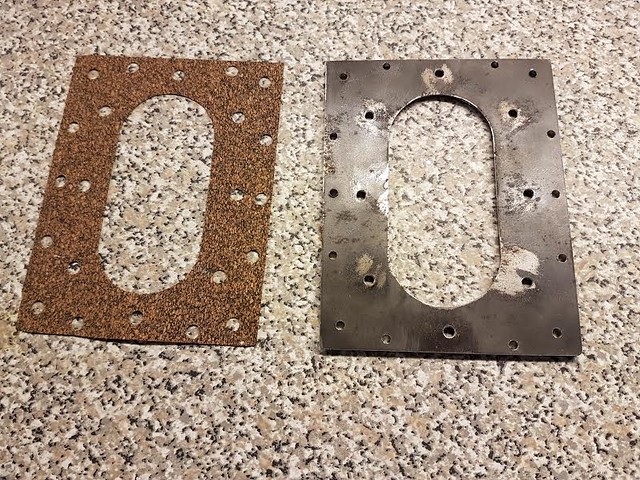
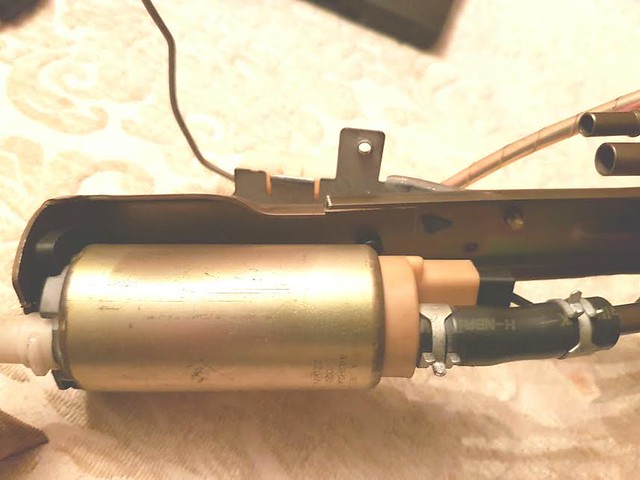
For the fuel tank, I had bought a pretty good original Beetle tank with just a bit of surface rust (£10) and a Suburu in-tank fuel pump set-up (£10) along with a AMF fuel tank adaptor (£28) all from EBAY. The AMF Fuel Tank plate is basically a laser cut plate that allows you to bolt up a Suburu pump to the plate. One word of warning on this is the holes for mounting the pump to the plate are also made with a Laser Cutter and therefore need careful drilling to ensure that when you tap the holes you can get a good seal around the threads. I decided to fit the plate with a cork gasket and nuts and bolts into the tank as I prefer this to welding a second hand tank.
This first picture is of the tank with a hole that I cut in it with a Dremel.
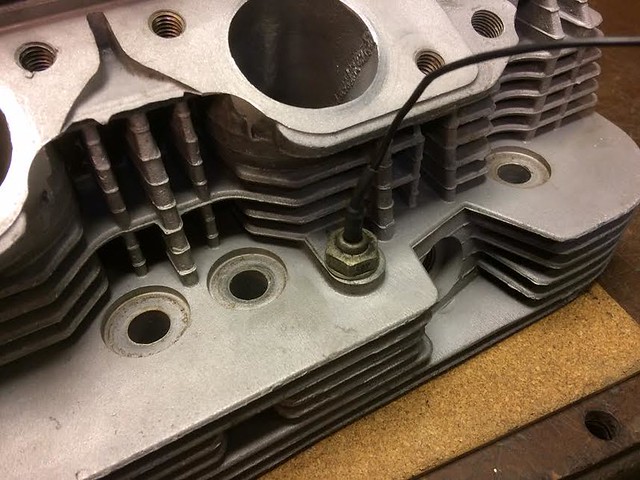
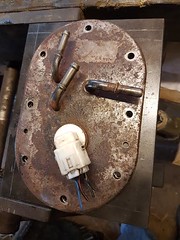
This is a picture of the pump where I fitted it up to the plate.
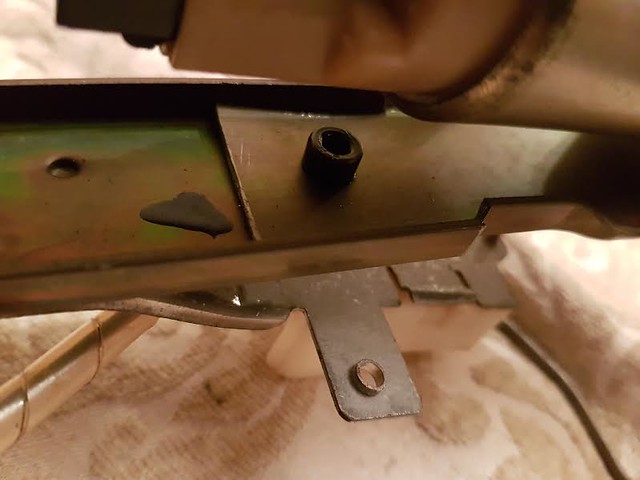
Here is the finished plate along with the gasket I made from a sheet of Cork Gasket material.
I also had to shorten the stem and the fuel delivery pipe on the Suburu pump by 5.5cm nad 5 cm respectively so that the that the feed pipe sits at the bottom of the beetle tank. I did by cutting through the main bar that connects the pump to the mounting plate then cutting off each side so that the two pieces would join together and just secured with a single bolt and locknut. I also had to make a slight bend in the sender wire to get it to cover the full empty to full range on the tank.
Just need to clean out the tank now of all the drilling debris and then fill in the two ridges on the tank with filler, bolt it all together with plenty of thread sealer and then paint it and make a blanking plate for the original Sender hole and then the tanks done.


he put mine together towards last year.