Page 1 of 3
73T - Brake & Suspension Refurb - Part 2 - Refurbishment
Posted: Thu Sep 18, 2008 8:25 pm
by Highfield
For those of you following my brake and suspension refurb here on DDK,
http://www.ddk-online.com/phpBB2/viewtopic.php?t=21731, I am now moving to the refurbishment phase.
I already have a number of new and nearly new parts on the shelf, but the parts removed from the car that are not being sold, will be either powder coated or yellow zinc plated.
The first batch is off to Redditch Shotblasting (
www.redditchshotblasting.co.uk) who specialise in this area, and have been seen at the NEC Classic Car Show, so lets see how they come up price and quality wise.
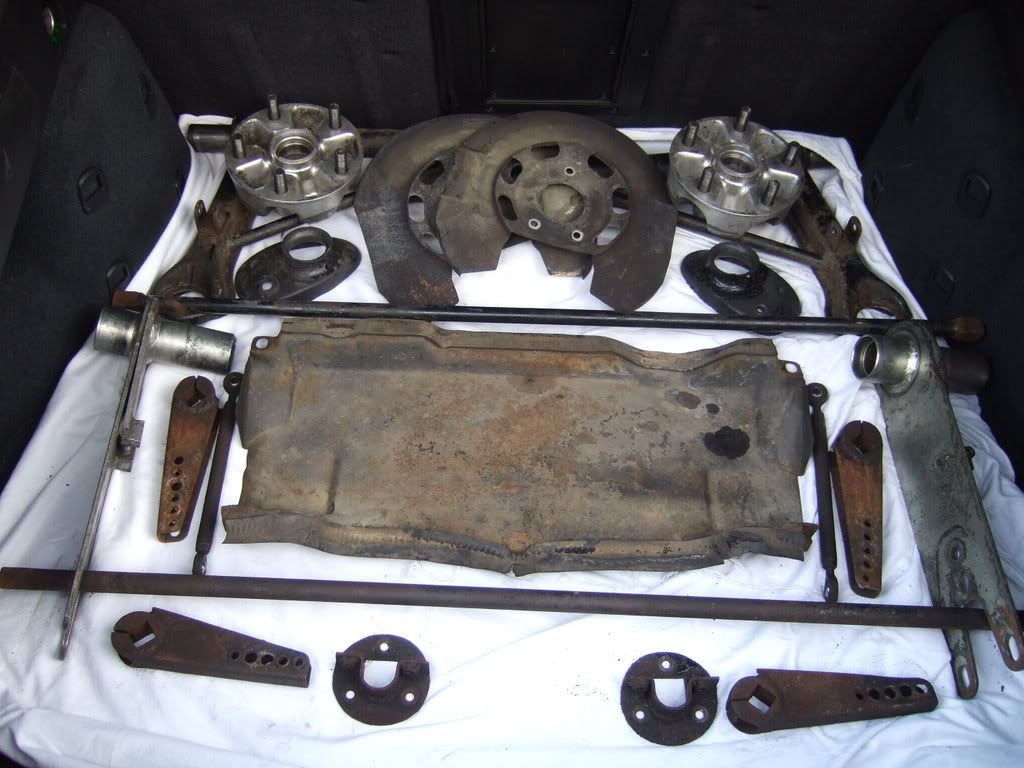
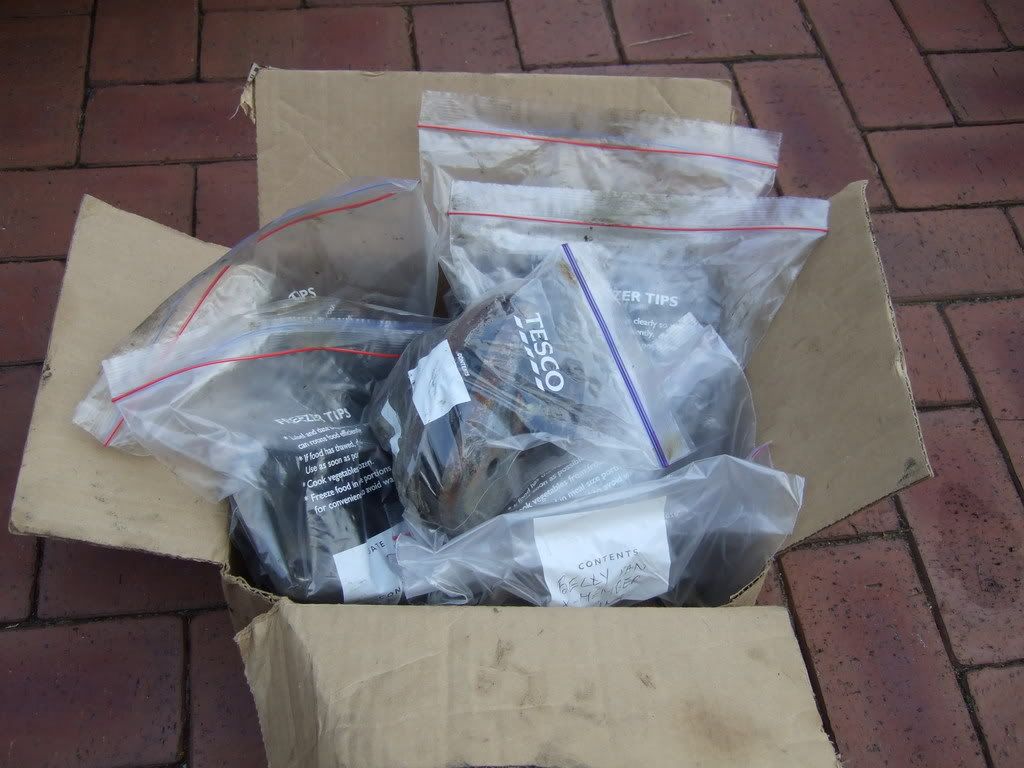
I have filled the Alfa boot for now, and have a box of ziploc bags labelled as Front / Rear right or left and 'general'. I don't for one moment believe they will come back grouped like that, so my problems may begin in identifying what goes where.
Ian
Posted: Thu Sep 18, 2008 8:48 pm
by hot66
great threads Ian

As you know I'm a great fan of fully documented work like this as it is a great reference for people in the future

Posted: Sat Sep 20, 2008 1:44 am
by Rich Lambert
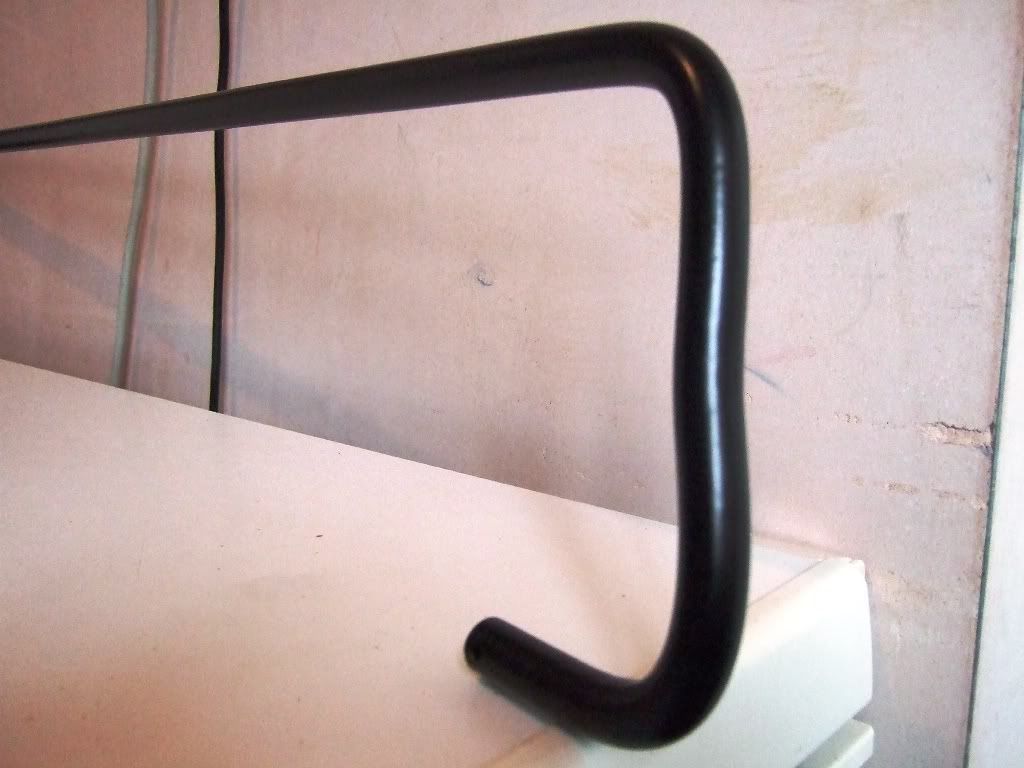
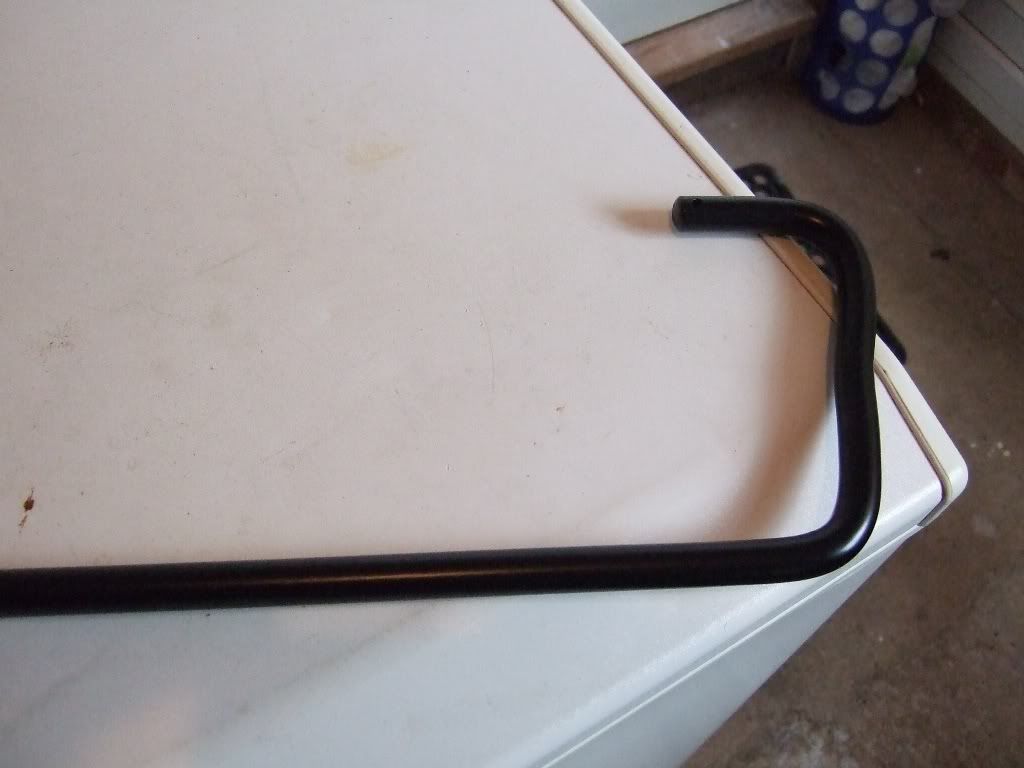
Ian, are those homemade swaybar brackets? If so, what a creative solution for adjustability.
Are you having the front hubs plated?
Posted: Sun Sep 21, 2008 6:33 pm
by Highfield
Rich,
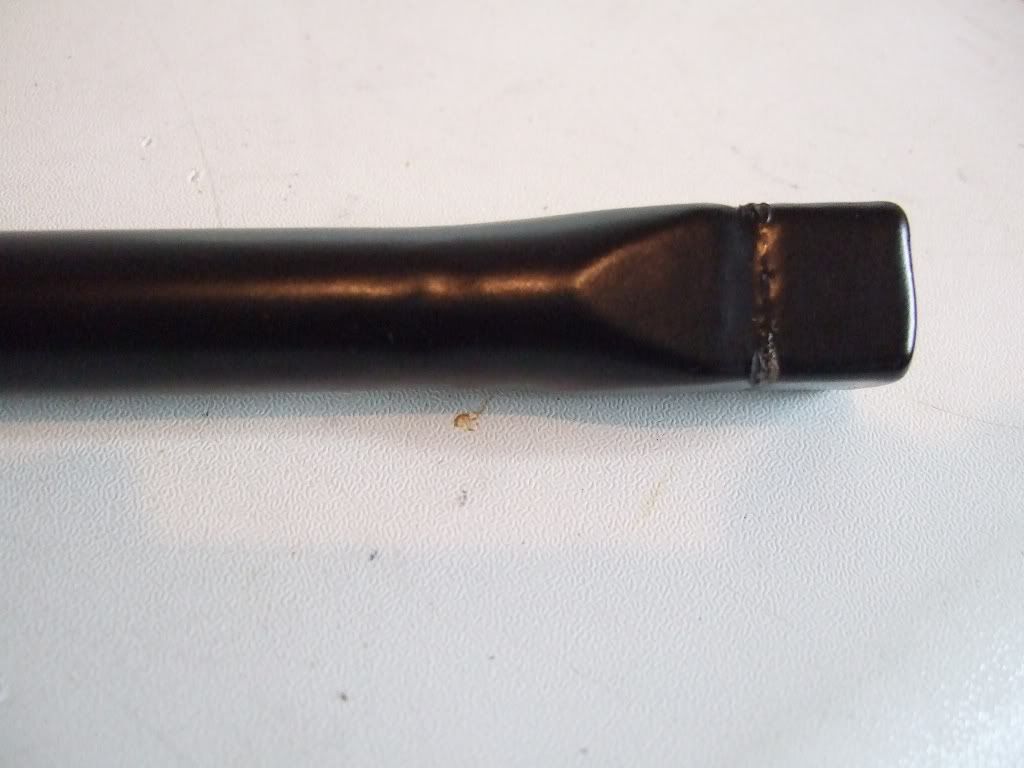
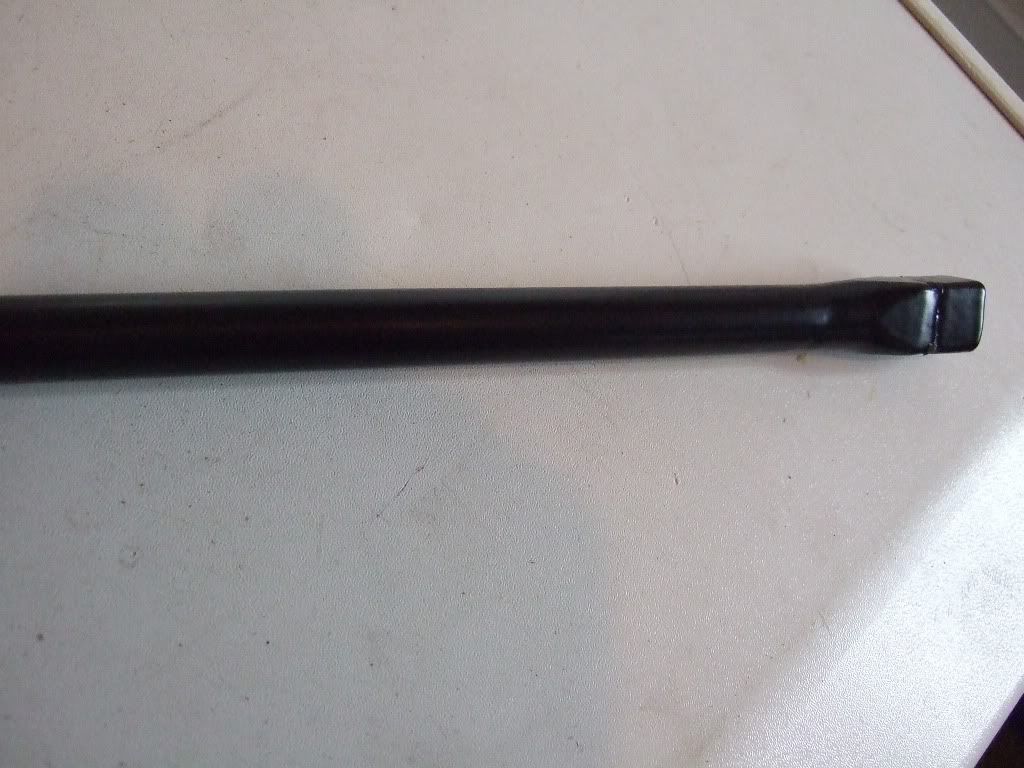
The sway bars were purchased off a 911E 'racecar', and I am trying to trace the manufacturer if anyone can help.
The levers are fixed with a single allen key, and have the drilled holes that take a drop link that has rose joints in it - parts can be seen in my 'car boot of parts' picture above.
If by the mounts you mean the round brackey that fits to the inner wing, then this is very like this which is from a 1974 RSR 3 litre :-
http://www.pbase.com/slidevalve911rsr/image/56769706
Neil Bainbridge (thanks to pointer from Mke B) is going to help source rear drop links.
The hubs were taken along to simply be blasted (water ?) to get them nice and clean - no plating to be done there.
Ian
Steering Rack and Turbo Tie Rods
Posted: Sun Sep 21, 2008 6:42 pm
by Highfield
Wayne Dempsey Project 59 - Turbo Tie Rods
Posted: Sun Sep 21, 2008 6:52 pm
by Highfield
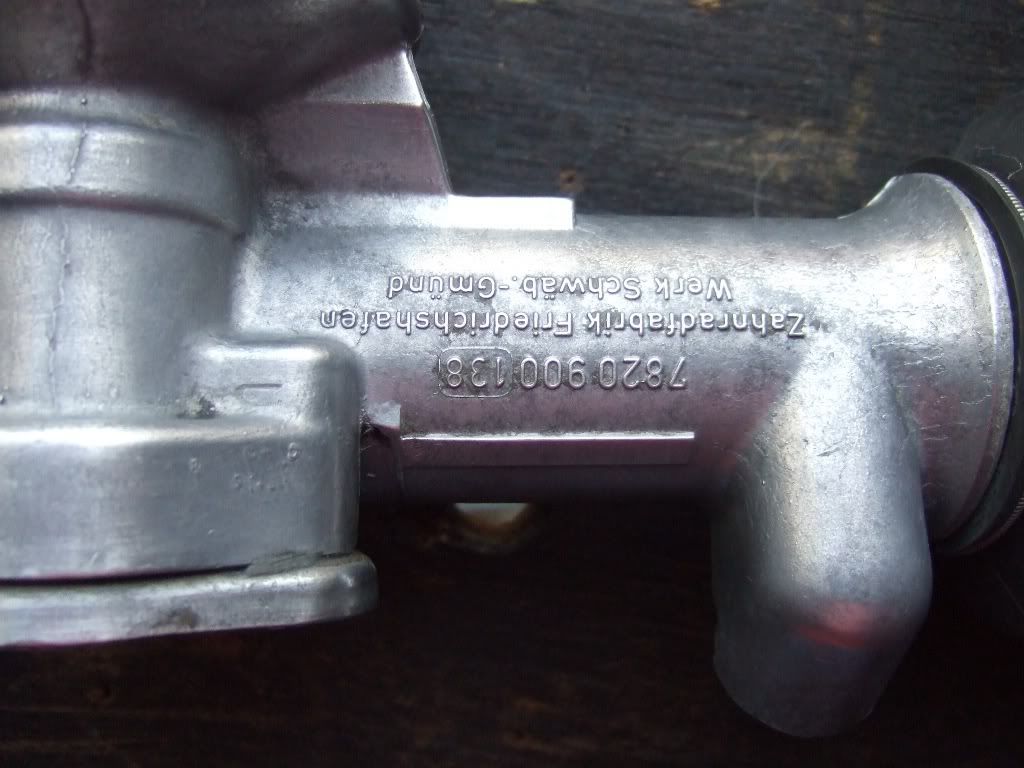
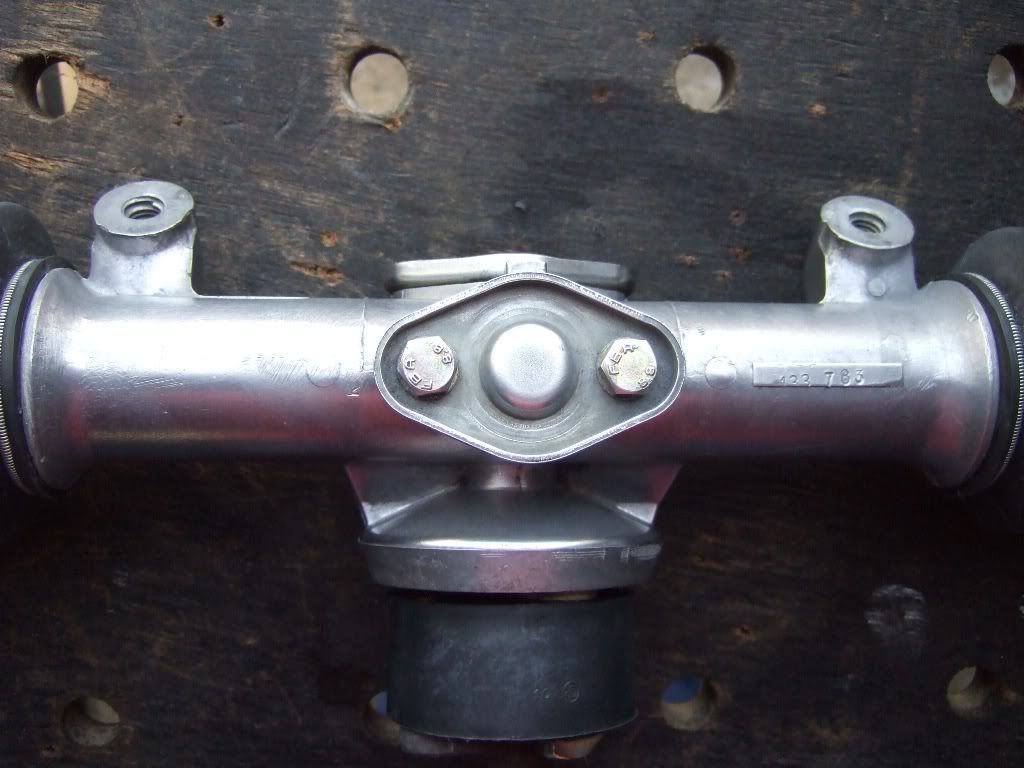
Wayne's book really explains this well, so here are the shots of my progress.
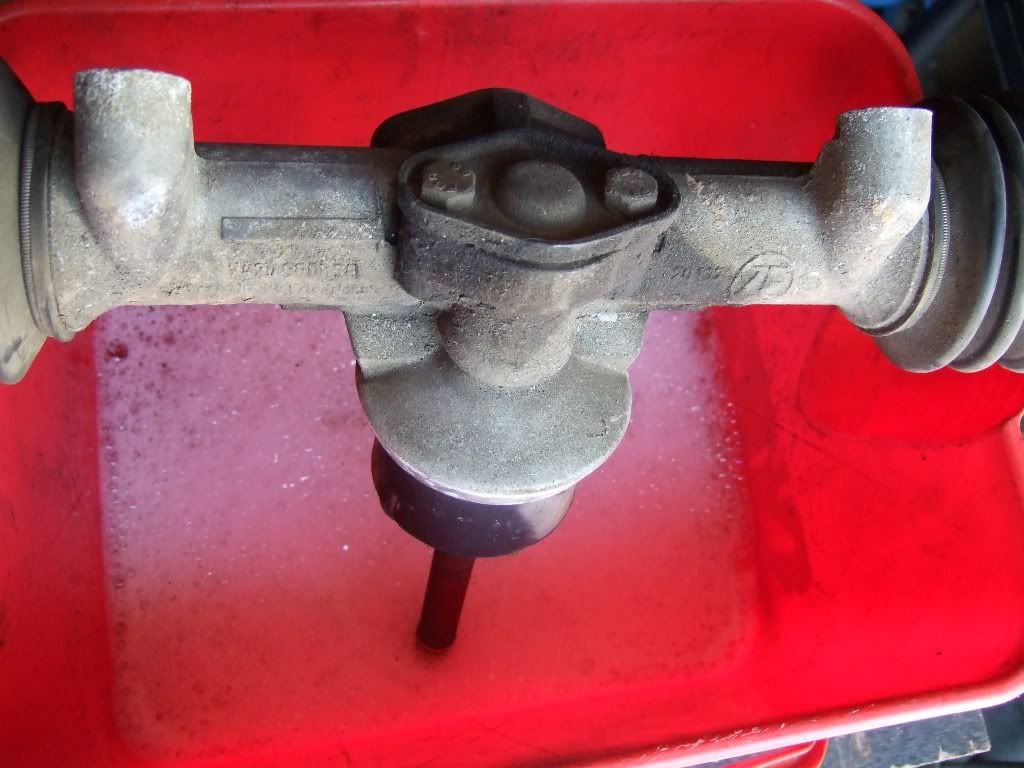
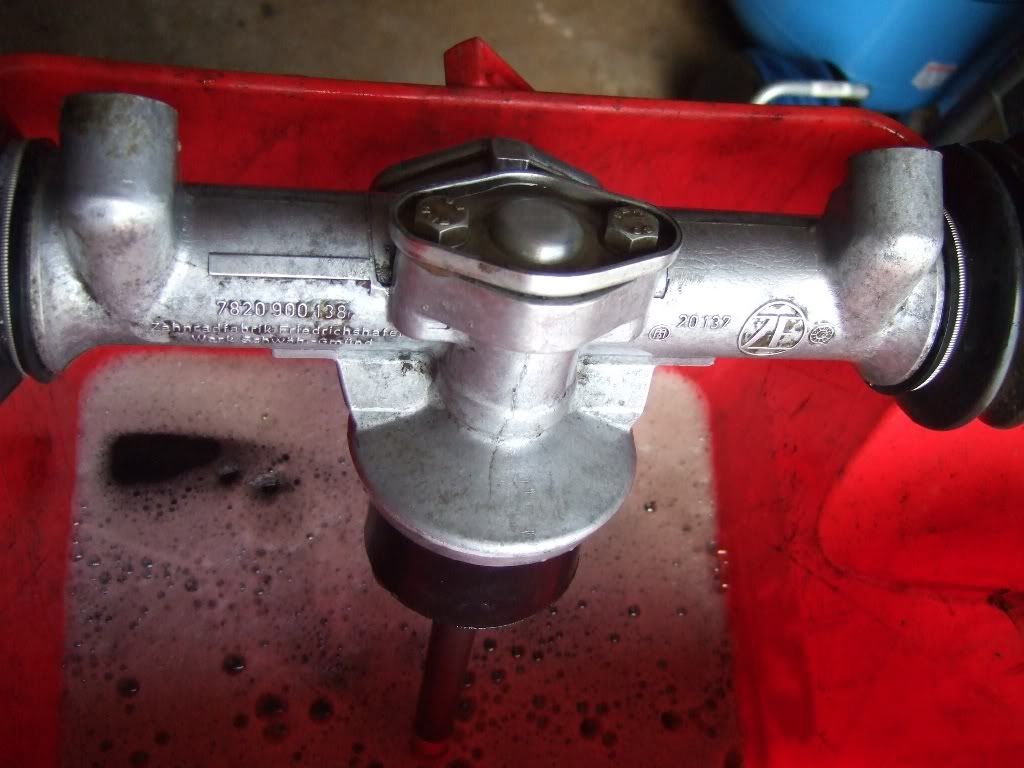
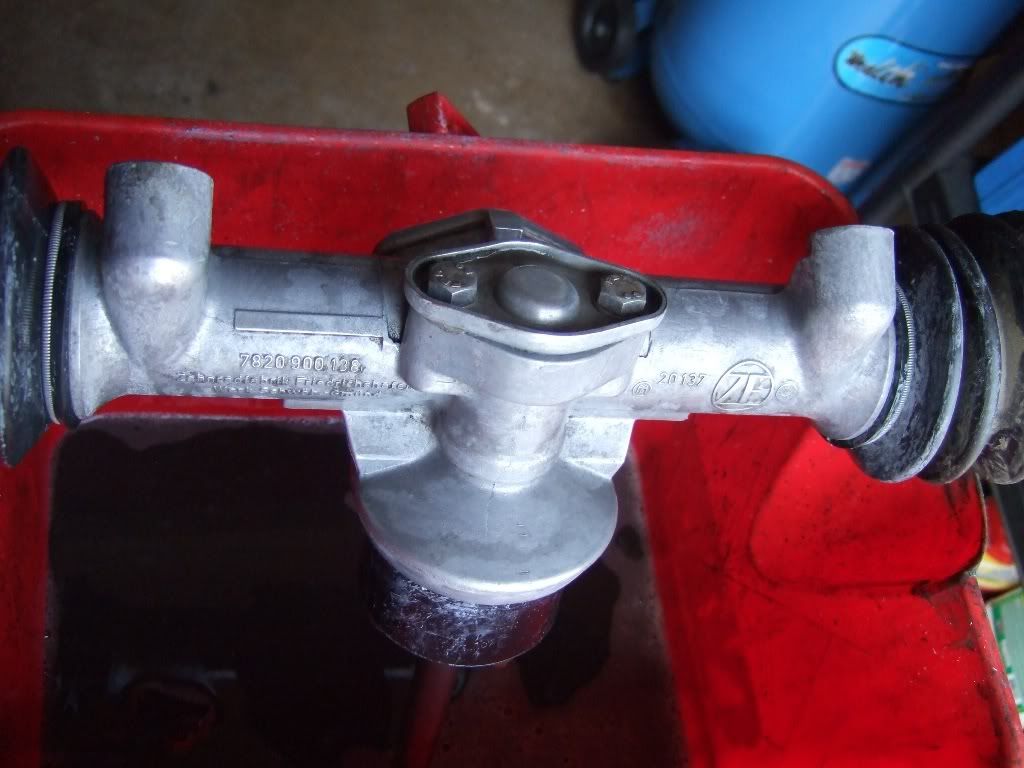
I wound the old tie rod end back on to form the lever to remove the whole tie rod, this after releasing the spring fixings - remember to leave the inner spring fixing on the rack for later use.
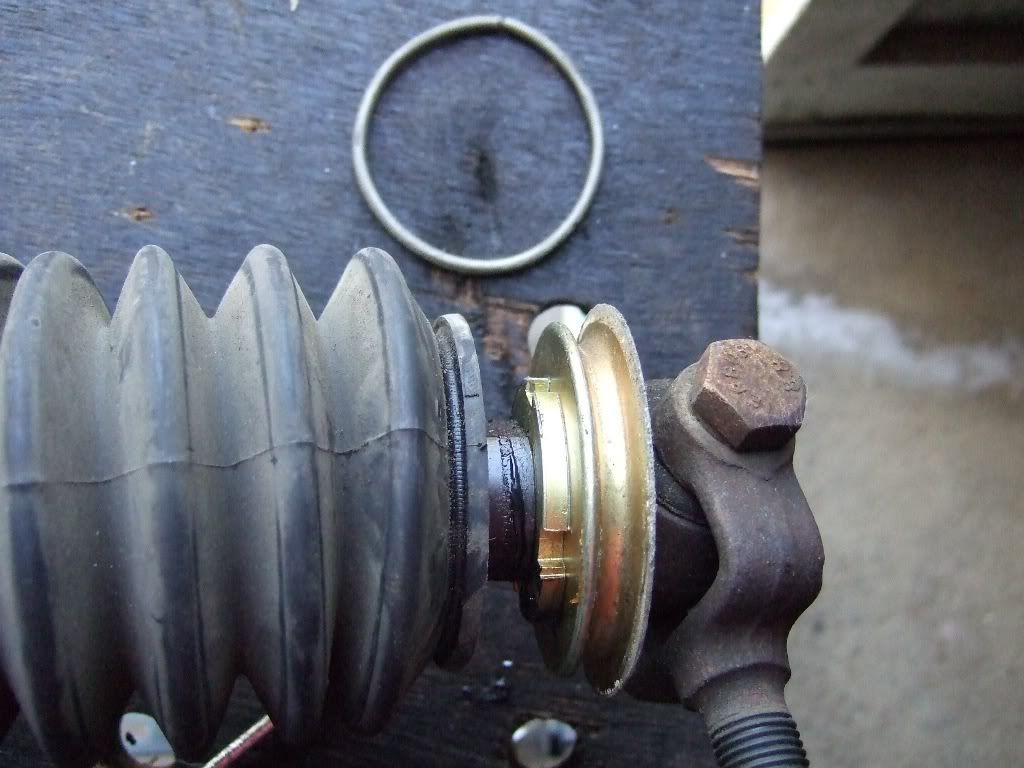
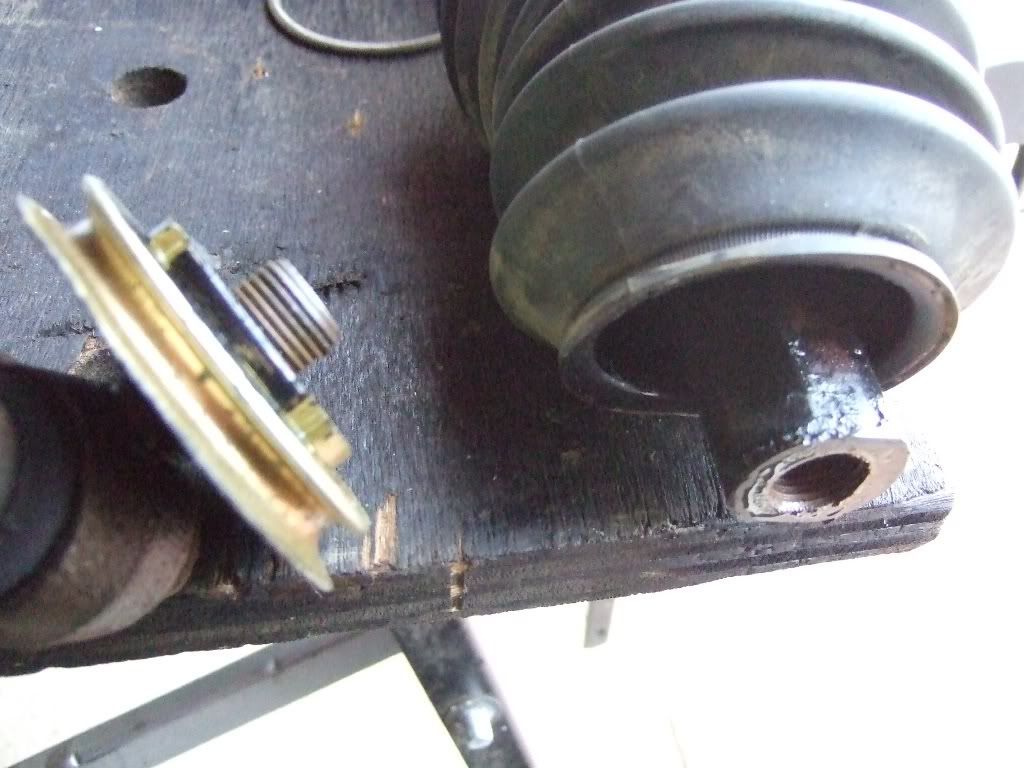
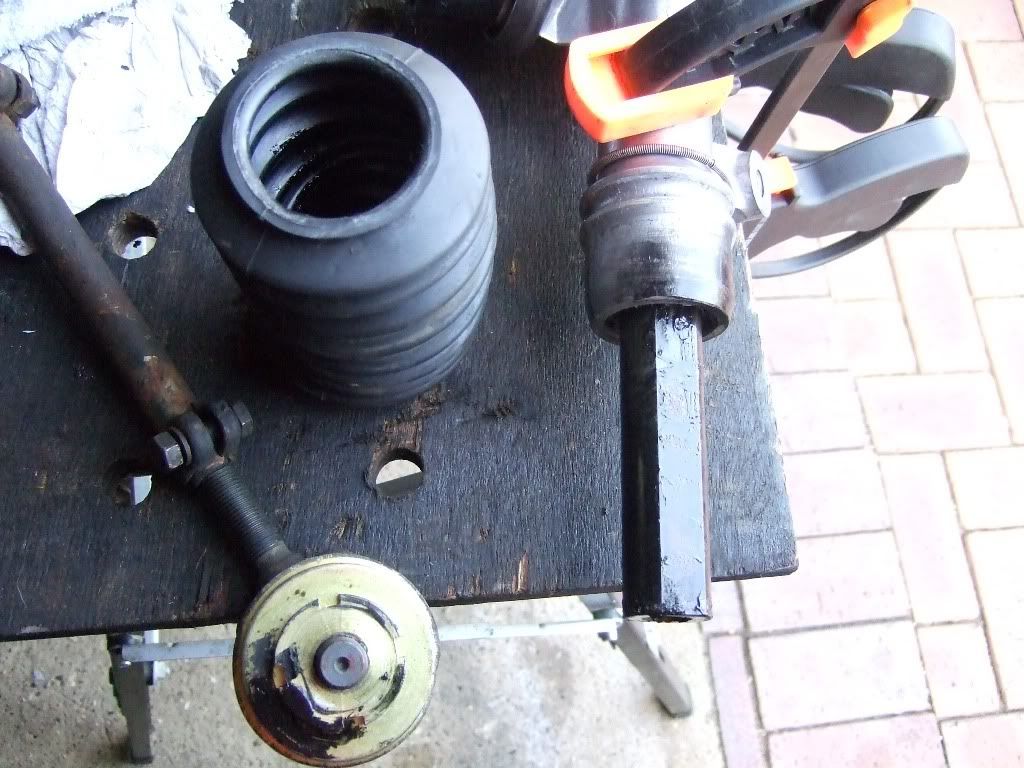
The new turbo tie rod screws in and unless you have a large open ended spanner, is tightened with mole grips.
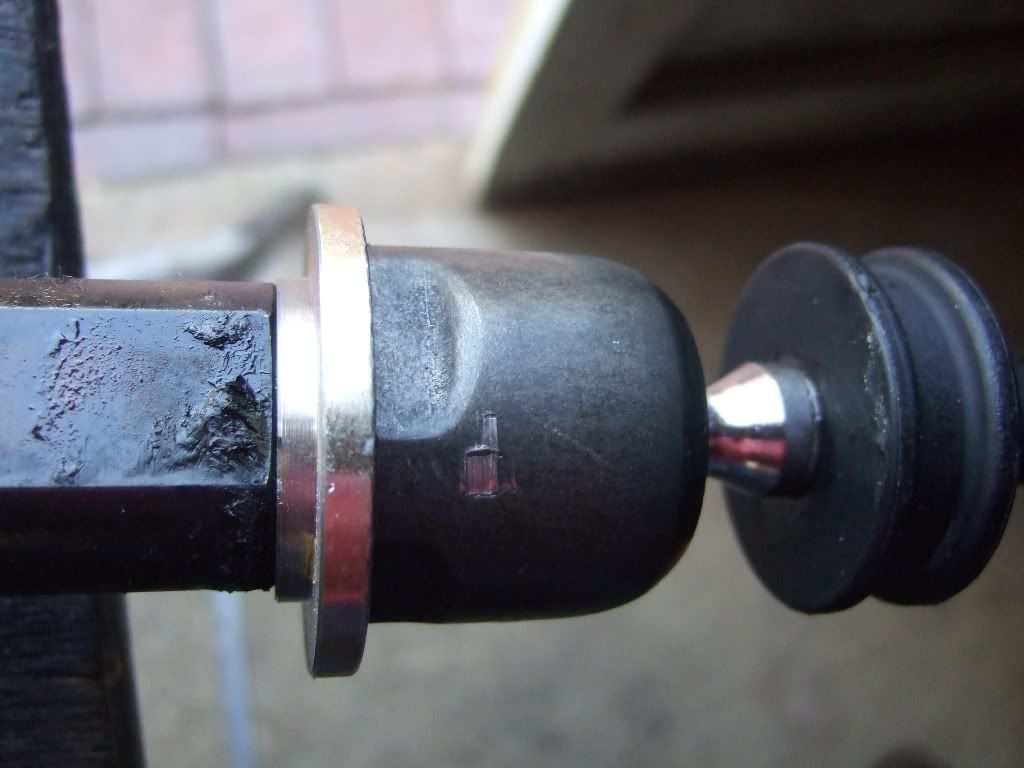
Then remove the tie rod end and feed the rubber boot over the end and affix using the spring retainer (that you left there).
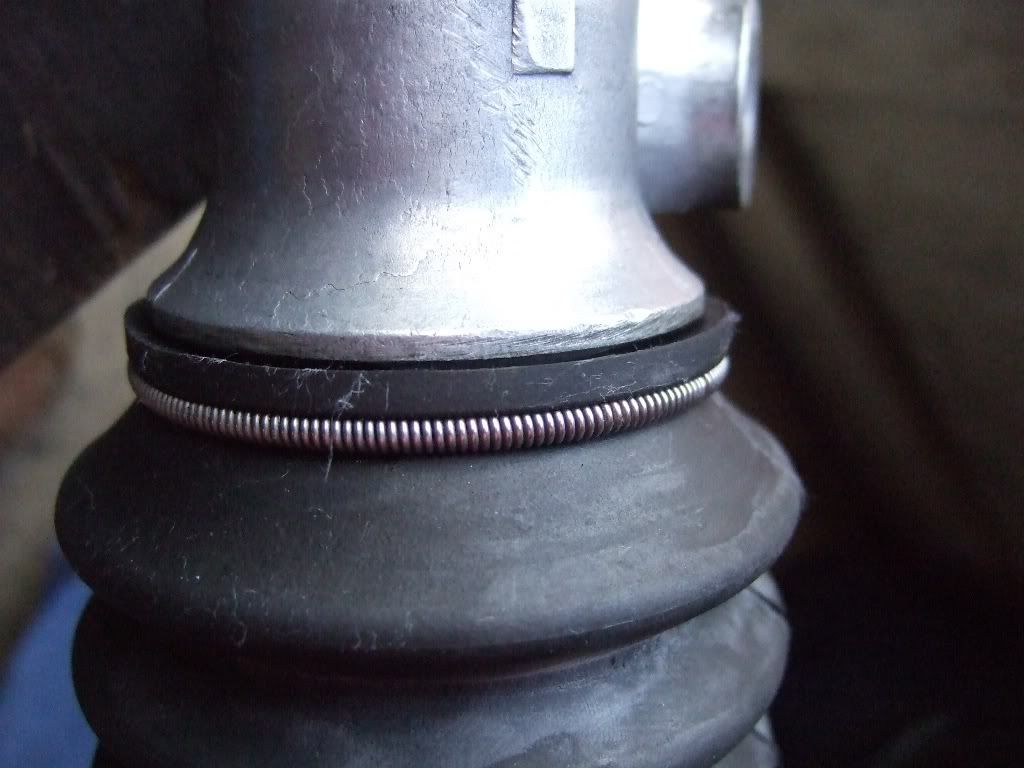
The other end of the boot seems to fit over the rubber on the tie rod, but there is no fixing supplied.
Question - should this have a clip or perhaps a cable tie around it ?
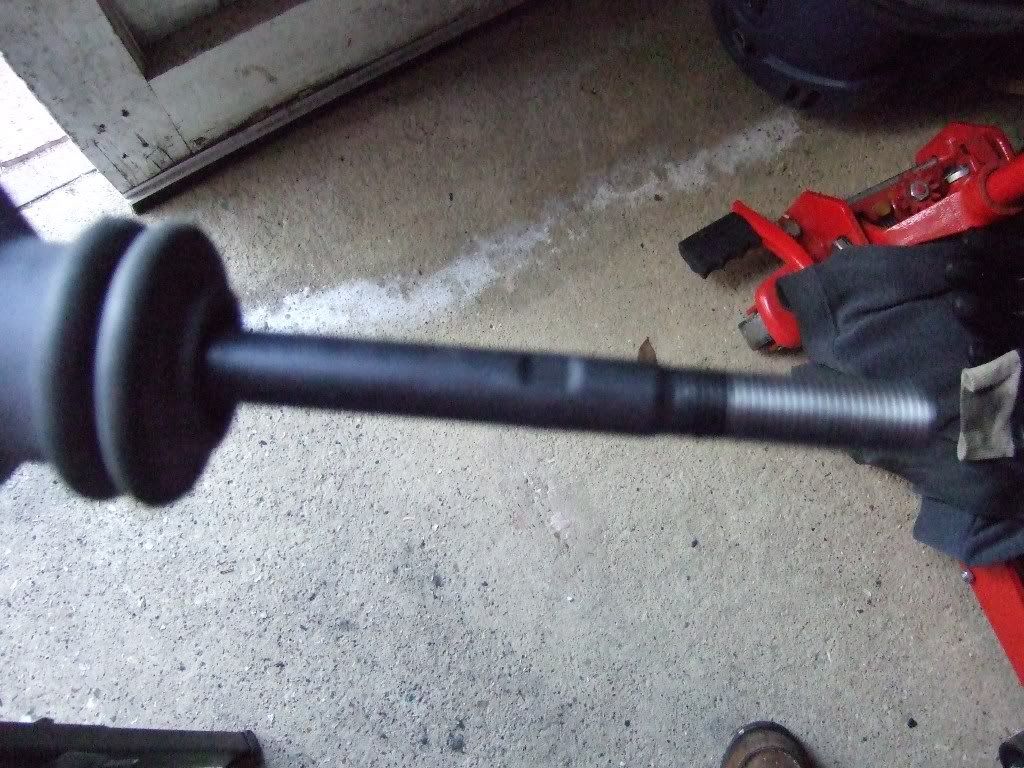
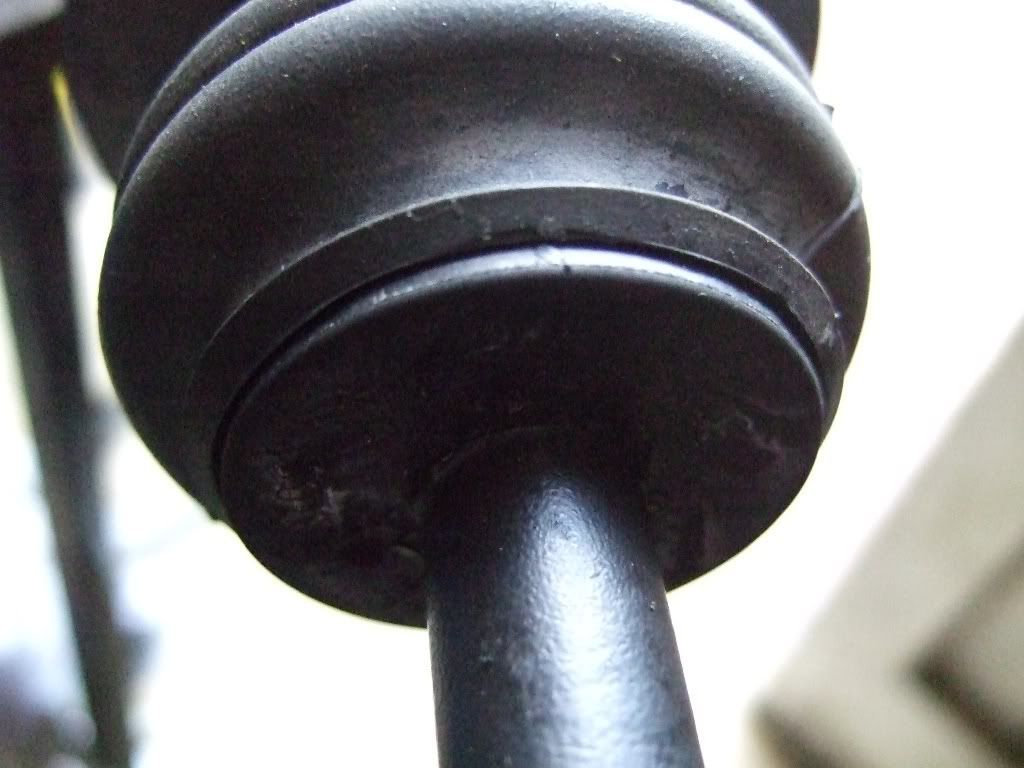
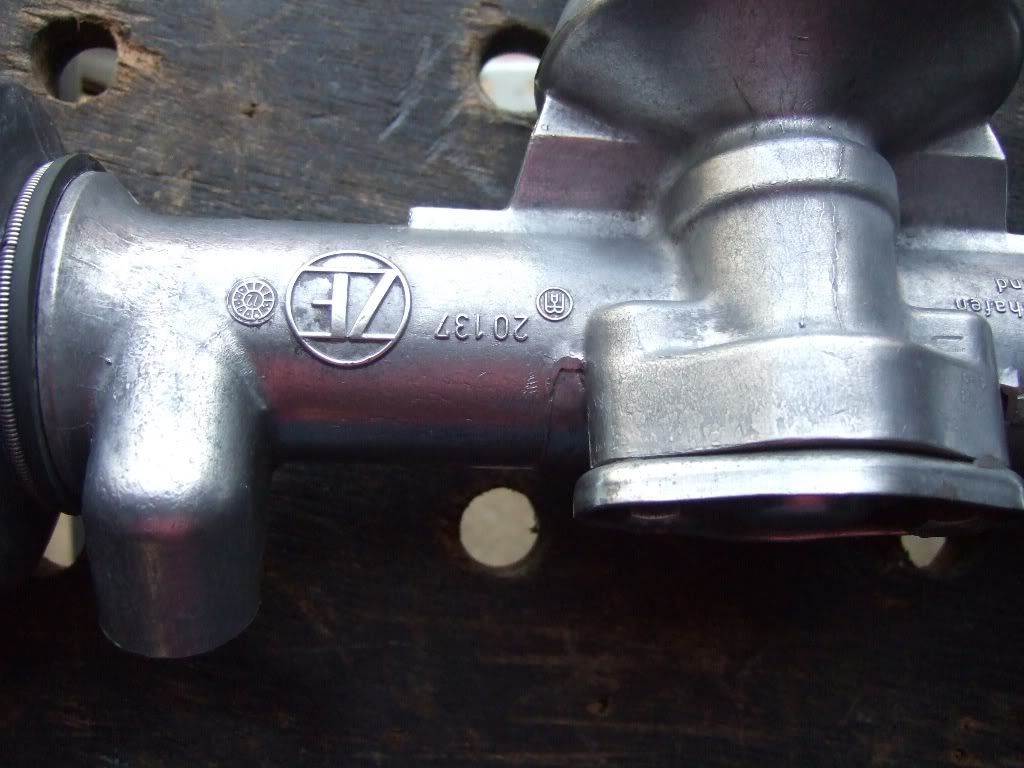
The other side is the same, and then we have one completed cleaned rack with tie rods.
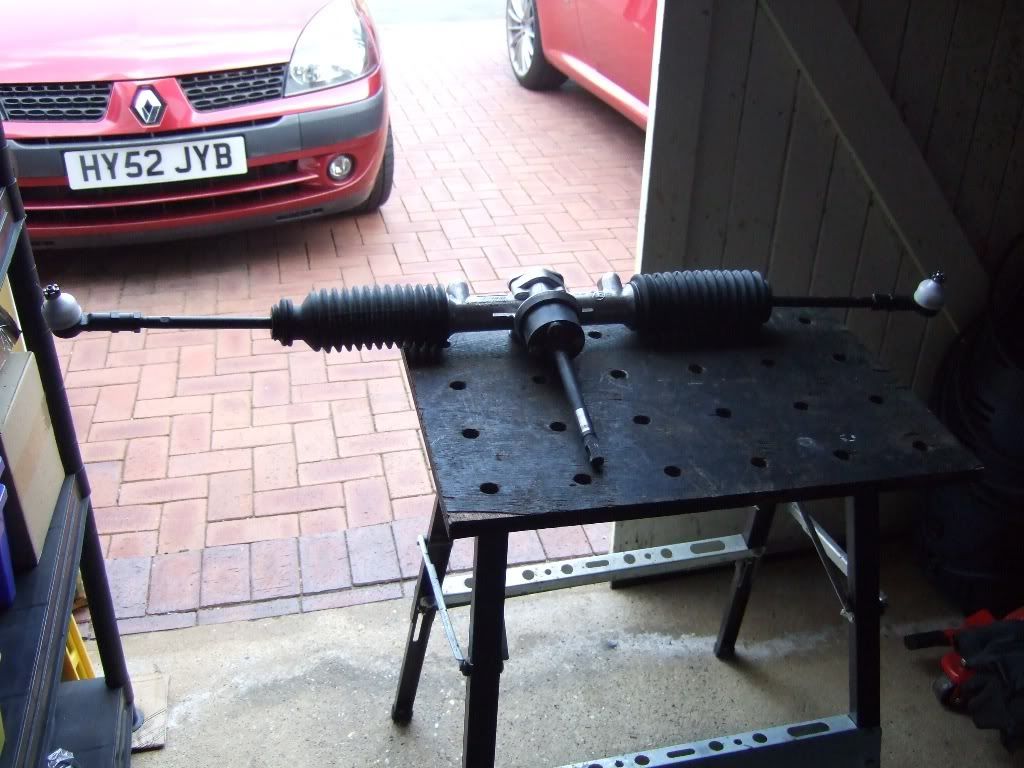
I had not measured the end to end distance on my rack when it was removed - mistake - learn from it next time
The final job was to clean the plastic cover and rubber bush / bearing that go in the smugglers box.
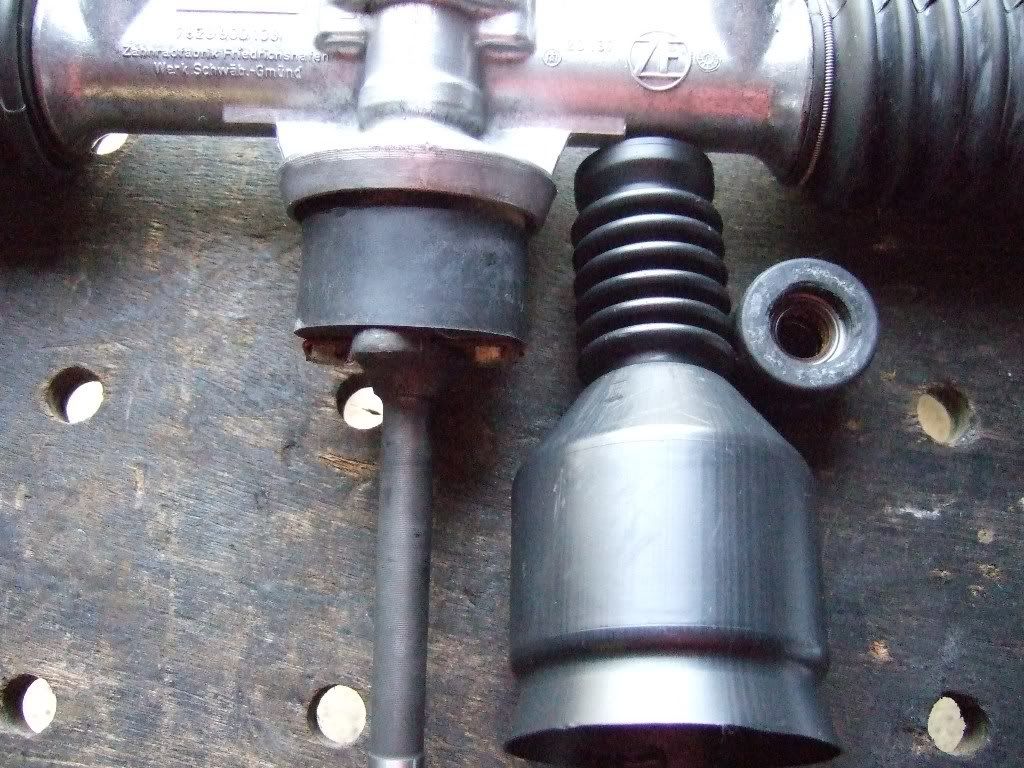
Ian
Posted: Sun Sep 21, 2008 8:05 pm
by 912uk
this is great as it's a to do job on the 12
Posted: Sun Sep 21, 2008 8:27 pm
by Grewham
I shall be refering to this thread also when i start in ernest on my S project..Good job Ian

Powder Coated A-Arms and Ancillaries
Posted: Fri Sep 26, 2008 8:25 pm
by Highfield
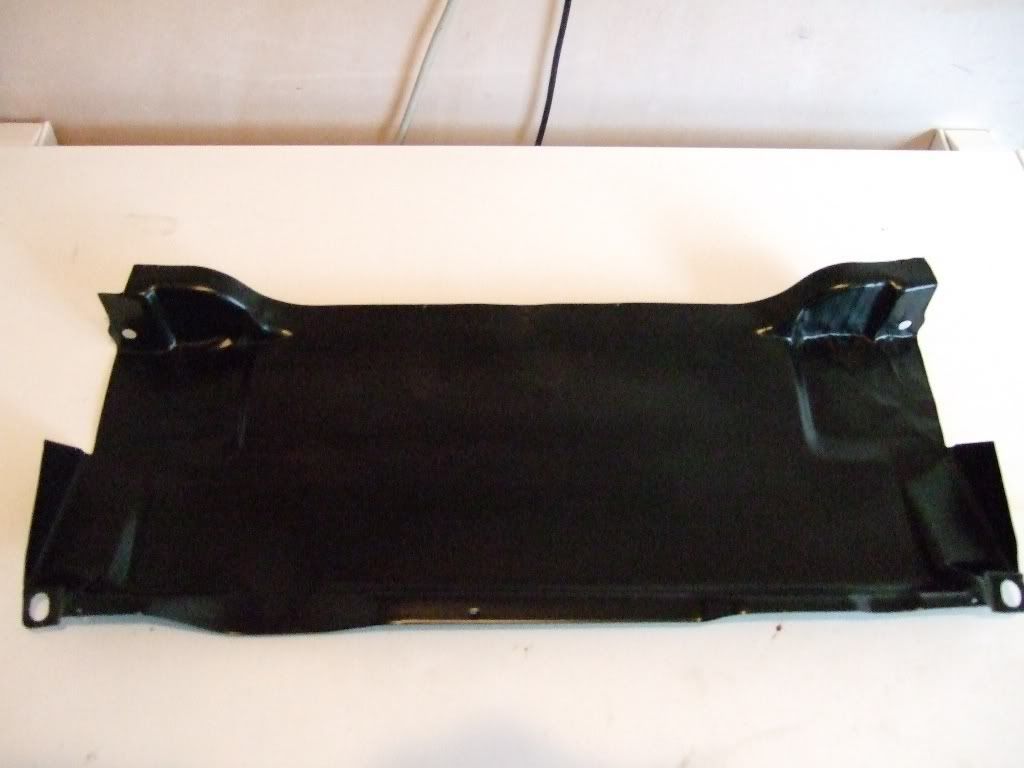
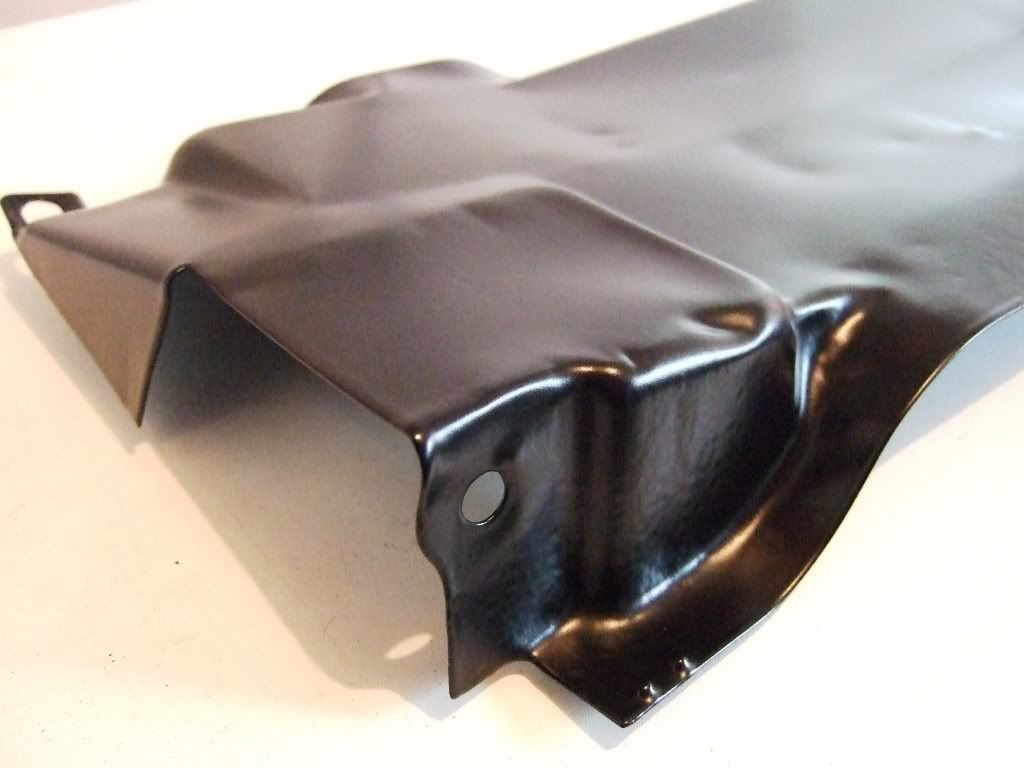
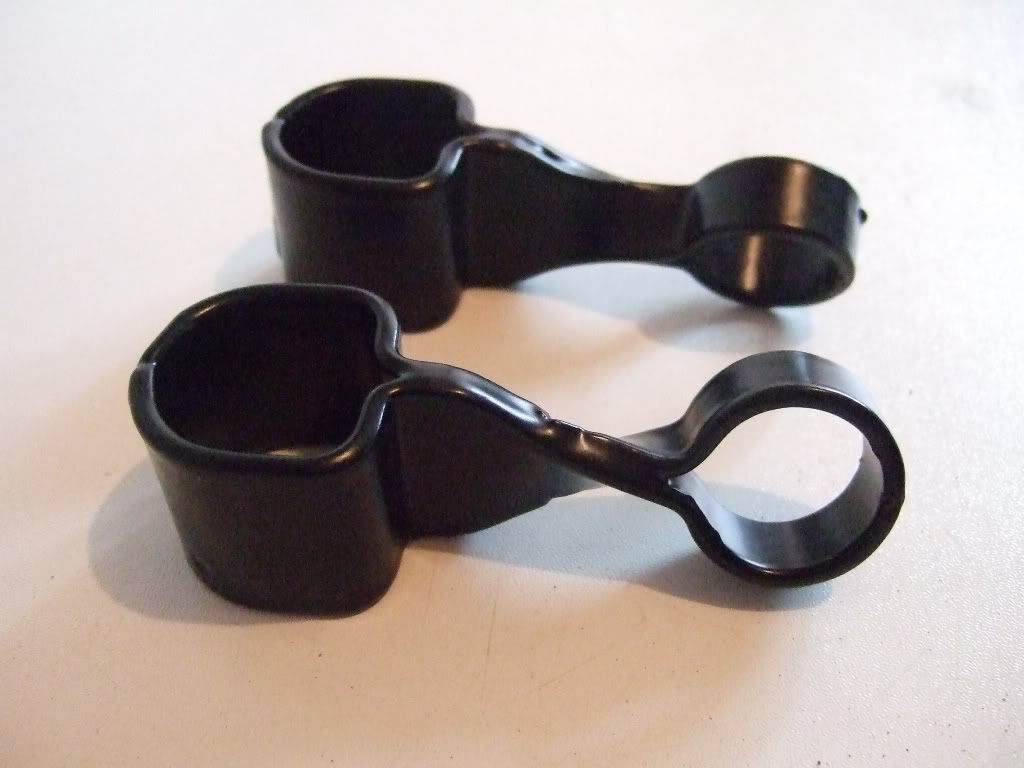
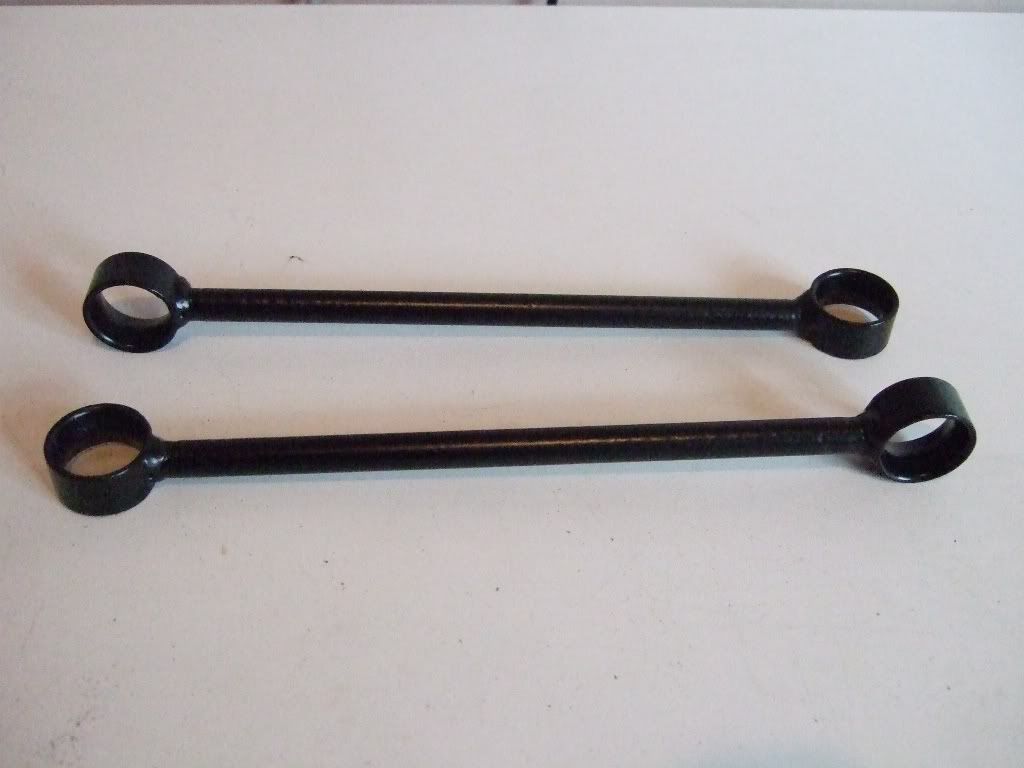
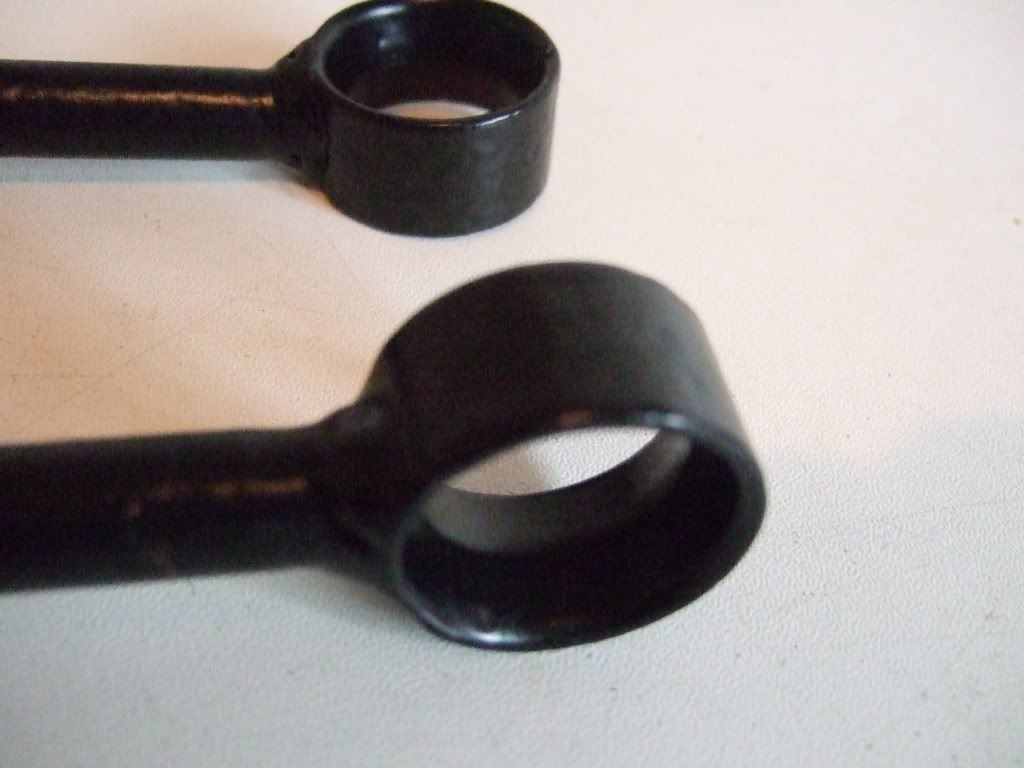
Collected the first few powder coated parts from Redditch Shotblasting today, and I am very pleased with the satin finish.
They have been very helpful and have a pile of other parts to nickel / zinc and inspect for quality and then powder coat if required.
Looking forward to a shelf of clean parts to rebuild in to the car.
Pictures are not too good - the finish is really excellent and satin black.
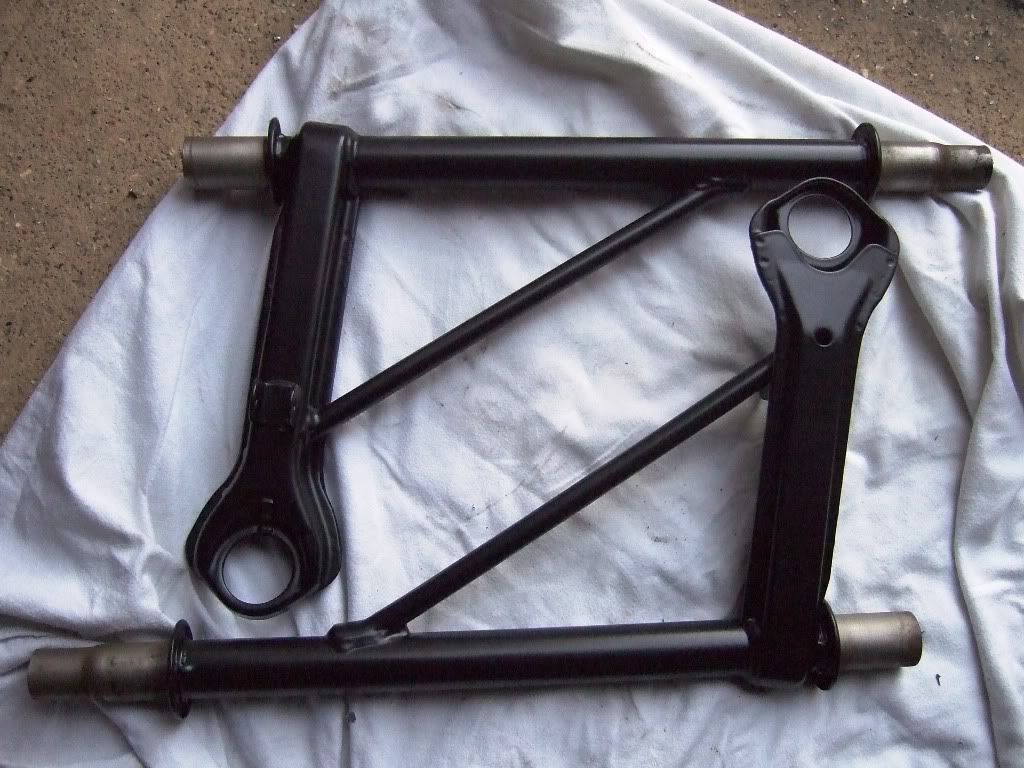
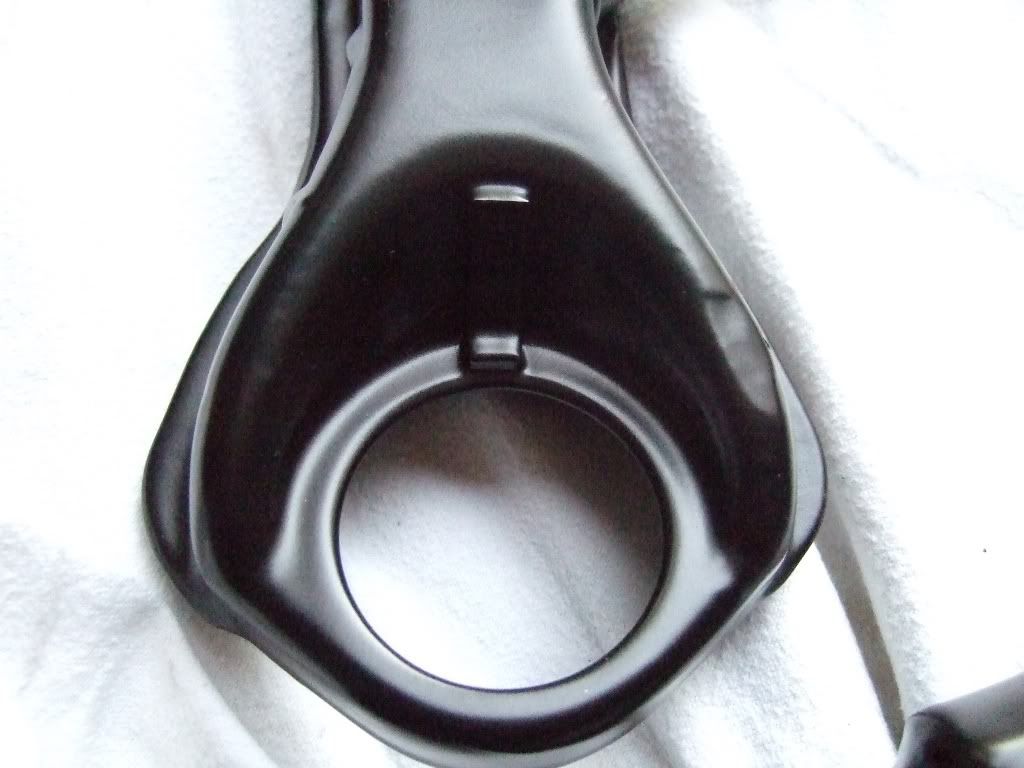
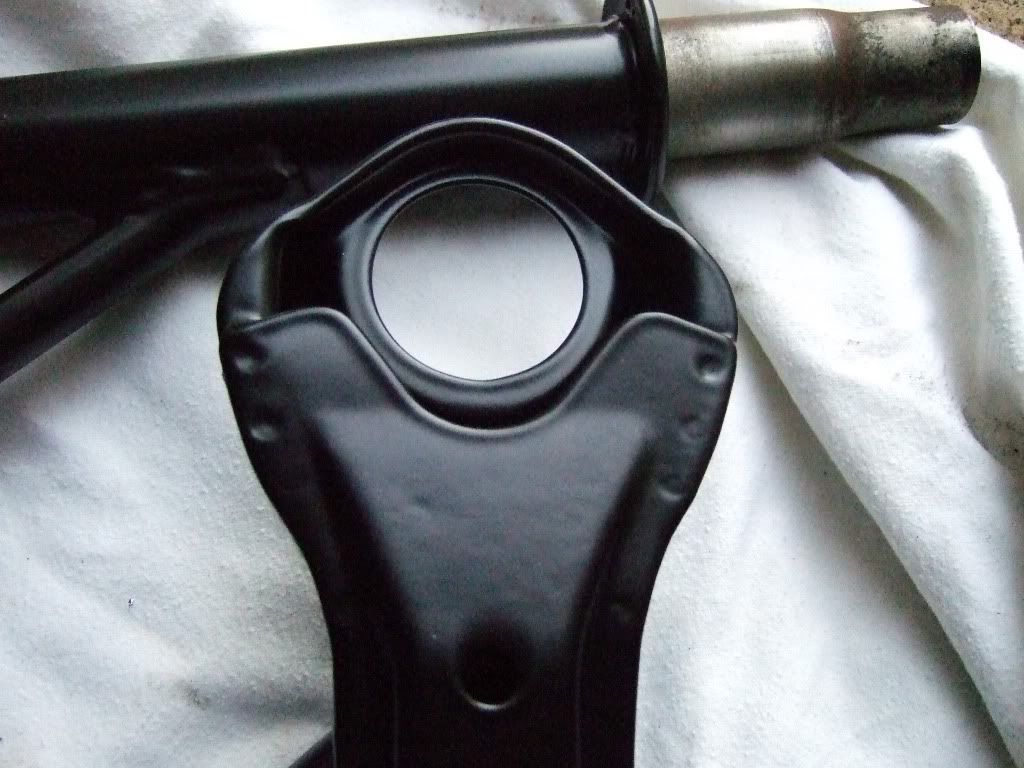
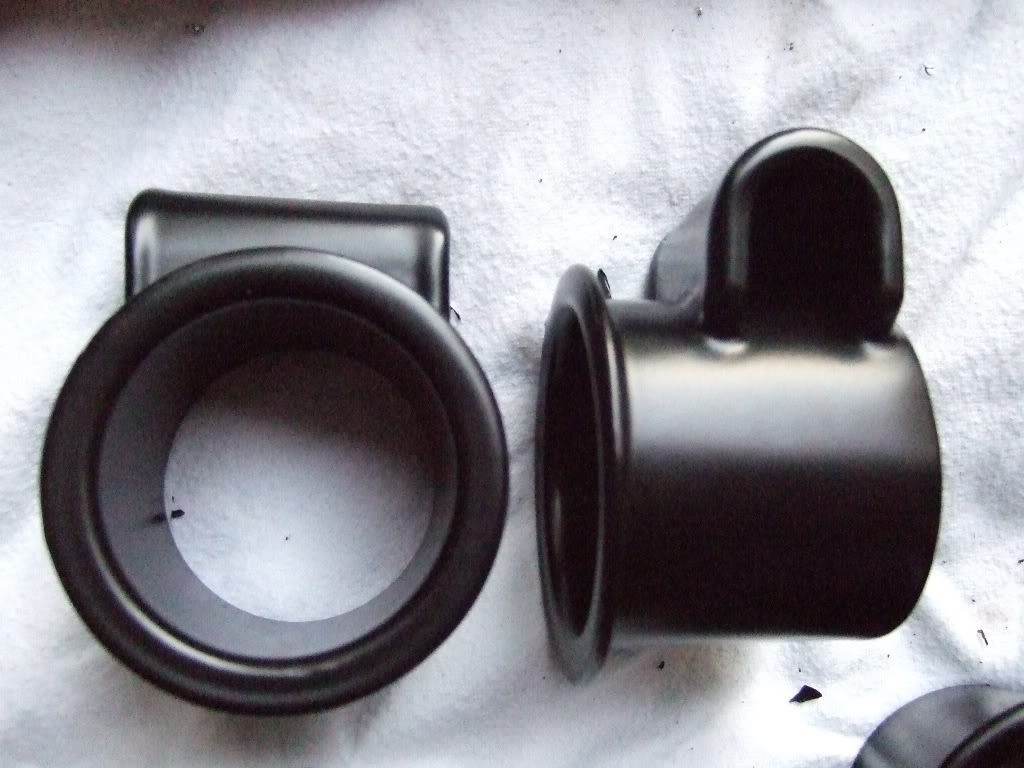
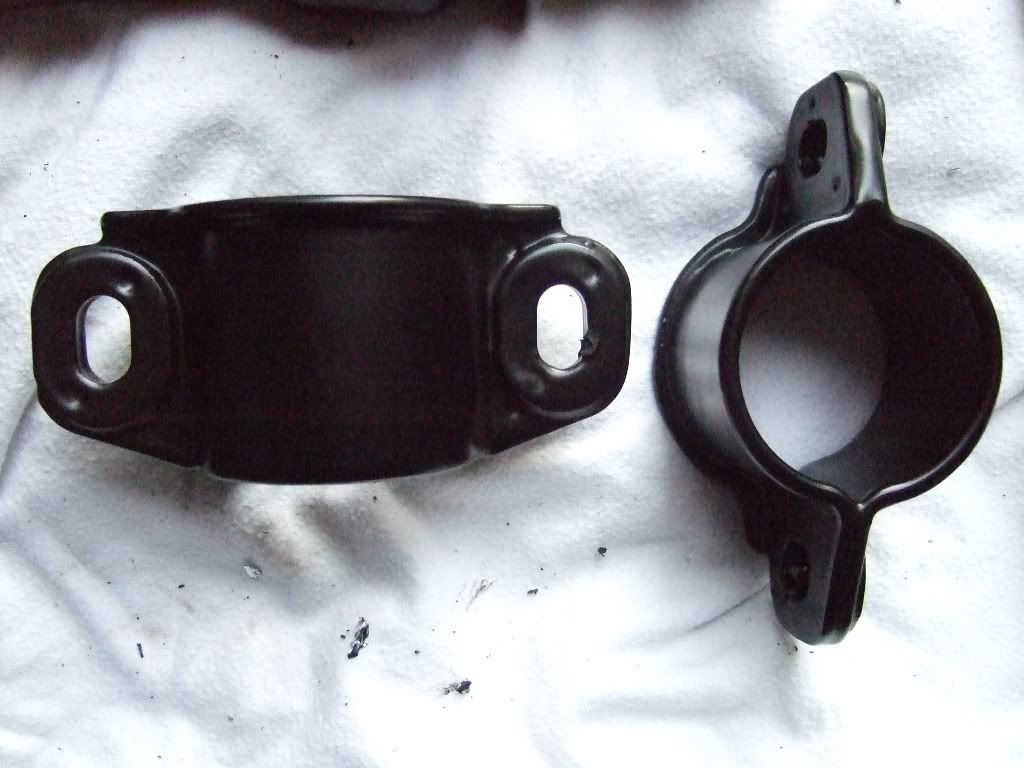
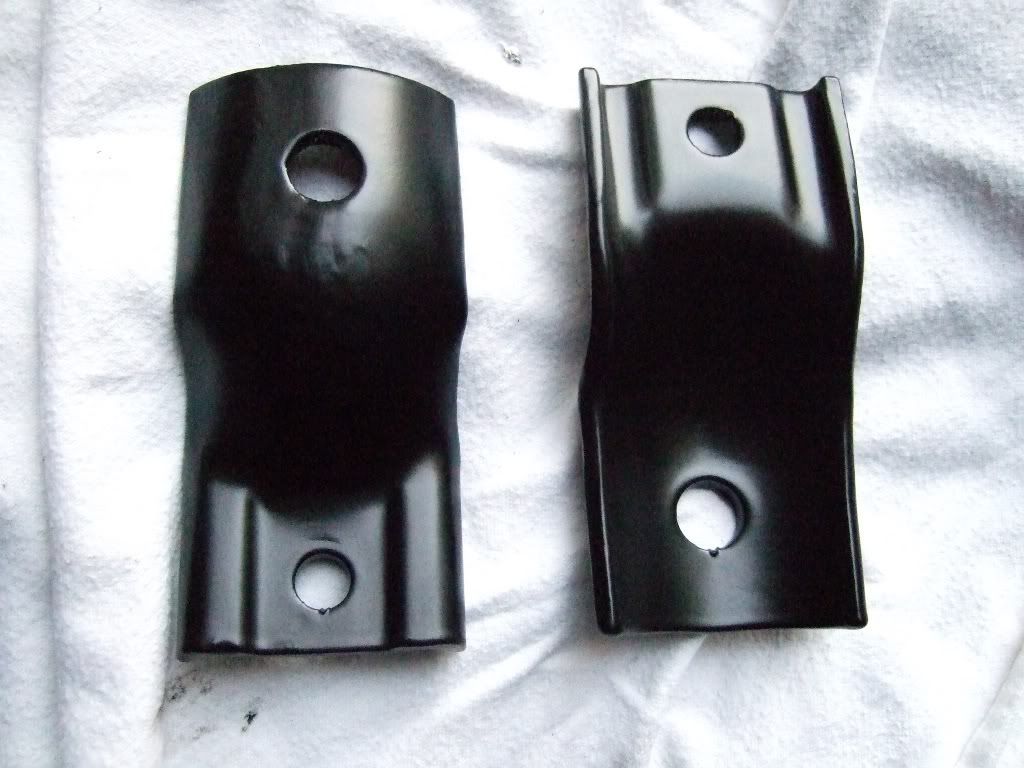
Ian
Posted: Mon Sep 29, 2008 11:55 am
by ross.mcw
Really great posts Ian, I'm looking to do this myself (one day before the end of time) so these are really useful threads.
Thanks!
Ross.
Zinc Coat Teaser
Posted: Sat Oct 11, 2008 11:59 pm
by Highfield
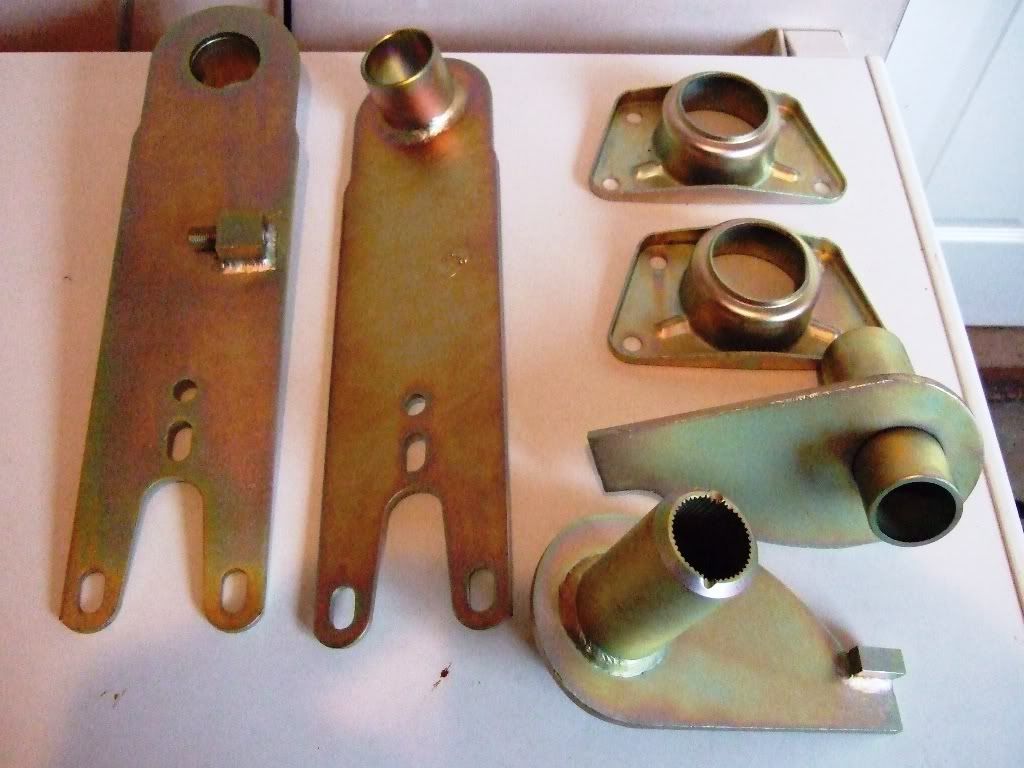
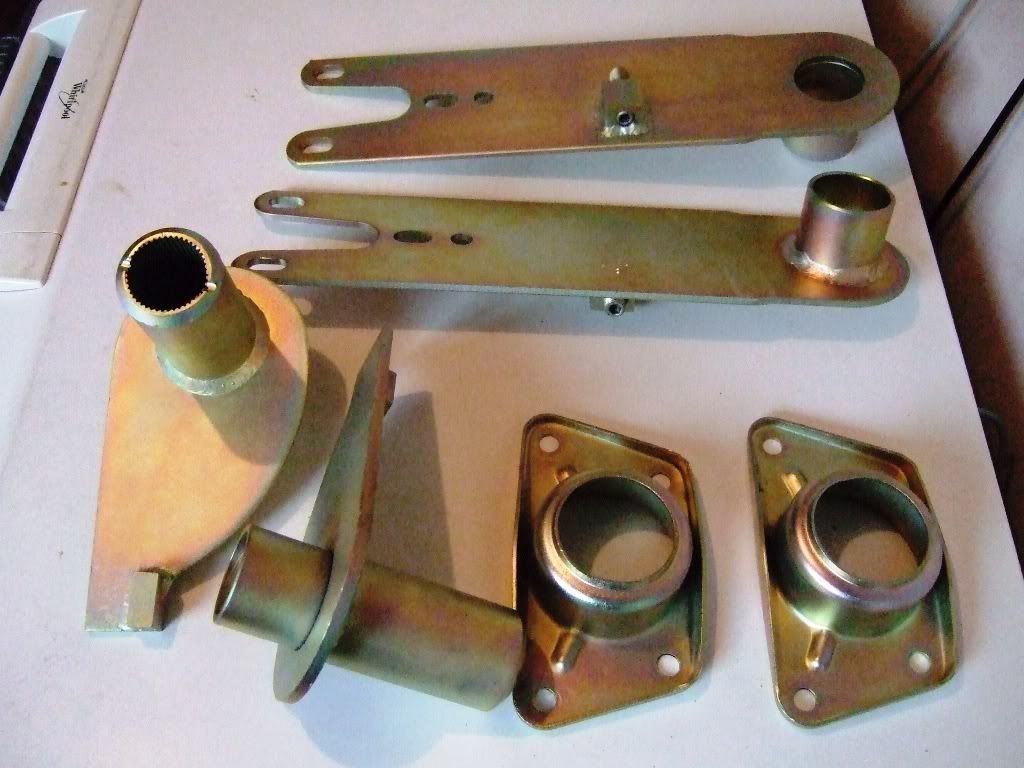
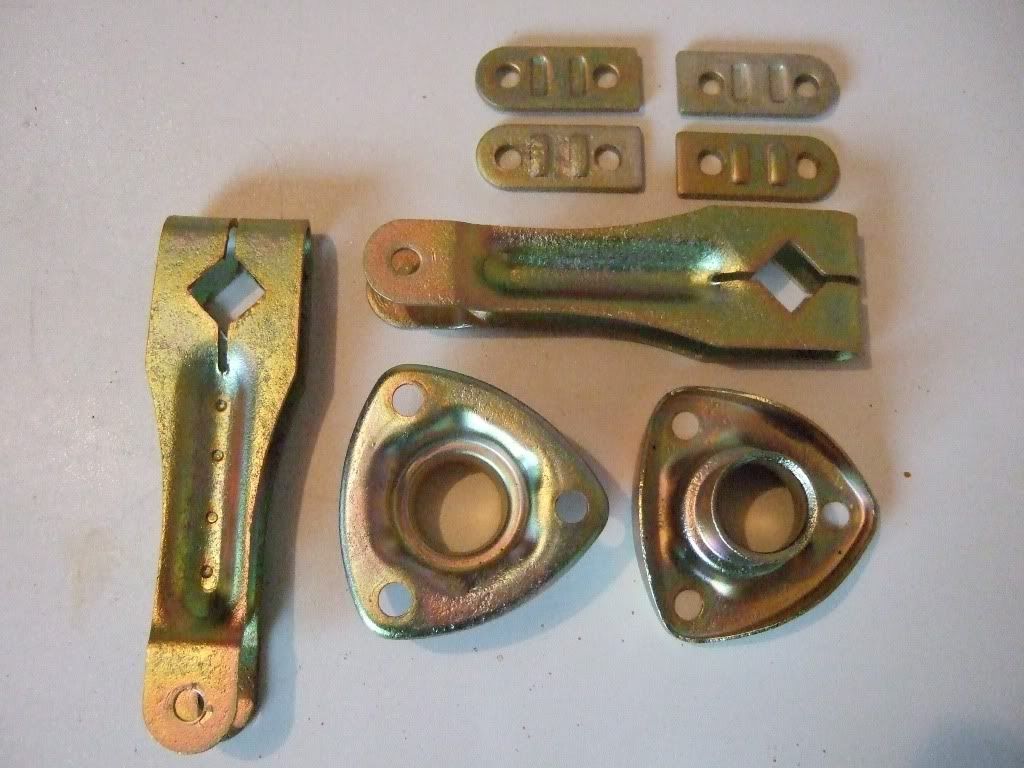
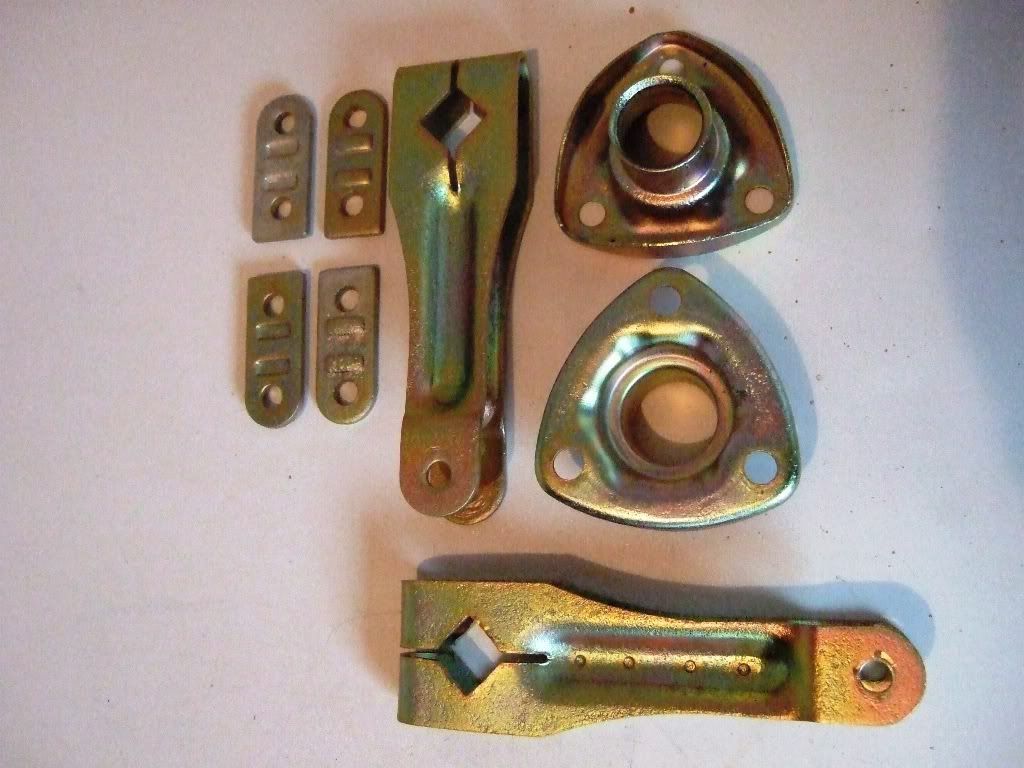
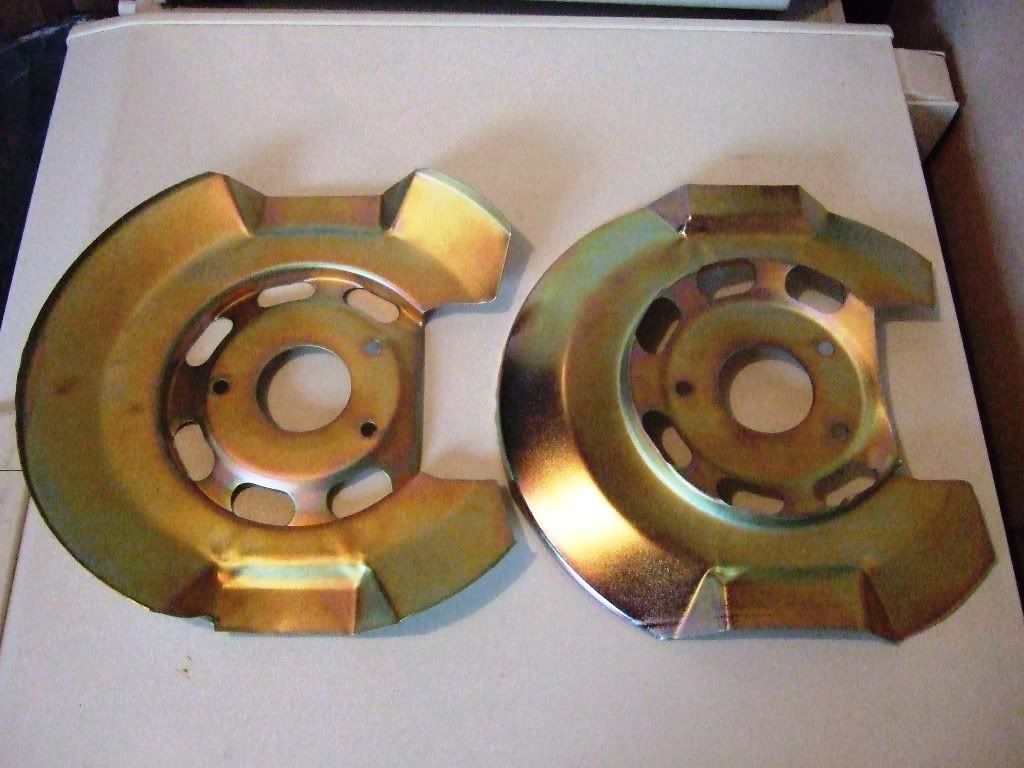
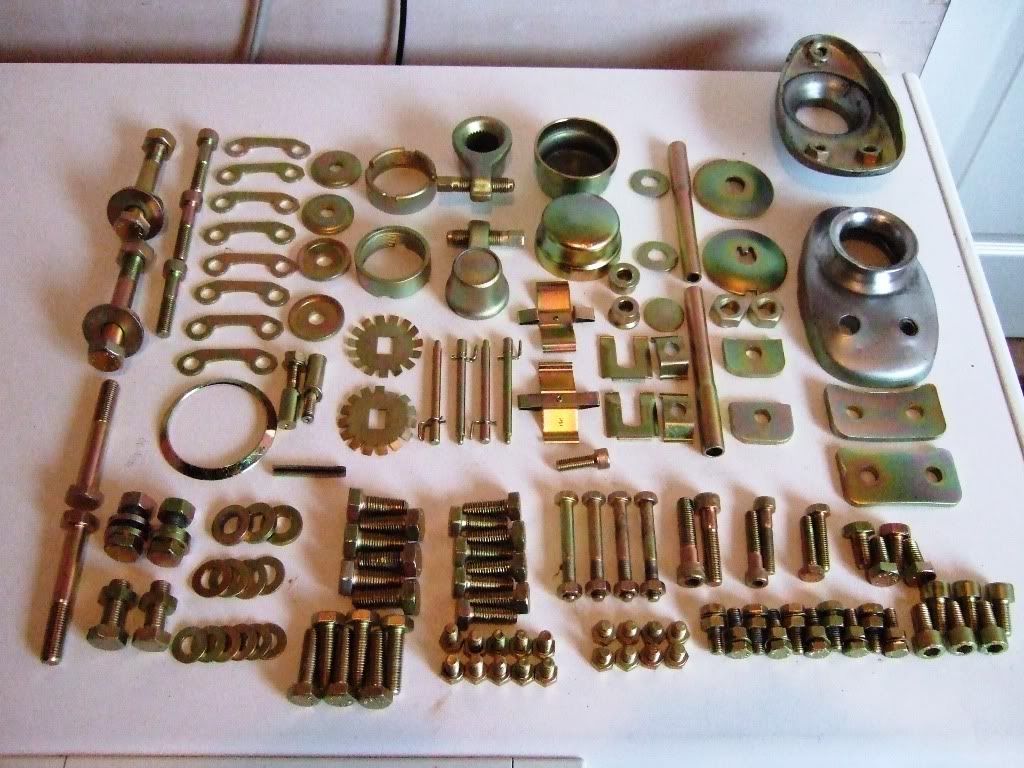
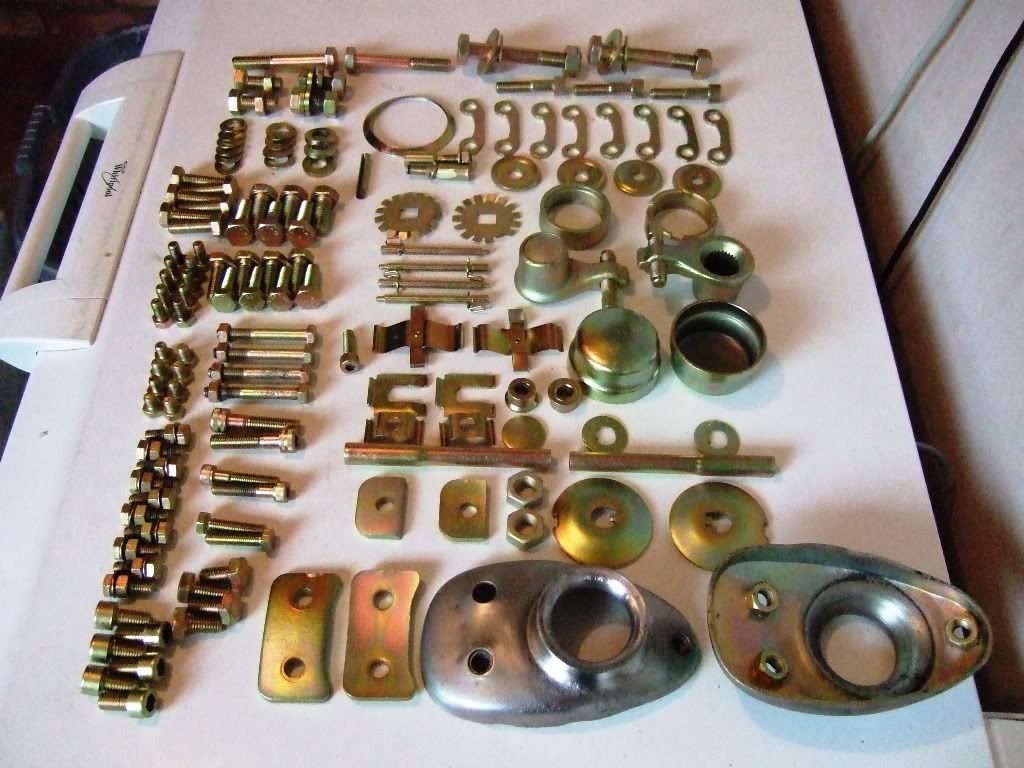
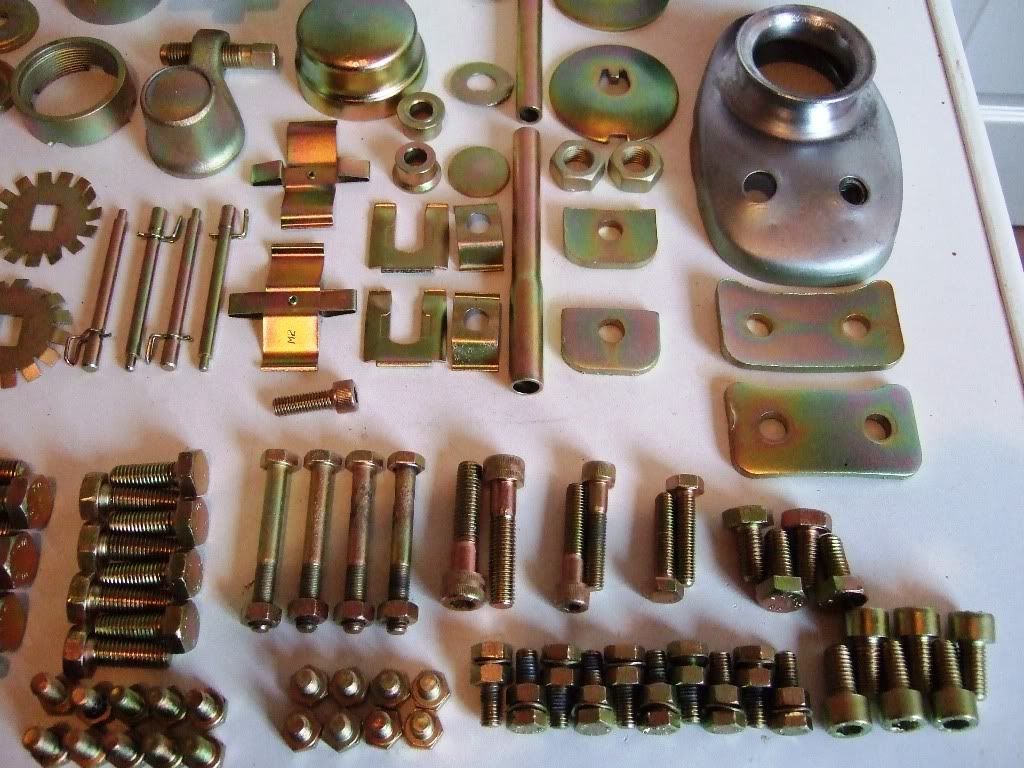
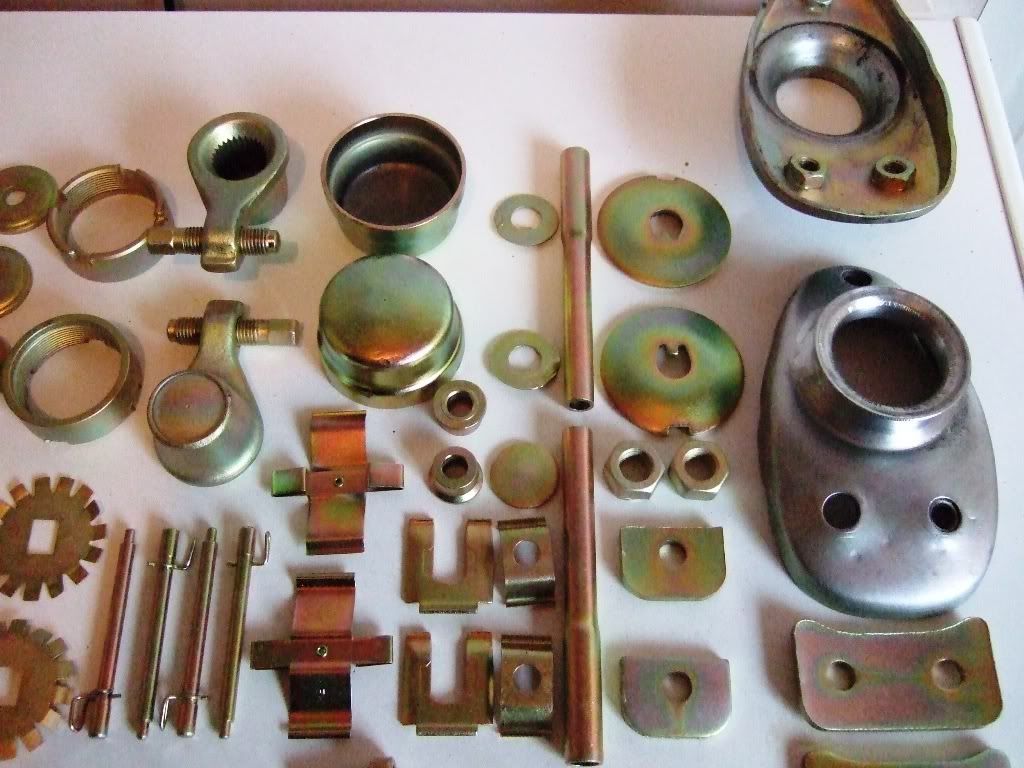
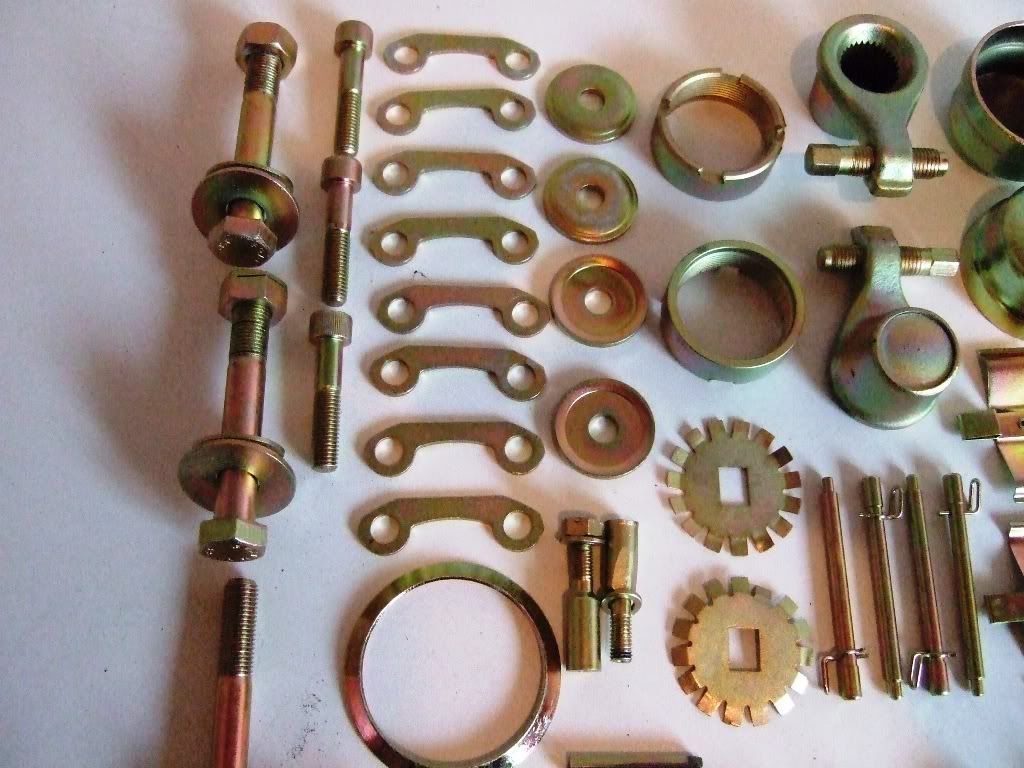
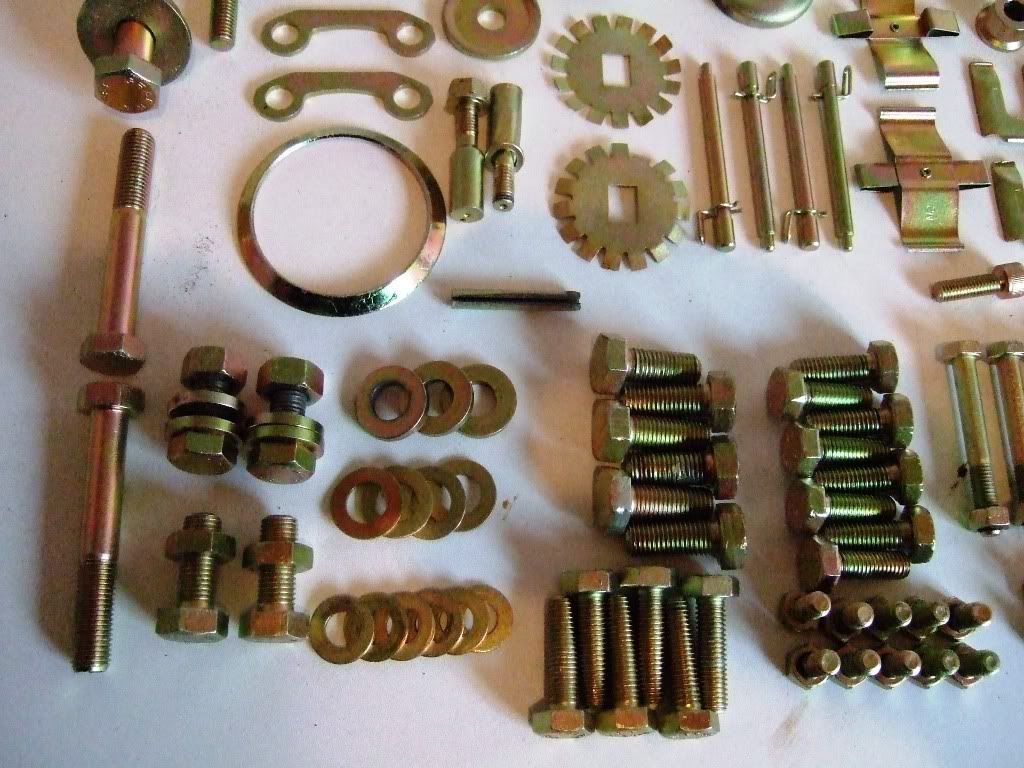
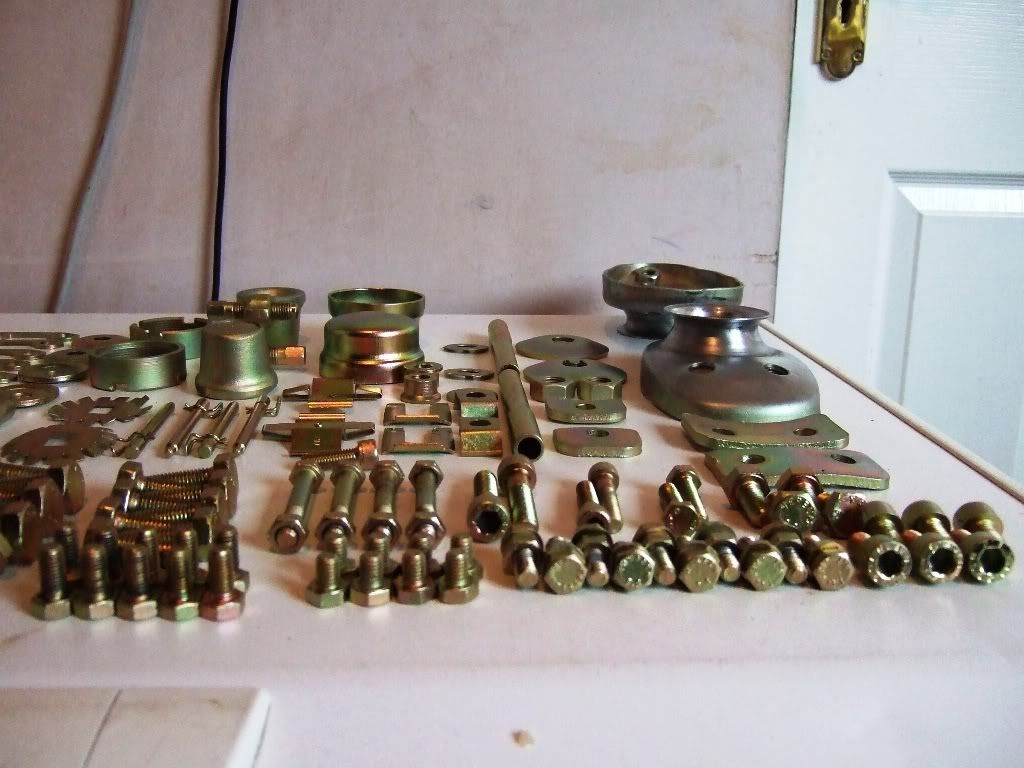
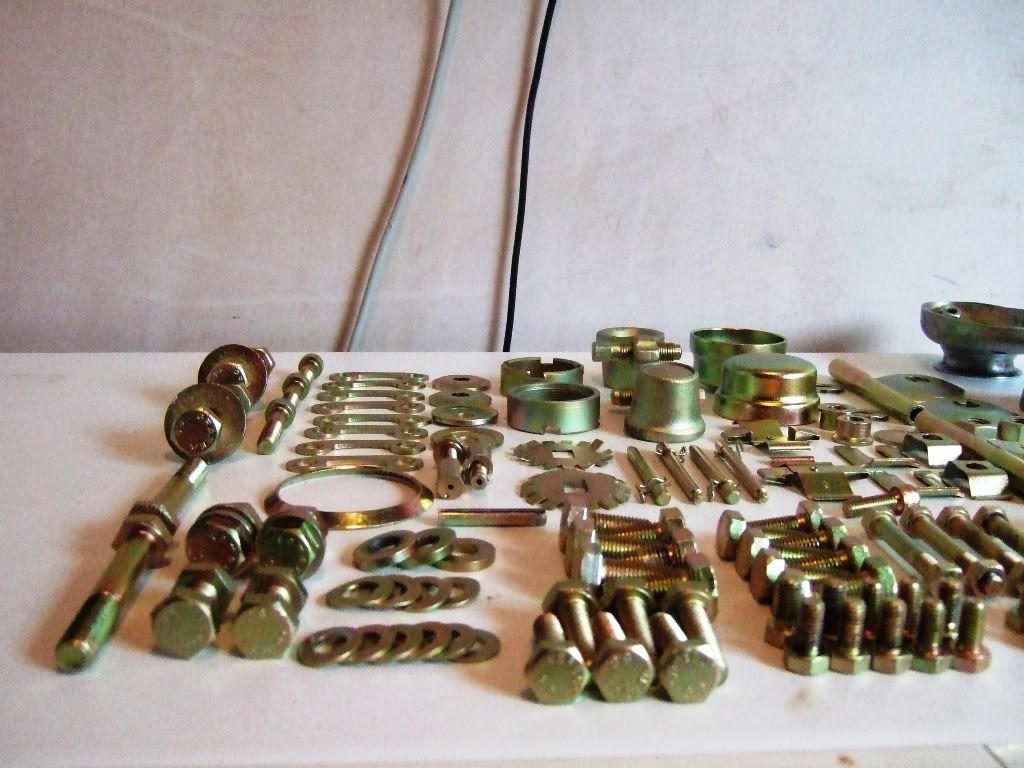
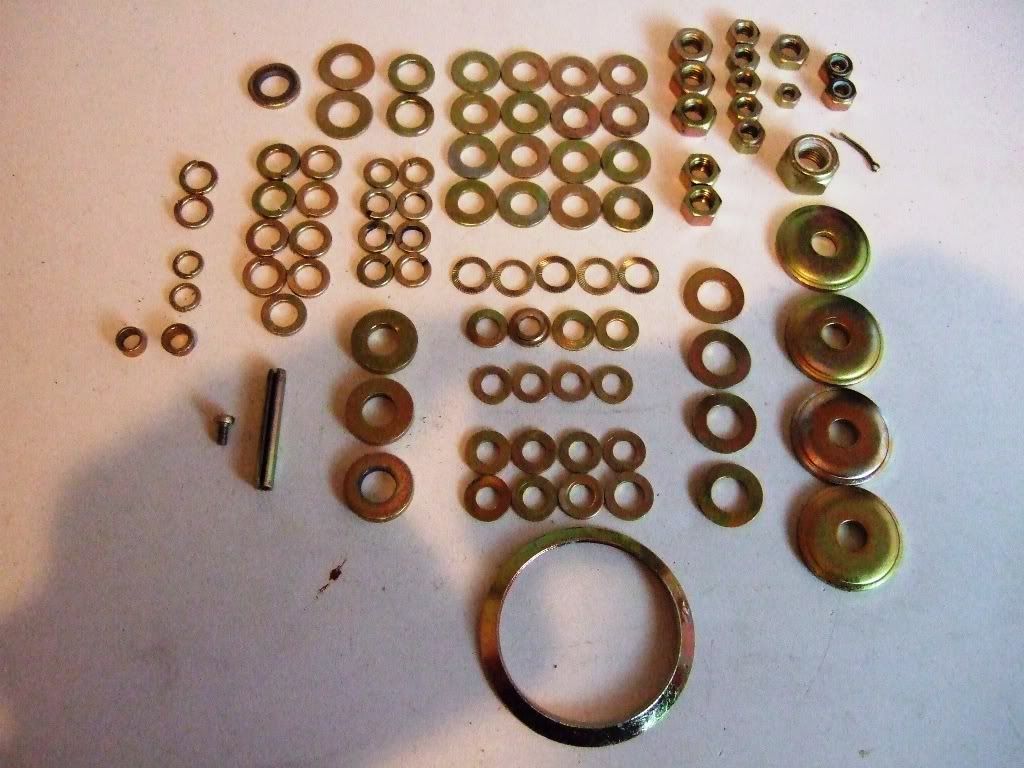
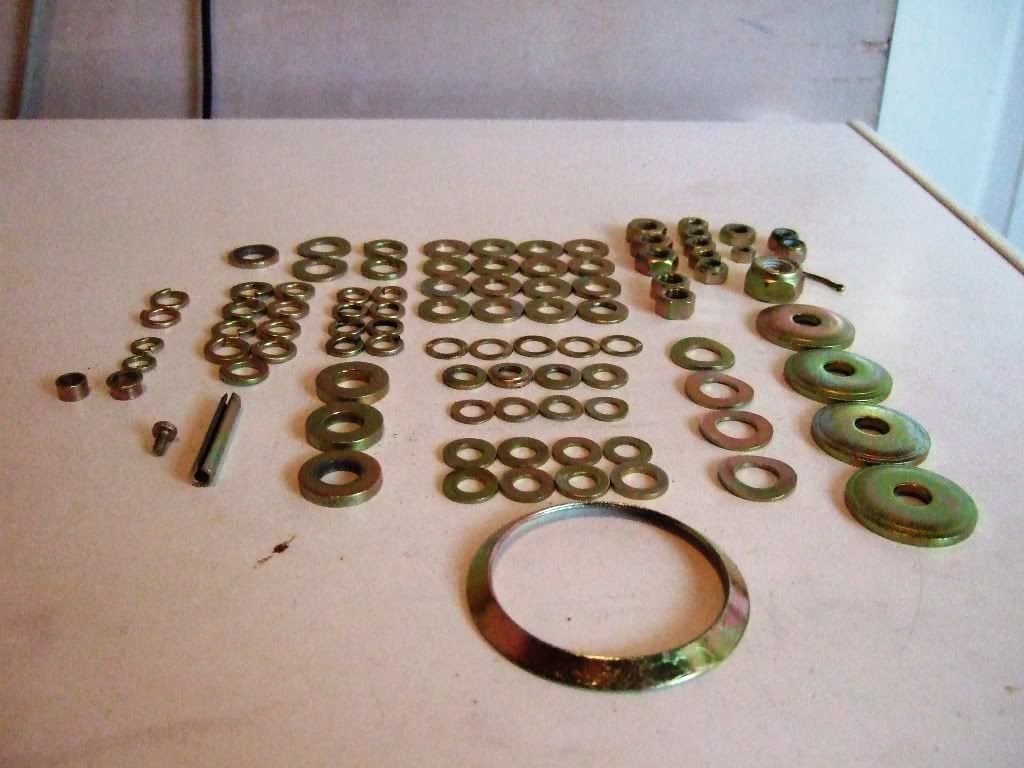
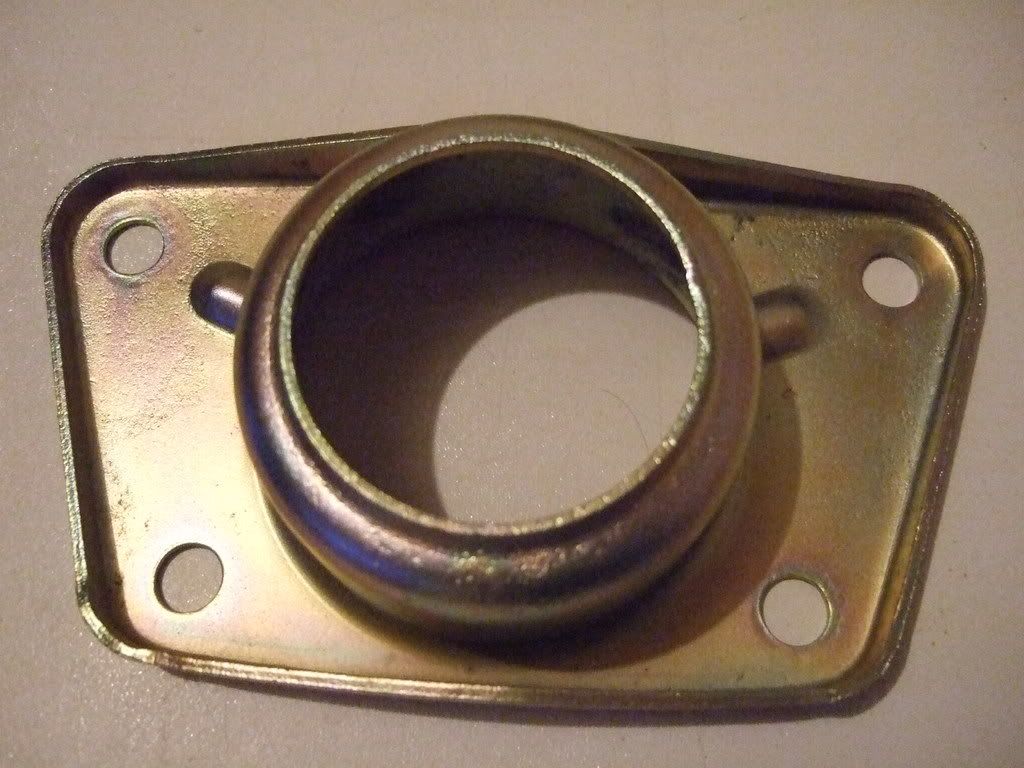
Here are a few teasers (or as good as I can do for now)of the parts that are back from the zinc platers - Redditch Shotblasting took care of these along with the satin black powder coating. OK, I know that Mike and Ferryman have excellent 'teasers', but I liked these and look forward to putting it all back together with clean parts.
I have boxes of things and the shelves are bending under the weight
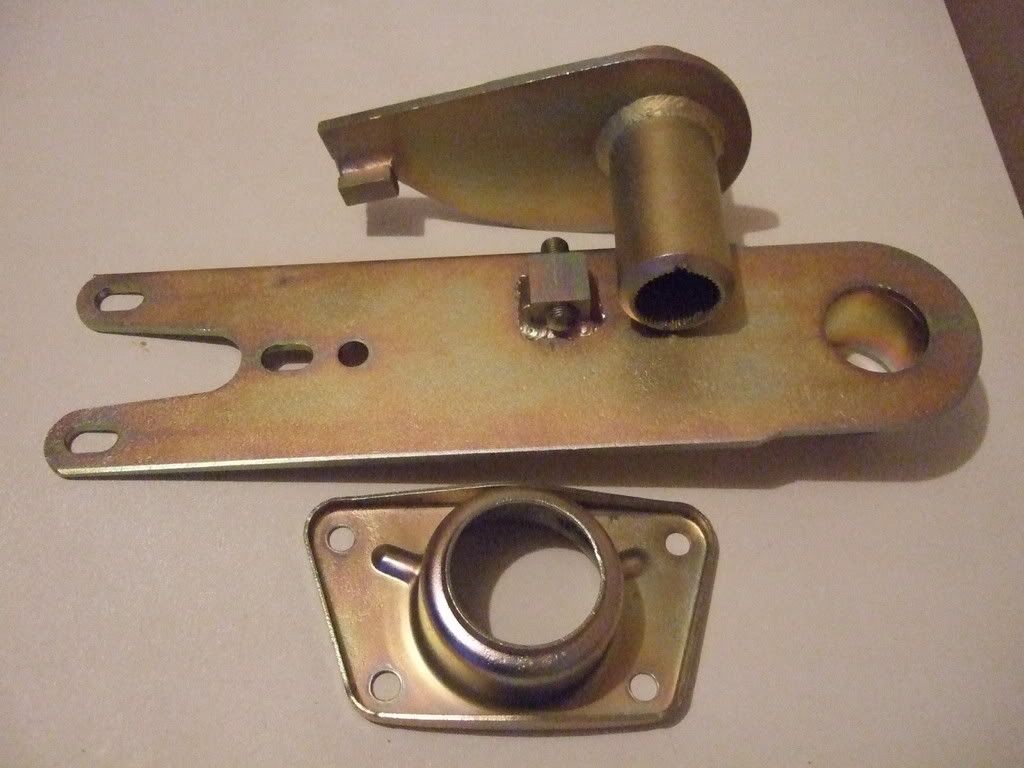
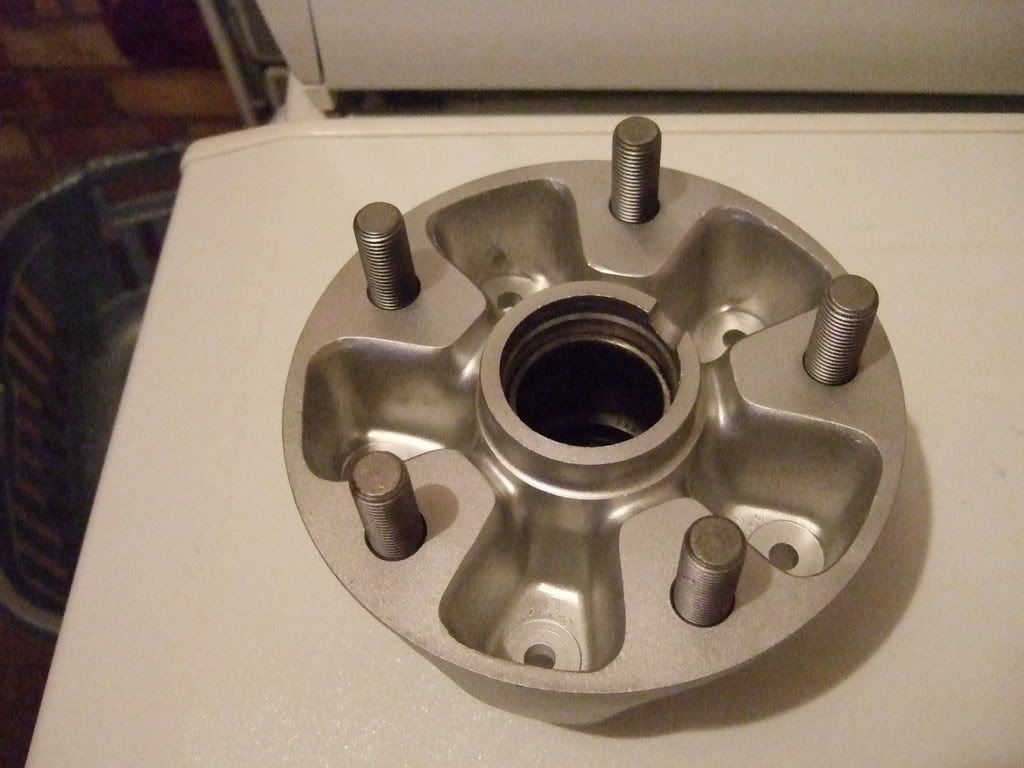
Vapur blasted hubs.
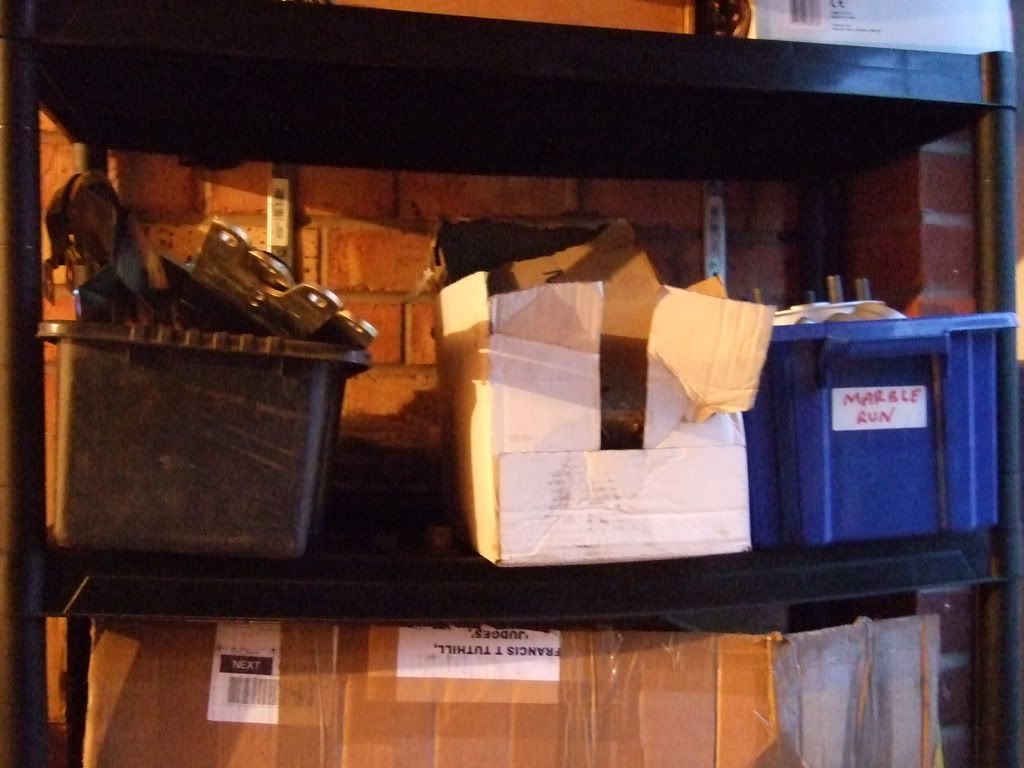
The only problem is they have not been that well kept in separate bags, so heaven knows if I will ever find the right bolts for the right parts.
More pictures to follow tomorrow.
Ian
Posted: Sun Oct 19, 2008 2:53 pm
by Highfield
Posted: Sun Oct 19, 2008 3:01 pm
by Highfield
Rear Alloy Control Arms
Posted: Sat Nov 08, 2008 6:33 pm
by Highfield
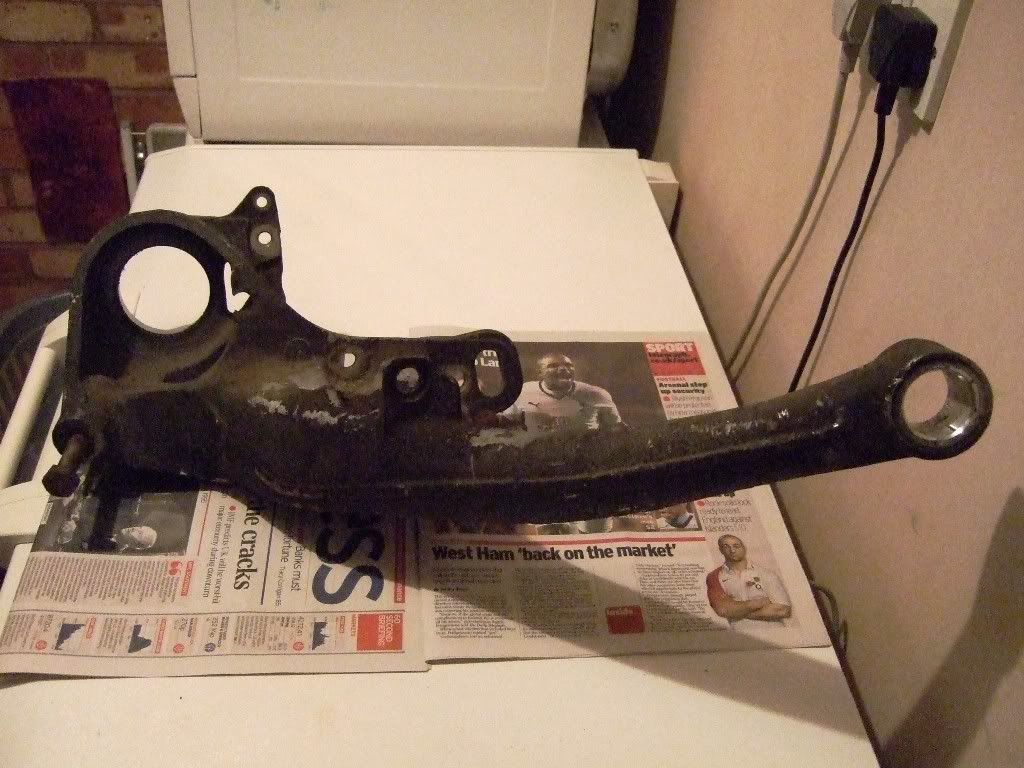
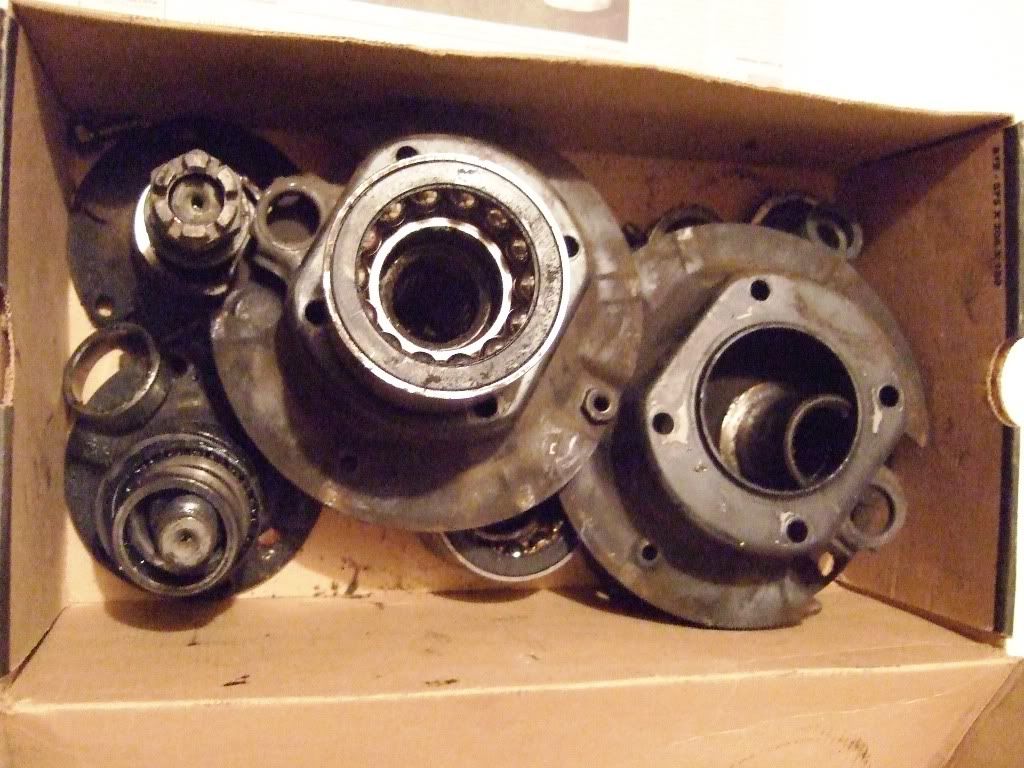
I had the rear alloy control arms and front hubs stripped of their bearings at Phantom Vehicles. I know need to clean and polish or paint the parts that I am going to retain, and purchase new bearings all round. I already have the Elephant Racing Rear Monoballs for the arms.
Here is the beare rear arm :-
and the front bearing surface :-
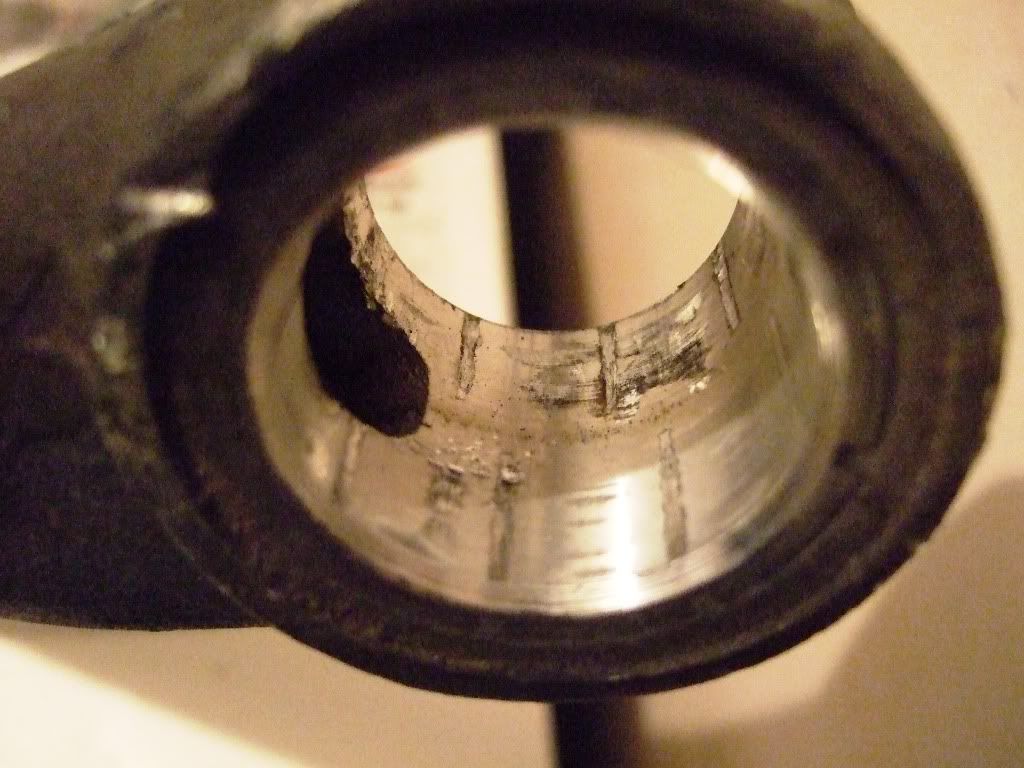
and the main bearing surface :-
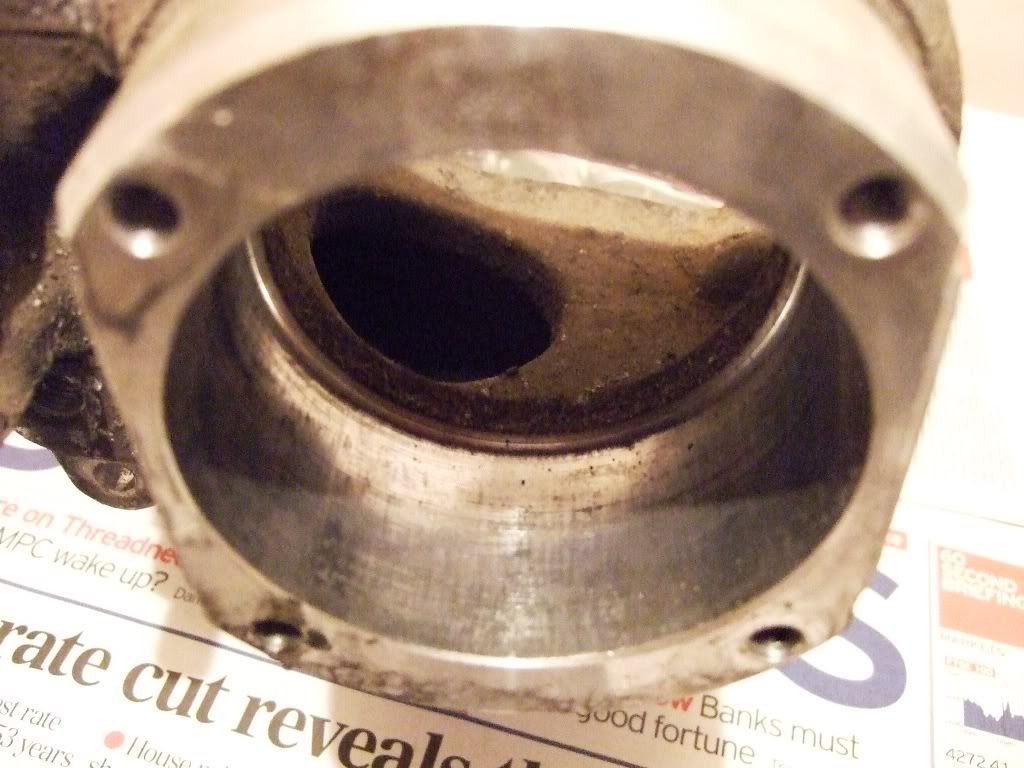
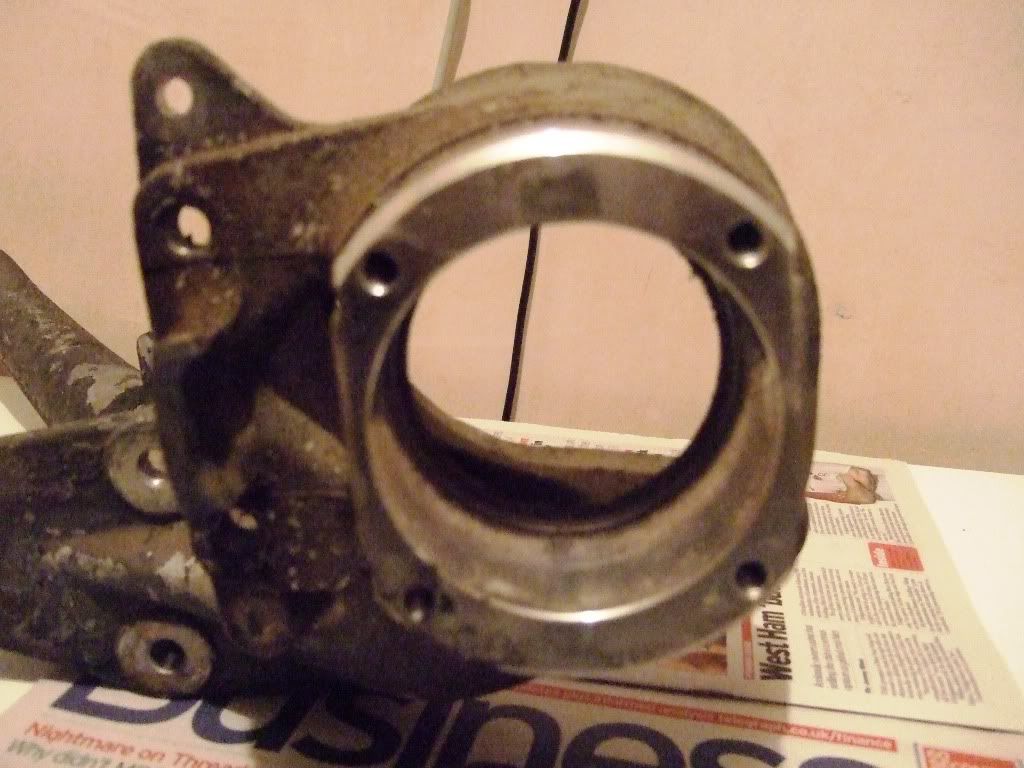
The old bearings and parts were removed and retained here :-
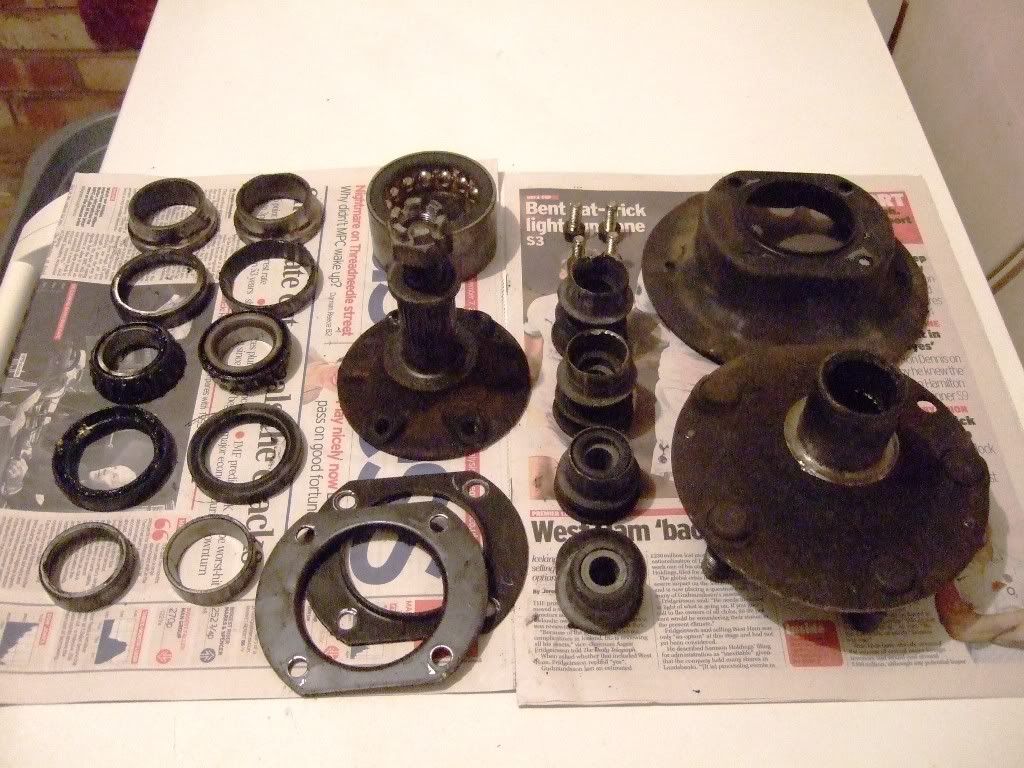
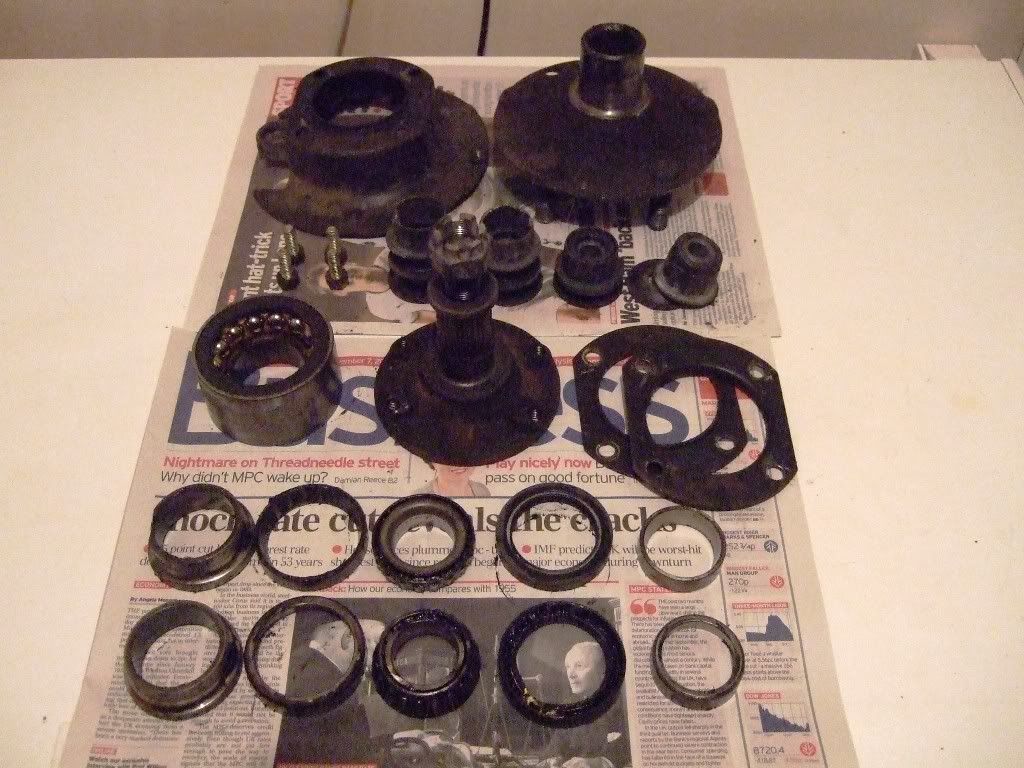
Ian
Posted: Sat Nov 08, 2008 6:35 pm
by Highfield
The rear bearings appear to be in good order, but I am no expert, so of course will replace all of them :-
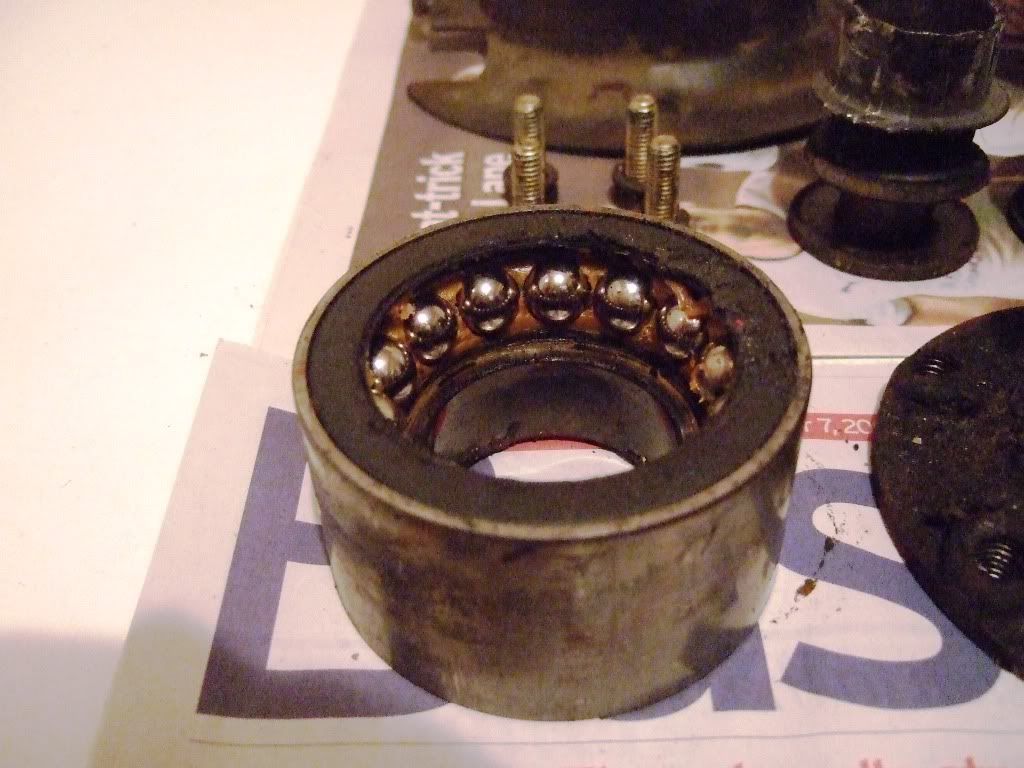
The hub bearing surface :-
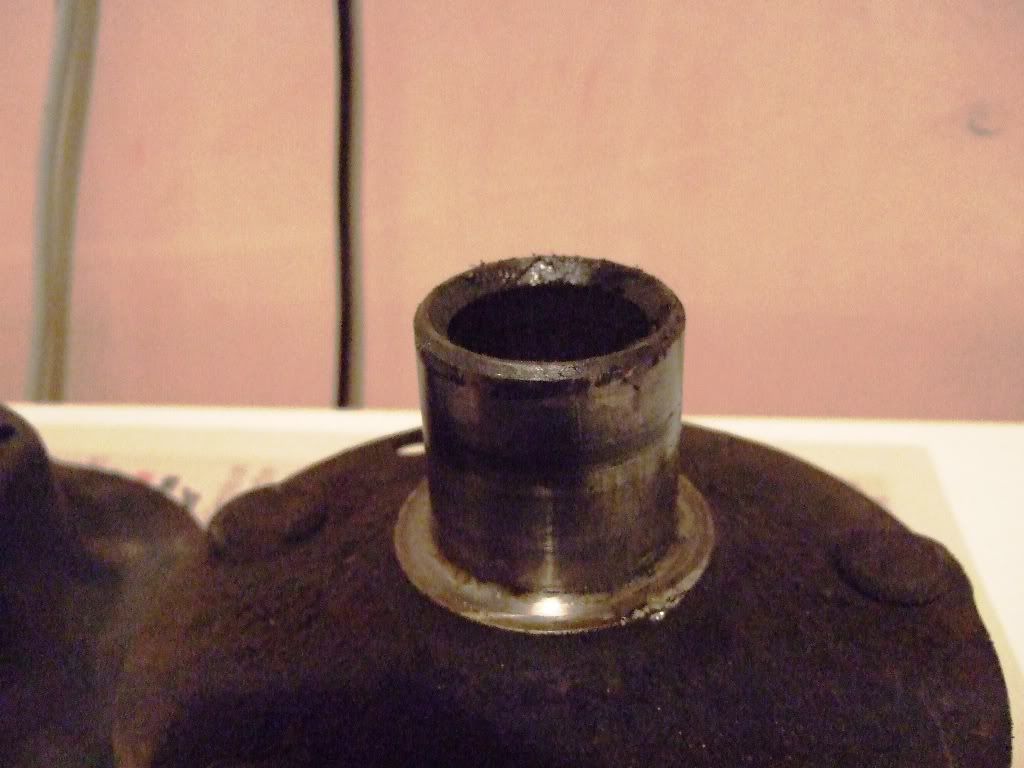
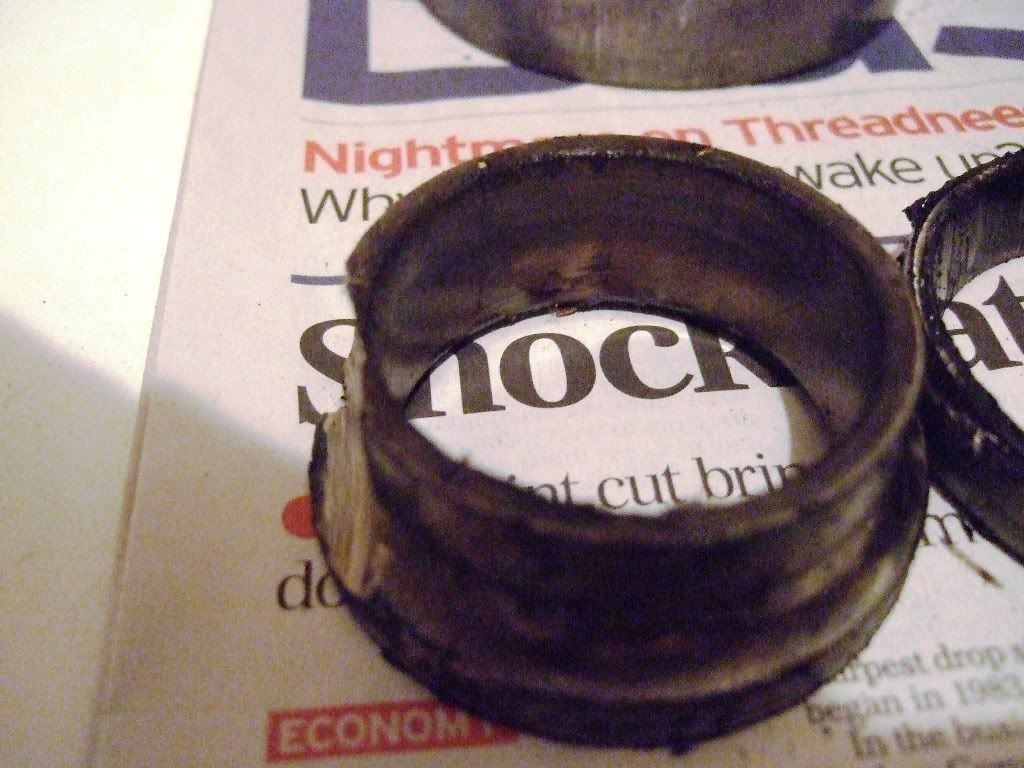
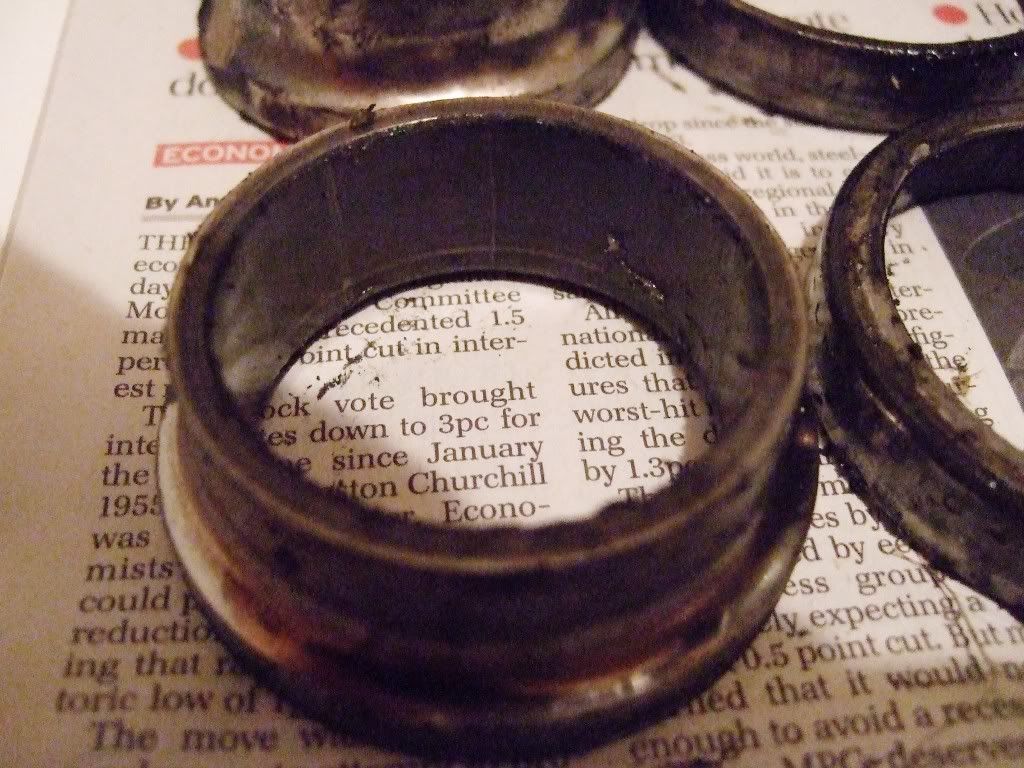
What is this ? One is OK, the other has a nasty piece rubbed out of it :-
Ian