73T - Brake & Suspension Refurb - Part 1 - Dismantling

An archive of any Porsche 911 technical threads

Moderators: hot66, impmad2000, Barry, Viv_Surby, Derek, Mike Usiskin

Highfield
Put a fork in me, I'm done!
Posts: 1519
Joined: Thu Oct 06, 2005 8:34 pm
Location: Warwickshire

73T - Brake & Suspension Refurb - Part 1 - Dismantling

Post by Highfield »

Now is the time to start my full brake and suspension refurbishment project, with the summer track day and DDK Welsh Tour completed and the long winter nights approaching.

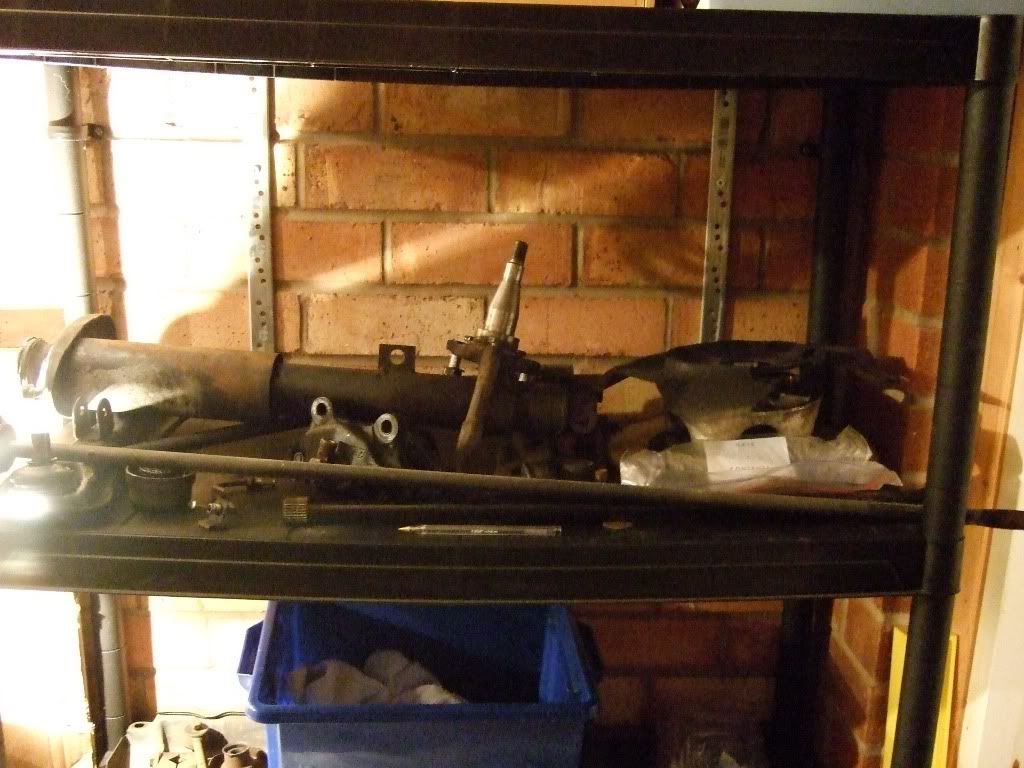
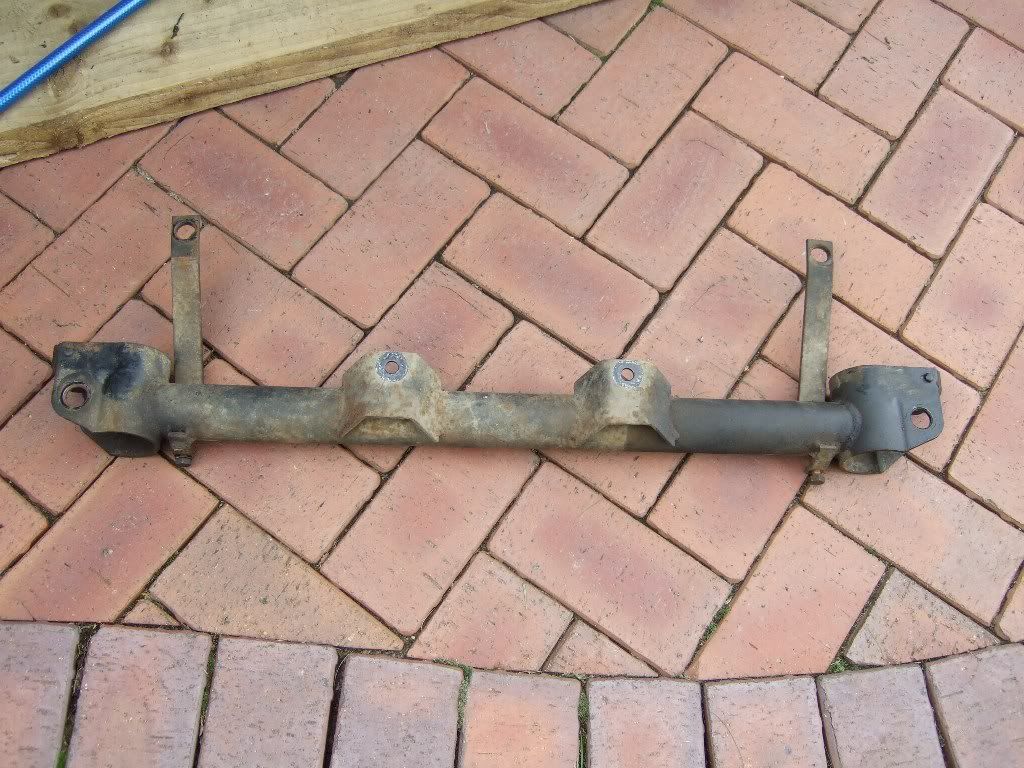
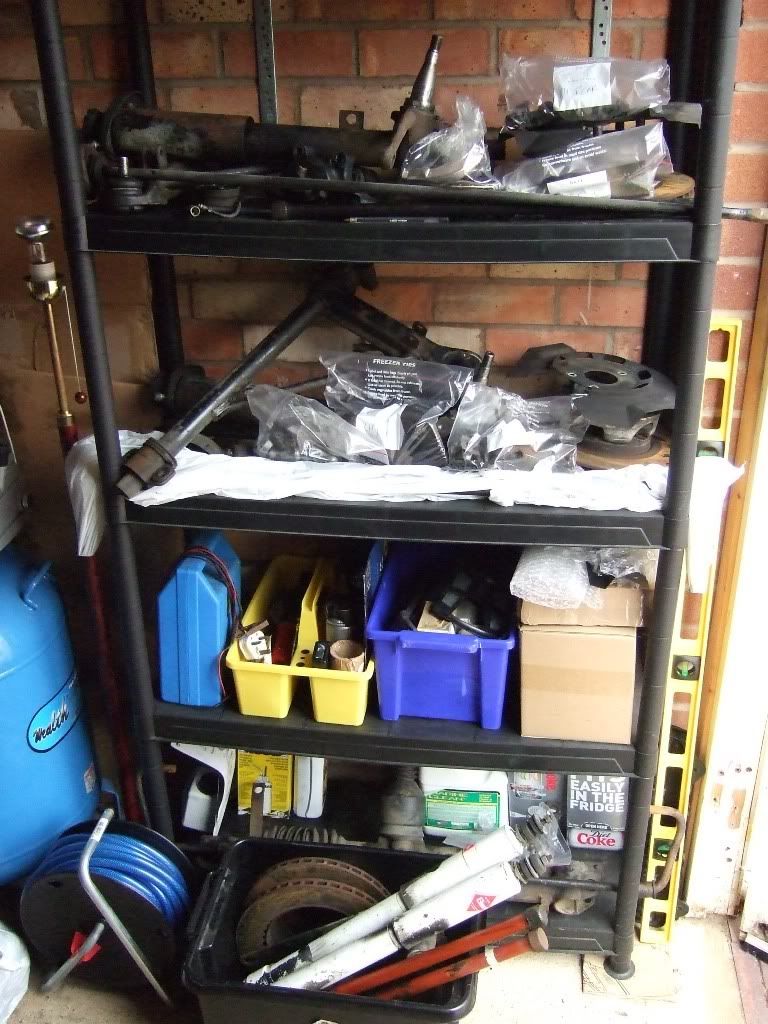
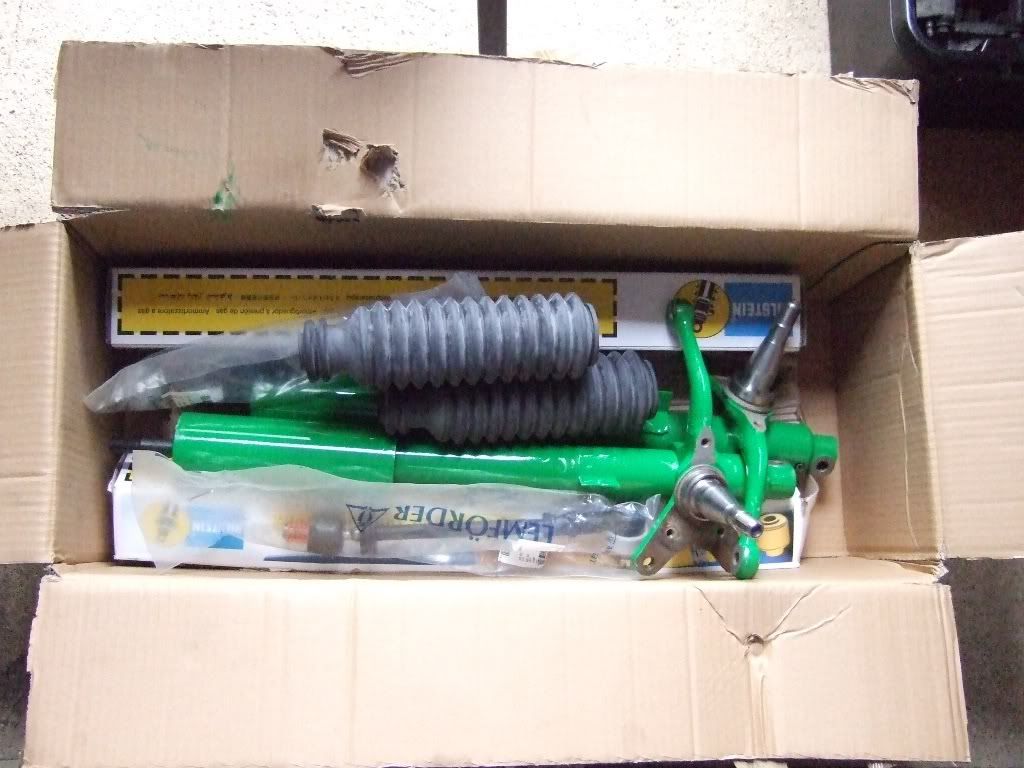
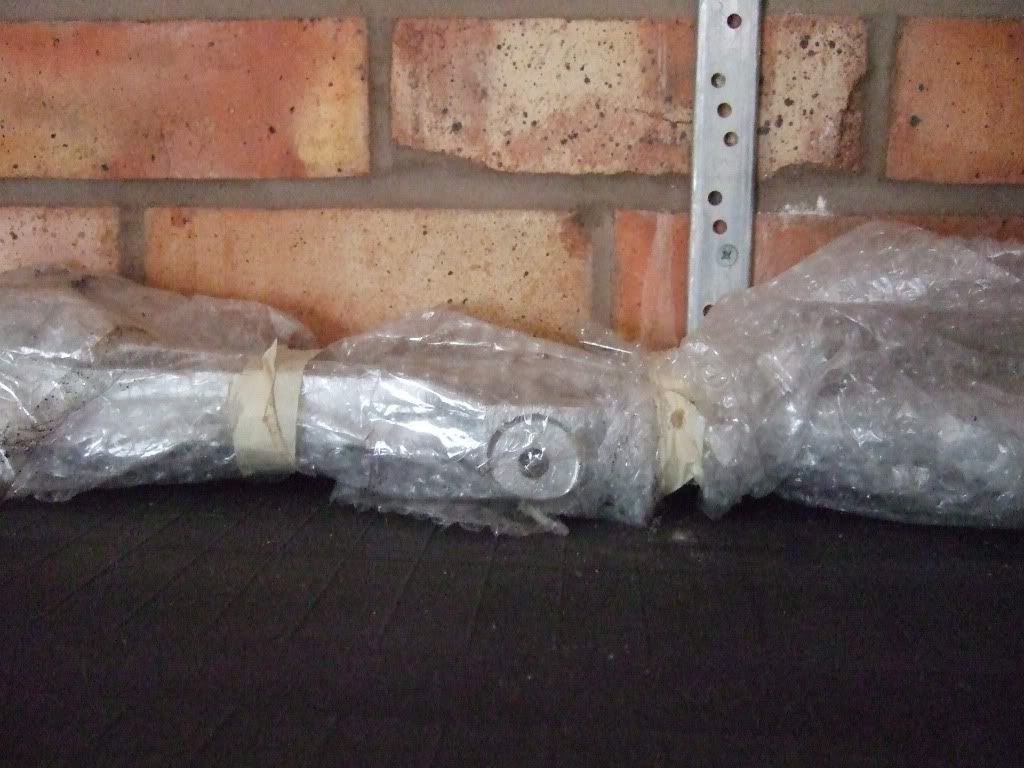
This will be tackled over the coming months, with many of the new or refurbished components already on the garage shelf, but other work such as powder coating and yellow zinc plating only possible once the strip down is completed.

First an apology - a number of the photos taken on day one are poor, but I have included none the less to show the sequence of tasks I worked through.

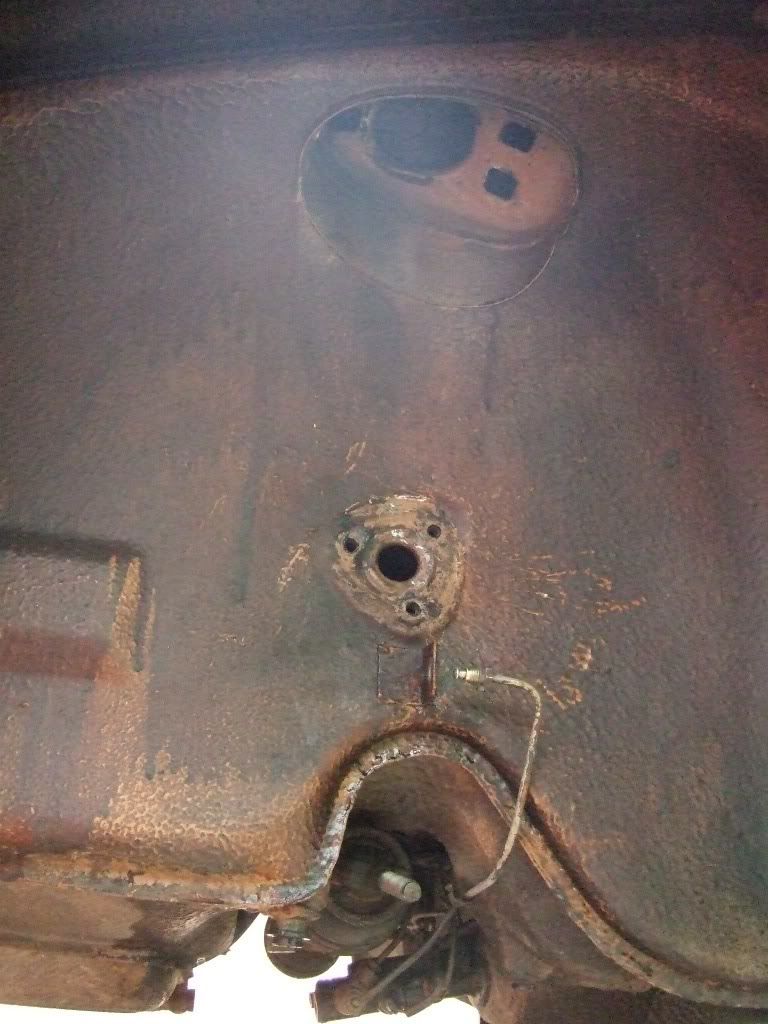
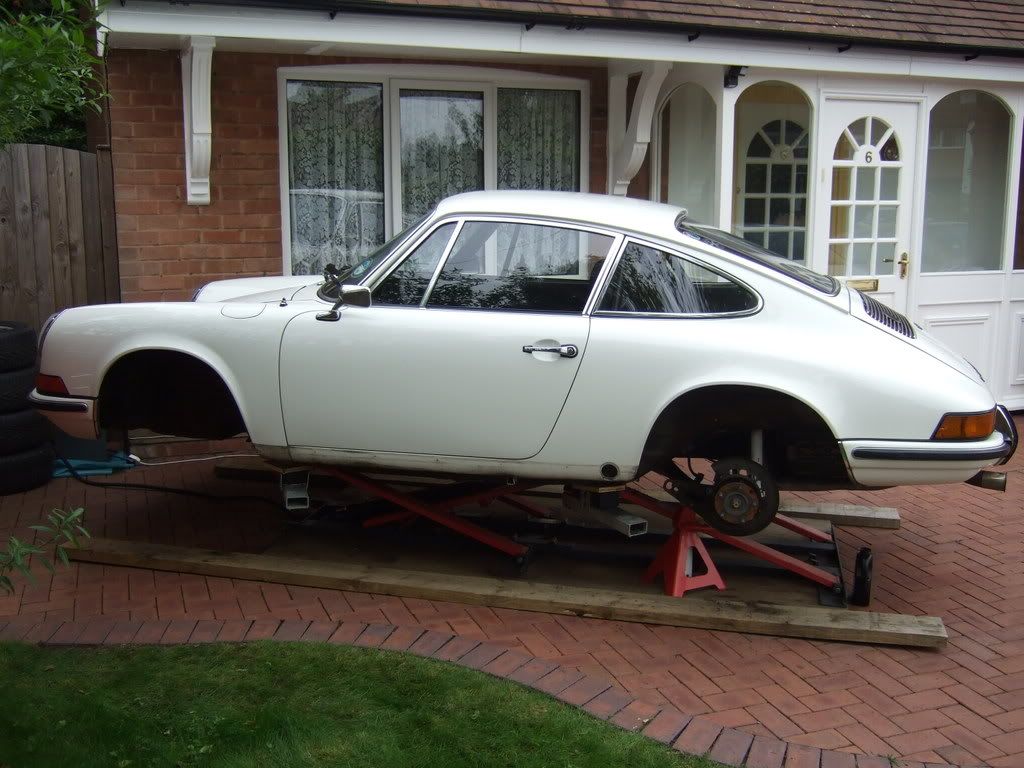
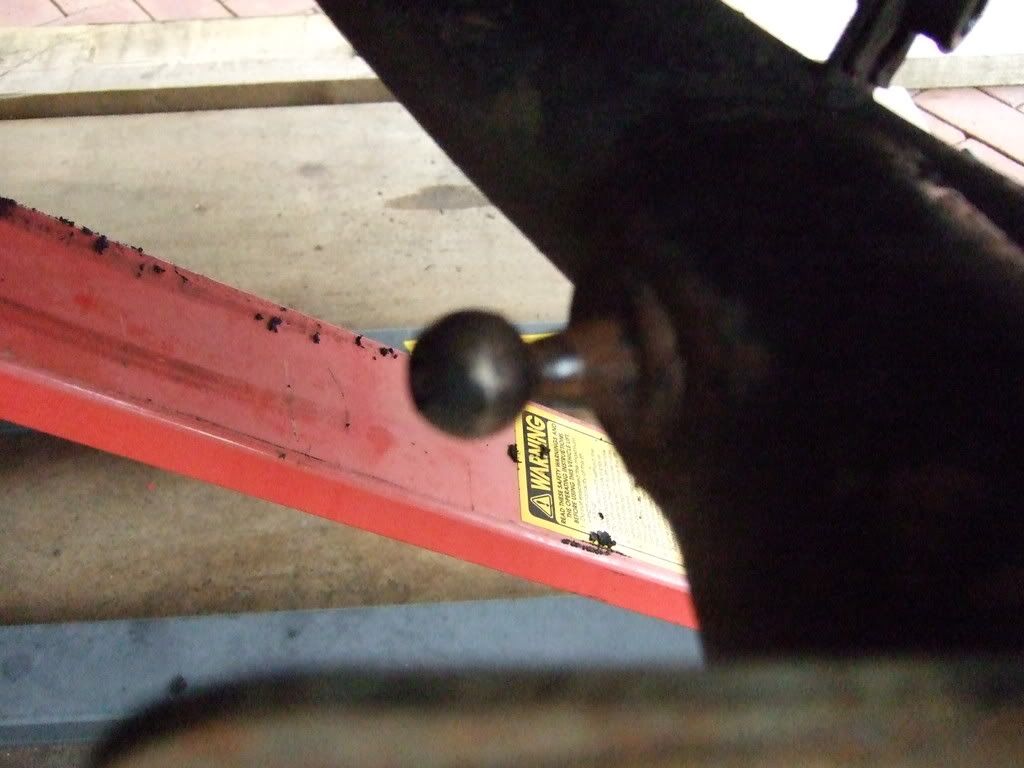
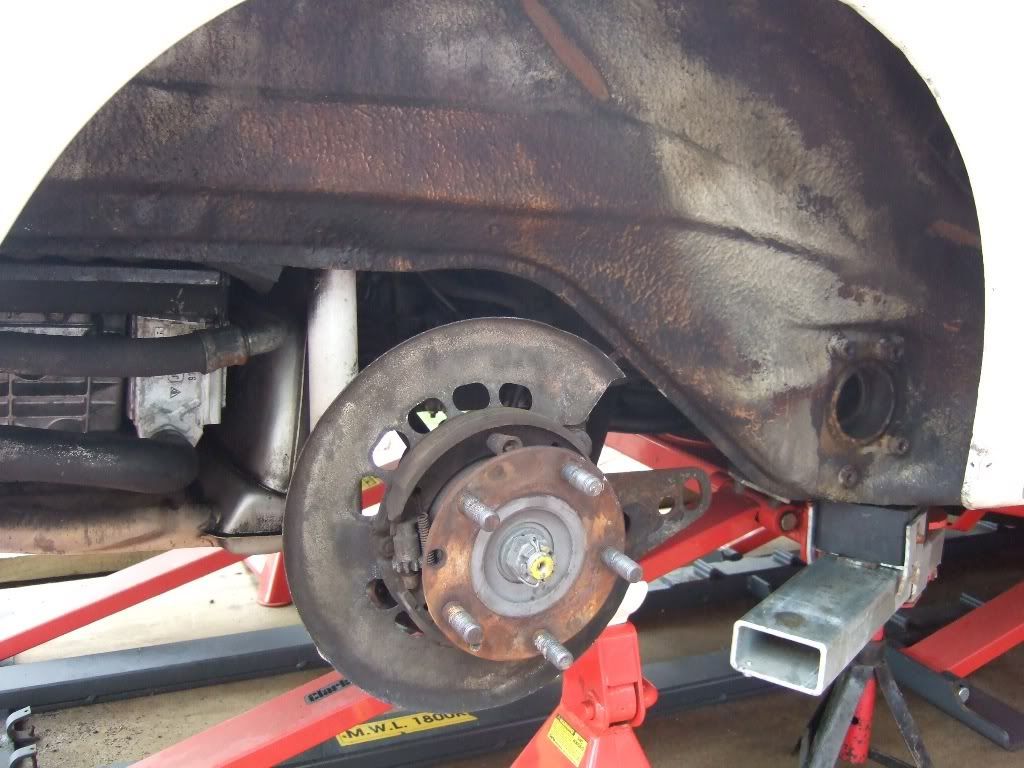
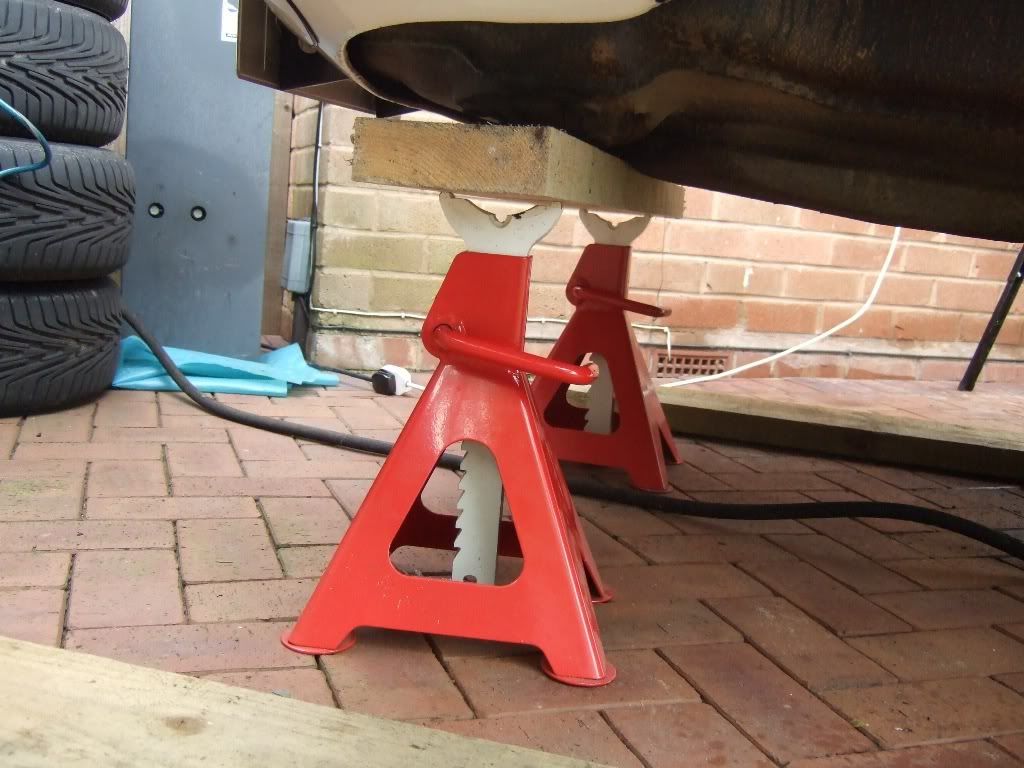
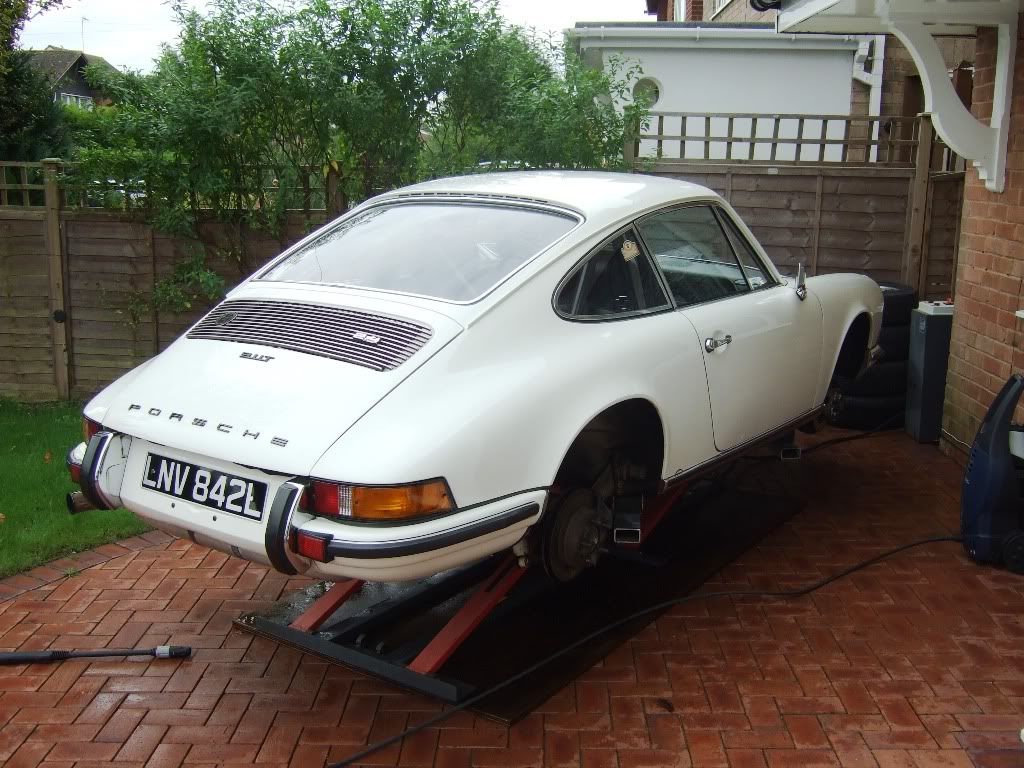
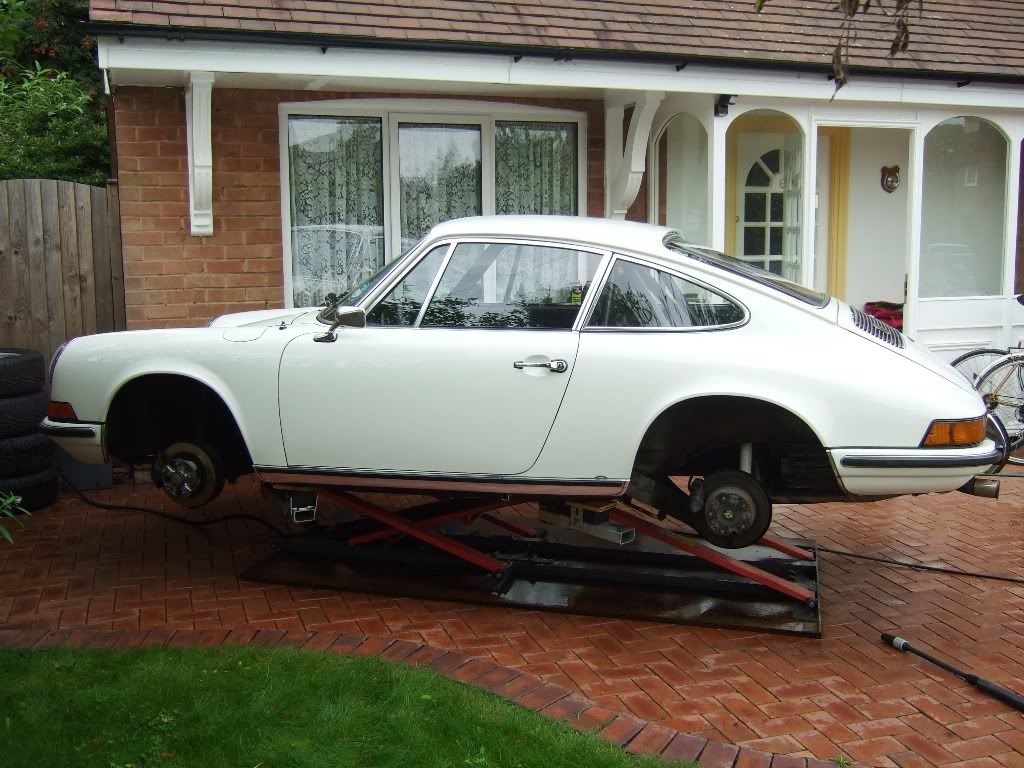
First job was to get the car up on the lift, the road wheels removed and thoroughly degreased and jet washed after the DDK Welsh Trip - here we are then all clean and ready to be taken apart - a little daunting at this point.

Image

Image

Image

Image

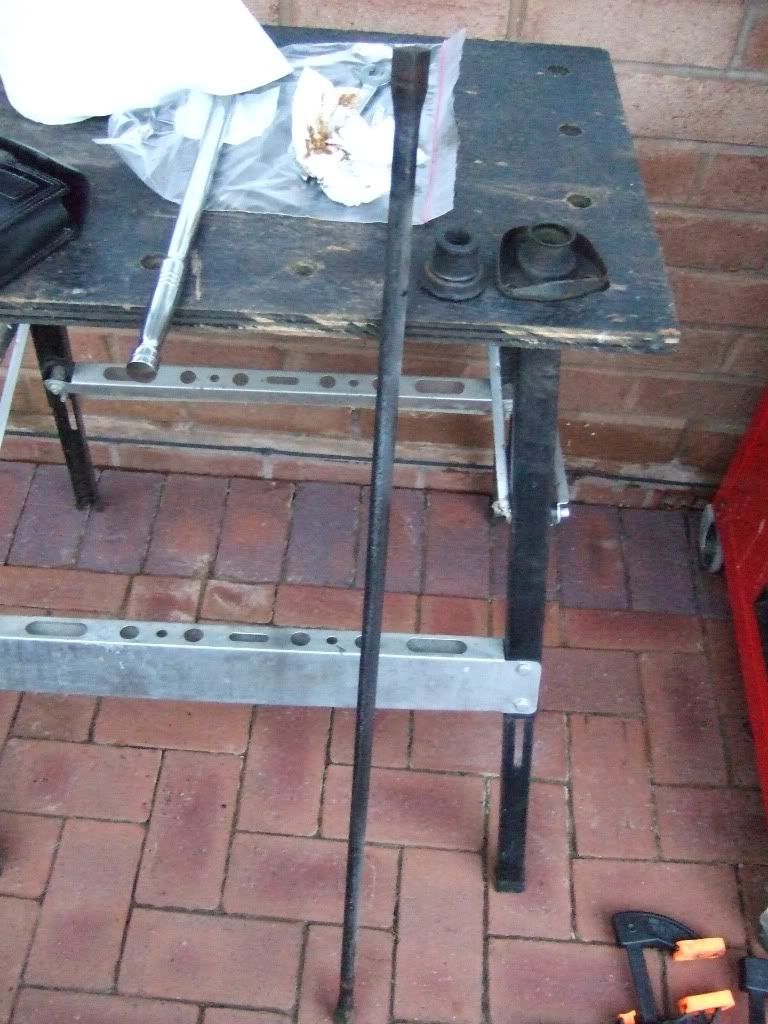
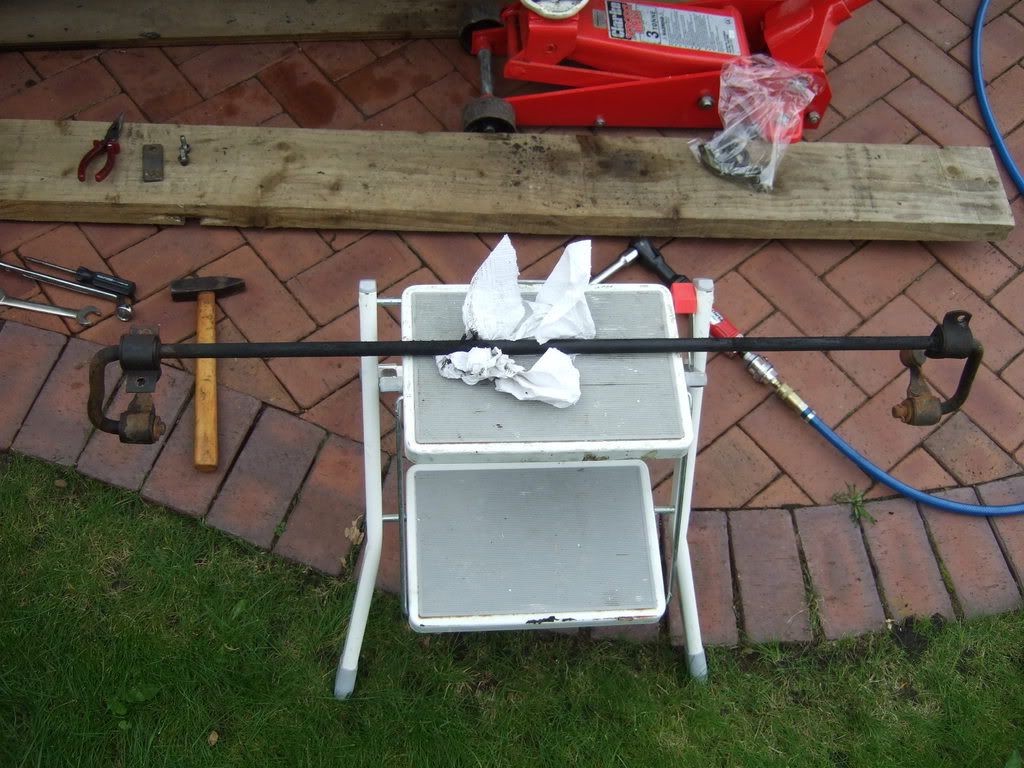
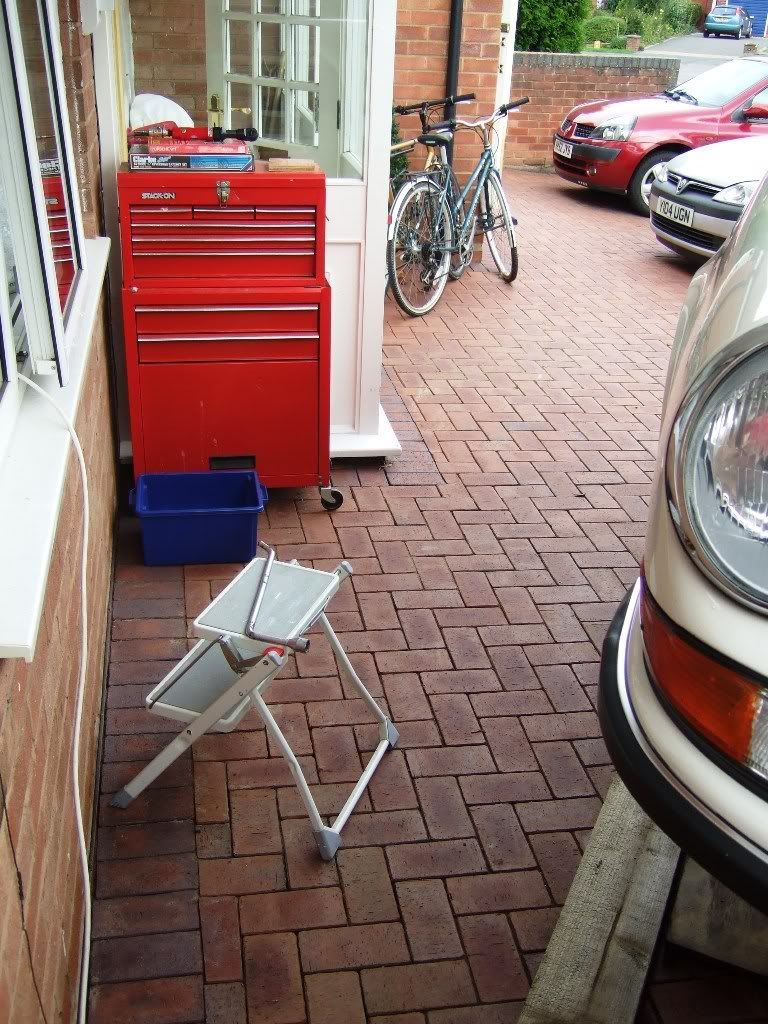
Then it was time to bring out the tool chest, workbench and seat etc. as I have no room for this project in the garage.

Image

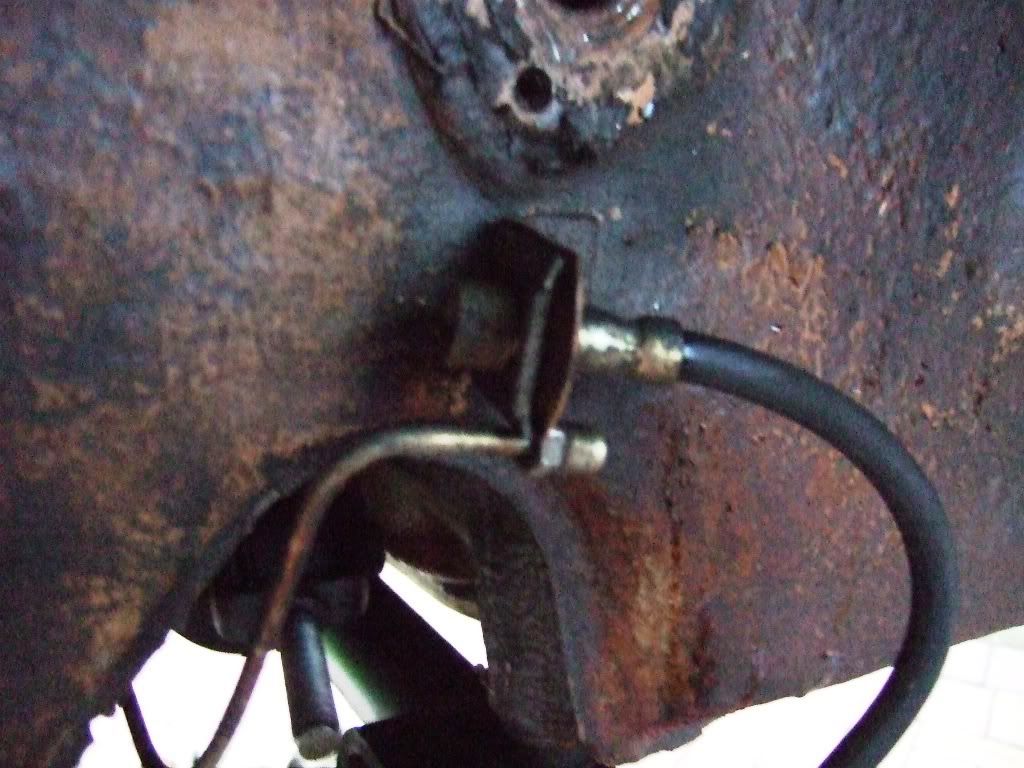
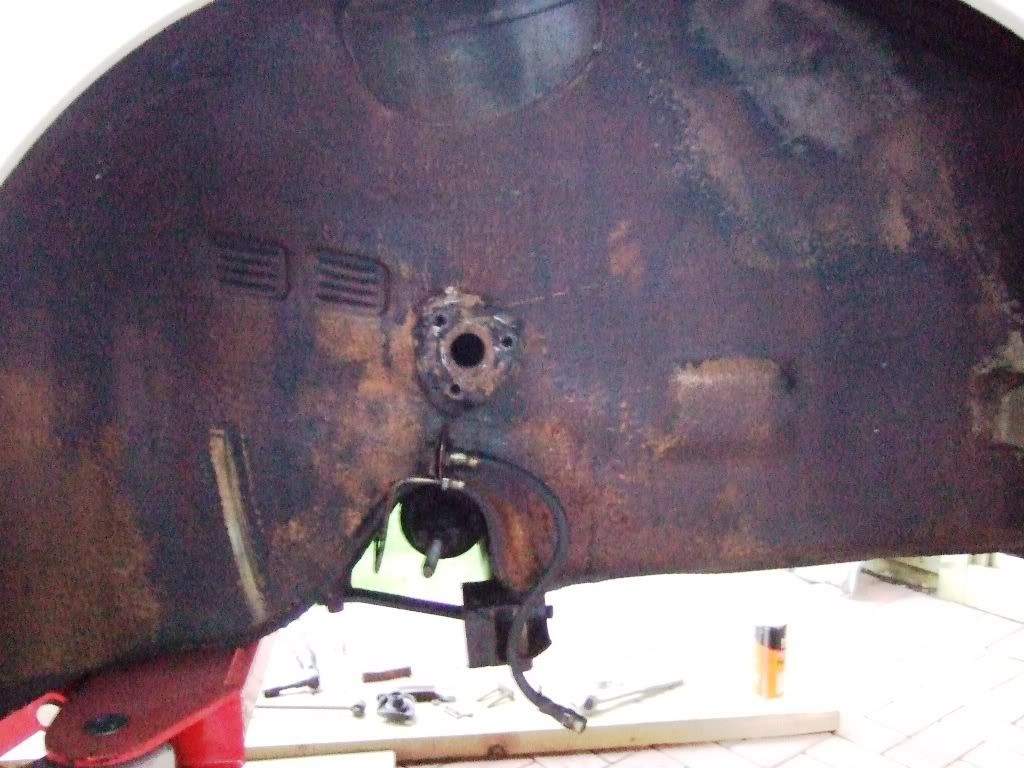
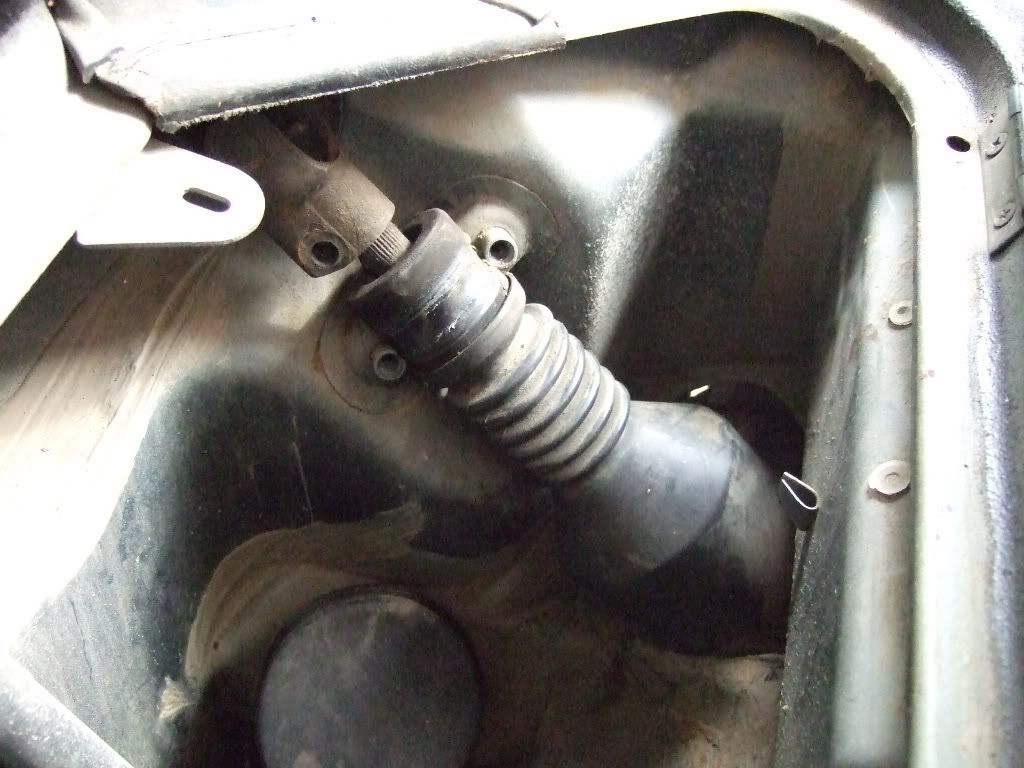
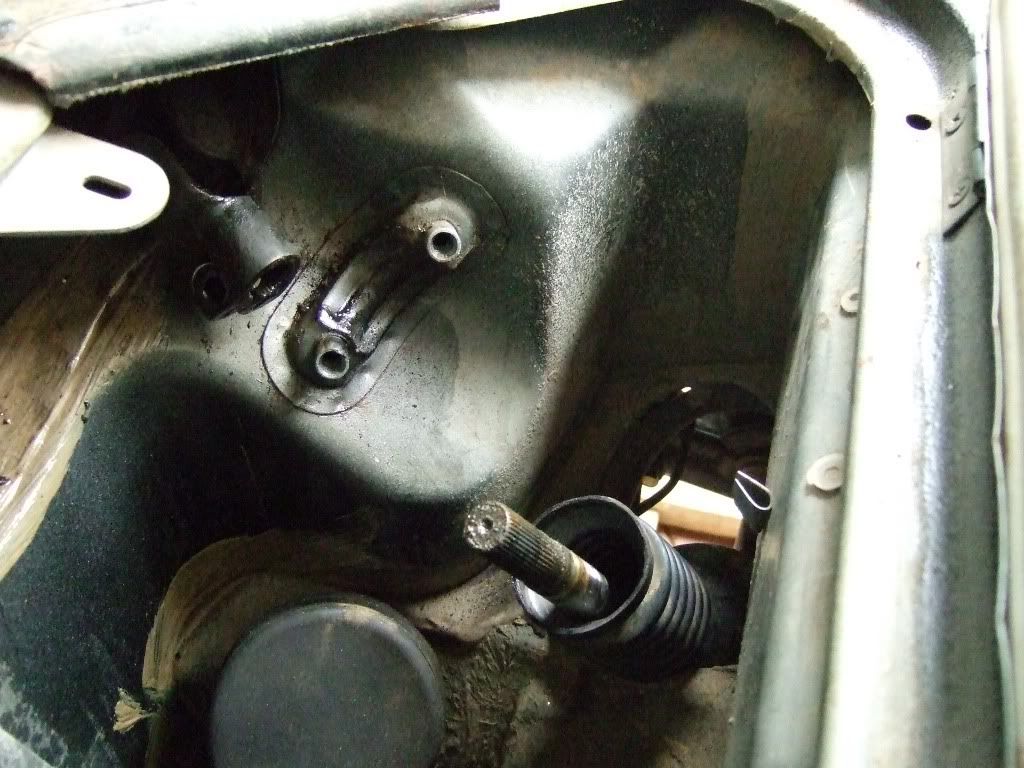
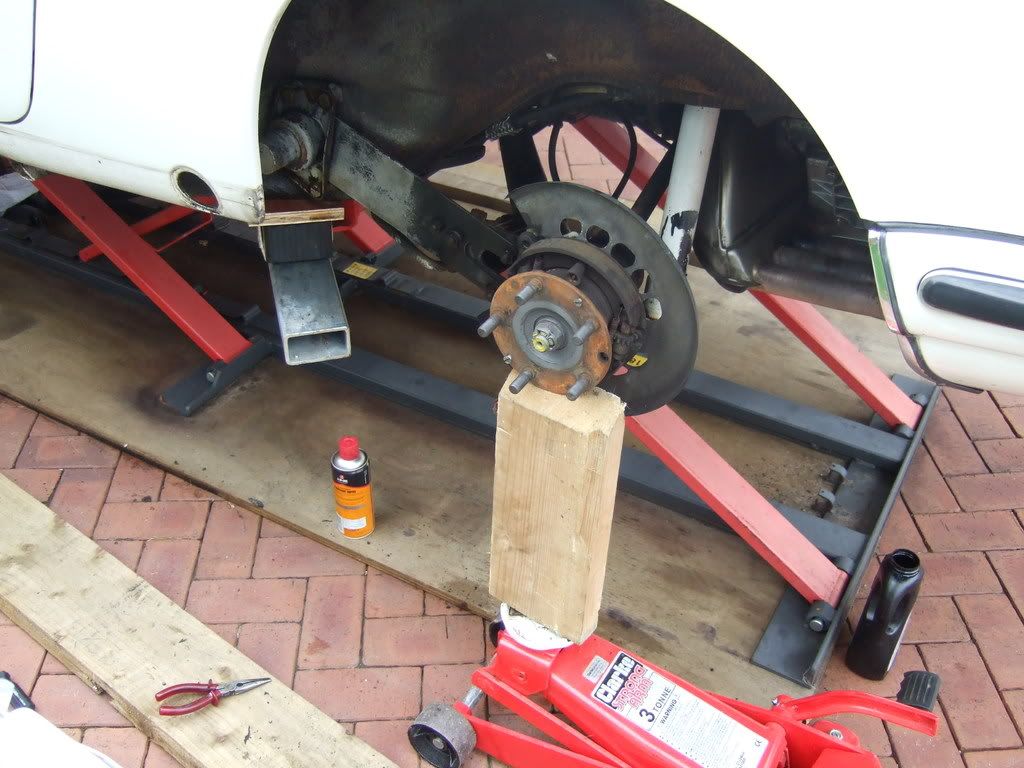
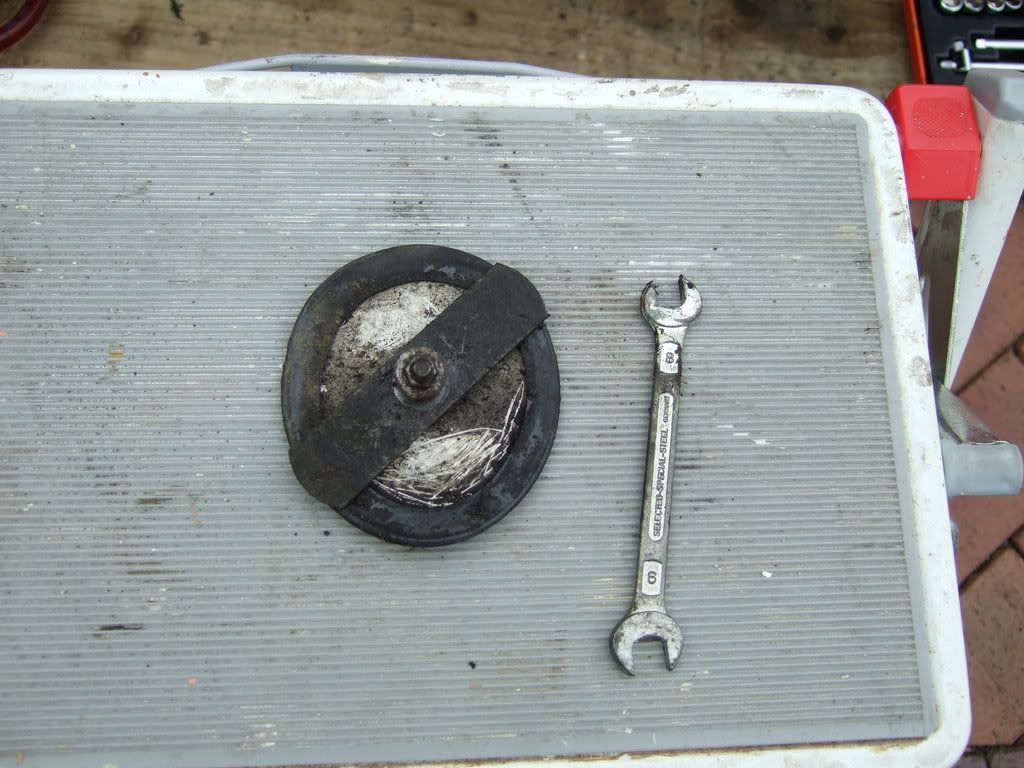
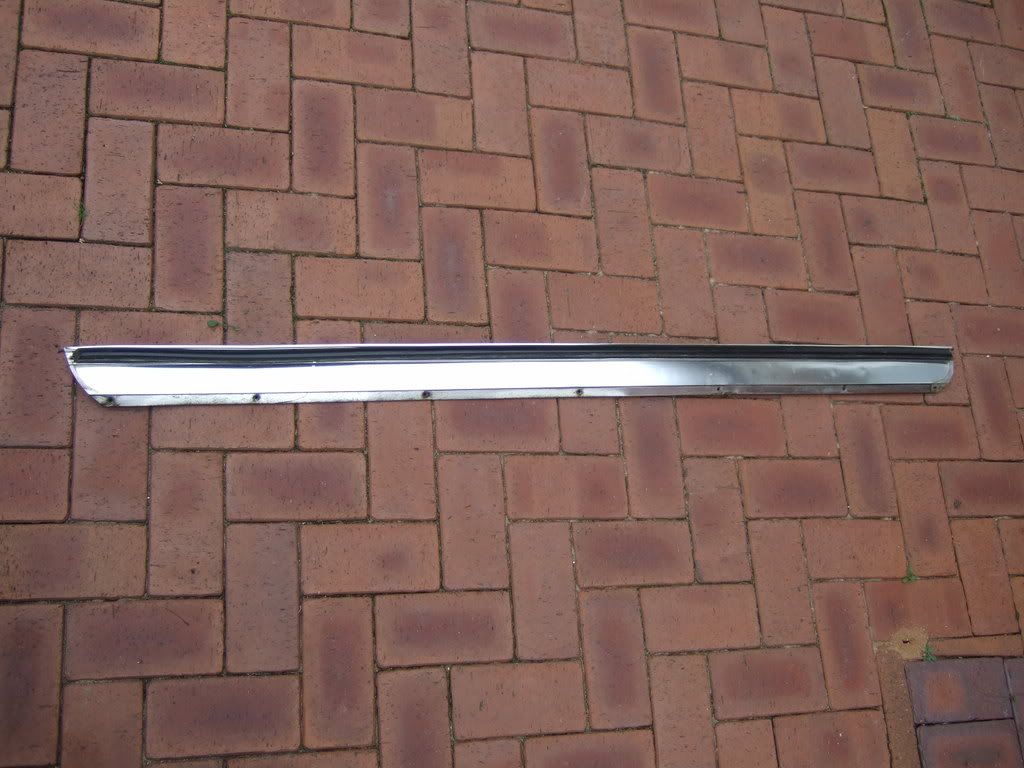
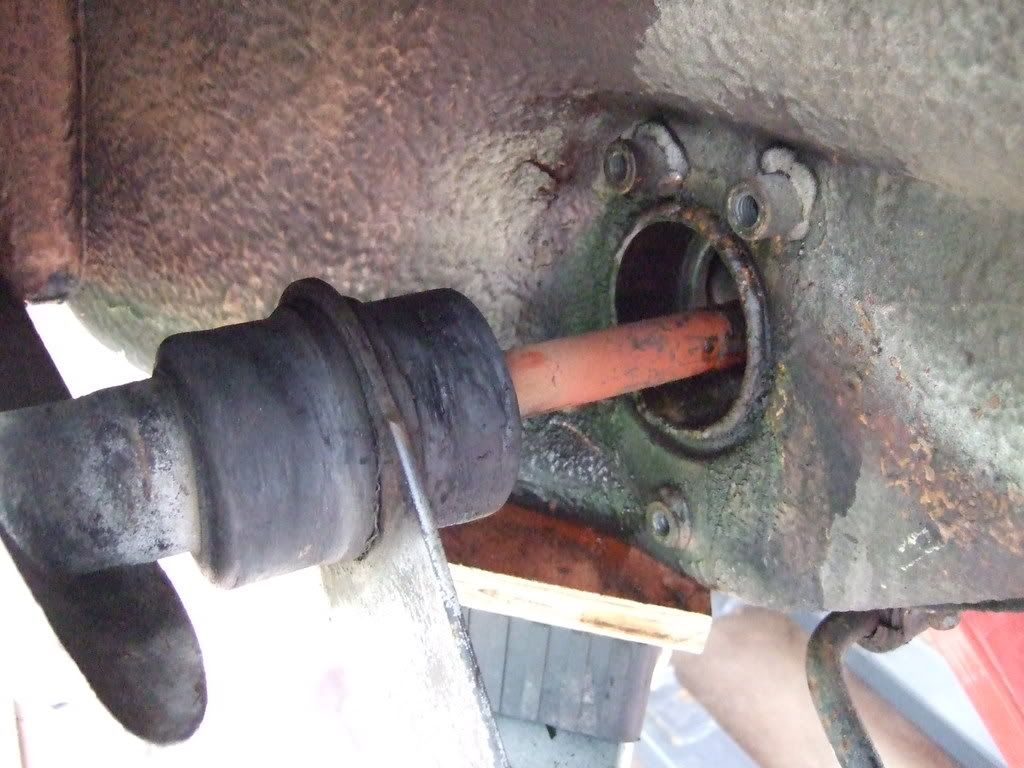
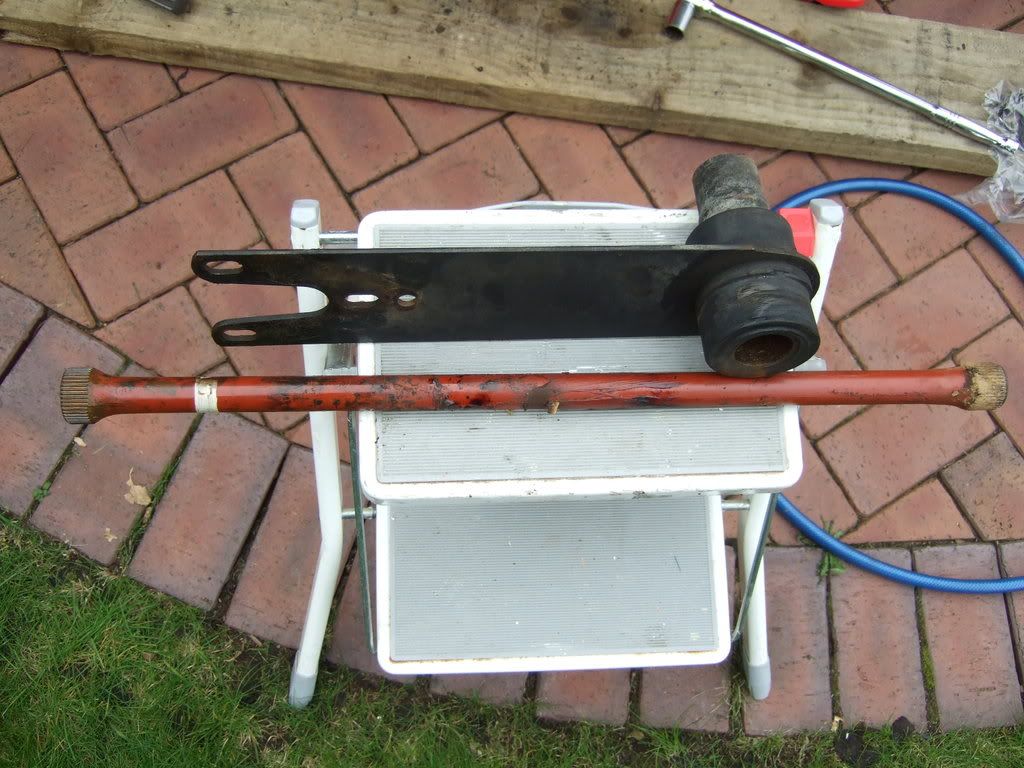
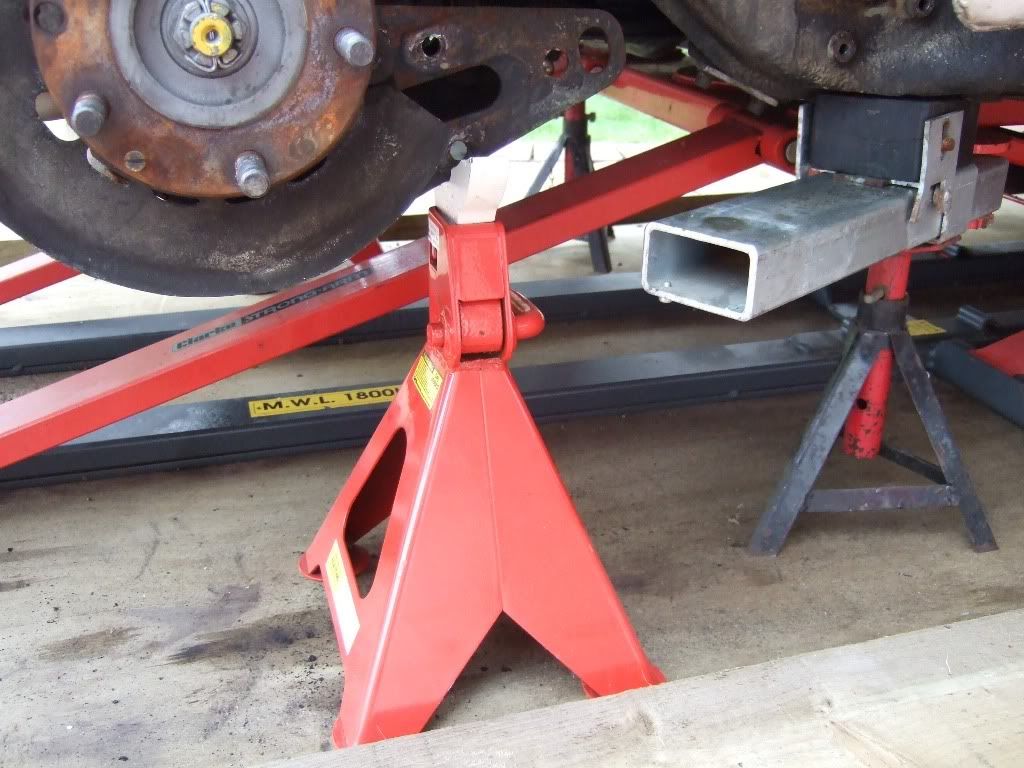
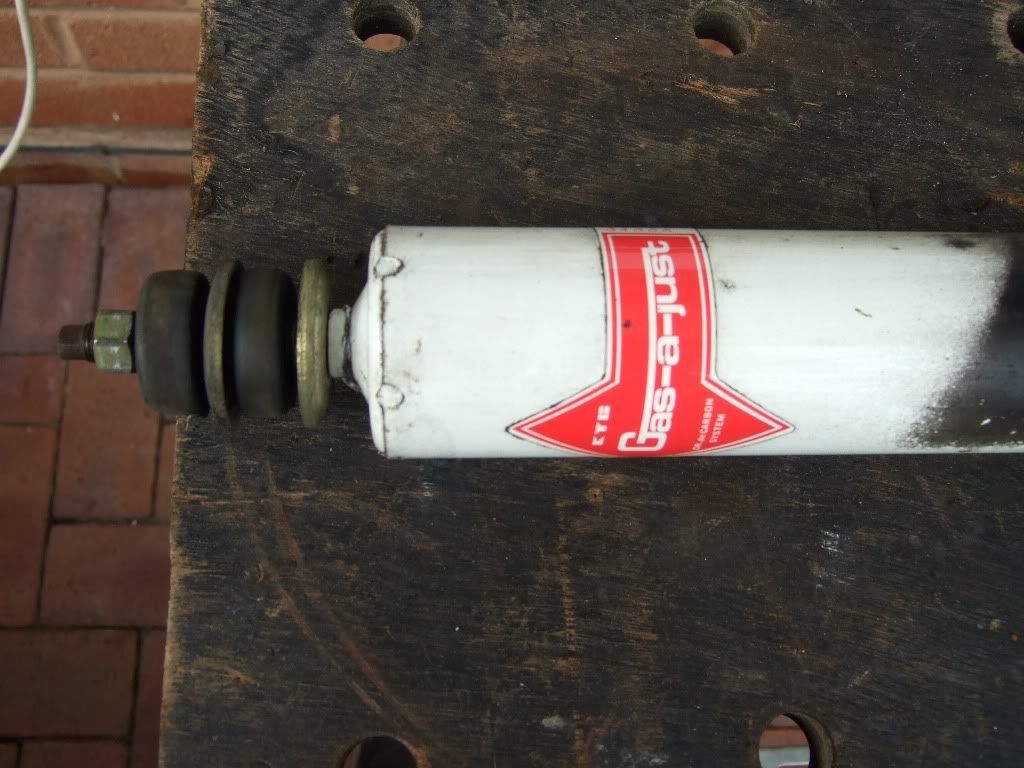
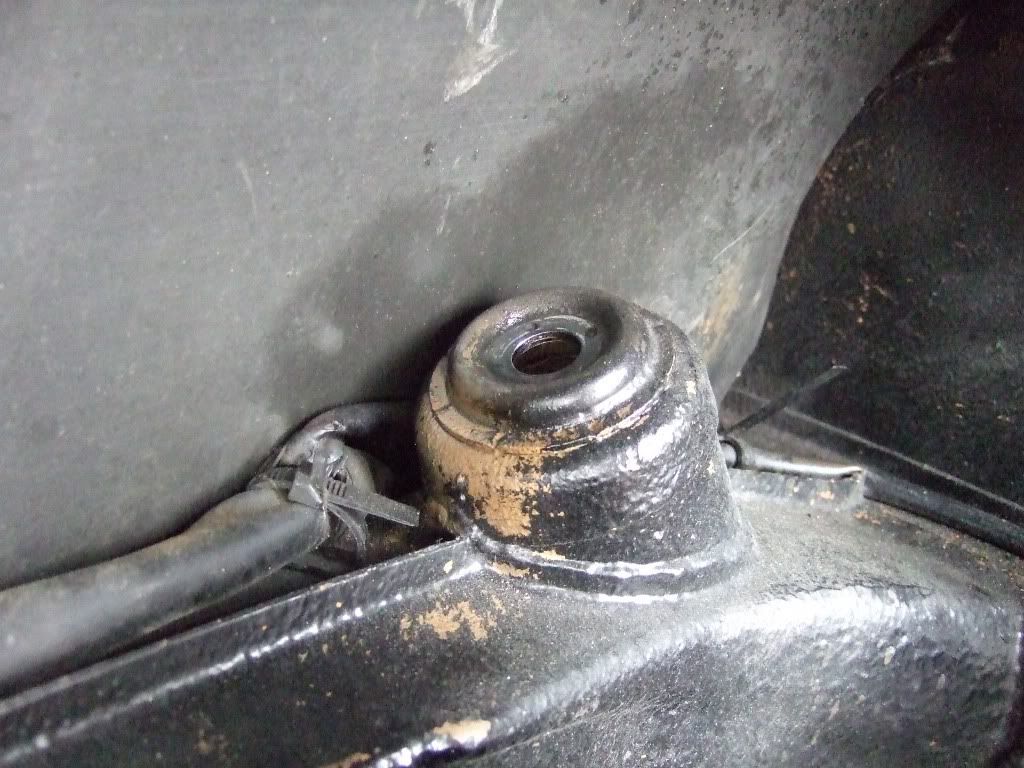
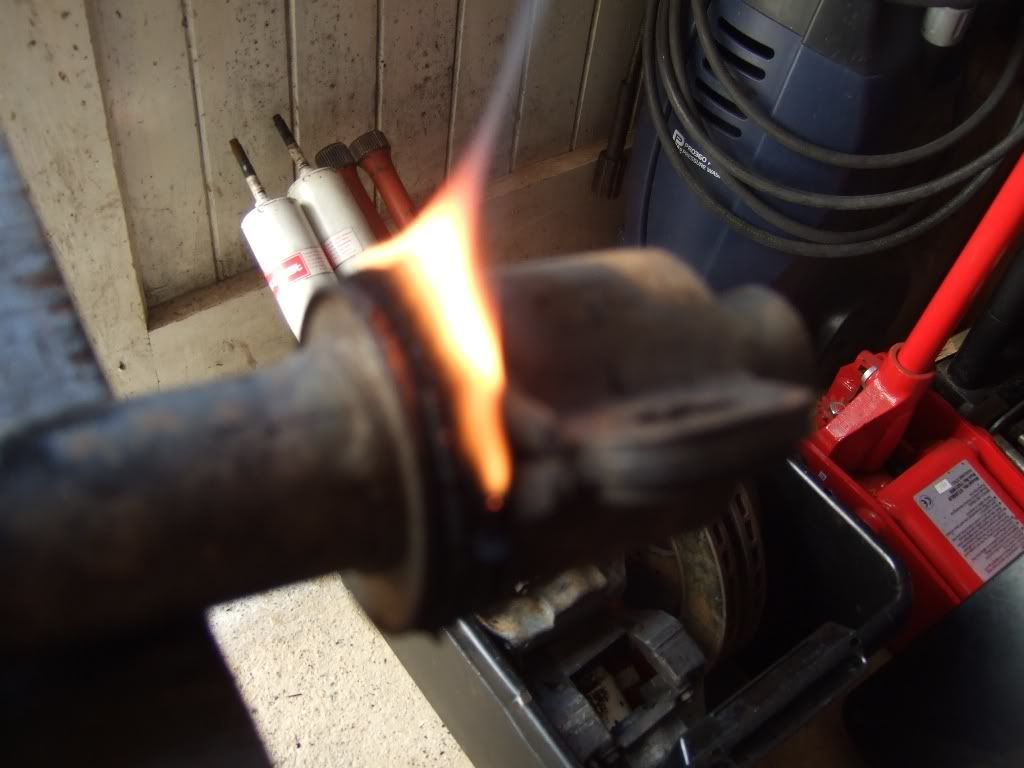
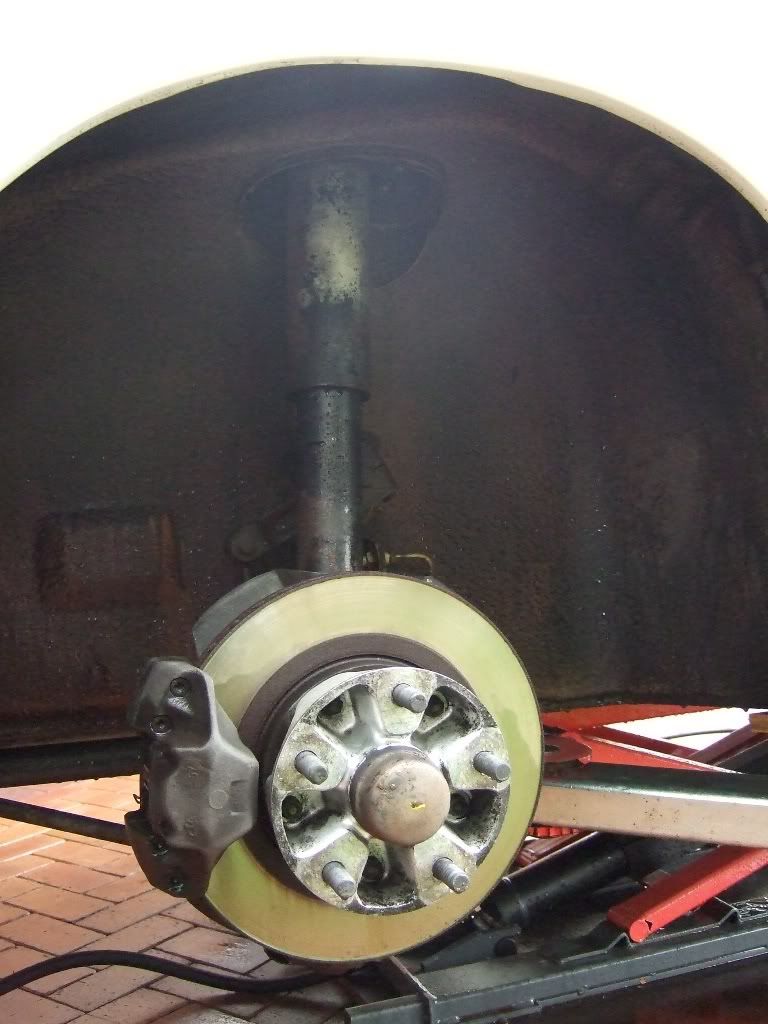
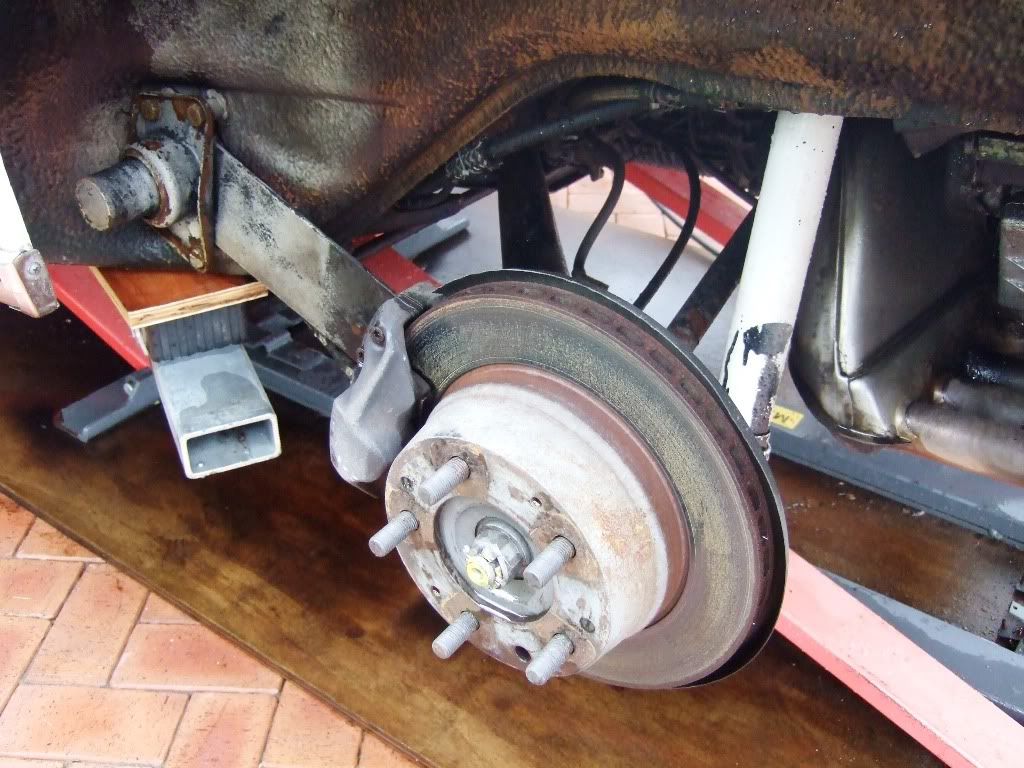
Next starts the 'fun' part of actual dismantling.

Ian
Ian Highfield
Pre 73 1964 Alfa Giulia Sprint GT MSA Category 1 Rally Car
1992 964 C2 with RS Suspension setup and Sport Interior - SOLD
1973 911T (2.7 Carrera engine and loads of period mods - all steel) - SOLD
1986 Carrera Coupe (256bhp) - SOLD
Highfield
Put a fork in me, I'm done!
Posts: 1519
Joined: Thu Oct 06, 2005 8:34 pm
Location: Warwickshire

Front RH Side

Post by Highfield »

First off is the belly pan to expose the master cyliner, steering rack and cross member.

Image

Image

The brake caliper, disk, hub, bearings and cover were easily removed, with no stuck bolts etc. - a good start then.

Just remember to rotate the hub so the cutout aligns with the allen bolt on the bearing / hub retainer - had me scratching my head initially wondering how to get an allen key on to it :-)

Image

Image

I had purchased a balljoint separater so the steering tie rod was surprisingly easy to remove from the strut, and then the pin at the bottom of the strut was likewise straightforward (a hammer did help here) - lots of penetrating oil is my new watchwork though.

Image

more to come......

Ian
Ian Highfield
Pre 73 1964 Alfa Giulia Sprint GT MSA Category 1 Rally Car
1992 964 C2 with RS Suspension setup and Sport Interior - SOLD
1973 911T (2.7 Carrera engine and loads of period mods - all steel) - SOLD
1986 Carrera Coupe (256bhp) - SOLD
Highfield
Put a fork in me, I'm done!
Posts: 1519
Joined: Thu Oct 06, 2005 8:34 pm
Location: Warwickshire

Front RH Side continued...

Post by Highfield »

Next off was the antiroll bar (sway bar), which has been removed and replaced for the MOT so nothing too tight here, although at this point the body attachment bracket was a challenge so left it until later.

Image

Image

Now things get interesting (read harder), as the nut on the top of the strut was not going to budge, even with the locking tab knocked flat - so I undid the three retaining bolts to remove the complete camber plate with the strut.

Image

Next it was the turn of the torsion bar adjuster, which after much 'fiddling and waggling' came off the end of the torsion bar.

Image

The torsion bar would not pull out from the rear, so I removed the front mount and pushed (hit) the bar forwards to knock out the metal cap at the front. This then allowed me to tap the bar rearwards and out of the A-Arm. The bar is very clean, and I will post separately re: its reuse.

Image

Image

Image

Next the strut removal

Ian
Ian Highfield
Pre 73 1964 Alfa Giulia Sprint GT MSA Category 1 Rally Car
1992 964 C2 with RS Suspension setup and Sport Interior - SOLD
1973 911T (2.7 Carrera engine and loads of period mods - all steel) - SOLD
1986 Carrera Coupe (256bhp) - SOLD
Highfield
Put a fork in me, I'm done!
Posts: 1519
Joined: Thu Oct 06, 2005 8:34 pm
Location: Warwickshire

Post by Highfield »

The separation of the strut from the balljoint called in to play the big hammer, but the seal was broken (penetrating oil) and the two separated, allowing the strut and camber plate to be removed as one.

Image

Image

Image

Although the complete steering rack will come out, now was the time to remove the tie rod end, and clean and re-usable it is, although I have turbo tie rods to fit.

Image

Having discovered how to lever the antiroll bar bracket off the bush, I did this on the right and left to then remove the complete bar.

Image

The only thing I cannot remove is the flexible pipe - it appears to simply push through the mounting bracket on the body, and twists 360 degrees, but I cannot remove it - any clues on this one please ?

Image

So, at the end of day one (a late start) I have the front right hand wheel arch empty and the parts on the shelf in the garage.

Image

Image

Tomorrow is the turn of the left hand side, along with the crossmember and rack, so more reports to come.

Ian
Ian Highfield
Pre 73 1964 Alfa Giulia Sprint GT MSA Category 1 Rally Car
1992 964 C2 with RS Suspension setup and Sport Interior - SOLD
1973 911T (2.7 Carrera engine and loads of period mods - all steel) - SOLD
1986 Carrera Coupe (256bhp) - SOLD
User avatar
hot66
Moderator
Posts: 18264
Joined: Tue Nov 11, 2003 4:17 pm
Location: North Yorkshire

Post by hot66 »

for the flexi you need to remove the clip holding it in place ( lever it off using a screwdriver )
James

1973 911 2.4S
1993 964 C2
2010 987 Spyder
1973 MGB Roadster

Its not how fast you go, but how you go fast ;)
Highfield
Put a fork in me, I'm done!
Posts: 1519
Joined: Thu Oct 06, 2005 8:34 pm
Location: Warwickshire

Day 2 - LH Front

Post by Highfield »

What a difference a good night's sleep makes, and the experience of the previous day to draw upon. I started earlier and was done in no time with the left hand front.

Image

Before leaving the front, I wanted to pull the steering rack and cross member, which was also pretty straightforward. Inside the smugglers box I first disconnected the universal joint from the lower rack shaft.

Image


I then returned under the car to remove the bolts holding the rack to the cross member, and dropped the cross member out.

Image

The rack can then be pulled down and out from the right hand side.

Image

Image

Image

And that is the front done with for now.
Ian Highfield
Pre 73 1964 Alfa Giulia Sprint GT MSA Category 1 Rally Car
1992 964 C2 with RS Suspension setup and Sport Interior - SOLD
1973 911T (2.7 Carrera engine and loads of period mods - all steel) - SOLD
1986 Carrera Coupe (256bhp) - SOLD
Highfield
Put a fork in me, I'm done!
Posts: 1519
Joined: Thu Oct 06, 2005 8:34 pm
Location: Warwickshire

Left hand rear

Post by Highfield »

I am not fully settled on how much of the rear I want to remove and refurbish, as the control arms and half shafts look pretty daunting, so for now I have decided upon the torsion bars and spring plates only. I will seek advise before removing any more.

As with yesterday, I expect the first rear side to take longer than the next, learning by mistakes and bruised knuckles along the way.

First up was the removal of the caliper - not easy to get to the bolts or brake hard line to disconnect, but persistence saw it done. The parking brake shoes and mechanism will be left there for now.

Image

Image

Image

Now take the weight off the shock and torsion bars to aid removal. The shock is unbolted at the bottom only for now - no picture of that.

Image

To remove the torsion bar I had to remove the 'S' trim and hole cover.

Image

Image

I wanted to remove the side trims, and it already looks better, if not a little dirty - will get the small trim mounting holes filled and the sill painted in due course.

Image

Next, we remove the torsion bar and spring plate......
Last edited by Highfield on Tue Sep 16, 2008 9:03 pm, edited 2 times in total.
Ian Highfield
Pre 73 1964 Alfa Giulia Sprint GT MSA Category 1 Rally Car
1992 964 C2 with RS Suspension setup and Sport Interior - SOLD
1973 911T (2.7 Carrera engine and loads of period mods - all steel) - SOLD
1986 Carrera Coupe (256bhp) - SOLD
Highfield
Put a fork in me, I'm done!
Posts: 1519
Joined: Thu Oct 06, 2005 8:34 pm
Location: Warwickshire

TB and Spring Plate

Post by Highfield »

With the weight off the torsion bar, the bolts securing the cover plate and the arm to the control arm are removed, allowing the cover plate to be prised (spelling !) off, and the arm free to be removed !

Image

Image

Image

Image


Image


Image


Image


Image


Image

Nothing was rusted in, but the spring plate needed some penetrating oil and 'wiggling' to separate it from the torsion bar. TB is orange and in excellent condition.

Next the ARB.
Last edited by Highfield on Tue Sep 16, 2008 9:00 pm, edited 1 time in total.
Ian Highfield
Pre 73 1964 Alfa Giulia Sprint GT MSA Category 1 Rally Car
1992 964 C2 with RS Suspension setup and Sport Interior - SOLD
1973 911T (2.7 Carrera engine and loads of period mods - all steel) - SOLD
1986 Carrera Coupe (256bhp) - SOLD
Highfield
Put a fork in me, I'm done!
Posts: 1519
Joined: Thu Oct 06, 2005 8:34 pm
Location: Warwickshire

Rear ARB

Post by Highfield »

Lesson learned - remove the drop link from the 'ball' on the control arm before removing the main mounting bolts.

The rear ARB is secured by four bolts and the drop links 'simply' (not) pop off the control arm.

Image


Image


Image

All that remains is to the the right hand rear tomorrow, and then everything needs to be cleaned - a days work there :-(

Ian
Ian Highfield
Pre 73 1964 Alfa Giulia Sprint GT MSA Category 1 Rally Car
1992 964 C2 with RS Suspension setup and Sport Interior - SOLD
1973 911T (2.7 Carrera engine and loads of period mods - all steel) - SOLD
1986 Carrera Coupe (256bhp) - SOLD
Highfield
Put a fork in me, I'm done!
Posts: 1519
Joined: Thu Oct 06, 2005 8:34 pm
Location: Warwickshire

Day 3 - Dismantling Completed for now

Post by Highfield »

Another dry day, so another early start to get the right hand rear dismantled, and like the front, the second side is always easier. Right, except for the stripped brake line connector.

I had the parts dismantled pretty quickly, although I had to saw through the hard brake line as the fitting had rounded off.

Image

The control arms are now free to hang down, so the axle stand is called in to action to provide much needed support, and frees up a shelf in the garage.

Image

Rather than leave the car on the lift alone for months on end, I decided to lower the car on to a wood plank at the front and axle stands at the rear - the lift is still there, but not taking all the weight.

Image


The final parts to be removed were the shocks, and they turned out to be KYC Gas-a-Just. Anyone any clues as to if they are any good ?

Image

Image

So, the parts are dismantled as far as I want to go for now, as to be honest the garage is full and there is no room for driveshafts and control arms, not until I sell on some of the parts I will not reuse.
Last edited by Highfield on Wed Sep 17, 2008 9:24 pm, edited 1 time in total.
Ian Highfield
Pre 73 1964 Alfa Giulia Sprint GT MSA Category 1 Rally Car
1992 964 C2 with RS Suspension setup and Sport Interior - SOLD
1973 911T (2.7 Carrera engine and loads of period mods - all steel) - SOLD
1986 Carrera Coupe (256bhp) - SOLD
Highfield
Put a fork in me, I'm done!
Posts: 1519
Joined: Thu Oct 06, 2005 8:34 pm
Location: Warwickshire

Day 3 - The clean up begins

Post by Highfield »

Well, looking at the shelves and boxes full of dismantled parts, and the car on the lift out front, I have become somewhat alarmed at the amount of work ahead of me. Never mind, it will all be worth it in the end.

Image

There is a huge amount of cleaning to be done, even after having jet washed the car before starting down this road. I have started to use a large box with Swarfega Oil & Grease Remover followed by clean water to rinse - this is going to be a long process.

Image

Image

Image

Can anyone recommend a better parts cleaned ?

So, to add some cheer, here are a few sneak pictures of new parts and those awaiting some simple refurb (i.e. zinc)

Image

Image

Image

Image

Ian
Ian Highfield
Pre 73 1964 Alfa Giulia Sprint GT MSA Category 1 Rally Car
1992 964 C2 with RS Suspension setup and Sport Interior - SOLD
1973 911T (2.7 Carrera engine and loads of period mods - all steel) - SOLD
1986 Carrera Coupe (256bhp) - SOLD
User avatar
hot66
Moderator
Posts: 18264
Joined: Tue Nov 11, 2003 4:17 pm
Location: North Yorkshire

Post by hot66 »

a lot of local engineering companies will have large scale cleaning degreasing facilities .... give some a call :) . I've used the large cleaning bath at my local engine reconditioners before on cylinder heads etc
James

1973 911 2.4S
1993 964 C2
2010 987 Spyder
1973 MGB Roadster

Its not how fast you go, but how you go fast ;)
Highfield
Put a fork in me, I'm done!
Posts: 1519
Joined: Thu Oct 06, 2005 8:34 pm
Location: Warwickshire

Day 4 - The clean up continues

Post by Highfield »

Nothing more to remove from the car right now, so there is no excuse, roll the sleeves up and prepare those dirty parts for the powder coaters and zinc platers. By prepare, I don't mean clean, but rather remove the old bushings from the A-Arms and Spring Plates - quick job and off we go - No !

Not having the large ball joint nut socket, I elected to use the lump hammer and chisel to good effect. The rubber cover was split so replacement ball joints were needed, but the nuts will live another day if needs be.

Image

Image

Removing the old bushes was however another thing, until I searched Pelican and found I needed to burn them off. So one trip to B&Q later, and I have my blow torch. The rubber crumbles and loosens under the intense heat, and the mounts and bushings twist off with a big screwdriver - and yes it is on fire :-)

Image

Image

Image

The A-Arms are ready for the powder coaters.

Next, the camber plate removal

Ian
Ian Highfield
Pre 73 1964 Alfa Giulia Sprint GT MSA Category 1 Rally Car
1992 964 C2 with RS Suspension setup and Sport Interior - SOLD
1973 911T (2.7 Carrera engine and loads of period mods - all steel) - SOLD
1986 Carrera Coupe (256bhp) - SOLD
Highfield
Put a fork in me, I'm done!
Posts: 1519
Joined: Thu Oct 06, 2005 8:34 pm
Location: Warwickshire

Camber Plate Removal

Post by Highfield »

Yesterday I posted an article relating to parts that will be for sale, and the fact that I had not been able to remove the canber plates.

Well, a night's sleep and a brainwave - I have a pair of large 'stilsons' somewhere that would be ideal for holding the top washes whilst I get a big socket and bar on the top nut.

One son home early from school provides the necessary helper ("just hold this here and do not let it move") and voila, the camber plates are freed.

I have two sets of these and will have them both zinc plated to see which turn out best.

Image

Image

Well that's it for now on dismantling, as I am in to the parts refurbishment mode, and will start a separate thread for that.

Ian
Last edited by Highfield on Thu Sep 18, 2008 8:37 pm, edited 1 time in total.
Ian Highfield
Pre 73 1964 Alfa Giulia Sprint GT MSA Category 1 Rally Car
1992 964 C2 with RS Suspension setup and Sport Interior - SOLD
1973 911T (2.7 Carrera engine and loads of period mods - all steel) - SOLD
1986 Carrera Coupe (256bhp) - SOLD
Gary71
Nurse, I think I need some assistance
Posts: 10274
Joined: Wed Mar 31, 2004 1:27 pm
Location: Cheshire
Contact:

Post by Gary71 »

Looking good Ian :)

Only downside is 1 hour into your first drive all your new shiny bits will be filthy again :lol:

However knowing every bit is sorted is a great feeling :)
Post Reply