Thanks ever so much gents. I appreciate the encouragement.
So lesson in assembling AN- Fittings...
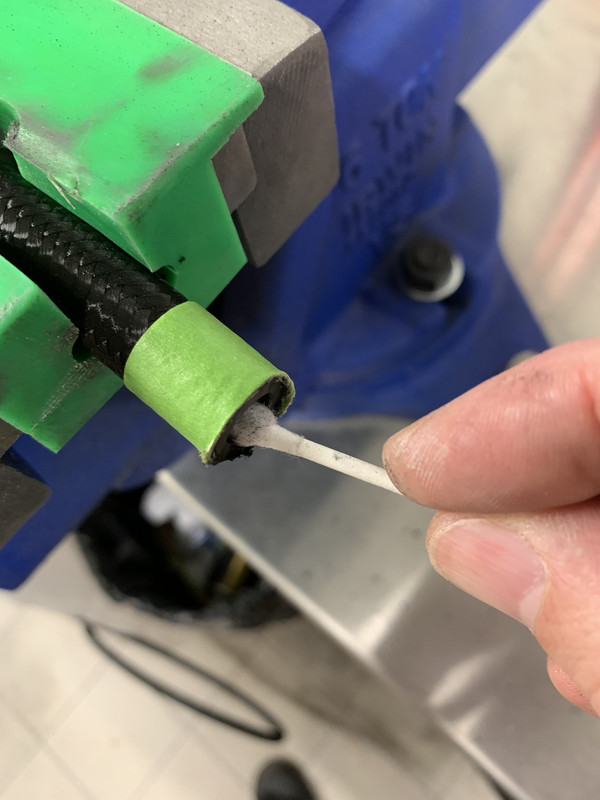
First tape up the pipe to stop it flaring when cut.
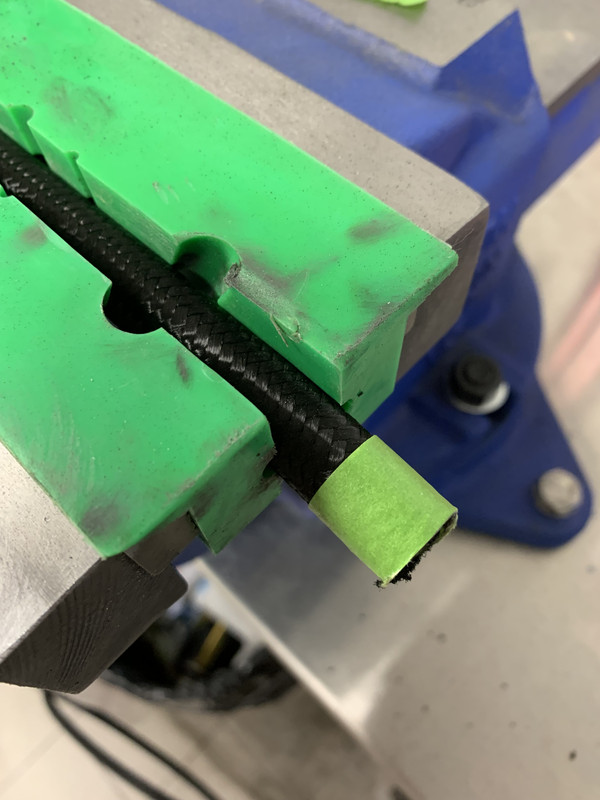
I cut the pipe with an angle grinder with a micro thin stainless steel cutting blade. Remember to clean out the pipe as there will be lots of rubber debris in there and we don't need that clogging up the new filter.
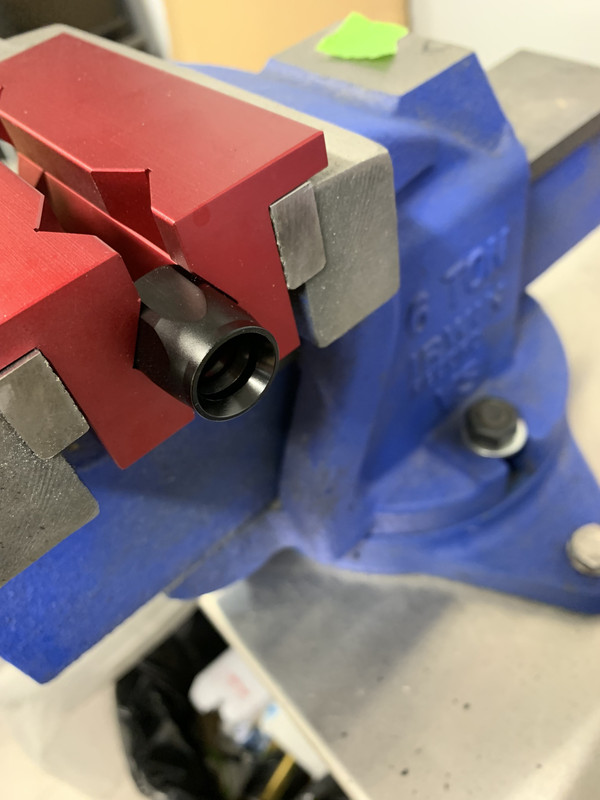
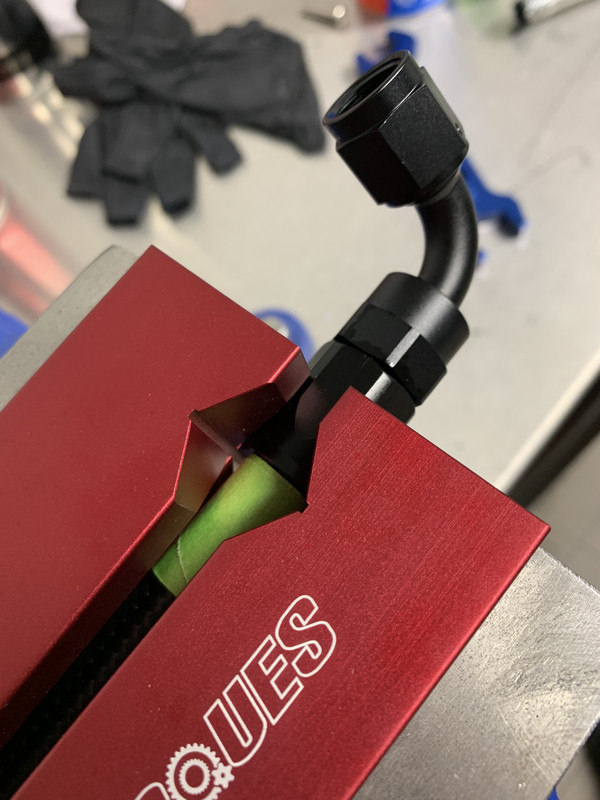
Buy a proper set of Ali jaws for the fittings. They will pay for themselves in no time!
Put the end fitting into them and pinch up.
With a twisting action of a few degrees one way the the other (kinda a wiggle left and right) so not to unduly disturb the mesh. Insert the pipe until it can go no further.
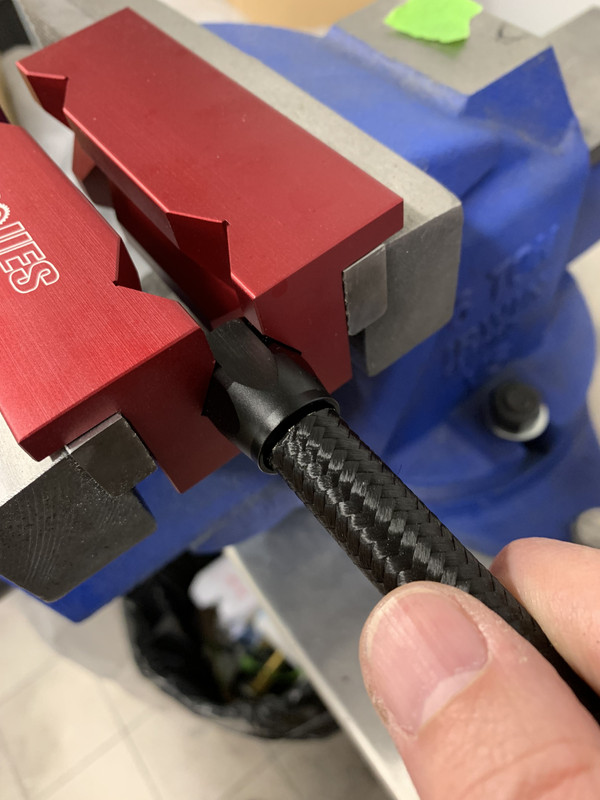
Once seated square and right to the end of the fitting carry on with the scary bit.
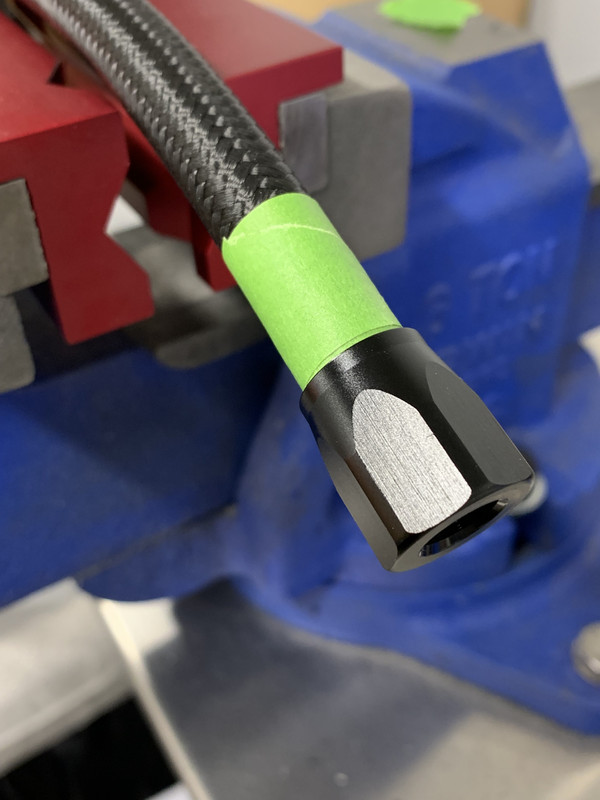
I then tape the end of the pipe to see if it moves out during the assembly.
Next I use a good quality silicon spray in the end of the pipe and on the fitting, especially the threads.
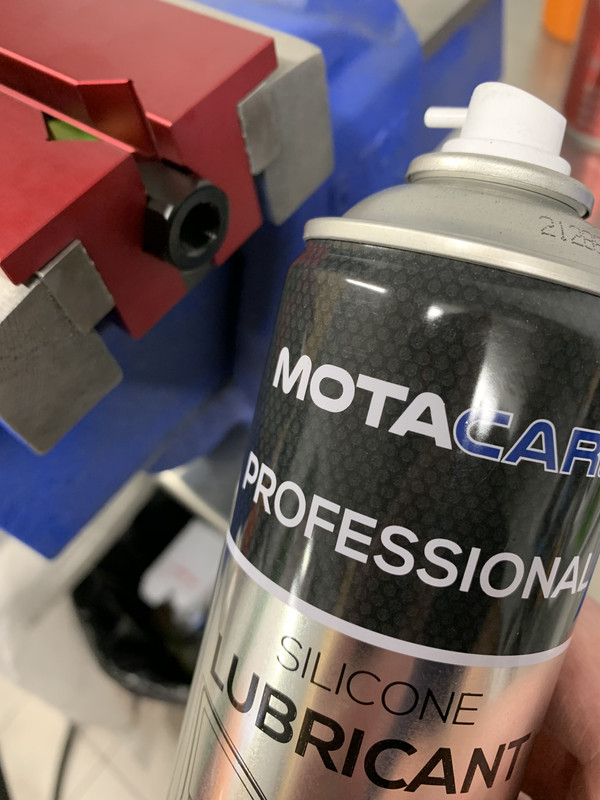

The threads are very fine, but make sure that you don't cross thread. These fitting are Ali.
Tighten fitting in a smooth constant motion. I again use an Ali spanner designed for this.
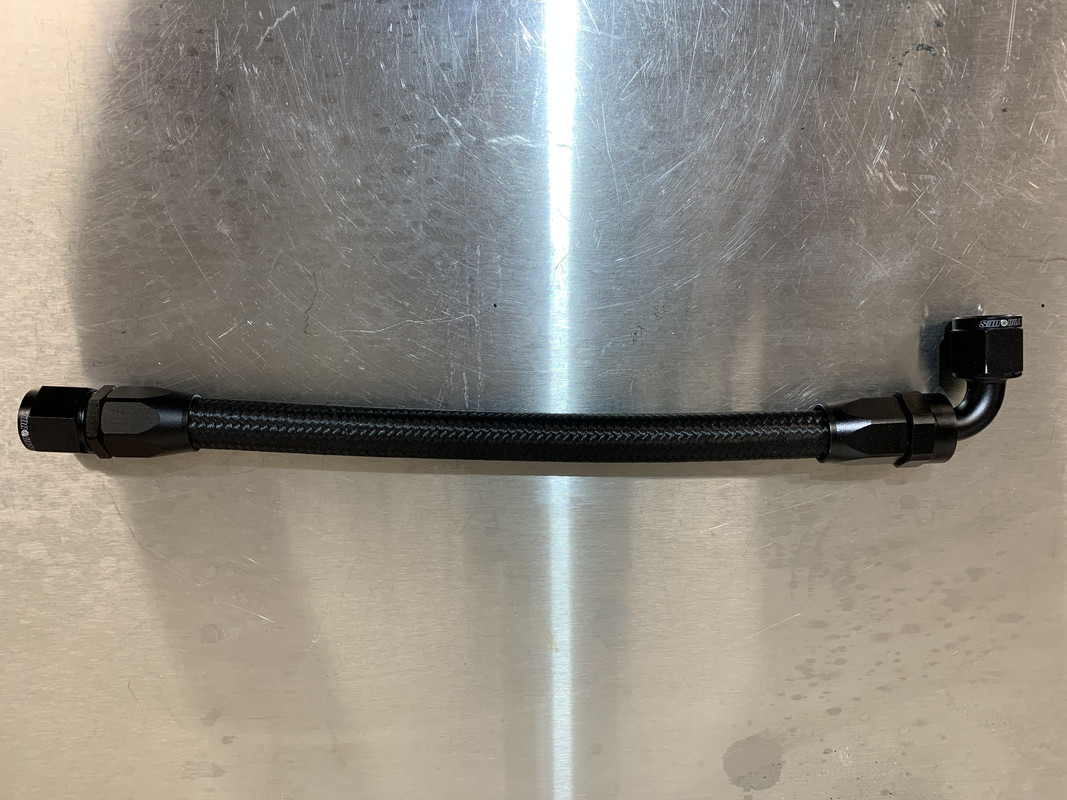
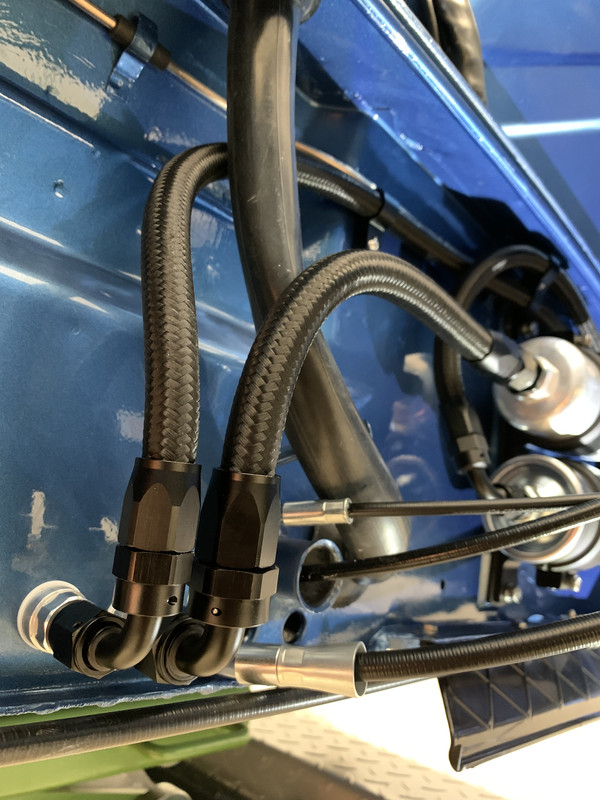
And there you go. Check the tape to make sure the pipe has not pushed out at all and you can be pretty confident you now have AN- pipes good for years.

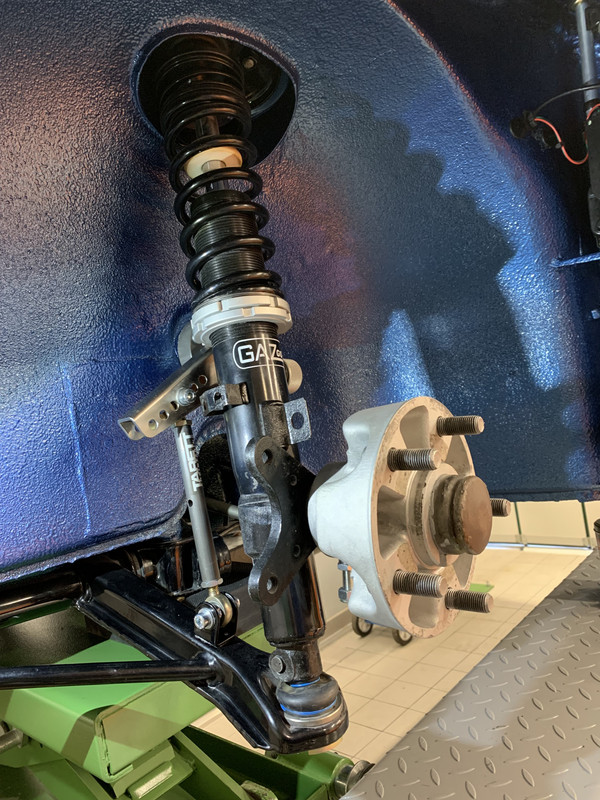
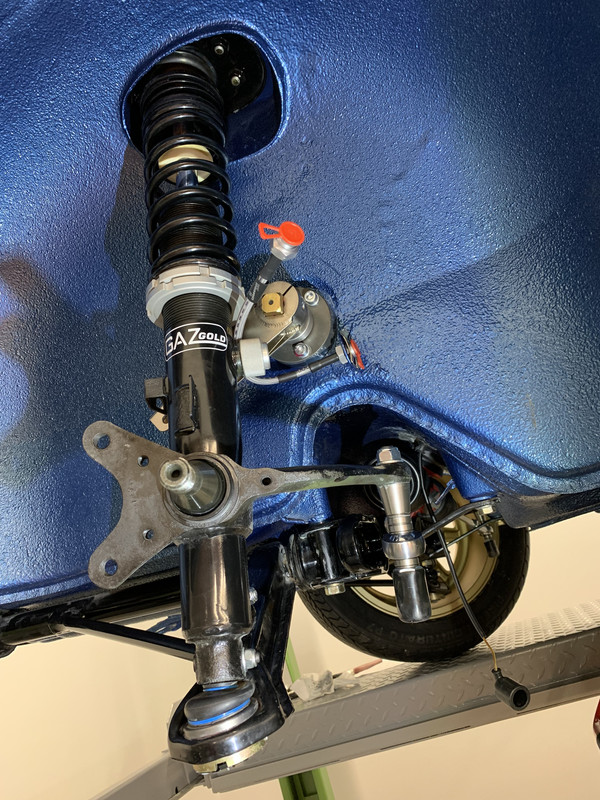
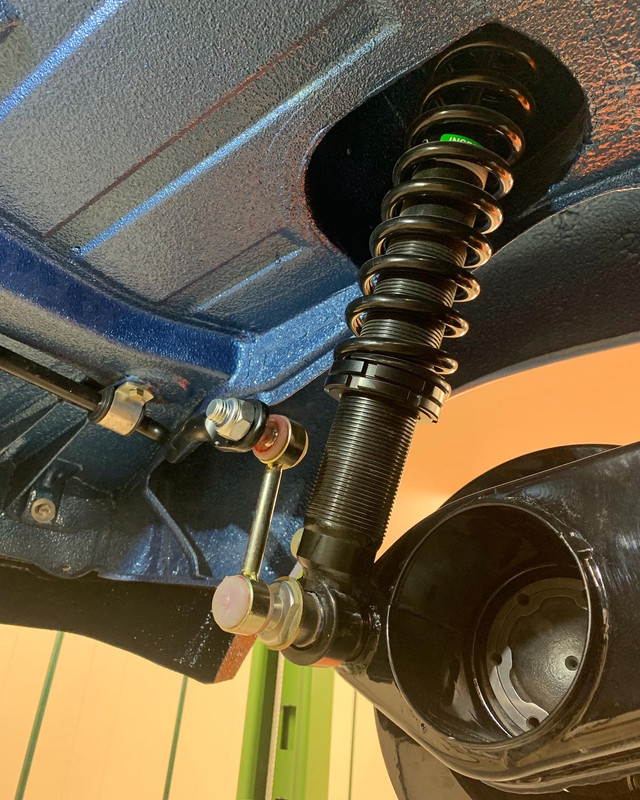
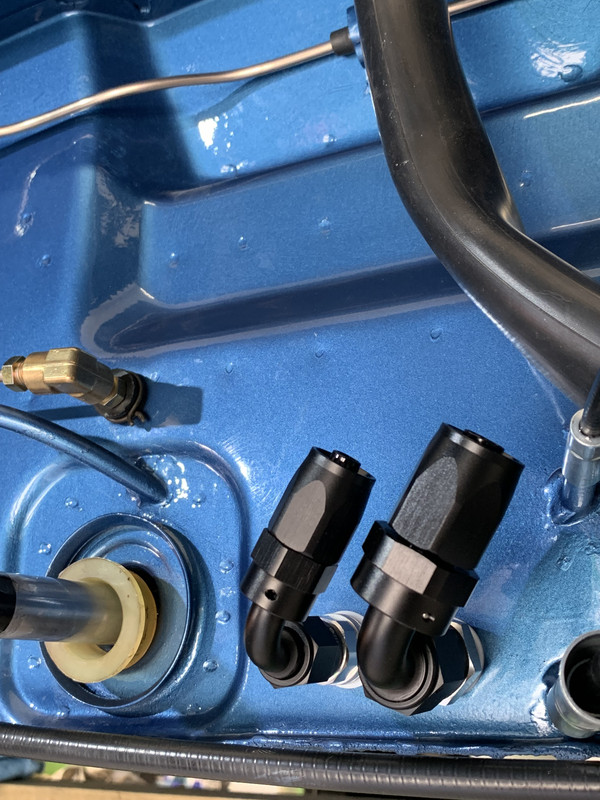
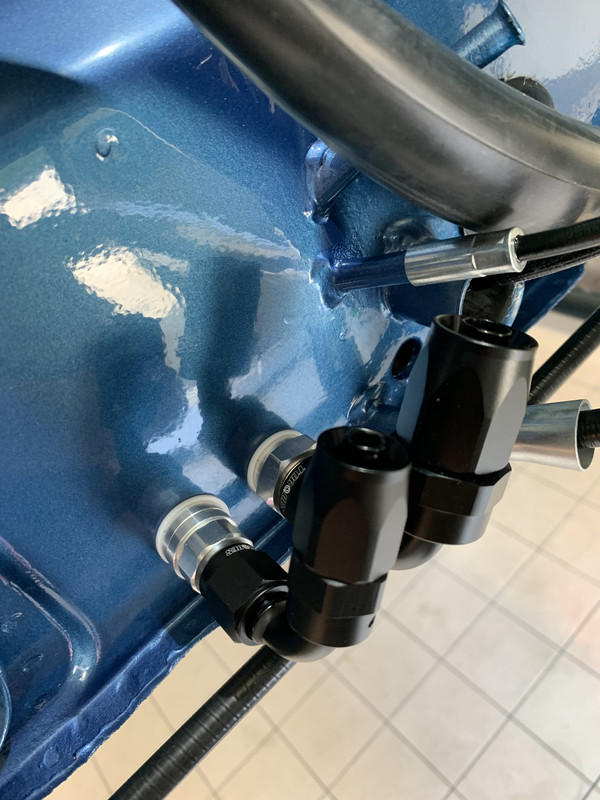
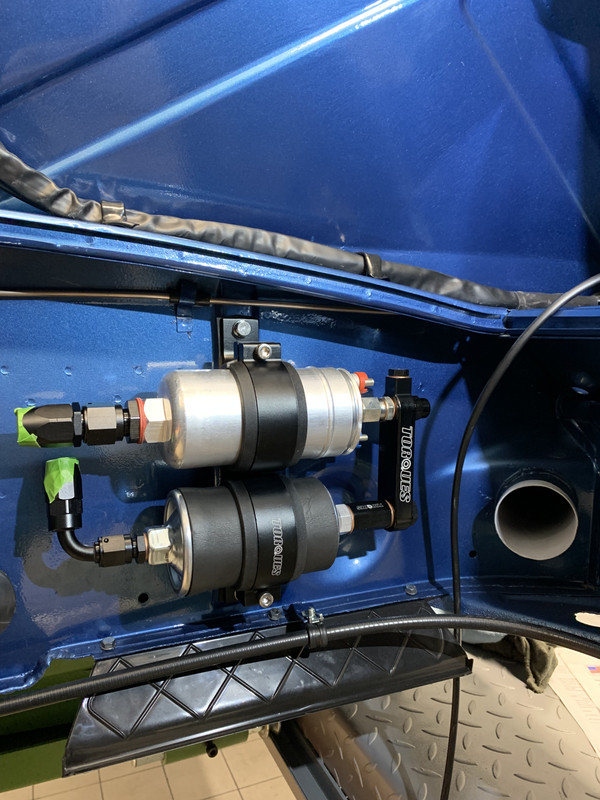
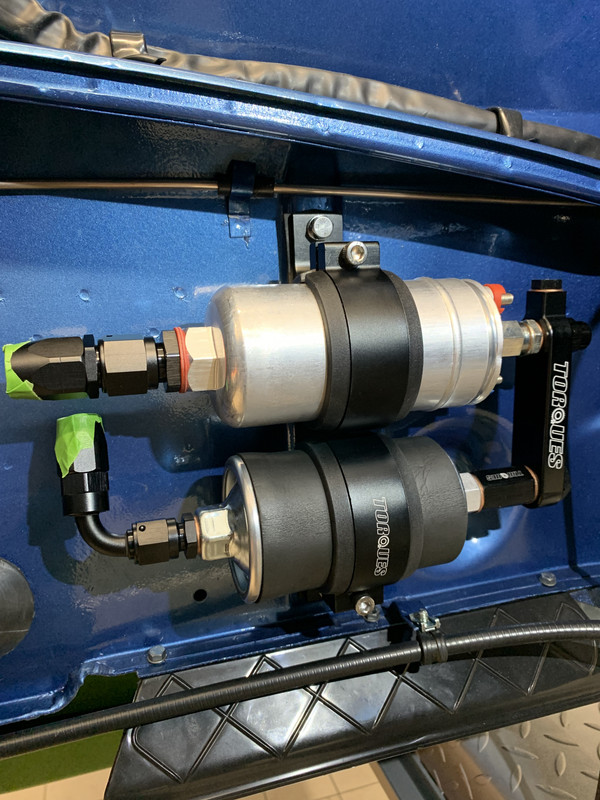
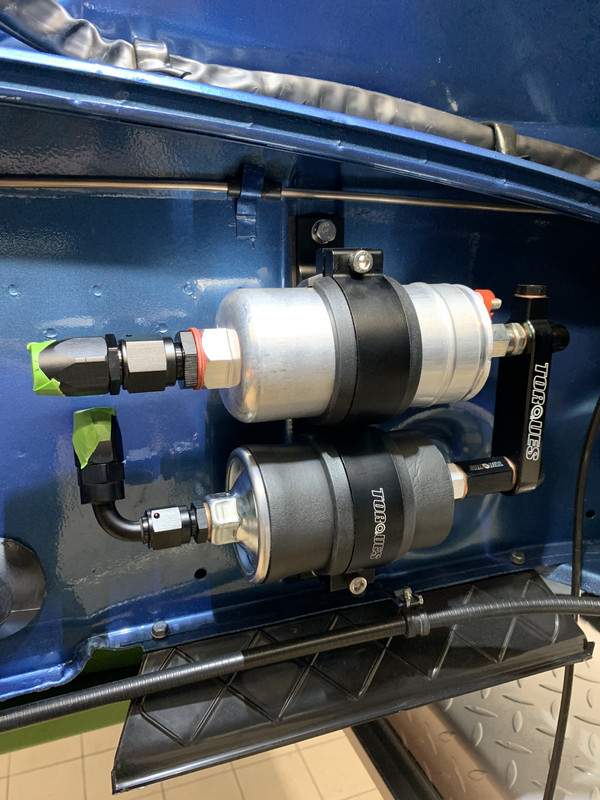
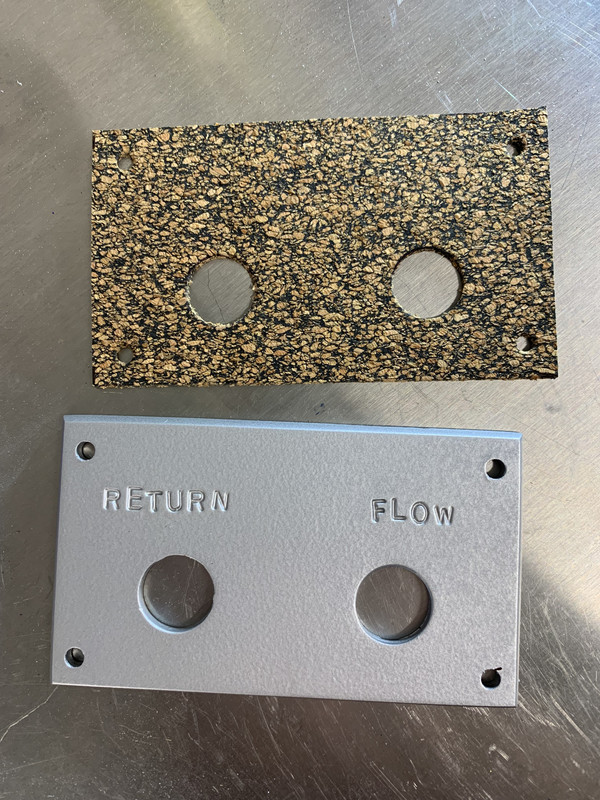
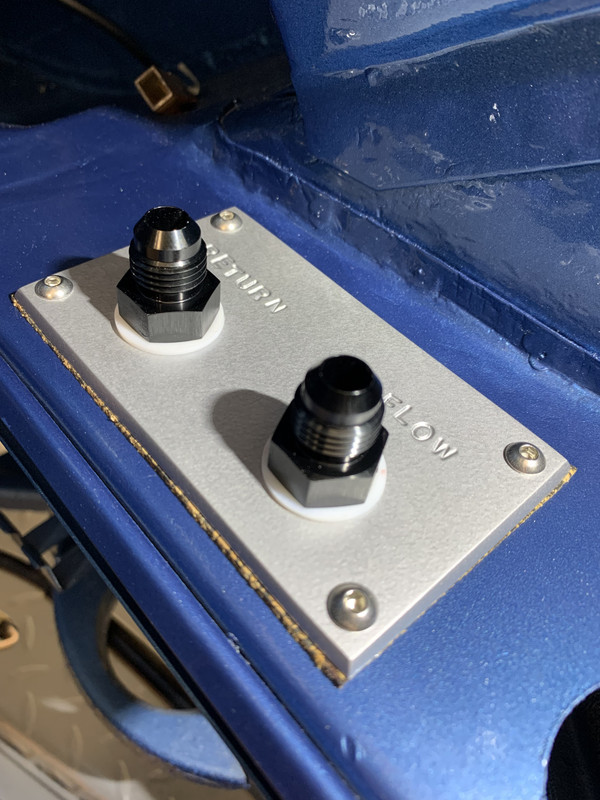
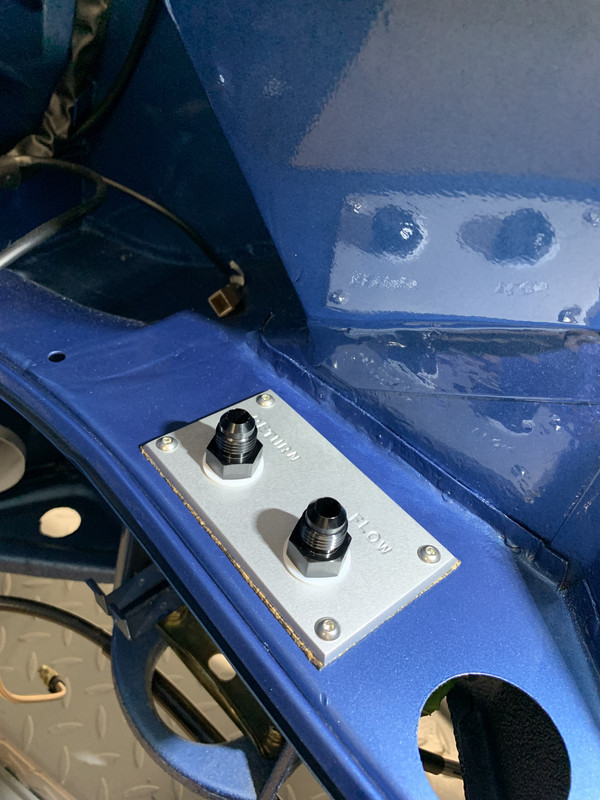
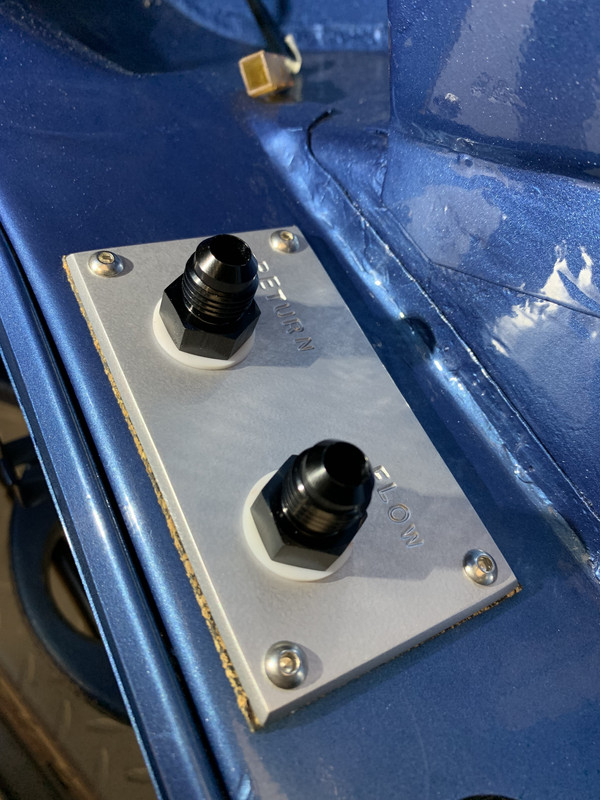
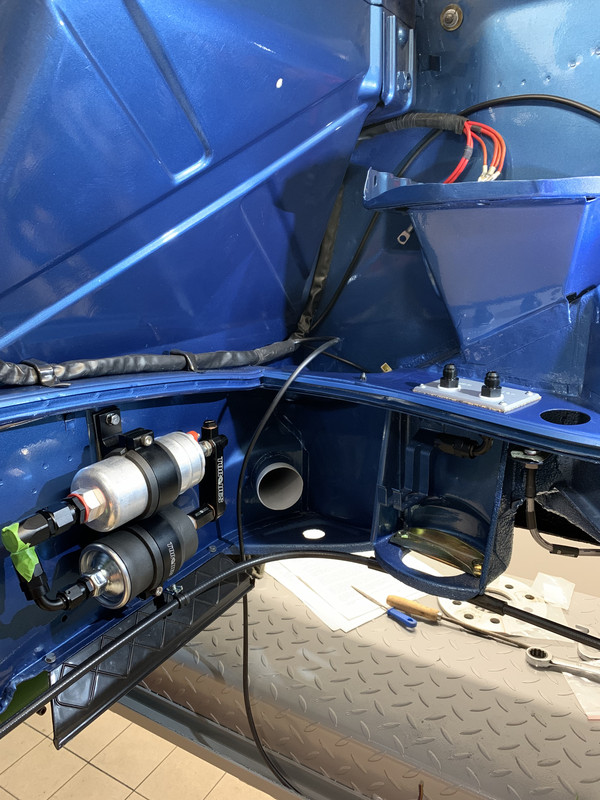
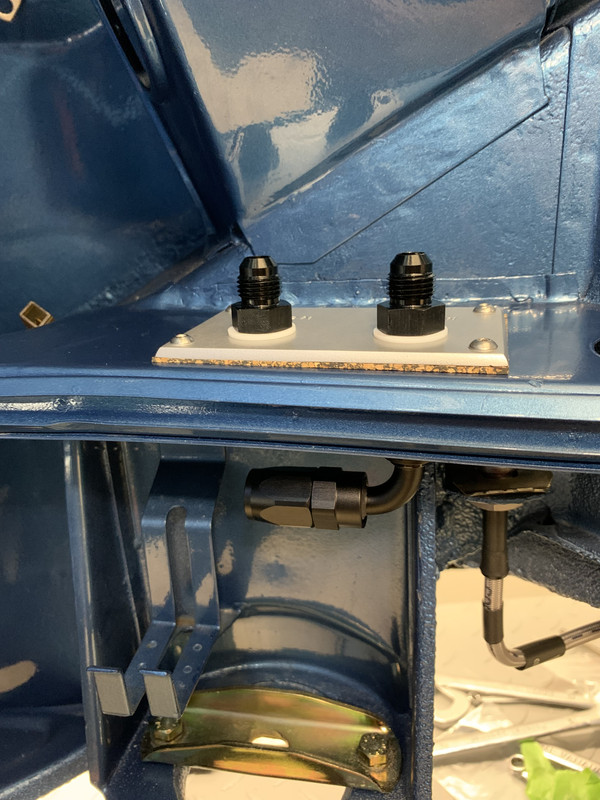
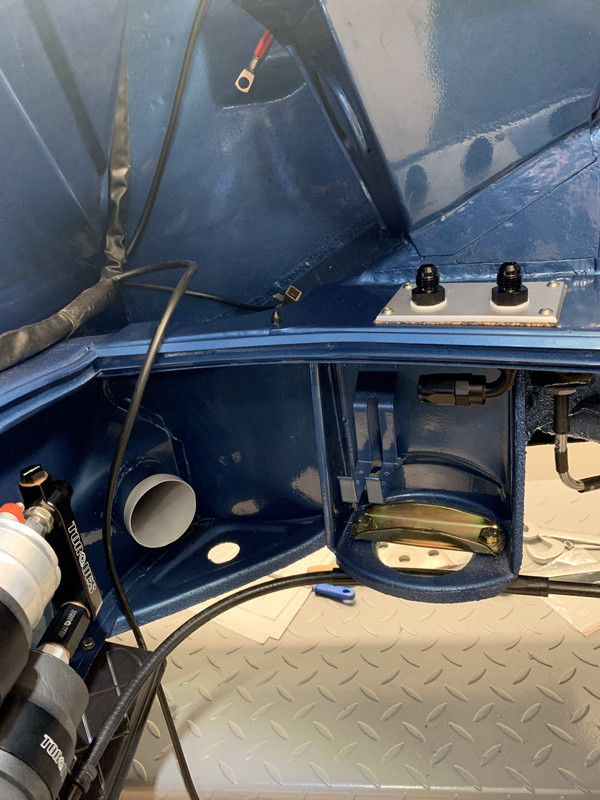
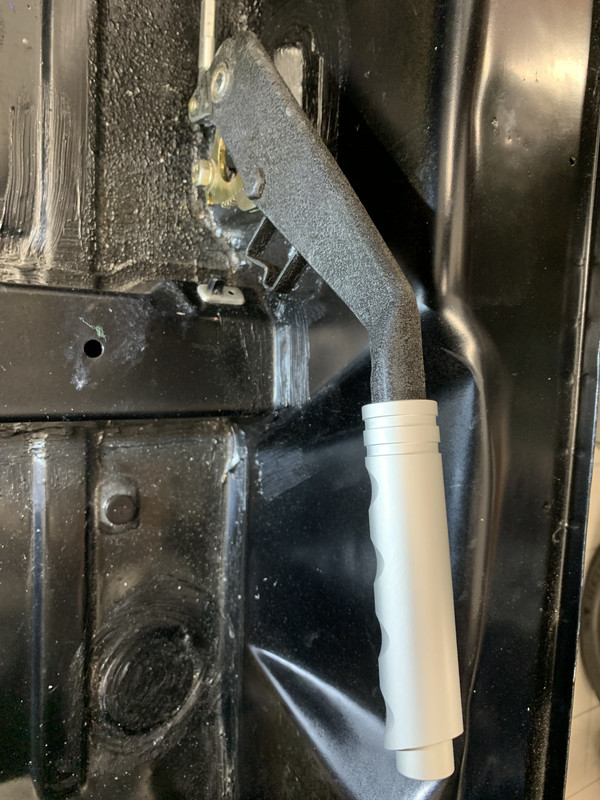
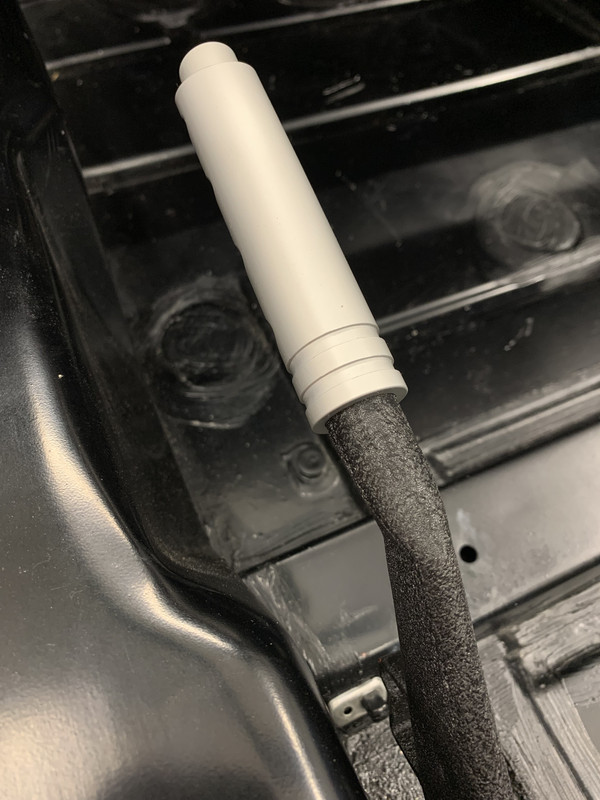
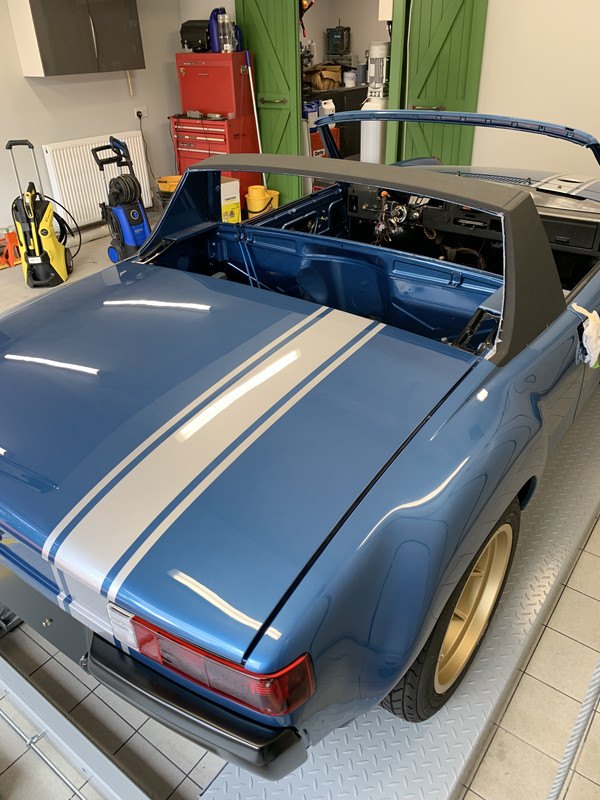
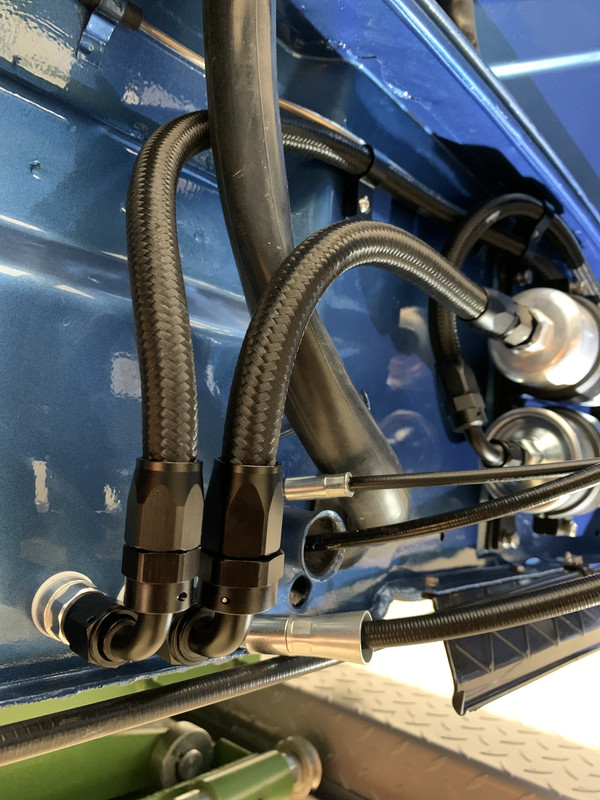
So lets see how they look fitted...
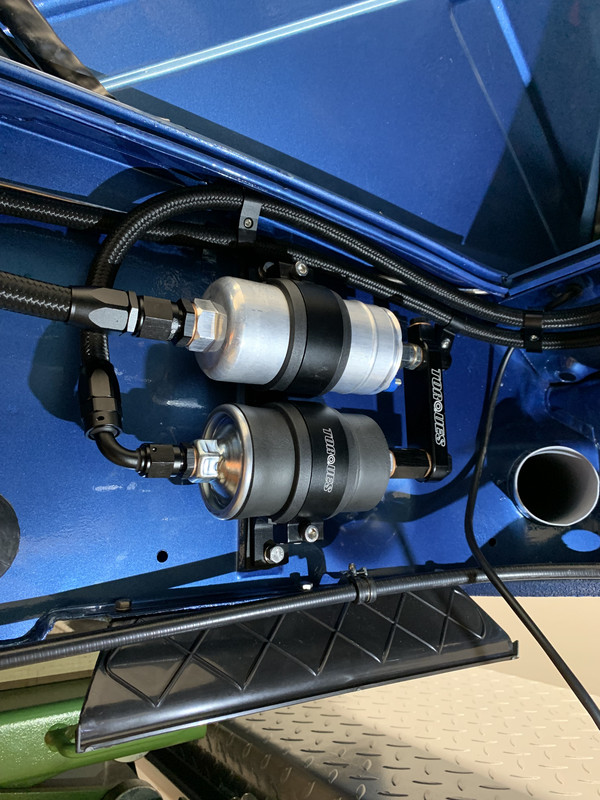
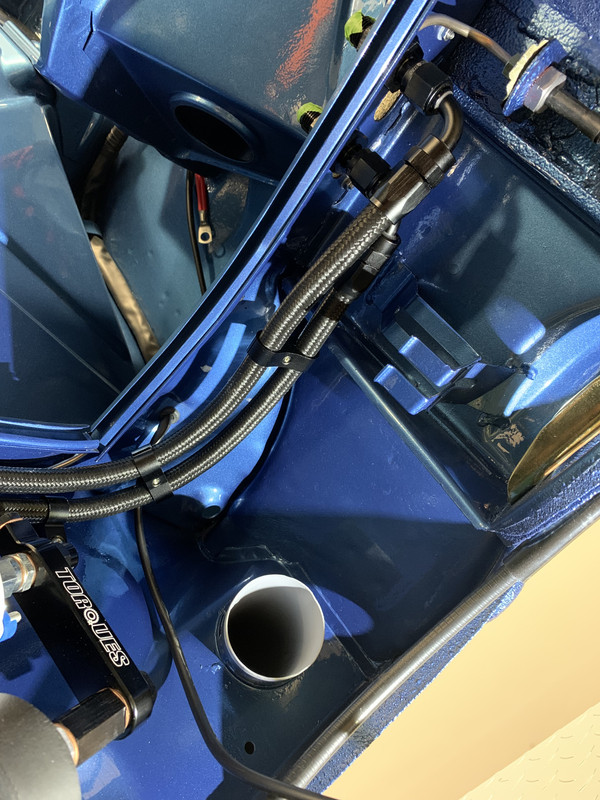

I would add that I blew the pipes out with the compressor before fitting, just to be doubly sure there was not debris left inside.
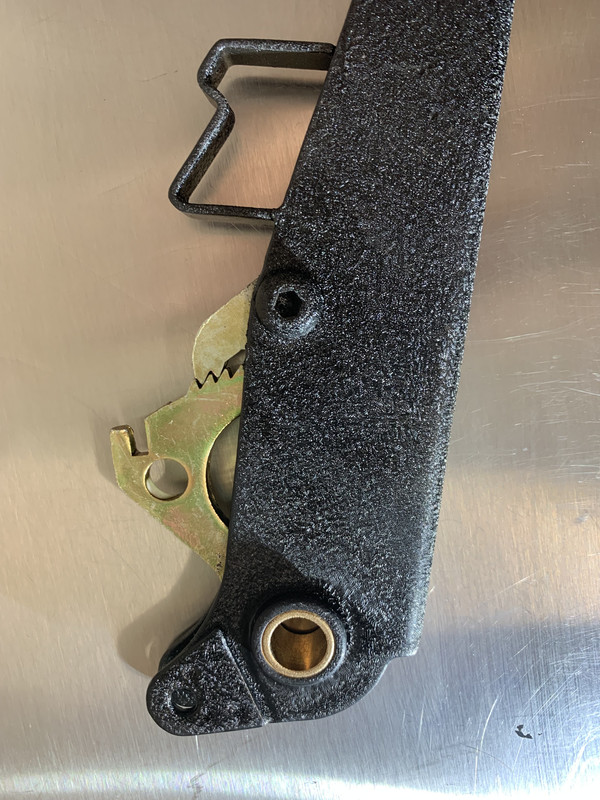
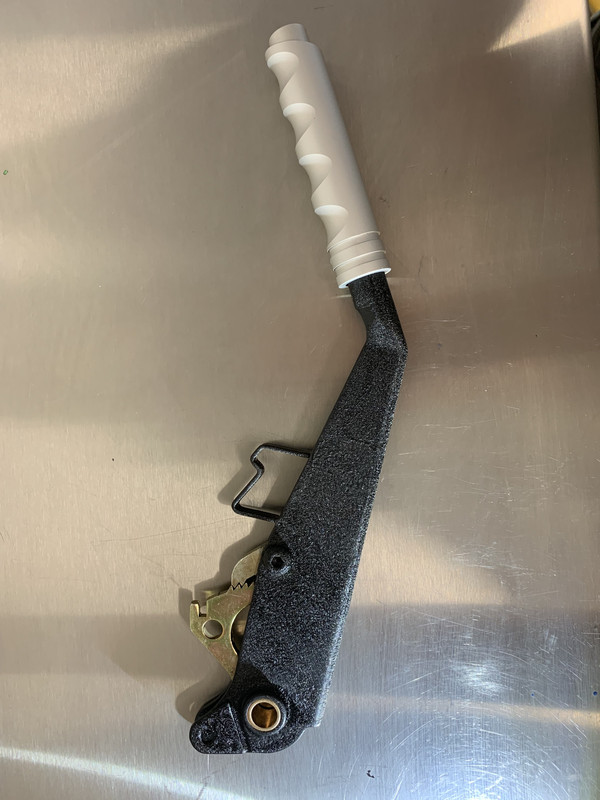
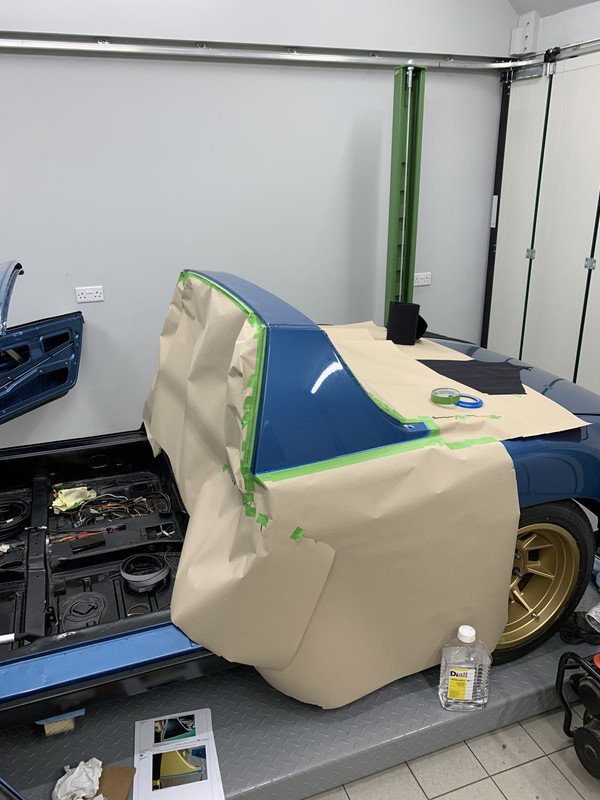
Onto the inner door assembly now. A work in progress...
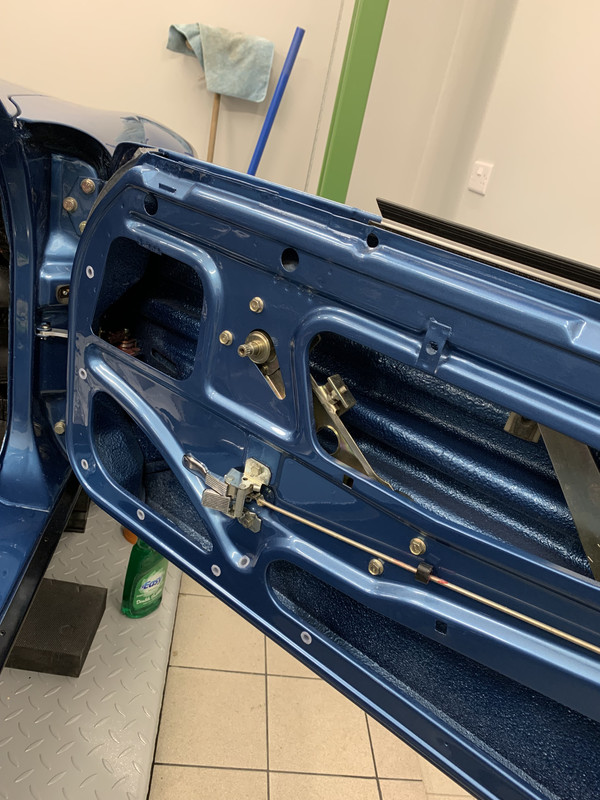
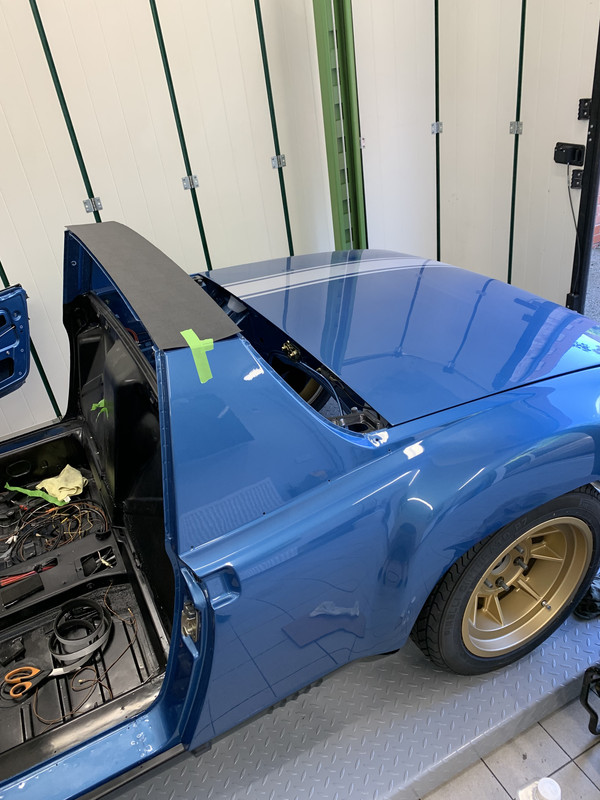
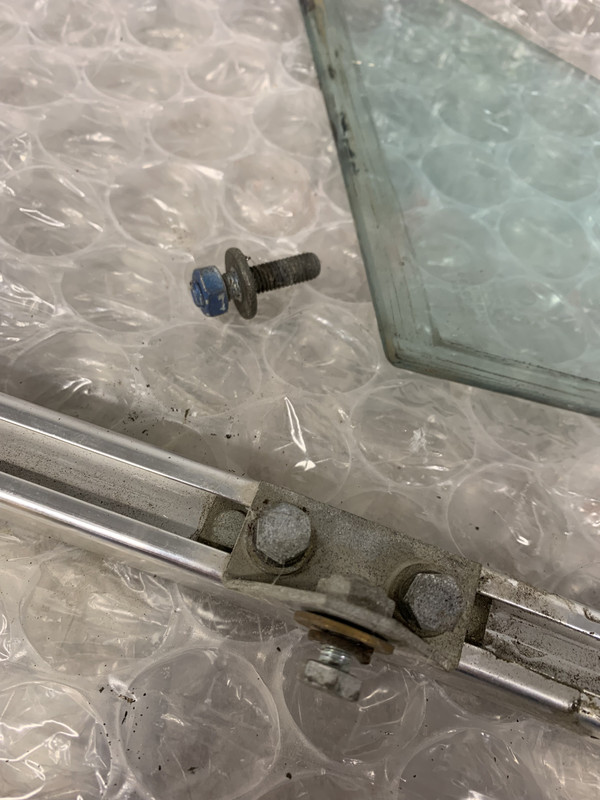
All the winder hardware is now install along with locks and seals, so the quarter glass will be next in after some new seals and a little paint and polishing.
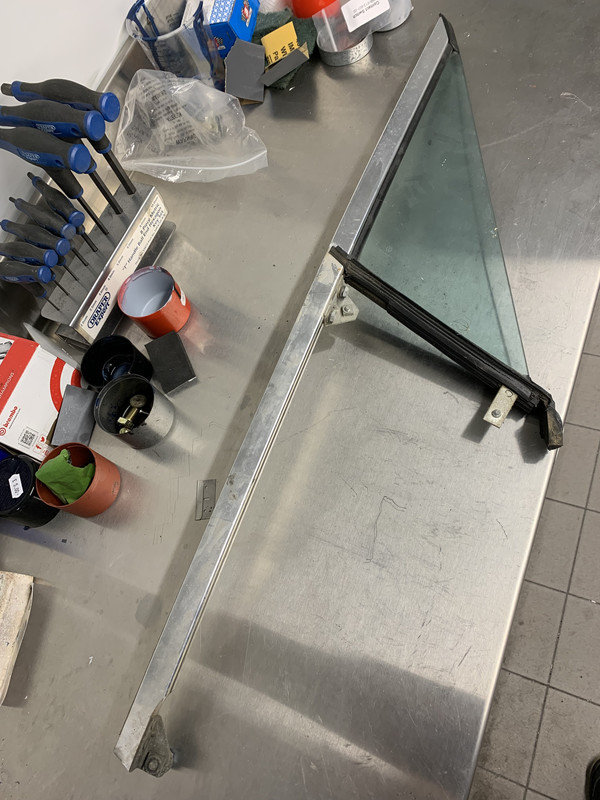

So a bit of work to do here. I have got hold of some Borax to polish the glass and remove 50 years of detritus!
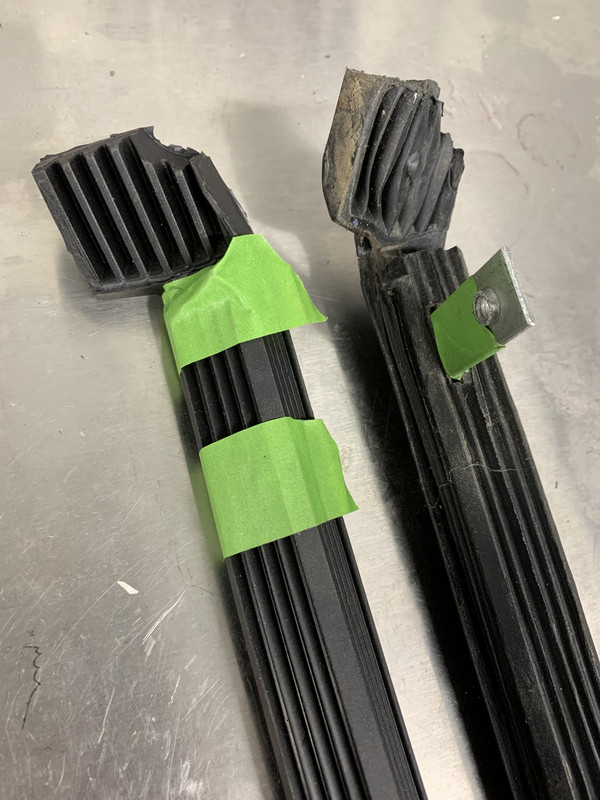
I will sort this next weekend hopefully. In the meantime I started cutting the new seals to take a tab that pulls the seal down into the door.
More next time