Easy job to fix - can do it on your kitchen table in an afternoon. Here are some photos I took when I fixed the one from my Carrera:
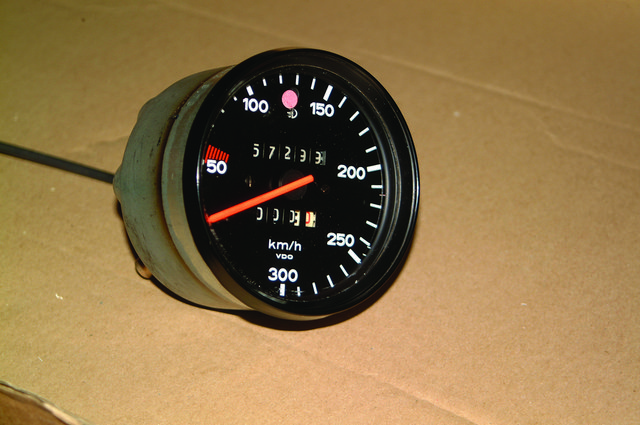
Extracting the speedometer requires a degree of manual dexterity – removing the clock first helps as it allows you to get a hand in to release the cable
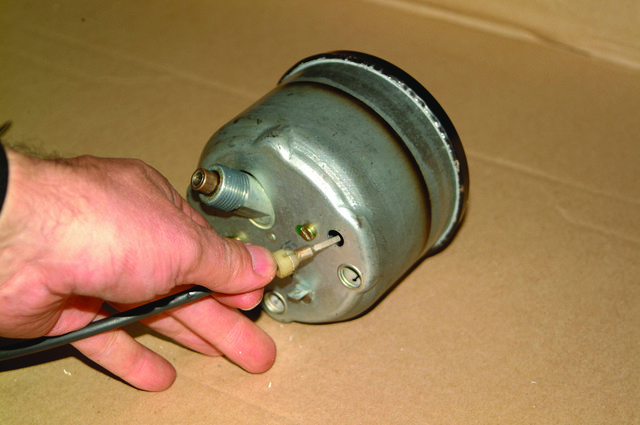
The cable for resetting the trip-meter simply pushes into place in the rear of the unit. You must remove it before you go any further with the disassembly
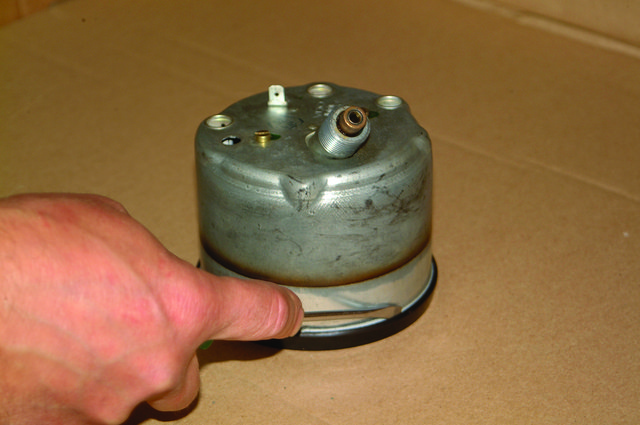
Using a small screwdriver, gradually work your way round the turned edge of the instrument bezel, carefully bending it back to release the glass
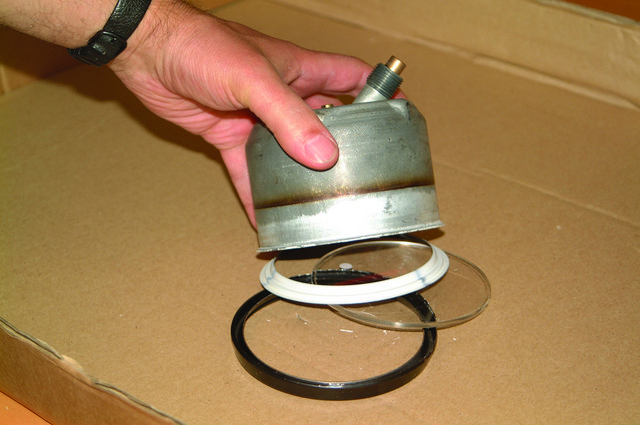
This is what you find when the bezel is removed. The glass is sandwiched between the bezel itself and the white spacer ring seen here
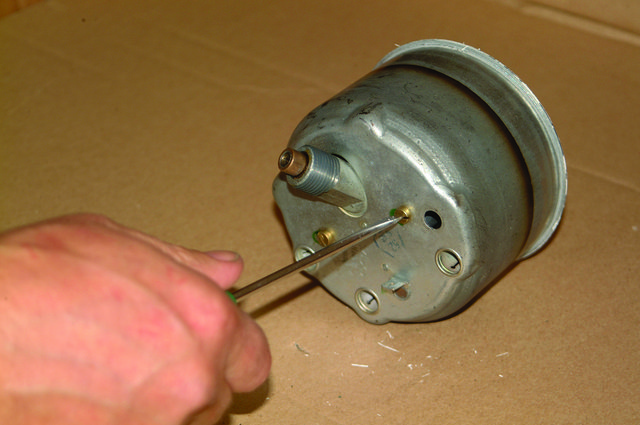
Turning the speedo over, you’ll need to undo a couple of small screws – they are paint-marked, so it’s easy to see if anyone has tampered with the gauge before
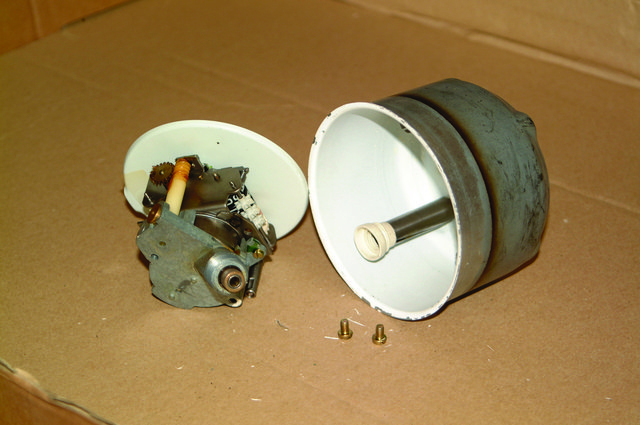
The point of no return – the workings are quite delicate and you must be careful not to damage the speedometer’s face or needle
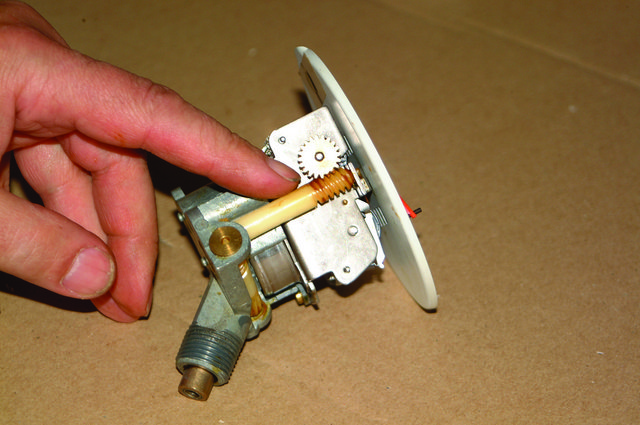
This is the gear which connects the main odometer to the trip-meter. The plastic skew gear is prone to failure if you try to reset the trip-meter on the move
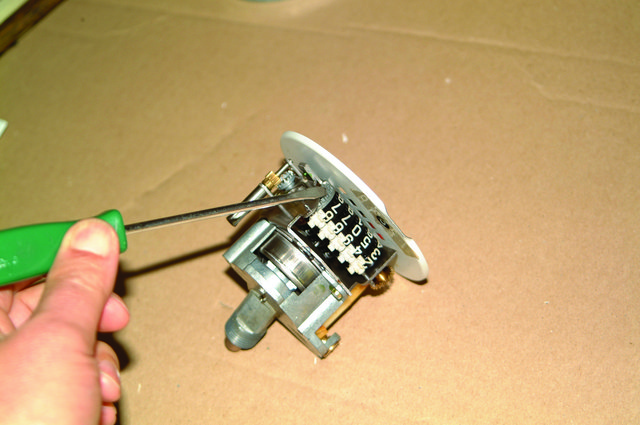
This is the small alloy gear which drives the main odometer. It is an interference fit on a shaft – and thereby lies the problem, as we shall see
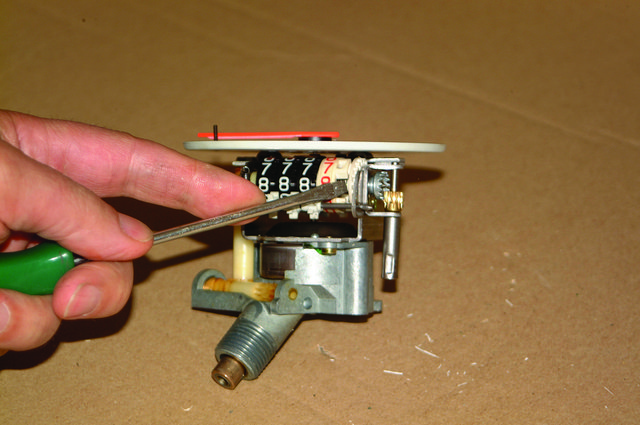
The white plastic gears at the other end of the odometer can strip their teeth, so take a close look at their condition before proceeding any further
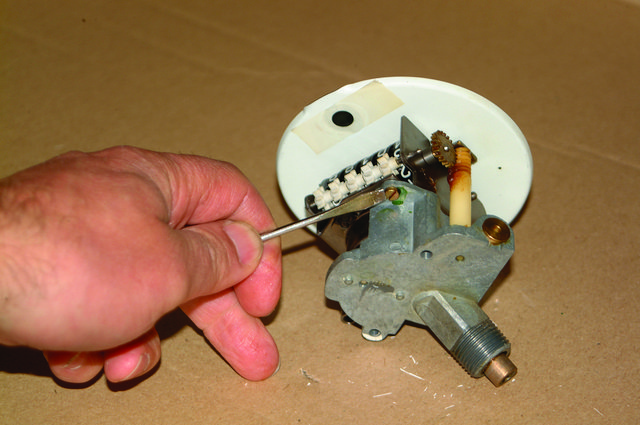
Time to investigate further. Next, you need to remove the main aluminium cable drive unit – it’s held in place by a pair of small brass screws
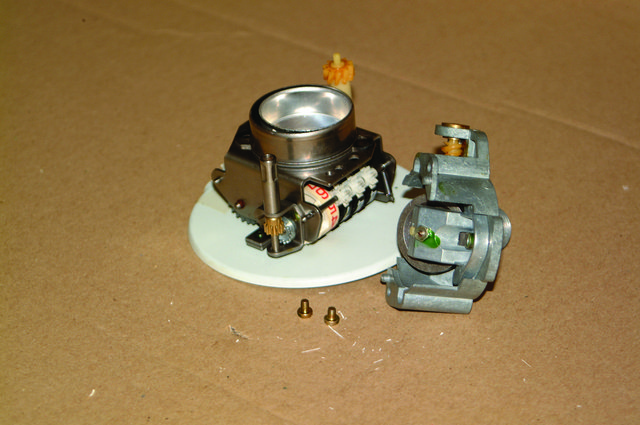
One positive aspect of this job was to discover that the instrument had never been in pieces before – all the factory-applied paint seals were still in place
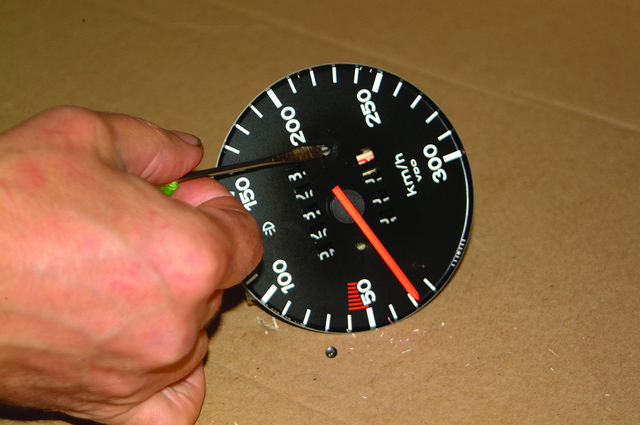
Now you need to release the odometer from the main gauge face – two small screws can be found between the odometer and trip-meter
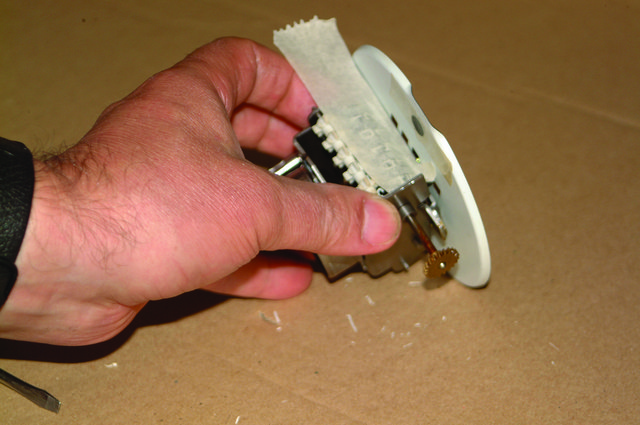
Now’s the tricky part – use some masking tape to hold the odometer’s number ‘drums’ together before removing them. You can then slide them off the main drive shaft once the drive gear has been removed
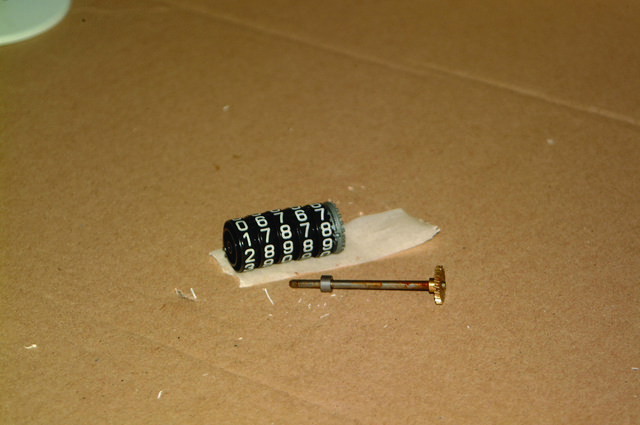
By taping the drums together, you make sure the mileage stays the same. Needless to say, you could set the mileage to whatever you choose at this point…
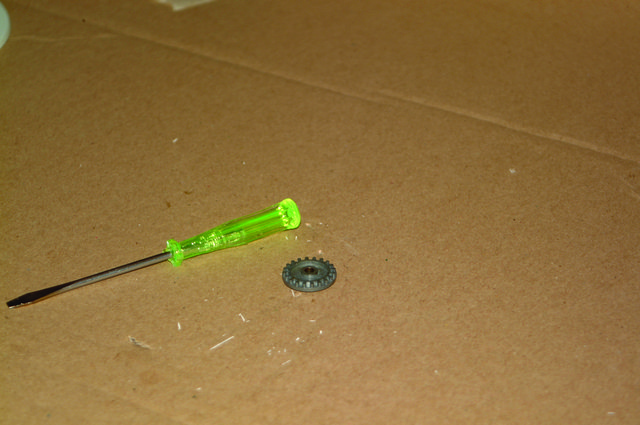
Our odometer failed because the tiny aluminium drive gear had been slipping on its shaft. Make sure you don’t lose it – and note which way round it fits
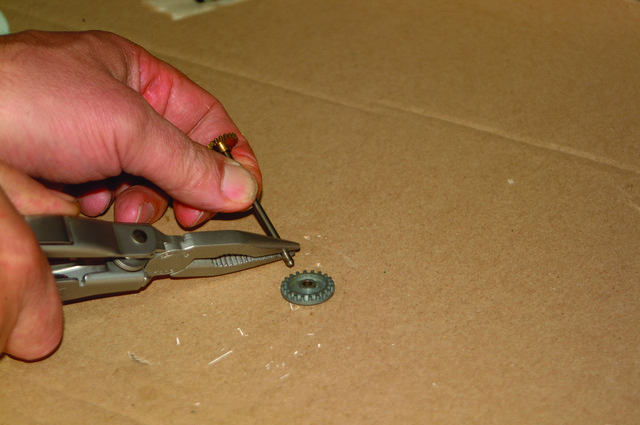
I chose to roughen the end of the drive shaft with a pair of pliers in the hope that the gear would then be a better interference fit when replaced. It worked!
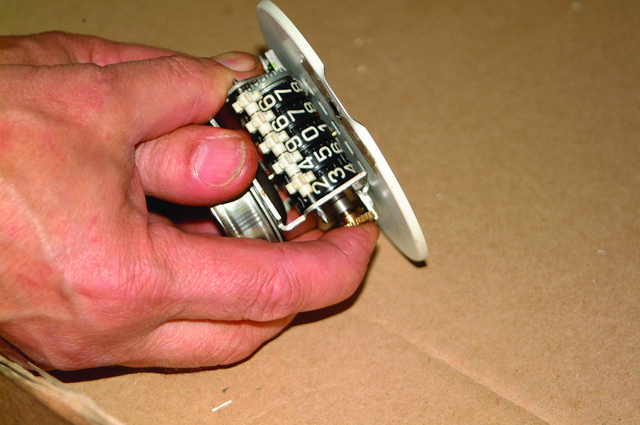
Reinstalling the drums and pushing the gear onto the shaft is a nerve-wracking business, but if you take your time, you’ll be OK. Make sure the numbers are aligned correctly
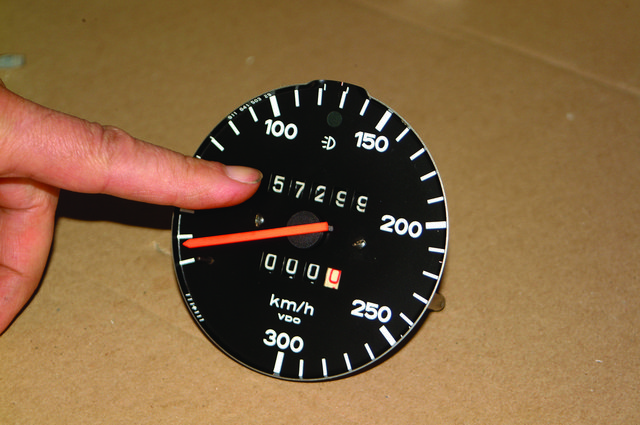
Job done! One sure way to see if a car has been ‘clocked’ in an amateurish way is to check if the odometer figures are lined up correctly, or not. A rushed job will mean the figures remain out of line

