Hi Mark

.
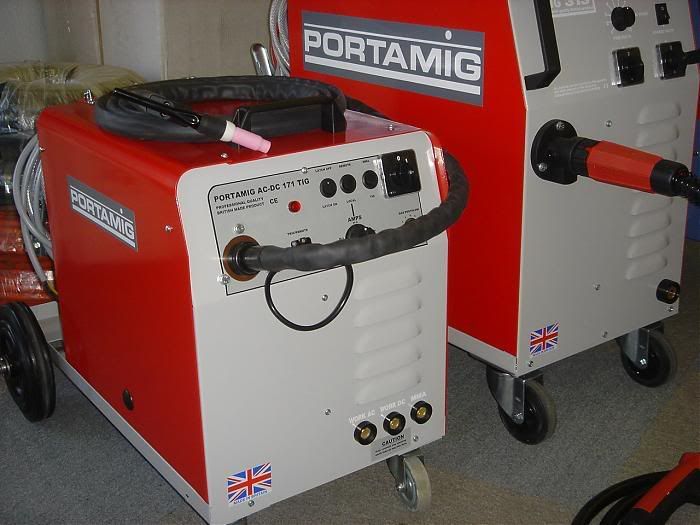
TBH, your budget is a little on the lean side. Usually I would recommend hanging out for a used single phase professional unit (generally, if it's got a 'Euro' fitting for the torch lead, i.e a quick-release between the torch lead and welder body, it's a pro-unit).
At the time you were here, there was one old pro-MIG and an equally ancient DIY MIG (a Sealey). Overall opinion on the day was that actually both welders could produce very good welds.
The main differences between DIY and pro are as follows:
1) Pro's are much more consistant and forgiving. Therefore when conditions get a little tricky, the DIY one is more likely to fall down on weld quality.
2) Duty-cycle: the pro-welder will be able to run all day on the sort of power we use, whereas a DIY one might have to be left to cool now and then: frankly still not an issue as actually, even DIY duty cycles have come up to a point where you'd probably never have to stop unless welding some heavy angle iron for a workbench or similar. On bodywork, they'd all pretty much be the same.
3) DIY welders come with horrible little regulators that take little DIY gas bottles: they are the work of the devil, avoid at all costs.
4) The wire feeds on the DIY welders are tiny, and very prone to slipping compared to the pro's.
Anyway, in the real world, and for your circumstances, here's what I would suggest:
Option one: look for a 2nd hand pro-quality welder (single phase) that the owner can demonstrate. Your budget might get you one, albeit by the skin of your teeth. As for make, best bet is to give me a quick ring / P.M. if you don't recognise the name, and I'll check it out.
Look for something single phase, 150-180 amps, that can take 0.6mm wire (great for thin metal). If it's 220 amps (ish), and only goes down to 1.0 or 0.8mm wire, it might be a bit heavy duty.
Option two: Get a DIY quality one: there's little between the makes as I suspect they are mainly made in the same places and then badged up. Again, 140-150 amps should be fine, and you want:
1) As many settings as possible to vary power: six minimum, ideally eight, or variable dial.
2) 'Turbo' or fan cooled: keeps duty cycle up, and over-heating down.
3) Wire feed rollers that can take either 0.8 and 0.6mm wires. If you're not doing much welding, buy the little .8KG rolls of wire, rather than 5KG ones, even if you buy two at once. Keep the spare indoors, and move the machine's roll indoors as well if it's not going to be used for a while. Keeps the wire bright: dull wire is knackered and should be binned. It doesn't feed well, wears out the tips, and spatters.
4) If you can run to renting a cylinder, get a full size cylinder regulator (any welding suppliers can get you these, I don't think they are mega money). Rent a small (PT10 is the Air Products small size bottle) of Cougar 5. It is the ideal MIG welding gas, and much better than pure CO2 that the DIY bottles generally come with. BTW, the other DIY bottles you see are argon: despite what Halfords tell you, this isn't for MIG welding steel and is a waste of cash. It's there for welding aluminium, which MIG welders really struggle with for power delivery reasons (another story
).
Overall I would say that the priority here isn't the welder, but the gas. I'd rather have a DIY welder (even 2nd hand) running pro-gas, than a pro-welder on DIY gas.
The way I would summarise everything is that the DIY welder might simply need a little more help along the way than the pro alternatives to get great results. A perfect, reliable flow of high quality, bespoke MIG welding gas (Air Products Cougar 5, BOC Argoshield being the other option) is a good start, together with the following tips:
a) Make sure that the welder is set up perfectly, as we did on the course: I can write up a refesher if you like.
b) Keep the feed wire nice and straight (as possible), even if you have to lift the welder up level with the work (I often put my little Kemppi Inverter MIG up on a stool so that the feed gets the nicest run possibe). Avoid sharp bends and kinks.
c) Keep the tip of the torch perfect, and change it often. Be aware that DIY and pro welders use different size tips.
d) Keep the work as clean as possible, bare, shiny steel is the only way to do things.
e) Set the welder up 'on the bench': if you can't produce a perfect weld on the bench with new steel, it ain't going to happen on a car.
Finally, a few thing you don't need:
i) Gasless : this means that the welder can have it's leads reversed, and that flux-covered wire can be used. Only any use if you were welding outside where the shielding gas would be blown away. Nothing to pay extra for, but no reason to reject a welder either.
ii) Stick welder: basically an arc welder, even if they suggest it for body-welding (these are just low amp arc welders designed to take light duty welding rods). Utterly useless unless you are welding farm gates out in the field. Avoid.
iii) Turbo: as above, just means 'it's got a fan'. You need this (a fan) but don't pay more for a Turbo badge, just make sure that one way or another it's fan cooled.
HTH
 .
.
