912 outlaw project
Posted: Thu Mar 20, 2008 6:28 am
Hi there, thought it was about time I posted my project.
Here we go...
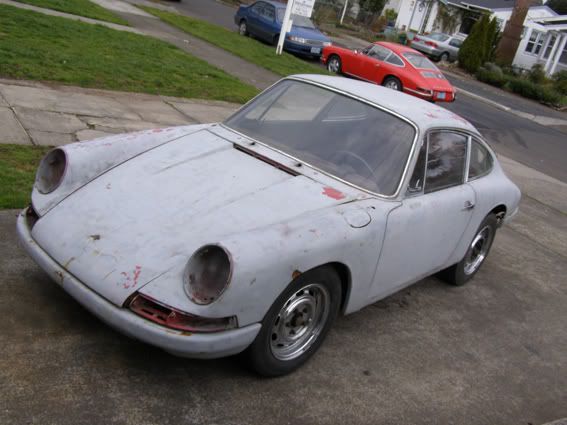
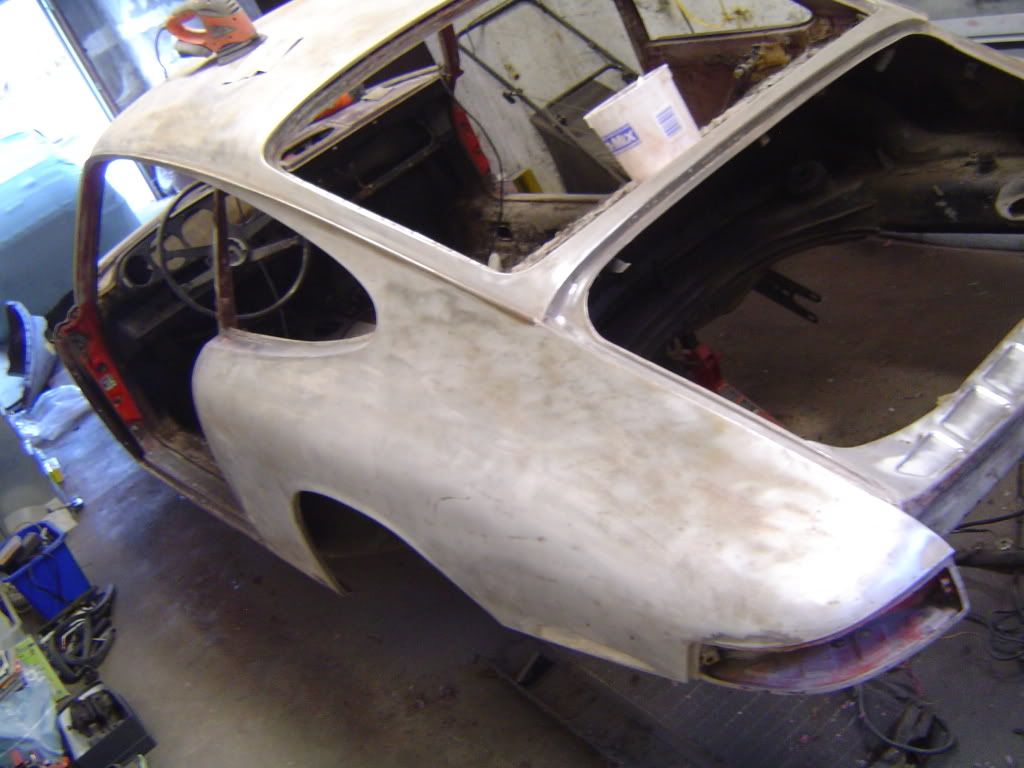
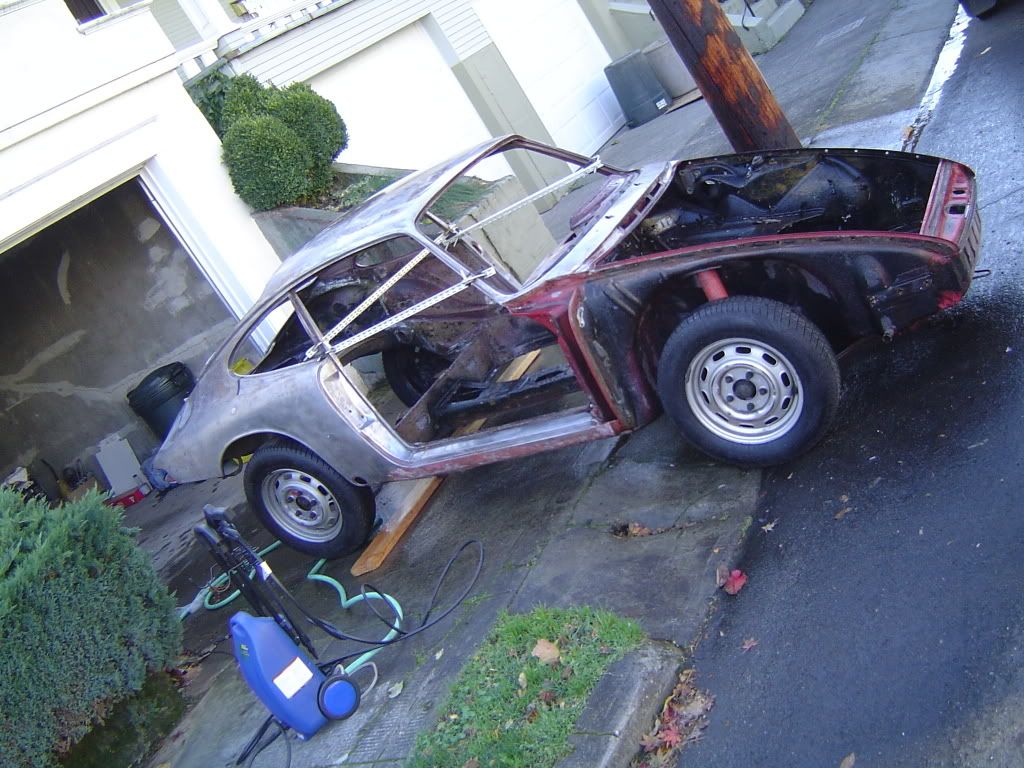
I picked up the rolling shell last year but 2weeks later went under the knife for a second major knee surgery so progress has been slow so far, not fun, on both levels!
The shell is a '68 and on the face of it looked like it was in ok condition. However the obvious stuff would need replacing, floors and front pan etc but I wanted to learn to weld and do bodywork etc so it looks like the perfect candidate.
The basic idea is to create a road legal lightweight special, similar in vein to the Emory 356's...we'll see
Picked it up from a guy who had a trailer and offered to bring it to my house for no extra charge, bonus!
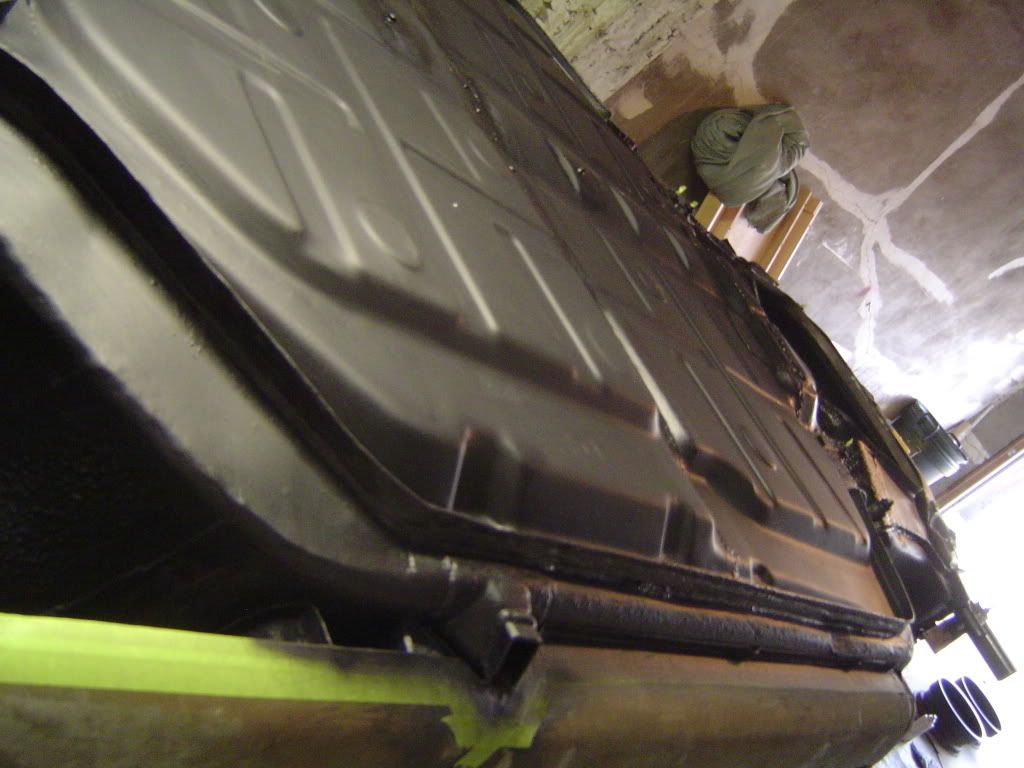
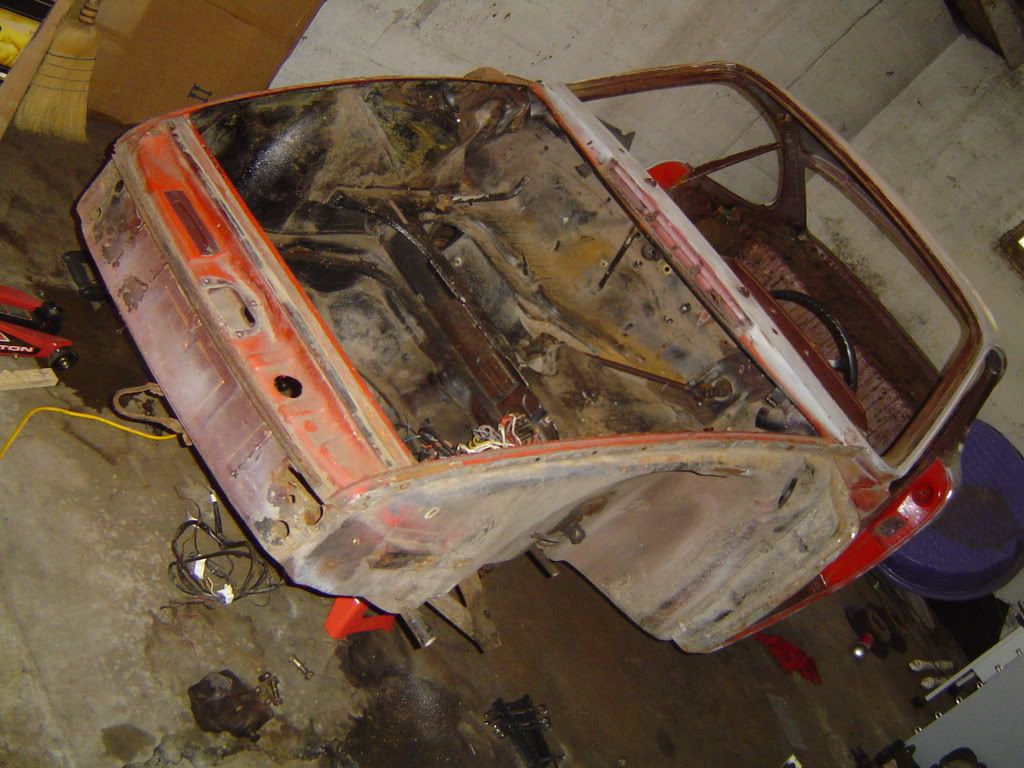
Got it home and started to strip it down, it took longer than I thought as I tried to take a picture at every stage.
Paint stripper
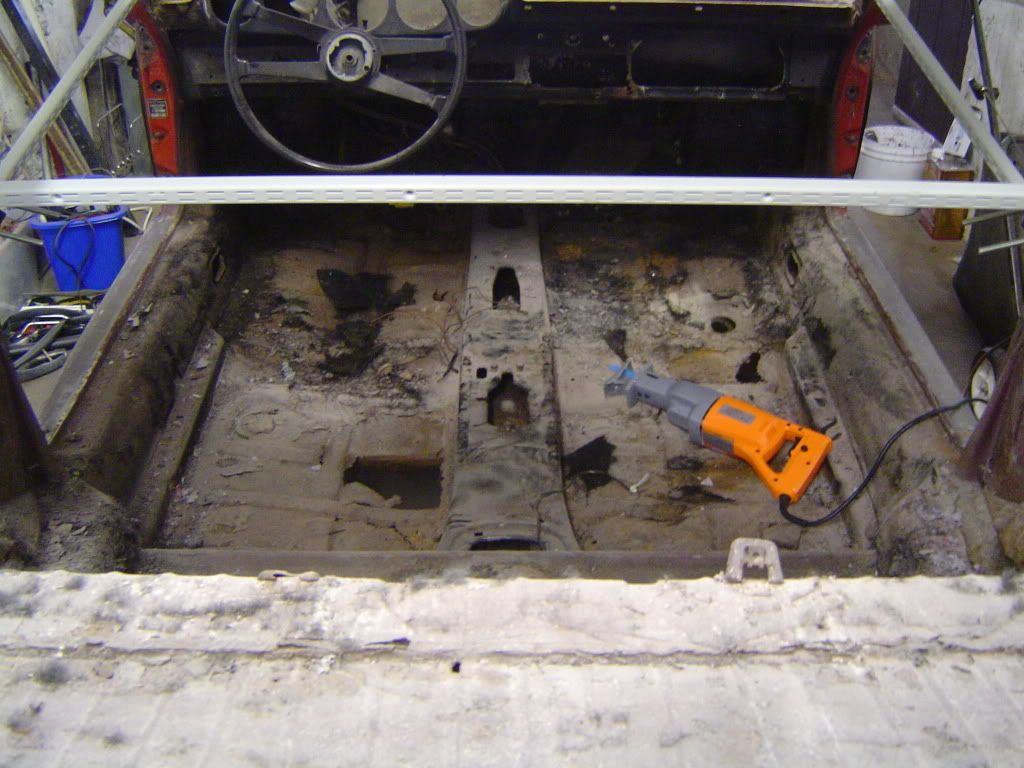
Started to cut out floor and added some budget bracing between a and b pillars
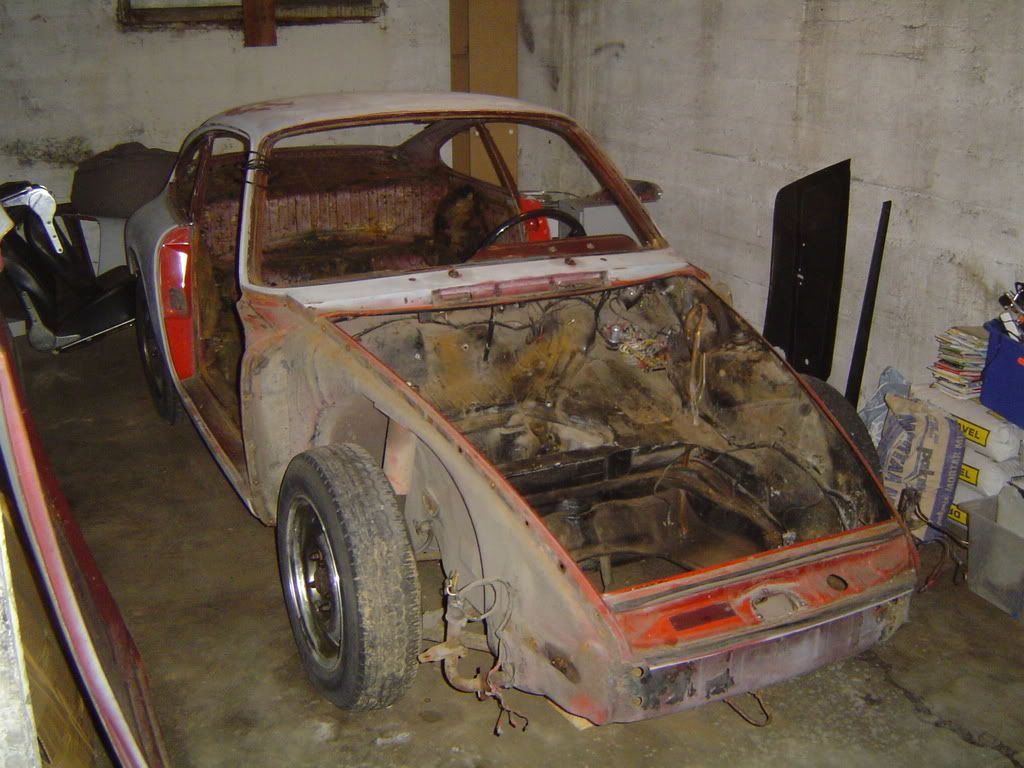
The rear seat section and parcel shelf were pretty gone, so removed it...
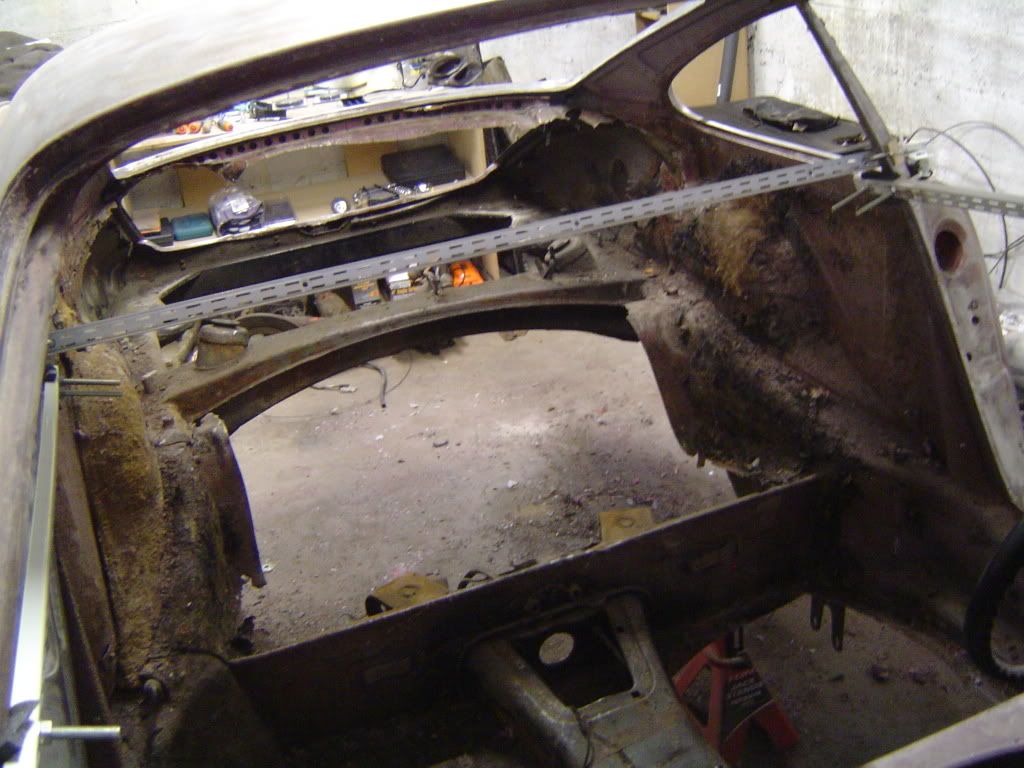
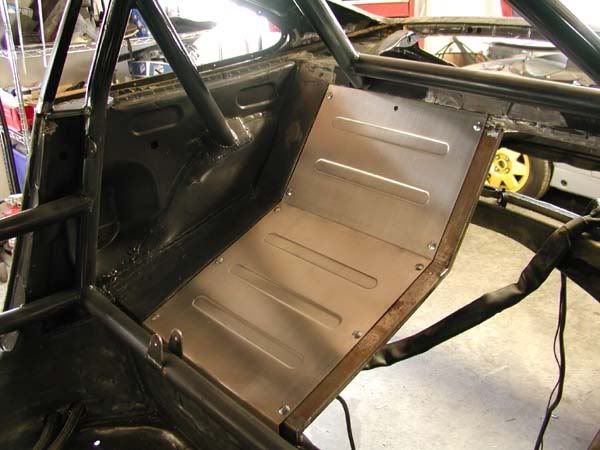
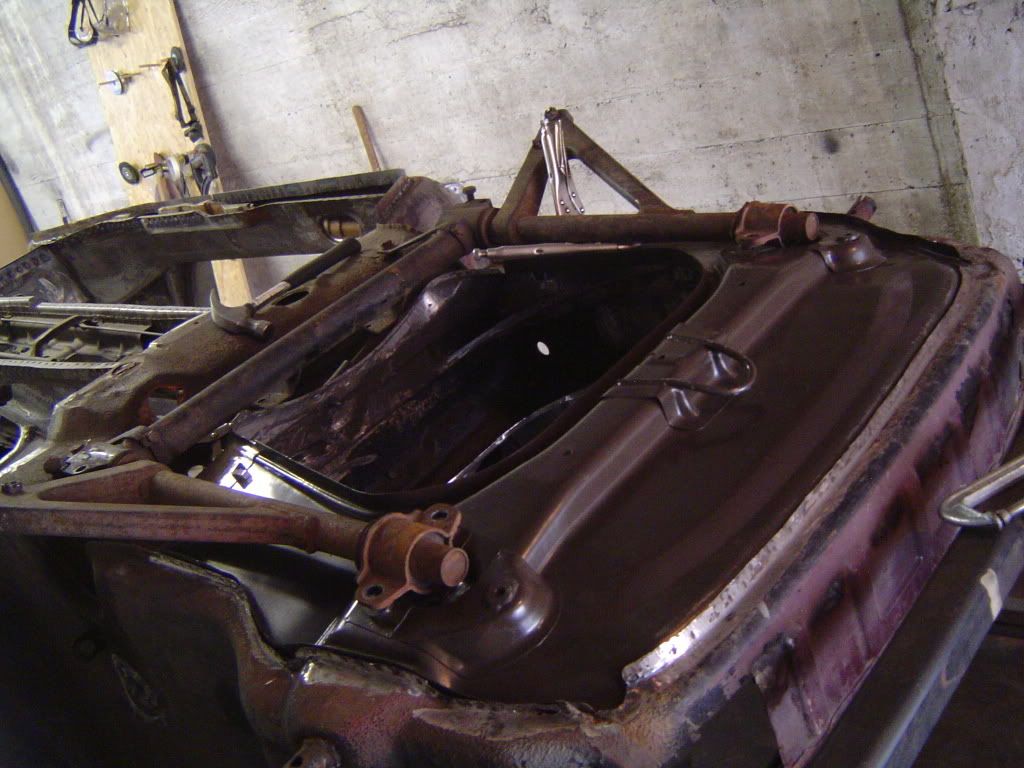
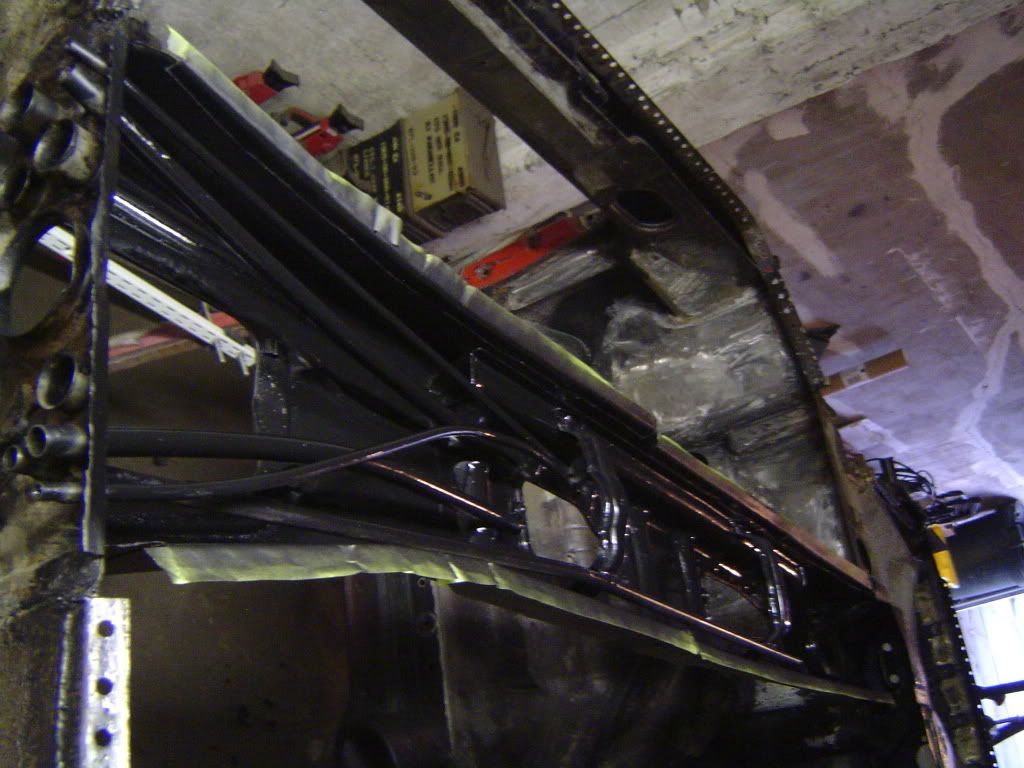
I got hold of an entire rear interior section but I found this solution from Rennline, I think it is from a 935 track car? The plan is to brace across the back section then fabricate the removable panels. I know its not stock and will probably be pretty loud but I think it could look pretty cool and go with the 'lightweight special' idea I have for the car.
After all the cutting and grinding, the first power wash
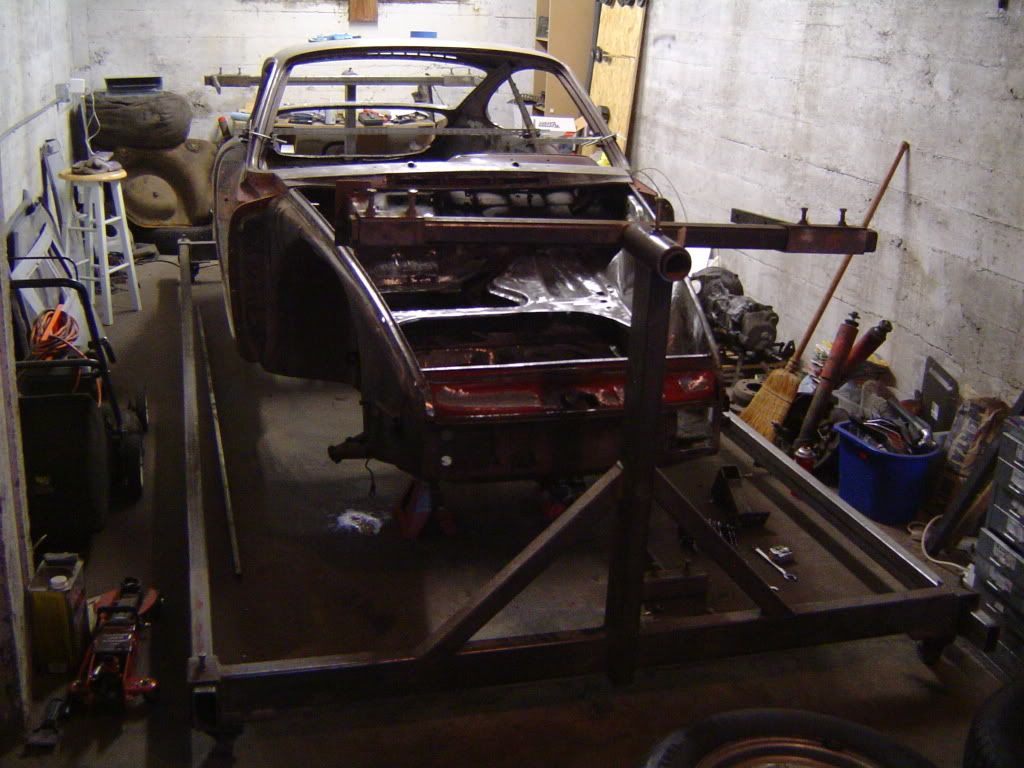
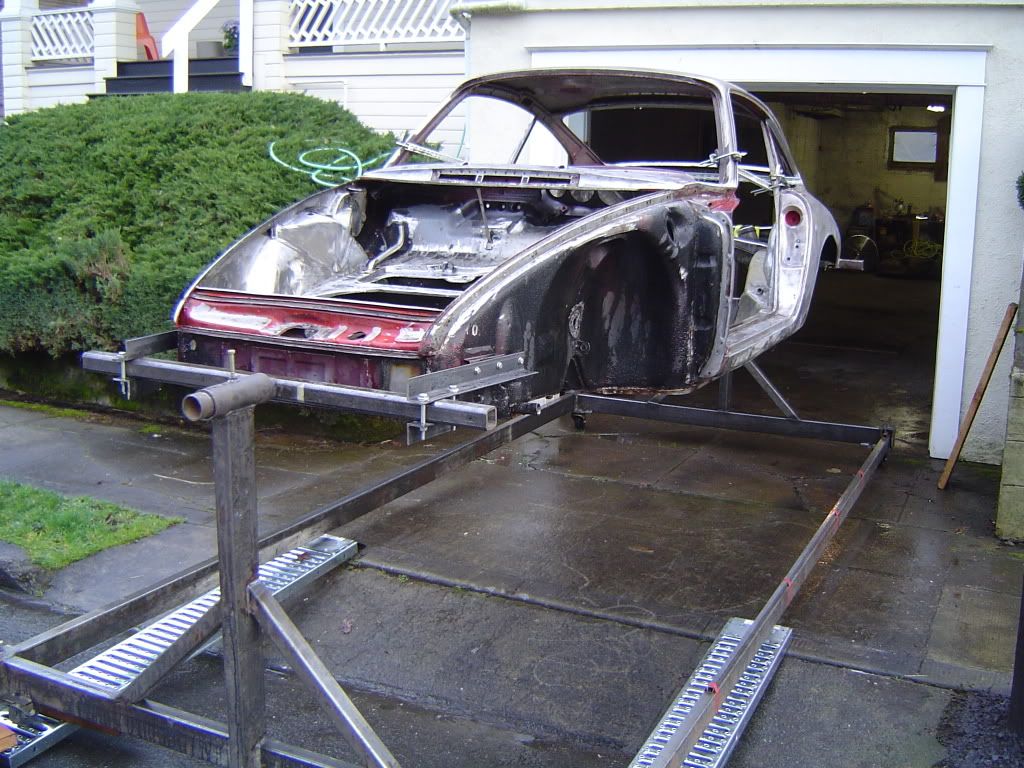
I managed to get hold of a rotisserie. After fabricating some brackets and with the help of 3 friends, we managed to lift it on
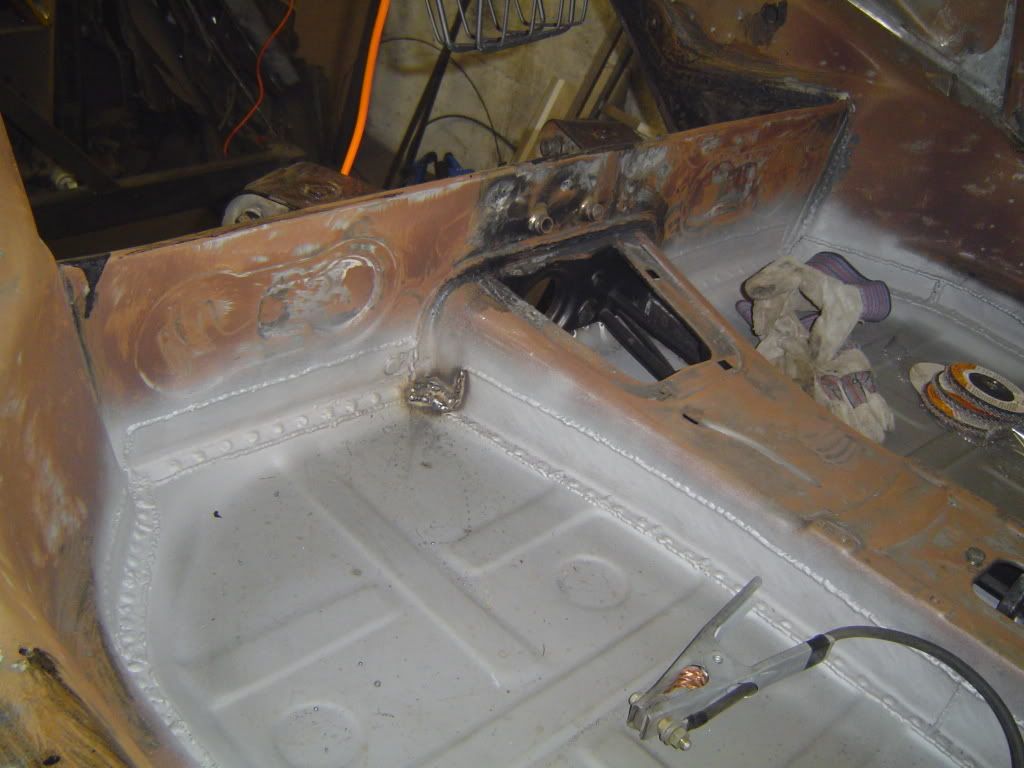
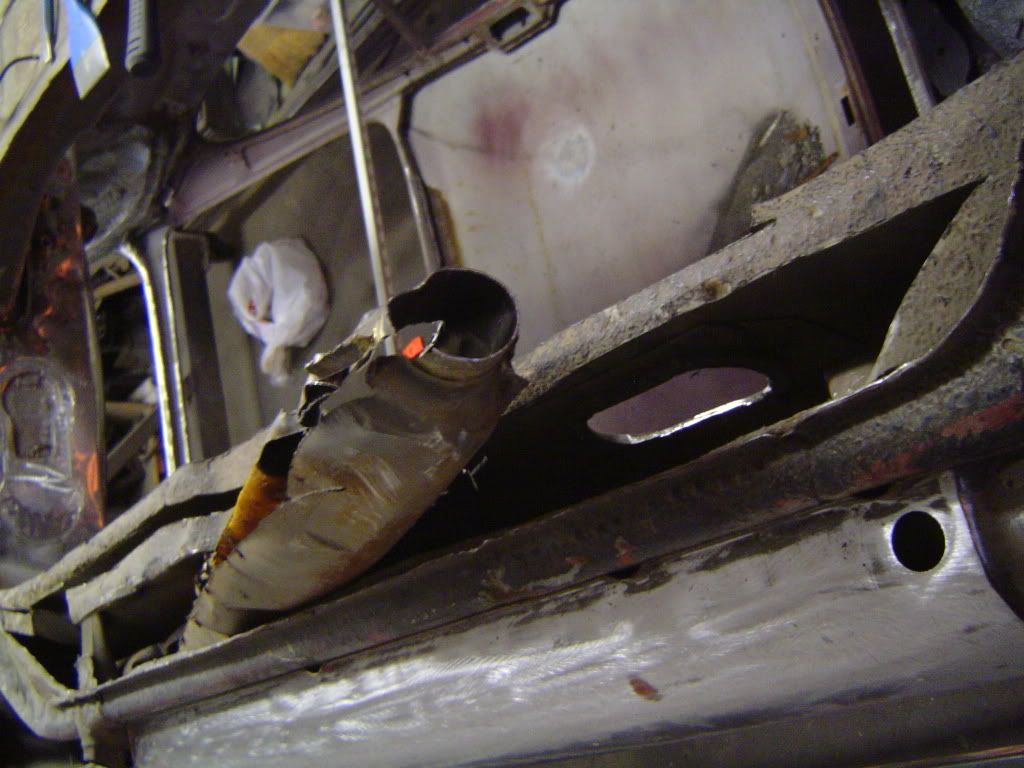
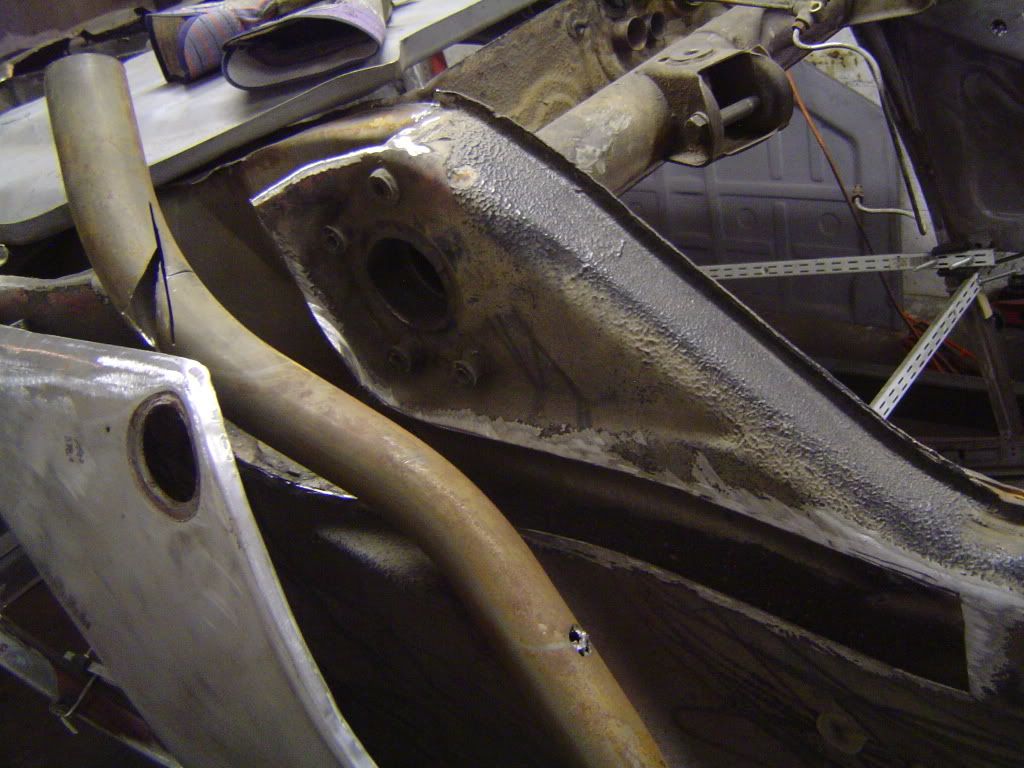
After removing the floors I found that the heater tubes were gone, so decided to remove the whole pipe and do with out, afew extra pounds saved! but, the double 'S' curve of the rear part proved a problem, so after much debate I decided to cut out the inner arch panel and then weld it back in.
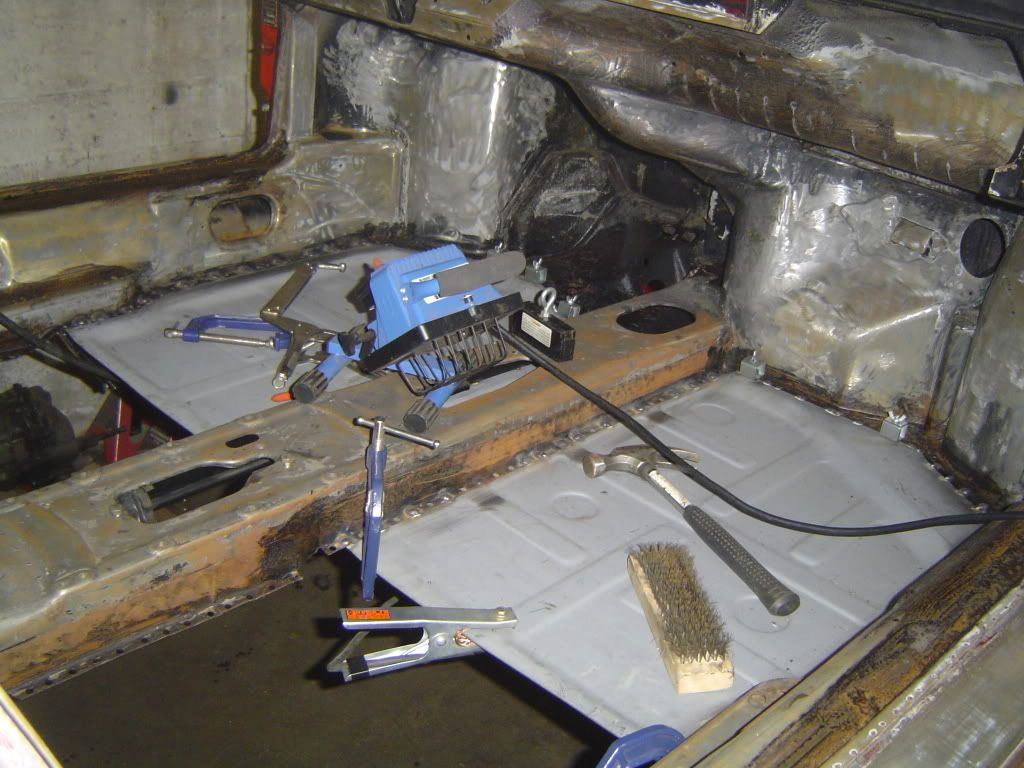
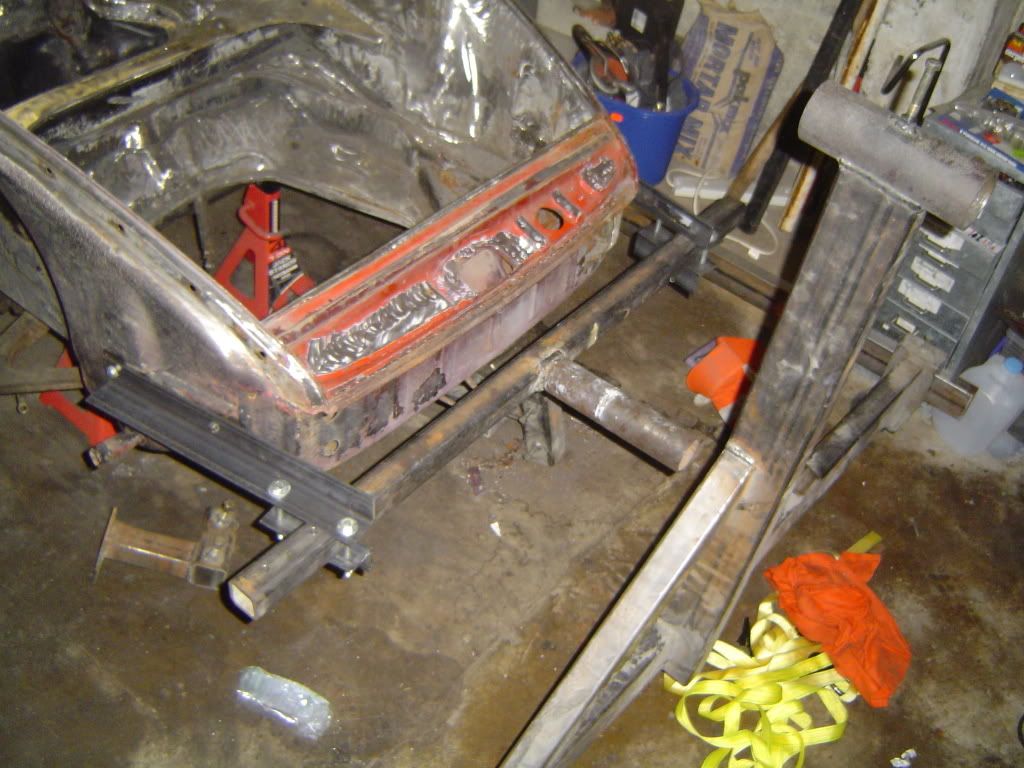
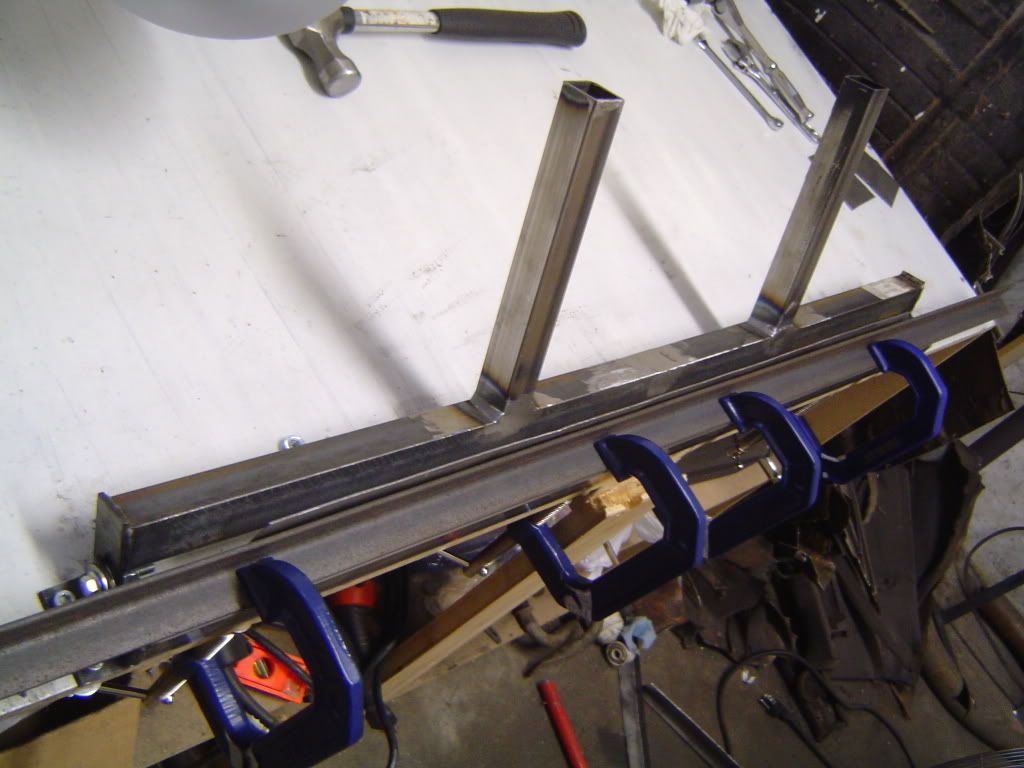
After cleaning up the floor areas there was not much flange left to weld the new floor in, so I decided to make a basic metal break and make some new flanges then tack in place, this should give a better bonding surface
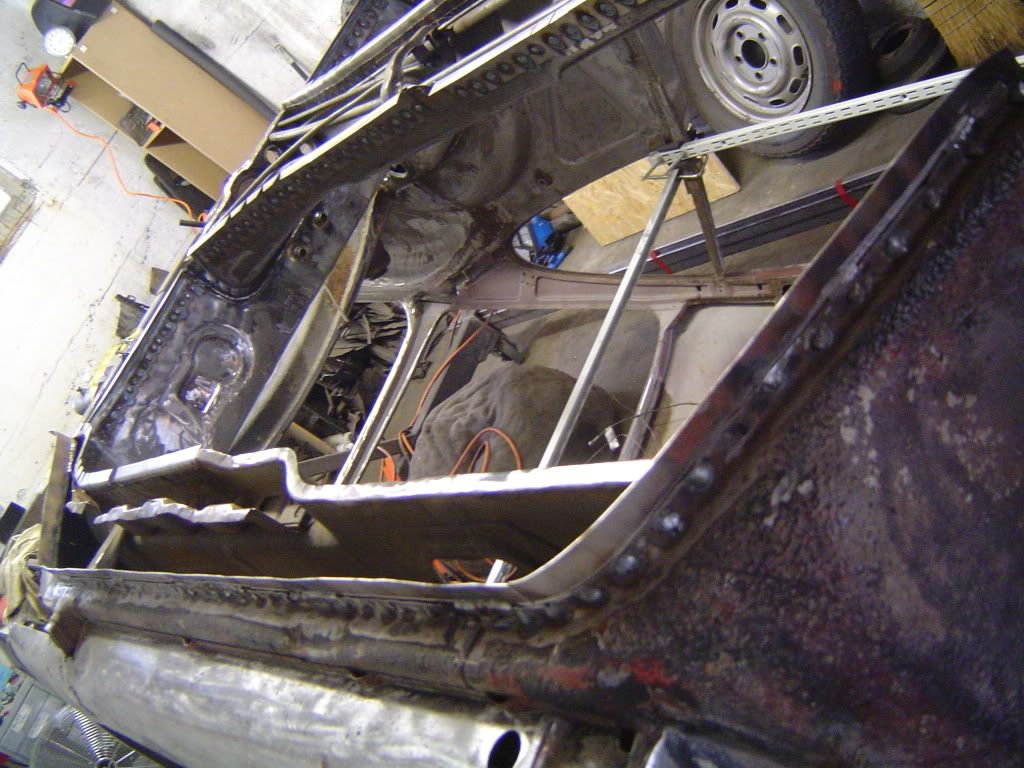
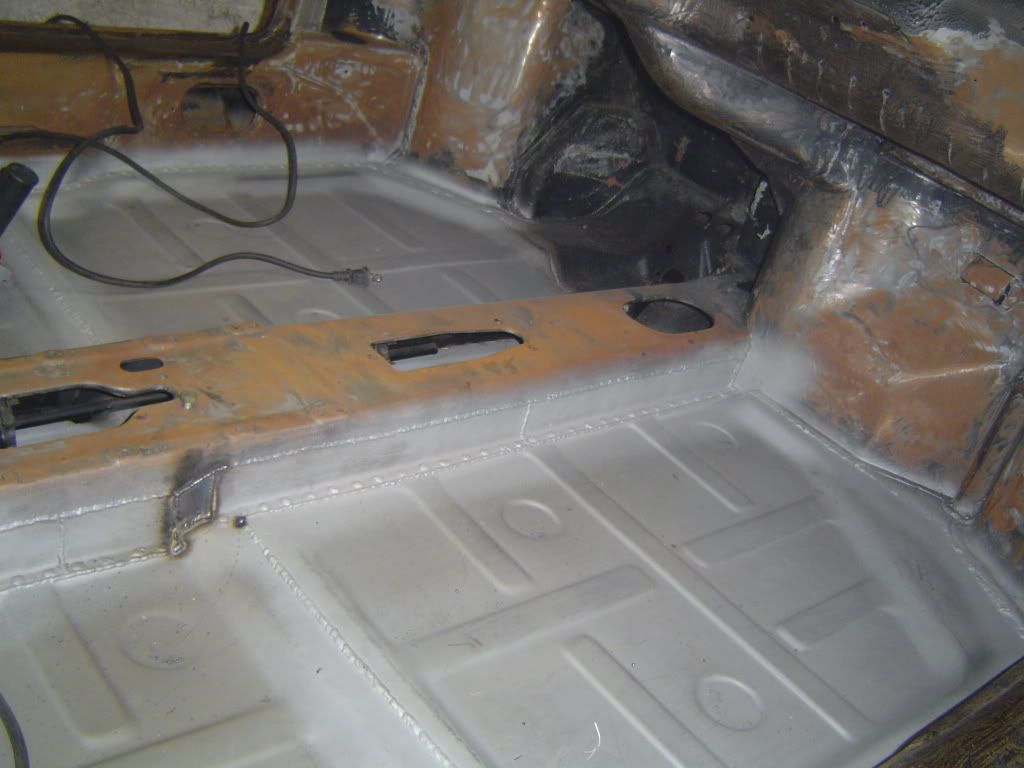
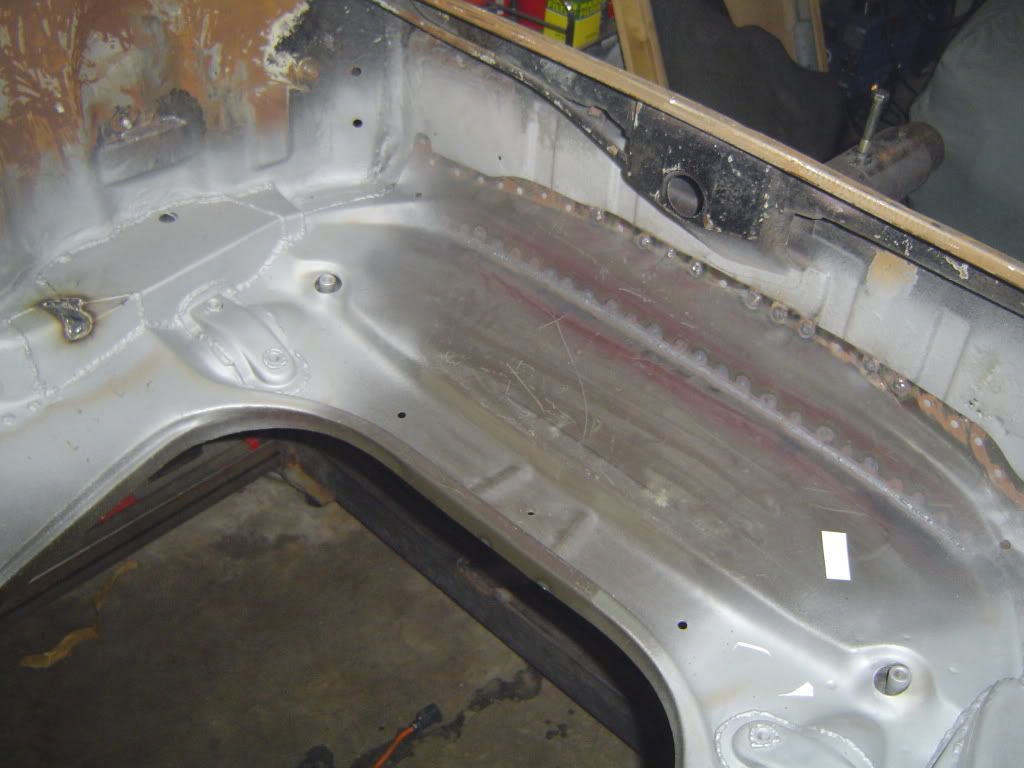
At some point a jack had been placed and crushed the rear sill area, so more fabrication was needed on both sides
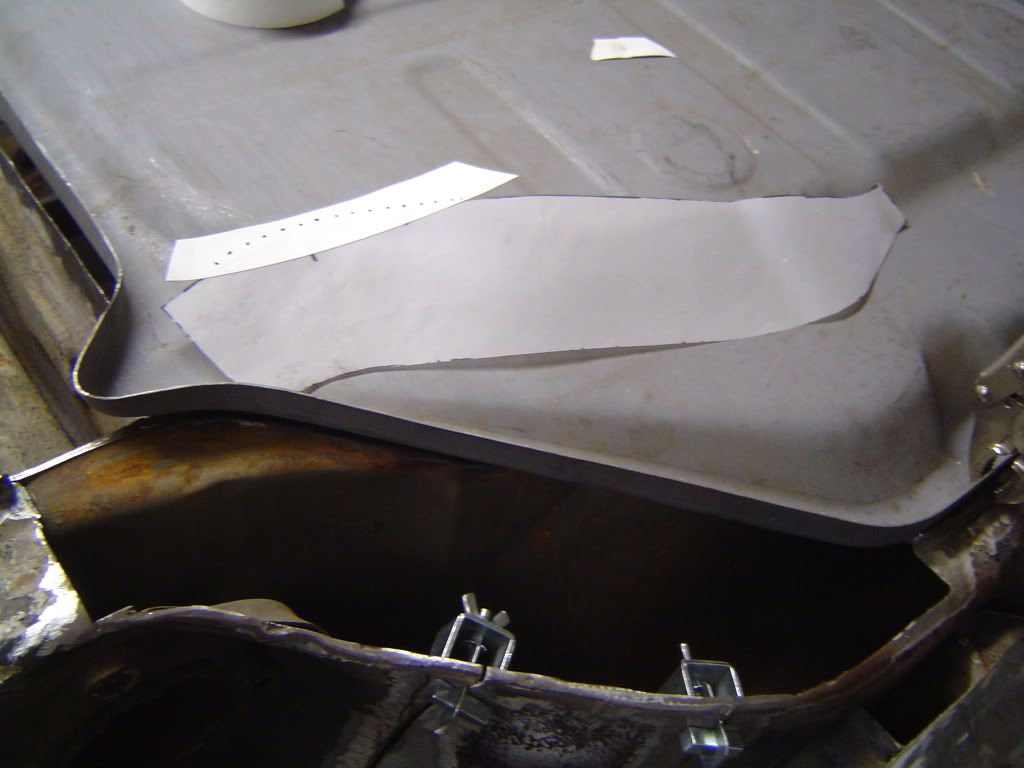
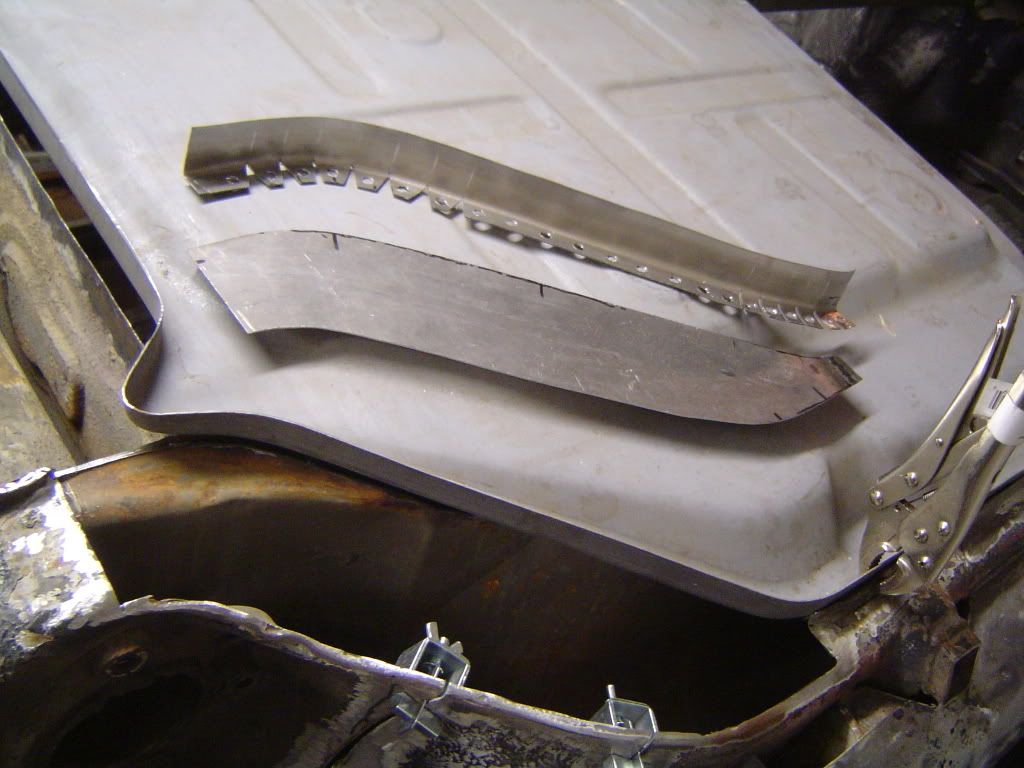
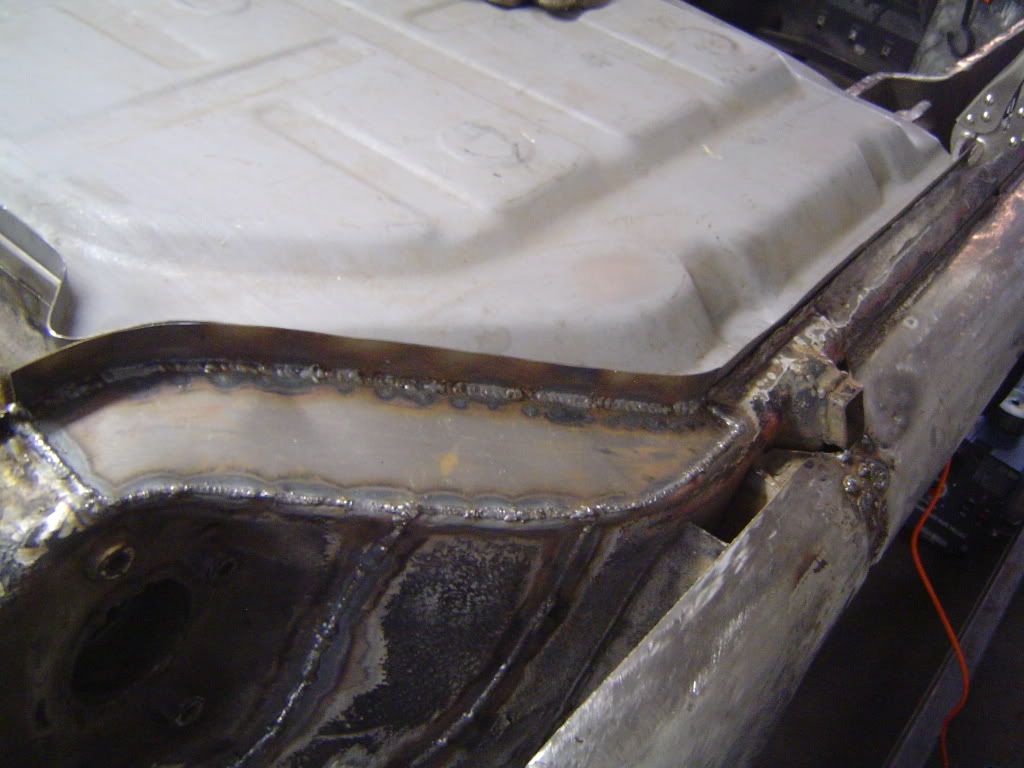
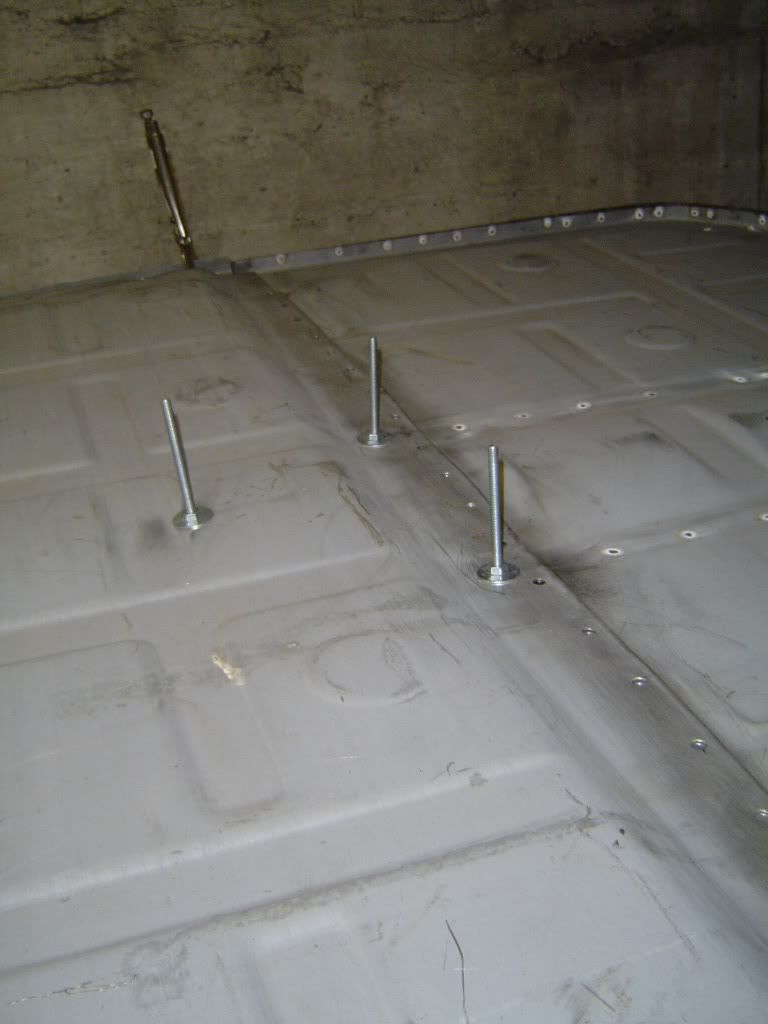
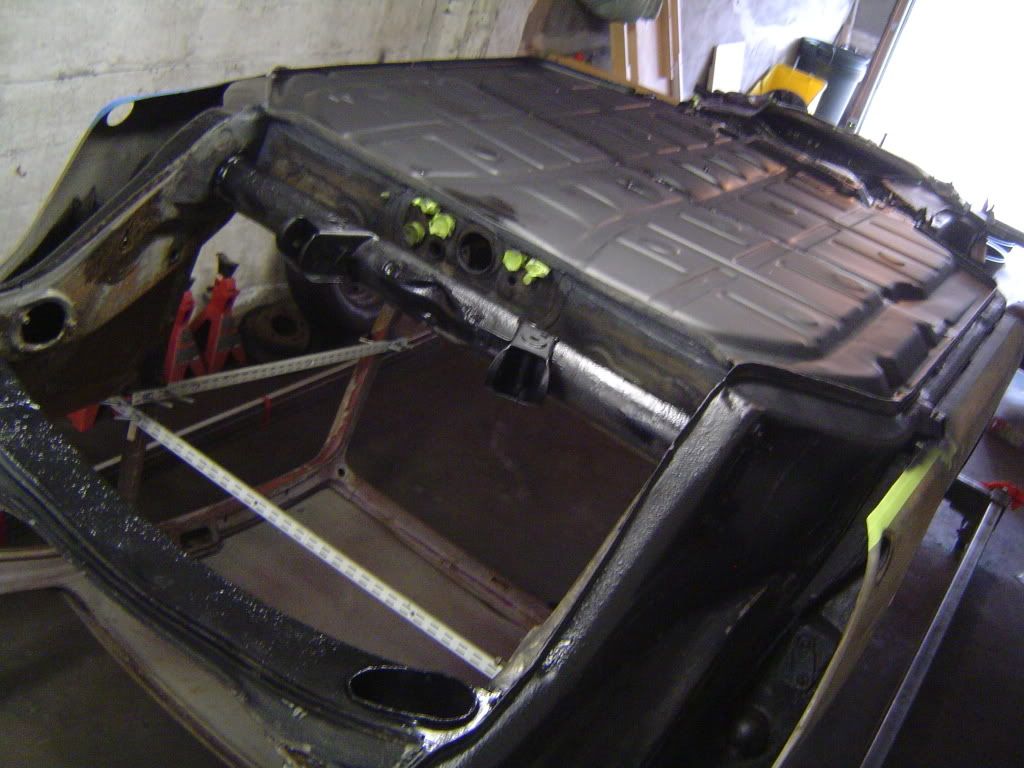
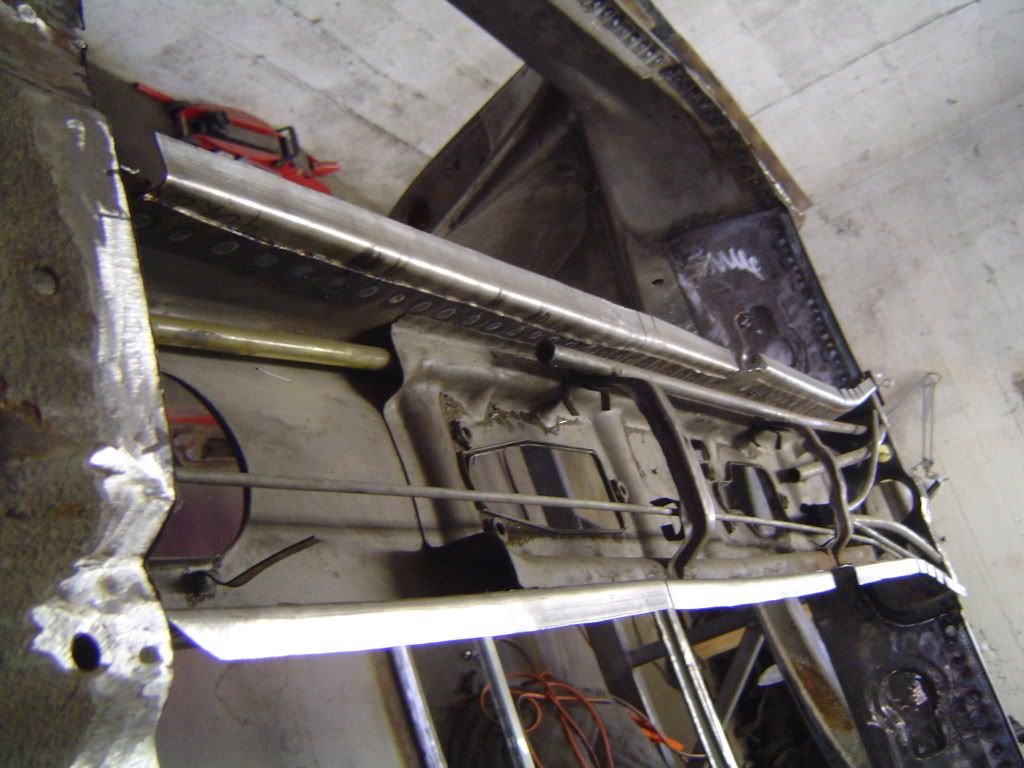
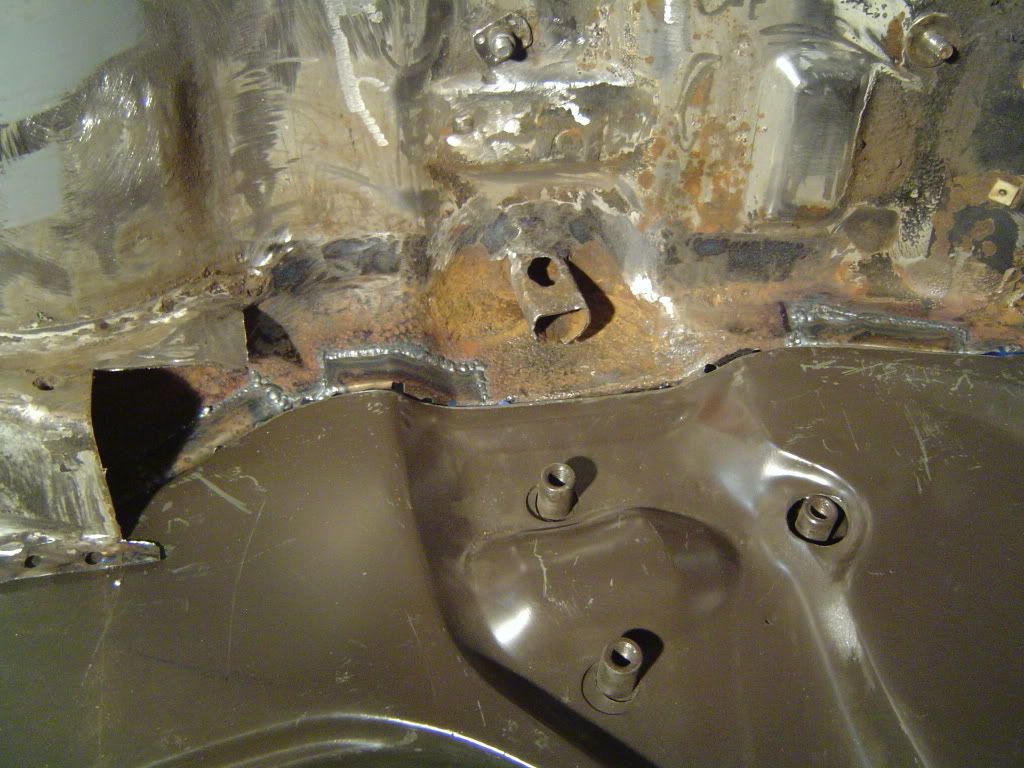
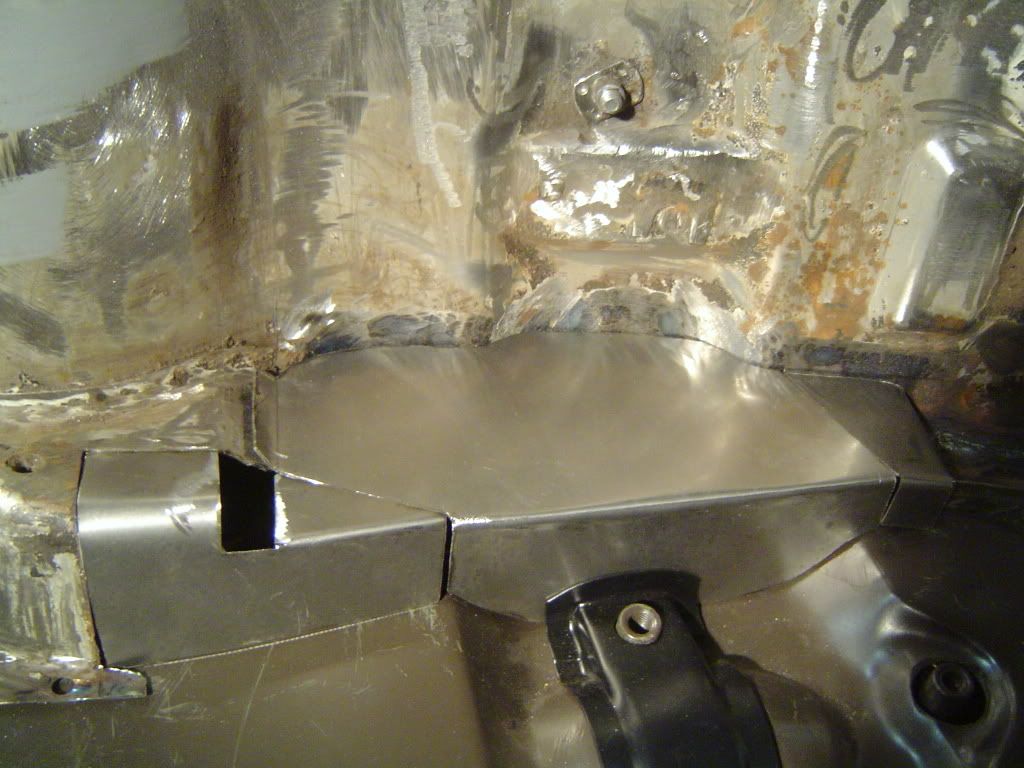
Suspension pan arrived and aligns with everything pretty well but after cutting out the petrol tank supports the battery area was rotten. So more pattern making and sheet metal bending.
Another powerwash, it was a good passer-by talking point on sunday afternoon
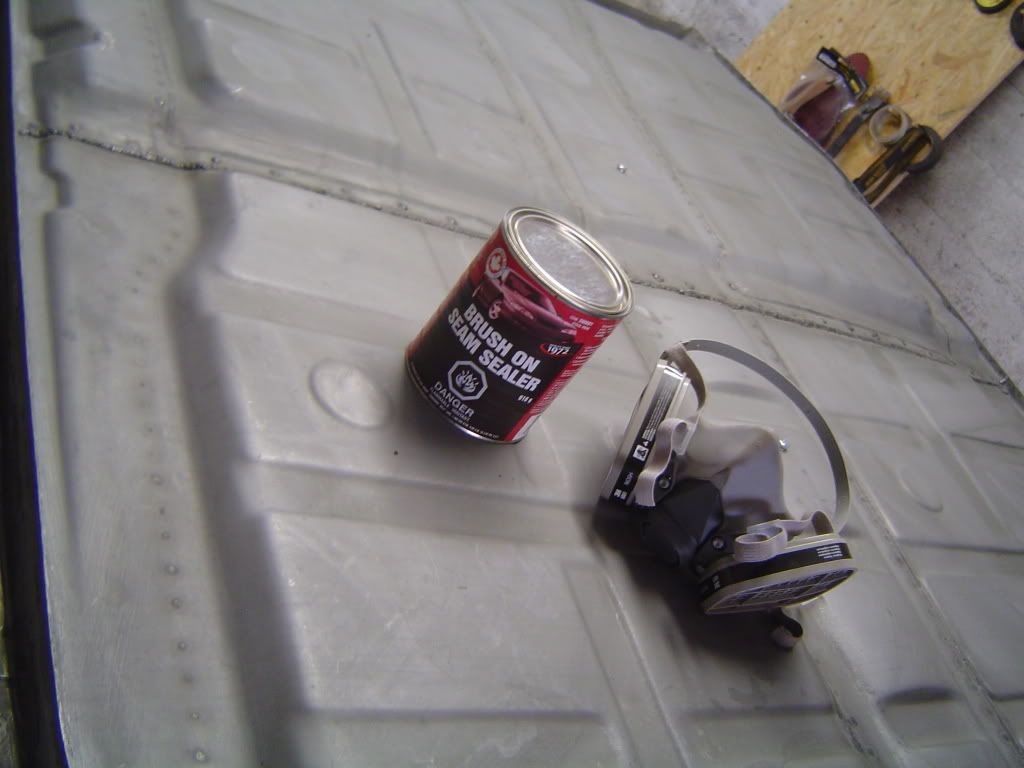
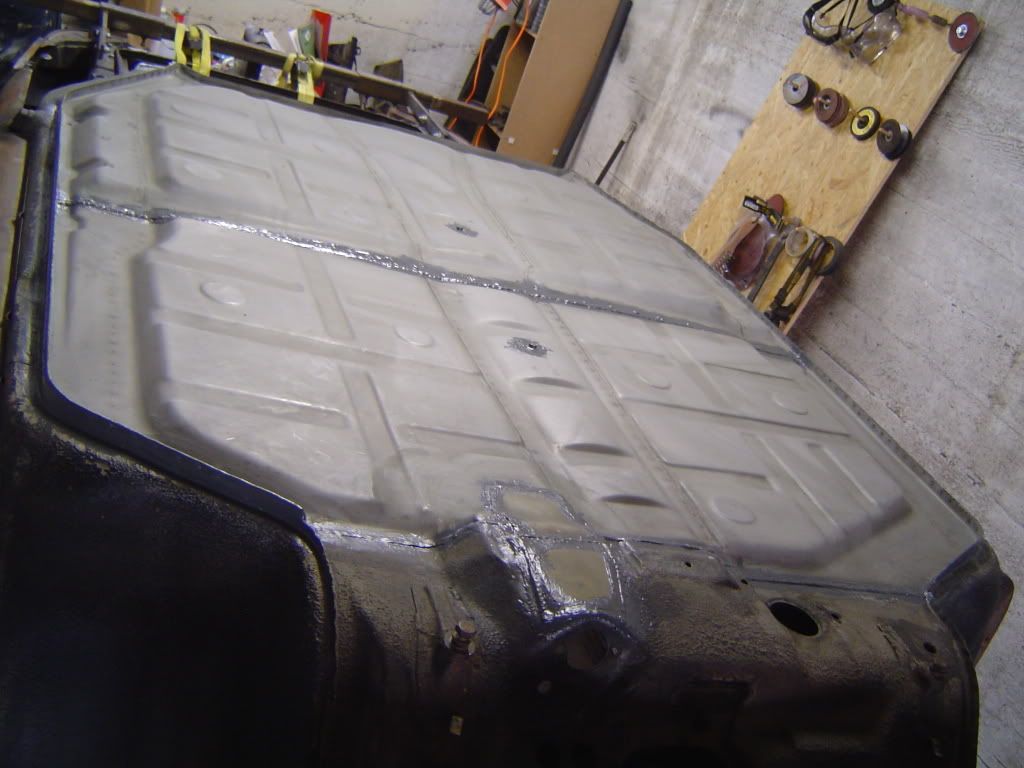
First rust coat this evening, under the centre tunnel and in the sills
I hope to get the floors and suspension pan in this weekend.
Its by no way a big budget project and I am realistic about time frames etc. There is plenty to do but its good fun. So far so so...
Here we go...
I picked up the rolling shell last year but 2weeks later went under the knife for a second major knee surgery so progress has been slow so far, not fun, on both levels!
The shell is a '68 and on the face of it looked like it was in ok condition. However the obvious stuff would need replacing, floors and front pan etc but I wanted to learn to weld and do bodywork etc so it looks like the perfect candidate.
The basic idea is to create a road legal lightweight special, similar in vein to the Emory 356's...we'll see
Picked it up from a guy who had a trailer and offered to bring it to my house for no extra charge, bonus!
Got it home and started to strip it down, it took longer than I thought as I tried to take a picture at every stage.
Paint stripper
Started to cut out floor and added some budget bracing between a and b pillars
The rear seat section and parcel shelf were pretty gone, so removed it...
I got hold of an entire rear interior section but I found this solution from Rennline, I think it is from a 935 track car? The plan is to brace across the back section then fabricate the removable panels. I know its not stock and will probably be pretty loud but I think it could look pretty cool and go with the 'lightweight special' idea I have for the car.
After all the cutting and grinding, the first power wash
I managed to get hold of a rotisserie. After fabricating some brackets and with the help of 3 friends, we managed to lift it on
After removing the floors I found that the heater tubes were gone, so decided to remove the whole pipe and do with out, afew extra pounds saved! but, the double 'S' curve of the rear part proved a problem, so after much debate I decided to cut out the inner arch panel and then weld it back in.
After cleaning up the floor areas there was not much flange left to weld the new floor in, so I decided to make a basic metal break and make some new flanges then tack in place, this should give a better bonding surface
At some point a jack had been placed and crushed the rear sill area, so more fabrication was needed on both sides
Suspension pan arrived and aligns with everything pretty well but after cutting out the petrol tank supports the battery area was rotten. So more pattern making and sheet metal bending.
Another powerwash, it was a good passer-by talking point on sunday afternoon
First rust coat this evening, under the centre tunnel and in the sills
I hope to get the floors and suspension pan in this weekend.
Its by no way a big budget project and I am realistic about time frames etc. There is plenty to do but its good fun. So far so so...