Page 6 of 10

Re: Shrek

Posted: Sat Nov 25, 2017 9:09 pm
by 911hillclimber
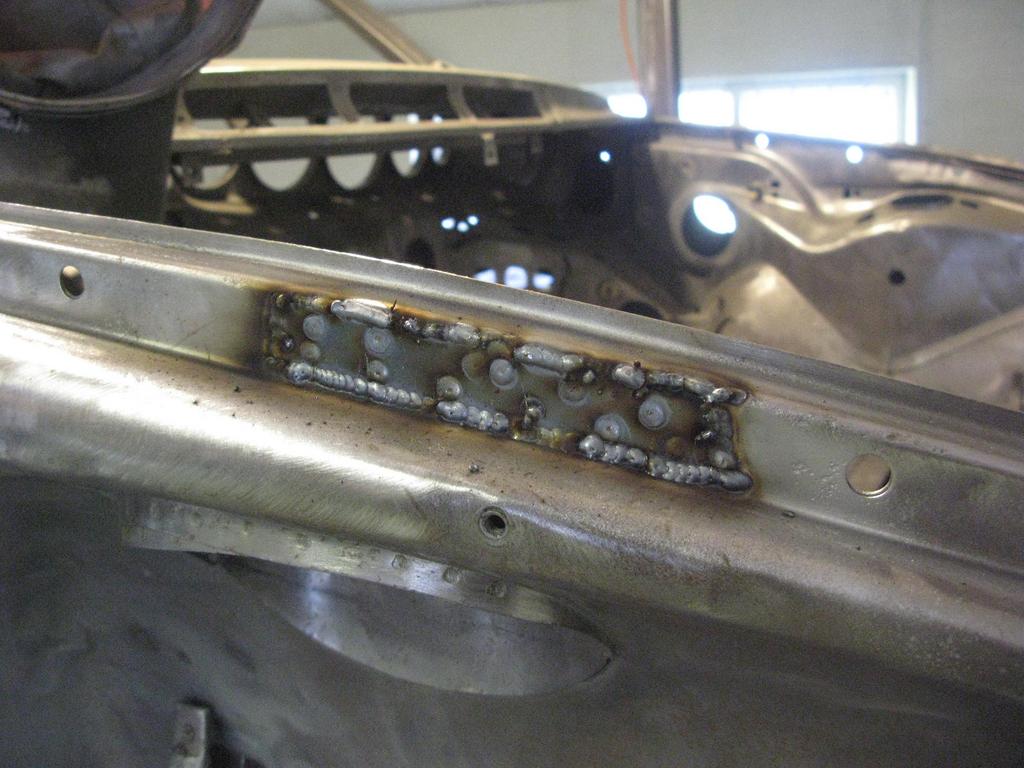
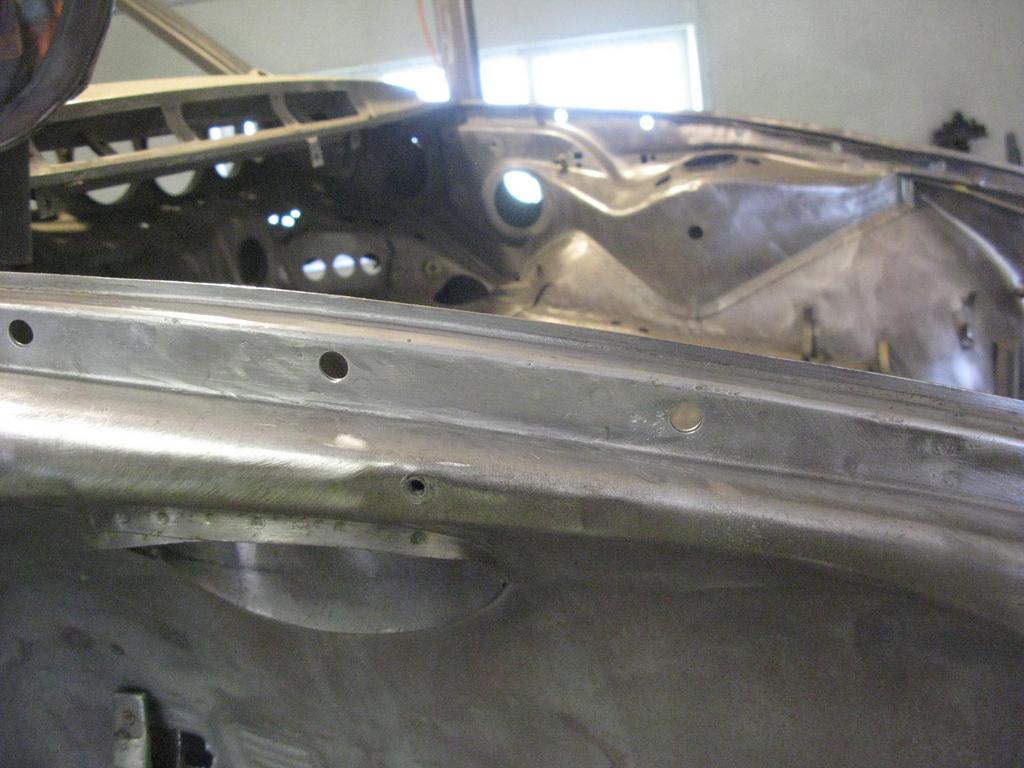
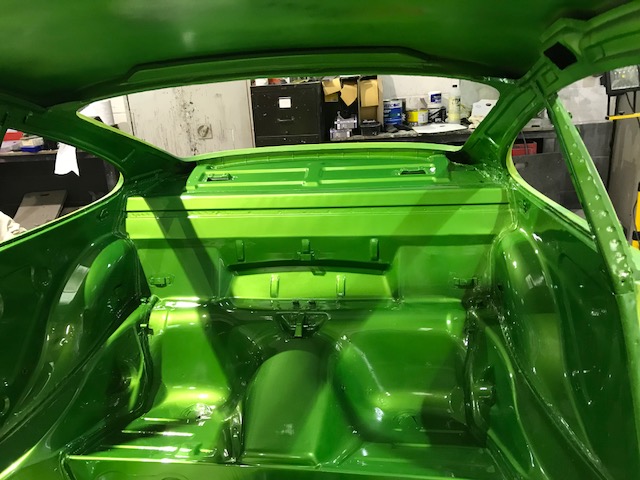
I close both my eyes when I look at mine from 1989...
Solid, but very easy to see my welds.

Re: Shrek

Posted: Fri Dec 15, 2017 2:22 pm
by Dougieboy1
Episode 32: Finishing up at the back

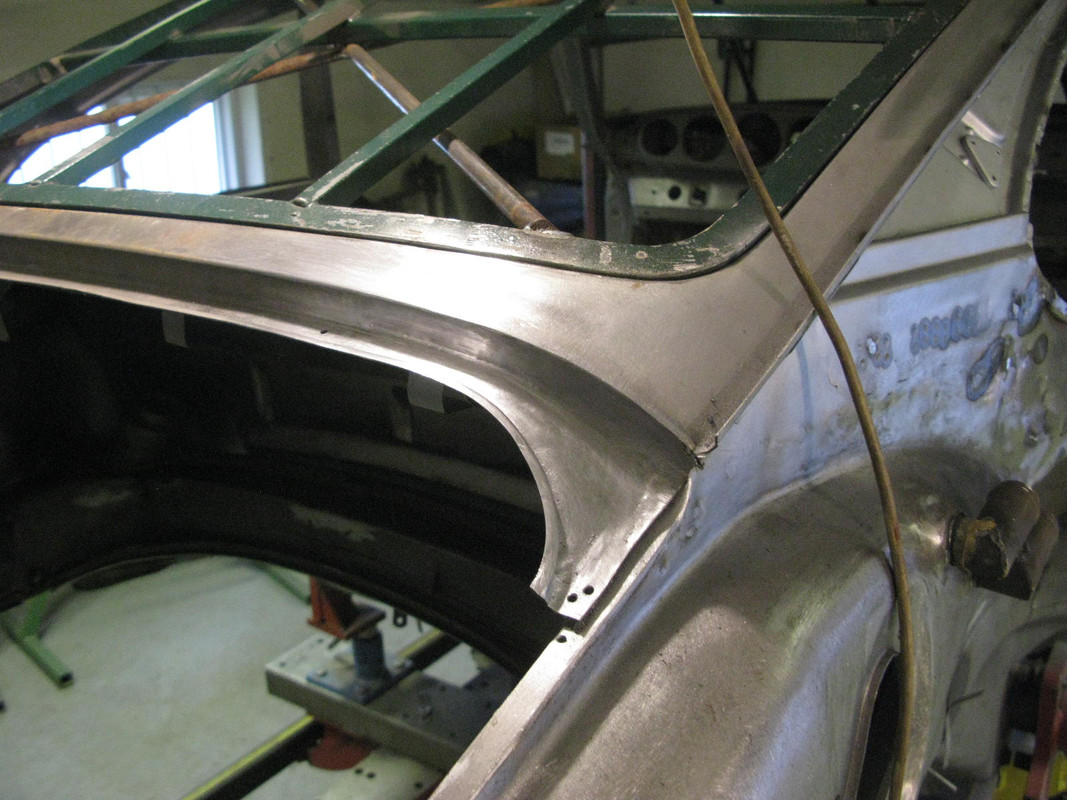
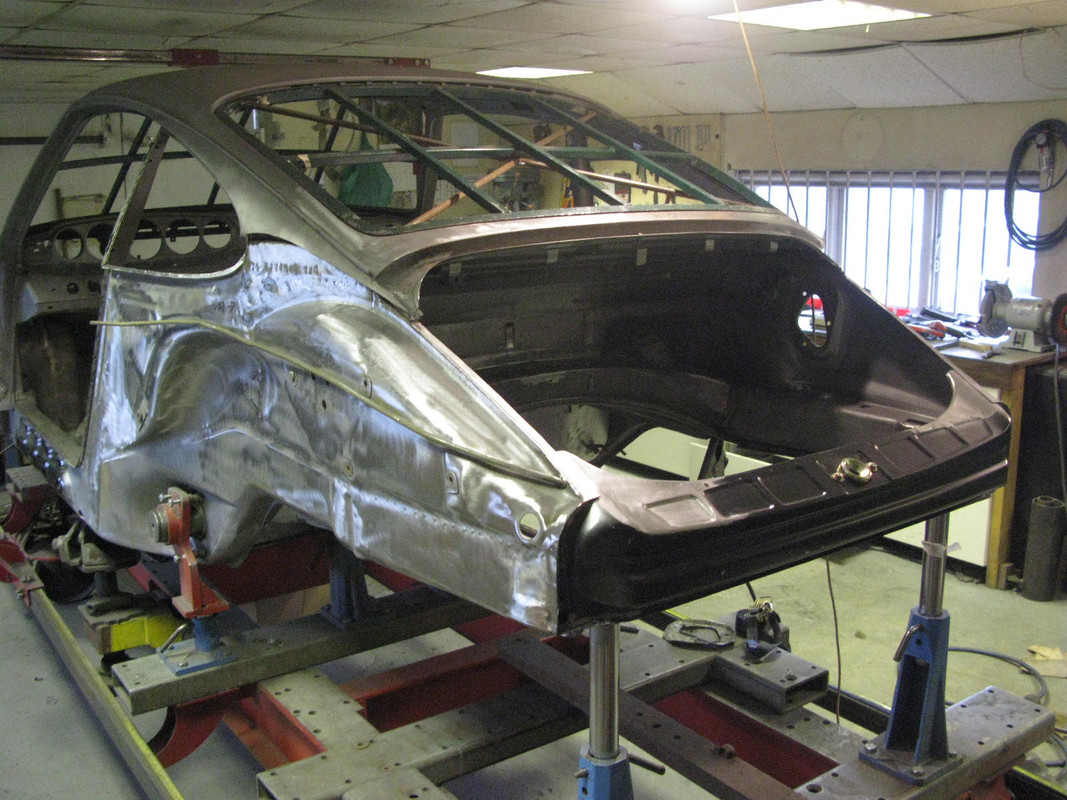
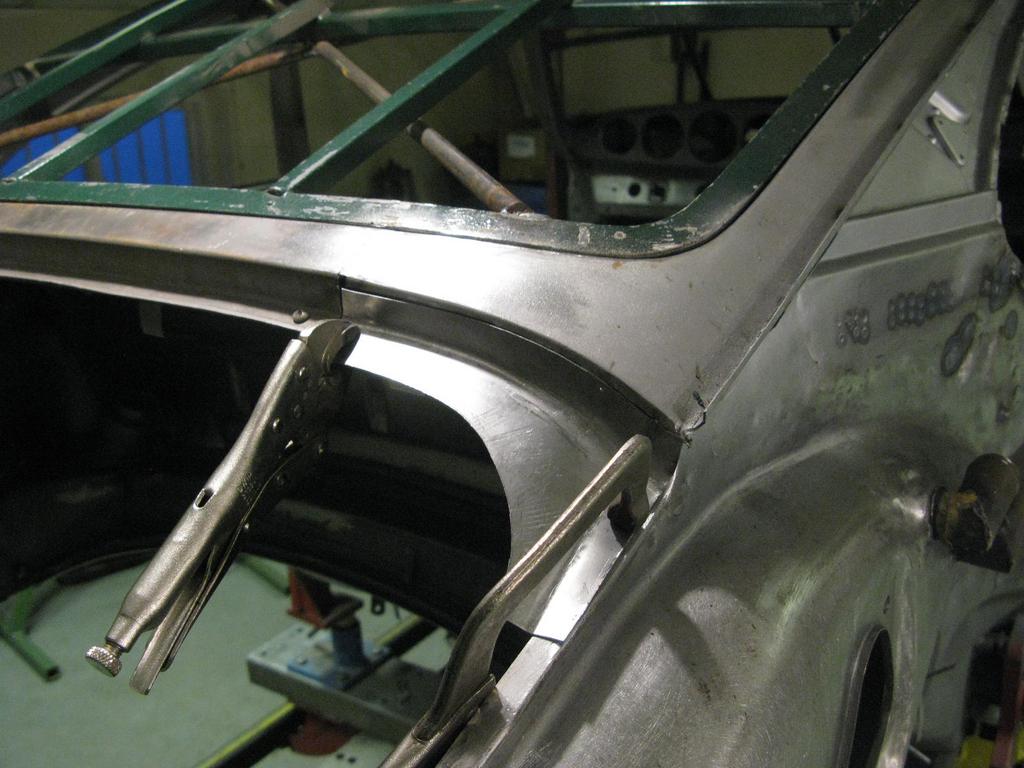
The rear engine gutter in the corner where the c-pillar had rotted was not to Barry's liking, so it came out.

Image

Repair patch fabricated

Image

And let in to make it perfect

Image

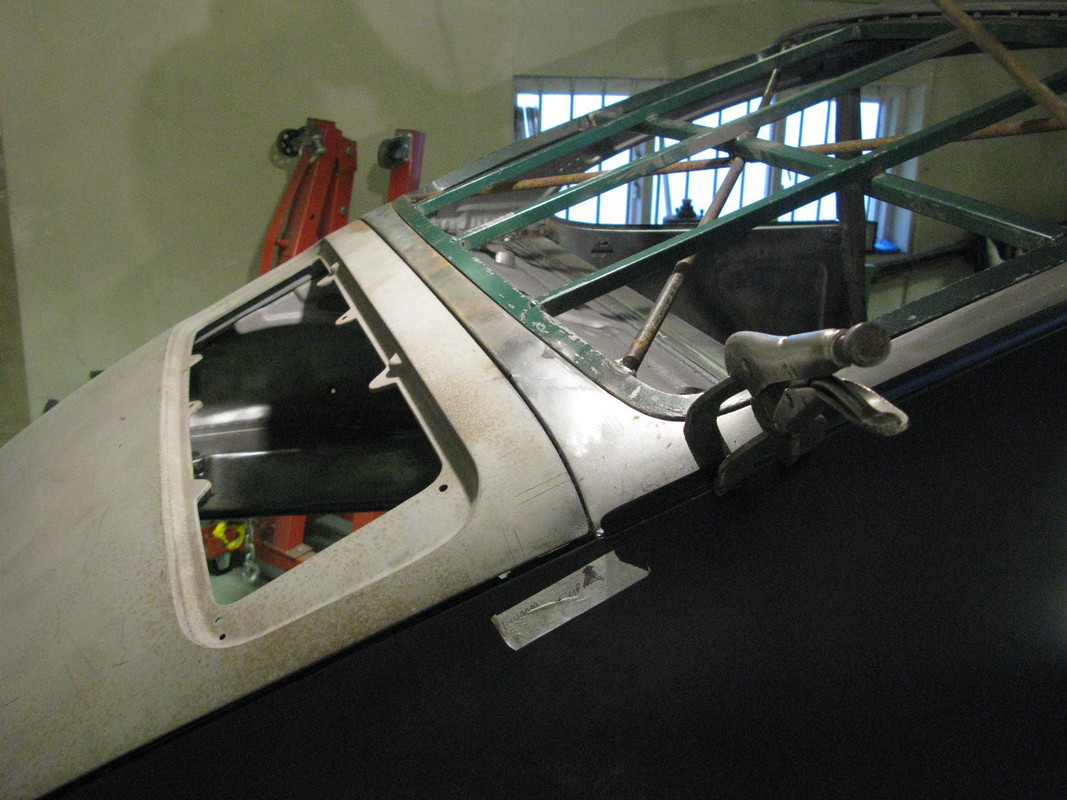
Barry engaging in a bit of teasing by mocking up the rear wing to make sure all the c pillar fabrication has worked out - note the perfect fit of the screen jig

Image

Including original porsche engine lid to ensure fit

Image

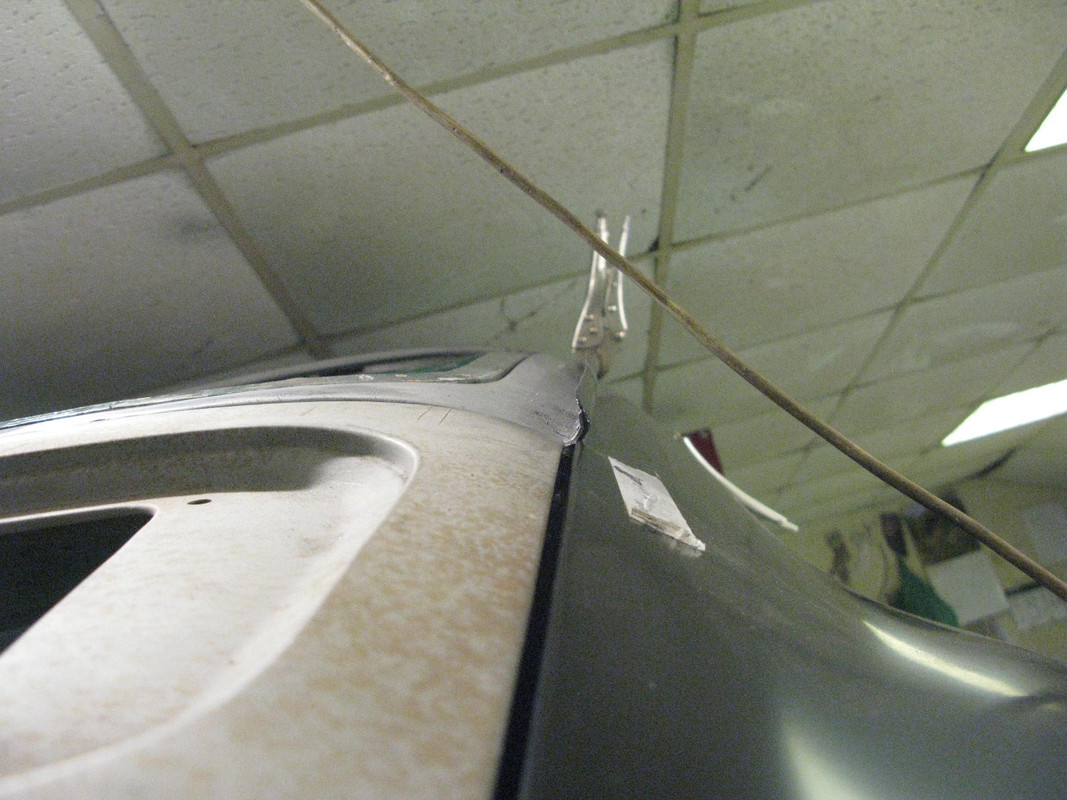
good gaps

Image

good fit

Image

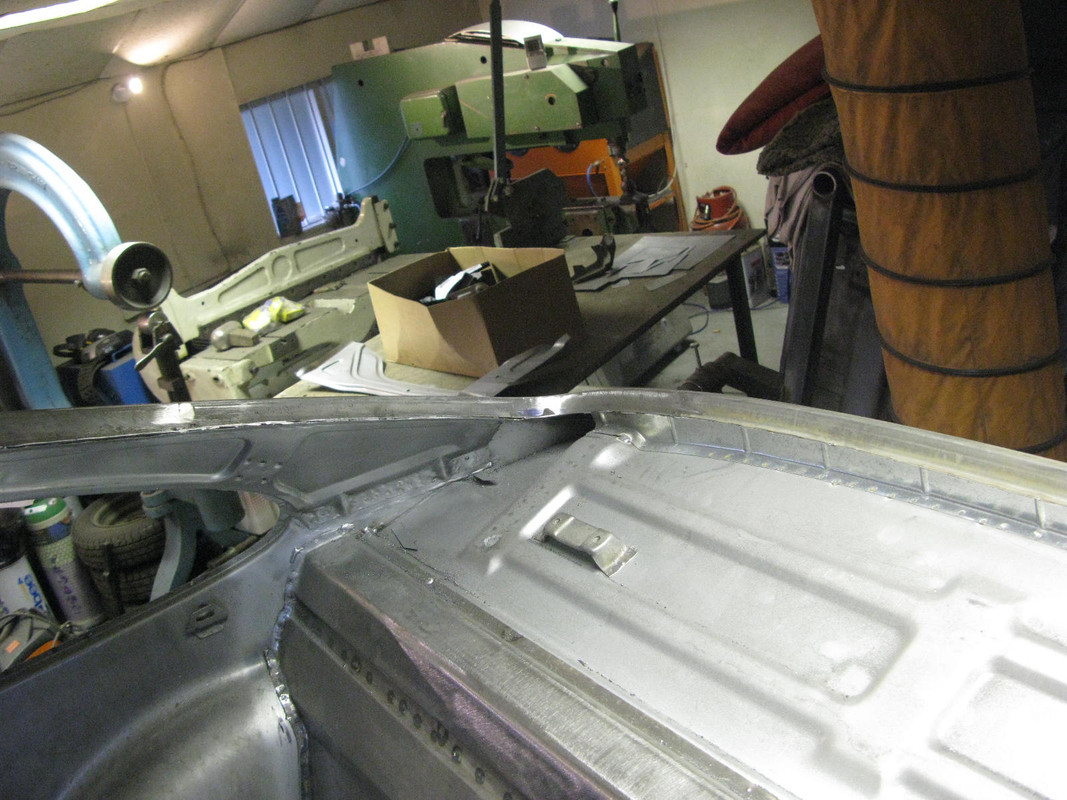
And nice from the inside as well, note replaced parcel shelf fit as per previous post

Image

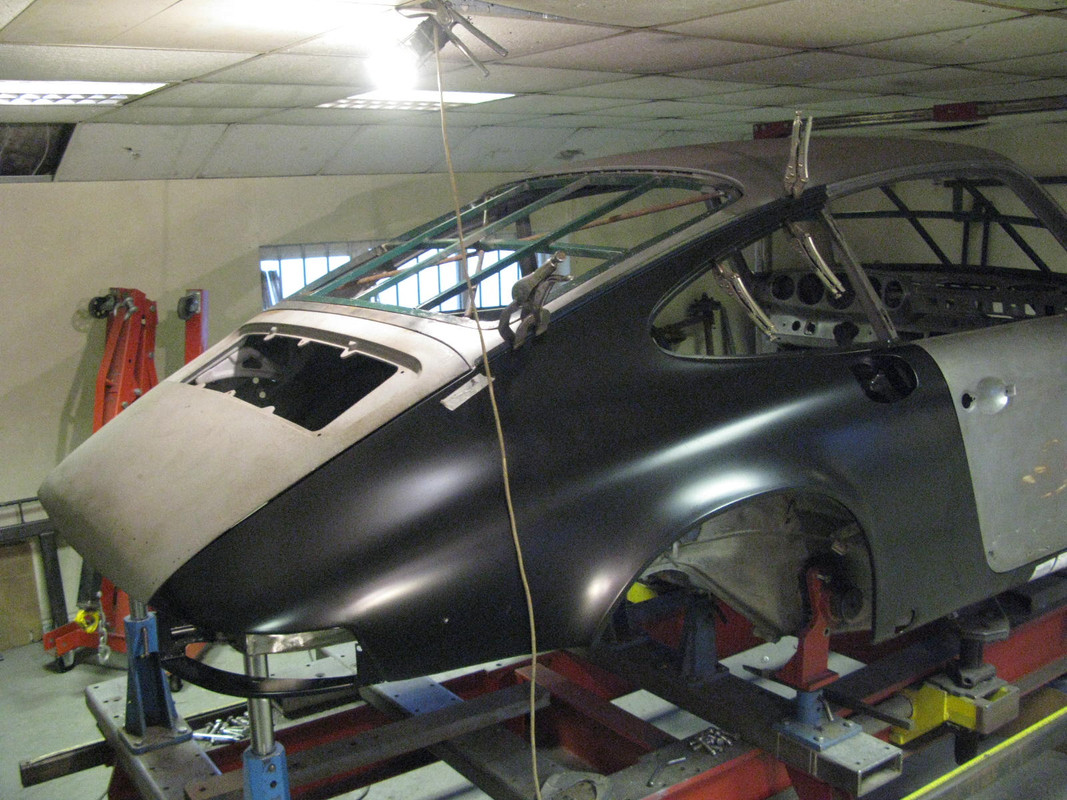
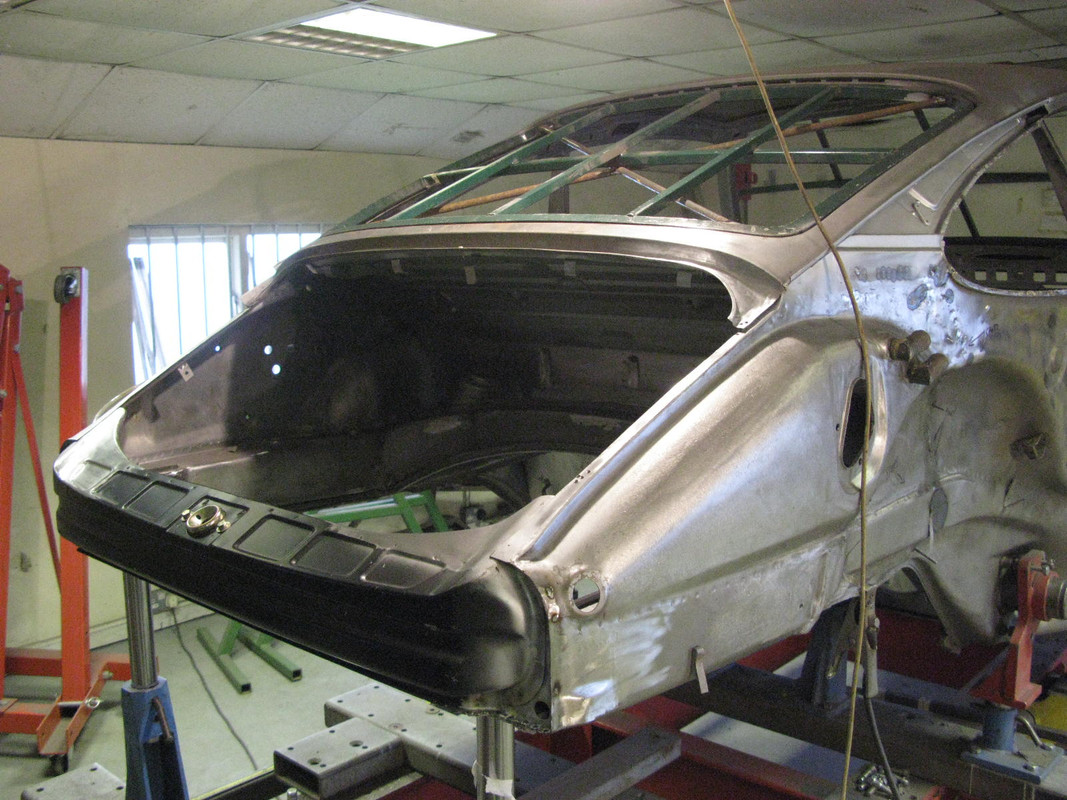
And with that the back end was officially done.

Image

Image

Summary
Offside inner wing straightened and oil console area repaired
Offside chassis leg and cross member straightened
Rear bulkhead and rear seat pans (cut from donor car) replaced
Offside c-pillar (cut from donor car) replaced
Rear parcel shelf (new Restoration Design part) fitted
Rear slam (new Porsche part) replaced and backdated
Rear screen surround repaired

Time to move onto the front of the car which Barry says will be very satisfying as change occurs very quickly!!

Re: Shrek

Posted: Fri Dec 15, 2017 3:42 pm
by Dougieboy1
Episode 33: WTF is going on at the front - assessment!!

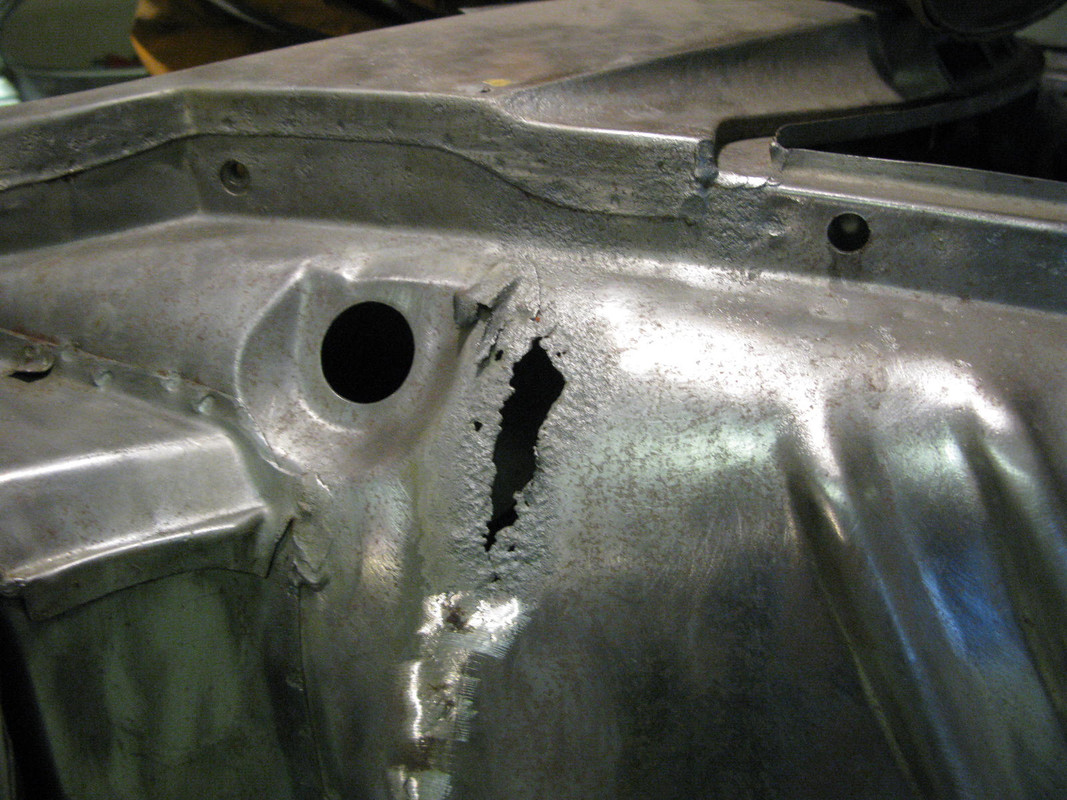
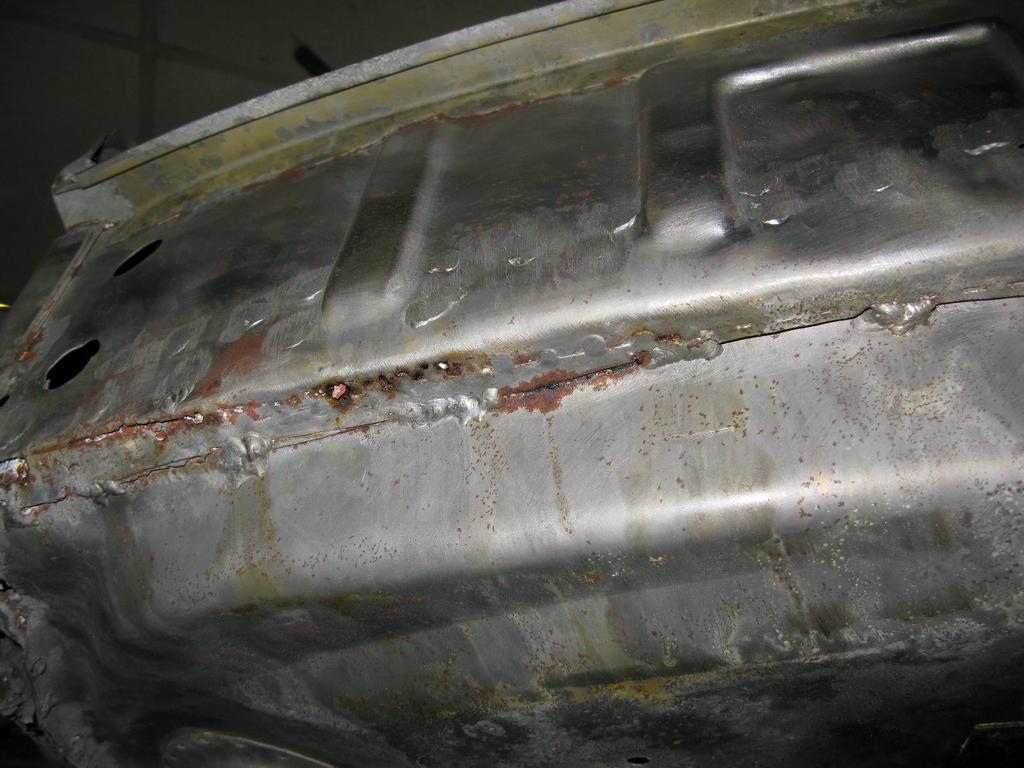
The easy bit first. Where the wing closer was welded to the off-side inner wing, there was some typical 911 areas of rot.

Image

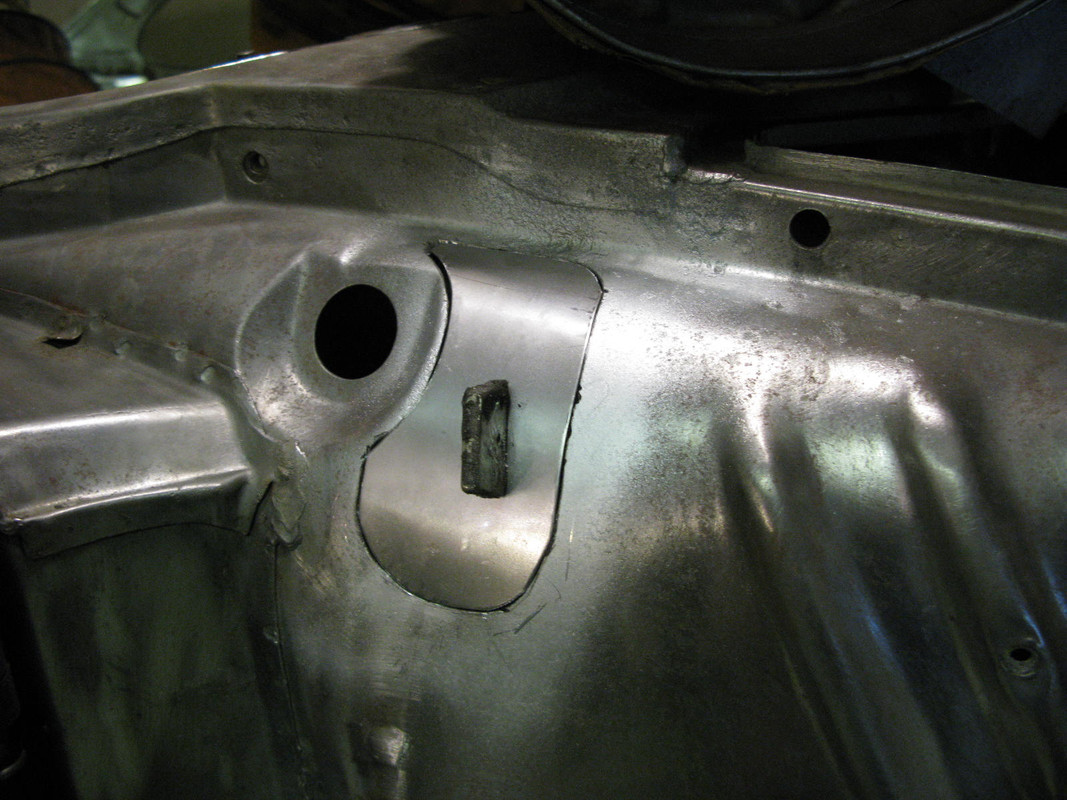
Which required one of Barry's famous repair patches

Image

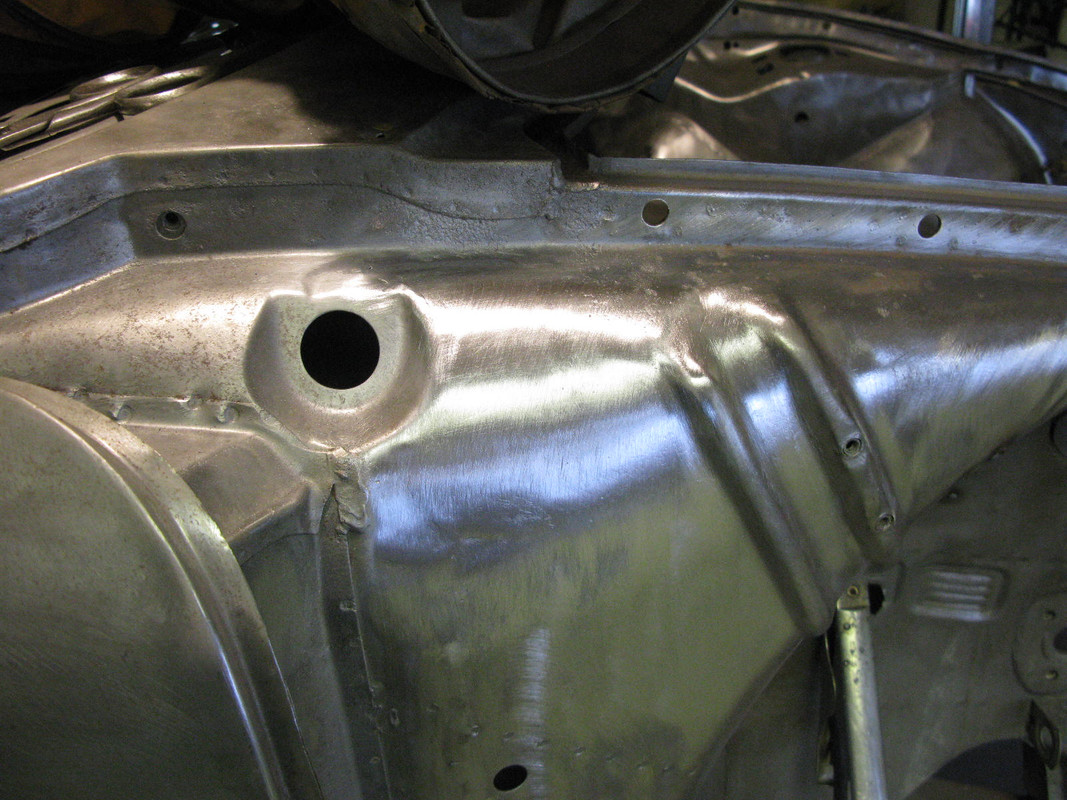
To make it perfect again

Image

Then, the beady Carter perfectionist eye was cast over the front end. And his professional opinion was 'Yuck'.......

For the following reasons: Minor patching

Image

Medium patching - note the high quality welding

Image

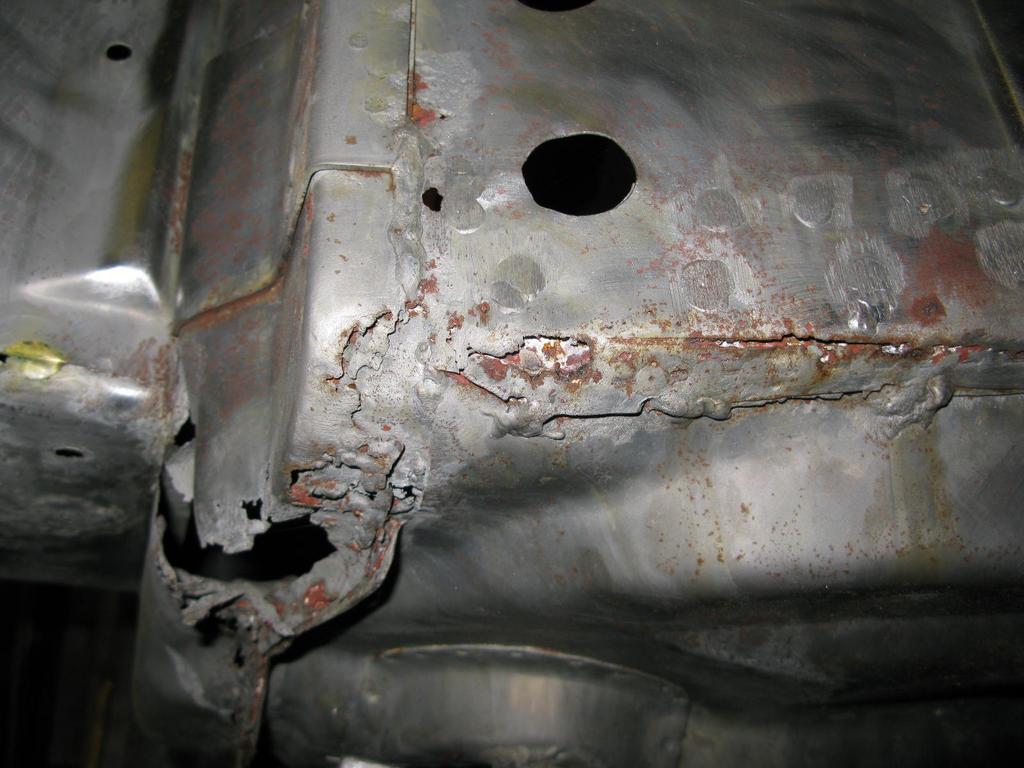
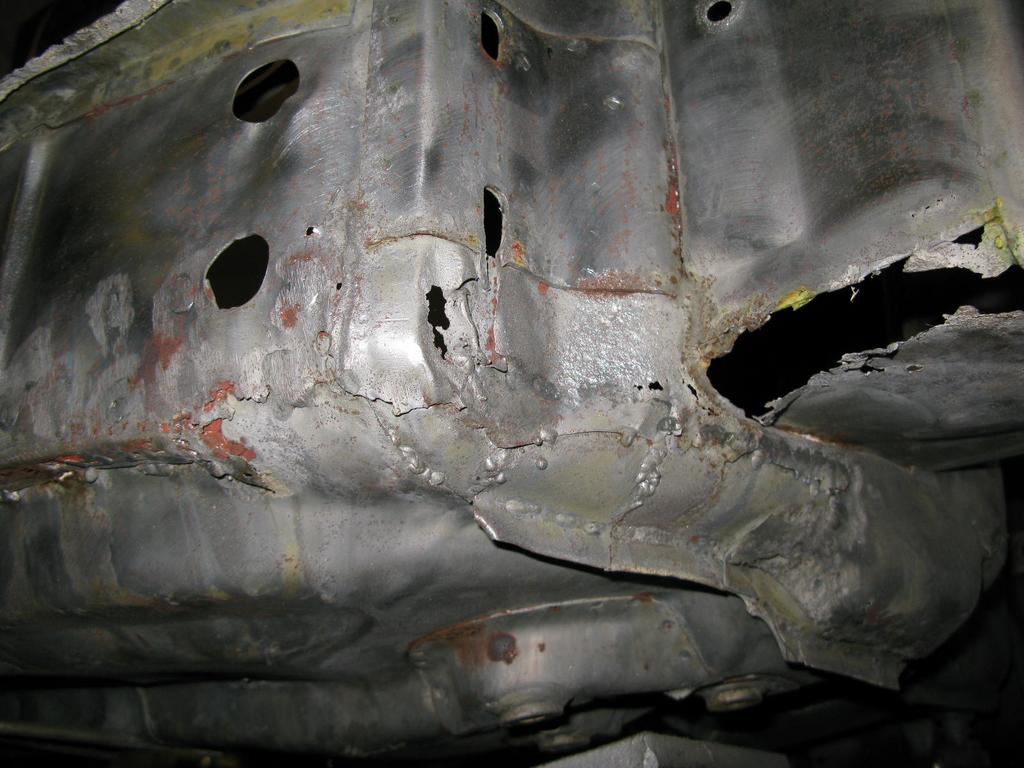
And some absolutely hideous patching, again done with superior welding skills

Image

Typical rot in the battery boxes

Image

And elsewhere

Image

The front slam was a mess for a variety of reasons including rot

Image

surface rust that developed post dipping

Image

Some more of the fabulous patching, this time on the outside

Image

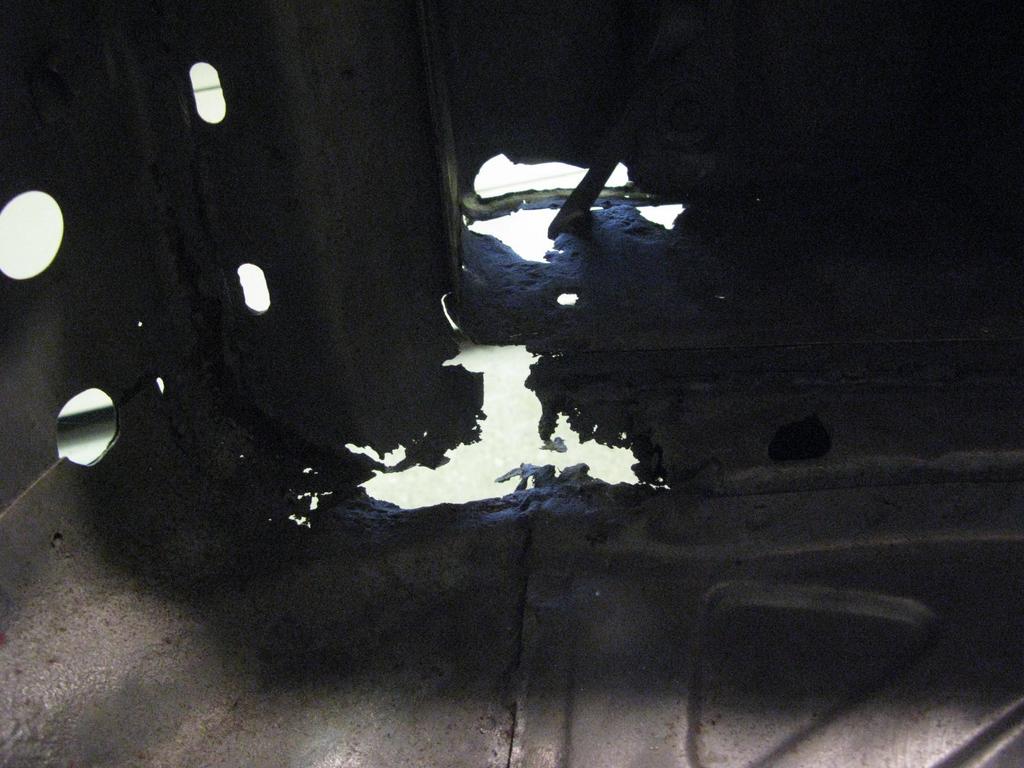
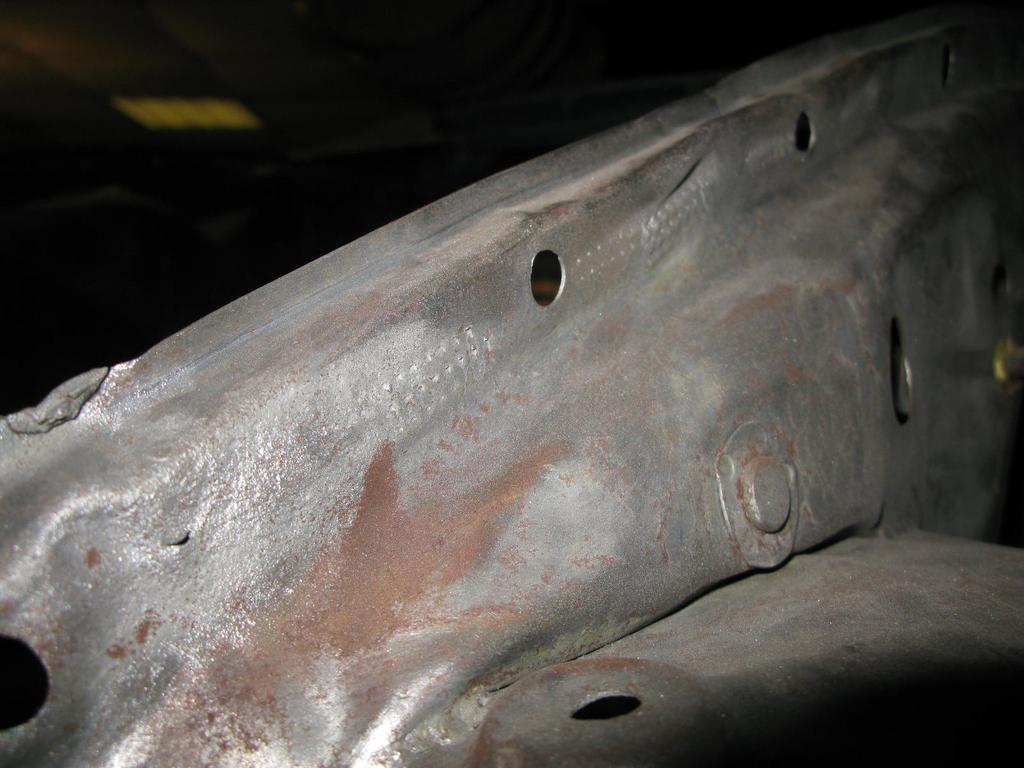
Perforations from rot

Image

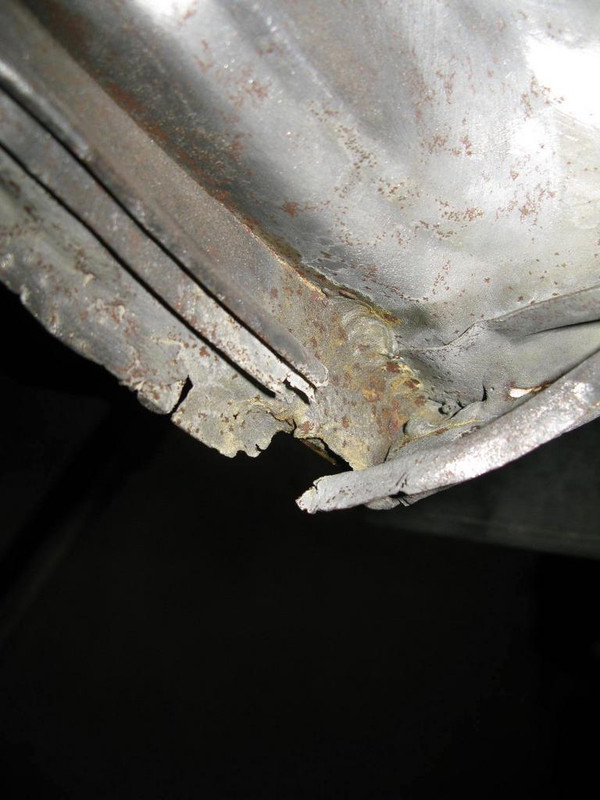
Some tearing of the metal from front end impact

Image

Dents, again from the impact identified much earlier in the process

Image

Image

Distortion, more impact

Image

And general scabiness

Image

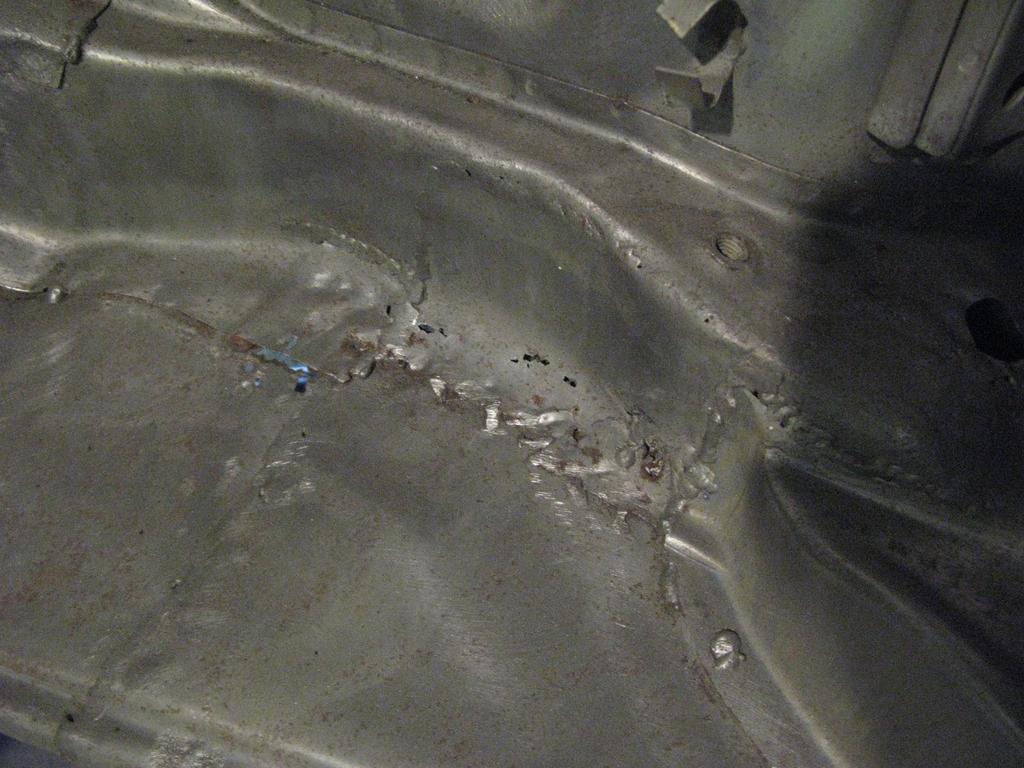
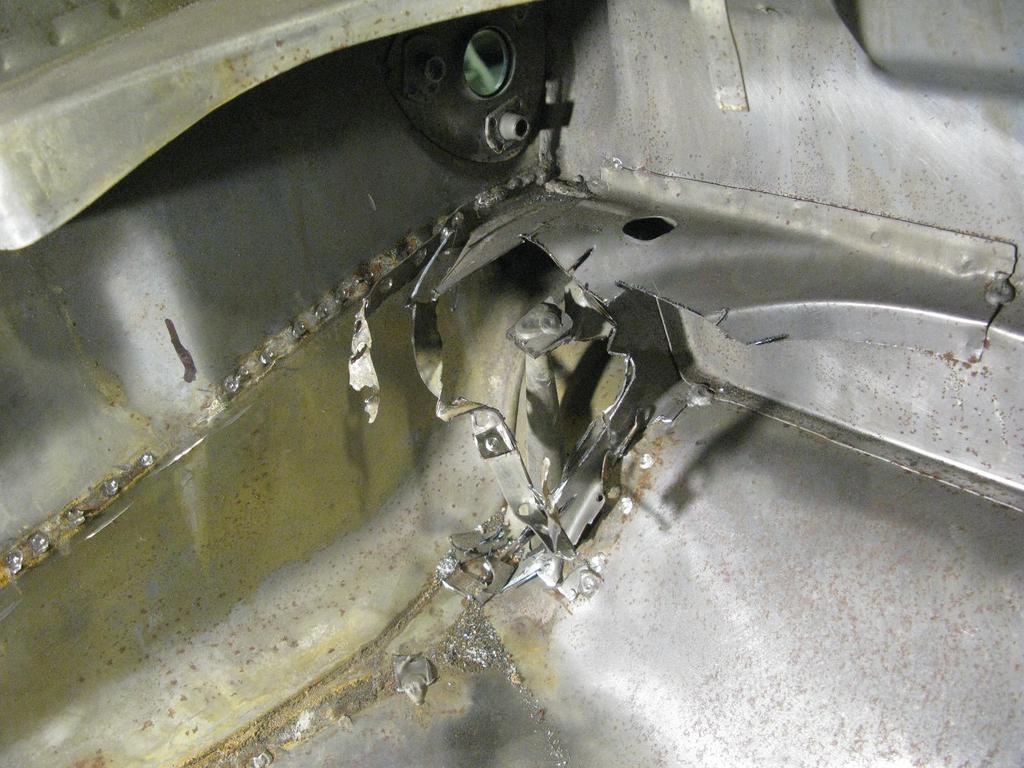
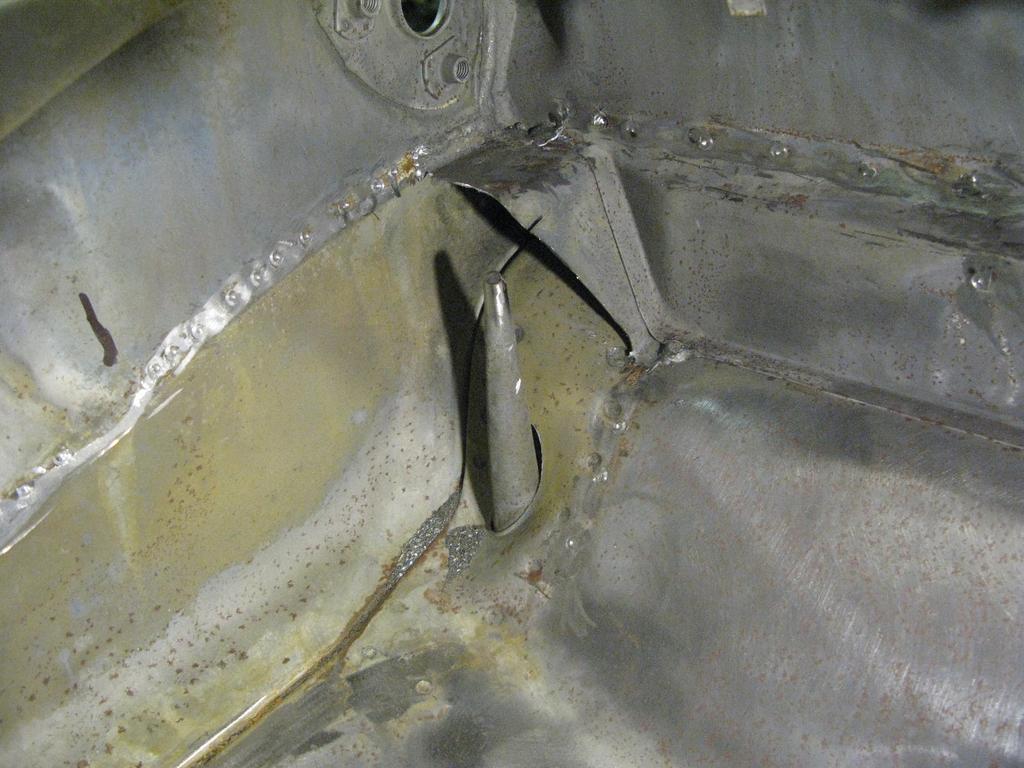
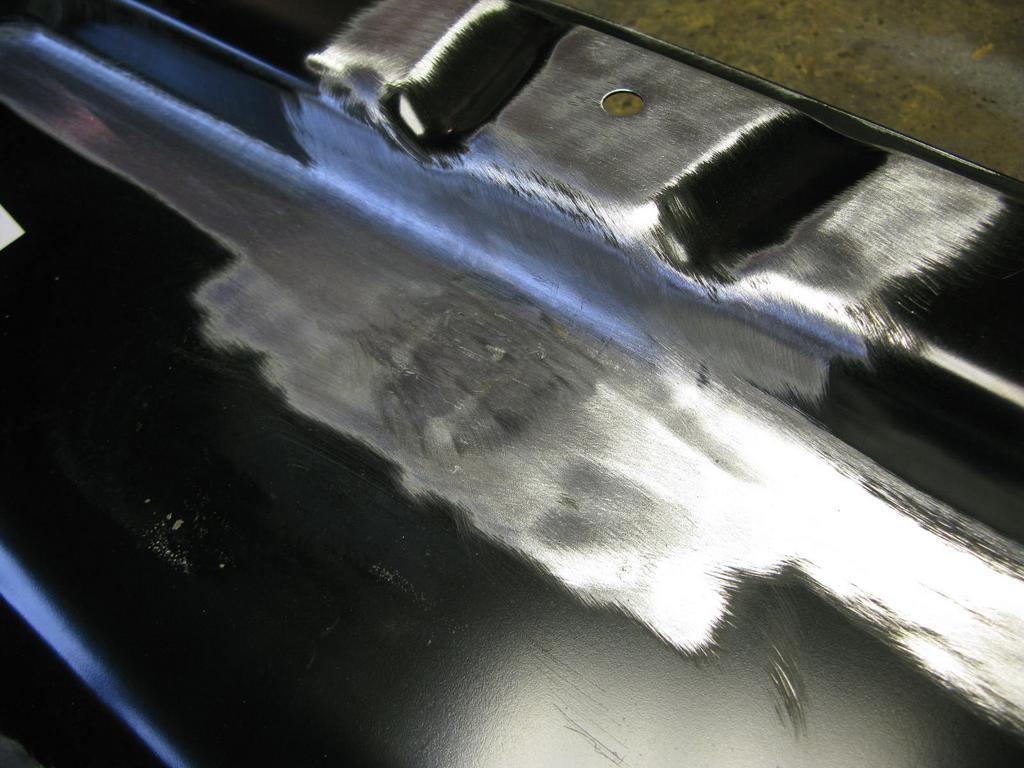
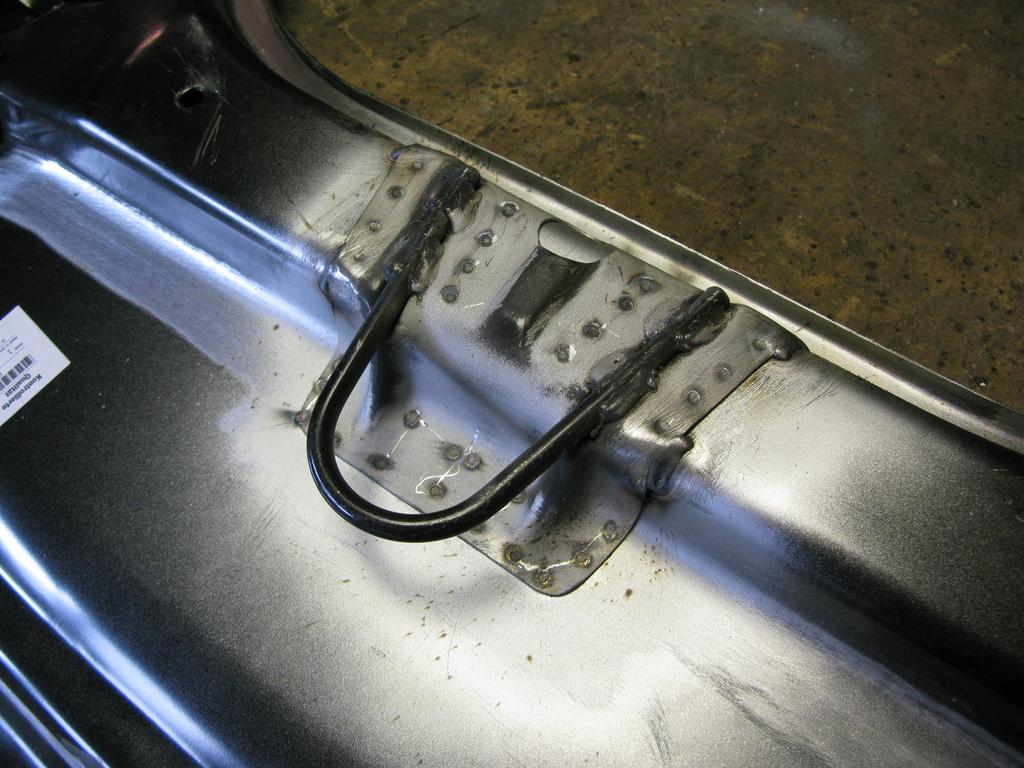
And then the piece de resistance, this final photo shows there was no structure underneath the replacement tank support. We should be looking at where the longitudinal tank support dips down into this area forming a complete box section. There's also a complete small panel missing that should bridge the two rearward mountings.

Image

As an aside, there were a number of stress cracks in this front end area and having seen this mess and the poor execution of the repairs, it is not really surprising.

To reiterate Barry's professional assessment, Yuck!!!!!


So, whats the solution?

Image

Yes, cut it off, chuck it all away and start again........ as the man said, you can make pretty rapid progress in this area!!!

Re: Shrek

Posted: Sat Dec 16, 2017 9:54 pm
by chud
Wow, that escalated! :shock:

Re: Shrek

Posted: Sun Dec 17, 2017 7:08 pm
by Darren65
Loving this thread 8)

Thanks for sharing :thumbright:

Re: Shrek

Posted: Tue Dec 26, 2017 6:55 pm
by Dougieboy1
Episode 33 Back to the Front

As per postings on other restoration threads, preparation is all important to getting a high quality final result.

So a little bit of careful cutting doesn't go amiss as the longitudinals were trimmed back.

Image

Image

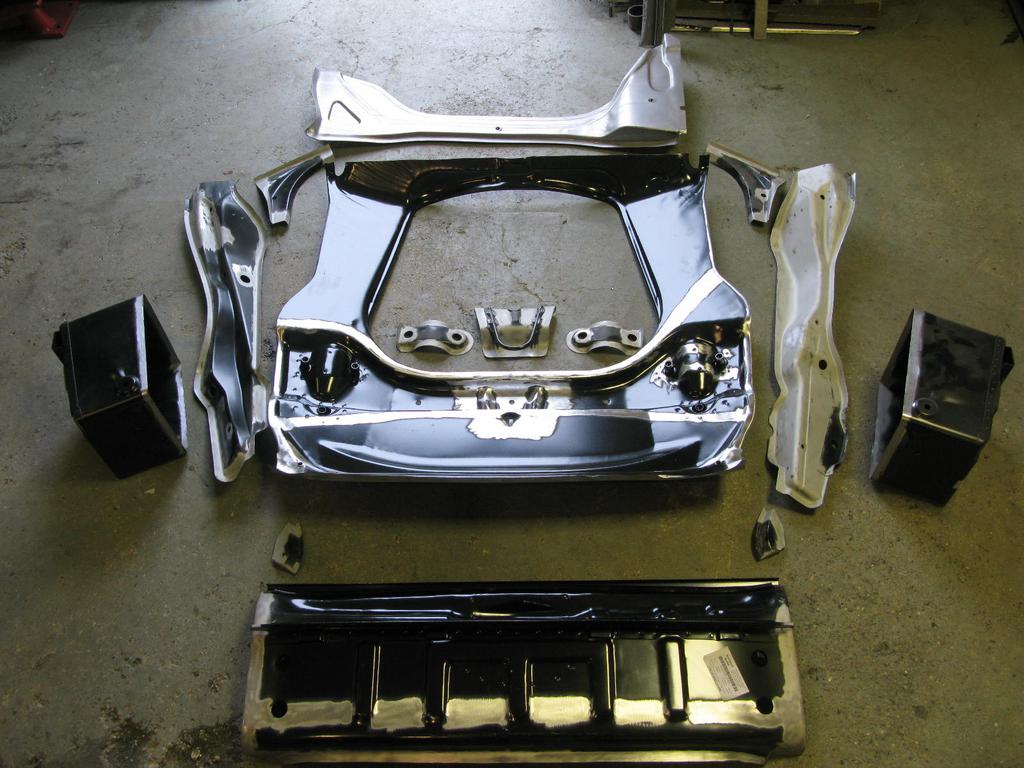
Laying out the new front end 'kit' prior to spending a couple couple of hours prepping/backdating the modern panels (964) to be the correct spec for an MY72 car.

Image

The front pan had the later style drain removed

Image

Image

Image

Cut outs on front flange being reprofiled. The correct half moons to be cut later where the large holes in the vertical are located, washer bottle mount fabricated using a jig although this was not photographed

Image

Image

Image

Image

The towing point was added
Image

Having completed the backdating and prep, the pan was placed with help from the jig.

Image

Then, after a LOT of measuring and double checking, the first RD inner wing repair could be scribed in and welded - reprofiled front flange clearly visible

Image

Image

This done, a small section at the base of the inner wing was fabricated and let-in.

Image

Image

Image

Re: Shrek

Posted: Tue Dec 26, 2017 8:00 pm
by inaglasshouse
That front end was pretty nasty in places. Not for long!
Thanks for posting the pics, I'm enjoying it. Happy days!

Re: Shrek

Posted: Tue Dec 26, 2017 8:38 pm
by Dougieboy1
Indeed, Barry and i shared a christmas mince pie last friday whilst he showed me round the almost complete shell - this thread still has some catching up to do with reality!!

I enjoy visiting and chatting, one of the unexpected benefits of Barry being just down the road.

Re: Shrek

Posted: Fri Dec 29, 2017 7:09 pm
by Dougieboy1
Episode 34: Back to the Front, 2

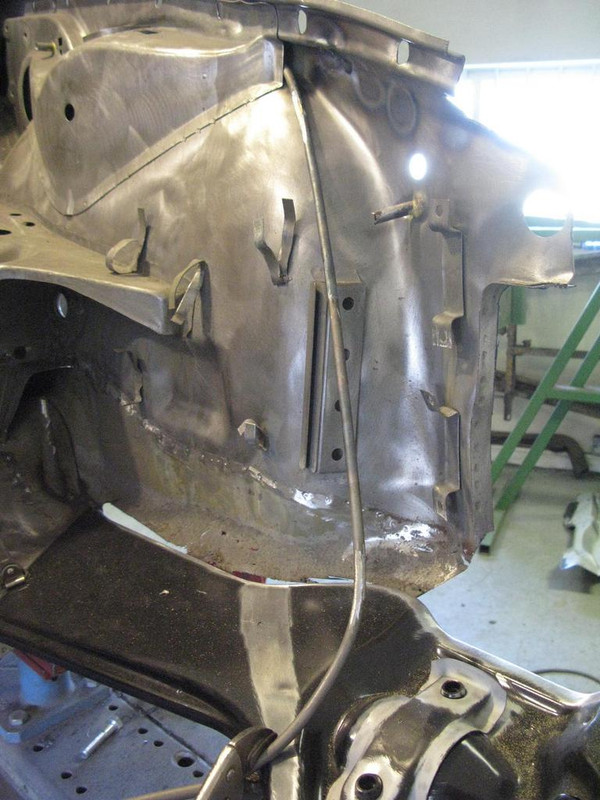
Nothing seemed to make sense on the nearside, even with the obvious damage beaten out.
Image

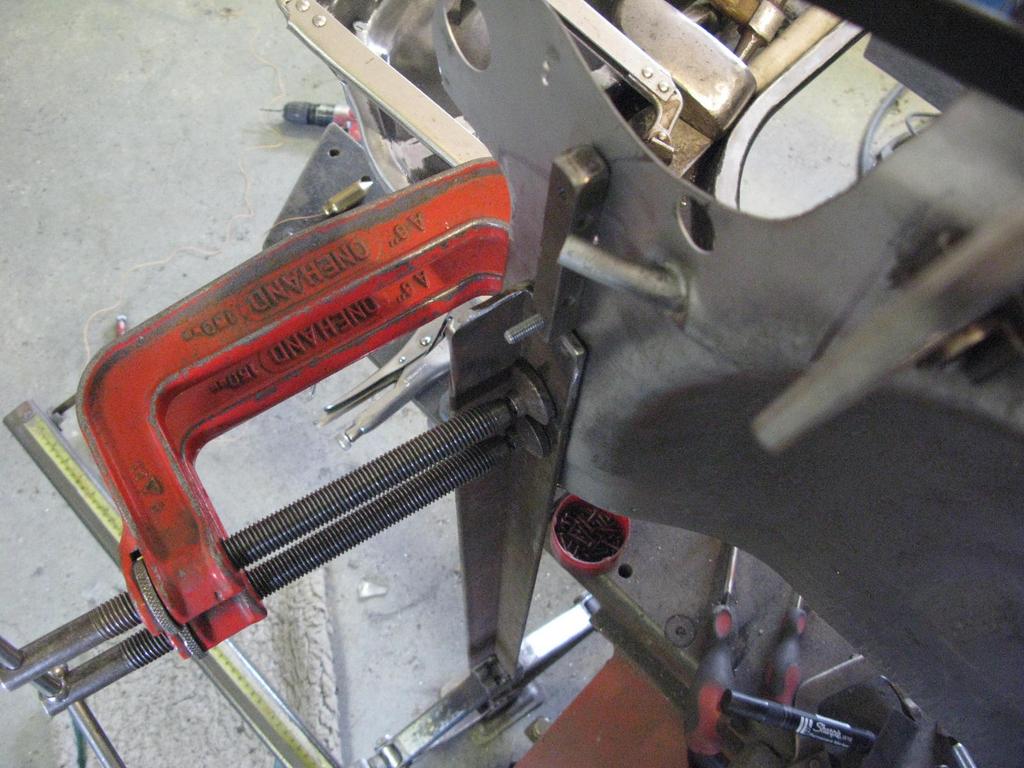
After a while Barry concluded that the original inner wing needed a fractional lift. With deft bodgerism (another technical coach-building term apparently) Barry executed the lift and tacked in the second Restoration Design wing repair after scribing it in.
Image

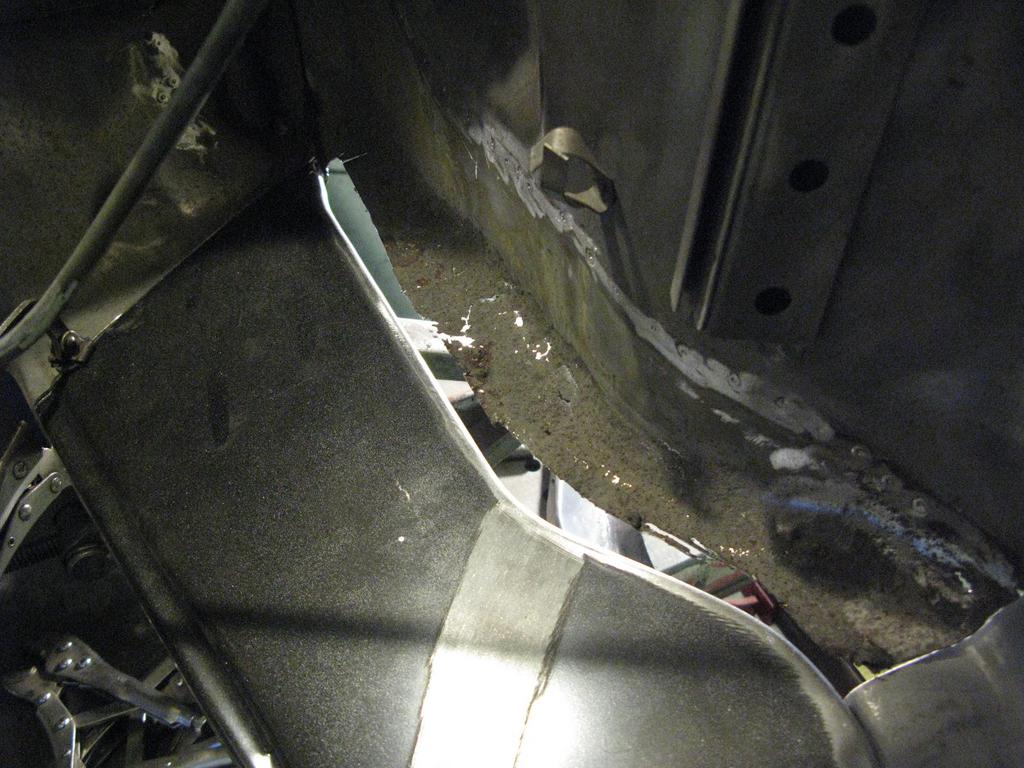
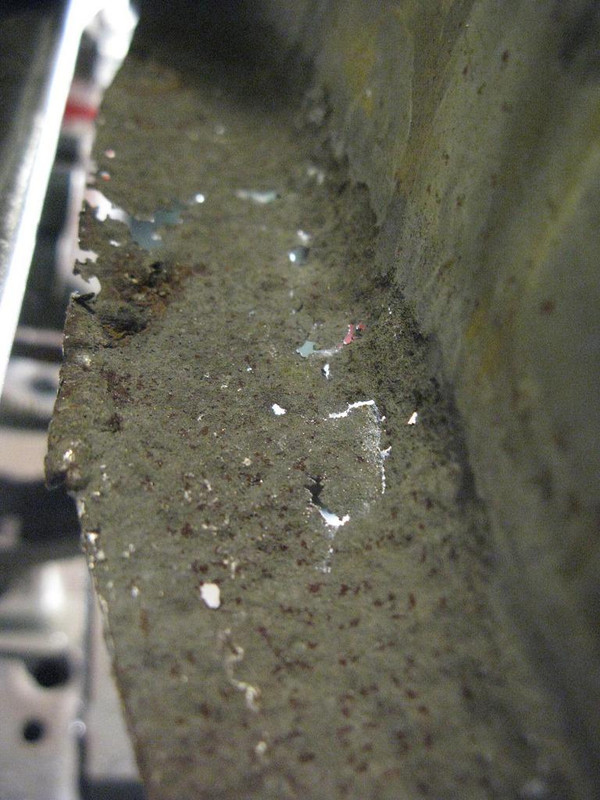
Meanwhile, the Carter Crap Metal Detector (Patented) went about its work and identified that the whole of the valance of the inner wing was corroded
Image

Image

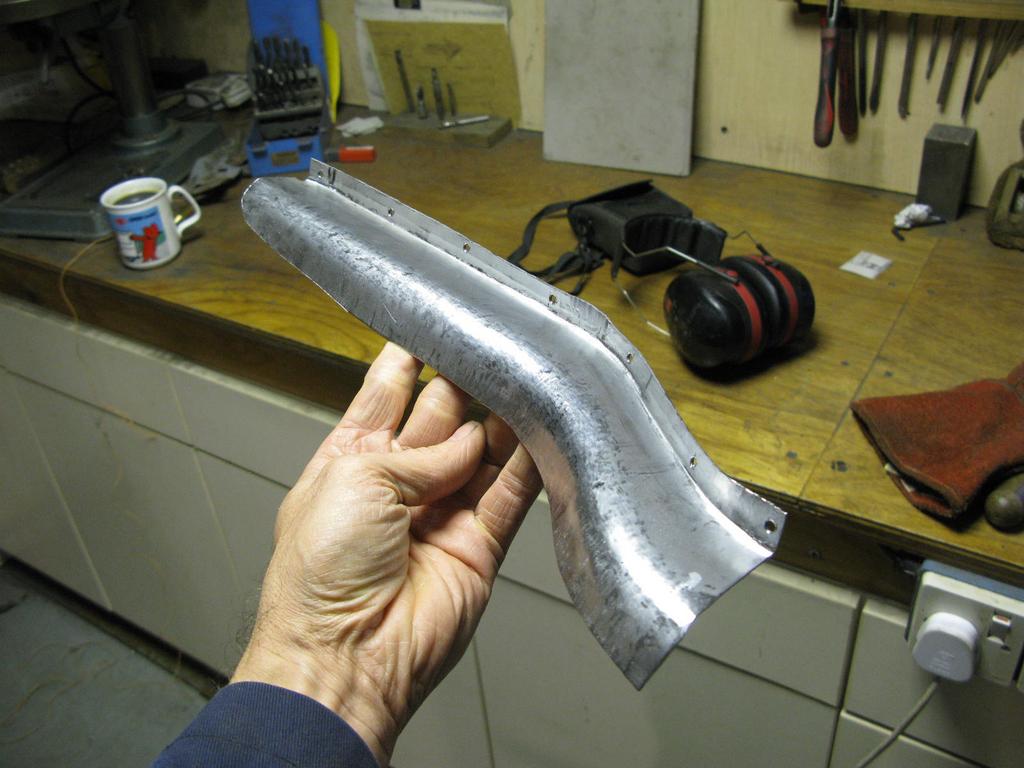
so Barry fabricated yet another repair - if you say that quickly, it sounds easy to do but even Barry was, by his own judgement, 'modestly pleased to form it all out of one piece of metal with no welds'.......
Image

Which was offered up

Image

And then let in

Image

Image

And ultimately made perfect again

Image


The CCMD (patented) identified a further part of the inner wing that was damaged,
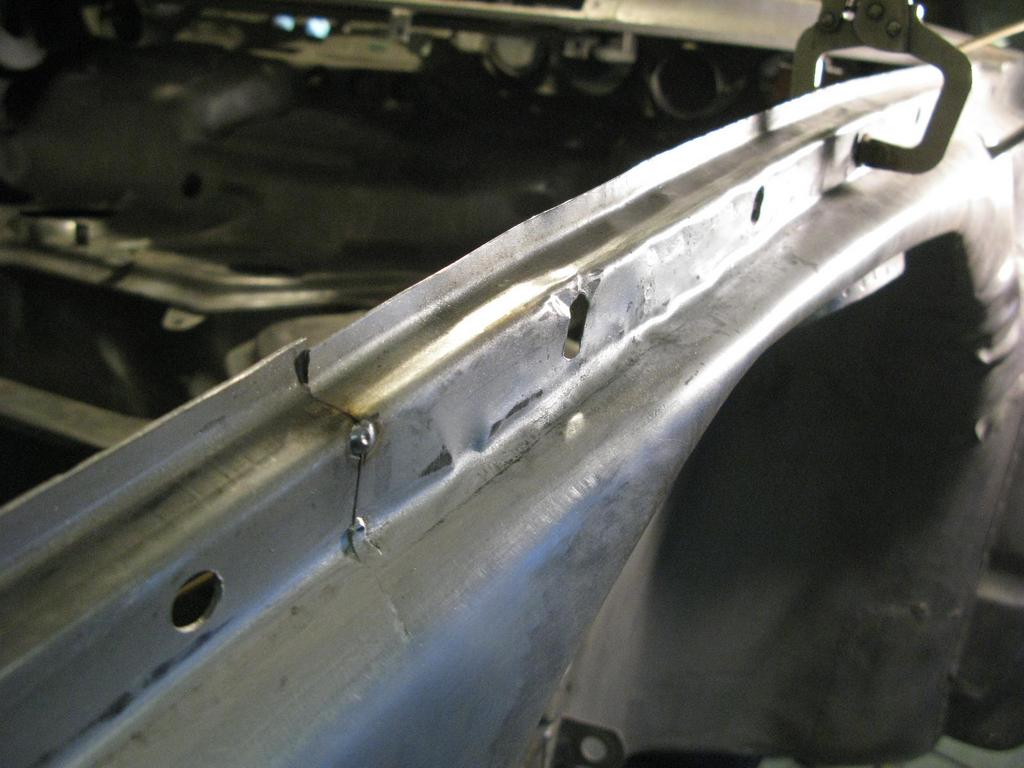
Image

so this was removed and a new section let in.
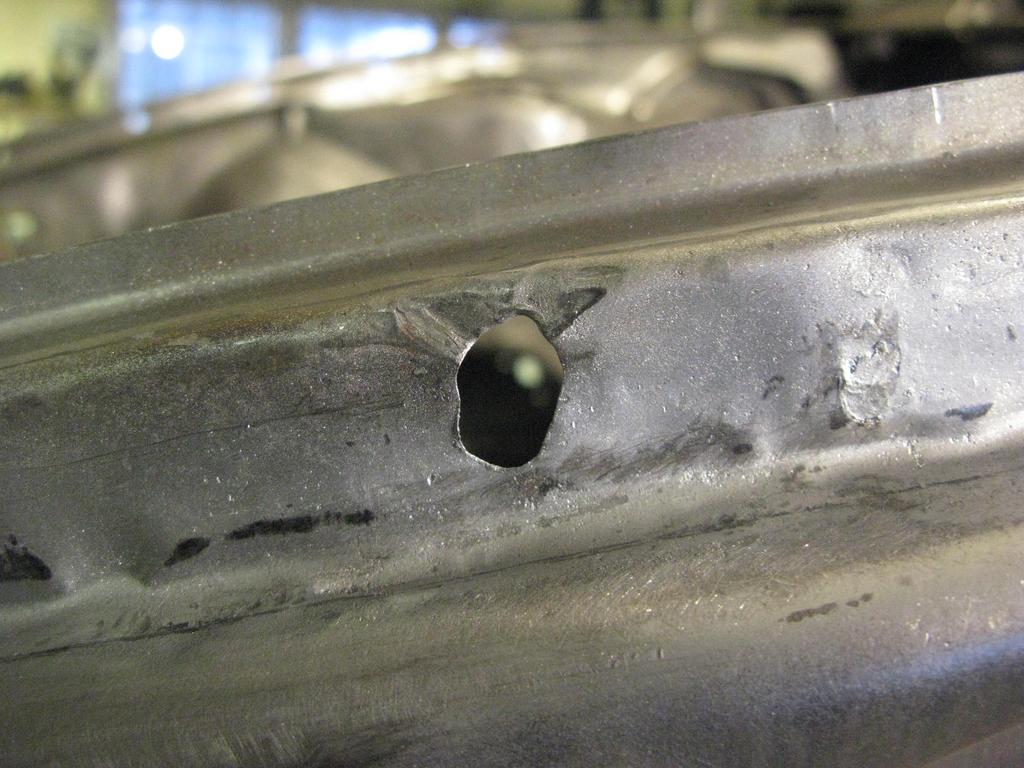
Image

This went well into the new front end metal to spread the joins around the panel as much as possible.
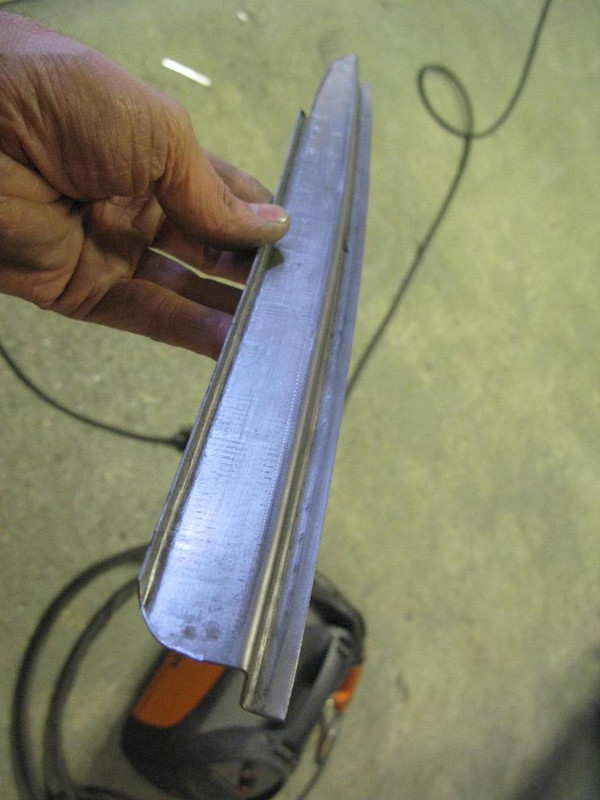
Image

And repaired to the usual high standard
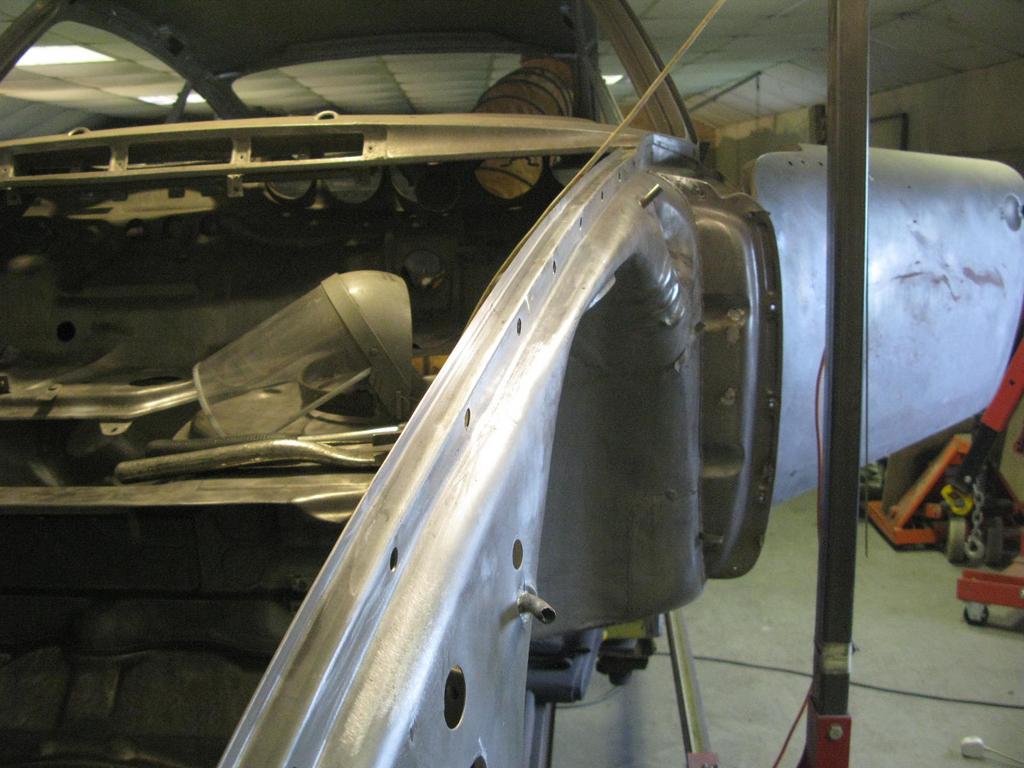
Image


As the front end had already been dry assembled, the welding went fine.
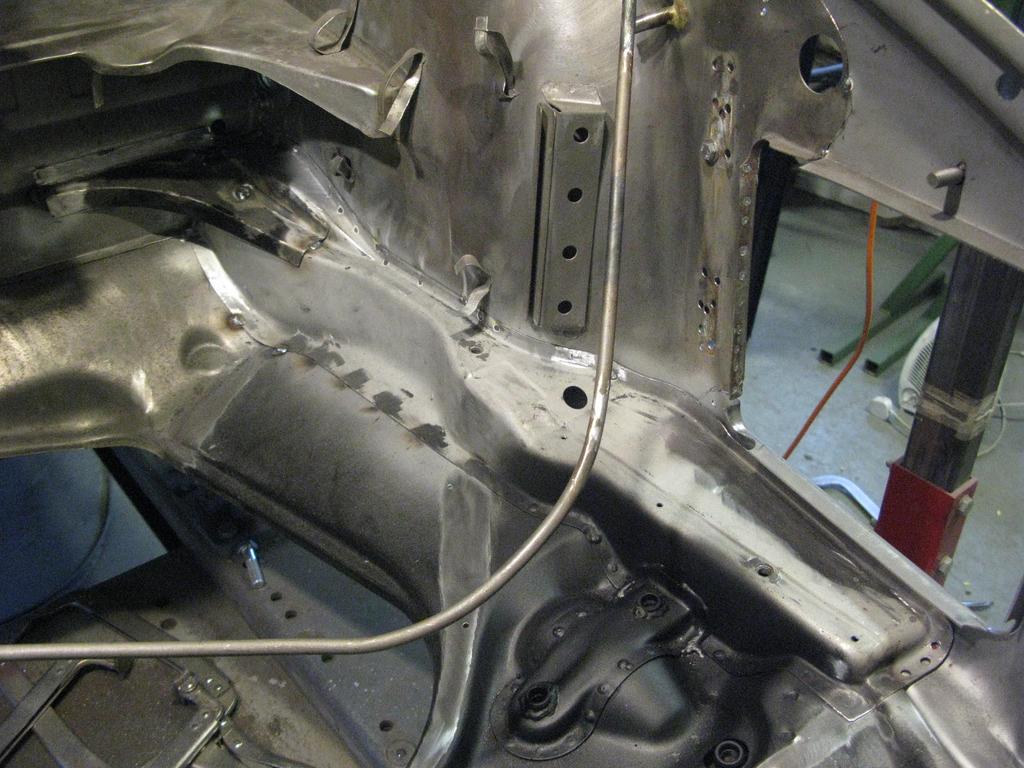
Image

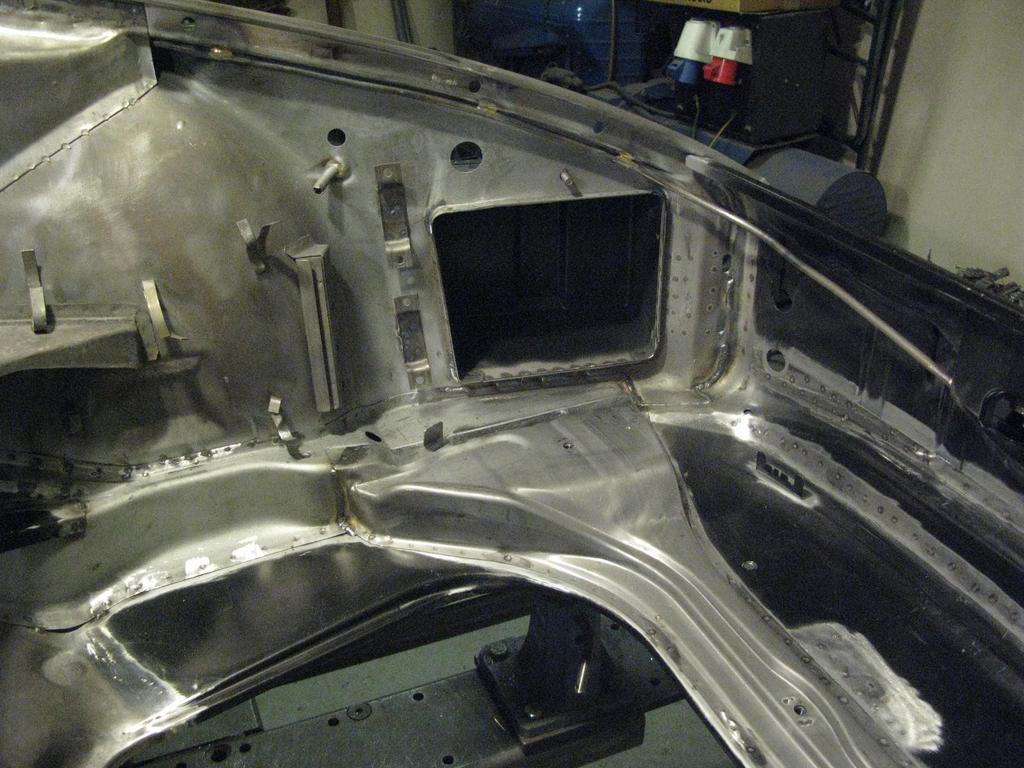
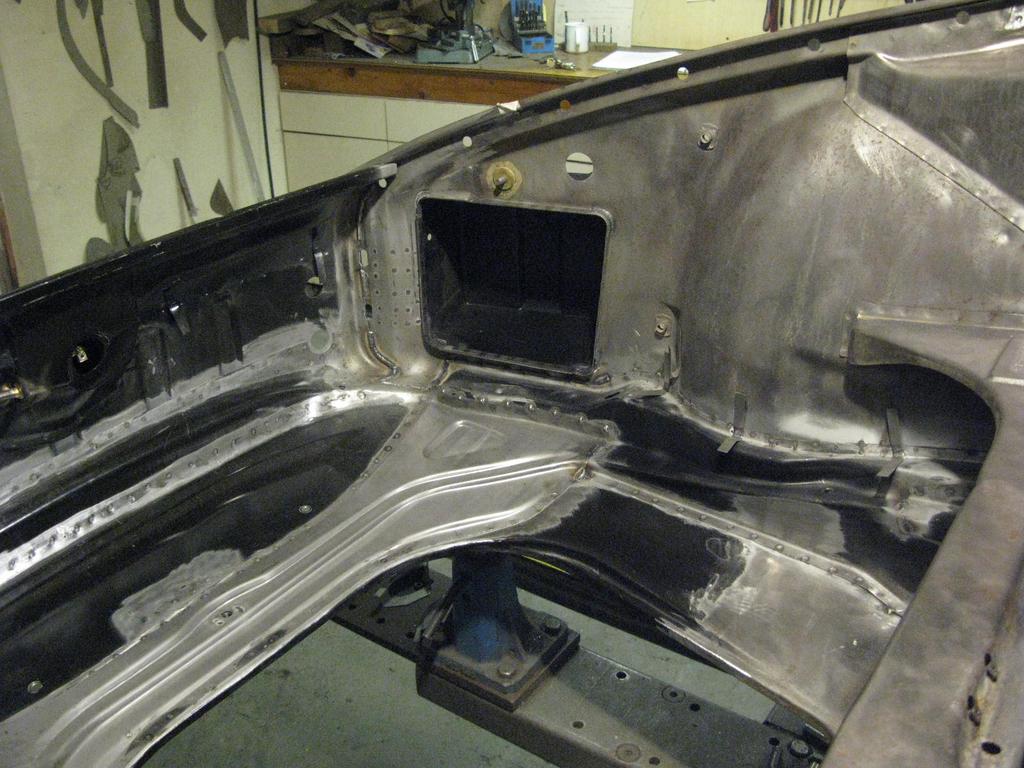
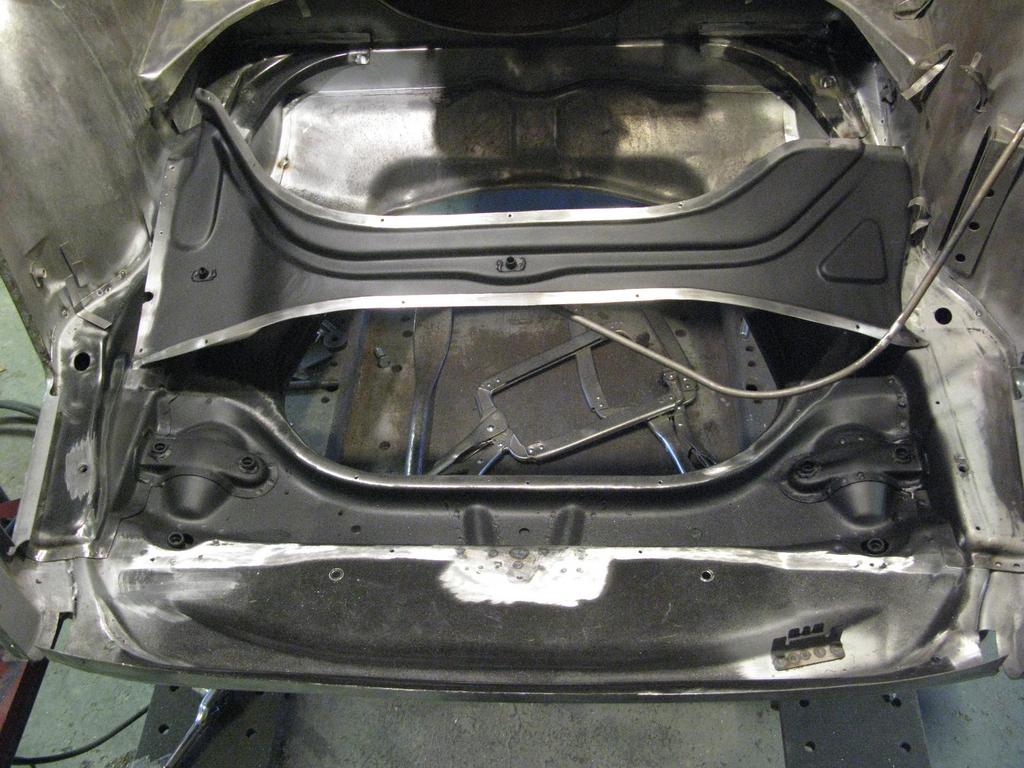
Here right at the front, you can see the washer bottle mount and i now have the correct structural components in place over the suspension mountings and the chassis legs/longitudinal tank supports fully engage with the front suspension pan, unlike before.
Image

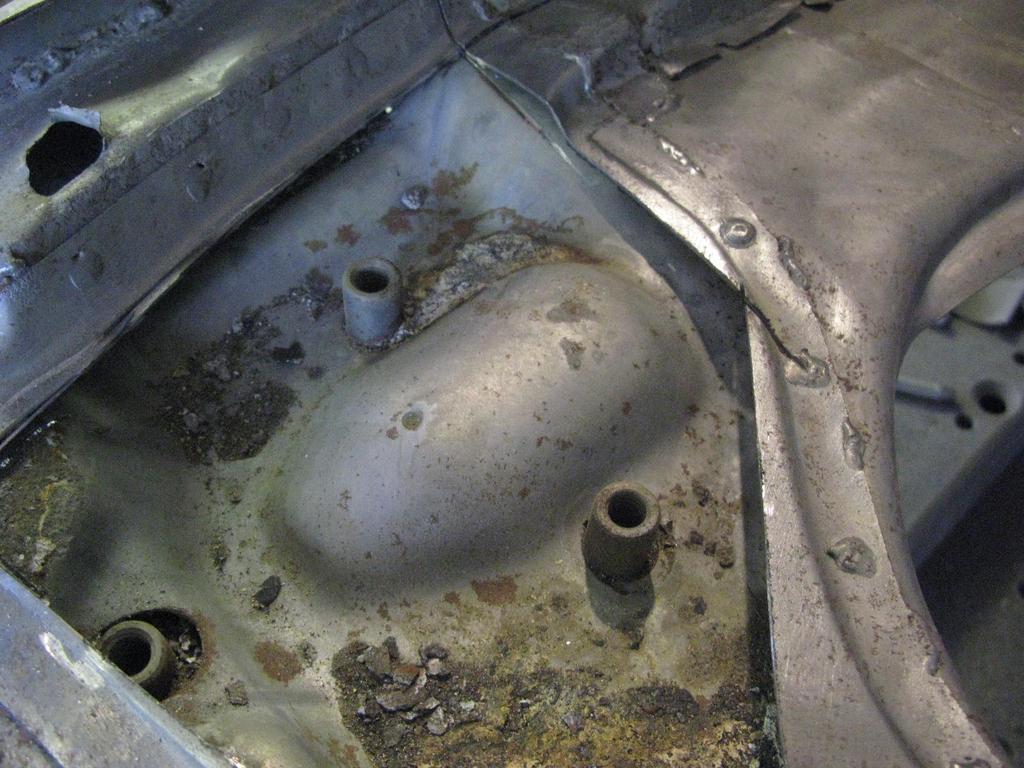
As uncovered with the suspension mounting plate missing
Image

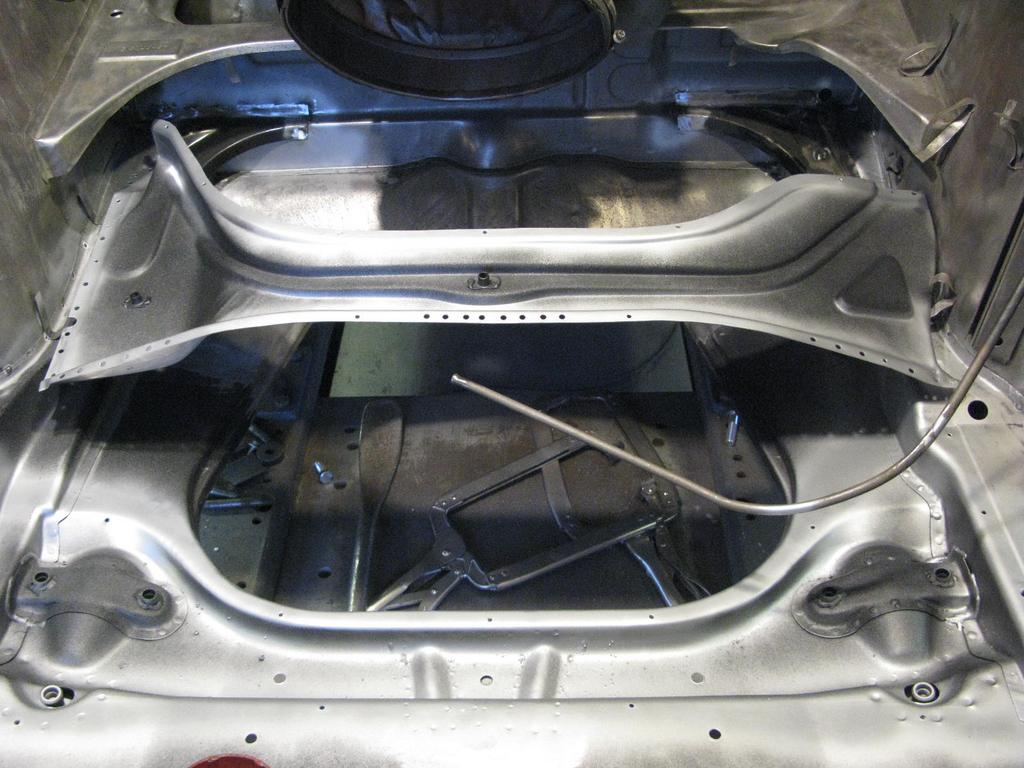
As Barry has progressed through all of the welding, parts have been etch primed and weld-thru primed as appropriate.
Image

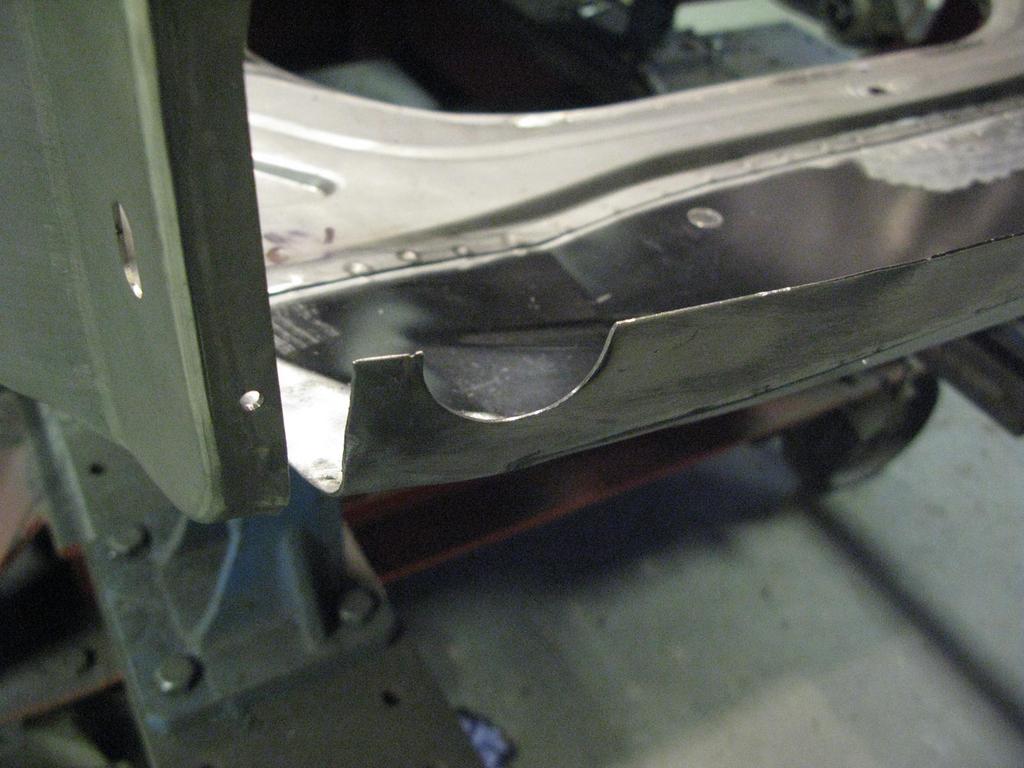
Close up of the half-moon detail added to the front pan lip when backdating the front slam earlier
Image

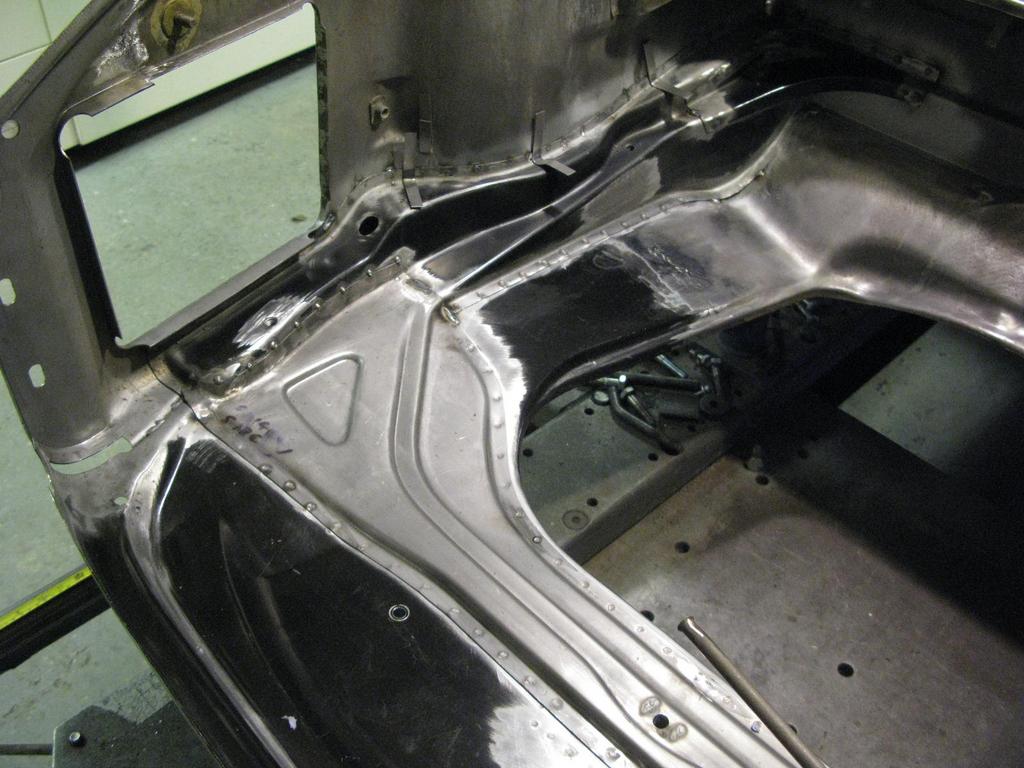
With the lower front end panels welded in, another front end trial was undertaken to ensure nothing had moved prior to welding in the front slam panel.

Image

Image

Image


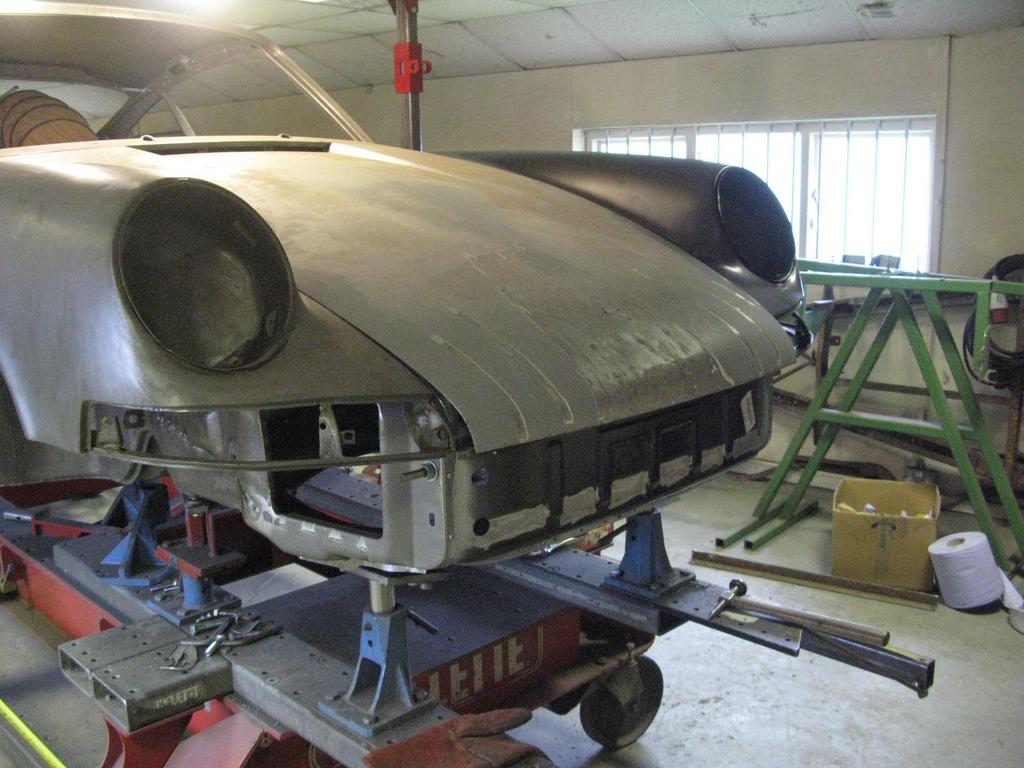
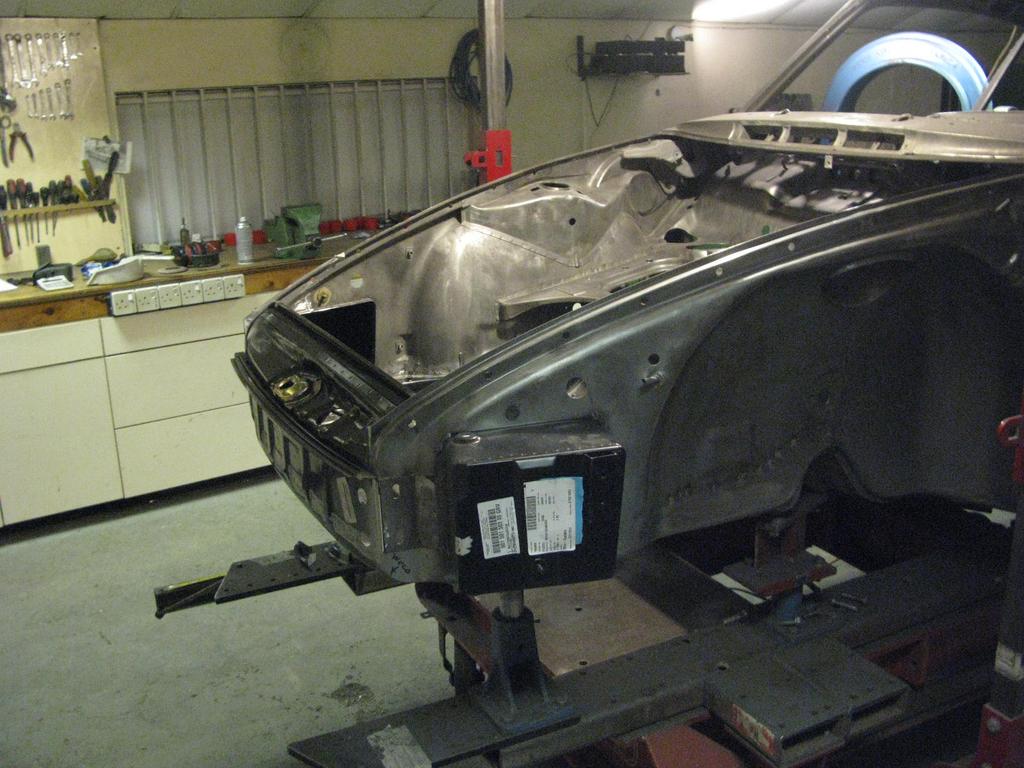
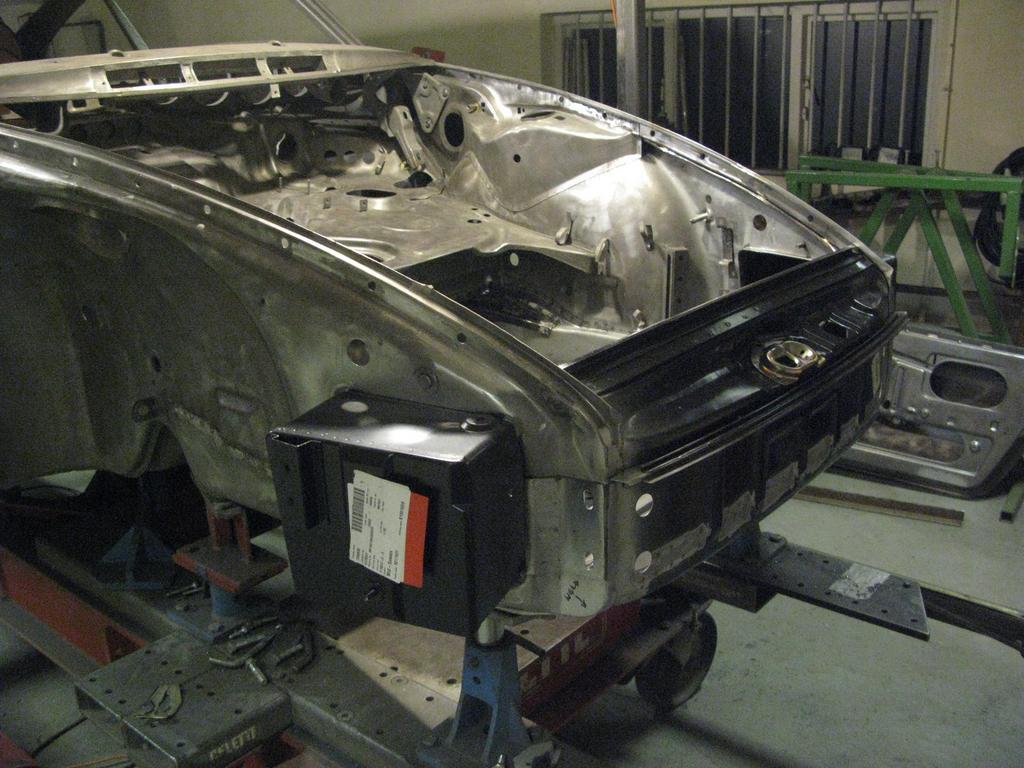
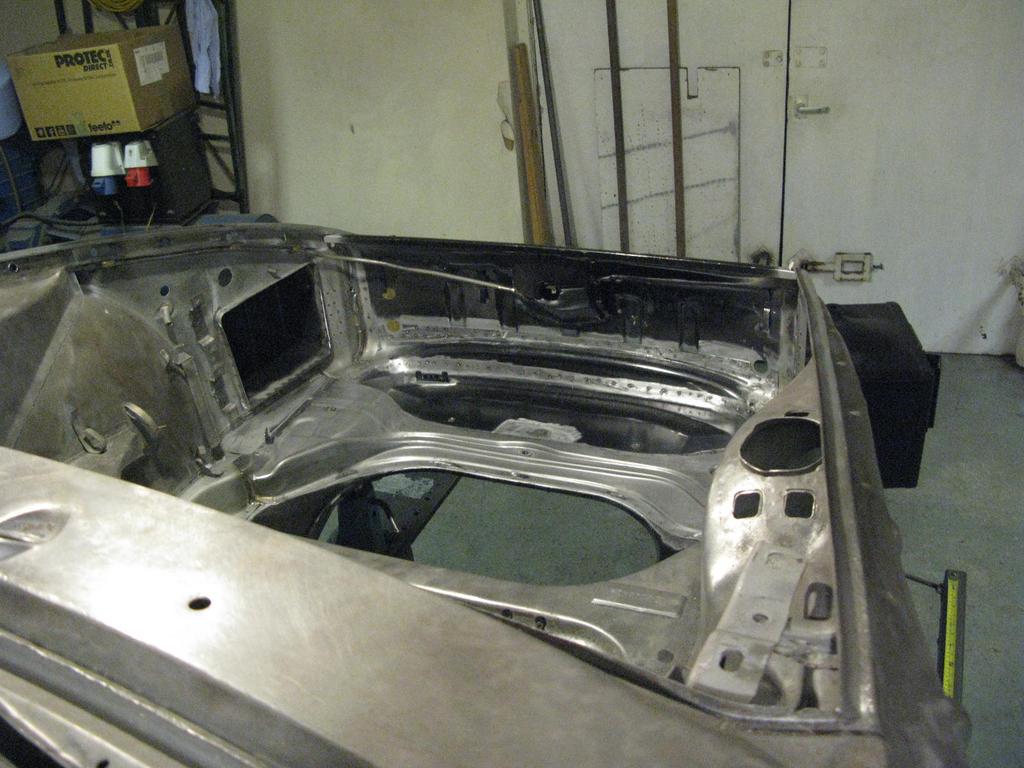
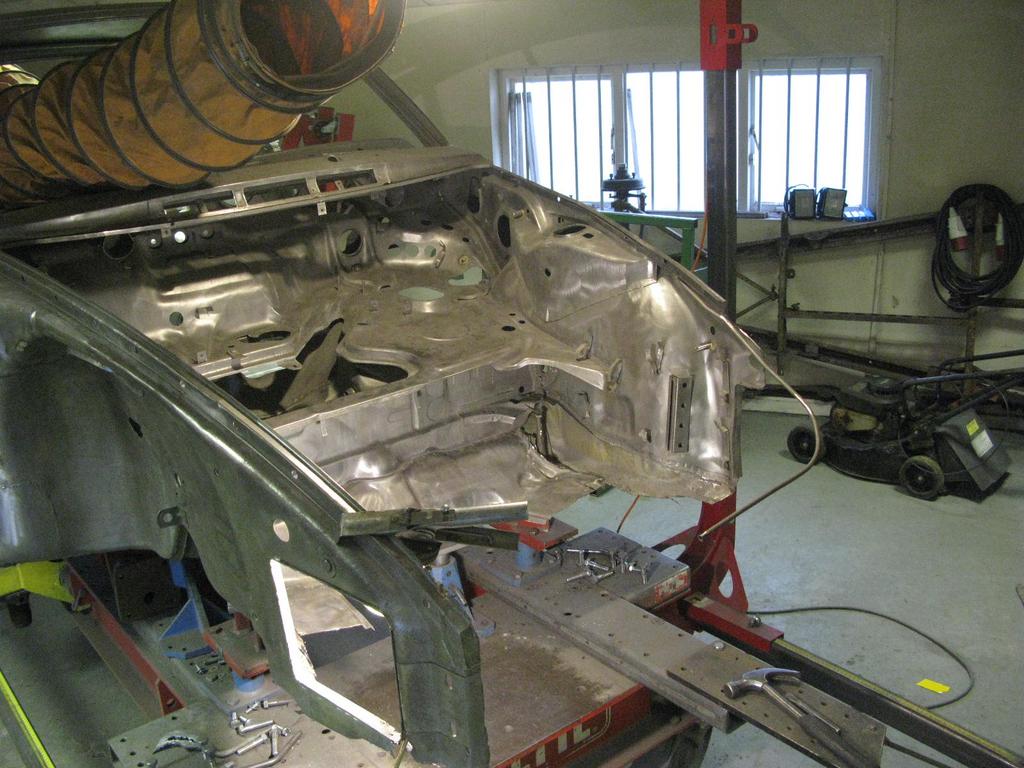
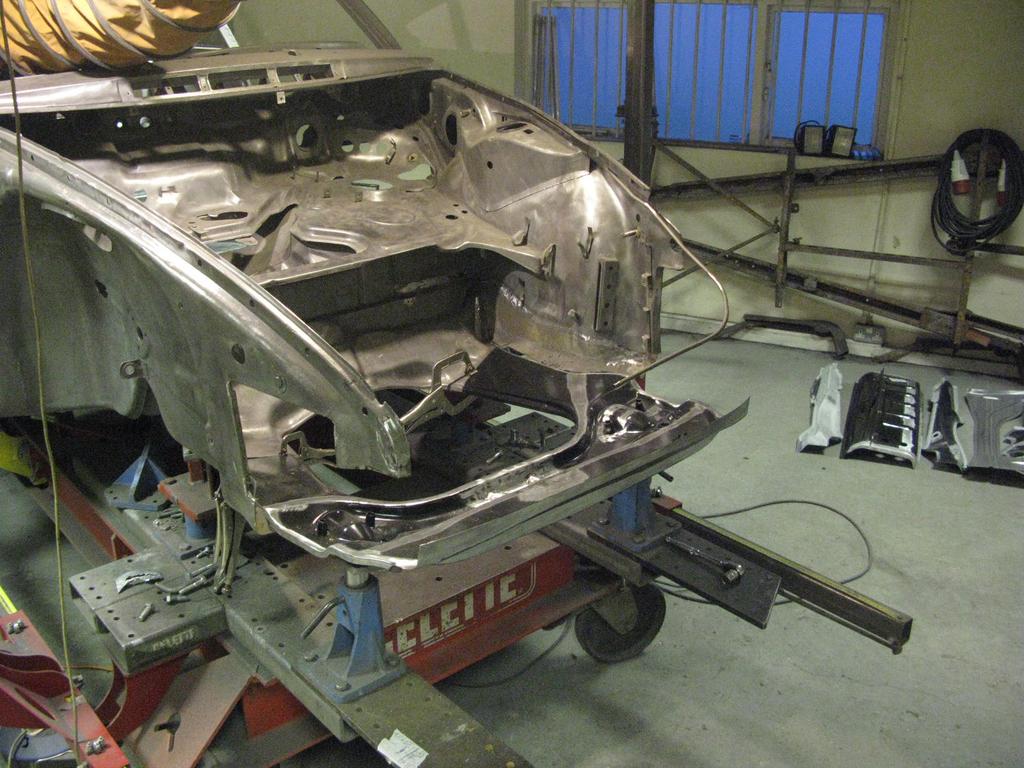
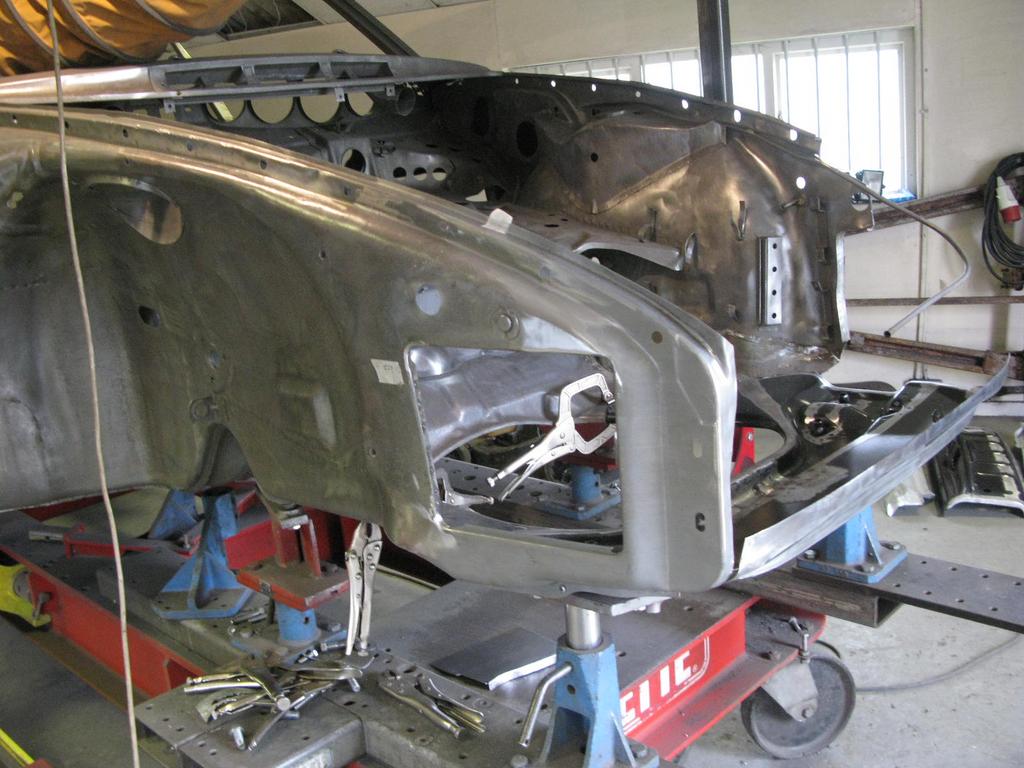
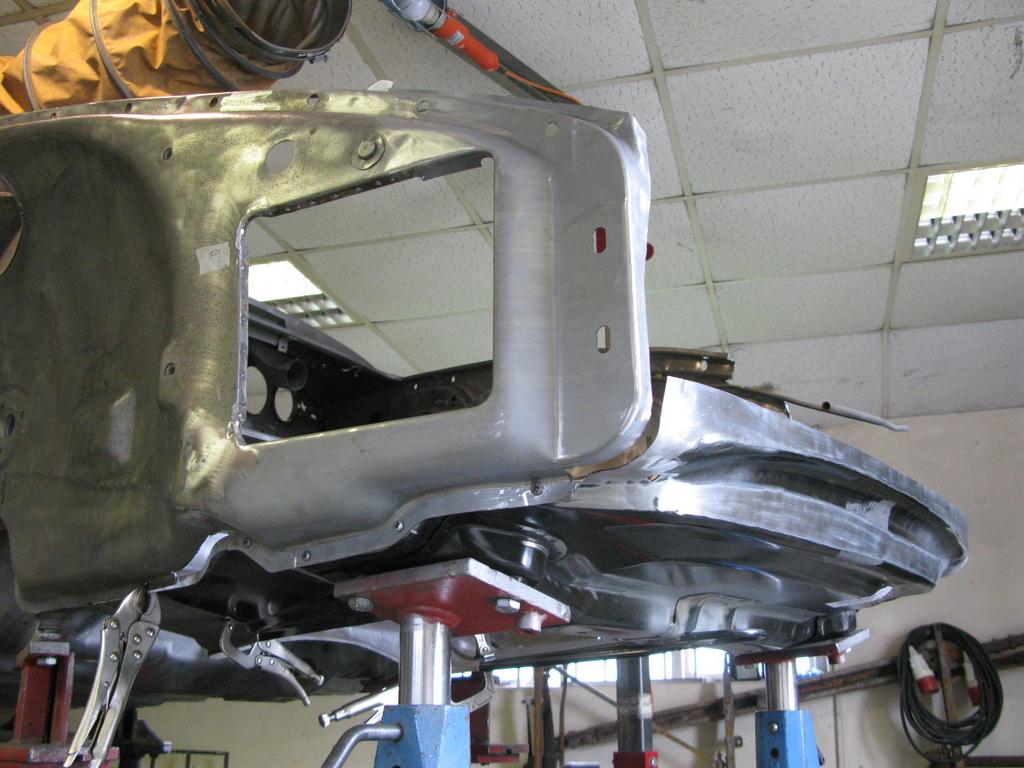
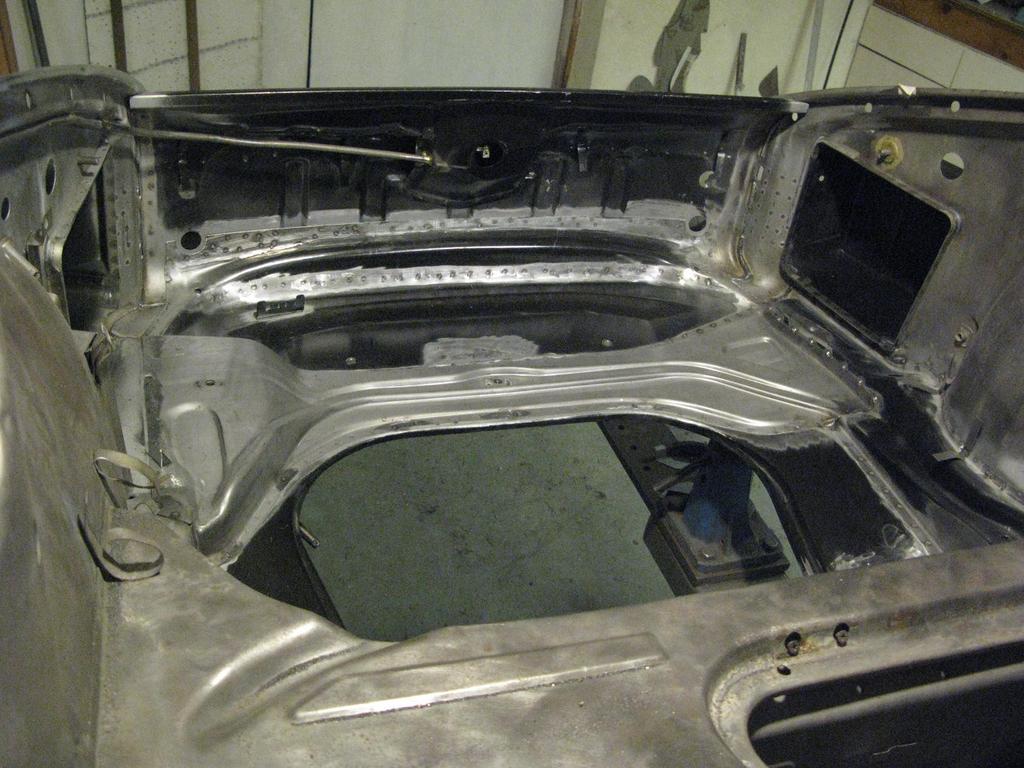
At last, front end all welded up.
Image

Image

Image

Image

Image

Image

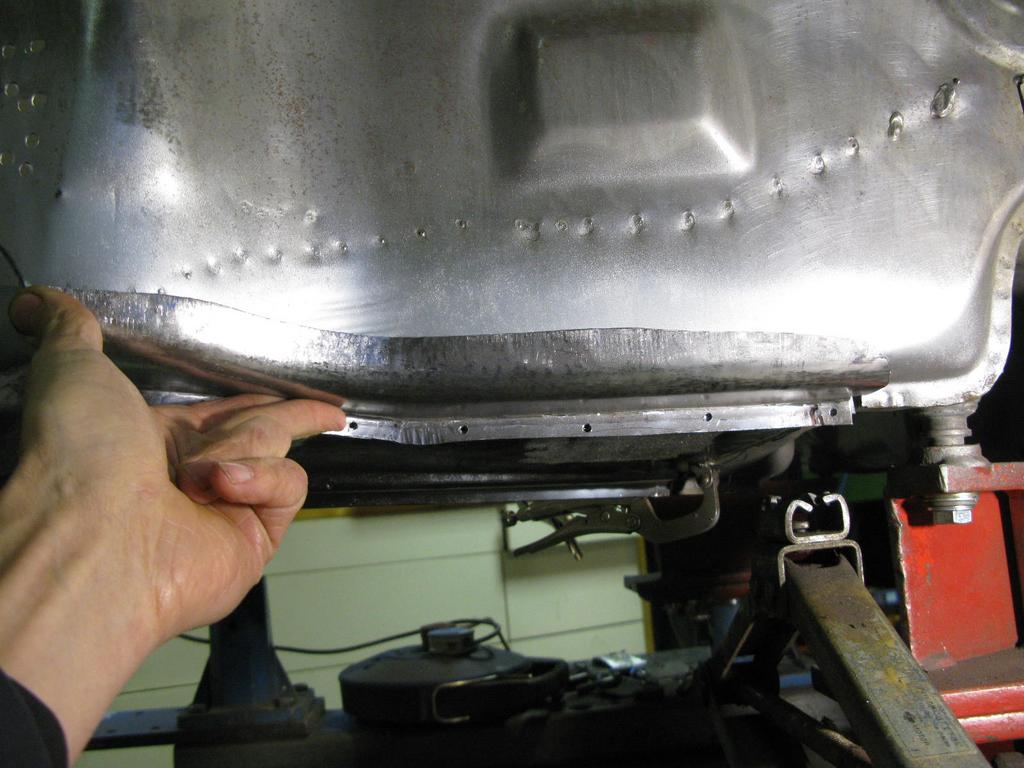
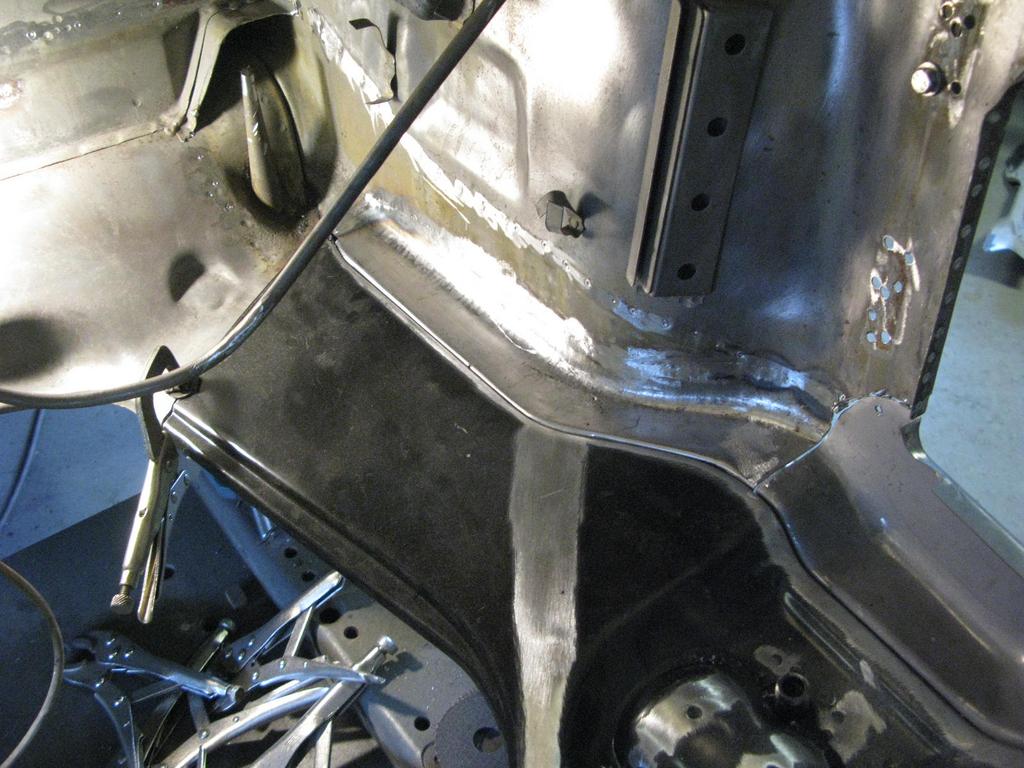
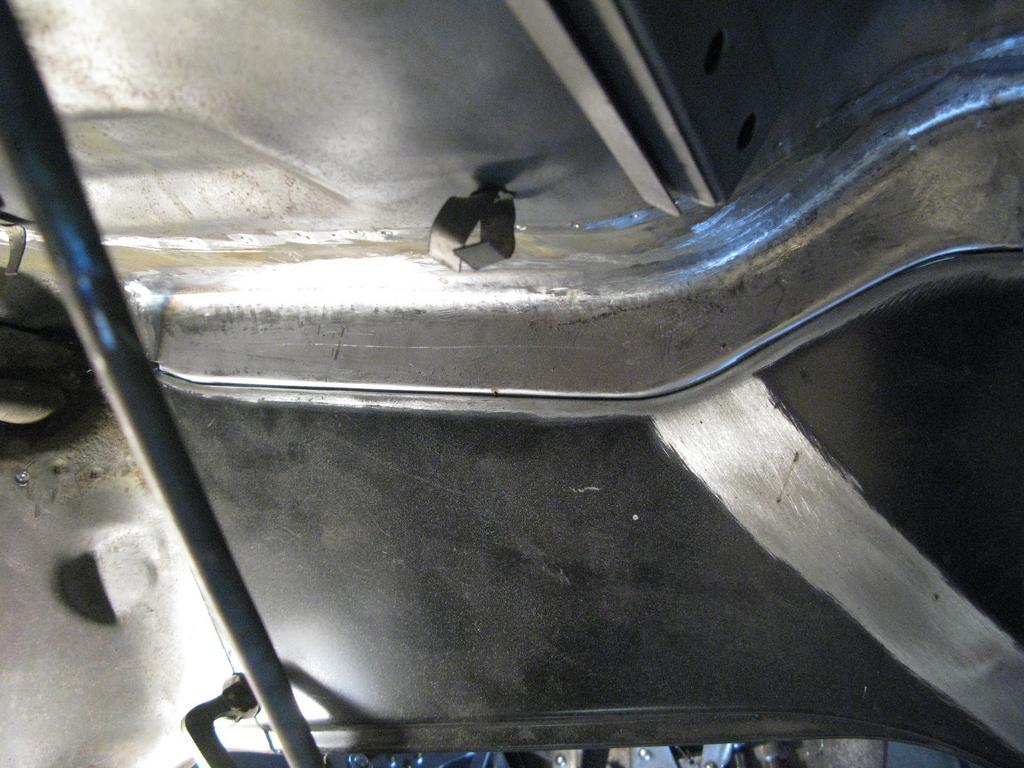
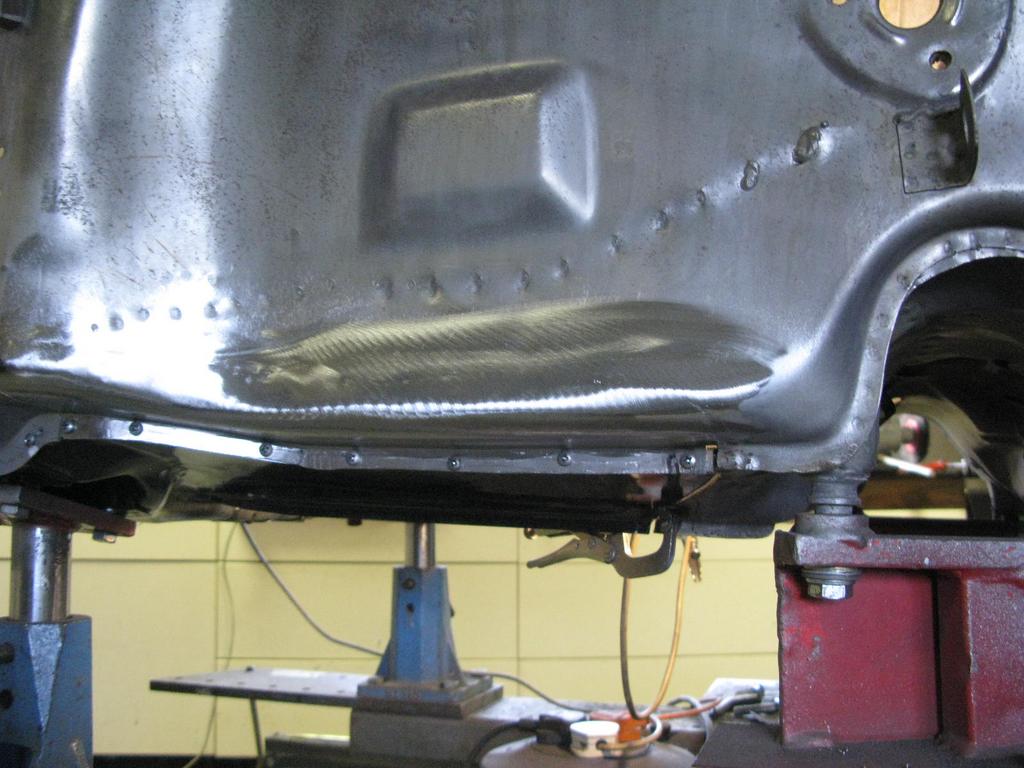
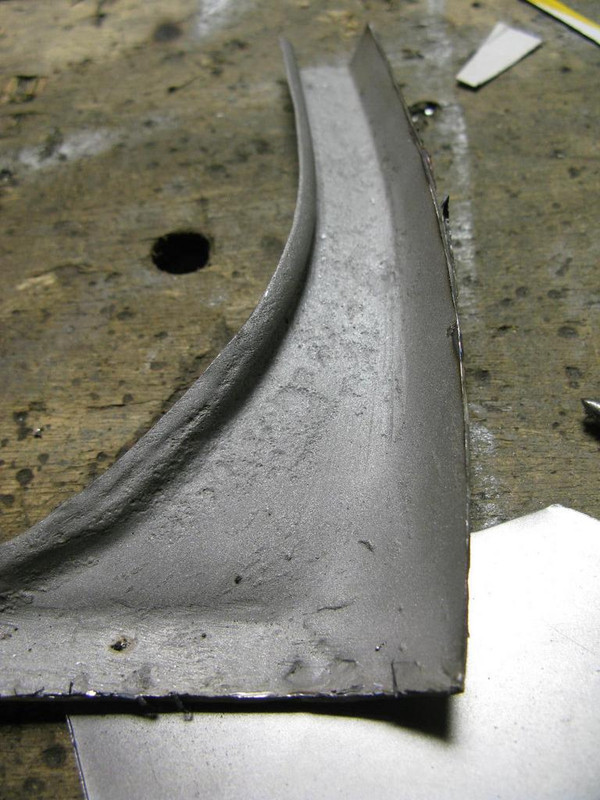
There's just some finishing off underneath left, which Barry will tackle when the shell is next on the rotisserie.
Re: Shrek

Posted: Fri Dec 29, 2017 7:17 pm
by chud
I'm in a similar boat in that the front is the next port of call and is the bit I'm strangely most excited about. Looking good. :cheers:

Re: Shrek

Posted: Wed Jan 03, 2018 6:52 pm
by 911MRP
Great to see such skills together with the fantastic attention to detail that Barry brings to these renovations.
AtB
Steve

Re: Shrek

Posted: Mon Feb 05, 2018 10:02 pm
by Dougieboy1
Episode 35 Why Barry is the best!

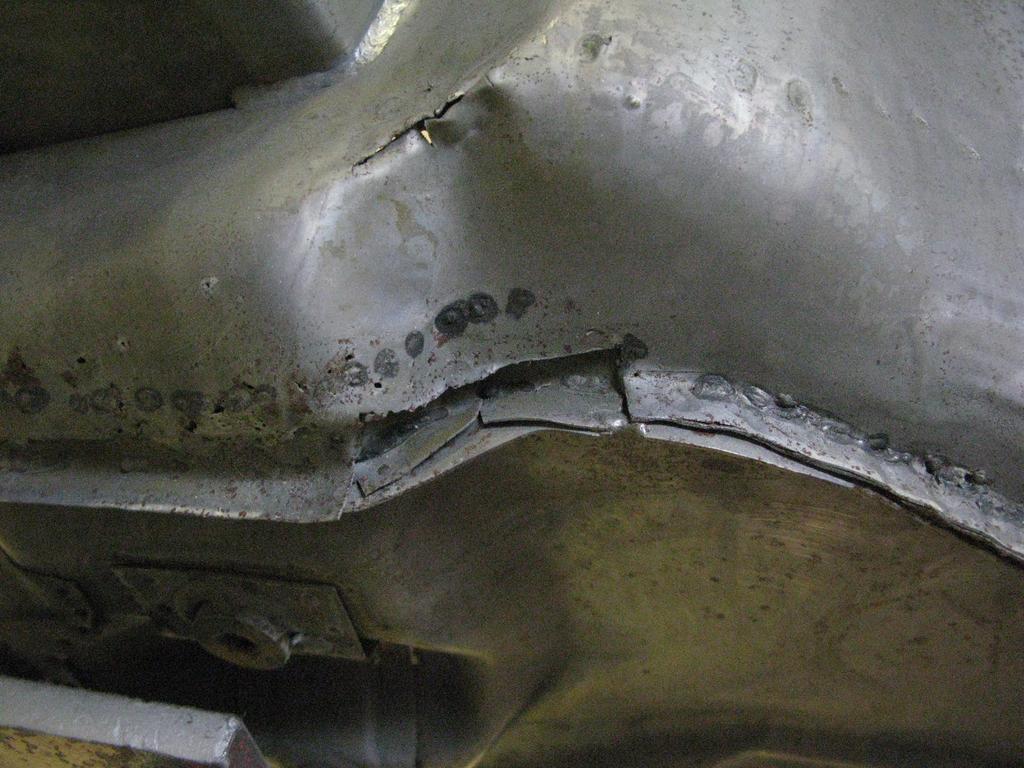
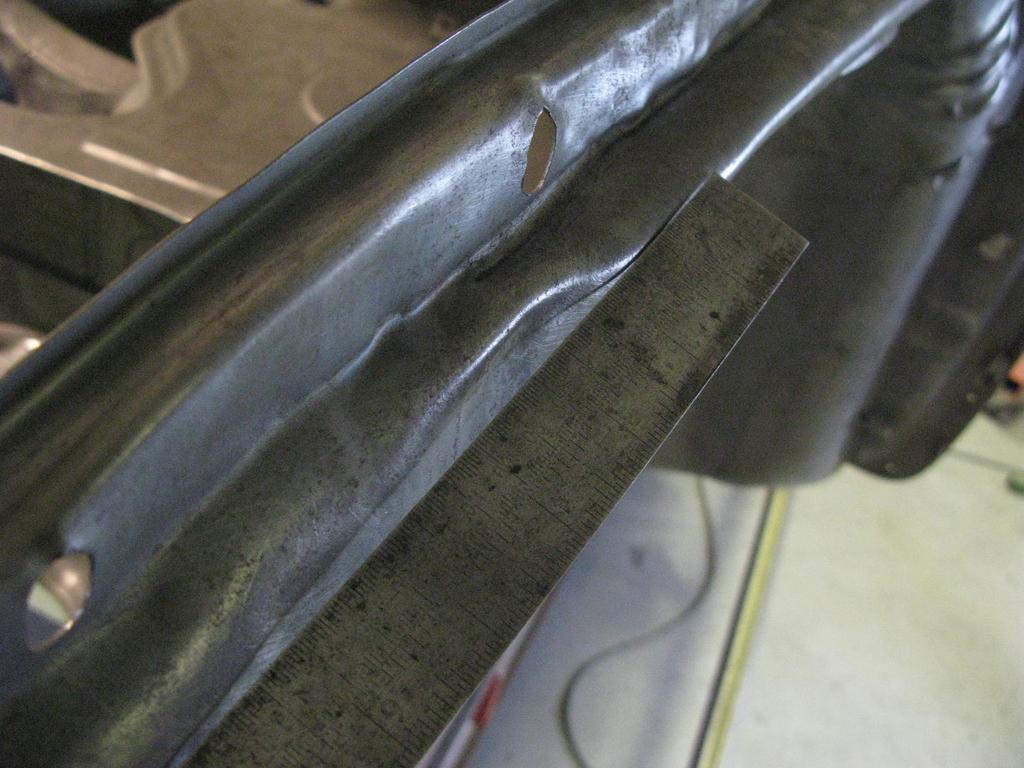
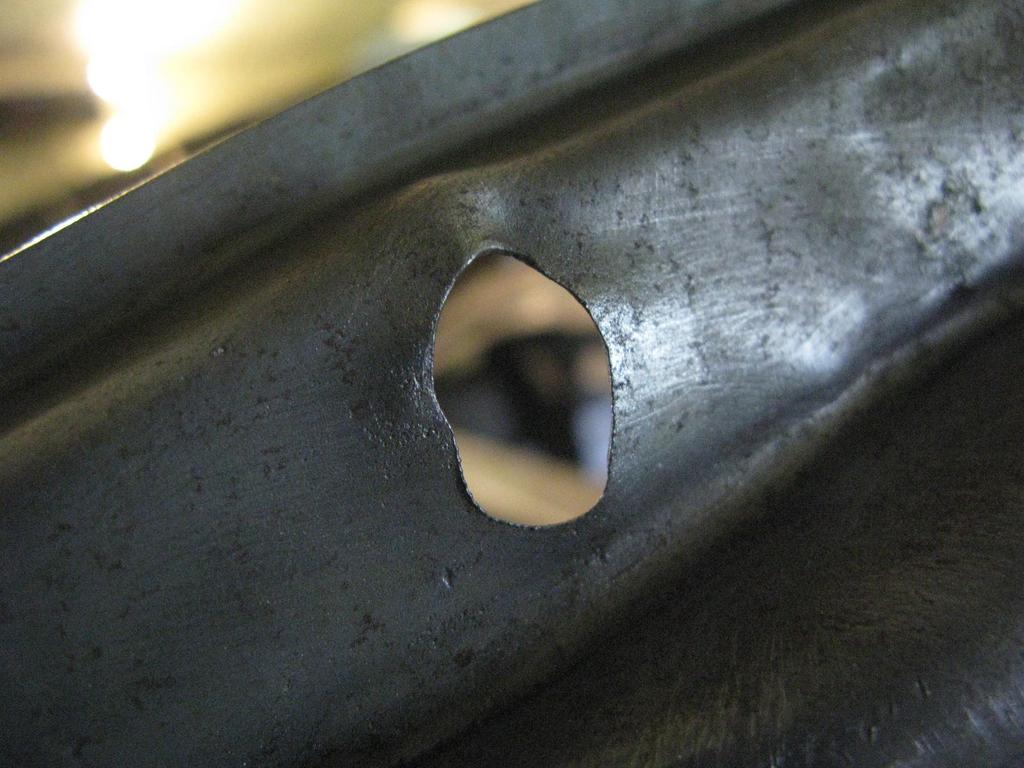
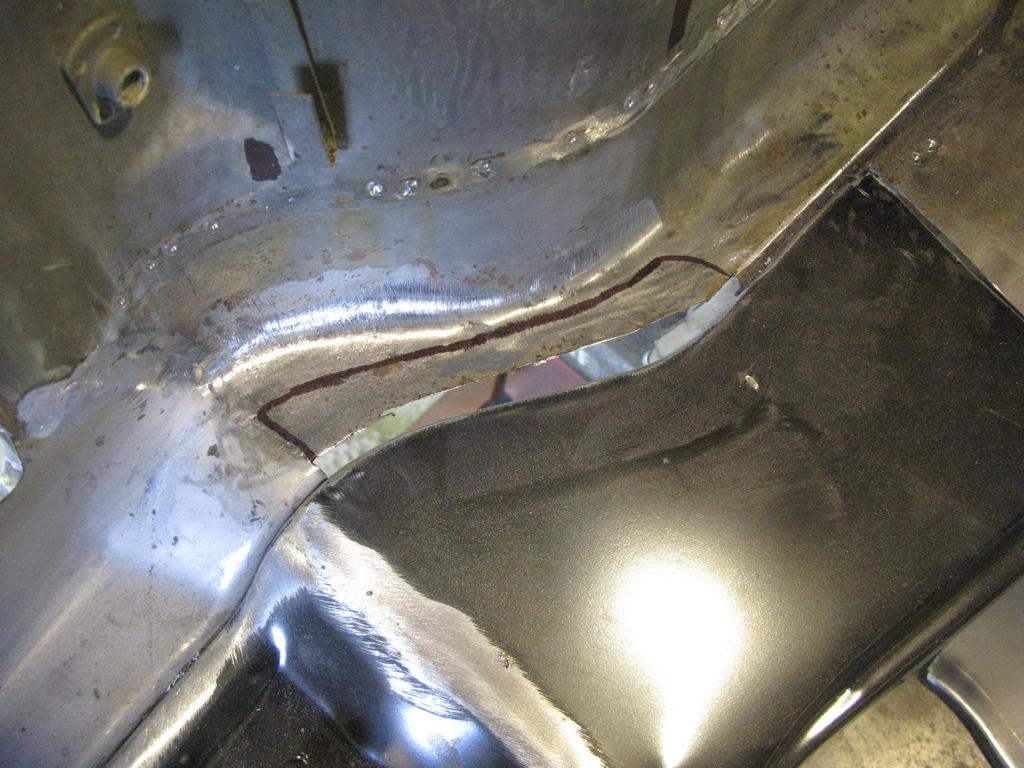
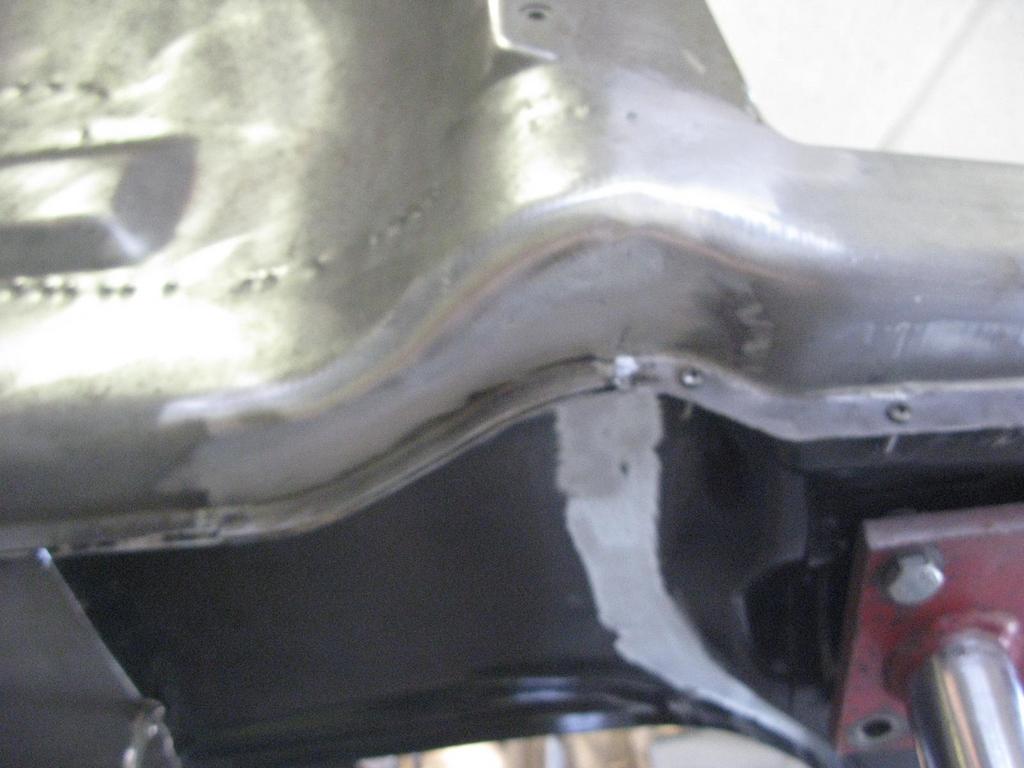
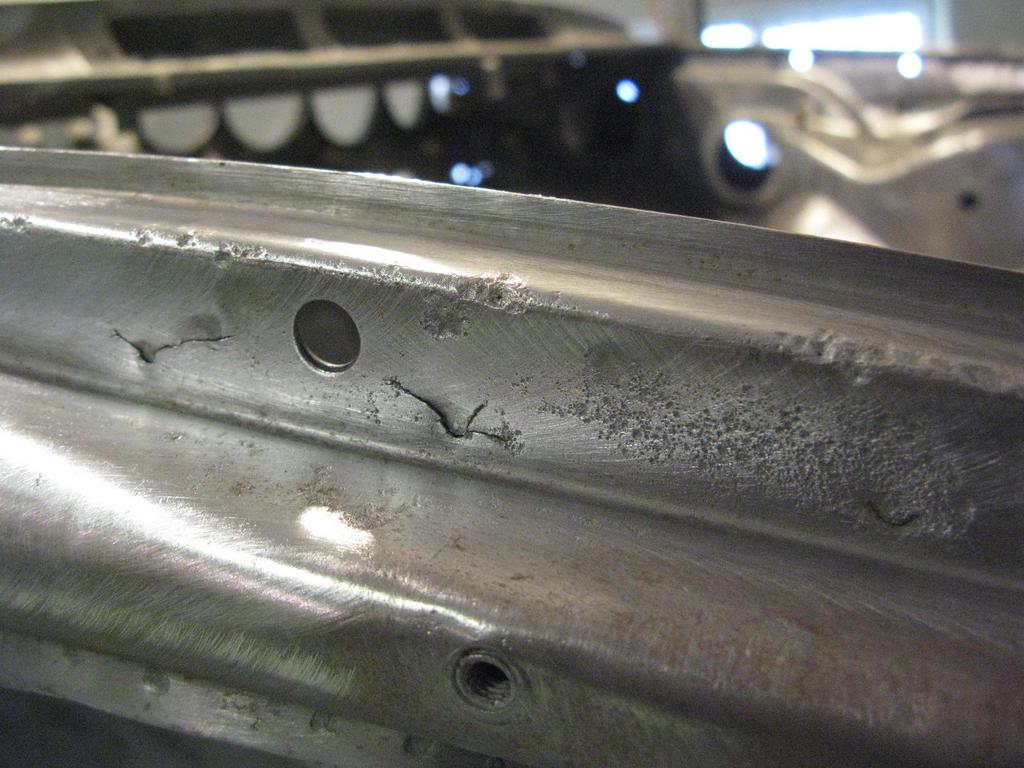
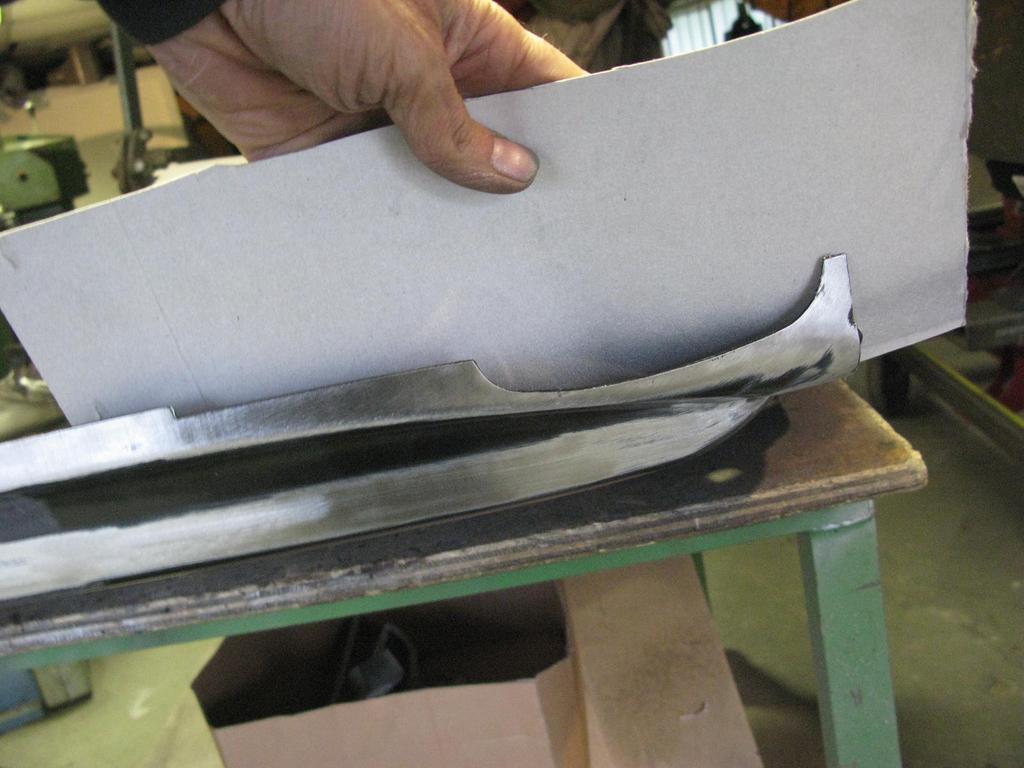
His attention to detail is exceptional. Here he identified an area of stress creacking that needed elimination.

Image

Helpfully, Barry had never seen stress cracking in this area before, but as discussed earlier, with the damage sustained and the poor quality of the original repairs, its not a great surprise.
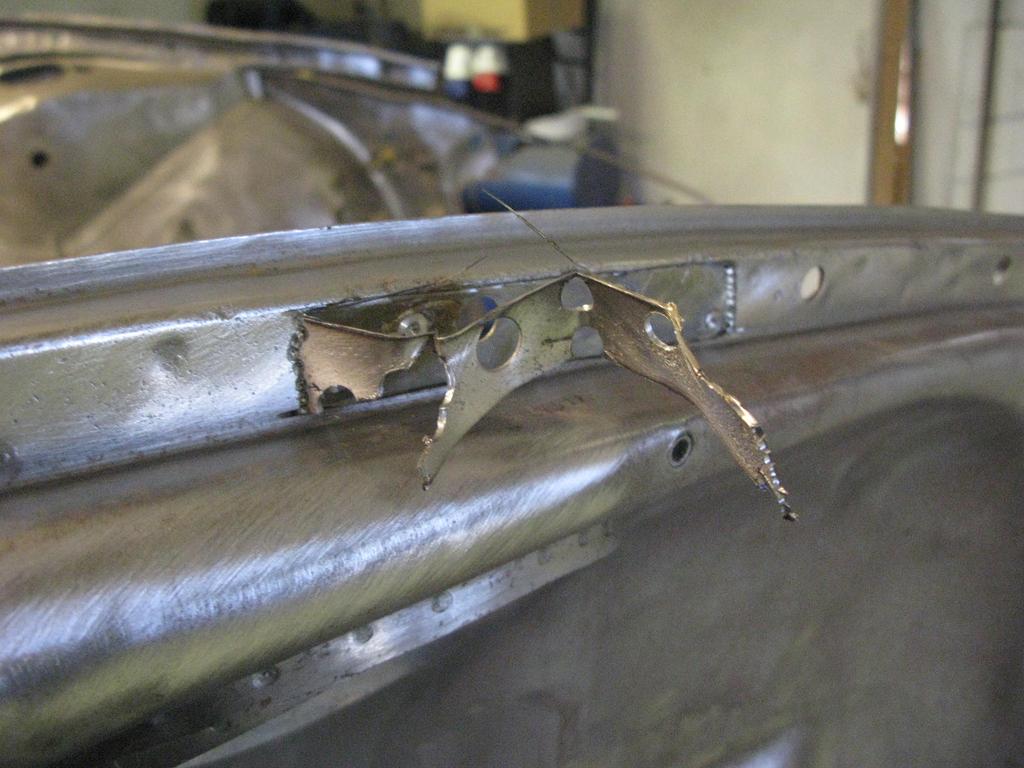
Bit of cutting

Image

Bit of pasting

Image

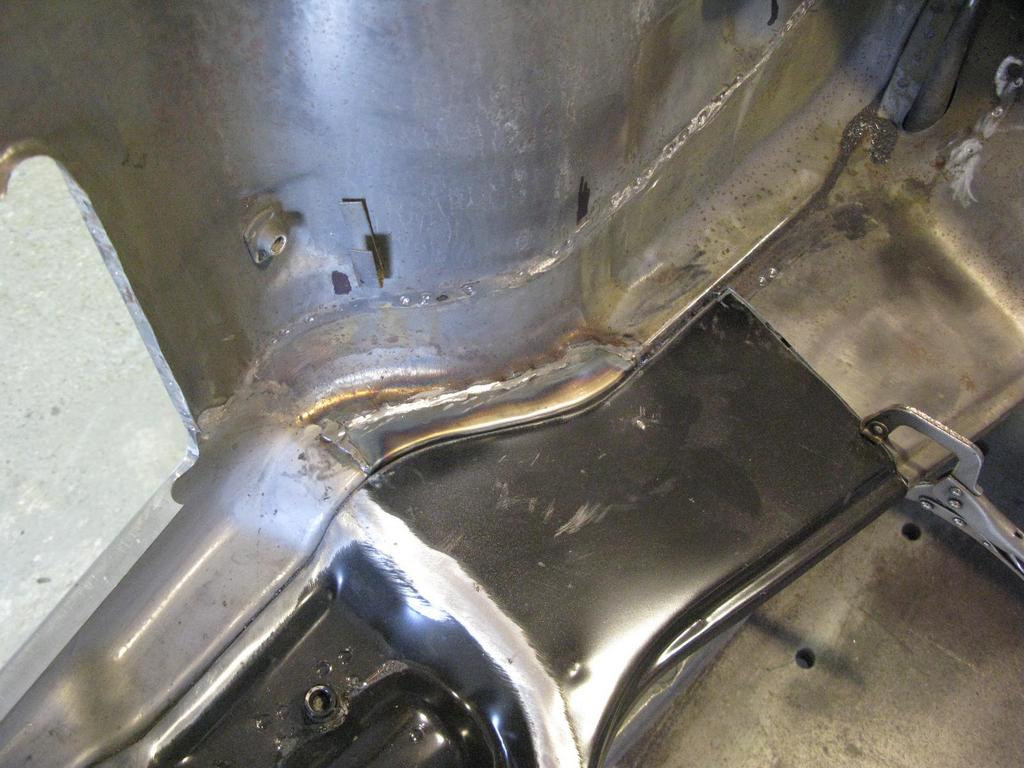
And again, as good as new

Image

Re: Shrek

Posted: Mon Feb 05, 2018 10:11 pm
by visualfx
Some nice detail Andrew :shock:

Re: Shrek

Posted: Wed Feb 07, 2018 9:34 pm
by Dougieboy1
Thanks Garry, i need to call you at some point re fitting up of some bits as we discussed!

Re: Shrek

Posted: Sun Jun 10, 2018 12:54 pm
by Dougieboy1
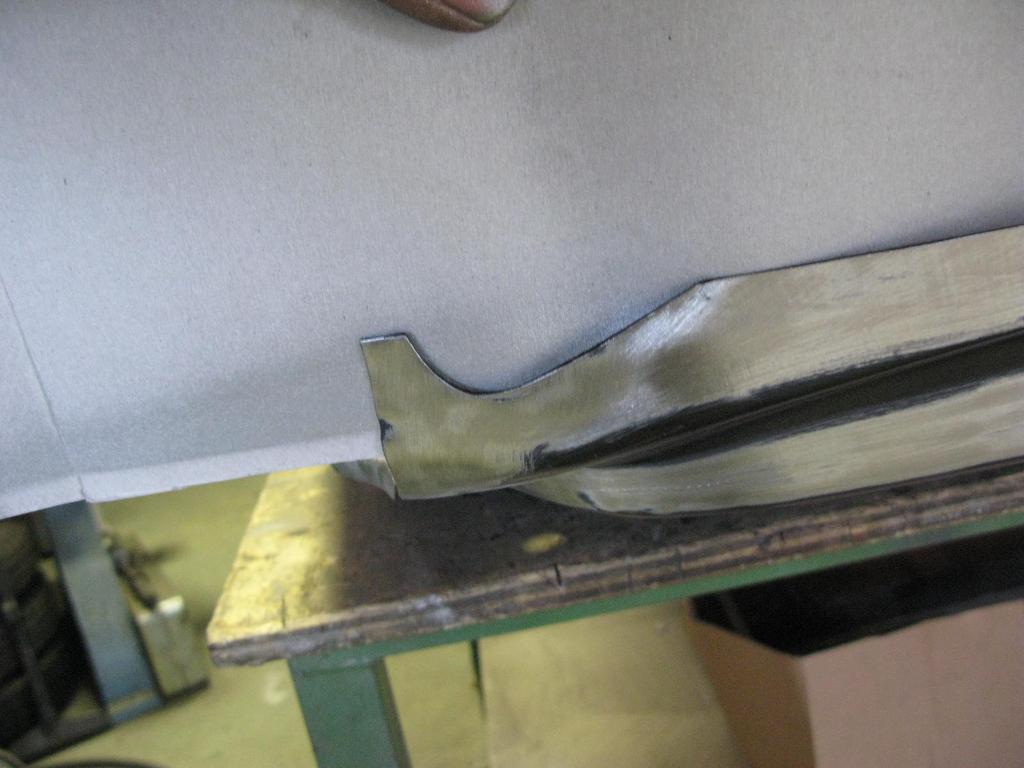
a sneak preview........
Image