Page 5 of 10
Re: Shrek
Posted: Sat Nov 04, 2017 5:52 pm
by Dougieboy1
i know barry reads these from time to time so i will leave him to answer properly if he gets this far in the thread! He has, after all, seen all this before!!!
they got cut off and replaced with new and If memory serves, they were full of unidentifiable crud when they got cut off.... I think i have a photo somewhere,,,,,which if i can find it will answer the brazing question
Re: Shrek
Posted: Sat Nov 04, 2017 6:23 pm
by Dougieboy1
Re: Shrek
Posted: Fri Nov 10, 2017 11:40 am
by Dougieboy1
Episode 26 - The return of the Slam (to its original configuration)
In this Episode, Barry gets rid of my old 'slammed' slam which if you remember, had been well and truly slammed. And then takes the replacement porsche part which is not really a replacement and turns it into a proper replacement.
Firstly, the preparation. the slammed slam and its associated hangers on were removed and the area tidied up.


This revealed damage to the bumper hanger point which would need to be repaired.

Barry has tooling for the repair needed so obviously a popular issue

Et voila, the repair piece.

welded into the repair section of the rail

Now moving onto the backdating of the porsche replacement panel which is incorrect in several areas as it is actually a panel for a later car. The notable differences, as i am sure you are all aware, are at either end where the details need to be changed. As you can see from this photo, the clear differences are a) the profile of the metal fillet which should be a smoother curve b) the raised rectangle which should be flat and c) the decal recess which is the wrong shape.

And the other end where again, the fillet profile is wrong being a more angular shape

Creating the smoother fillet profile which Barry does by hand


And corrections at the other end

Letting in the backdates


Et voila, the backdated panel is complete

Trial fit tacked in place, was subsequently removed to to allow access to continuing repairs inside the engine bay. Indistinguishable from the original panel except it isnt mangled!

And the repaired bumper mount in place

Re: Shrek
Posted: Fri Nov 10, 2017 11:41 am
by Dougieboy1
Re: Shrek
Posted: Sat Nov 11, 2017 1:48 am
by murph2309
You've so got to love a Barry build. Thanks for sharing it with us. Looks like great progress!
Re: Shrek
Posted: Sun Nov 19, 2017 6:24 pm
by Dougieboy1
Episode 28 ; Dr Carter fixes up my leg
Due to all the minimal driving skills that had caused damage at the rear, unsurprisingly, there was a bit of a kink in the rear chassis leg

Due to the awkwardness of the angles, using a mix of pulling rods and.......


....... a thing called a glue puller


Barry has ironed out this particular wrinkle to give a splendid final result

Re: Shrek
Posted: Sun Nov 19, 2017 6:49 pm
by Dougieboy1
Episode 29: If you want to fit the RS tunnel reinforcement, think very carefully....
So, many moons ago, i purchased a reproduction of the extra plate that is welded to the back of the RS tunnel to provide, i was told, greater rigidity. Perhaps necessary with a thinly skinned body, is it necessary in a normal car? i dont know but i dont want any flex in the chassis so it seemed a reasonable way to go.
Barry warned me this would be a fair bit of work because 'all the people that make the plate do, is press it out flat' said Barry, adding 'but the tunnel has a taper so it is...' apparently. 'a bugger to fit'. i believe this is a coachbuilding term
Firstly, the kick plate under the rear seats needed to come out and the end of the tunnel needed tidying up. This required some bracing.....


Then, to quote Barry,' I had to somehow remove the top lip of the tunnel in such a way that it could be reused later.'......so true to his word, now you see it.....

And now you dont.....

The main task was to template the area and transfer this to the flat, un-cut reinforcement (bugger) which was trimmed and bent as appropriate.

With this done the upper lip could be welded on, and the reinforcement welded in.


And again, the finished wizardry.....

Also worth noting that later on, the reinforcement would have additional welds to the underneath as well.
Re: Shrek
Posted: Sun Nov 19, 2017 10:42 pm
by 911hillclimber
Personally, never seen that before, thanks for the posts.
Re: Shrek
Posted: Mon Nov 20, 2017 11:02 pm
by Darren65
Glorious, intoxicating and simply delicious!

.......
.....strange how I yearn to have a crusty old rotten shell again!.....enjoy the moment Dougie, working with Barry is some of the best times you'll have with your project.
Great thread and updates, thanks for sharing

Re: Shrek
Posted: Fri Nov 24, 2017 4:20 pm
by Dougieboy1
very true, and a nice guy to boot! went round this morning with bacon, sausage and egg sarnies to devour as we talked about boats, austins, politics, retirement (mine you will all be pleased to learn, not Barry's), flying, ford mustangs and also a little bit of porsche.
Updates to follow although i am a little bit behind in my posting and i am off to Asia for 2 weeks on monday so i must pull my finger out! Watch this space......
Re: Shrek
Posted: Sat Nov 25, 2017 5:46 pm
by Dougieboy1
Episode 30: Sorting out the rear bulkhead....
With everything all prepped ready, the actual welding of the bulkhead didn't take long. Barry advised that he was careful to level the jig on the floor and do a final double-check of everything before committing to the actual welding.

Barry had also left the metal marks when removing the original bulkhead so the replacement could match the original fitting


Finally, my rear seat wells now have bottoms where once was fresh air. These are all original panels, not modern repro, salvaged from a chopped up 1980's SC so the fit was perfect.

And they are so very shiny.....

Shame to paint them

And a quick reminder of what it looked like before

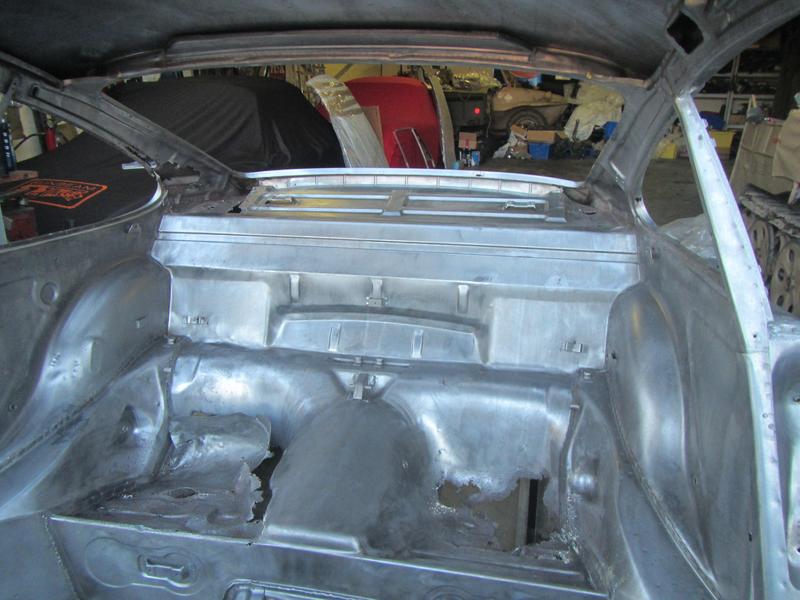
A new parcel shelf had been ordered to replace mine which was rotten at both ends. The new one required a bit of altering in shape to get it to fit. Barry made a template from the original panel and used that to gauge the shape of the new panel.

Good to see Barry considered my Cholesterol when making the template - I hope that driving it will considerably lower my cholesterol although i accept it may raise my pulse.....


After that, numerous brackets were rescued from the original parcel shelf and transferred to the replacement either by use of measurement or some of Barry's purpose made jigs


Some of the great man's working notes - probably a doctor in a previous life. Love the car sketch...vaguely reminiscent of a Le Mans Sunbeam Tiger......

Fitting the original brackets to the new panel


Jig to fit top parcel shelf brackets

Finished panel ready to fit

After the parcelshelf was welded in, together with a new upstand, the rear screen aperture was once again supported. This meant Barry could carry out a couple of repairs to it.
Crappy bit

Repair patch

Crap be gone


Now a hole

Now there isnt

Finished product, perfect as ever

As expected, the rear needed a further tug to finish off the straightening ahead of finally welding in the rear slam panel.


More progress soon as i try to catch up with Barry's work!
Re: Shrek
Posted: Sat Nov 25, 2017 6:49 pm
by Dougieboy1
Episode 31: The mystery of the missing leg
Well not really a leg, its the off side C pillar. For those of you with good memories, you will remember it looked like this:
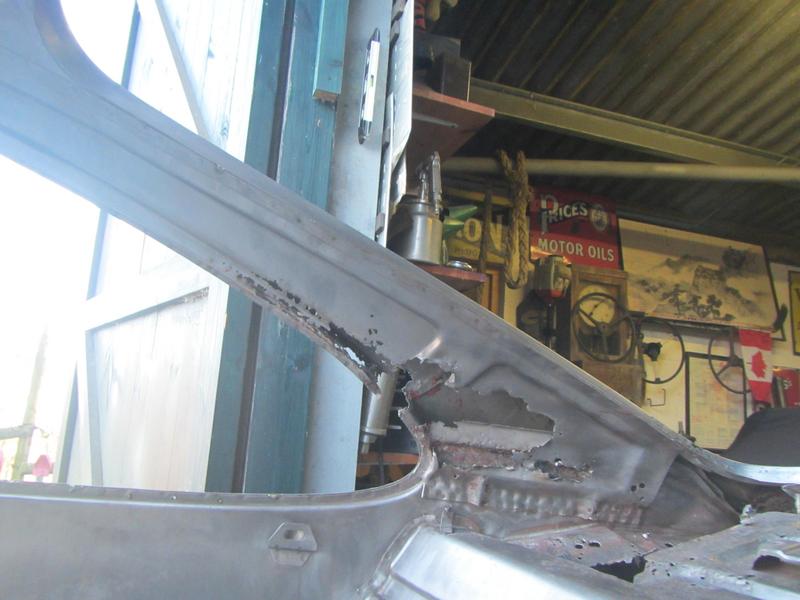
This as the last major hurdle for the rear end repairs to be completed. The plan was to remove the damaged corner and rebuild it using the donor panels I had previously obtained from Stretch, - thanks Dave, on old 911 gave its life so that others may live!
Firstly the donor section was separated and the individual parts blasted.
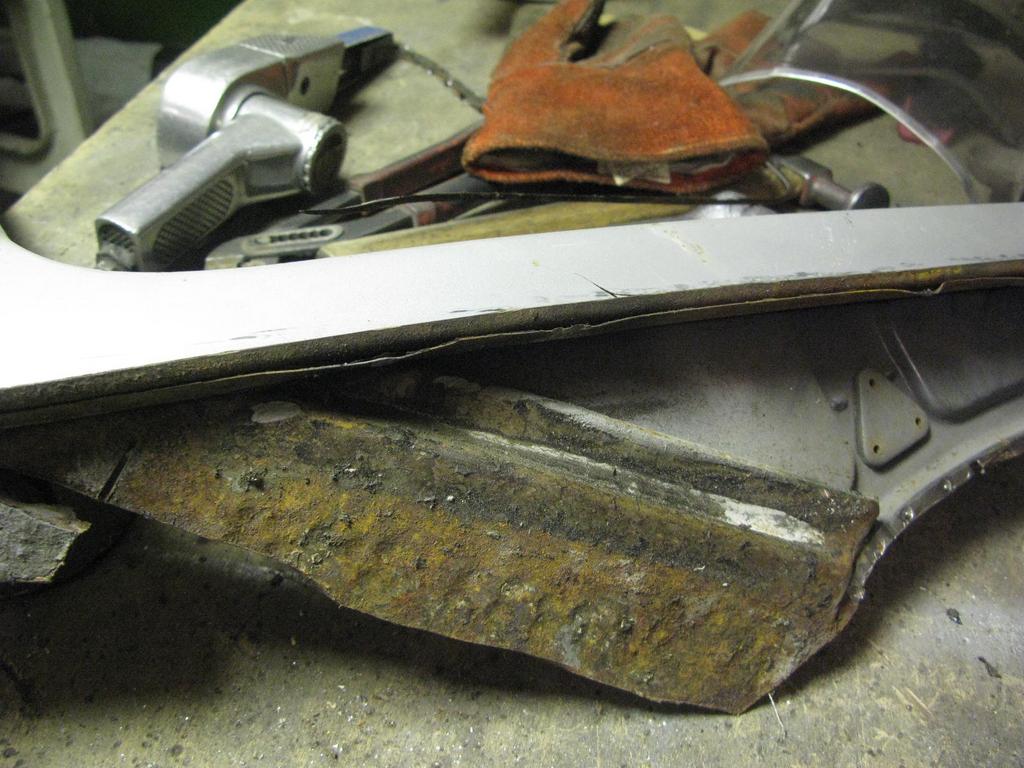
The rotten section removed from my C pillar
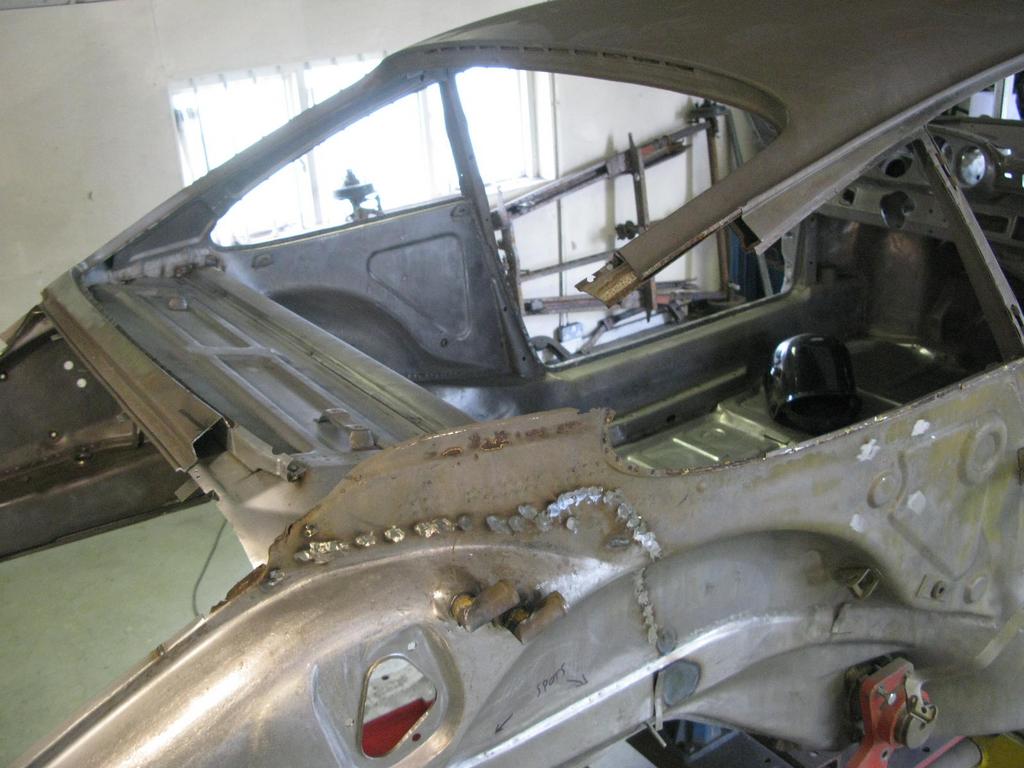
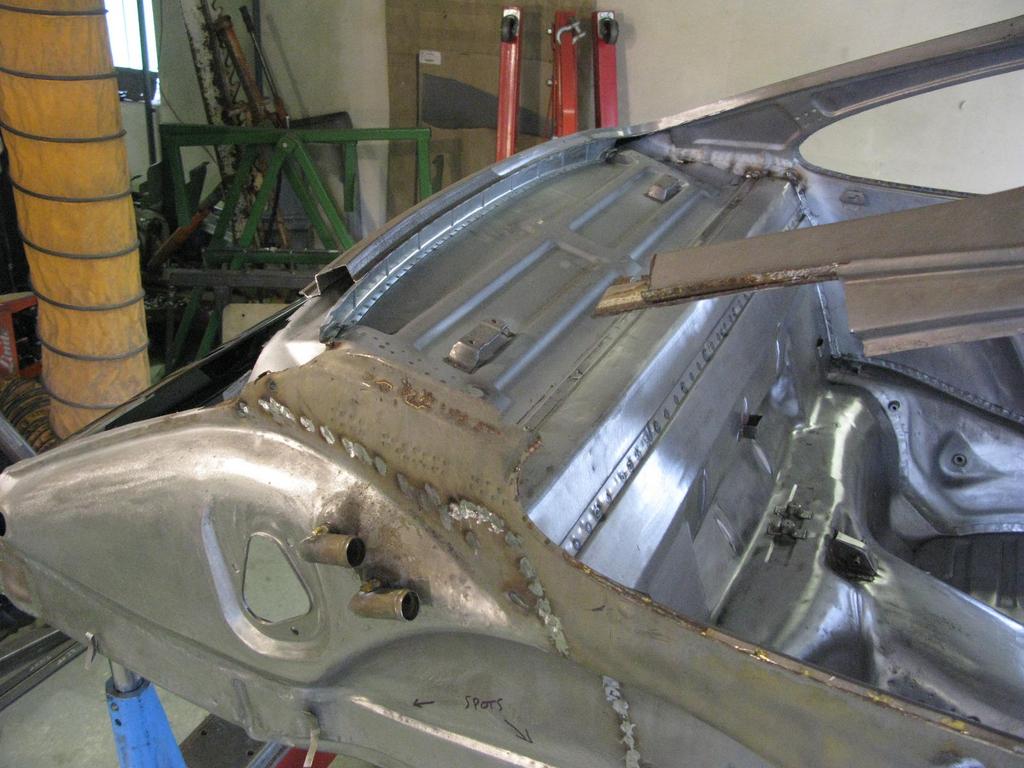
The welding from fitting the parcel shelf was tidied up and rot at the top of the side panel addressed with a repair panel fabricated by Barry
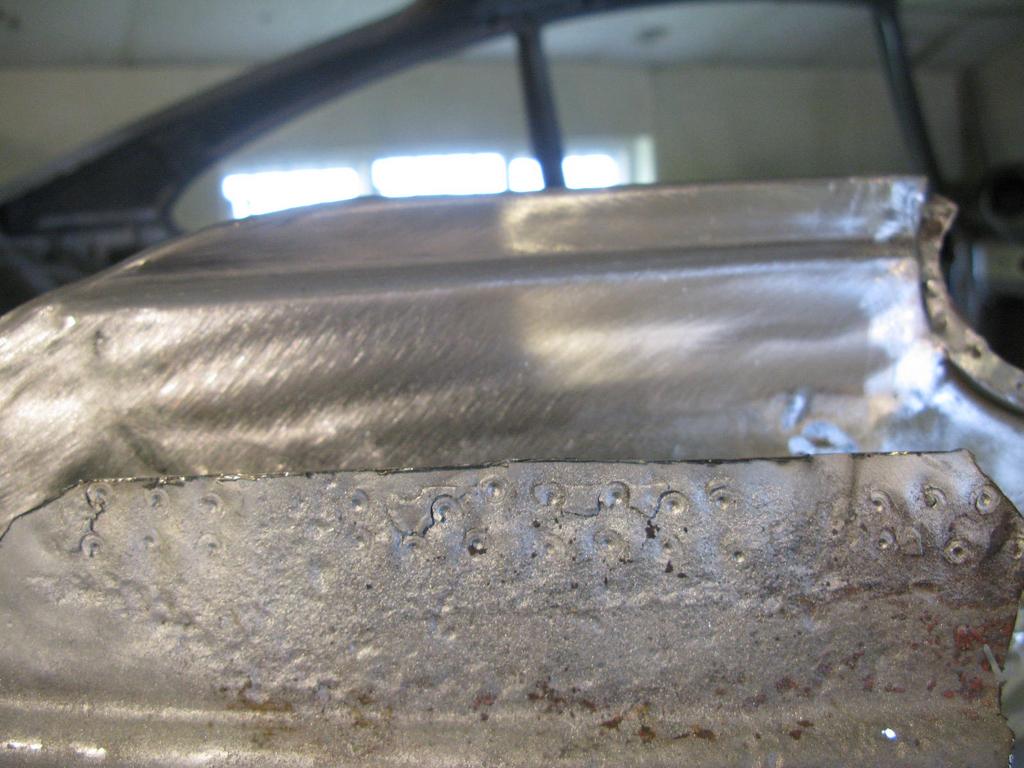
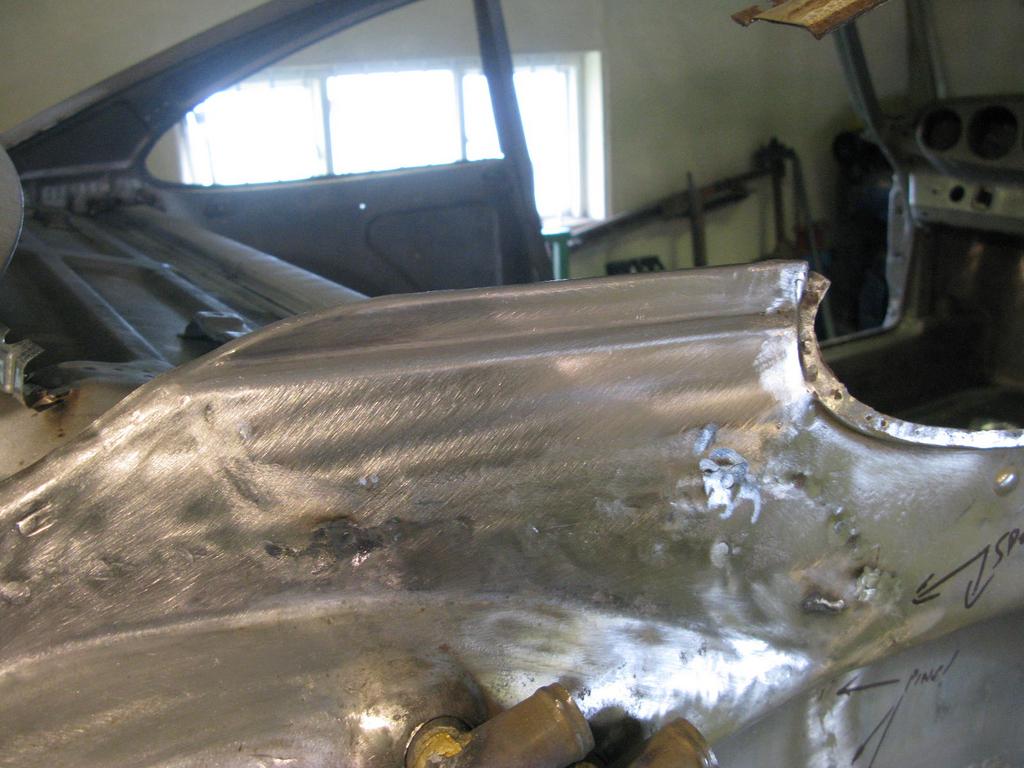
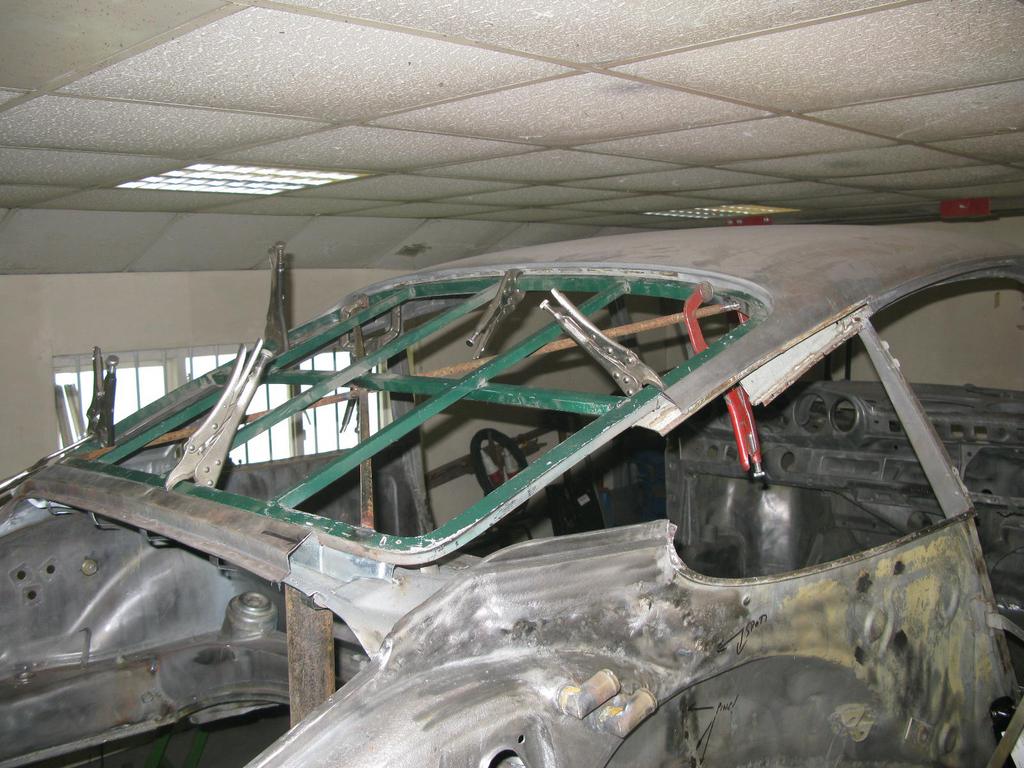
The rear of the car including door, sill, rear wing, Barry's steel engine lid and the rear aperture jig were assembled. This then allowed him to establish the correct rear screen aperture, and start to weld in the replacement parts. Note, at this point, because i am fitting a new aluminium engine lid, Barry uses an original Porsche Steel engine lid to make sure all the gaps are factory spec. The new ali engine lid will then be fettled to fit the factory gap.
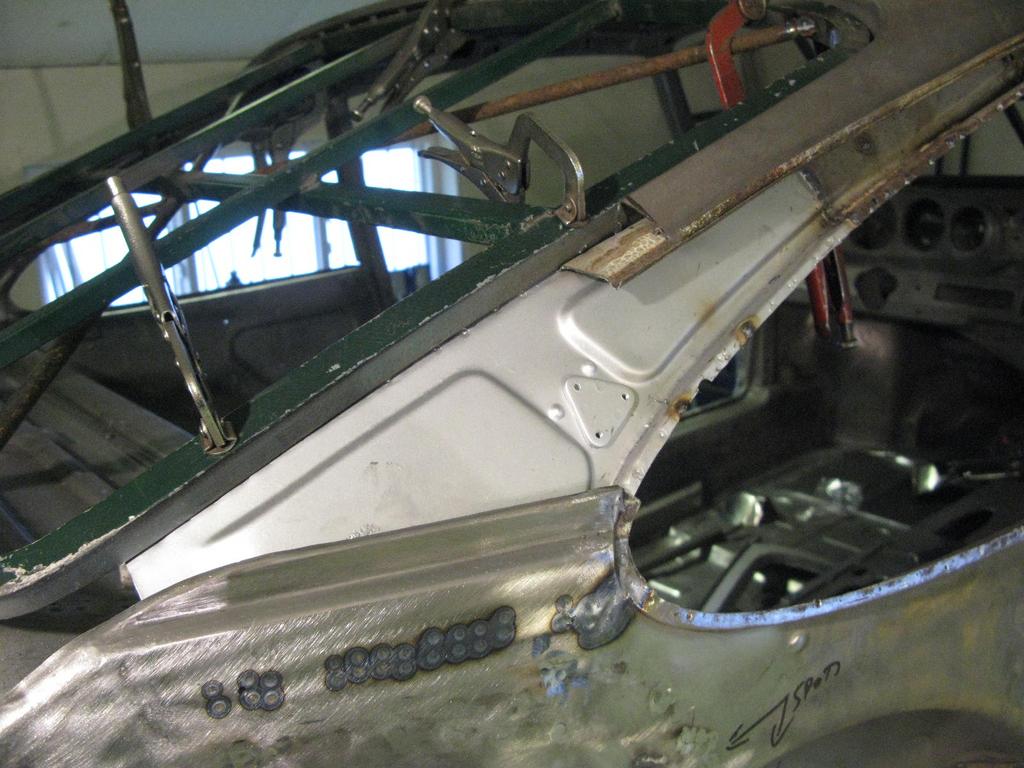
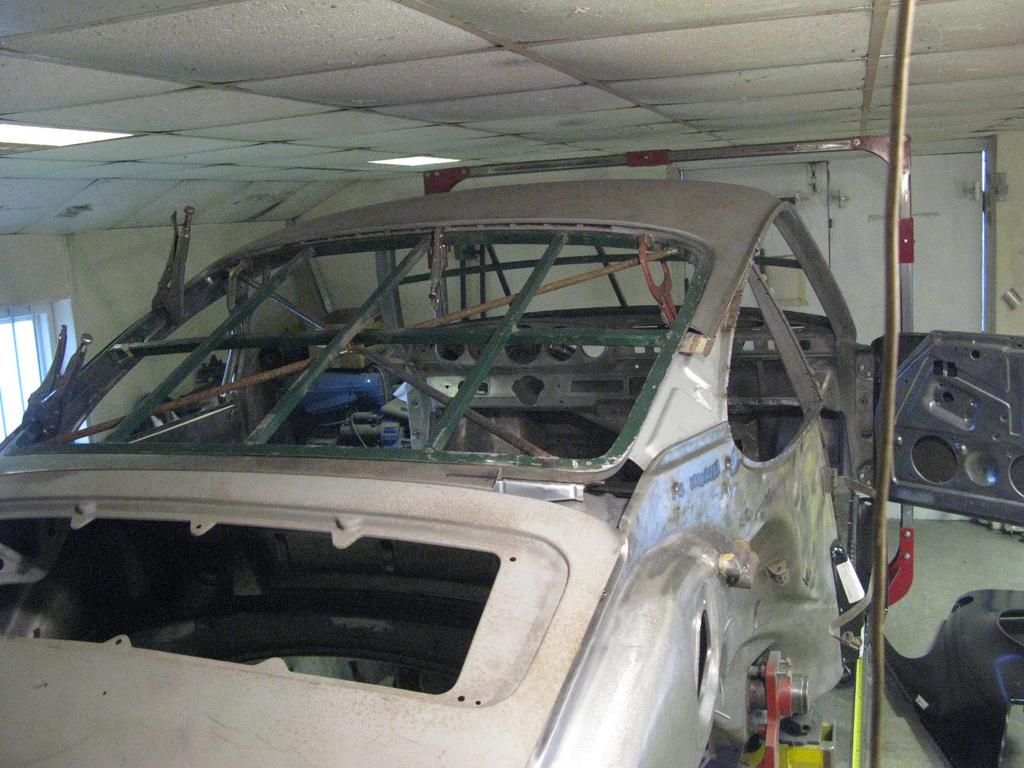
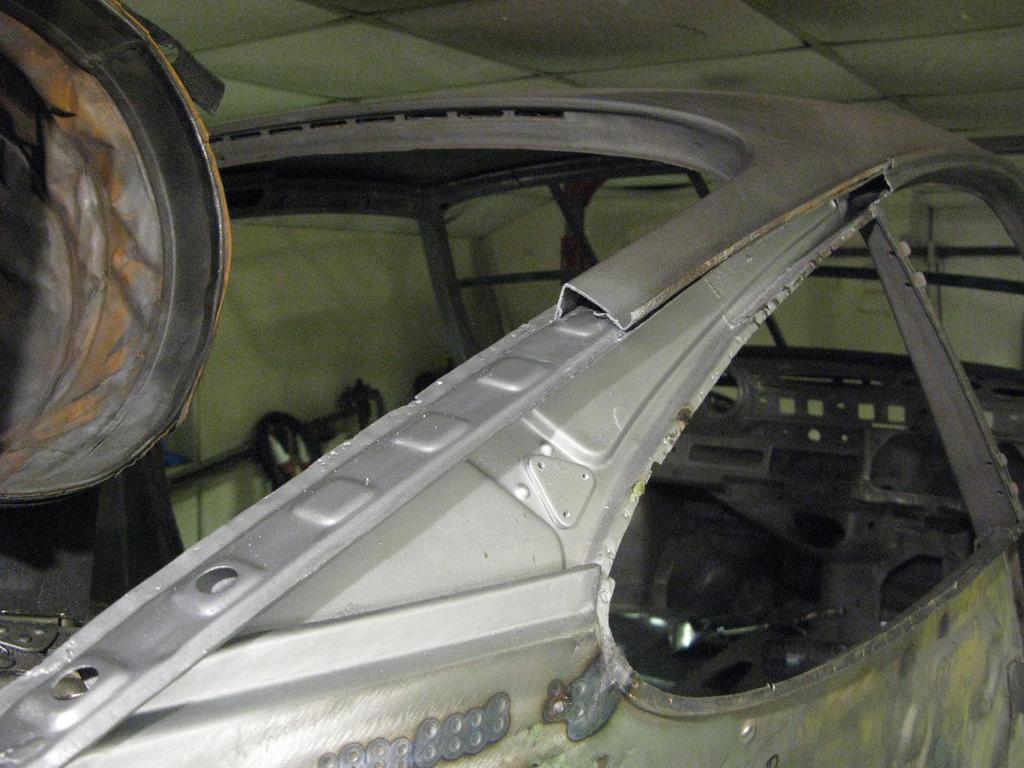
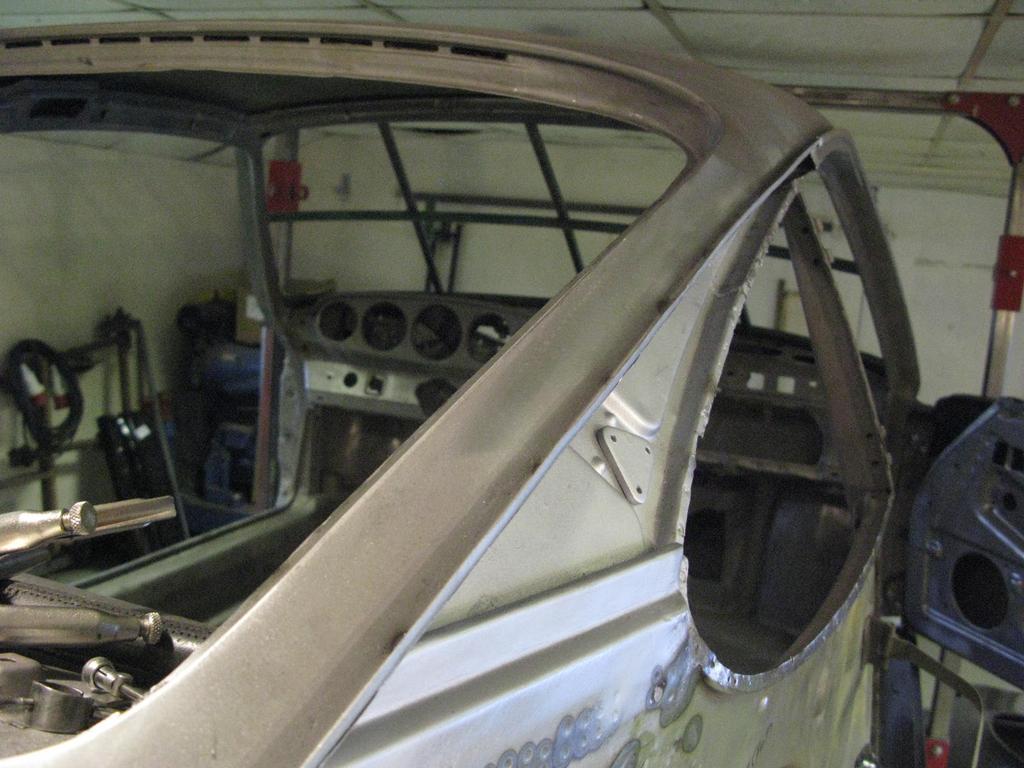
Some small areas of rot removed from the screen surround area using a repair panel.
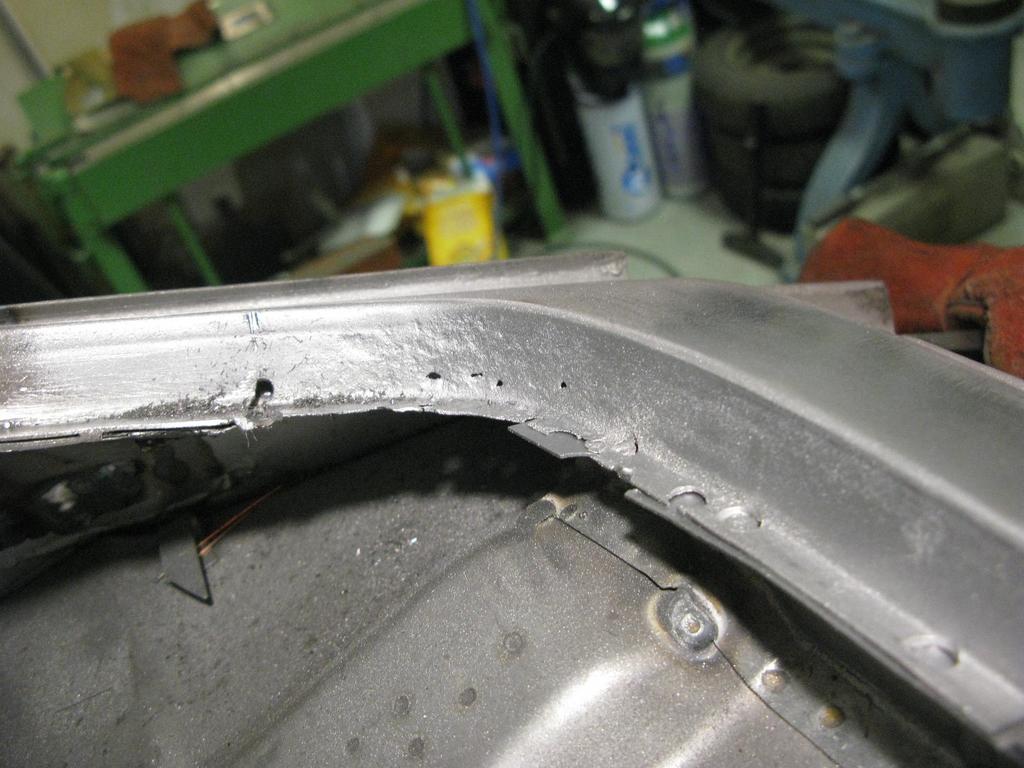
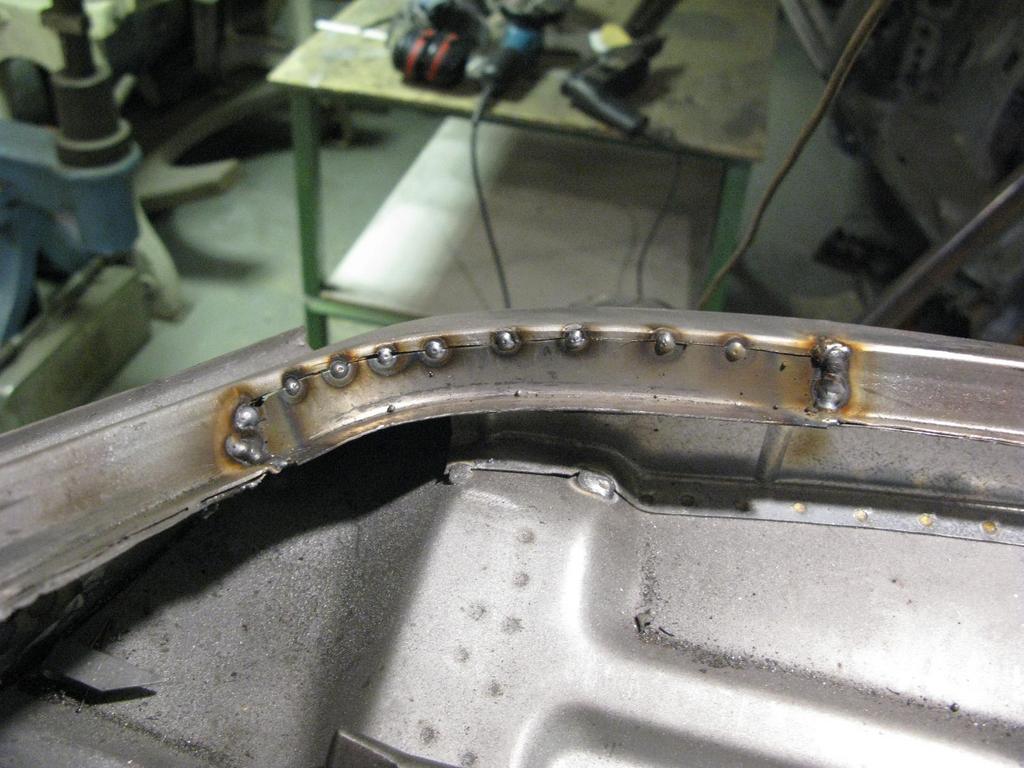
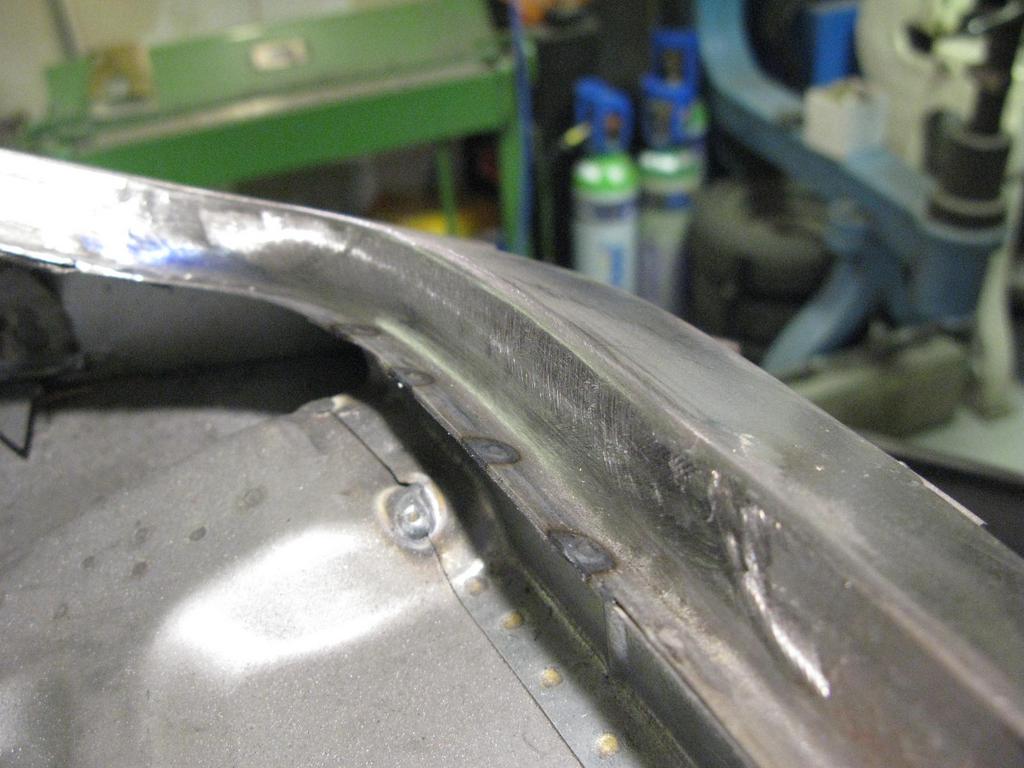
Fitting the rear screen jig to ensure correct placement all round.
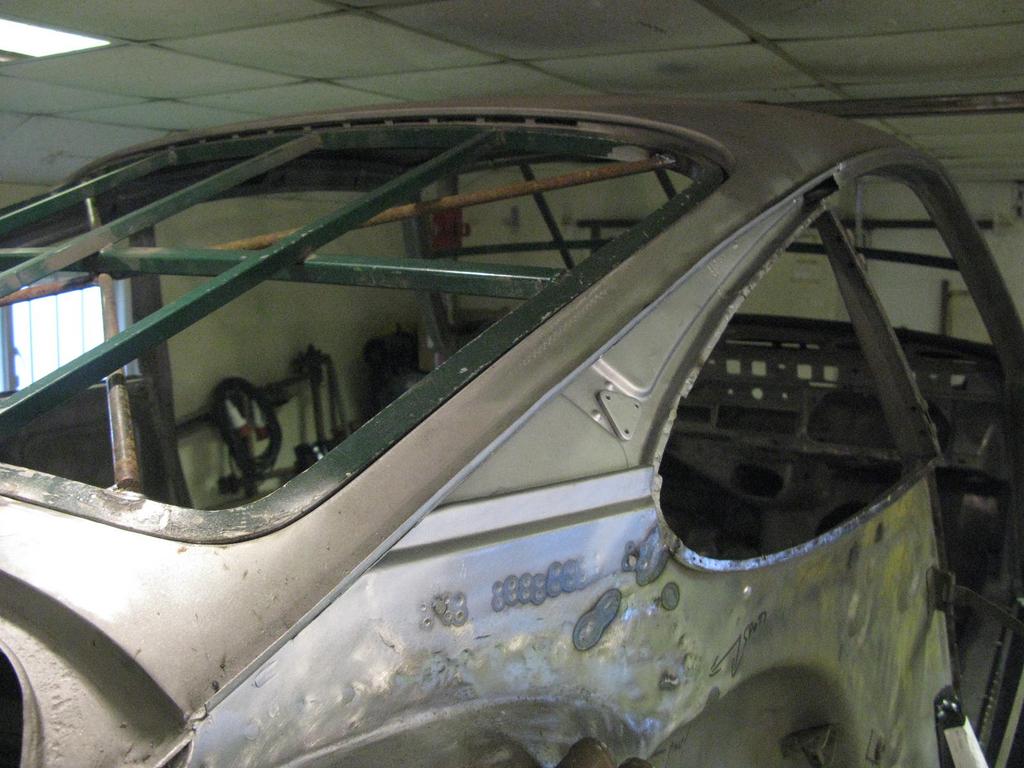
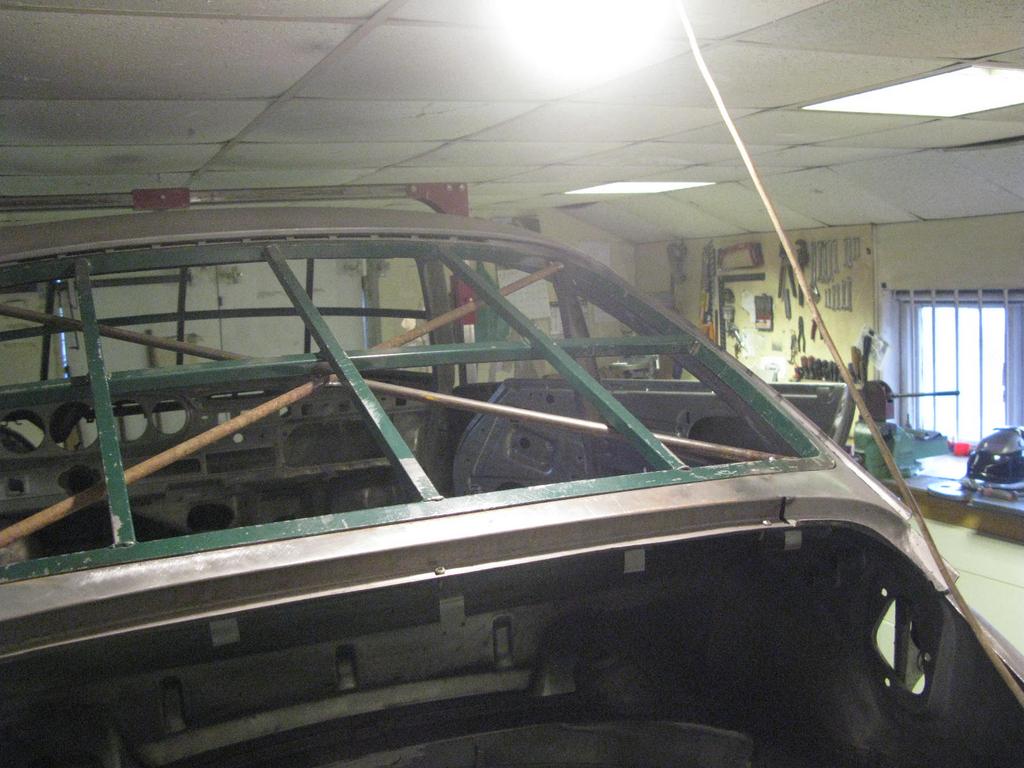
Looks pretty good to me
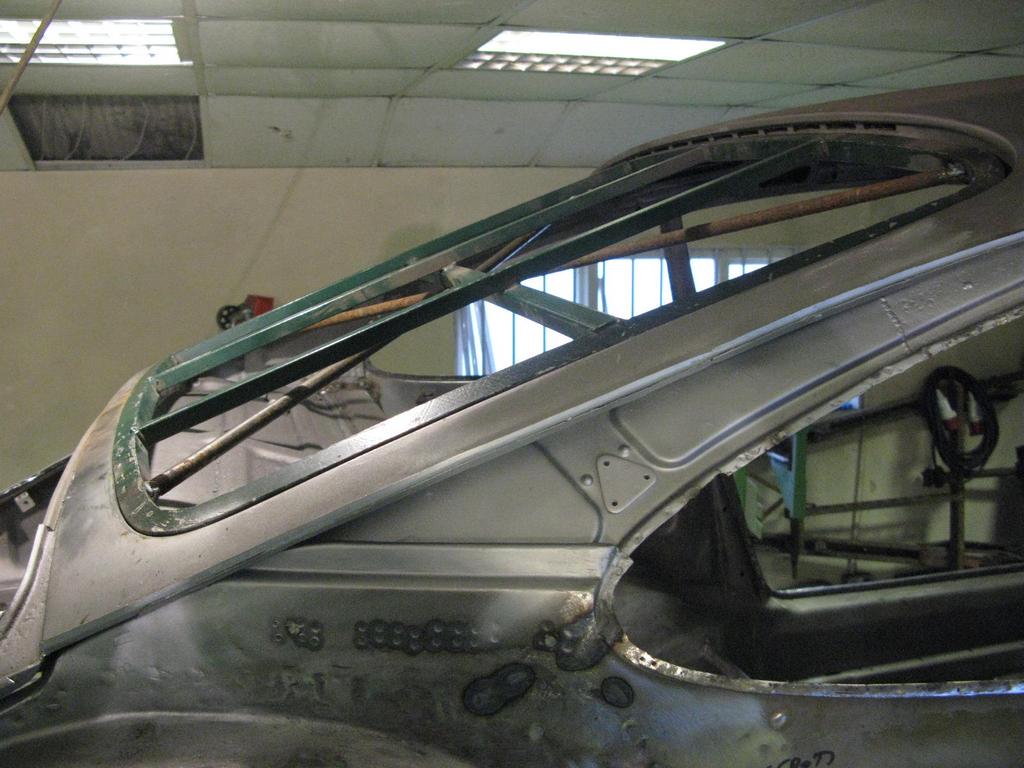
Good as new, the return of the C pillar
Re: Shrek
Posted: Sat Nov 25, 2017 6:51 pm
by Gary71
Awesome stuff. Benchmark as ever to how it should be done.
Re: Shrek
Posted: Sat Nov 25, 2017 7:56 pm
by Darren65
Gary71 wrote:Awesome stuff. Benchmark as ever to how it should be done.
.....totally agree......and for all the big dramatic repairs that Barry carries out it's often the small detail that sets him apart....
....not many would bother with this!....
Dougieboy1 wrote:
Crappy bit

Repair patch

Crap be gone


....Class, and then some!
Re: Shrek
Posted: Sat Nov 25, 2017 8:00 pm
by Gary71
Working on my own car at the moment I’m embarrassed by my metal working. I promise to try harder tomorrow!


