Page 5 of 43
Posted: Wed Oct 27, 2010 2:37 pm
by johnM
911hillclimber wrote:
I love seeing the bodywork stuff (I'm sure many others do too).
I would keep every trick up the sleeve!
I hope the owner will agree to lots of progress pics.

Graham.
Hi Graham I am sure Barry will post plenty of progress pics

Kind Regards
Posted: Wed Nov 03, 2010 9:01 am
by johnM
Not too much progress recently, just more stripping. Unfortunately I have found an old repair to the nearside front wing. Barry can repair it but it will be a balance between the amount of hours to repair compared to a new wing or a used good wing. So if anyone has a good wing for me please stand up now!!


Also the front bumper is poor, so it’s the same scenario as the wing, so again if anyone has a good one let me know. It’s a non S bumper.


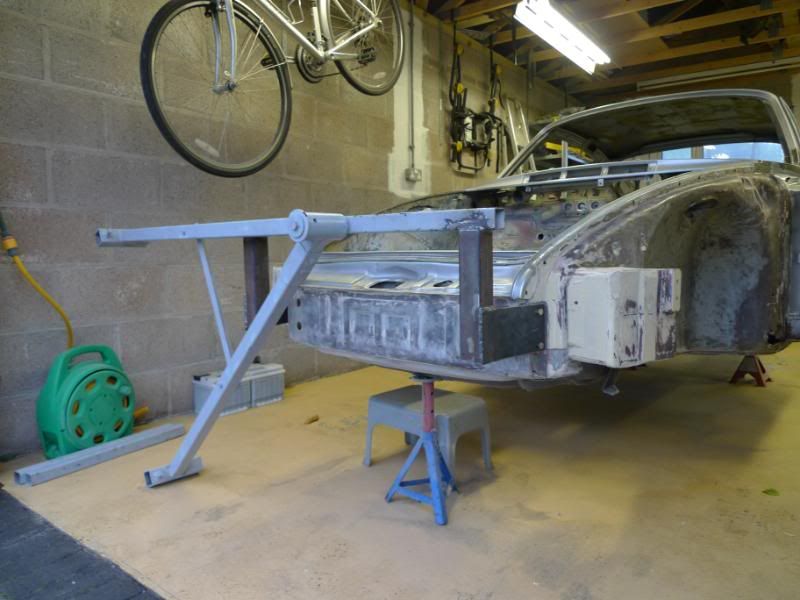
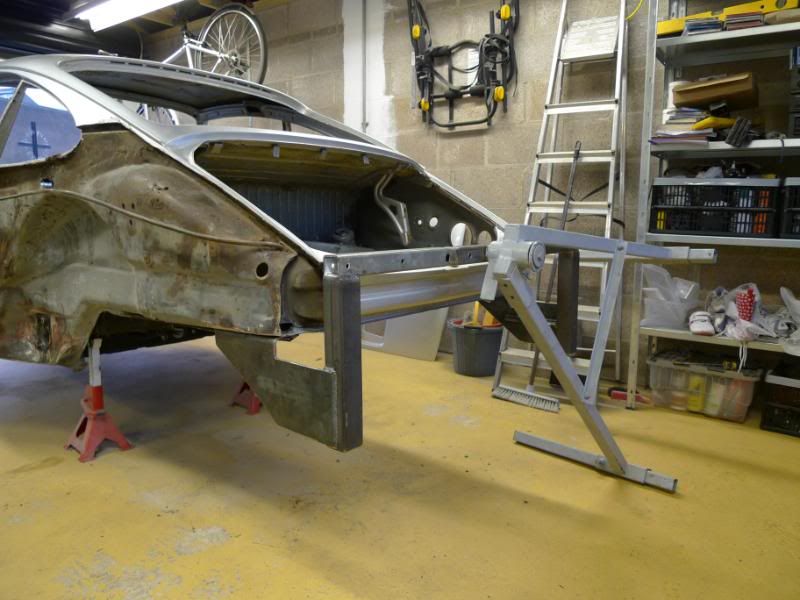
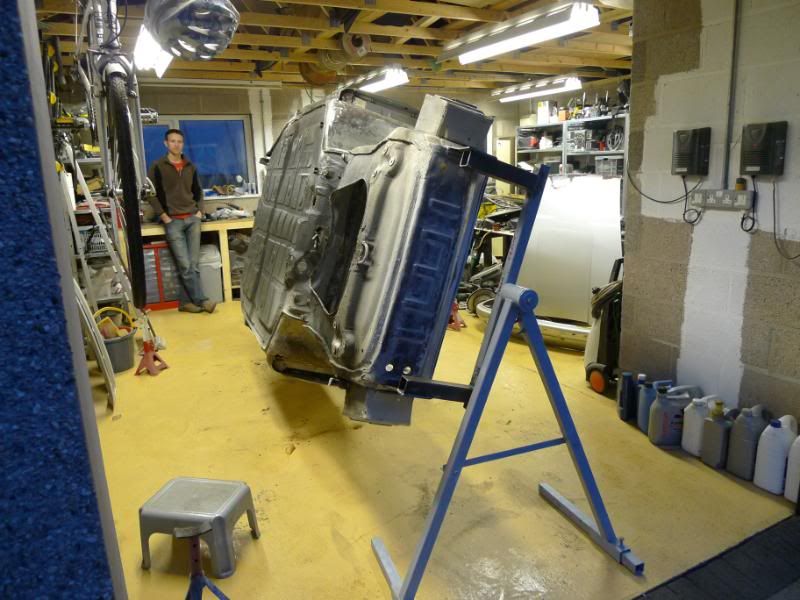
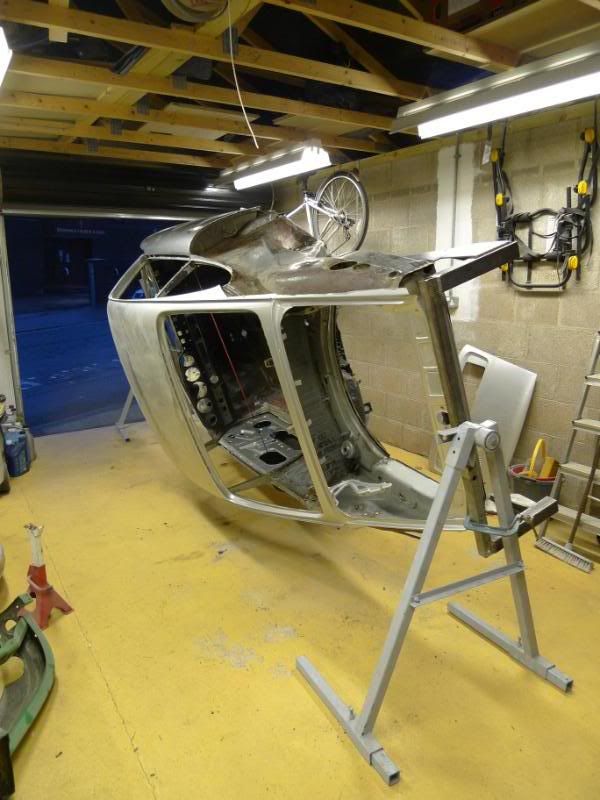
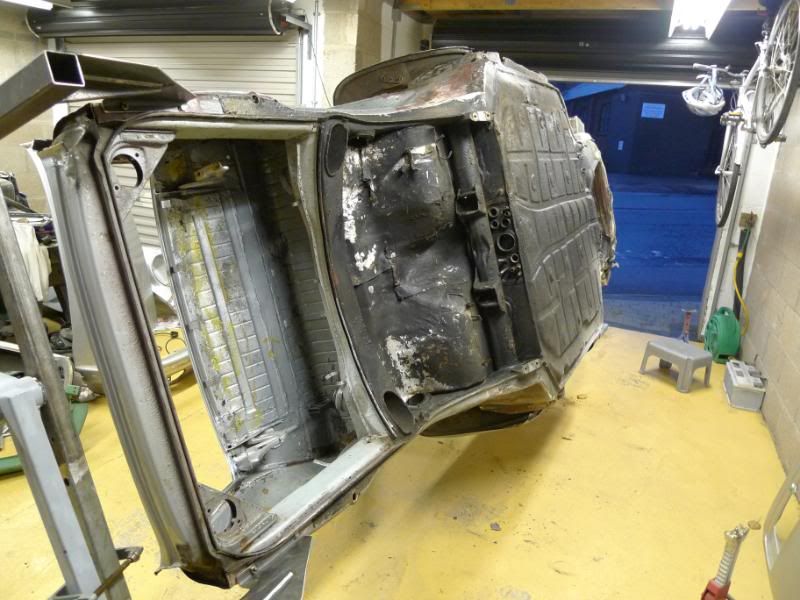
I am hoping to get the shell on a rotisserie in the next day or so, lots to do once its on its side.
Kind Regards
Posted: Thu Nov 04, 2010 5:23 pm
by johnM
Posted: Thu Nov 04, 2010 5:58 pm
by IanMcLeod
John.
How have you been stripping the paint off? You have done a mighty fine job and I have to start mine soon.
Also the rotisserie - is it likely to be available to purchase/rent/borrow off you at some point?
Ian.
Posted: Thu Nov 04, 2010 7:39 pm
by johnM
IanMcLeod wrote:John.
How have you been stripping the paint off? You have done a mighty fine job and I have to start mine soon.
Ian.
Hi Ian
All the stripping has been done using an electric hot air gun and a paint scrapper a slow job but possibly the best way to get the stone guard and underseal off. Its off for media blasting next.
Kind Regards
Posted: Fri Nov 05, 2010 1:27 pm
by johnM
Found some more nastiness, not sure this would have pass another MOT

This is the area of the floor under the rear torsion tube and sill, you can see the jacking point, and to think I jacked it up from there at classic le mans


Must be getting to the bottom of it soon.
Kind Regards
Posted: Fri Nov 05, 2010 2:06 pm
by Gary71
Looks like it had already been plated at some point. As far I as can remember the floor pan is one piece so those plates on the edges are add on.
Posted: Fri Nov 05, 2010 3:21 pm
by johnM
Gary71 wrote:
Looks like it had already been plated at some point. As far I as can remember the floor pan is one piece so those plates on the edges are add on.
Your right Gary somebodys has been there before

Posted: Fri Nov 05, 2010 3:45 pm
by Gary71
Just looks like what I did to my car a few years back
This was at the start of the cutting out, the jacking point and the rest of the back of the sill went in the bin eventually as well.

Can't find a picture of that side after repair, but the other side was much the same.
The tricky bit was reconstructing the bottom of the b-pillar inside the sill before closing it all back up. Note the confident use of a axle stand! No way that would have gone there before


Posted: Fri Nov 05, 2010 6:17 pm
by 911hillclimber
That all looks so familiar, except i did mine 22 years ago so mine was that rough even then!
Wish i had had that rotisery then.
Cut out as much as you can to really get to good metal.
Good luck, and it can all be rescued with a little time and good welding.
Posted: Fri Nov 05, 2010 6:18 pm
by johnM
Yes I would imagine alot of shells are poor is this area, I am just suprised mine lasted as long as it did before showing its self.
Posted: Fri Nov 05, 2010 10:32 pm
by 911hillclimber
Yes, I would have thought it would have failed the moT years ago.
It is all awkwardly shaped down there with lots of curves and tapers so will test your skills with tin snips and a welder.
I did all mine with gas welding and a spot welder.
Measure twice, cut once comes to mind!
Posted: Sat Nov 06, 2010 6:45 pm
by johnM
911hillclimber wrote:Yes, I would have thought it would have failed the moT years ago.
It is all awkwardly shaped down there with lots of curves and tapers so will test your skills with tin snips and a welder.
I did all mine with gas welding and a spot welder.
Measure twice, cut once comes to mind!
I am afraid that I will not be doing the metal work that is being left to the maestro Barry

Posted: Sun Nov 07, 2010 9:20 am
by 911hillclimber
That means it will come back looking like a factory pressed shell!
Posted: Sun Nov 07, 2010 9:24 am
by johnM
911hillclimber wrote:That means it will come back looking like a factory pressed shell!
Yes I am quite excited.