Page 39 of 81
Posted: Sun May 22, 2011 3:34 pm
by Mike
As I begin to think about the time when the engine goes back in the car

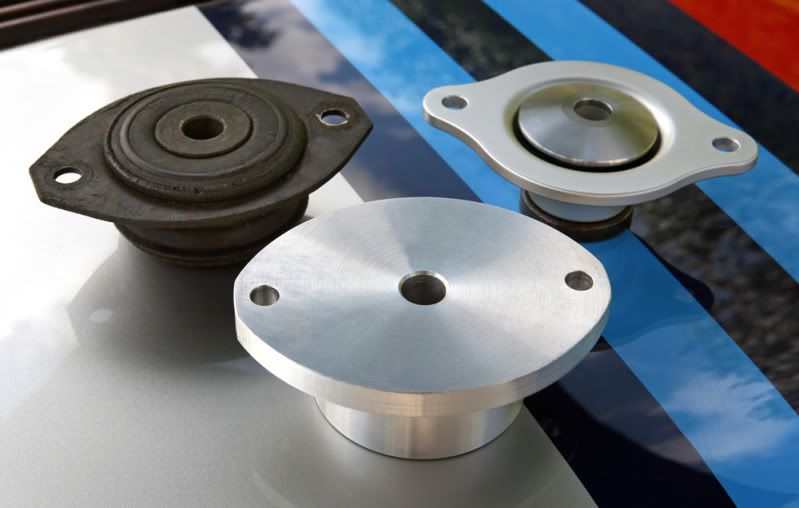
had to decide on engine mounts. I was going with the
wevo option, pictured right, refinished in silver to replicate the solid aluminum versions the real RSR's used on track. But then I
had the chance to replicate an original solid engine mount I was kindly loaned, so will go with a pair of those.
Posted: Sun May 22, 2011 3:43 pm
by Gary71
Solid

Enjoy the noise

Posted: Sun May 22, 2011 6:35 pm
by 911hillclimber
Isn't there a very real chance of a 'twisting' stress being placed on the drive train if you fit 4 solids, and if you fit 2 solids and 2 flex mounts won't that lead to fatigue cracks in the solid mount's body locations?
4 x WEVO's sound right to me.
Posted: Mon May 23, 2011 10:21 am
by sladey
Mike wrote:
After putting those dirty parts onto the bonnet I'd book it in for the respray now Mike
Posted: Mon May 23, 2011 12:19 pm
by Mike
911hillclimber wrote: 'twisting' stress/fatigue cracks
my technical expert say's if you have a car suffering 'twisting stress' get a new shell!
Seriously though he added the main problem with solid mounts in RSR's is always the engine support bracket
that's what cracks first, the best combination apparently would be solid mounts on the gearbox and wevos at
the back.
Posted: Mon May 23, 2011 12:59 pm
by 911hillclimber
Bit outside of your project Mike, but i installed the hard plastic (polyurethane?) trans/engine bushes from PRI in my hillclimb humble 911 and it transformed the gear shift and tightness no end with little NVH increase.
Even made the 915 reasonable...
Posted: Mon May 23, 2011 1:12 pm
by Mike
thanks Graham, been great by the way watching the trials and tribulations on your Lola thread, don't give up on it,
has to be worth it for that horizontal fan alone!
Posted: Tue Jun 07, 2011 11:14 pm
by Ian Donkin
letsrollbabe wrote:Can't wait to see the finished car.
Gib
+1
It's good to get time to catch up and it's looking fantastic. Glad to see I haven't missed the engine party.
Posted: Sat Jul 02, 2011 7:10 pm
by Mike
Quick update, there's movement in the far reaches of deepest darkest Essex as the car is now positioned outside the spray booth
for final prep before painting! The dizzy which I've been waiting on for the engine firing up went off to the US for it's internals to
be redesigned and rebuilt, and now 4 months later that's now winging it's way back across the Atlantic, so more about that soon.
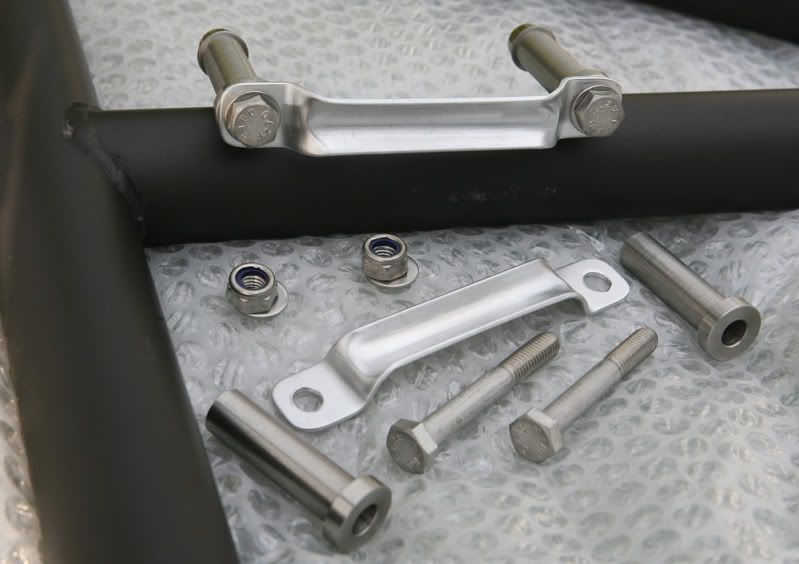
In the meantime a little bit of detail from the seat harness bracket build, just have to weld in the crush sleeves and that's another
little job ticked off the list!
Posted: Sun Jul 31, 2011 2:00 pm
by 911martini
Mike wrote:As for the body, it's been away for a few months waiting to have the wheel arches re-shaped. The rears were 930 turbo
and the front fibreglass ST/RSR, so with the help of profiles taken from a real RSR they will be done again, the rears by
reworking the existing metal, and the fronts will be new factory wings with metal flares re-shaped to the right profile.
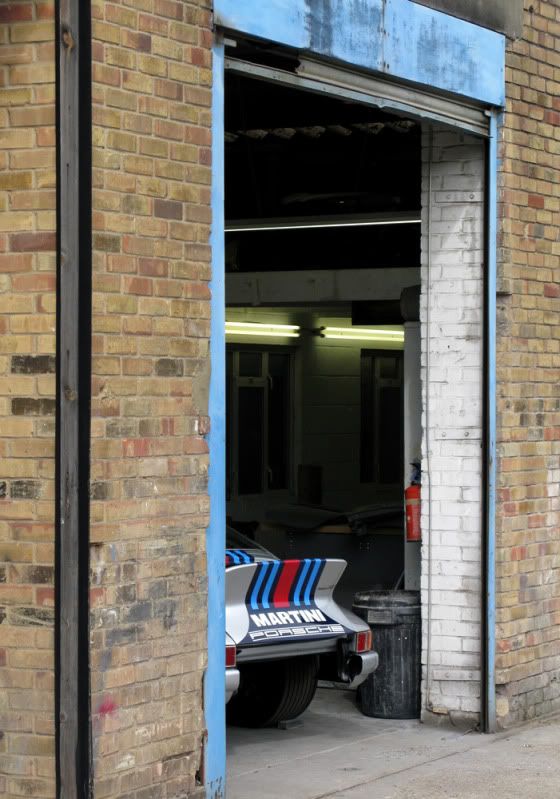
The bodyshop's been a bit busy so here's the car waiting at the back of the queue.

I can do it too
but not that wide !
Philippe

Re: My new project.........
Posted: Mon Oct 03, 2011 11:43 pm
by Mike
Apologies for not updated the thread for a while, there's been a couple of setbacks but getting back on track now!
Will be posting the latest on the bodywork and engine build with new pictures in a few days, in the meantime
looking for a new pair of door/window frames and front indicator units, posted here in wanted:
http://www.ddk-online.com/phpBB2/viewto ... =6&t=36333
Any help much appreciated!
Re: My new project.........
Posted: Mon Oct 10, 2011 1:25 pm
by Mike
Here at last is the latest on the engine build. The plan had been for a start up party, but what with the delays and so on that went
out the window, hoping to do something later though. Neil wanted to test his new stainless steel 'flapper' box exhaust system so
with my engine sat there seemed madness not to to give it a go. The injection pump had been the cause of some of the hold up,
on it's third rebuild at the moment and the proper distributor still hasn't arrived back from the US yet so we're starting it up with
the JP racing version.
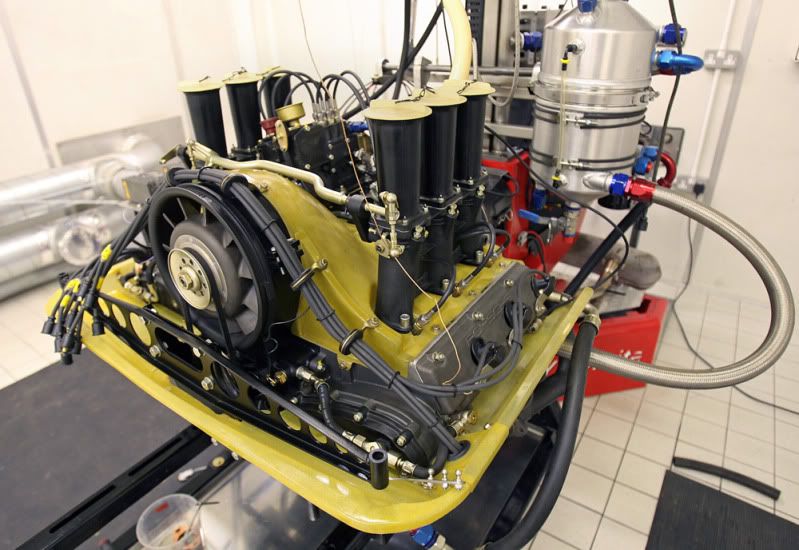
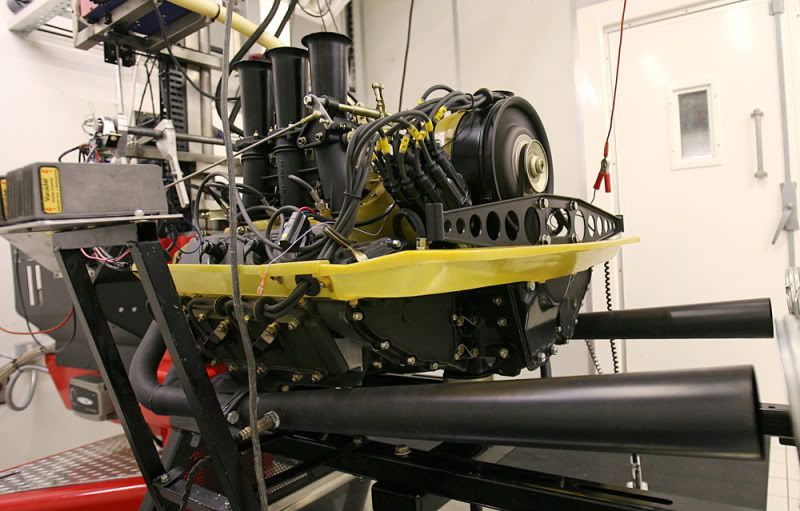
Pictured here as it's being bolted onto the dyno, going with the megaphones first.............
Re: My new project.........
Posted: Mon Oct 10, 2011 1:55 pm
by Mike
First a static timing setup, then pumps on and crank over to get the oil pressure up. Plugs in, some 'easy start' down the trumpets
cross your fingers and give it a go! We had no camera running for the very first start up, but here is a start from cold ready for the
max power test. Apologies for the ugly mug, interference on the microphone and bad spelling!
http://youtu.be/TXs-kl_9Ue4?t=36s
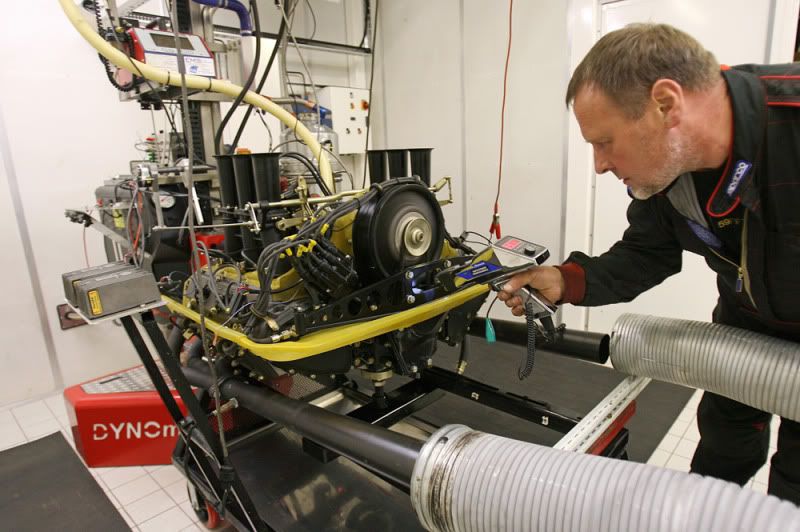
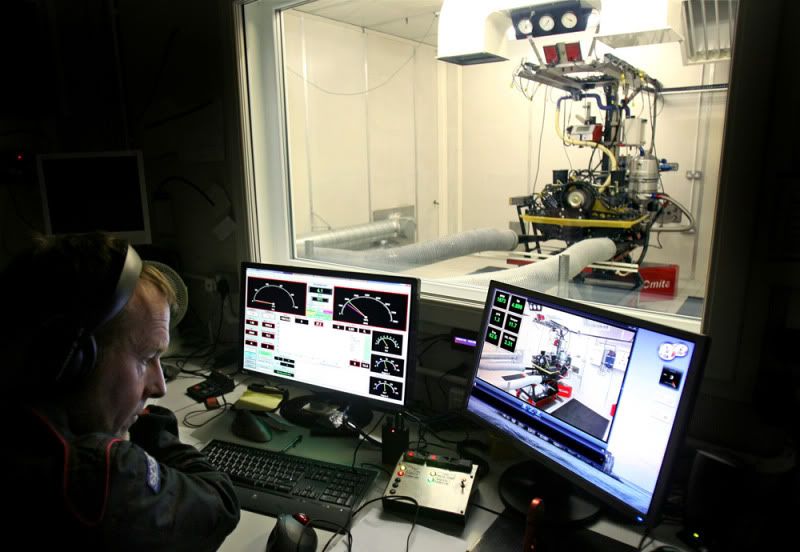
First is to check the timing now running and then the dyno takes it through it's running in programme with a set of variable limits
to throttle position, engine load and rpm. This is set for two and a half hours and then the second stage running in allows for more
load and rpm, while keeping an eye on blow by, pressures and temps.
Re: My new project.........
Posted: Mon Oct 10, 2011 2:05 pm
by sladey
Very cool
Re: My new project.........
Posted: Mon Oct 10, 2011 2:11 pm
by left4dead
Mike? Are you sure all that technology is period correct?

It's a different world, ain't it....
