Page 36 of 81
Posted: Tue Feb 22, 2011 2:56 pm
by Mike
Sorry I missed your post Jason, and thanks Keith for explaining.
Posted: Thu Feb 24, 2011 12:09 pm
by Mike
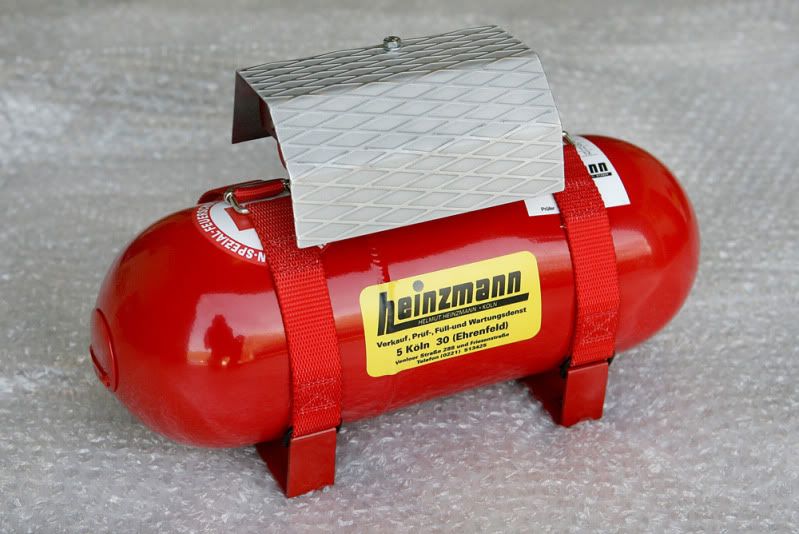
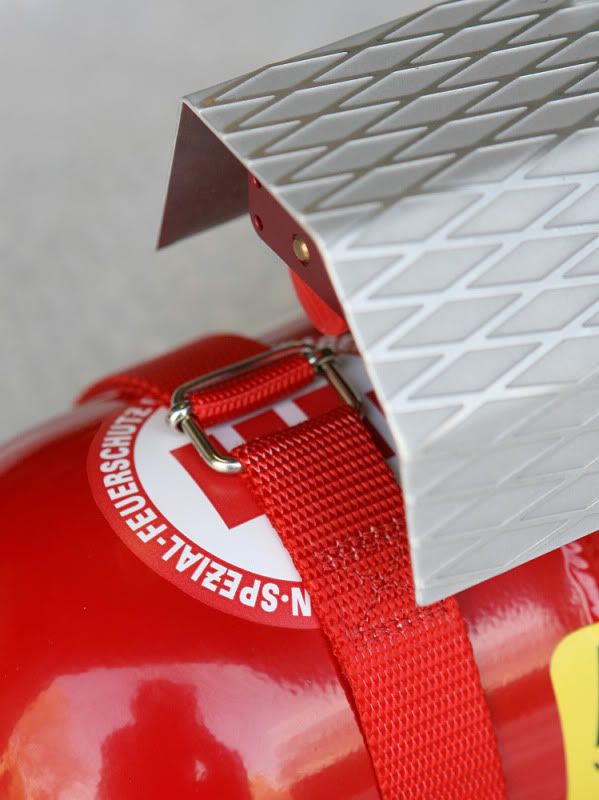
it's taken a year to make, which in comparison to the rest of the build is not bad, but just finally finished the re-creation of an original
Heinzmann fire extinguisher bottle.
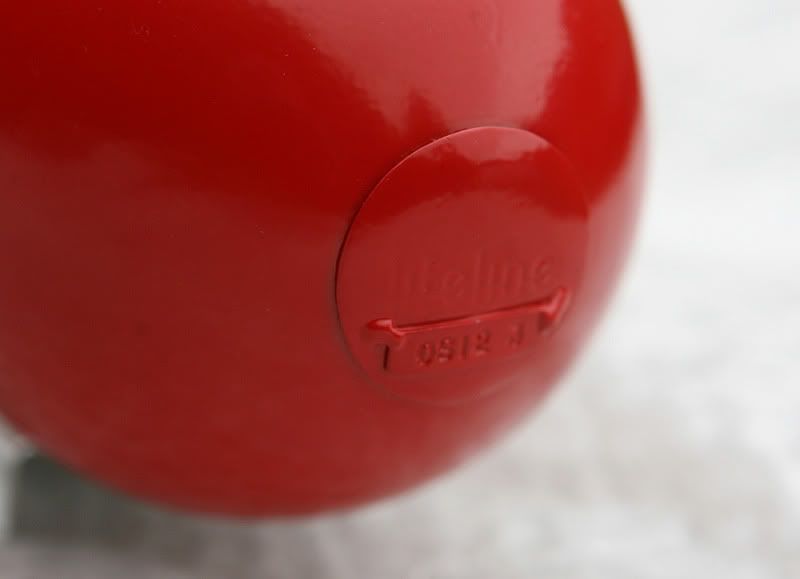
Working in conjunction with Lifeline we've managed to make a fully working system which is correct in every detail, even down to the
offset single weld around the bottle and the id 'nipple' on the end. Together with the brackets, webbing straps, stickers and the cover,
it's all come together really well and I really pleased with it.
This first one has been leak and pressure tested over the past few months, can't wait for the car to come back from the body shop
to fit it in!


Posted: Thu Feb 24, 2011 12:19 pm
by Nige
impressive madness, I like it!
Posted: Thu Feb 24, 2011 12:26 pm
by 964RS
Utter madness!
Uber Cool!!!
Posted: Mon Feb 28, 2011 9:13 am
by sladey
Utterly amazing. Would that handle have been red-anodized back in 73? For once I'm not taking the pi55 - it's a serious question
Posted: Mon Feb 28, 2011 6:27 pm
by Mike
sladey wrote:Utterly amazing. Would that handle have been red-anodized back in 73? For once I'm not taking the pi55 - it's a serious question
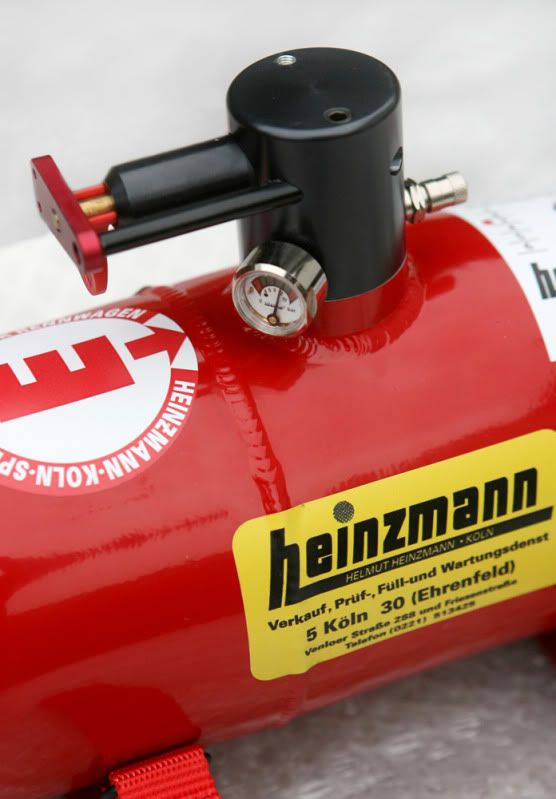
Hi Mark, the original trigger assembly was brass, this is the latest modern trigger system Lifeline do for their Zero 2000 foam extinguisant.
The idea was to combine the looks of the original with todays technology, and this was the best most cost effective way of doing it bearing in mind that most modern triggers are in the ends of the bottle.
The centrally mounted type of trigger that Heinzmann used narrowed the options a little, but this one is great as it is the same height and keeps the whole thing in scale to the bottle.
At the end of the day it's covered by the checker plate so you don't actually see it, just need to find a way of making the check design the correct diamond shape, exploring laser cutting, acid etching and so on, any experts in that field here?
Posted: Mon Feb 28, 2011 11:43 pm
by Dakota
Hi
water jet cutting may be a reasonable route to your checker plate, there used to be a company in Dartford kent that would do pretty much any material but I think they have gone.
Posted: Tue Mar 01, 2011 7:42 am
by sladey
If you took wire wool or wet and dry to that trigger I bet you could go through the anodizing. Whilst it still wouldn't be brass it would look silver (presuming it's aluminium) which would have been around at the time. The red stands out as modern IMHO. Mind you you'll see plenty of modern safety equipment on classic racers these days.
I was about to type "it depends how far you want to go" but I think we all know the answer to that one

I can't believe I seriously just wrote all that - I think you must have infected me
Oh and also
and this was the best most cost effective way of doing it
made me laugh.
Whilst I will never stop taking the pi55 Mike, updates to your thread are the ones I most eagerly await on the forum - it's genuinely fascinating to see what you're doing.
Posted: Tue Mar 01, 2011 5:51 pm
by Mike
Thanks Mark, you take the pi55 whenever you like, wouldn't be the same without you!
Should be some good new updates coming soon as the car's now being prepped before
going into paint, watch this space!
Posted: Wed Mar 09, 2011 11:34 am
by Mike
Great day yesterday as I see the arches in paint for the first time!
Ace prep man Paul has spent time leading up, sanding down and priming to give us the final shape and really show Jamie's great
metalwork. Again the idea was to create something unique, to make the rear arches look as if they have just been fabricated and
grafted on to a standard wing as they did with the protoype, but at the same time try to improve on the originals which were
obviously hastily done then modified and cut about as required.
You can see how the RSR wing evolved by just blending in the prototype arch and smoothing it out for the production cars.


Paul sprays on degreasant to see how the light will fall on a lacquered finish.


Now it goes for final prep and paint. Bloke called Bruce apparently will be doing it, probably the apprentice...........
Posted: Wed Mar 09, 2011 1:27 pm
by sladey
Gorgeous
Posted: Thu Mar 10, 2011 9:09 am
by Mike
thanks Mark, Paul will be really pleased he's never been called gorgeous before!
Posted: Thu Mar 10, 2011 12:59 pm
by Bruce M
Mike wrote:Now it goes for final prep and paint. Bloke called Bruce apparently will be doing it, probably the apprentice...........
I like him already

Oh, and those rear arches are outstanding!

Posted: Thu Mar 10, 2011 4:01 pm
by letsrollbabe
Mike:
The arches now fit the car perfectly. I admire your courage to modify the flares to look like the prototype car, making this car unique in the world since the original no longer exists. Your detail efforts cause the rest of us to follow along, although at a great distance. Can't wait to see the finished car.
Gib
Posted: Thu Mar 31, 2011 9:46 pm
by Mike
Up-date on the fire extinguisher, finally managed to replicate the original diamond plate cover, found a fantastic metal company very
local to me who organised the acid etching, turned out better than I hoped. Also sourced some more period correct adjusters for the
straps, really looks the part now and mores to the point, it actually works!