After the somewhat painstaking process of making installing: removing, and reinstalling these bespoke underdash panels it finally felt like there was a glimmer of an end in sight
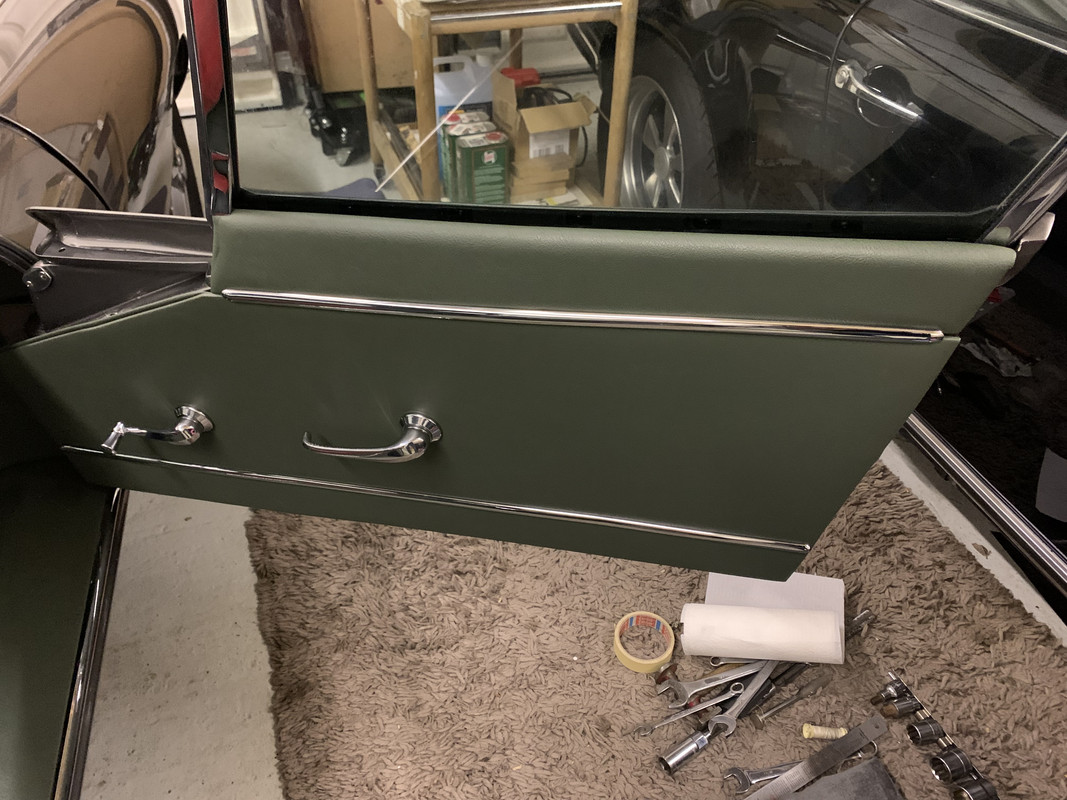
So for a spot of light relief and before I could fit the door cards I needed to ensure that the door panels themselves were able to shed water (that could get in behind the outer rubber strips) and although Jaguar did provide their own system of metal panels which were once riveted into place I want to something a little bit more watertight so with self-adhesive plastic membrane I made myself an inner lining to the doors
The door cards were pretty straight forward the only glitch been the annoyingly fiddly trims clips to hold the top upper polished aluminium trim ……after a frustrating series of failed terms I decided to make my own system which is a lot lot simpler and simply used round headed screws they fitted perfectly into the semicircular profile of the polished trim …..and by simply adjusting the screw in more or less I achieved the perfect alignment and adjustment, quite why wasn’t done in the first place I don’t know given Jaguars propensity to simplify details as much as possible… hay ho doesn’t really matter it looks perfect now
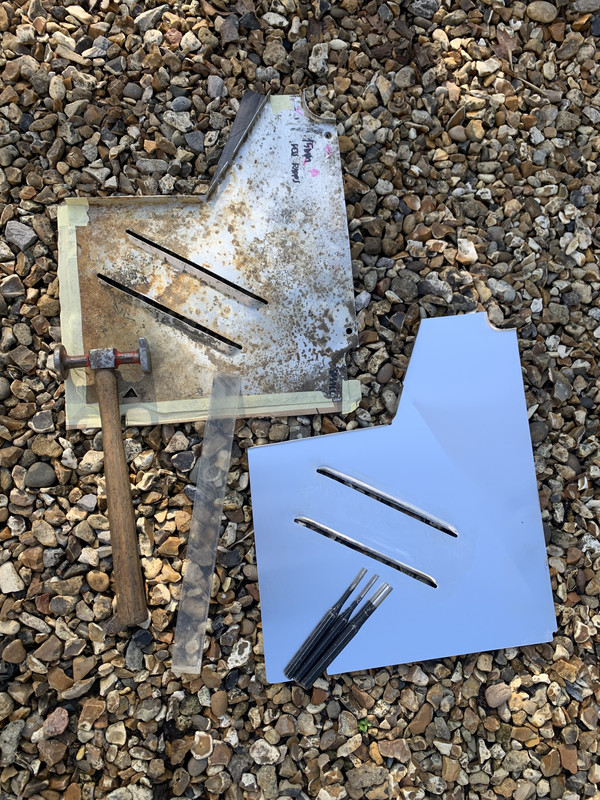
Light relief…..ah yes….Short loved as I realised I had forgotten that the under bonnet splash panels were toast and that sourcing correctly made and aluminium finished panels is not possible…..time to make my own then clearly…..


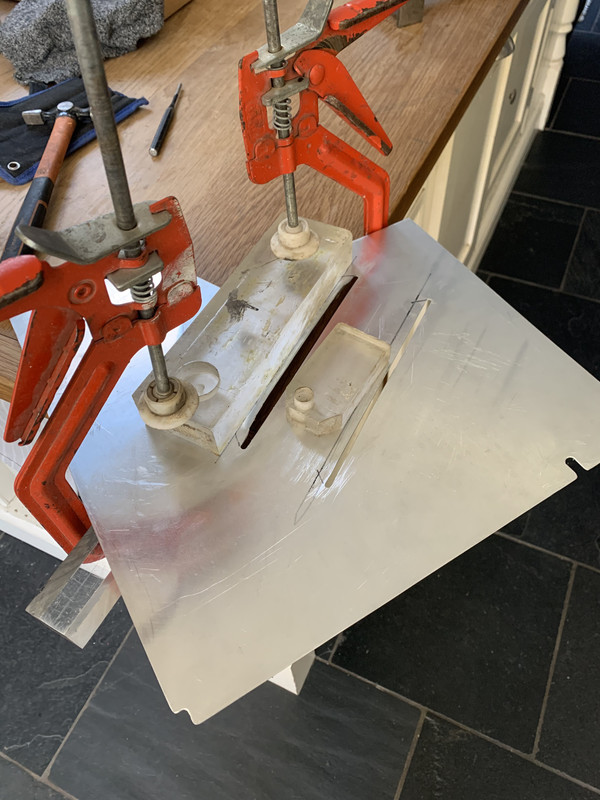

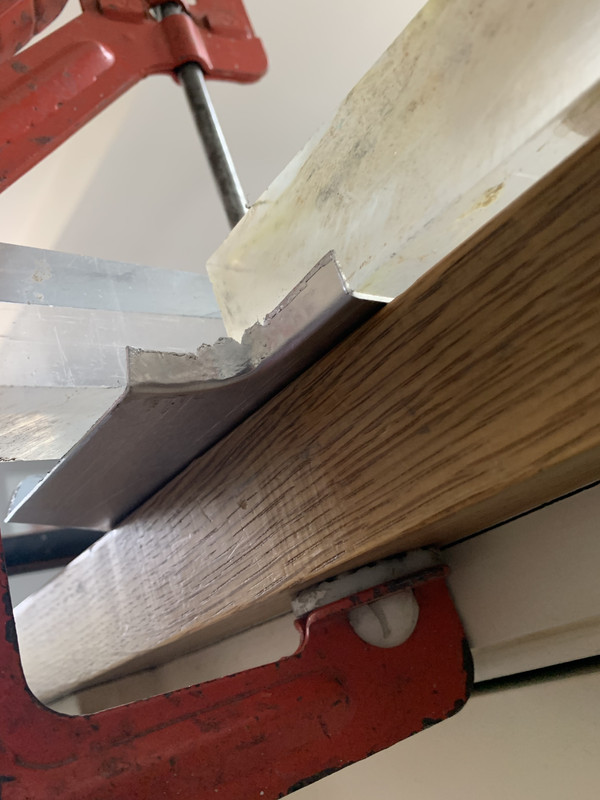

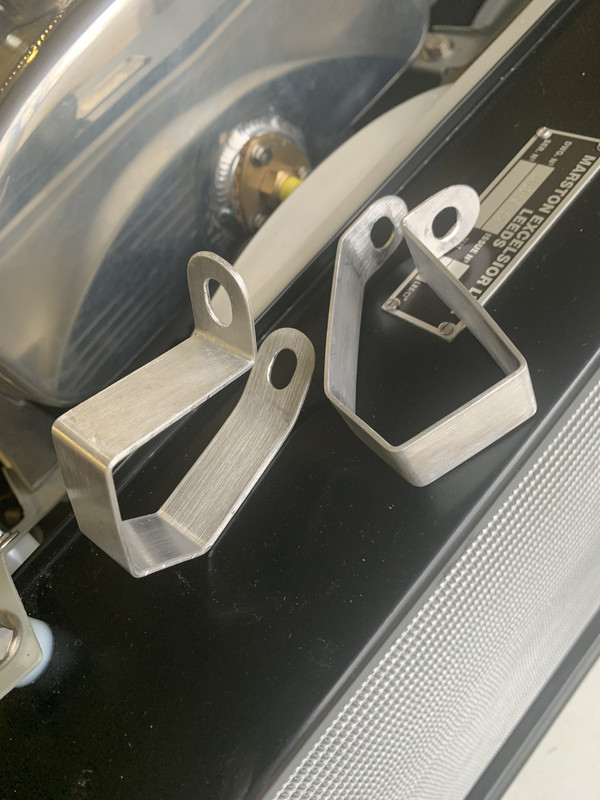
Enjoyable in truth…aluminium is a such a pleasure to work with…and although I had never really done this sort of thing before forming the upturned corner profiles and especially the slot vents was really rewarding….and although not quite according to spec I finished off the undersides with epoxy primer / raptor stonechip / top coat and clear lacquer….with the top surfaces finished in clear lacquer only

and then made a set of bespoke brackets, also finished in clear lacquer to fit properly….( for which read repro brackets were bought..and discarded as junk…..)
Slightly out of sequence I decided it was now time to get the distributor rebuilt and refurbished, the car came with an incorrect later series distributor and I had searched for months to get one that was more period correct


While it’s not necessarily the cheapest thing considering its condition I managed to find one dated January 1963 which is perfect for my car …….it had worked in the initial test runs of the engine but it was now time to get it rebuilt correctly by the distributor doctor so I duly sent it off
I have to say that the service was brilliant and the quality work equally so the item is beautifully finished and has a period correct Lucas Service plaque
I also noticed in the initial test runs that the Speedo wasn’t working and despite my best attempts to take it apart and try and establish what was wrong having concluded that I thought it was the magnets that were losing their power I decided it was far better to send this off for servicing, To Speedograph Richfield Ltd who did a beautiful job and at a really reasonable price
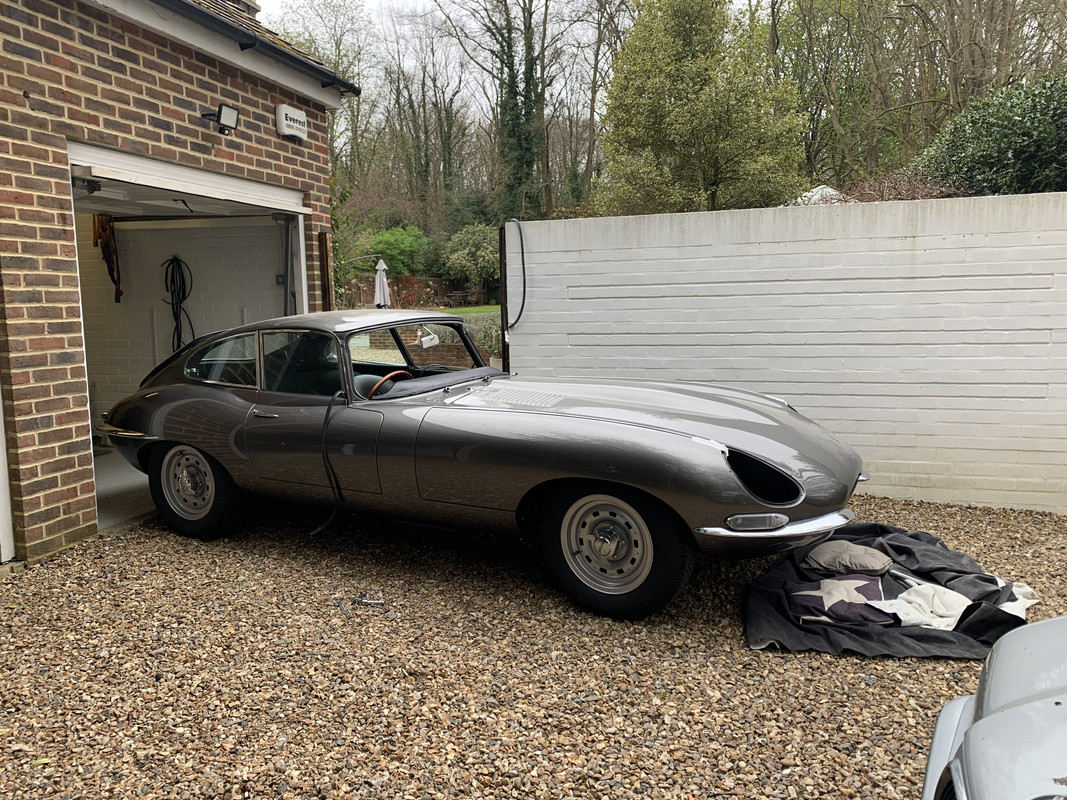
The last big item on the agenda was to reunite that gorgeous bonnet to the rest of the car …….so with the assistance of Barry and my son I nervously helped remove it from its stand and carry it from the house through the garden gate (which required a rather difficult up ending of the bonnet as the gate is not wide enough) to then reuniting with the front frame bolts, which I have to say was incredibly straightforward and amazingly after all this time fitted almost perfectly
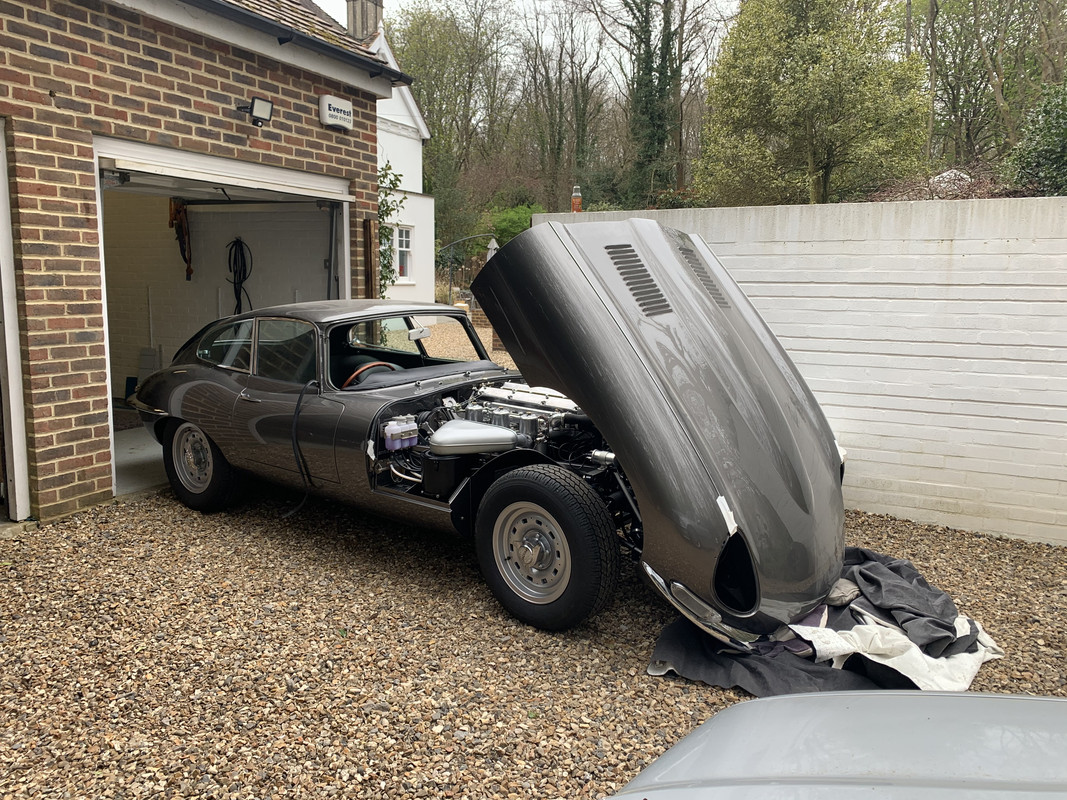


It is ever so slightly twisted in so much as the joint between bulkhead and bonnet is not parallel but it sits almost perfectly horizontally. The plan is to drive the car for a little while and let things settle and then make one last final adjustment
It certainly made the car as beautiful as I was hoping it was going to be
Whilst I had done an initial test fit (which was a torturous affair but at least done in the dry warmth of my orangery ), I was now able to make the final fit of the headlamp headlamp lenses, rubber trims and chrome rings
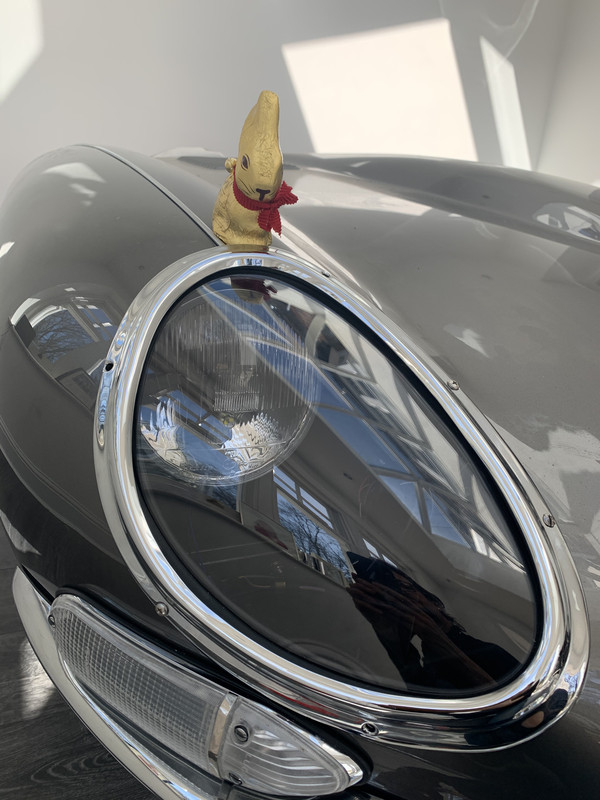
In a previous life the car had clearly had an accident…as I mentioned in earlier posts the near side bulkhead panel was amusingly composed primarily of filler and the bonnet was clearly (and wonderfully) from an earlier car….so the original glass headlamp covers neither matched nor were to totally original…..so with tales of badly fitting original glass lenses and even worse fit of the dreaded aftermarket items, I decided to use more malleable acrylic covers from Mark in the USA
The acrylic covers were without doubt a great help as the concept of aligning a compound curvature piece of glass…and a compound curvature and recently re-chromed triple chrome piece of 1960’s brass…..a reproduction and technically inaccurate profile of different compound rubber…and a re-worked / filled and resprayed piece of 1960’s metalwork was bound to be perfect at first fit…..surely…??
Patience is the approach……the captive nuts are such a fine thread it would have been far to easy to cross threads..and with using stainless screws I was extra careful to not only line up threads but also try not to overtighten and damage the slotted profile
I couldn’t resist modifying the simple brass tabs that hold the Bonnet chrome beading as these are so visible when the bonnet is open then I read in like the rather crude way that they are generally left

As an initial test fit it all went together pretty reasonably, and allowed me to mark the final position to make a small V shape profile to restrain the leading edge of the chrome beading

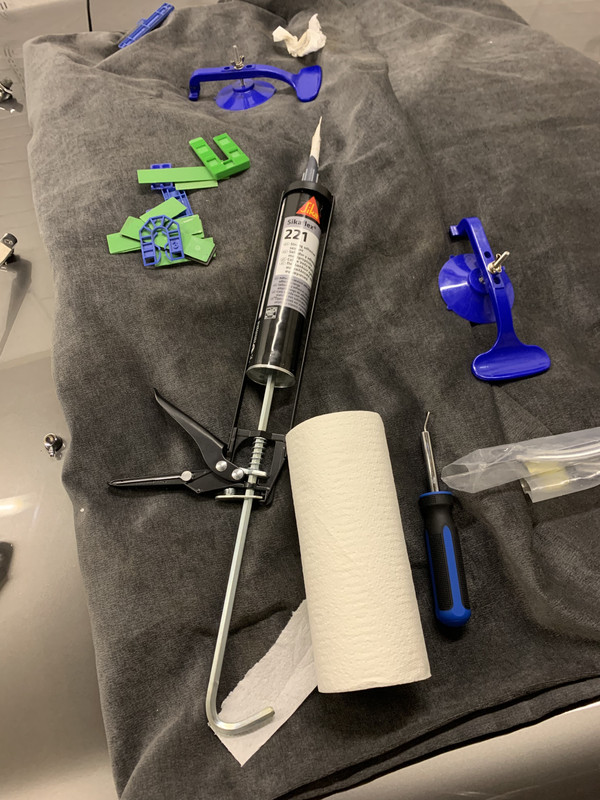
I know this is not the way the Jaguar did it but given that a lot of the water which makes its way into the sugar scoops comes from that area immediately above the chrome rings I decided to fill the bonnet wing joint with Sikaflex so therefore was not able to install the most forward brass trim clip as normal
Details….details…and that was it…..the fuel gauge had been playing up and I was struggling to see what was wrong…even to the point of buying a new one…but they are so crude in appearance…the elegance of the old markings and manufacturers details is completely missing that I just had to persevere….the inner copper strip needed a good clean and the internal wires I decided to scolded in place, and it sprang into life….result….
So..last and final piece was the windscreen….I had managed to fit the rear screen with the assistance of Barry…but the front screen was something that made me somewhat more nervous….

Pilkingtons now claim to make the correct moulds for these screens and can even replicate the kite/date mark which is a lovely touch….the rest of the car has the classic Sundym green tint…possible having been an export model I am not sure…so a green screen was duly ordered
Not exactly the best service, multiple calls were needed to chase up delivery, but safely it did arrive and with the aid of a professional glass fitter it went in without incident
Fitting the chrome hockey stick and screens trims was the usual predictable faff…but after a great deal of marking and grinding the rear edge to shape on the offside both sides are a lovely fit and I am very pleased with the whole thing …..having a spare set made the process somewhat easier, as the first ones were therefore sacrificial…..somewhat extravagant considering the cost of these pieces….but with no alternative sometimes these things need to be done


Well…actually the last thing was the cars identity……having registered the car around a year ago I wanted a “1” plate, as with the 911….so 1A of some sort…..back in the day the Coventry area provided the WK numbers of some of the low drag and lightweight cars so this seemed perfect…..

So….with the knowledge that it’s best start the running in process and attend to ongoing niggles and get to know the car…it was time to find out…….I have never driven an E Type before…what could possible go wrong……


