Page 4 of 66

Posted: Thu Jul 16, 2009 10:43 pm
by jury
Right then time to get started again...
Image
Image

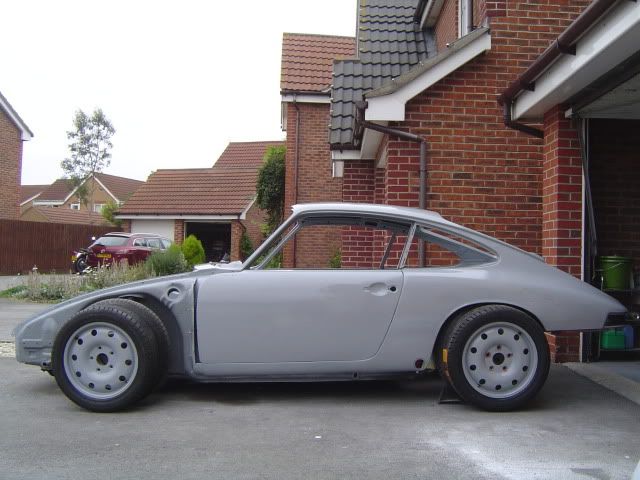
I knew that the fibreglass needed abit of tweaking to fit but to be blunt its been a right pain in the derriere!

Image


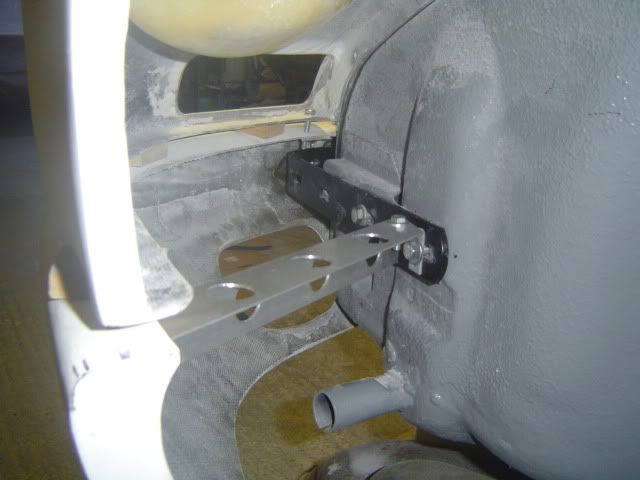
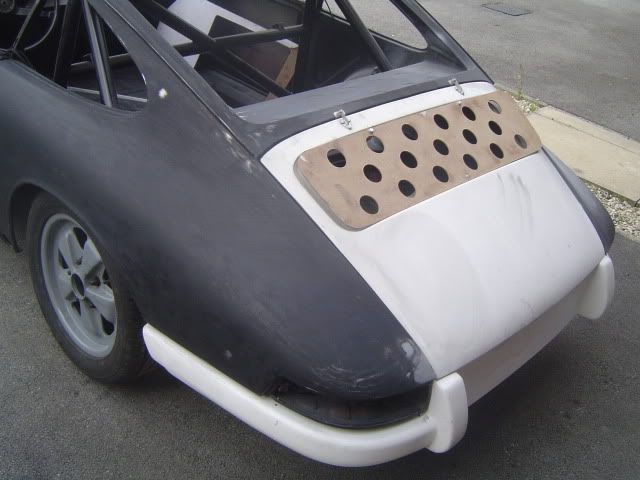
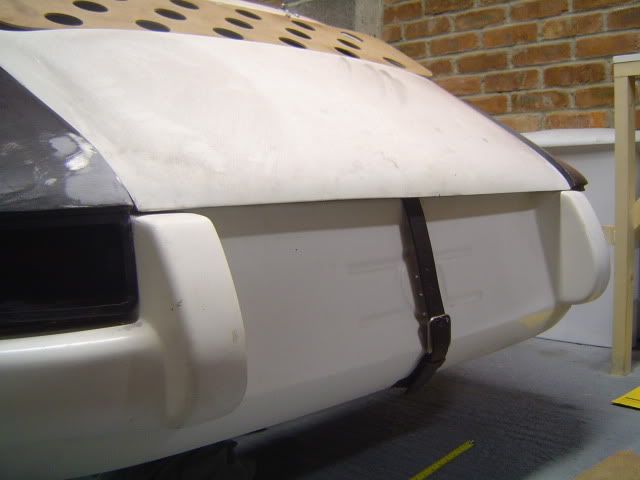
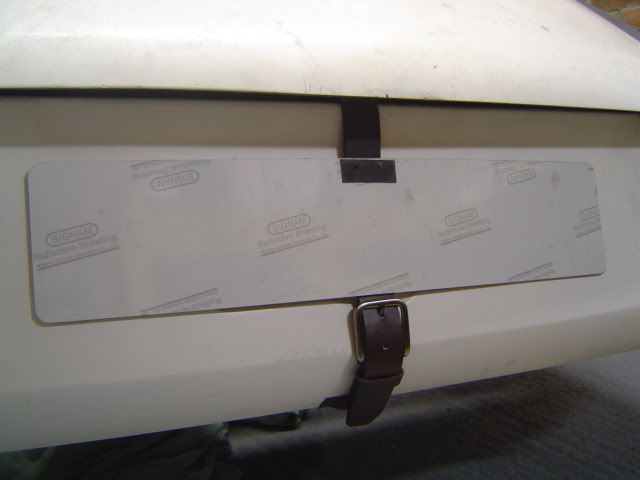
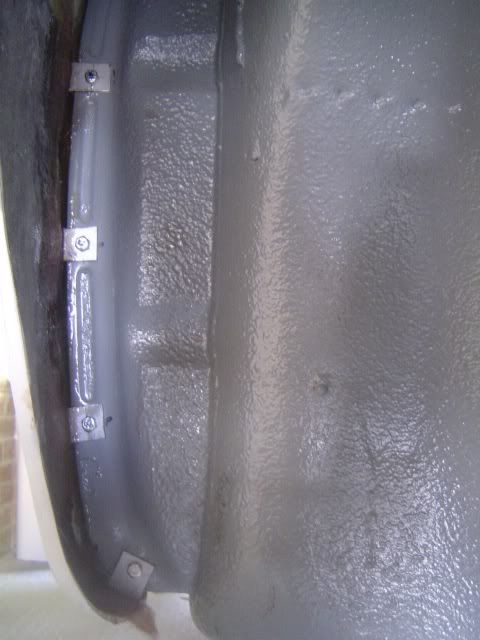
Starting at the back I bolted the rear bumper up to the underside of the light housing and fabricated some new brackets The rear brackets aren't the prettiest or the cleanest fibreglass work, but the end result is hidden and solid which is the most important bit...

Image
Image
Image
Image

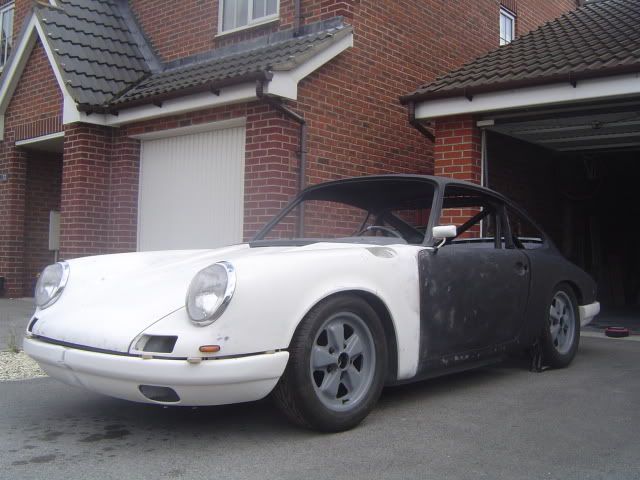
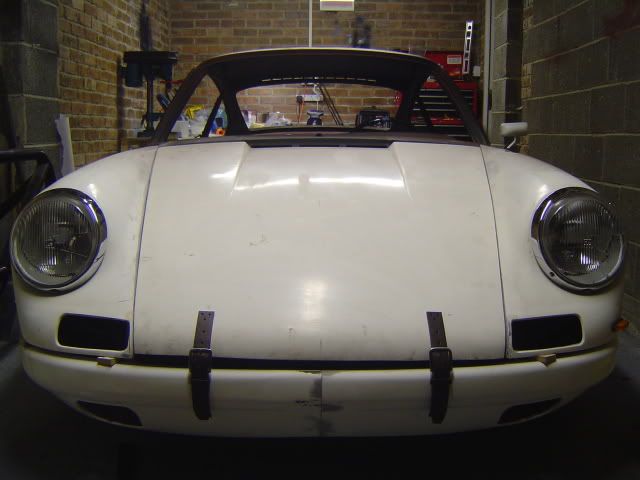
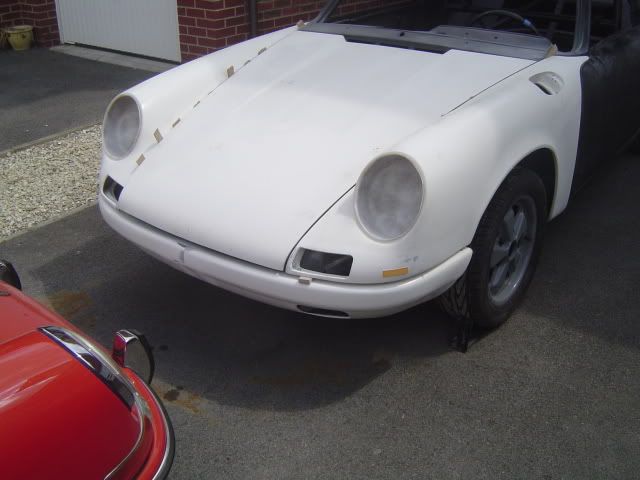
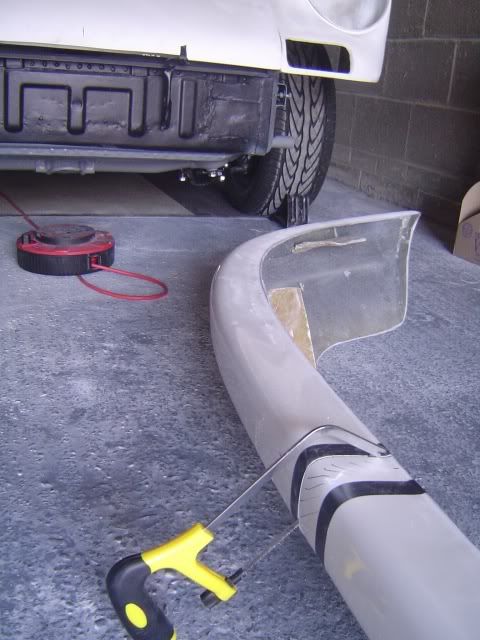
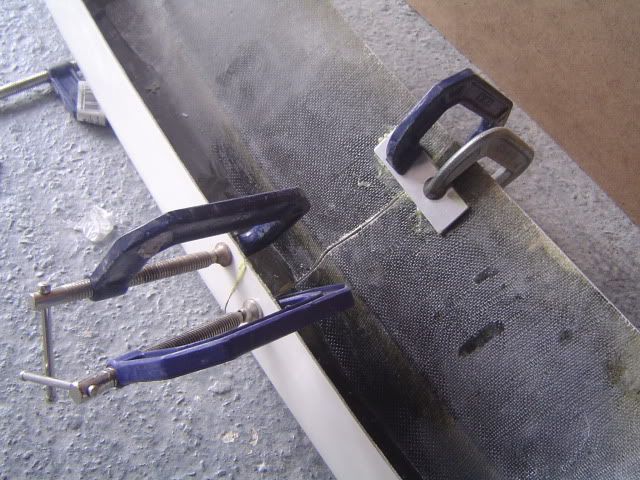
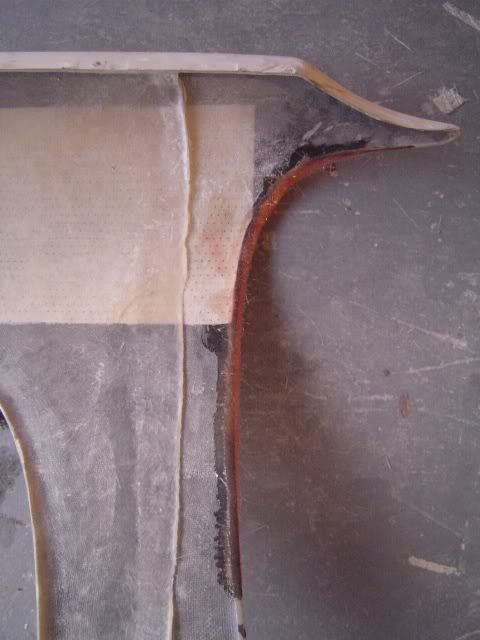
For some reason the front bumper sat about 3 inches too wide on each side, so after alot of head scatching the only option was a cut and shut job! I cut a section out of the middle, braced and then fibreglassed over the backside of the join...

Image
Image


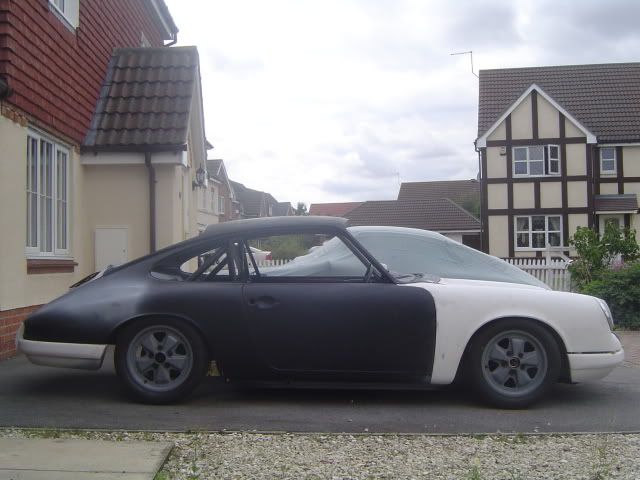
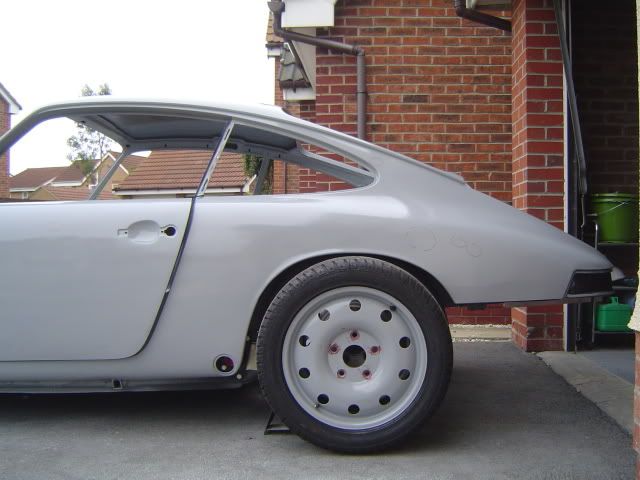
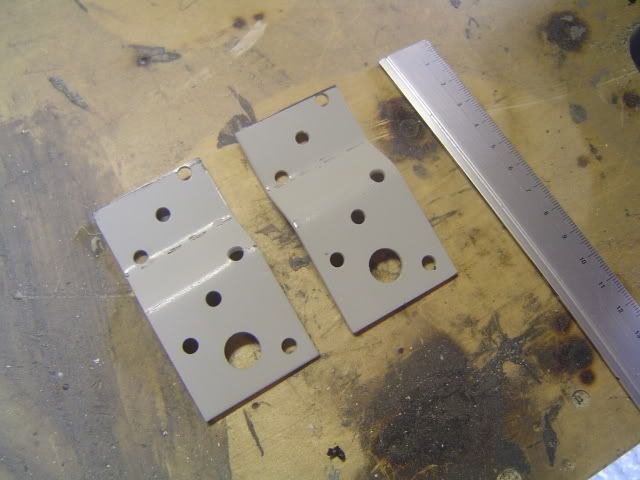
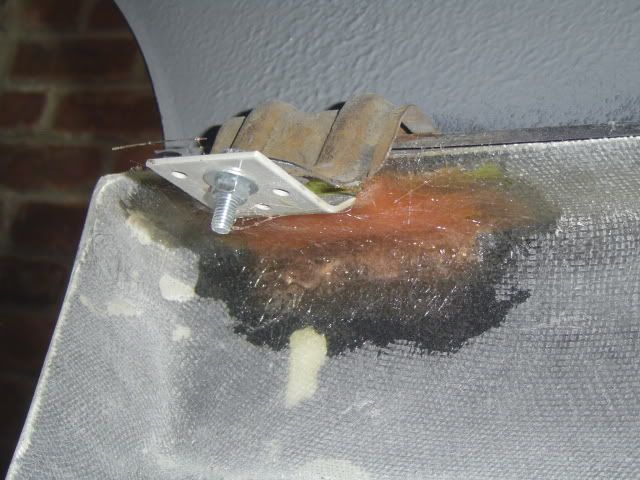
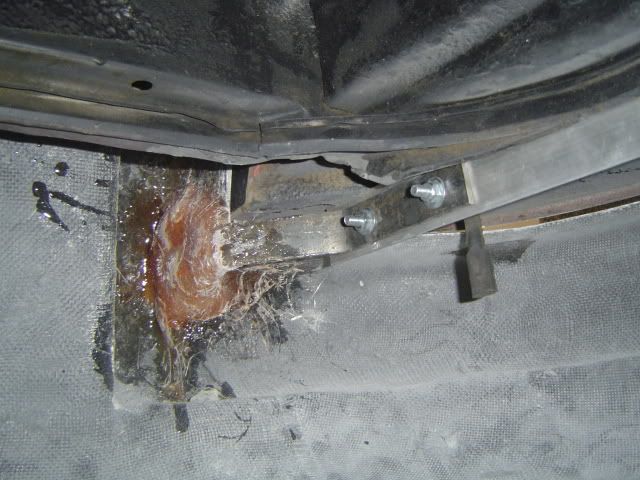
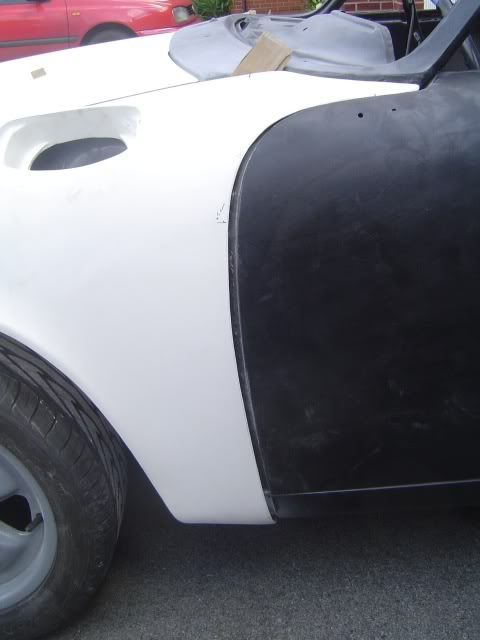
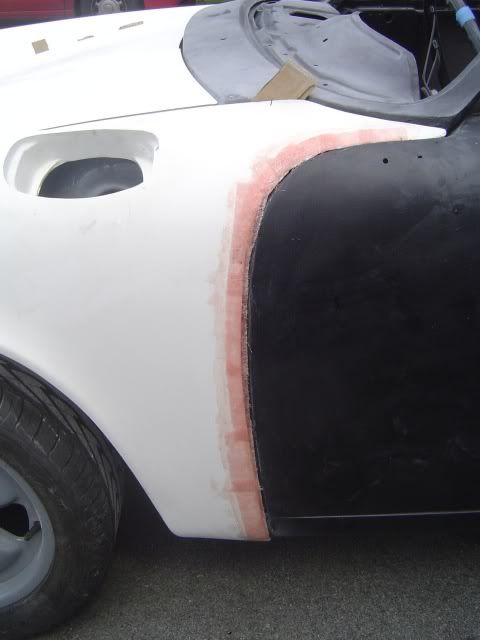
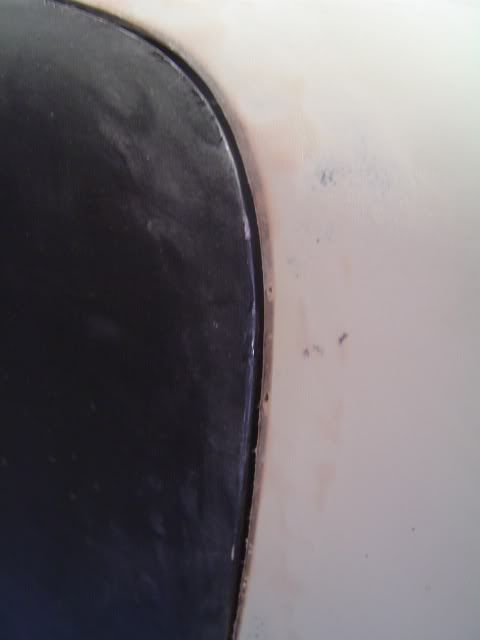
The panel gaps are all over the place, especially where front wing meets door. Alot of this project has been trial and error, and sorting this area is no exception. I built up with fibreglass on the topside and marked the gap then built up on the backside. the brace bar on the back was way off so I decided to cut it off and then fabricate some brackets to attach onto the chassis, its solid and kinda looks lightweight!

Image
Image
Image
Image
Image

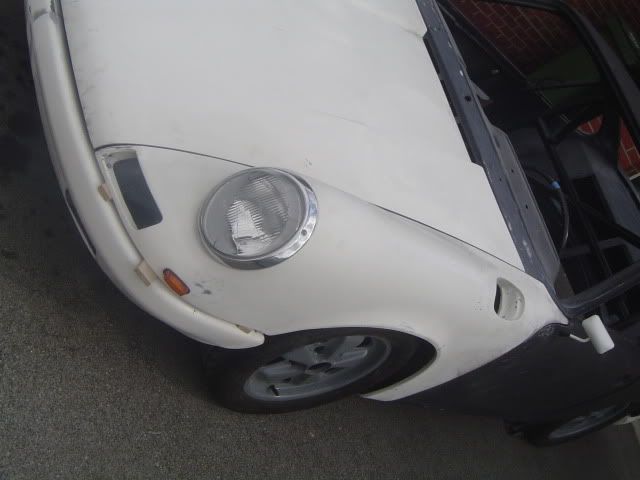
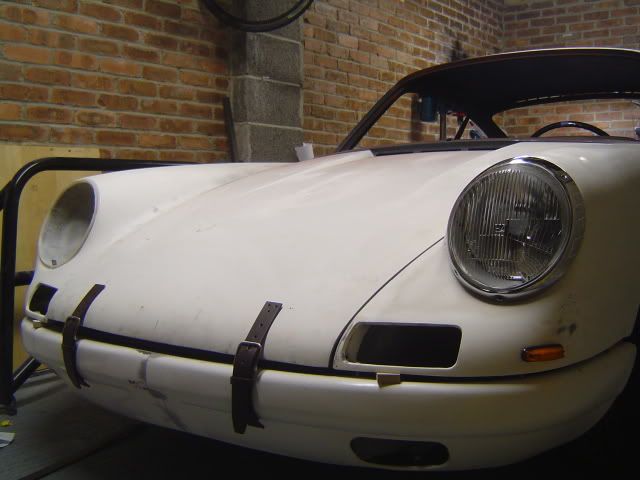
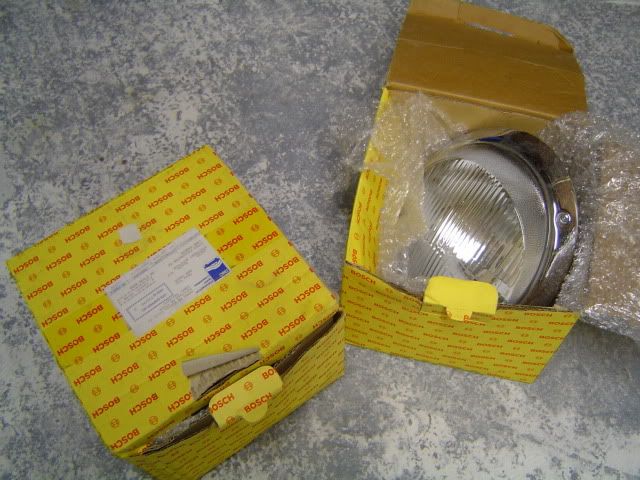
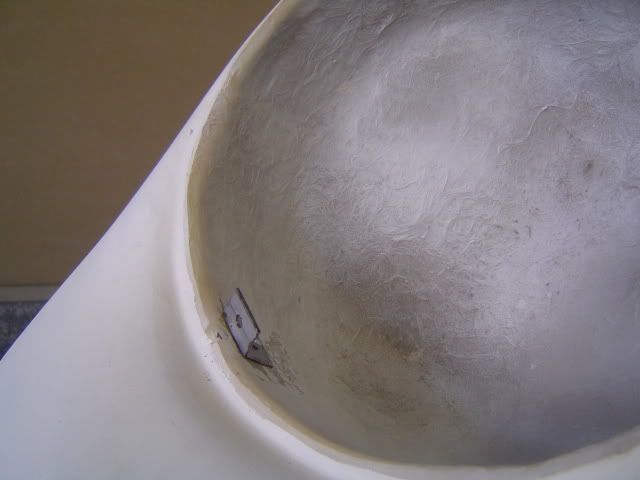
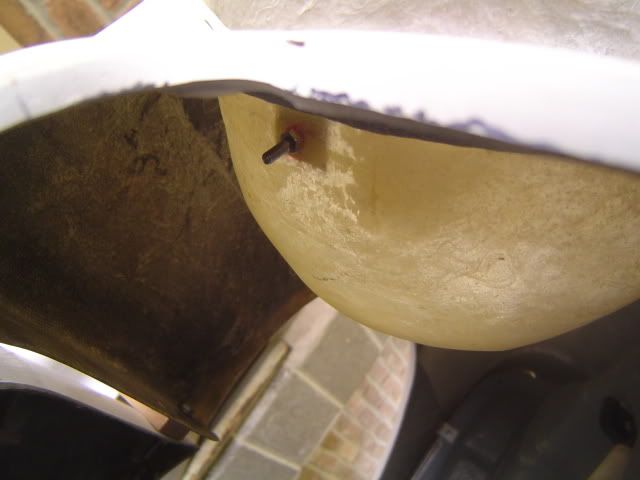
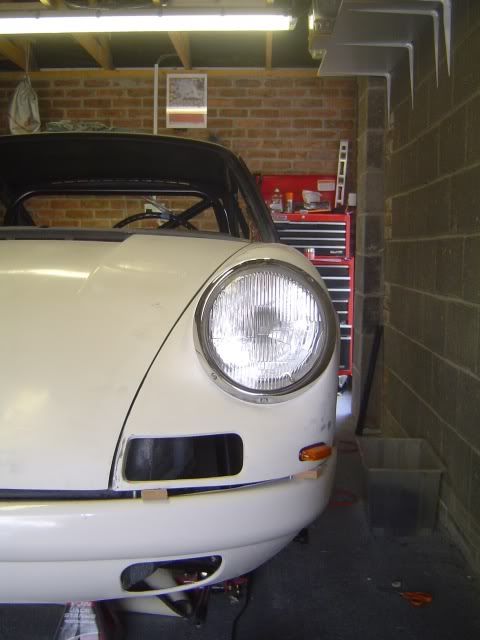
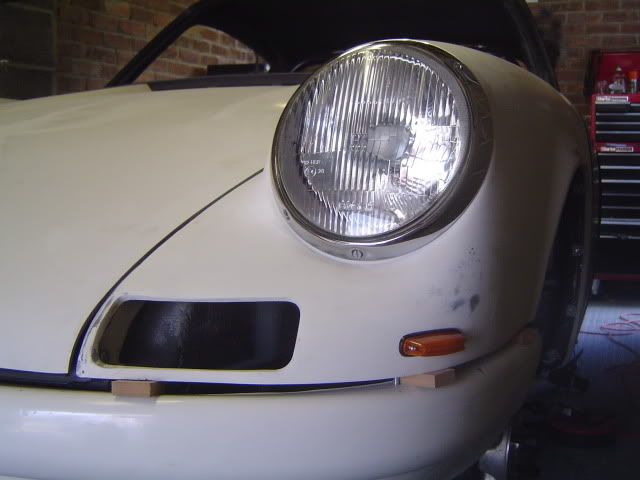
Got some nice H4's sent from a friend in the states, and they fit surprisingly well. Made up some small brackets which are pinned in place and will be glassed over later. Picked up some small indicators which are smaller than the 'R' units but I am happy with the look, its starting to get a face :)

Image
Image
Image
Image
Image

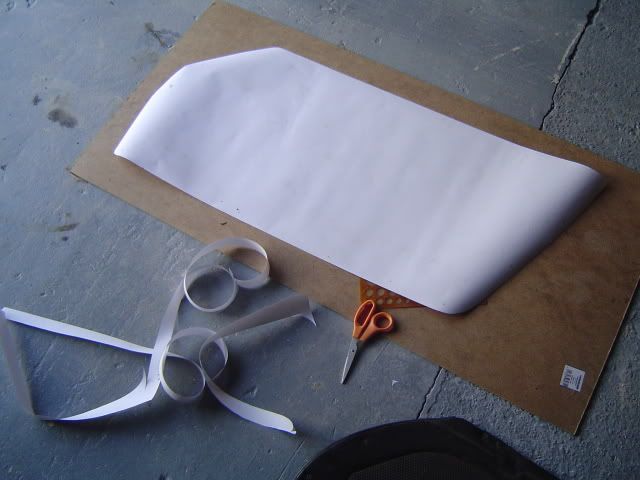
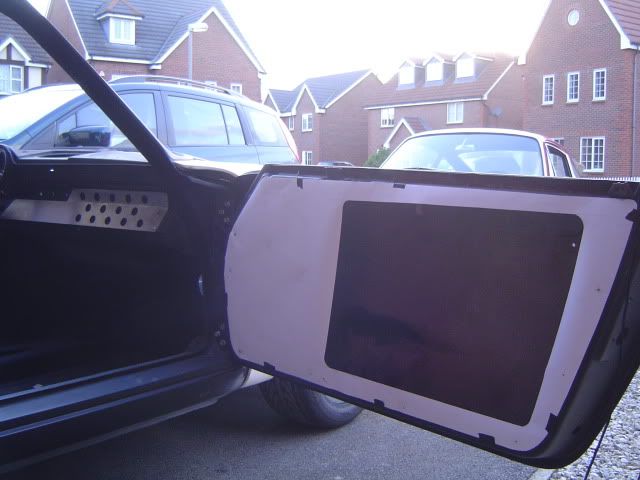
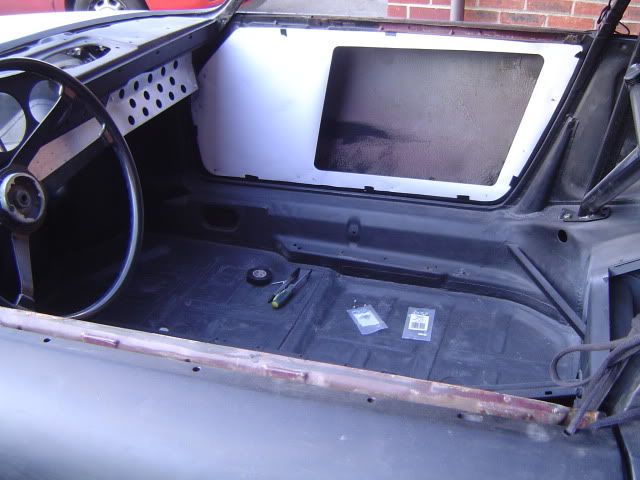
Lightweight door cards mocked up, maybe getting abit ahead of myself but made a nice change from fibreglass dust...

Image
Image
Image

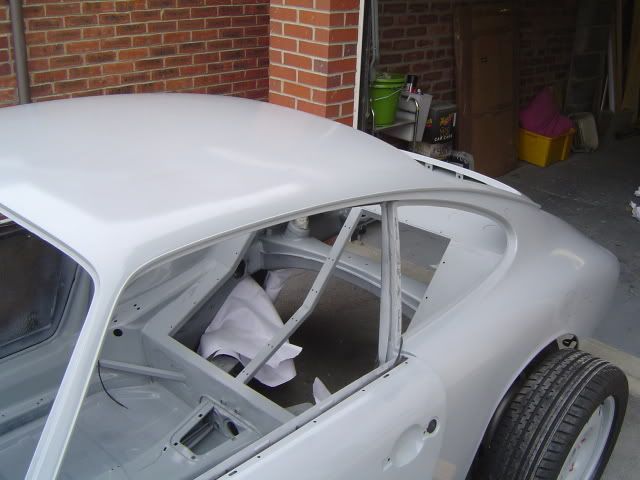
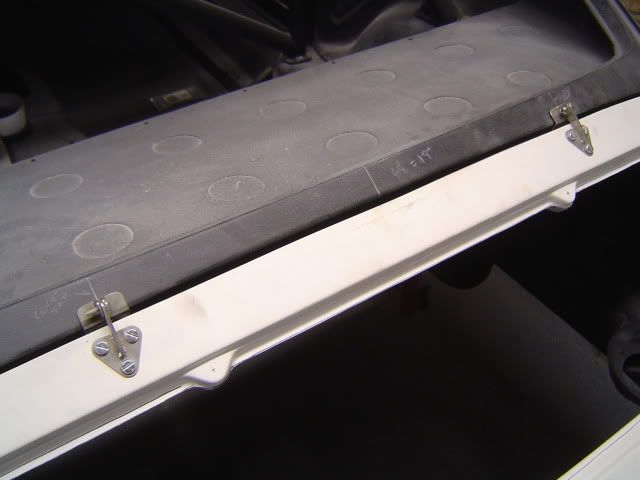
Rear decklid fitted with flip over style hinges supplied by 'lightweight 911', cheers Andy lovely bit of work!

Image

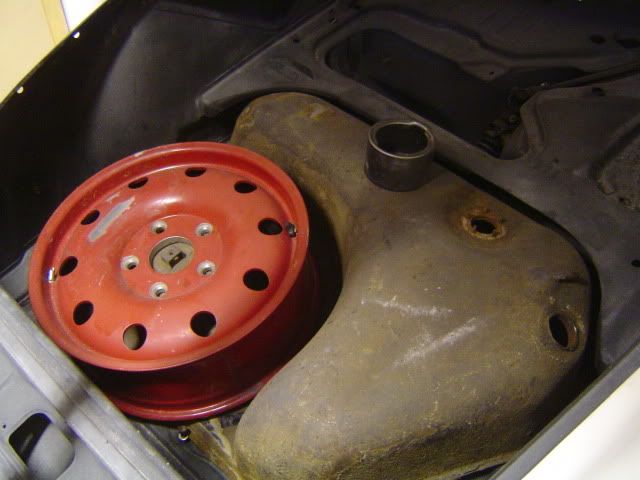
Next big job is to sort out the petrol tank and the idea is to have a centre fill cap. I have an early tank, but the later style fits ok and has the larger/flatter top surface which will be better to but the larger centre pipe in. Need to do some measuring and re-measuring and measuring again...Next step is to plug the welder in and fire up the Clarke 151 TE, had some electrical problems with the house so haven't used it yet...

Image

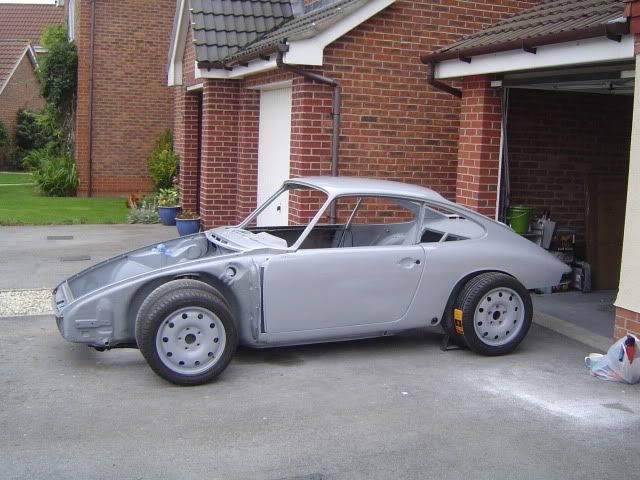
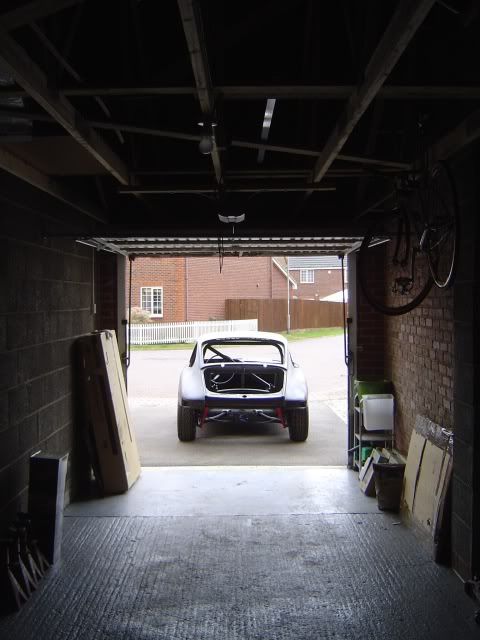
All in all I'm feeling good about the car again, hope to update again soon.....

Posted: Fri Jul 17, 2009 6:58 am
by Mick Cliff
Looking good Chris :wink:
Your patience amazes me....

Posted: Thu Aug 13, 2009 7:18 pm
by jury
Fibreglass fitting finished just need to fill afew holes...looking good in the daylight but probably need to adjust the ride height alittle :)

Image
Image

Bracing bars to support the wings are maybe abit over worked but look kinda trick...

Image
Image

Any thoughts on the wing mirror? I like the idea, and it will be body coloured but maybe its abit too "Fast and furious"

Image

Decklid 'grill' mocked up, plan is to do this in clear acrylic...

Image

Going to try and start painting the interior this weekend...

Posted: Thu Aug 13, 2009 9:19 pm
by Fitz
It's looking good, quite inspiring!

I agree about the ride height...it could do with being a bit lower :wink:

Posted: Thu Aug 13, 2009 9:24 pm
by Lightweight_911
Looking good Chris - some more neat touches.

I'm afraid that mirror has to go though ...

Posted: Thu Aug 13, 2009 9:40 pm
by Mick Cliff
Got to agree with Andy - bin the mirror idea!
On second thoughts - I'd like a closer look :lol:
PM me your address Chris and I'll drop in for a look-see, maybe on Sunday it that's convenient?
Regards

Posted: Fri Aug 14, 2009 5:26 pm
by jury
Got to agree with Andy - bin the mirror idea!
On second thoughts - I'd like a closer look
PM me your address Chris and I'll drop in for a look-see, maybe on Sunday it that's convenient?
Regards
Hi Mick,

Sent you PM.
Be good to meet up...

Chris

Posted: Fri Aug 14, 2009 6:40 pm
by Rickard M
Lovely car! Nice work! The rideheight looks nice!
Maybe you could chrome the mirror? ( http://classiccars.about.com/b/2008/02/ ... -parts.htm ) That would be a cool mix of old and new style.

That engine lid will be nice, like this:
Image

Posted: Sun Aug 16, 2009 9:06 pm
by Mick Cliff
Thanks for your hospitality today Chris.
Was good to see your car in the 'flesh' and to understand how you have got to where you are now and what's to do in the future.
The forthcoming painting method sounds intriguing :wink:
I withdraw my previous comments about the mirror :oops: - I'm now sure that it being white at the moment is not helping. In body colour I reckon it will fit in with your overall concept.
Please keep us aware of your progress as I feel that your approach and methods may well prove an inspiration for other DDK'ers - a little bit of lateral thinking goes a long way!
See you on the C2C, if not before

Posted: Mon Aug 17, 2009 10:23 pm
by jury
Was good to meet up again Mick, good bit of banter! Sorry I couldn't stretch to the full Sunday Roast :wink:
Will be in touch about driving over to St bees for the C2C.

Made up some bonnet tie downs. I had got some rubber 'RS' style hooks but can't get the mounting plate to fit correctly. So went down to the local "everything under one roof shop" and picked up some leather gents belts and made up some leather strap tie downs. Think it gives a nice alternative look, normally seen on 356 outlaws...

Image
Image

I know that one of the 911r prototypes had leather straps between bonnet and wings. I thought of trying this but on my car the combination of fibreglass hood, wings and drilled out hinges has resulted in a slight twisting of the bonnet. So I have fitted the straps over the bumper, this will straighten the bonnet out once properly attached (only double sided tape at the moment), and in my humble opinion looks better balanced...

Image

Rear strap needs some tweaking but should be sorted with the use of a luggage strap hook to guide the strap...just a shame that the number plate gets in the way :roll:

Image
Image

Thanks
Chris

Posted: Tue Aug 18, 2009 9:26 am
by sladey
I like those!

How about 2 straps at the rear - when they use the rubber quick release ones they have two at the rear

Posted: Fri Sep 18, 2009 7:30 pm
by jury
Procrastination over...let the painting process begin.....

I came across this painting method in the U.S and have seen it first hand. The results are amazing all things considered and there are a number of reasons for doing it. The method involves, amongst other things, a high density foam roller, a tin of 'Rustoleum' paint and thinners and some patience, basically I am painting the car with a roller (but I have cheated and used some rattle cans also). The main reason for doing this honestly comes down to cost, so far it comes to about £50, I like the idea of investing the money saved into the suspension (which is already all poly bronze) and Engine etc. The colour palette is abit limited but the RAL 7001 available is perfect for me (the wheels have been powder coated to match). In hindsight the car will probably never really be "completed", so I am willing to give this ago. I'd hate to spend thousands on a paint job only to re-weld or re-modify something further down the line. As long as the paint is solid I am fine, and first impressions look great...

First coat coat went on last night, I wanted to get 2 solid coats on as a good base to sand back. I left it over night and this morning wheeled it out to see the results.....so far so good...

The basic tools...
Image
Image
Image
Image
Image

Some nice reflections and highlights already...
Image

2 coats down, roughly another 8 (and abit of sanding) to go.....

Thanks
Chris

Posted: Fri Sep 18, 2009 8:11 pm
by Mick Cliff
Hell Chris, that's really good.
When you described your proposed method to me I was somewhat sceptical but the results speak for themselves.
You'll have it completely painted by the time you depart these shores!
These's another thread on here that suggests it's impossible to produce a 'replica' for less than £20k (debatable, but I'd tend to agree) - the way you're going you'll have a unique car, to your own vision, for less than £500 :shock:
"I'm going to paint it grey, with a roller" he said - no way!
It will be an inspiration to others! Way to go :lol:

Posted: Fri Sep 18, 2009 9:11 pm
by hot66
looking good :)

No reason painted with a roller shouldn't work .... it's just a matter of spending a bit more time with the wet & dry 8)

Posted: Fri Sep 18, 2009 9:15 pm
by jury
Cheers Guys,

Its going to take abit of elbow grease but it seems solid and stable. I've got some test pieces on metal and fibreglass which have been sanded, wet sanded, and T-cutted. The paint stays stable and the finish is very deep and shiny.

Maybe I can treat myself to a 'special' engine :)

Chris