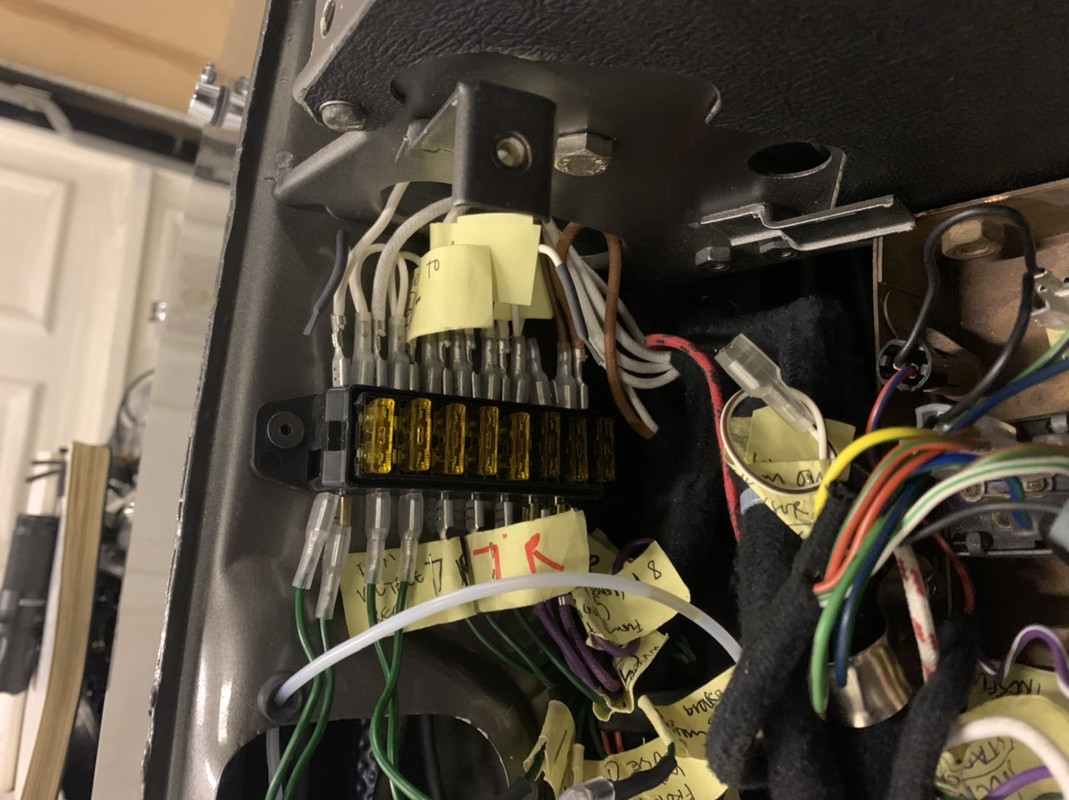
Bored of just wiring for a pastime, I had delivered a bundle of parts to Silvabronz for plating in spring, so once available for collection my Christmas came early ....
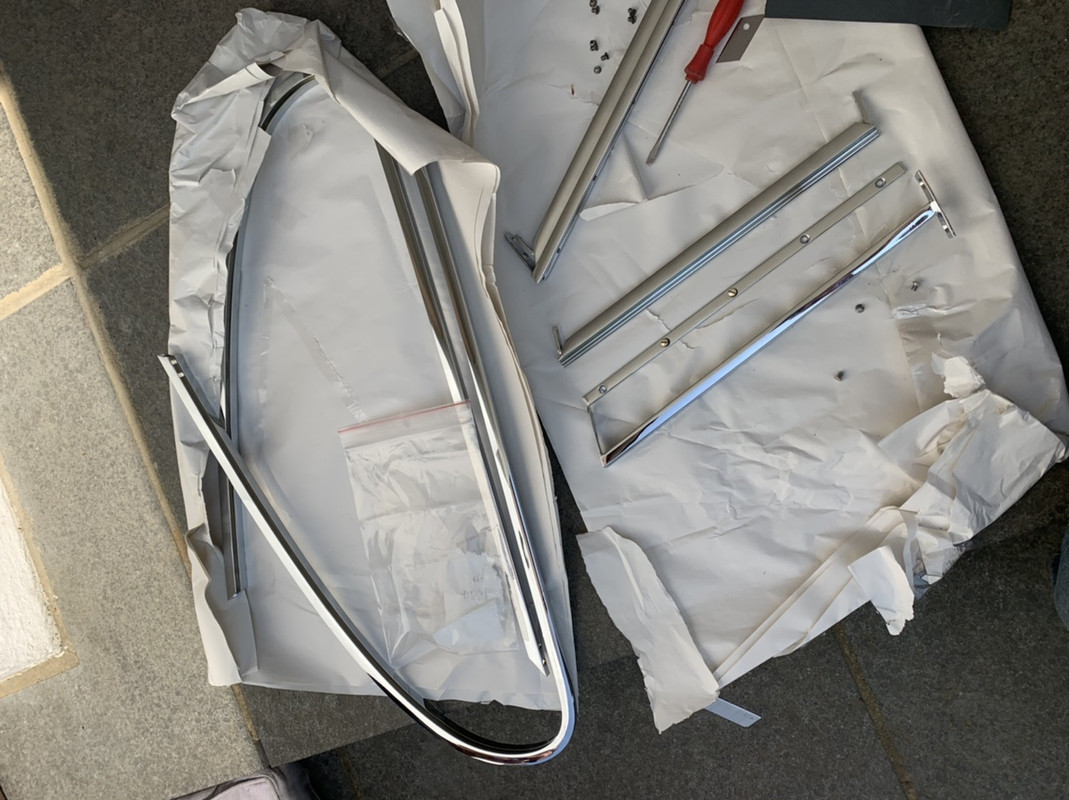
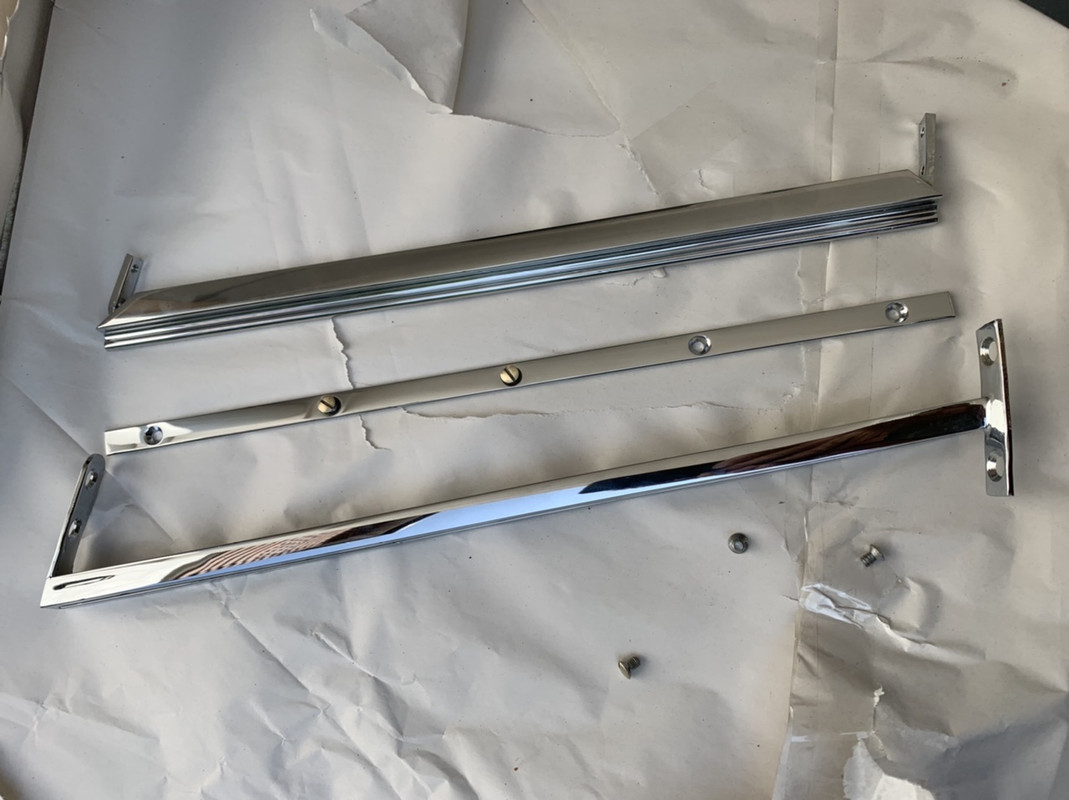
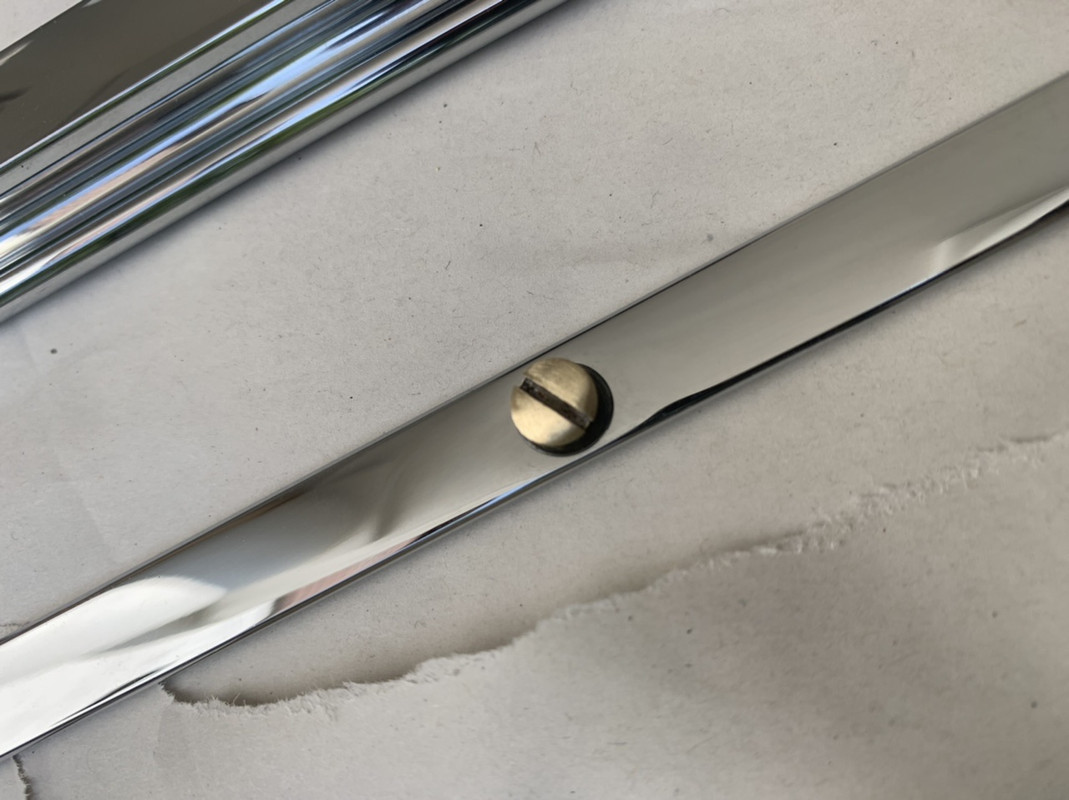
with amongst other things Barry’s unique bumpers....marvellous...time to break the routine and together with the indicator units put some shiny things on....
Err....no..
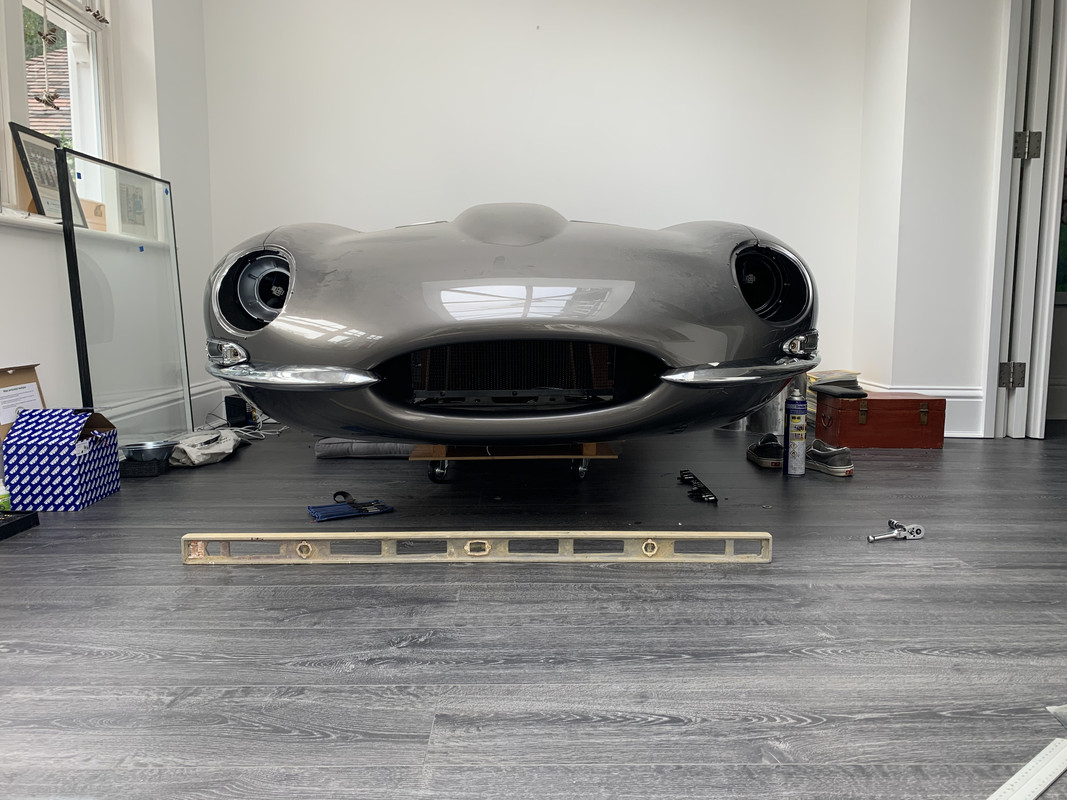
Firstly time to spend many more hours perfecting my self created solution to mounting the bumpers properly...level...symmetrical..and securely
And
Time to spend more incredibly frustrating days re-assembling the indicator units
Bumpers.....hymmm...where do I start...on the positive side an elegant way of hiding a joint between body panels and a rudimentary means to protect that same body
On the negative...a truly rudimentary approach to fixing a complex geometry of double curves in an unyielding chrome finish to another series of handmade elliptical forms...which happens to be hand made
What could possibly go wrong
Oh...and the fixing method is elementary galvanised steel brackets..3/8” and 5/16” bolts...and some crude cast steel wedges...and 2 or 3 hand made irregular spaced holes in the body per bumper
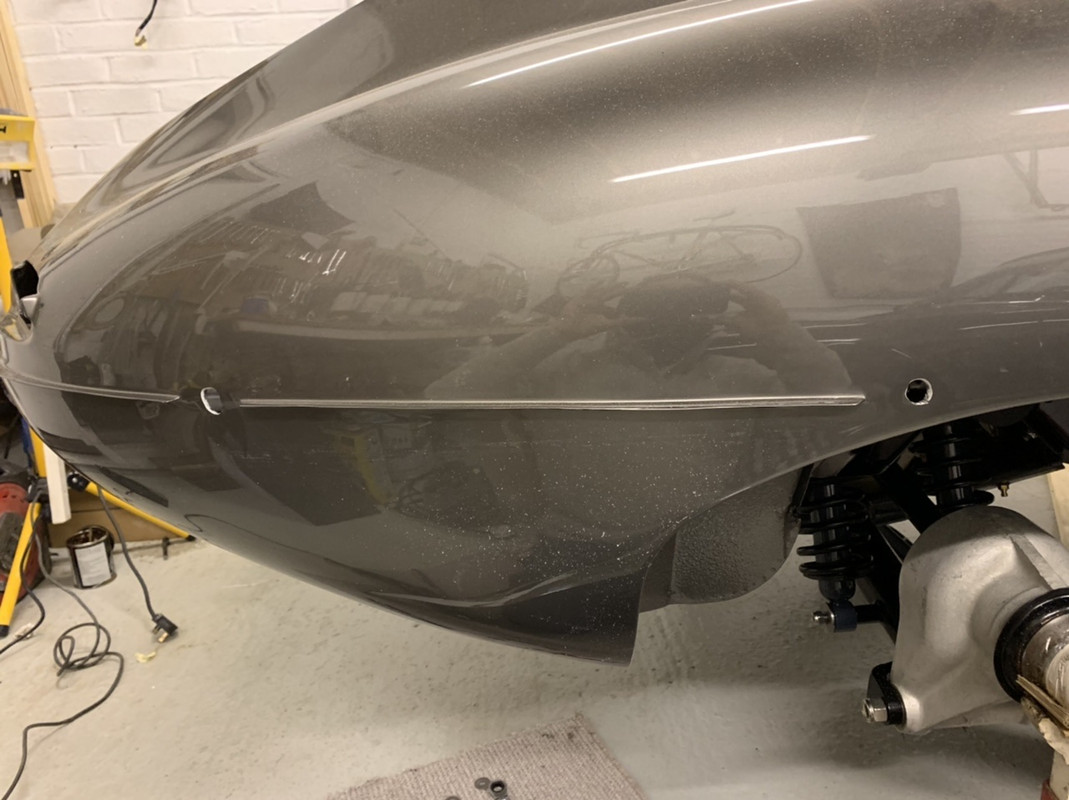
I guess back in 1963 the production line didnt have 20 to 30 hours to fettle. Test..fix...adjust..remove..fettle..fix..check..remove...multiple times..to get the bumpers to be level and symmetrical
....and properly stop water getting in through the holes...
Jaguars solution was effective enough and part of the build to a price regime...once you know this detail you can’t help but spot uneven bumpers on the cars....and as for the water ingress...well that was dealt with via a gasket clipped (...!...therefore scratched and instantly started rusting...) to the chrome bumpers...this tried to seal the gap but also disguised the uneven junction between bumper and body..crudely....
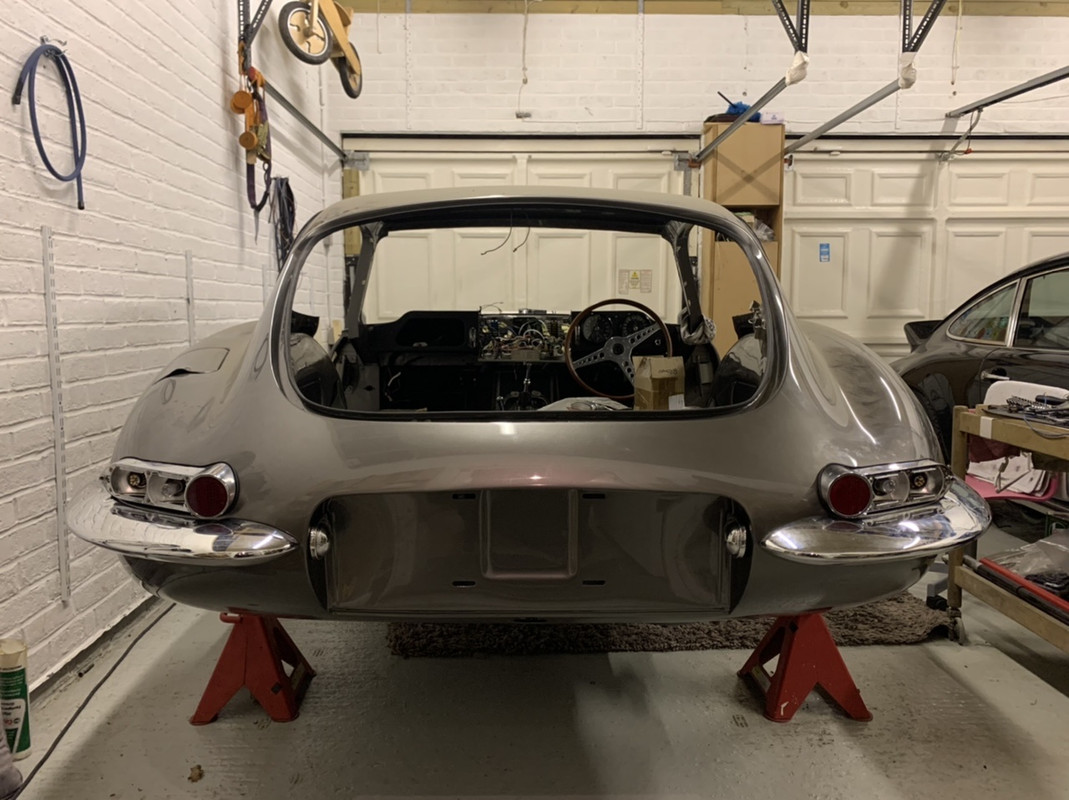
This is a pretty car....notice the front near side bumper how it seems to sag....
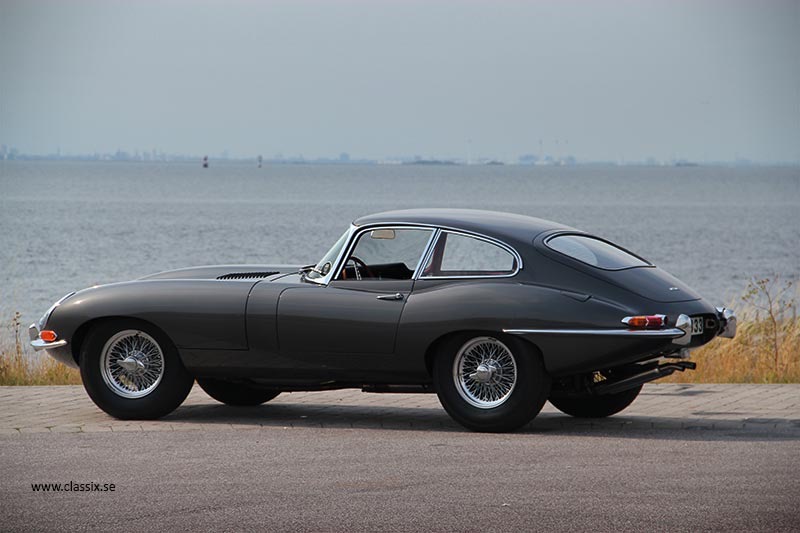
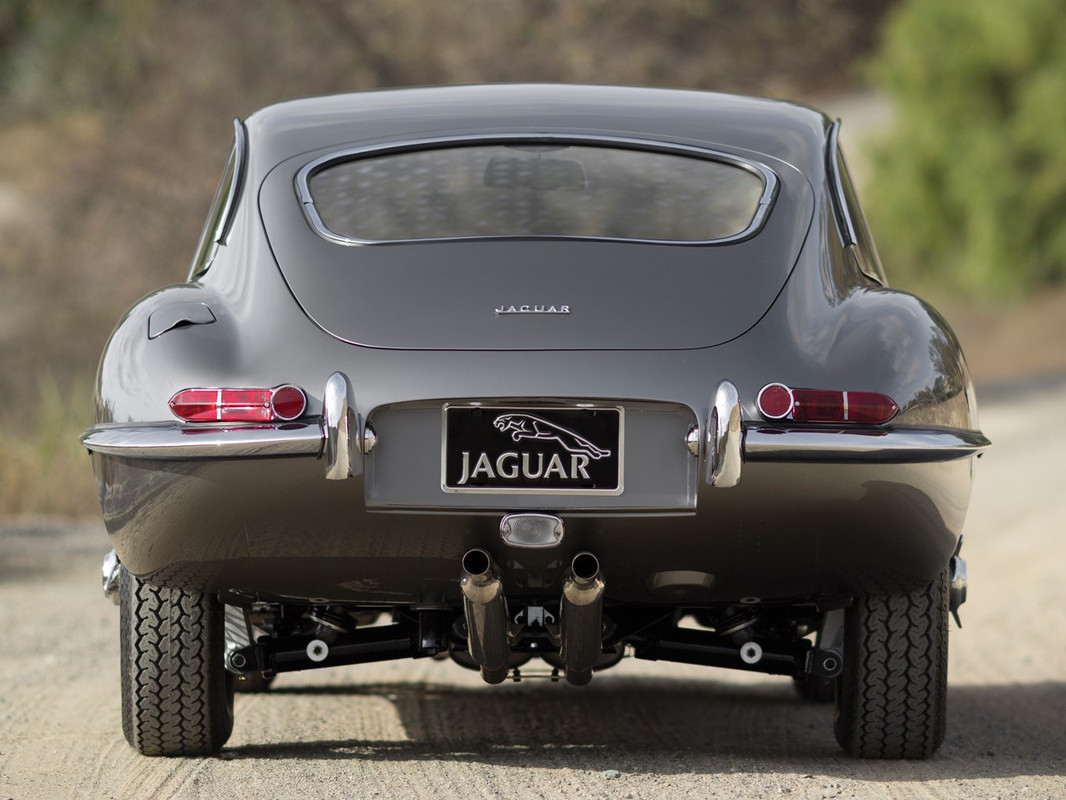
And look at the near side rear..drooping..
My solution was to spend time adjusting the location of the holes to ensure each pair of bumpers were level and symmetrical...the holes were oversized to allow for adjustment...but then once positioned I made a perfect alignment by bonding (sikaflex) 40mm stainless penny washers one at a time to the inside of the body..these effectively ensured the bolts were angled perfectly with the sikalfex becoming the perfect packing profile....then allowing this to harden...removing the bumpers to then fill and smooth the outer part of the hole with more sikalfex to keep water out and then once that had cured I placed a similar 40mm neoprene washer between body and bumper bracket before tightening my choice of stainless bolts
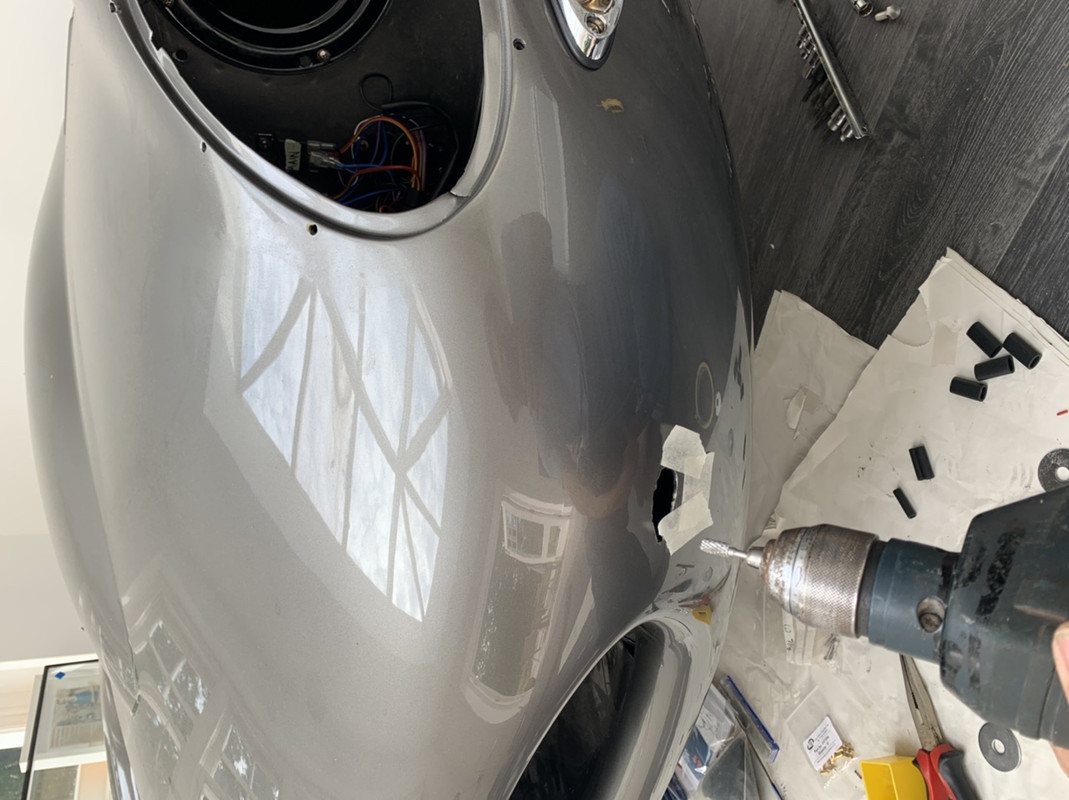
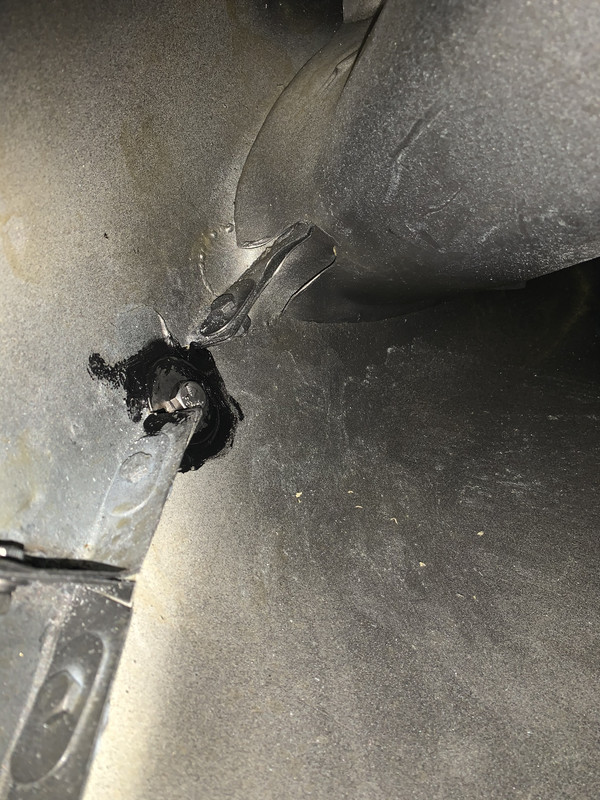
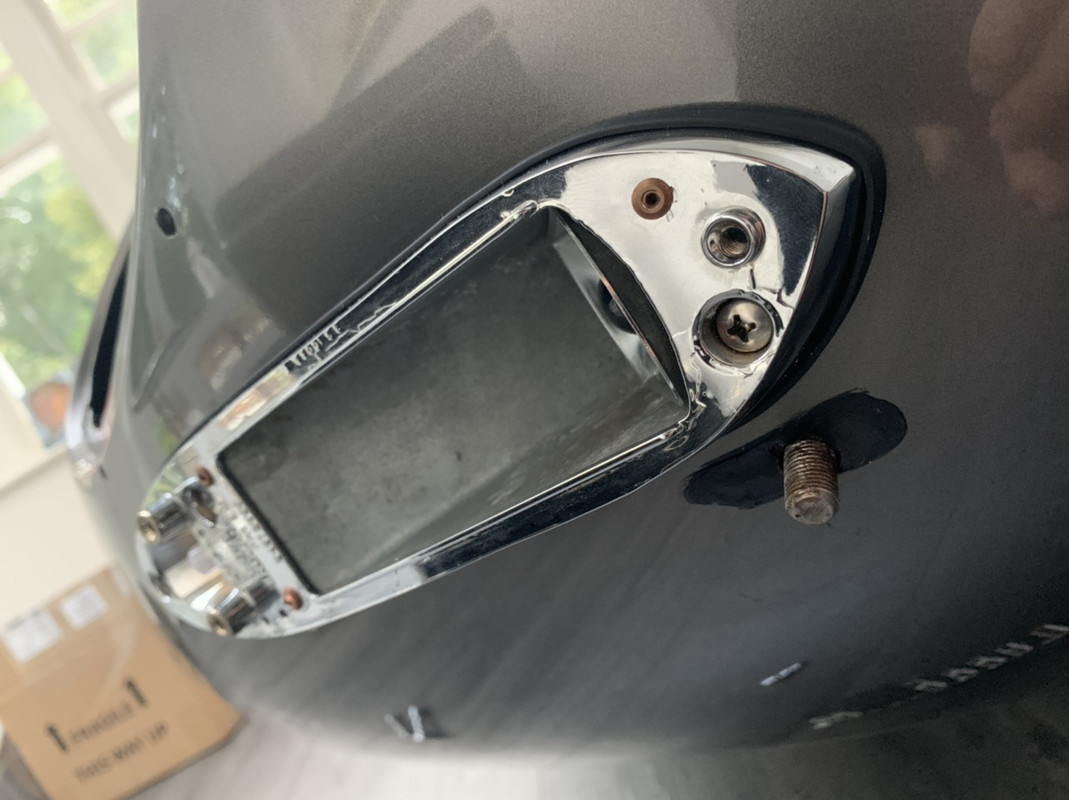
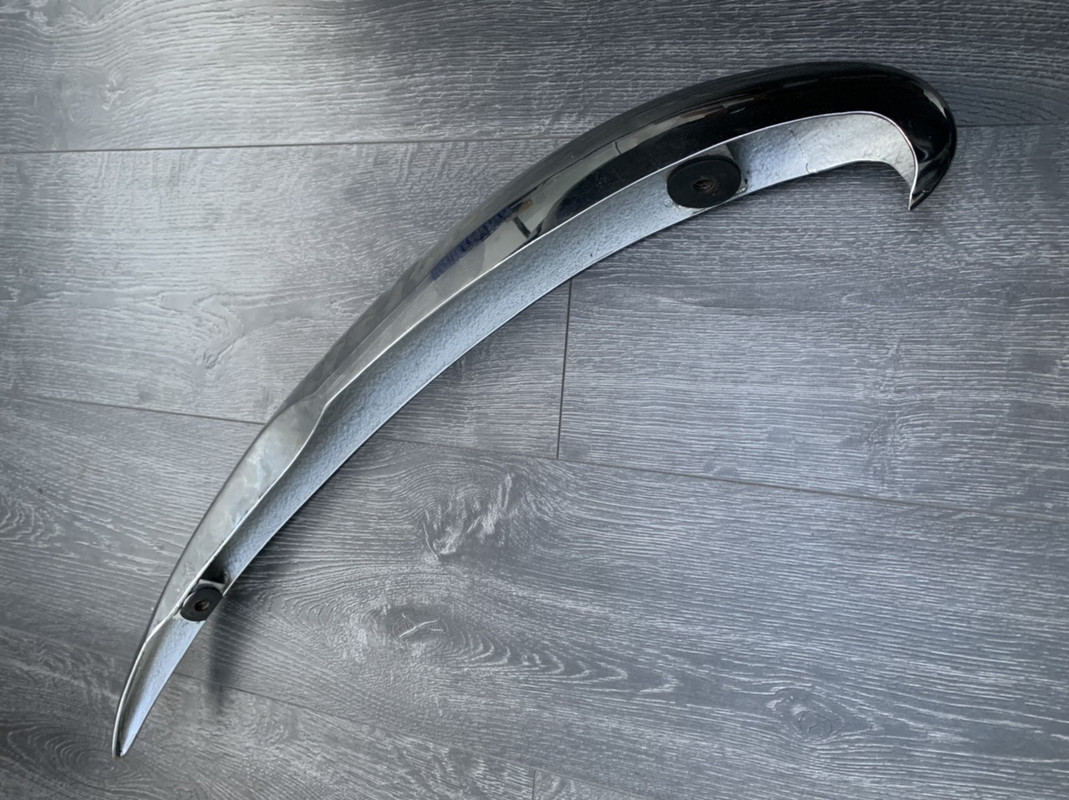
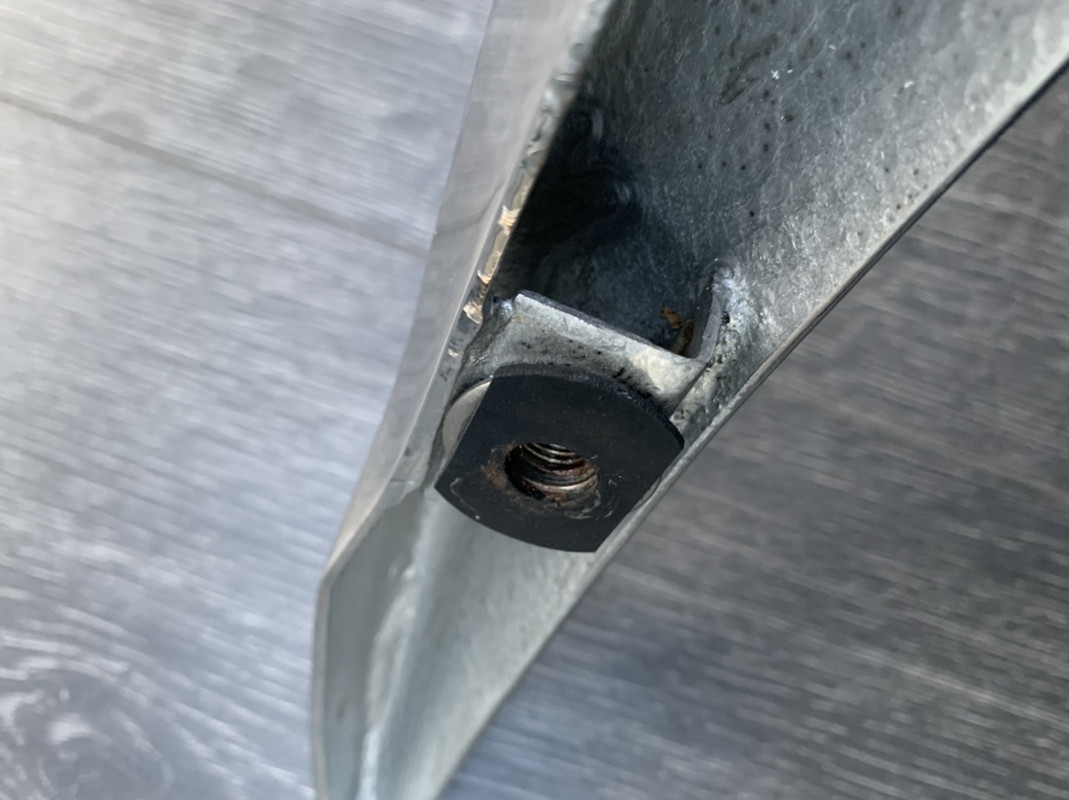
With more stainless washers acting as shims I could then space the bumpers evenly to provide a consistent 2mm gap all round....as Barry and I had painstakingly measured / scribed and ground the inner edges of the bumpers to match the profiles of the finished painted body ( try doing that and not scratching the paint.....)
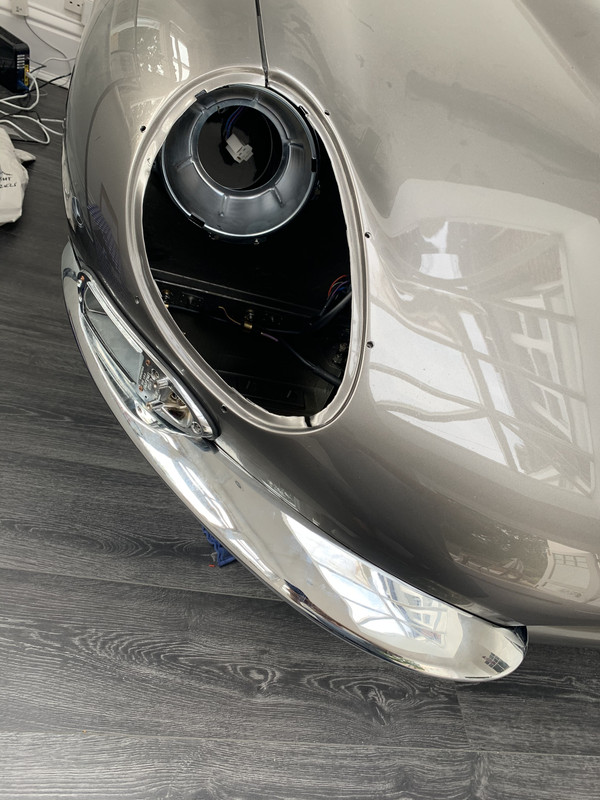
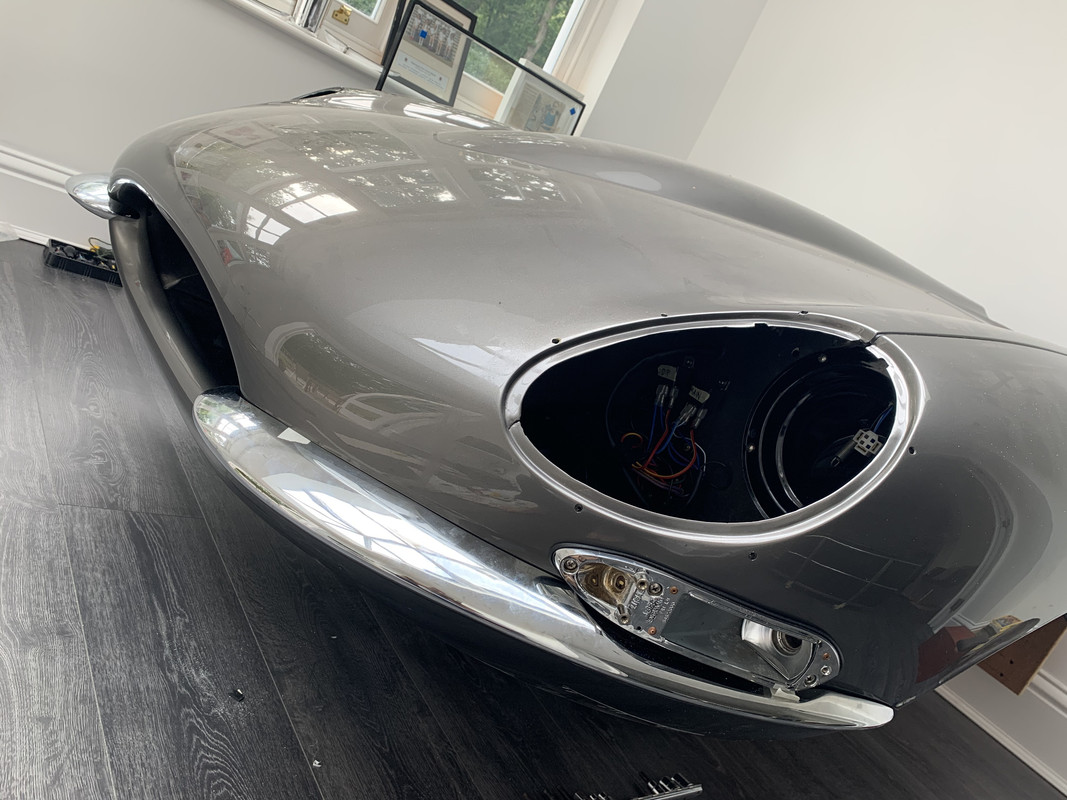
And yes I did use a spirit level and steel rulers to complete the installation....
Indicators
This was probably the low point of the project to be honest....as after all the anticipation of fitting new parts, yet again I had to contend with useless pattern reproduction part quality..but at least i found new solid copper rivets which i was very happy about....
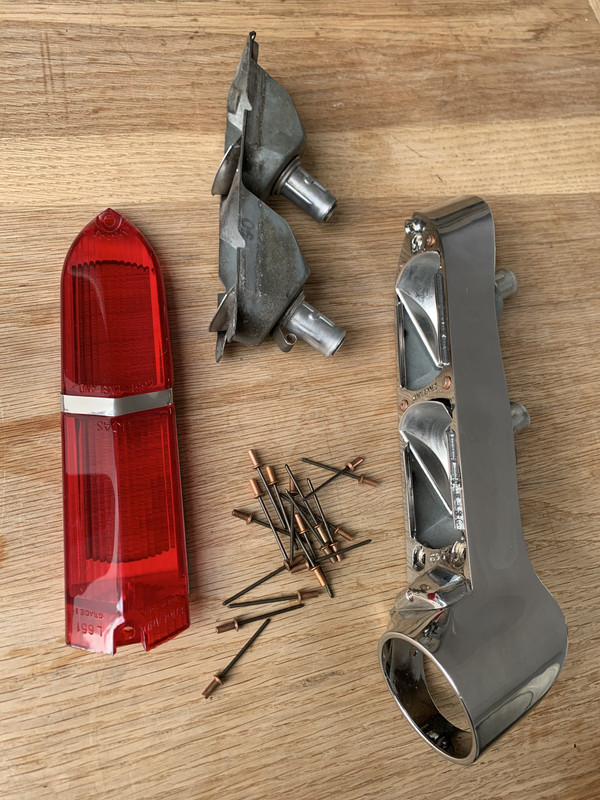
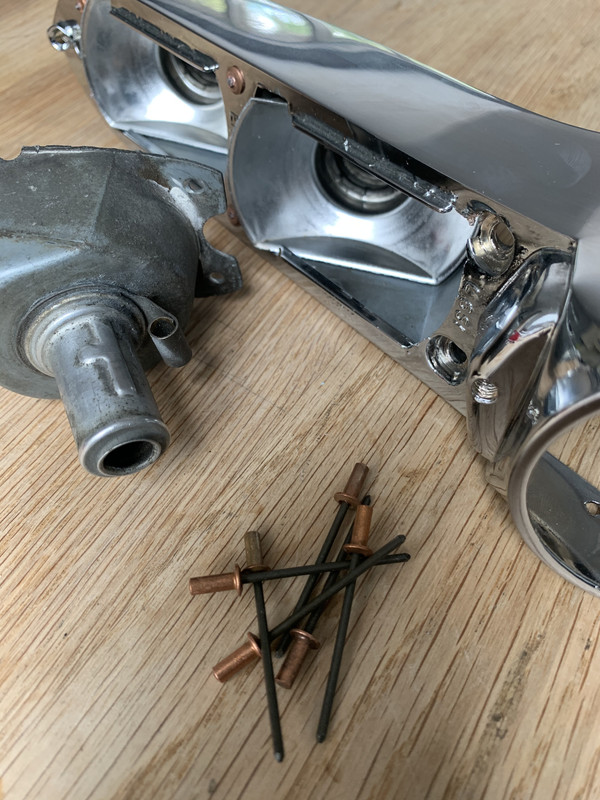
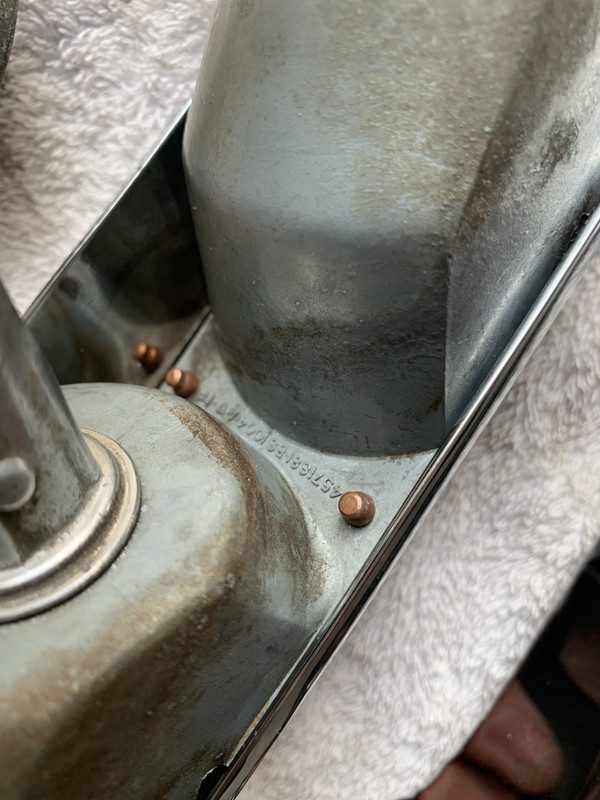
Consider the scenario.....
A hand built car body...
The cheapest from of die cast bodies to hold lights...made by Lucas
Reproduction gaskets to seal the junction between
Ground/polished and re-chromimg of the die castings
Reproduction plastic lenses that need to match original die cast housings
5 pieces...each with their own quality issues...fit issues..and alignment issues
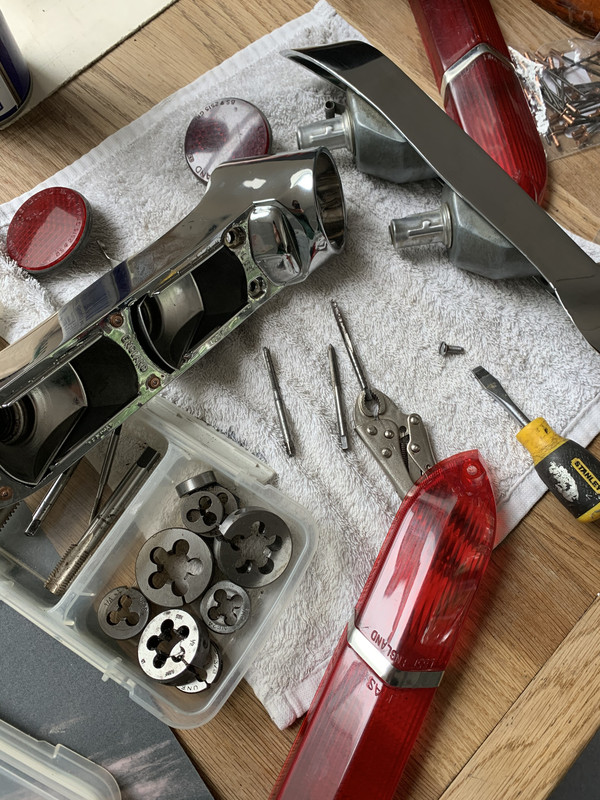
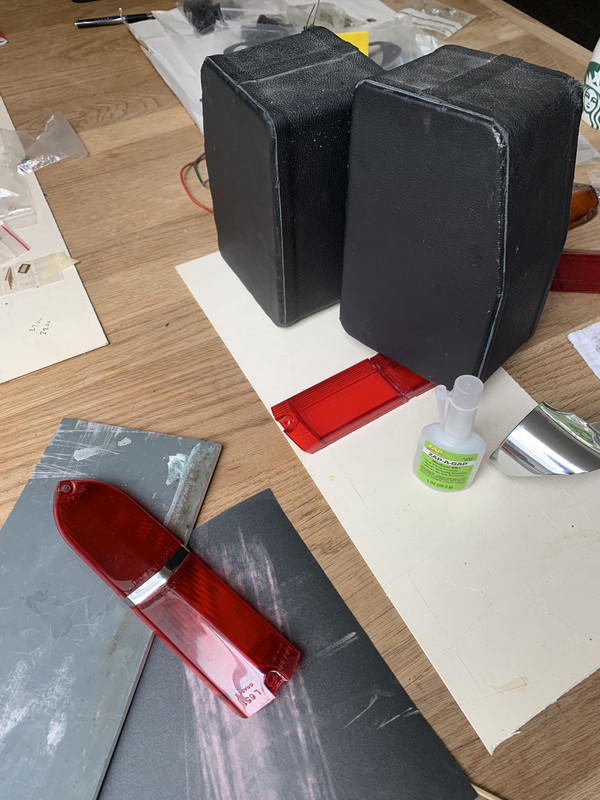
Even the decorative stainless bands on the reports were wrong..originals have a delicate curve in cross section...new are simply flat....
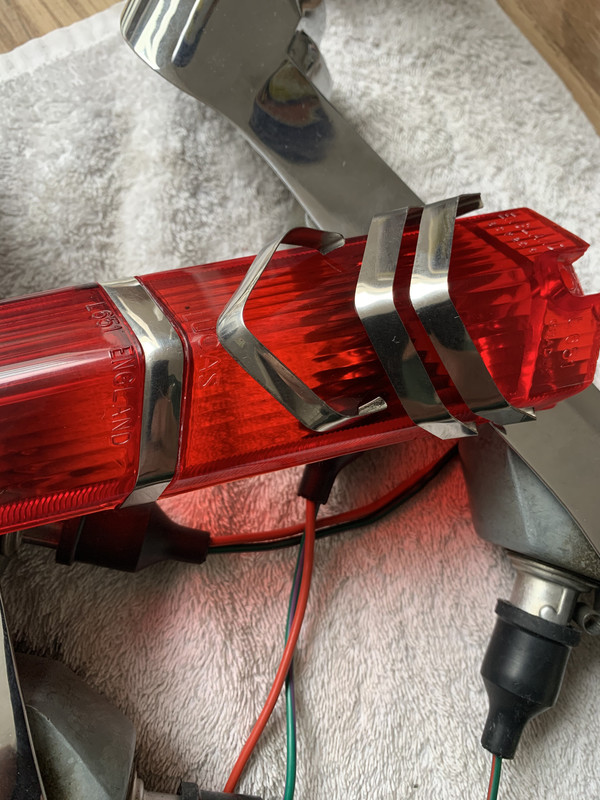
A complete shambles
DC coachworks did their best to match the profile of the castings when prepping their work...but then the cast bodies had to be cleaned and polished for chroming ...which changed subtle curves and added thickness with the triple chrome process....the plastic lenses I had to measure and sand to attempt to pair each side as they were wrong...the gaskets were just simply abominable....wrong shape..wrong compound of rubber ...just horrible...that aside from berating the 2 suppliers I had tried and demanding refunds even though I had butchered their products in a failed attempt to get them to fit...I ended up researching neoprene extrusions and made up my own perfectly fitting gaskets..(!)
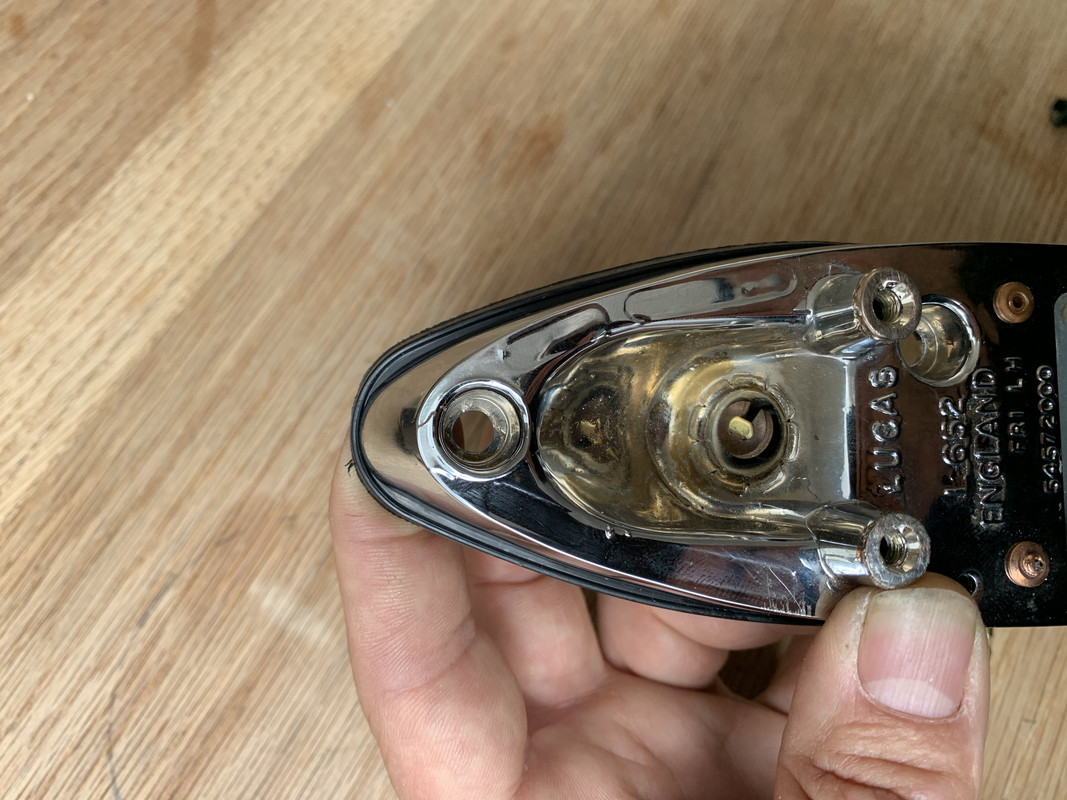
This was the best....of the bad fitting issues....
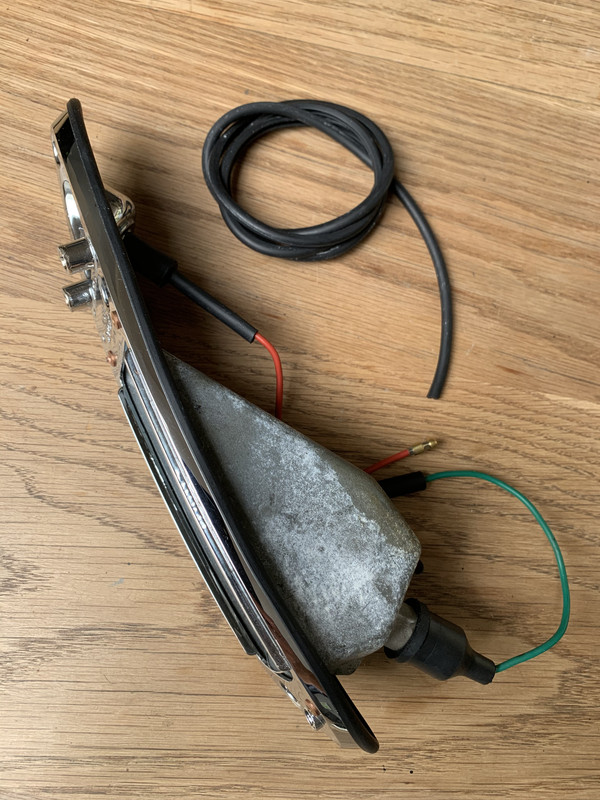
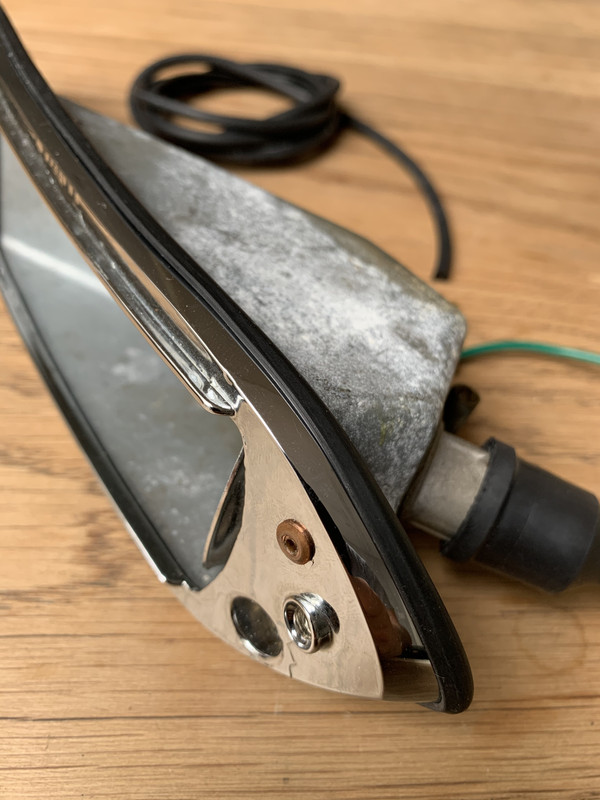
And lastly the lack of adjustment in fixing the die cast bodies to the printed shell...which meant I had to drill the finished chrome bodies to create oversized holes to claw back some kind of tolerance between pieces
Just horrible and so draining for me in enthusiasm
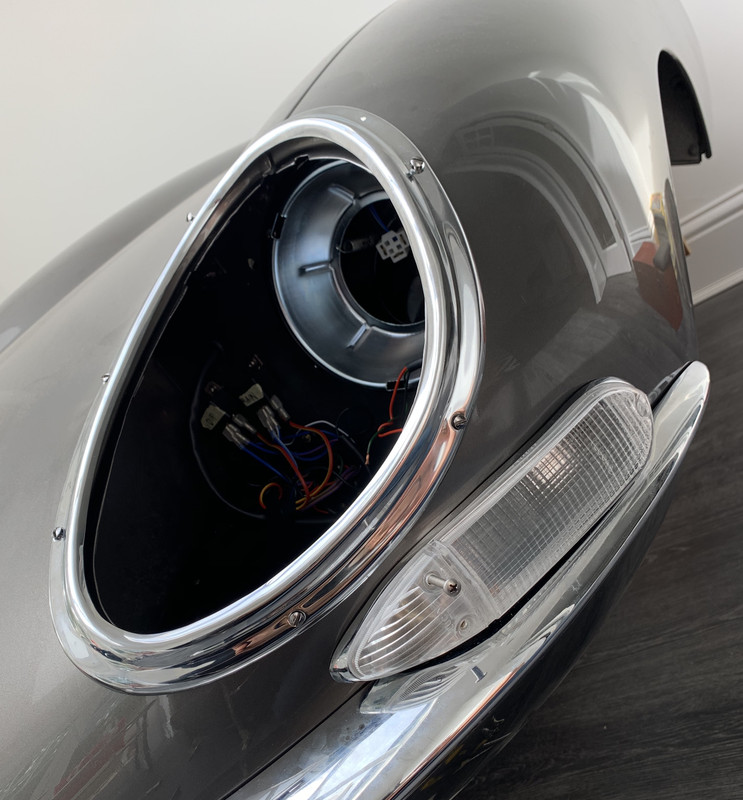
Sure...it’s lovely now...and in time it will he remembered with smiles...but without doubt a constant reminder of the challenge in seeking quality over and above what the car was originally..but also the fact that we are all i the hands so often of poor quality of parts in trying to enjoy our hobby
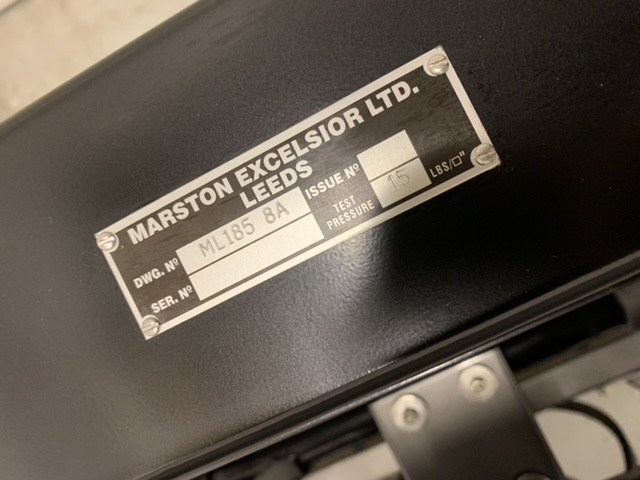
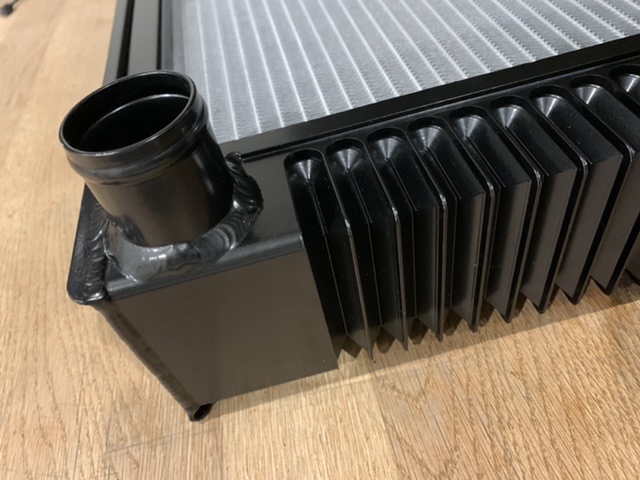
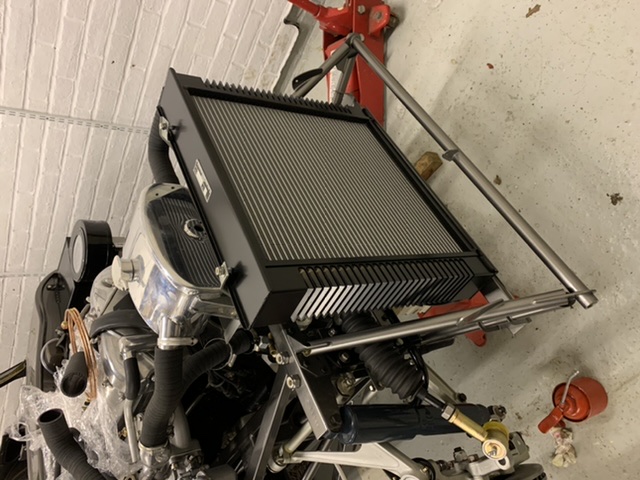
One item of endulgence however....which did fit correctly is the new reproductions of the original aluminium Marsten radiators, which the early cars came with...designed for the engine they were discontinued probably on cost grounds..but they are a thing of beauty..so I spent a great deal on this baby...
And yes....despite all that ..it is still a beautiful piece of automotive design .....