After the initial creative input...the challenge was actually what to do next....the urge to bolts pieces onto the car was driving me mad, but I had three problems
The petrol tank was taking up a lot of space in the study, but thanks to Jaguars esoteric approach to car assembly, the near side rear bumper had to be fitted before the tank could go in (a detail resolved with the later 4.2 series 1 car with an unsightly and visible notch in the underside of the rear bumper)...and the bumpers still needed to be chromed..so no work possible at the back
Nothing could be usefully installed in the middle of the car, the handbrake assembly was bound to get in the way with later stages of the build and the dash needed the loom to be installed first...too fiddly....
But that do don’t stop my son and I from testing the customised seats.....
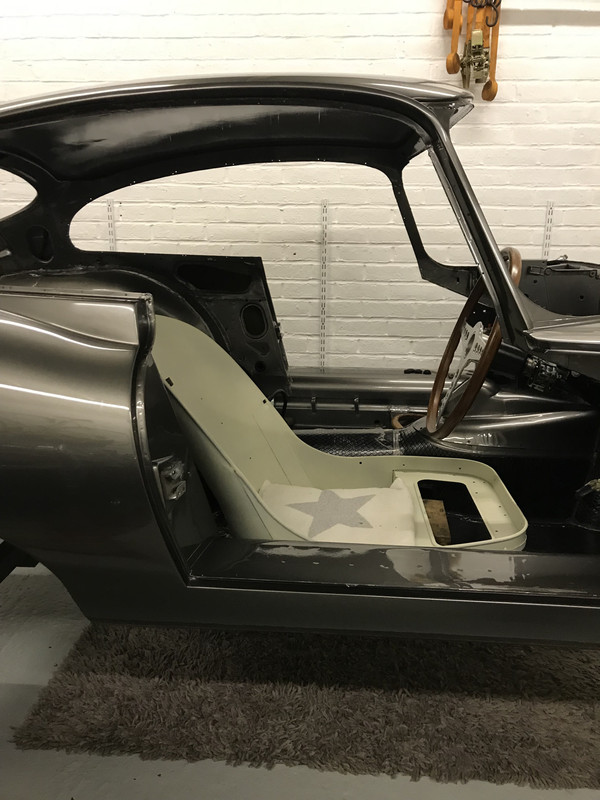
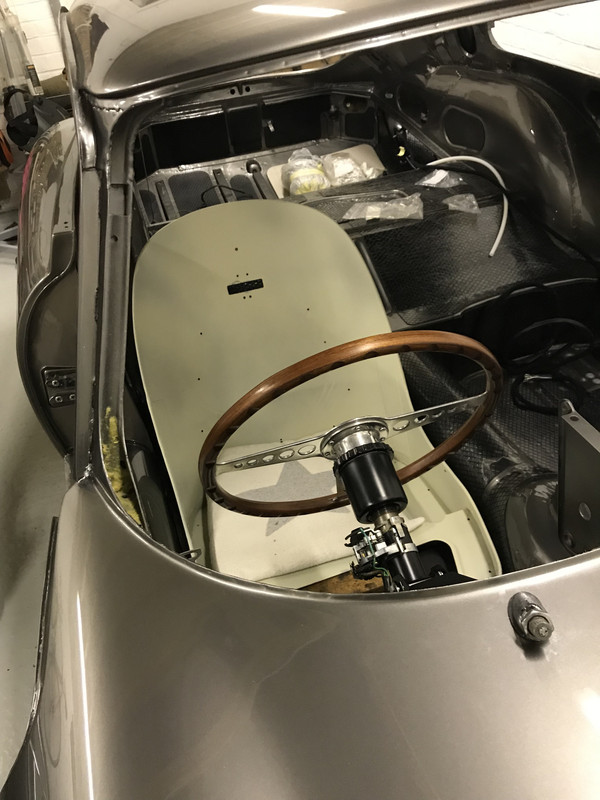
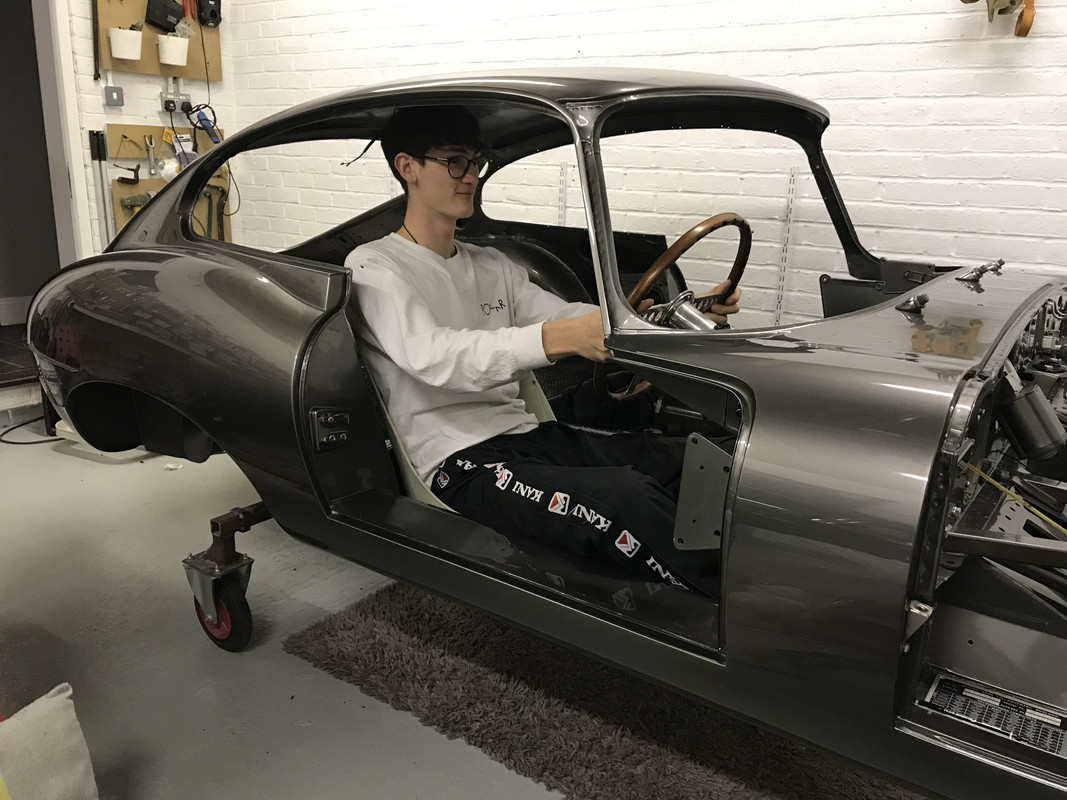
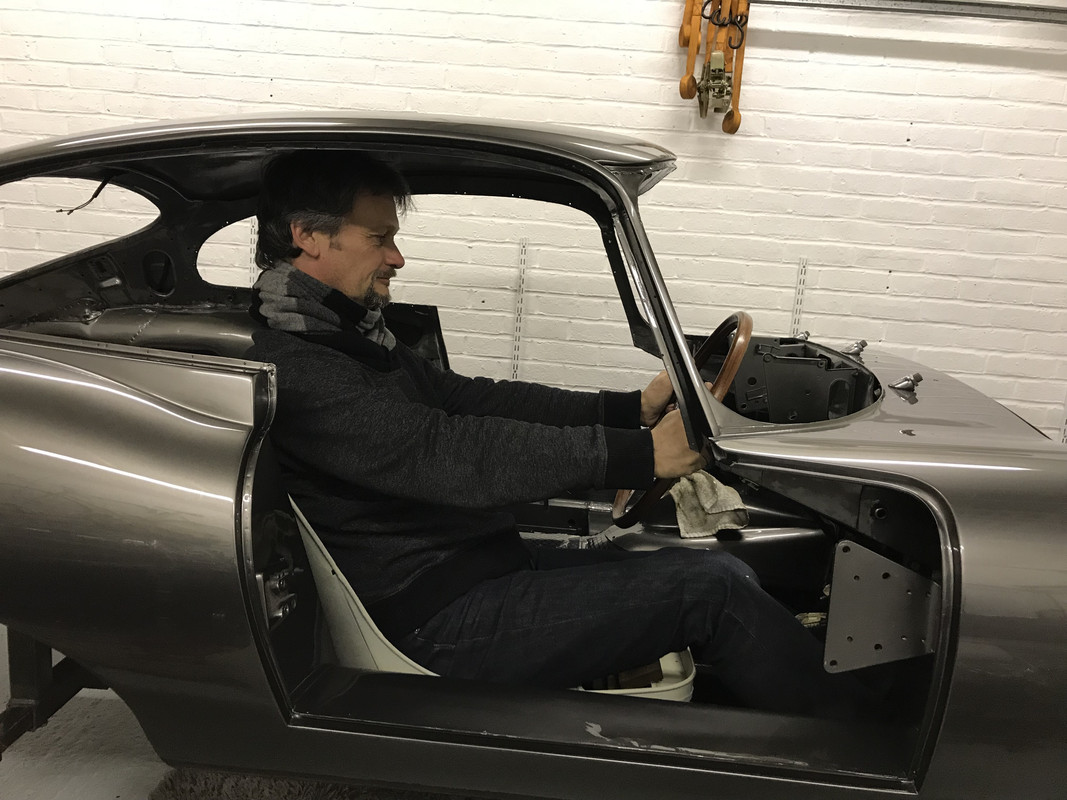
The ideal size of an early EType driver is probably about 5’ 8”...especially when driving a convertible ...I am only just 6’ but in a soft top my line of sight is straight through the upper chrome windscreen trim...
Fixed head cars have more headroom....just...but not a heck of a lot....so early on in the build Barry and I talked about slitting the famous bucket seats and reforming to a more relaxed rake....
Nathaniel is taller than me...but I have a taller upper body...so am a tighter fit...once we get to the matter of upholstery I will have to further investigate a reduction in the depth of foam on the seat bases....
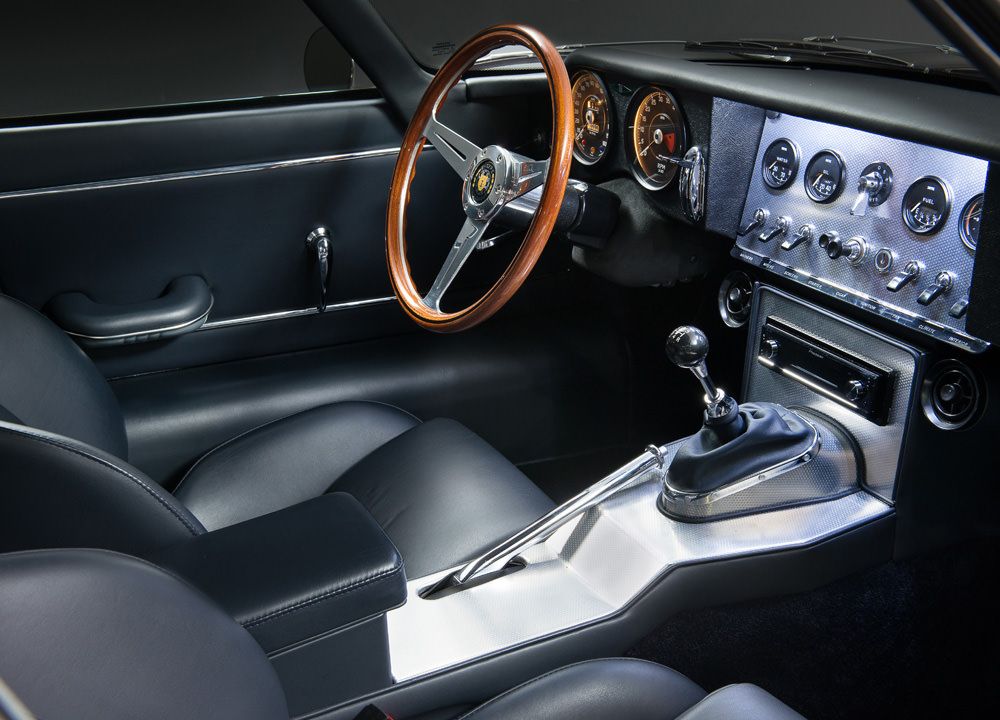
The second steering wheel that Mike had spotted in the passenger footwell...the Nardi..often used by Eagle on their cars it is slightly smaller in diameter, which will aid in the quest for improved driving ergonomics, but whether the smaller diameter will increase the effort needed to steer at low speeds is something only time will reveal...especially as I will be putting slightly wider tyres on the car
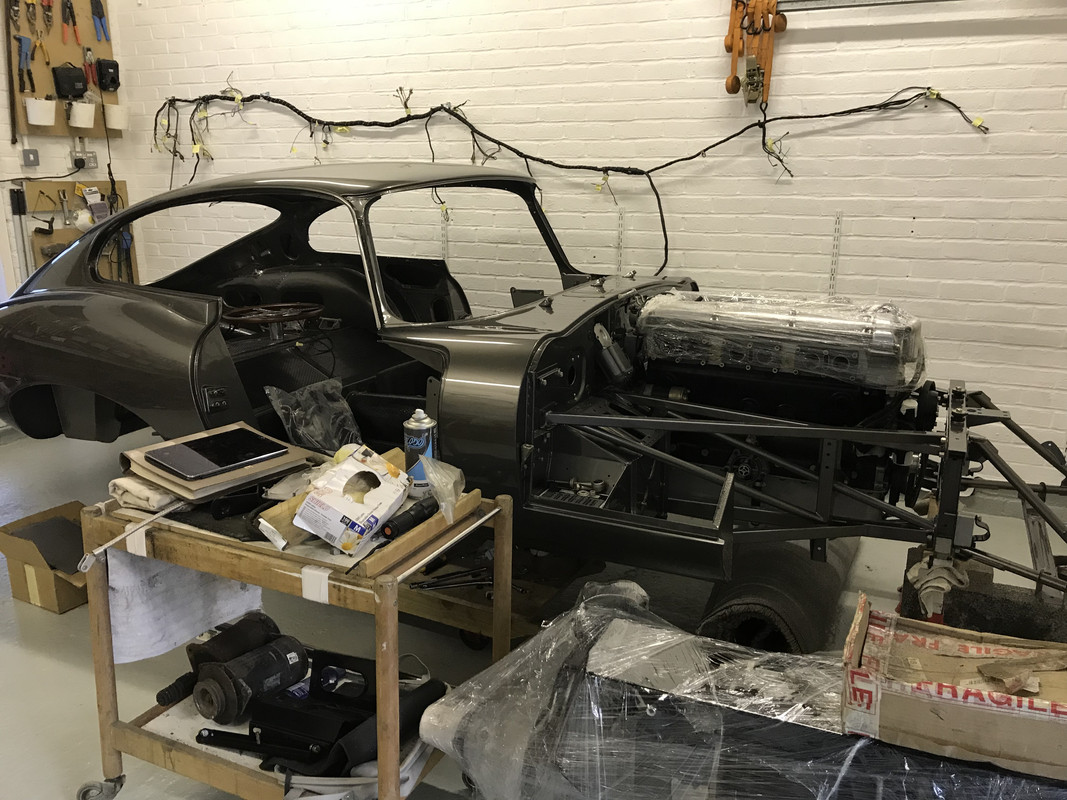
So that left the front of the car....and with an impending installation of 270 kilos of England’s finest metalwork, small delicate pieces of ancillary items were not helpful in the engine bay
So....kind of obvious what had to happen next
Correct...
pick up the phone and call the man for the job
The actual physical installation of the engine is/was very easy....
There are 3 ways to do this....over the top....from underneath...or take it straight on....top requires nerves of steel with the engine balanced above a freshly painted car...underneath needs a scissor or multi post lift...straight on is arguably more fiddly......but less stressful....and there was the small matter of me wanting to inject all the engine frames with wax oil first....
The E Type was unbeknown to its designers ultimately to fail of the developing crash test techniques of the 1970’s....with a completely rigid front structure, there was never going to be a solution to providing the eventual needs of crumple zones...and that rigid frame was/is basically made from brazed bicycle frame....0.9 or 1.2mm of Reynolds finest to be precise...so it needs inner protection.....otherwise known as Waxoil....
Taking the engine frame apart was simple...reassembly took a while longer as we built the frames around the engine...and I also needed to maintain certain OCD standard and align bolt heads...
Suffice it to say about 8 hours separated these 2 photographs....
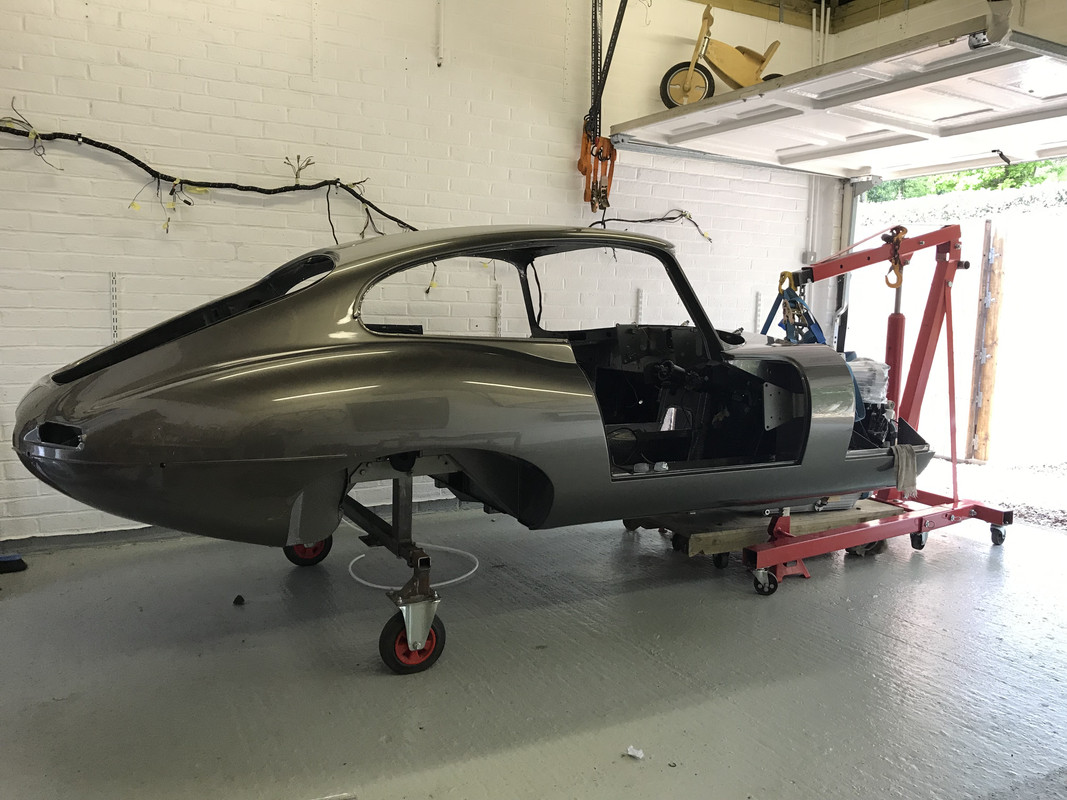
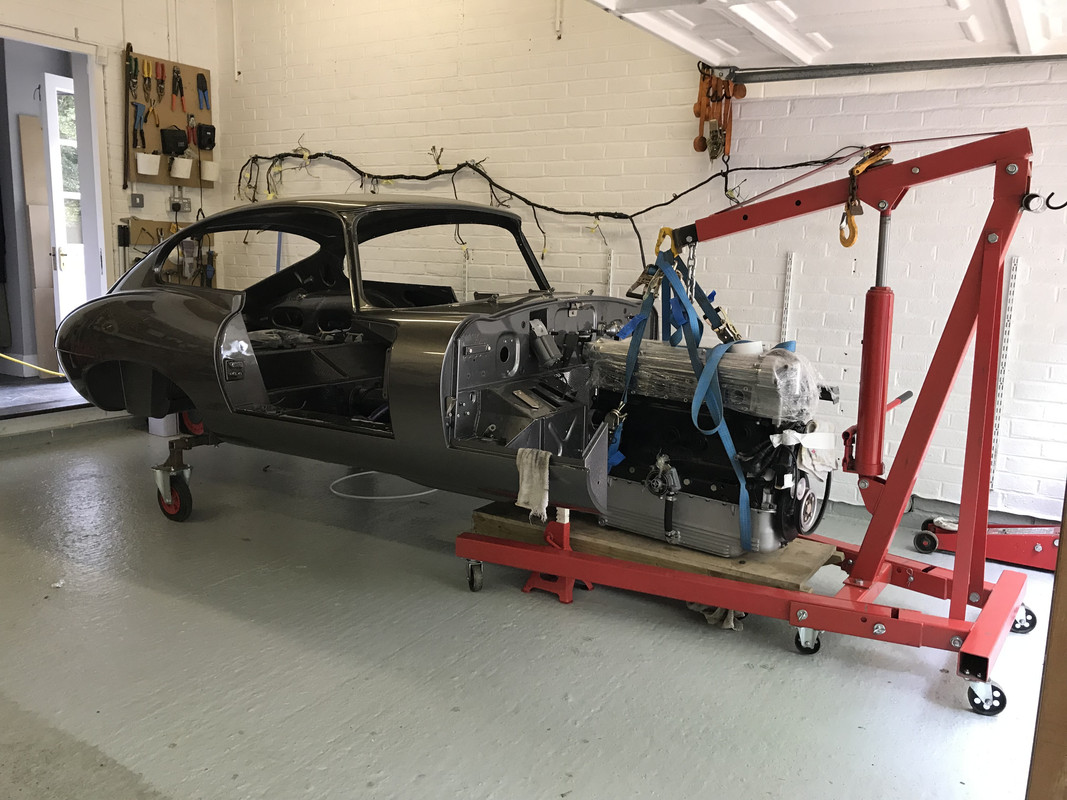
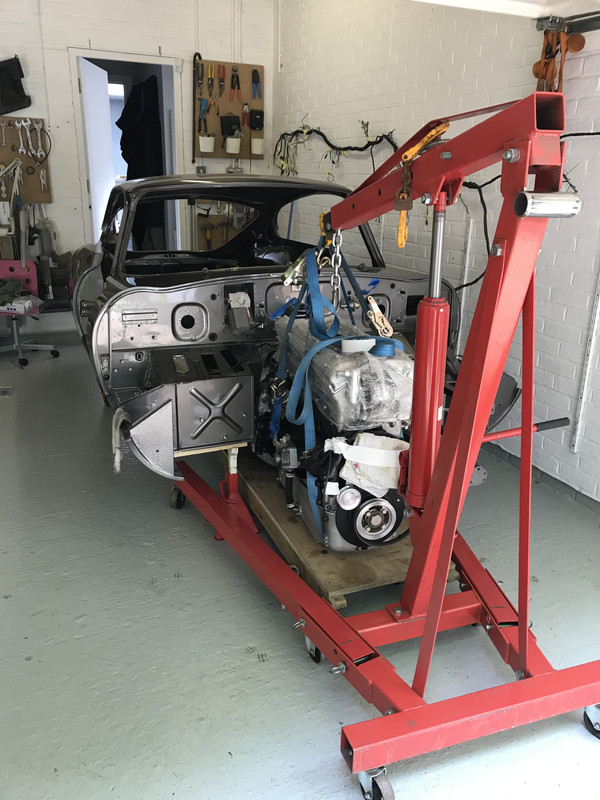
But what a joy to finish the day ...with this....

 ....it is more Italianate but in the images on the Eagle site it looked well..and in the flesh just as good..
