Page 24 of 53
Re: 356 Speedster Flat6 outlaw build
Posted: Mon May 23, 2016 5:34 pm
by greg356a
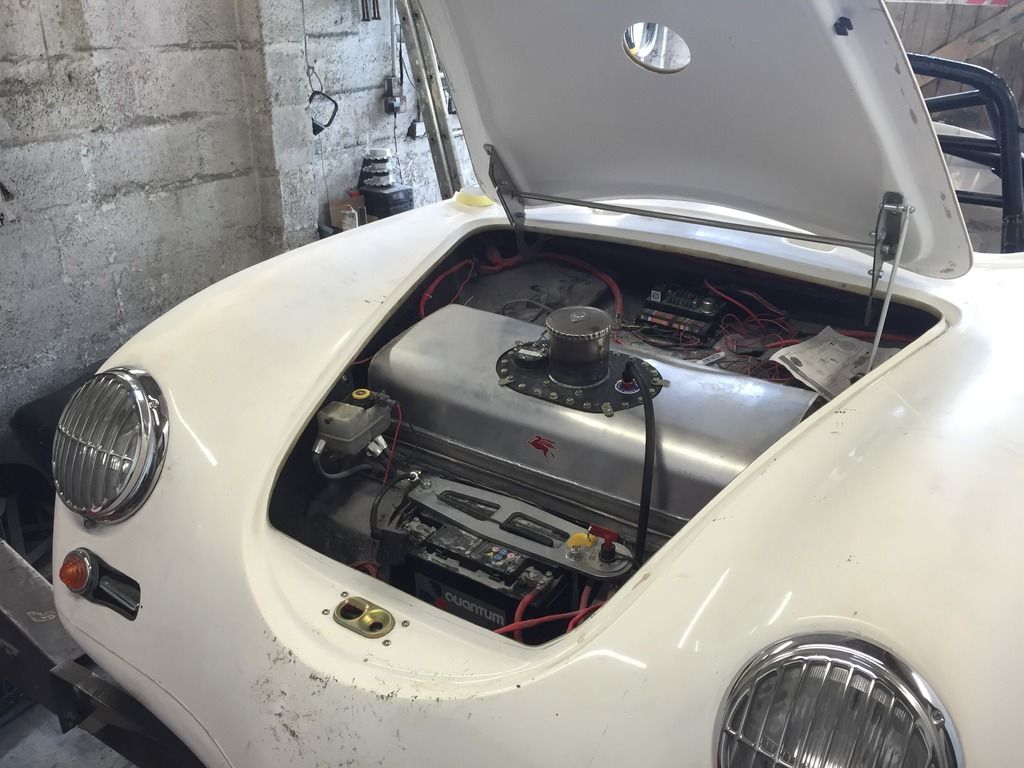
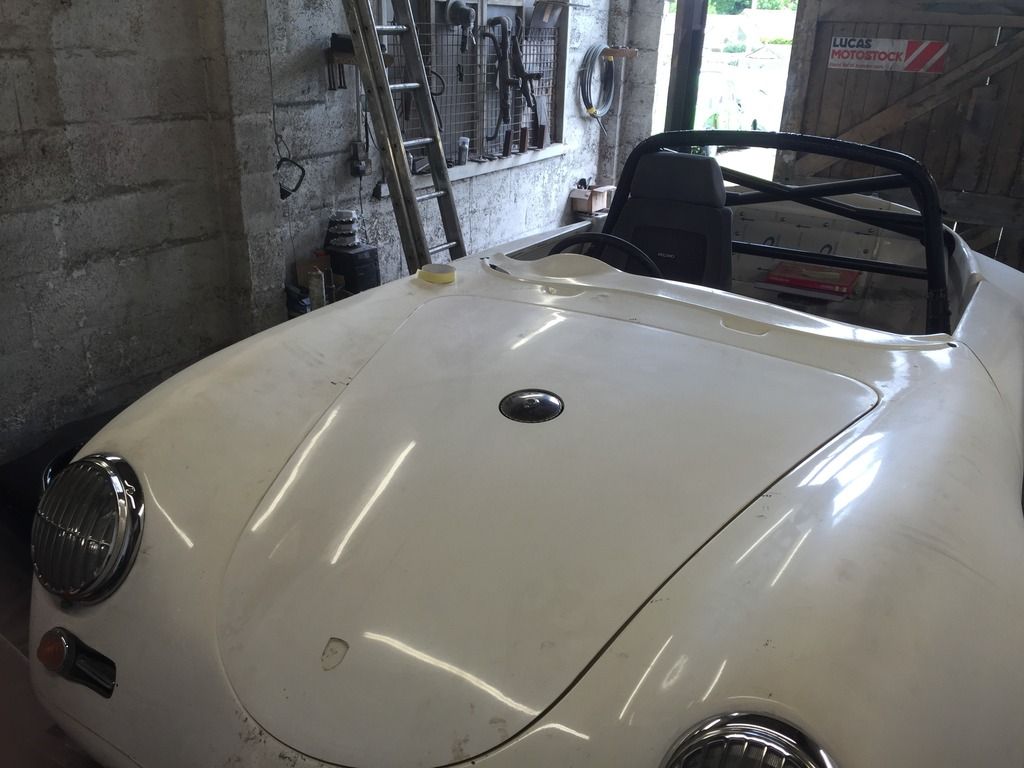
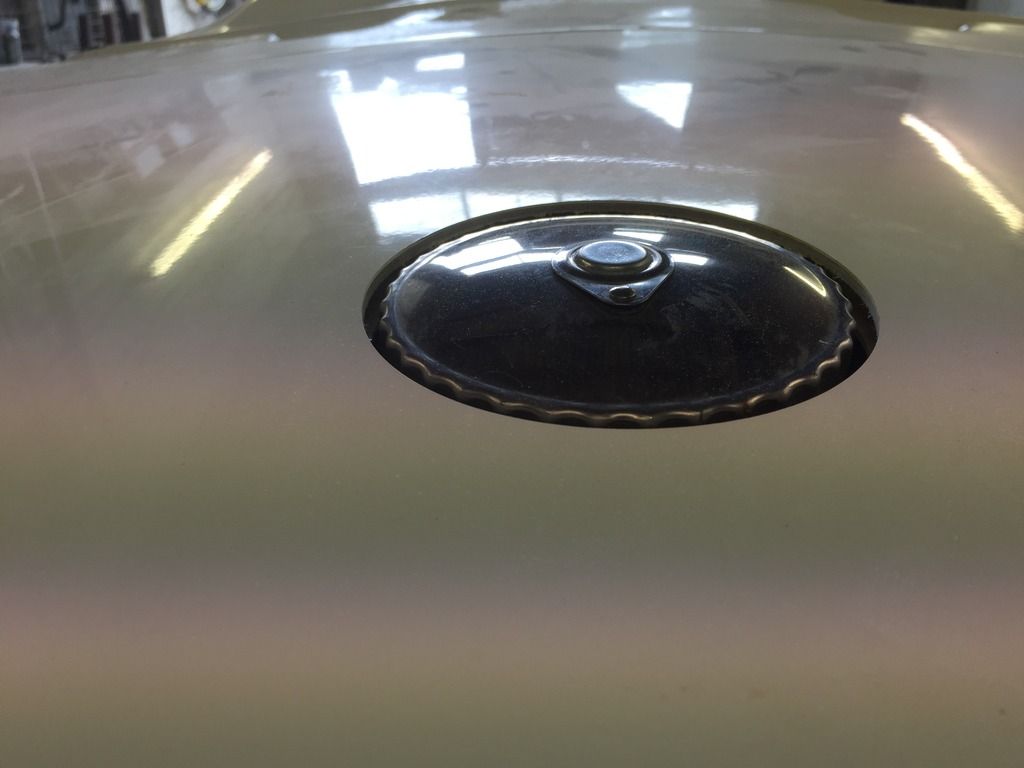
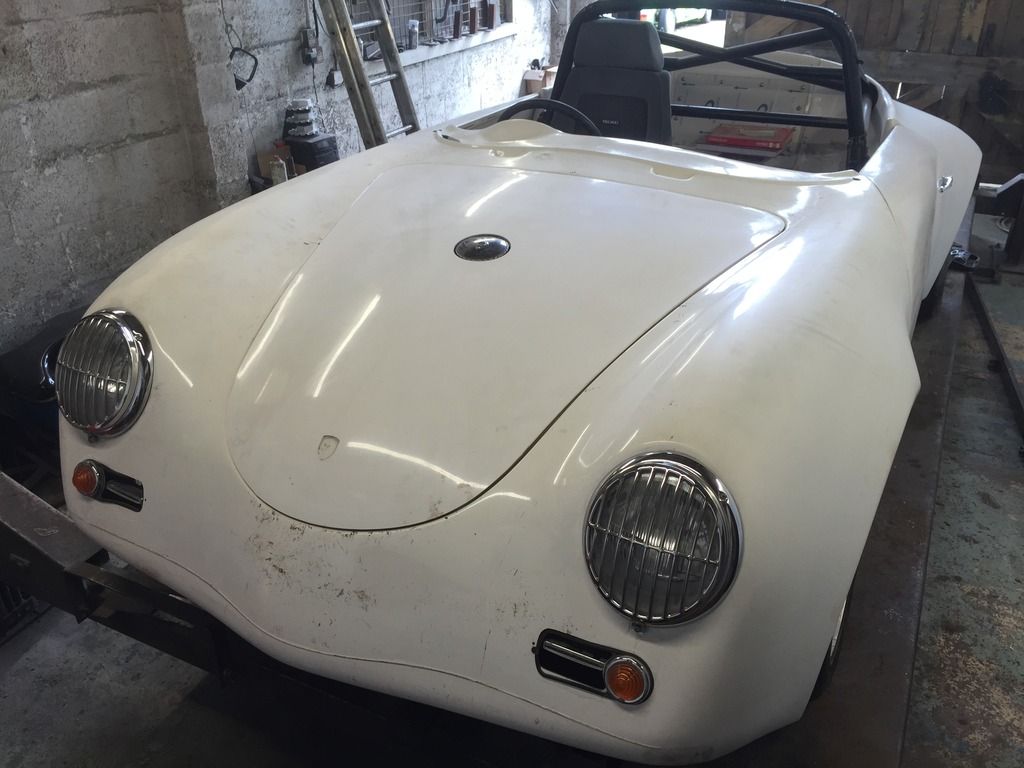
Good 1/2 days work today. With a friends help, finished some welding jobs; handbrake tubes, accelerator tube bracket and a earth nut. More importantly cut a big hole in the bonnet. As always still more to do, but another few ticks off the list.
Rich - thanks for the idea with the laser, worked a treat.
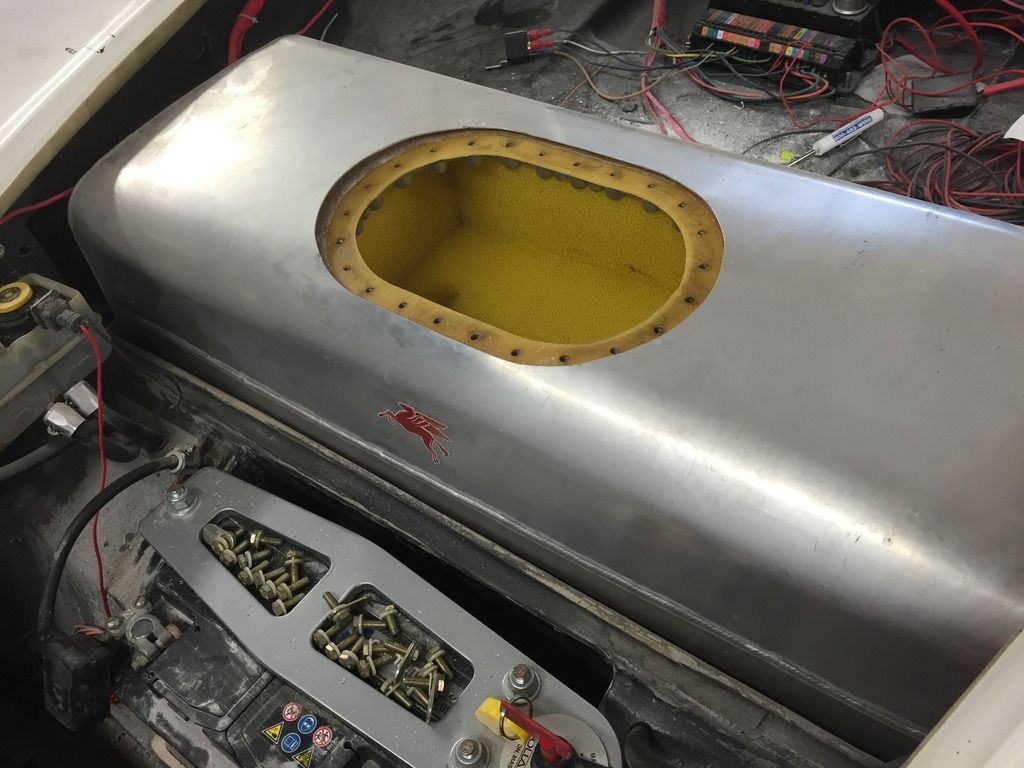
Fuel cell bladder
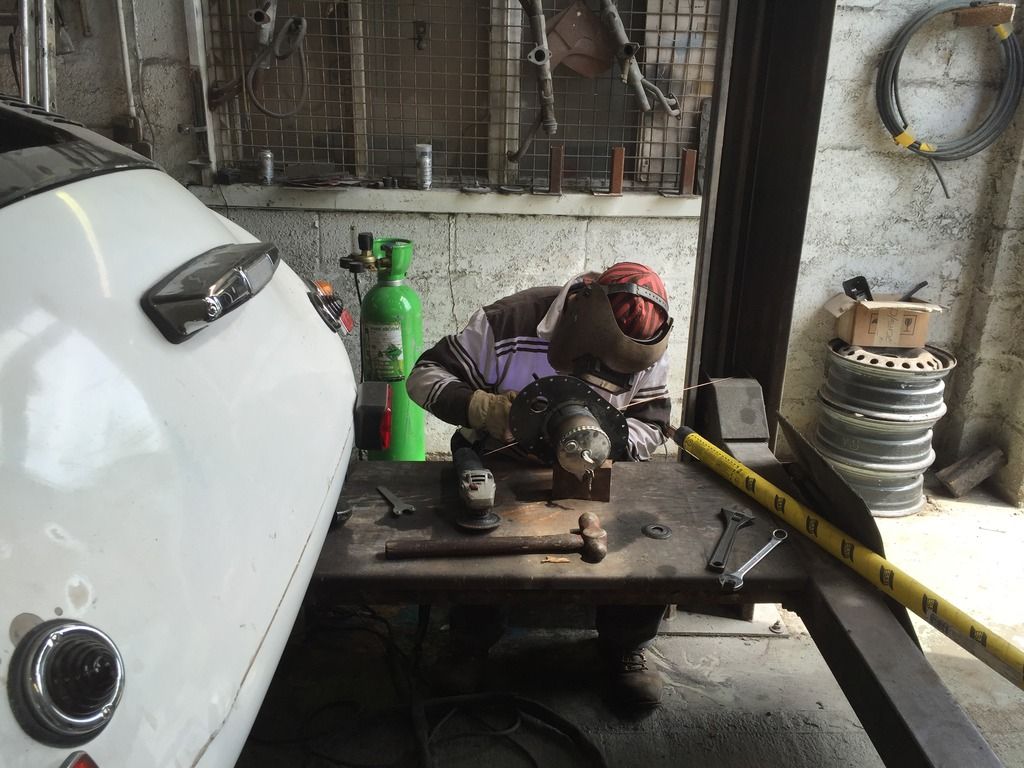
Nick still cracking jokes under the mask

Also need to get a length of retractable ducting for the next part.
Forgot to take the dogs bowl with me so still need to cut and fit the drip tray
Re: 356 Speedster Flat6 outlaw build
Posted: Mon May 23, 2016 8:07 pm
by mdmax72
Glad to help Greg.
Looking great. What's your plan regarding fixing the rain tray (dog bowl) to the neck?
Re: 356 Speedster Flat6 outlaw build
Posted: Tue May 24, 2016 6:30 am
by greg356a
Morning Rich,
I guess the dog bowl will work but not very different or inspiring.
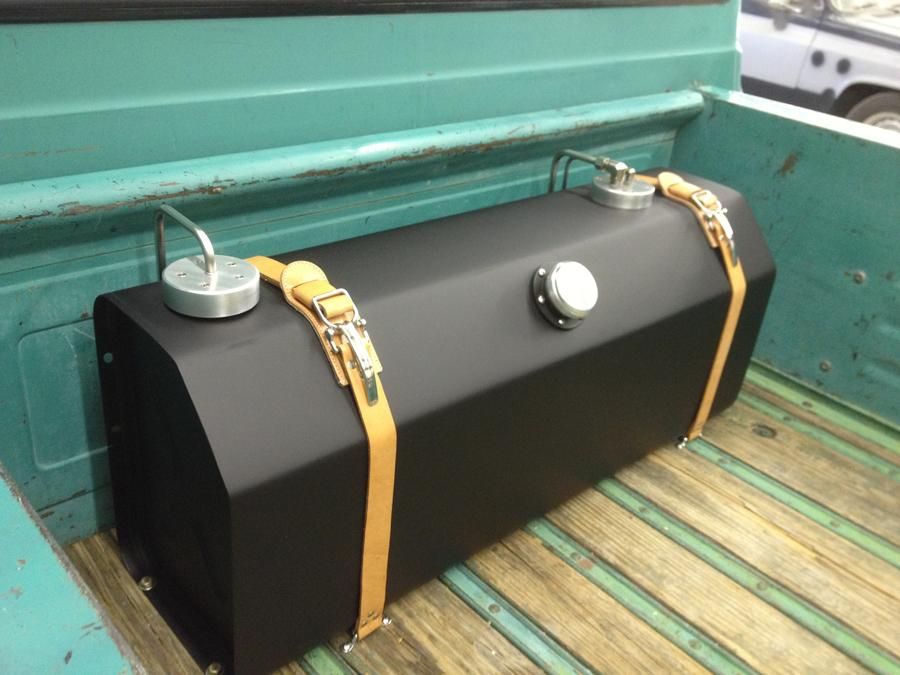
I found these made to measure tank straps that would look great in black fitted to my tank;
Re: 356 Speedster Flat6 outlaw build
Posted: Tue May 24, 2016 10:23 am
by H-G
Looking good Greg.
A couple of queries to help me when it comes to making the big hole in the bonnet:
- How did you center the hole in the bonnet with the tank filler neck; using a lazer level?
- could you measure both the overall thickness of the bonnet where you have opened up the filler hole and also the size of the gap between the outer and inner skin?
- Are you looking to borrow Rich's design for the aluminum ring in the bonnet? If so, have you found somewhere to get one turned?
Will be updating my thread soon - engine fitted........
Re: 356 Speedster Flat6 outlaw build
Posted: Tue May 24, 2016 5:18 pm
by greg356a
Good questions H-G
Make sure bonnet is located as you want it when closed, lift bonnet and line the laser guide to centre of fuel tank cap/ pipe, but below the bonnet line when lifted. I ran cross laser lines through square to front/ back/ side to side etc and marked on the car the intersections on the wings, scuttle and front lip. I then pushed the car back closed the bonnet and pushed forward to line the cross laser up with line on wings, scuttle etc. This should give the correct position. I also measured with a tape several times which is difficult due to bonnet curves etc. I started with a 2 mm pilot hole which I ran a welding rod through to the fuel pipe/ cap below. As you open the bonnet a little you can see the position. I got a 120 mm tank cutter from the usual ebay and took it slow, low torque so not to break my wrist. I kept the cutter parallel to the bonnet line as I wanted the fuel cap to site level. Hope this makes sense.
I will get the measurements when next at the garage, pain car not being at home.
With regards to aluminium ring I have not made a decision yet, I do like what Rich as done. I kind of wonder if a simple laser cut ring would work, or if I could get someone to make a thin plate ring with a return. Also thought about some sort of leather circular protector, or most likely fill the cavity with fibre glass and smooth off.
Look forward to seeing the engine fitted any video footage?
Re: 356 Speedster Flat6 outlaw build
Posted: Tue May 24, 2016 6:17 pm
by mdmax72
This may make it more clearer Ian.

Re: 356 Speedster Flat6 outlaw build
Posted: Wed May 25, 2016 12:24 pm
by Black Betty
I measured the hole in my bonnet exactly the same

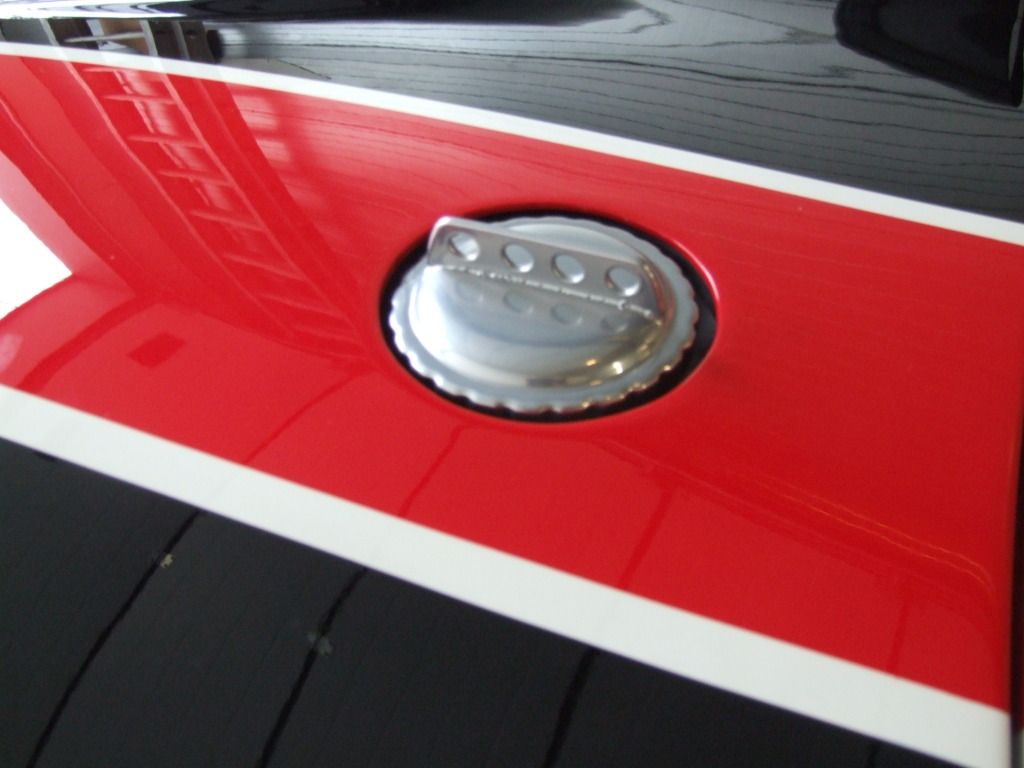
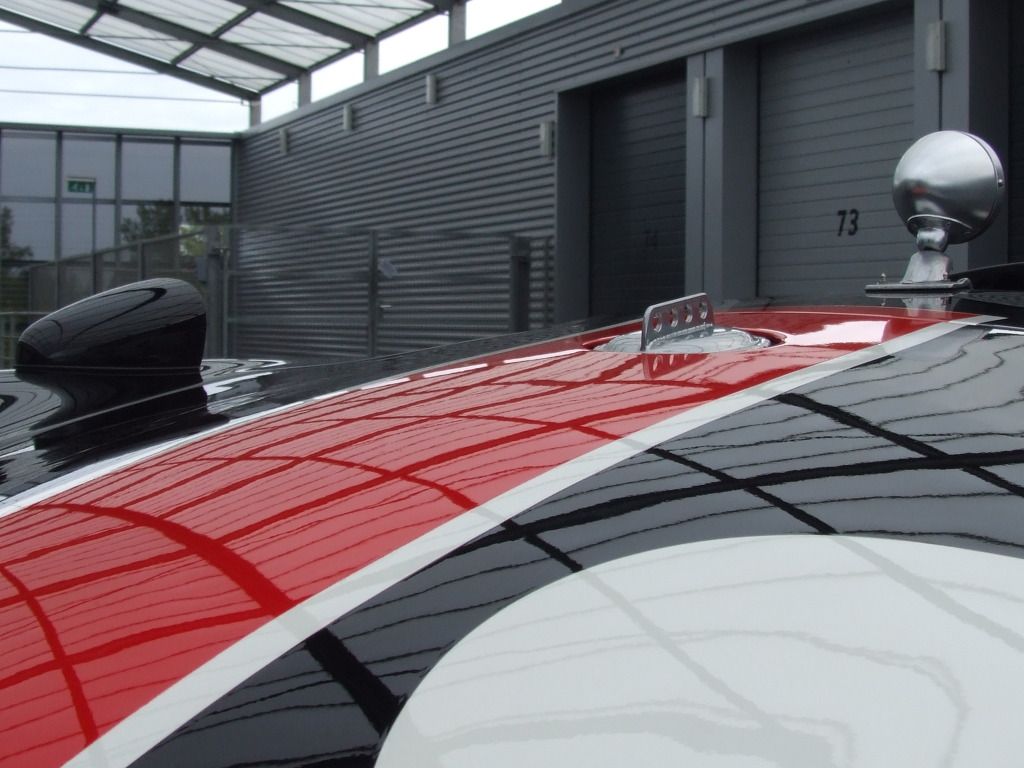
Because the bonnet has 'two layers' (which are appr. 2.5 cm from each other) and the bonnet closes in an angle, I had to make the hole of 'the second layer' slightly bigger than the snug fit of the top layer (which closes neatly around the gas cap).
In the space between the two layers I glued (and screwed) some (petrol resistant) closed cell foam, sealing the two layers:
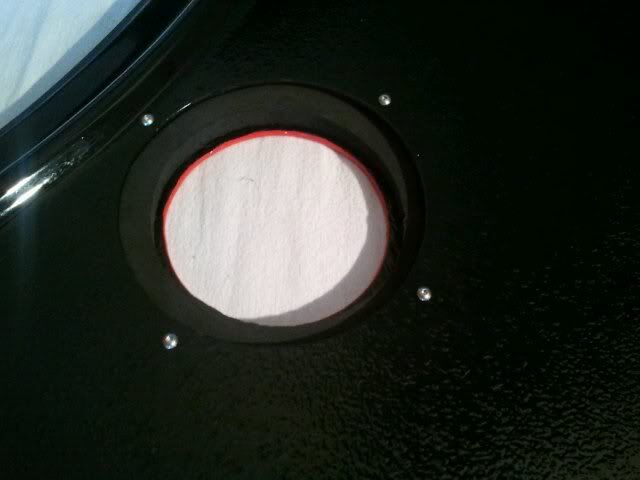
And the rubber I made around the cup seals on that closed cell foam:
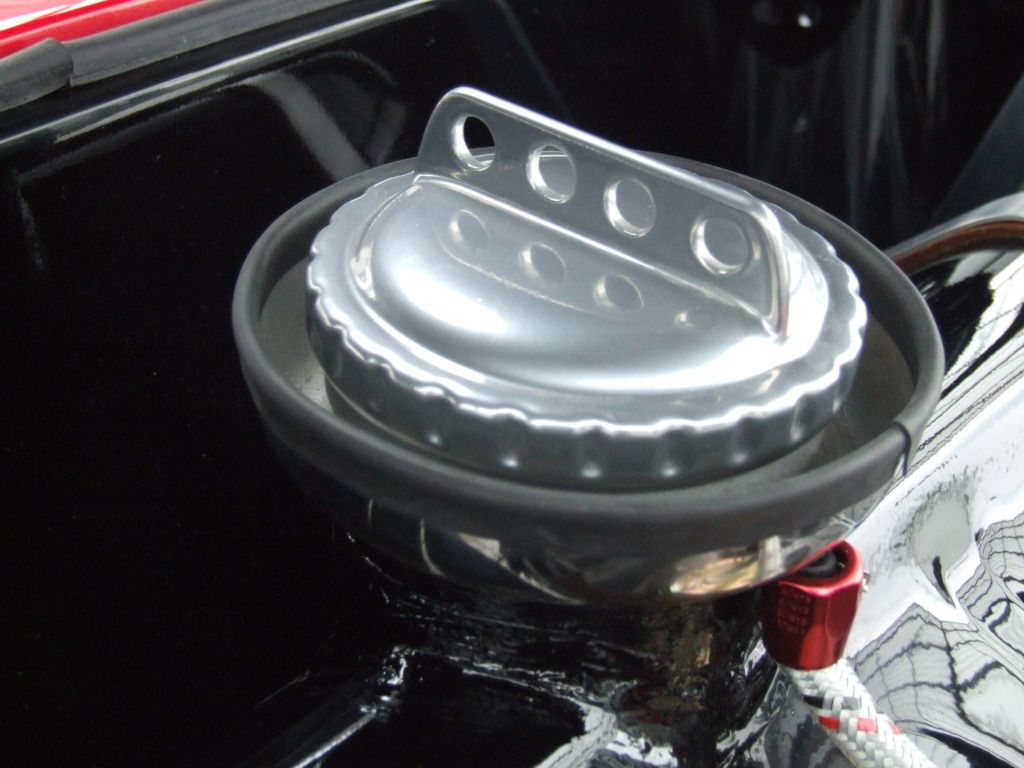
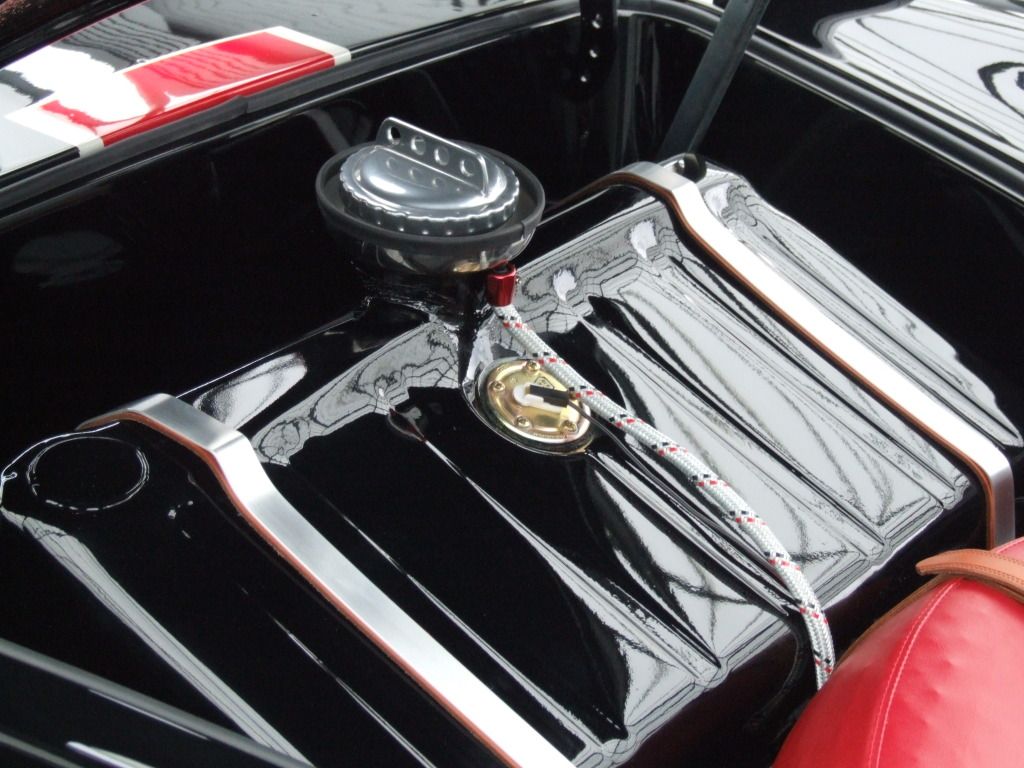
Which makes it fluid closed (rain and spilled petrol gets collected in the SS bowl/cup (which is a SS dog feeding bowl).
Works perfectly:
Re: 356 Speedster Flat6 outlaw build
Posted: Wed May 25, 2016 3:26 pm
by greg356a
Black Betty gas cap and tank looks great. Also like the idea of a chemical resistant insert between the two bonnet walls. Initially due to the UK test (IVA) we have to use a gas cap which is lockable or tethered. Did you weld the up stand rib to you gas cap and then powder coat it?
Confess to being a bit sad, so been looking at SS mixing bowls which have a large taper and radius at the bottom (like yours) rather than the square edges on the dog bowl. Also like the steel straps to hold the tank down similar to the original 356 tanks.

Re: 356 Speedster Flat6 outlaw build
Posted: Wed May 25, 2016 6:02 pm
by KS
Fabulous work. Well done!
Re: 356 Speedster Flat6 outlaw build
Posted: Thu May 26, 2016 2:24 pm
by Black Betty
I welded an aluminium fin on a steel gas cap. I did that with Durafix (
http://www.durafixeasyweld.nl/index.php ... me&lang=EN ) and then I had the cap powdercoated. The result is great (in my opinion) and the fin holds up great. I recently found an original aluminium Blau gas cap and I'm planning to weld the fin also with durafix and then brush the fin and cap with scotch brite...
This is the look I will be aiming for:

The straps I used for the tank are alumium with a leather (which are actually two belts) underlayer...
And the bowl could well be a mixing bowl and not a dog bowl... I'm not sure... I bought it at the local home depot.
Re: 356 Speedster Flat6 outlaw build
Posted: Fri May 27, 2016 8:46 am
by H-G
Thanks for the pic Rich.
Liking the leather stank straps idea; not sure Mr IVA would look to kindly on it though?
Do you have the specifications for the fuel resistant closed cell foam you used Black Betty? Is the foam solid enough to prevent the two layers vibrating?
Re: 356 Speedster Flat6 outlaw build
Posted: Fri May 27, 2016 9:21 am
by Black Betty
Yes, the foam/rubber is solid enough to prevent vibrating. I can't give you the specifications of the foam/rubber. I bought it at a local boat-shop.
Re: 356 Speedster Flat6 outlaw build
Posted: Tue May 31, 2016 12:02 pm
by greg356a
Hi Ian,
Your comment - "Liking the leather stank straps idea; not sure Mr IVA would look to kindly on it though" got me thinking, so been looking at the IVA manual again and any objections to using the leather straps. The only comment which seem relevant is
"All fuel related components must be securely mounted" which is very open in its interpretation. Did you have a specific IVA clause/ concern in mind? I will add it to the list of points to discuss with Mr IVA before the test.
Re: 356 Speedster Flat6 outlaw build
Posted: Thu Jun 02, 2016 5:03 pm
by greg356a
Hi Ian,
Just to come back with the dimensions of the bonnet, sorry for the delay. The thickness of the bonnet varies around the hole between 12 to 13 mm and the gap between the two layers is 7 mm. I suspect this may change depending on where you cut the hole.
Re: 356 Speedster Flat6 outlaw build
Posted: Fri Jun 03, 2016 7:29 pm
by greg356a
Mr Postie left me this today; Fuel Filler spill tray
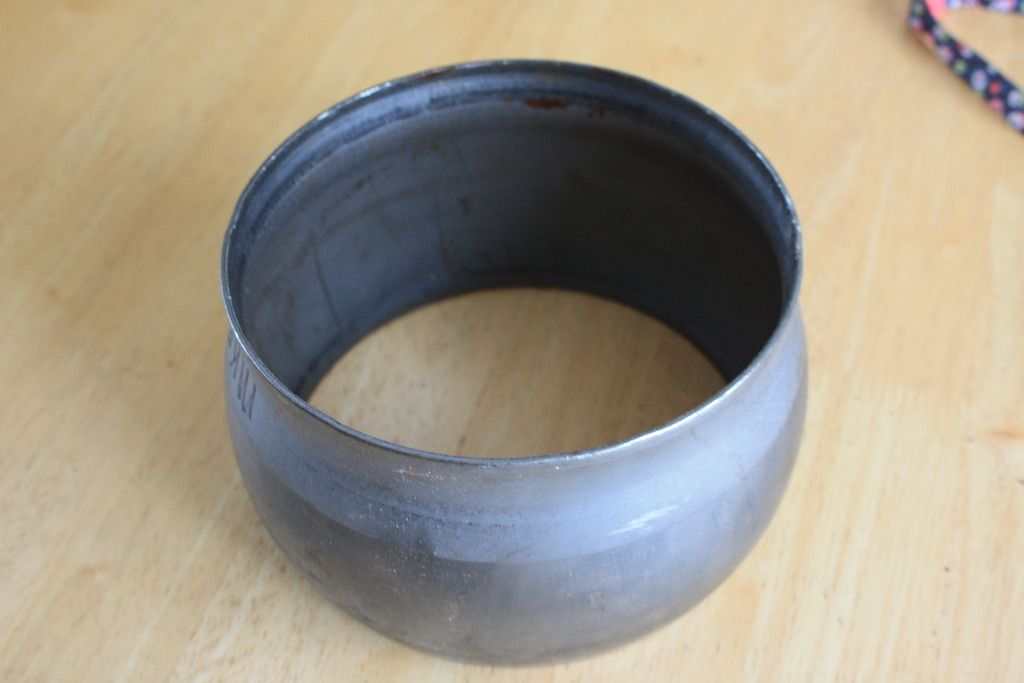
It's a 6" bauer connector, made of mild steel with no galvanising, so easier to weld. Just need to weld a plate on the bottom with a 4" hole for the fuel filler to weld to and job done!


