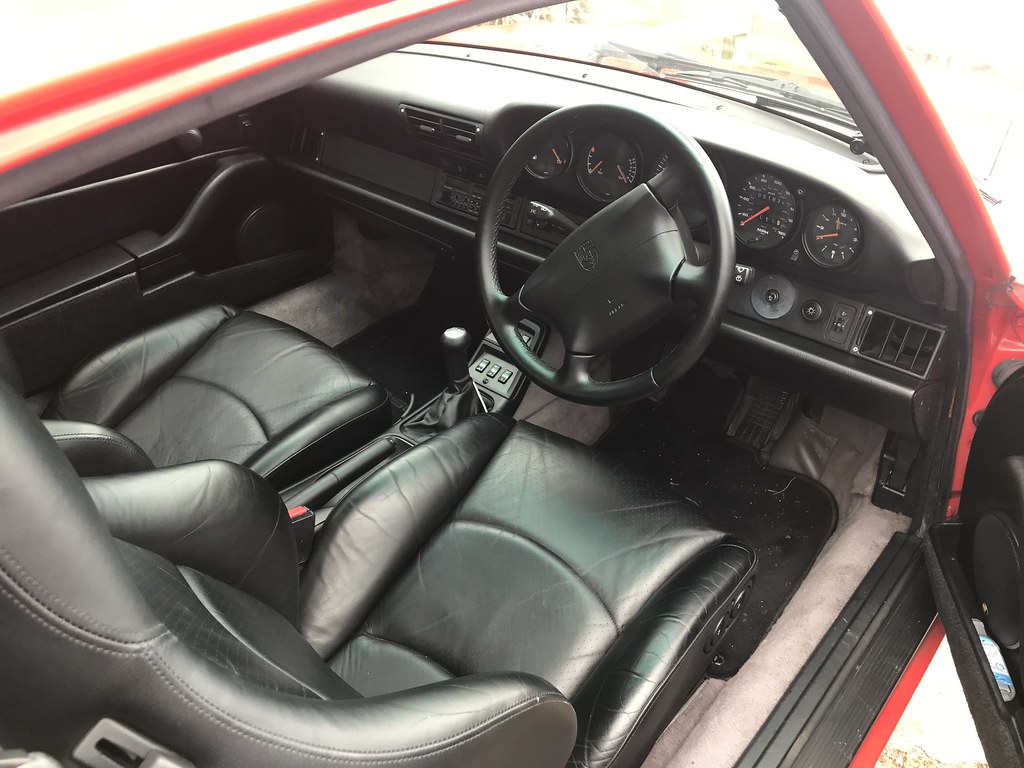
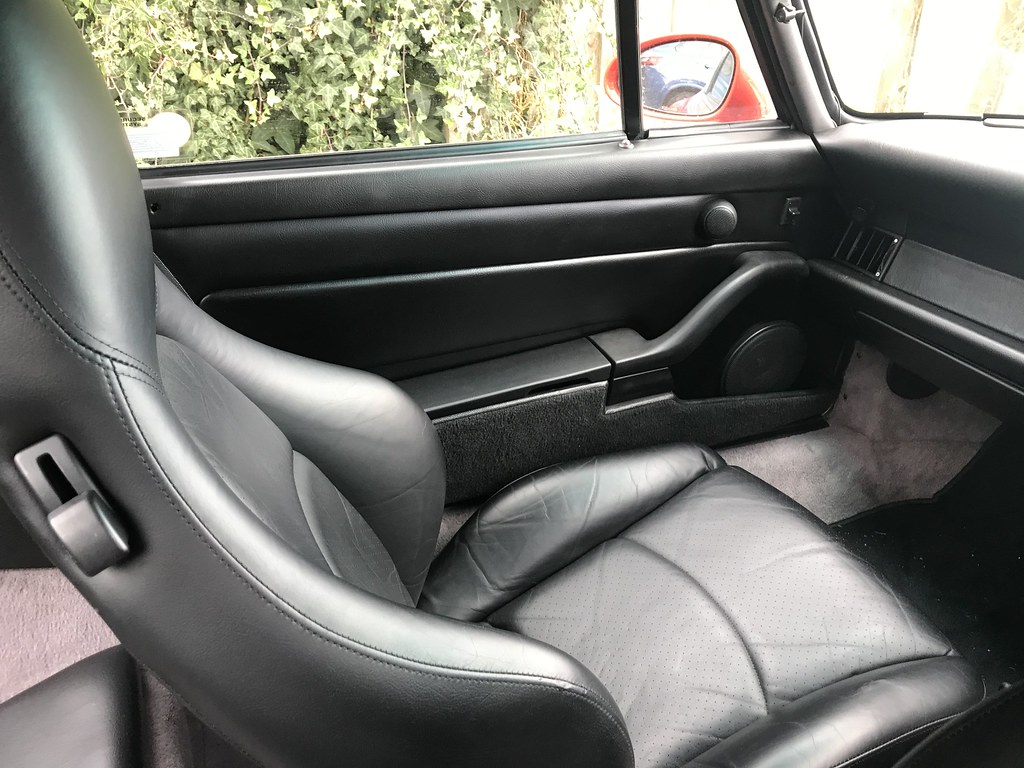
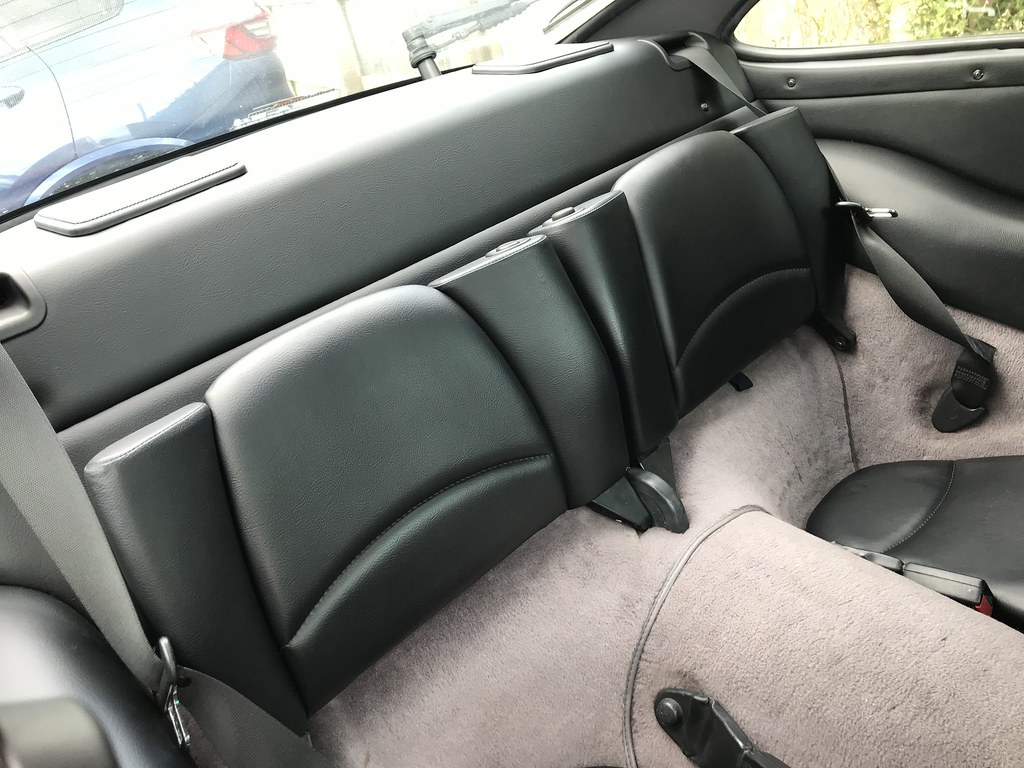
Part 2 of Interior Change
Steering wheel - I had disconnected the battery at the start so I could remove the airbag using a Torx T30 (from memory). Lift airbag remove the pink connector and two other contacts and then undo the steering wheel with a 24 mm socket and pull off this was easiest job.

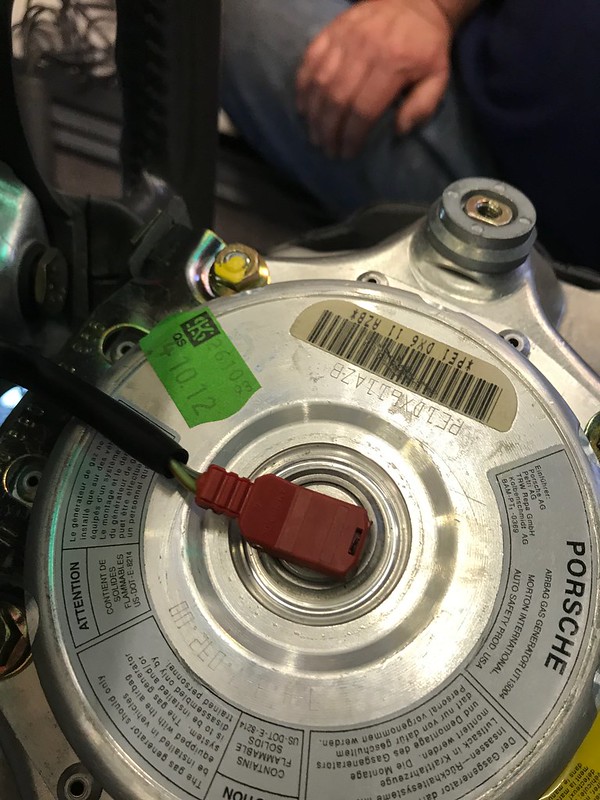
Note when putting back your new steering wheel obviously everything in reverse and give the unit 1 hour before reconnecting the battery. When I reconnected the battery I covered the steering wheel in a number of thick blankets as did i on the seat just in case the airbag exploded - it didn't and I am sure it is a remote possibility but to be on the safe side and all that and not ruin your new interior.
Lower Dash - do not believe some of the articles written on other forums as they conveniently miss certain information such as two nuts on the dash not 4 and don't believe anyone who says you can undo the nuts with your fingers - you can't. The removal of the lower dash is by FAR the WORST of all the interior jobs and takes as much time as removing the rest of the interior put together.
Firstly undo the plastic end caps but do not immediately undo the two bolts underneath because as I found that places tension on the 4 nuts that you really need to get to and get off first. See photos below.
Remove end cover - photo courtesy of Pelican
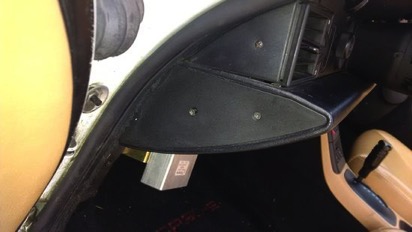
then undo two 10mm bolts

In the next photo below you can see 3 of the 4 studs which hold the dash to the frame which are evenly spaced across the dash. Either end are behind the side vents and the middle two behind and to the side of the radio and the AC fresh air controls
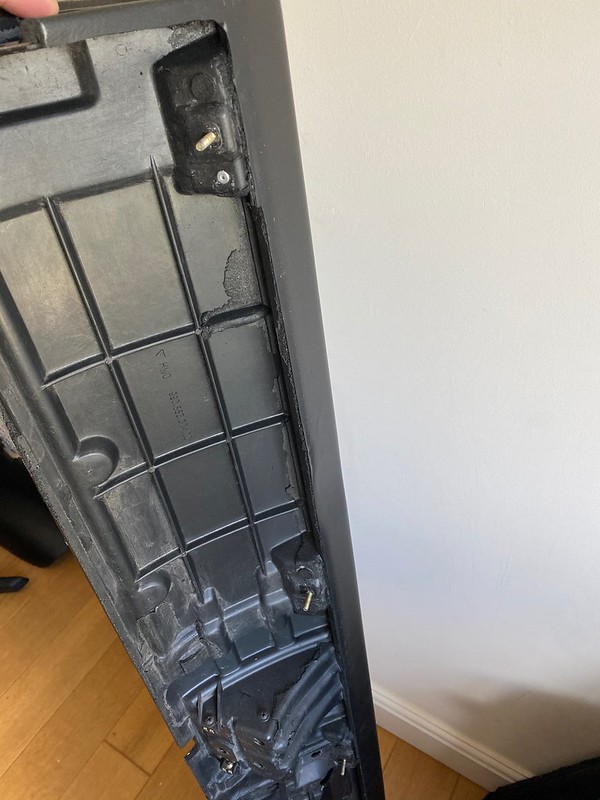
There is also a screw and bolts under the ashtray but again unscrew the cover but not the bolts. I did not do its this way as I followed Pelican and other guides but found that had I done it this way the dash removal would have been easier. Some of the instructions tell you to remove two nuts and then yank the dash out !!. Do not do this you will wreck the dash and possibly the framework underneath.
Ashtray
Pulldown the ashtray remove the plastic tray and undo the two phillips screws. Then carefully remove the rubber boot over the ashtray bulb

Remember to push the bulb back through the dash when you remove the two 10 mm bolts behind the cover you have just removed
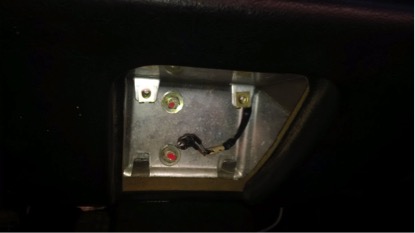
Next the stereo - mines being replaced so I used some stereo keys from Halfords and out it came as did the cage. That gives you access to one of the left hand middle nuts.
Second and again wrong instruction here that you just pull out the fresh air - A/C controls but my column stalks fouled this and I wasn't in the mood to start removing the column so I had to get my head under the dash and get a suitable 8mm spanner mine was flat and I couldn't get a grip over the framework so I used an A/F one which went on (I can post a photo of the spanner used but its essentially a ring spanner with a 90 degree bend it it) as it was bent and just fitted nicely to make a couple of turns and release the nut so I could unscrew it then by hand using an 8mm socket piece.
Next remove the side vents 0h boy this was frustrating as you have to lever 4 metal brackets and pull at the same time get the vents out - 2 hours later and they are off and the nuts then easily reached and partly unscrewed. Obviously remember first to unscrew the small phillips head and remove the plastic cover at the side of the dash
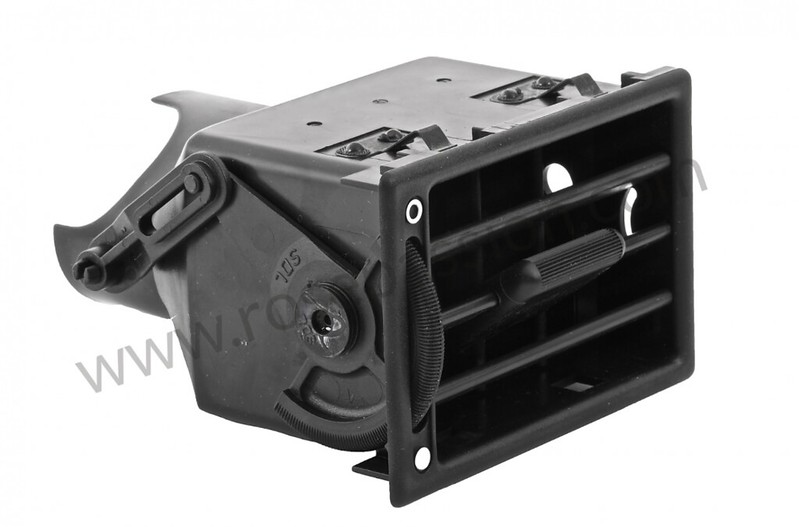
My photos didn't come out as well so I copied these of the one of the vent of the tinternet. Essentially the two clips you can see are also replicated at the bottom and are completely different to the main air vent. Someone at Porsche and in charge of interior design was obviously peeved at having to use 964 parts on the 993 and obviously thought " Hmm think you are clever English buying a RHD car and taking the top dash panel off well we will get you on the lower dash" so choose completely different lock tabs and secretly added them to the bottom of the vent to catch you out! Essentially you need 5 hands to get these suckers out

I must admit I lost my temper at the left hand one to which I have bent the plastic but the right had one had obviously seen it was in for a bit of hacking and came out without to much protestation.
Next on to the side bolts remove the plastic cover as shown below and then the bolts underneath for which you need a 10mm socket, undo and remove both ends open the ashtray pull back the metal flap; undo the cover plate and remove the two bolts sitting beneath. Return to the partially undone bolts behind the side vents remove and lower the dash and go and drink copious amounts of beer

 Rear Seats
 I have read descriptions of the glue used in the interior and dismissed it but boy are they bang on that this stuff is military grade and you could stick tanks together, it is incredibly difficult to remove from the car and ones person when it comes into contact with you. I ripped the seat bases out as gently as possible and didn't leave too much horse hair behind. Whatever you have read times it by two I leaned onto the base after remove the seat bases and the knee of my jeans was stuck solid to the base and when I knelt on the workshop floor it took the floor paint up with it

I knew the large screws holding the rear seat backs were a pain having looked at a friends previously a few weeks ago so I gently applied a release spray got hold of the biggest flat blade I could find then belted the screw and stuck another screwdriver in the top of the large flathead for leverage and they finally budged but as they are all now chewed up I got another set to replace them. The carpet on the back of the seats is held in at the rear by 2 screws each and when you remove the rear parcel shelf you can get access to them and there is a piece of elastic also screwed down to remove. I had to move my carpet sections over to the new seats. Again Porsche obviously never wanted you to do this so stapled the carpet to the seat backs by I kid you not
15mm long staples what the hell did they think they were holding down!!

and they must have been paid on how many staples they could fire into the rear seat backs - must be about 20 to each back!
Good point is do not remove the seat bases until you have removed everything else in the car to avoid getting stuck and don't wear shorts you may dislocate your knee if it gets stuck to the seat base glue. My jeans are still shaking from the experience and carry the war wounds after a boil wash. I wish I had read Jackals story on removing this glue from the car and that formed part of the reason the carpet is still in place.
Rear Parcel Shelf and Side trims - These were all relatively straightforward and I can post up instructions if anyone wants them. Essentially unscrew fittings including the seat rear belt anchors and slide them through. 4 screws on the rear shelf but remember to slide out of the plastic around the rear wiper and slide this back in first when replacing the parcel shelf.
Carpets - I thought about replacing the grey carpet with black but having again seen the mess of removing the carpets I convinced myself the grey carpets and black interior would compliment each other and lift an otherwise all black interior. So I gave them thorough clean and they came up fairly well other than a cigarette burn on the rear tunnel which is a bit annoying and I will if I can be bothered get that repaired.
Other point is photograph and remember where on the trim longer screws were used to affix panels and don't loose the cup washers and if you do Rose Passion keep the original style ones in stock. OPC's got confused after 10 minutes of explanation so I gave up. You can also get the screws and naughty rear seat back screws from Rose Passion and grease them lightly before replacing.
Hope that helps folks.
I will post as I do more to the car - Stereo is next.
Cheers
Mike


 That's wonderful: he who dares and all that.