OK, so brave pants fully pulled up and into the garage this afternoon (as instructed / hassled by 911hillclimber

)
Lessons learned (or relearned) today include don’t over grind welds and most importantly, don’t drop the BFH on your new panel – it makes a big dent

So, to today’s playtime, well starting with last night actually, when I decided to remove all of the factory finish primer,
and then of course, had to coat with zinc rich (still stuck with using the paintbrush). Then I ordered some more parts, including the patch panel for the left side.
Today I started by clamping the patch panel in place
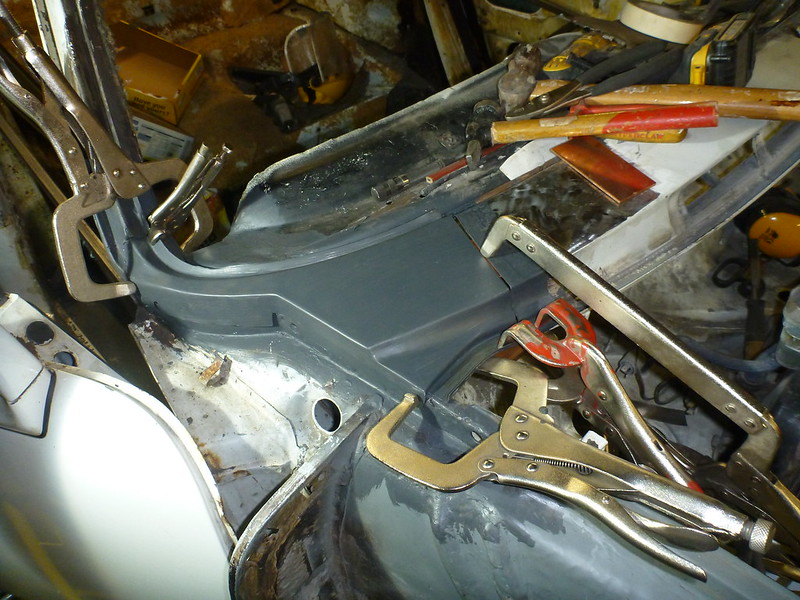
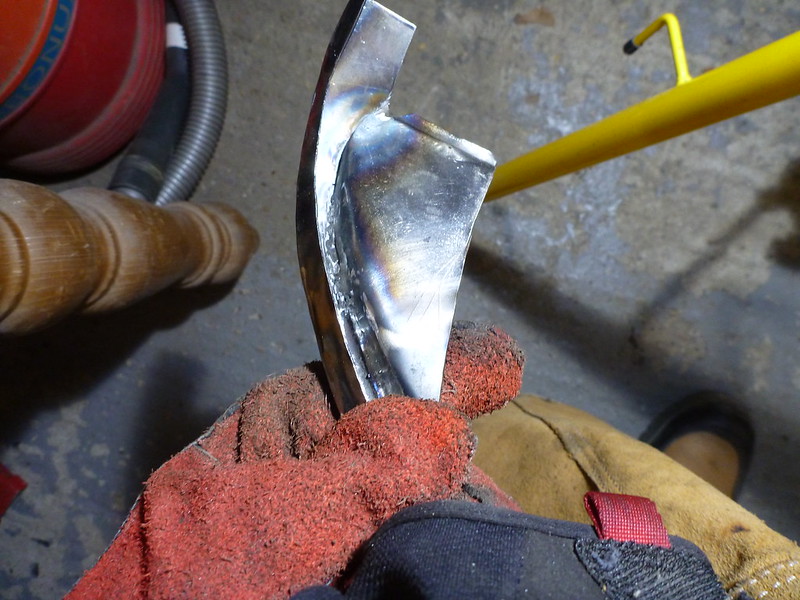
made a poor attempt at some rosette welds on the outer flange / edge
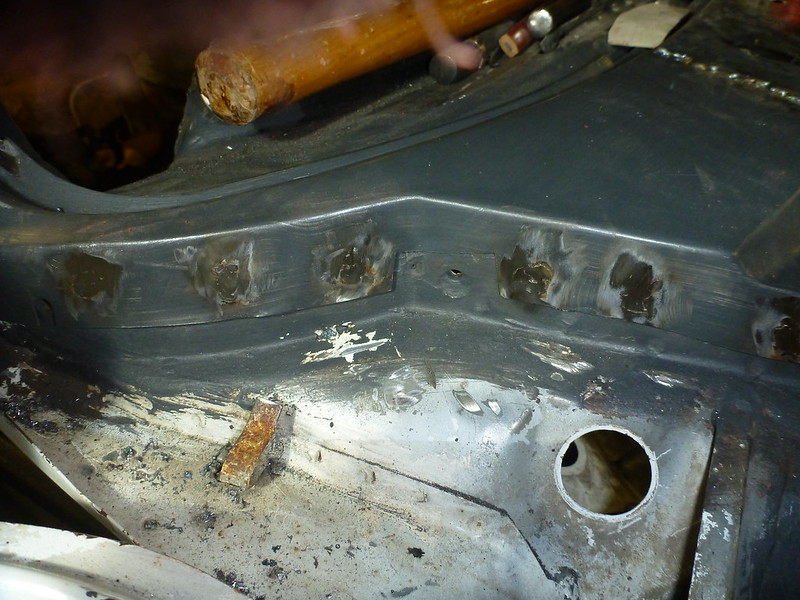
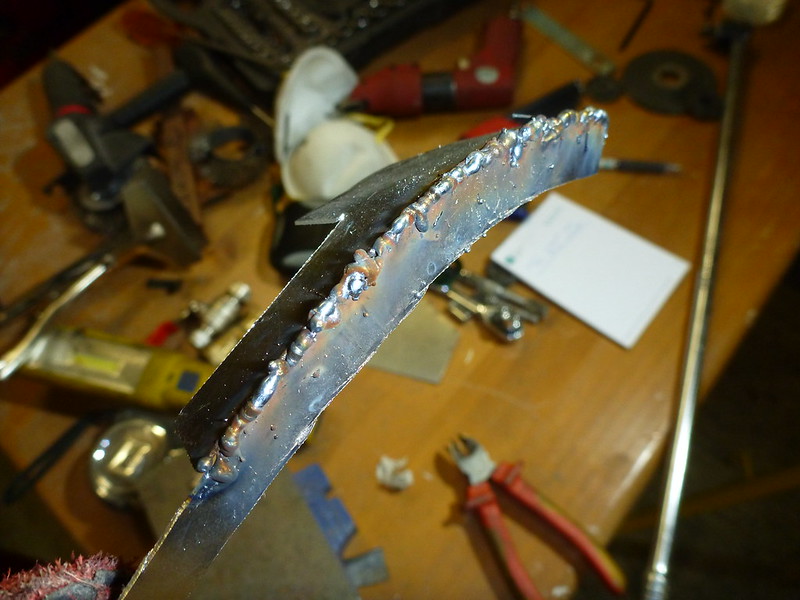
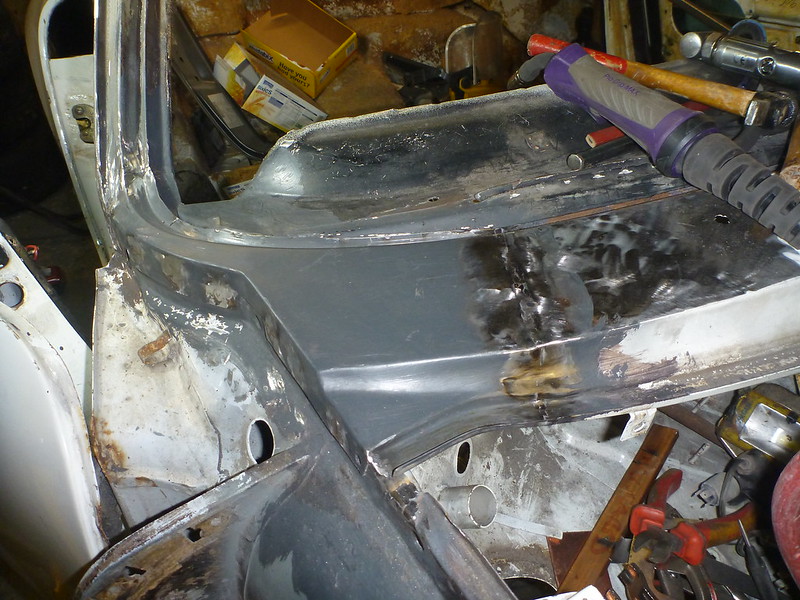
then added liberal amounts of toothpaste, starting with tack welds then going back to fill in the gaps
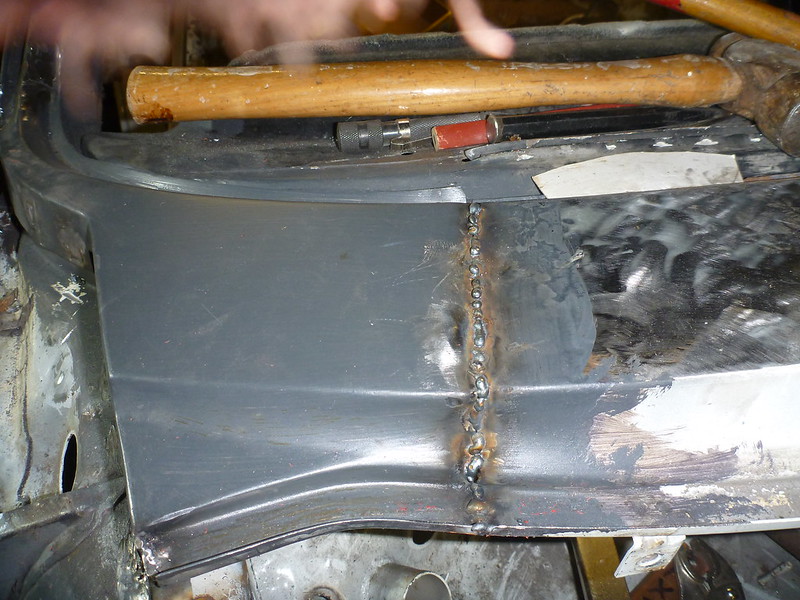
Not happy with penetration, so upped the volts and ran another bead. A bit spitty when weeding, so either I need more shielding gas flow or the weld through primer was too thick.
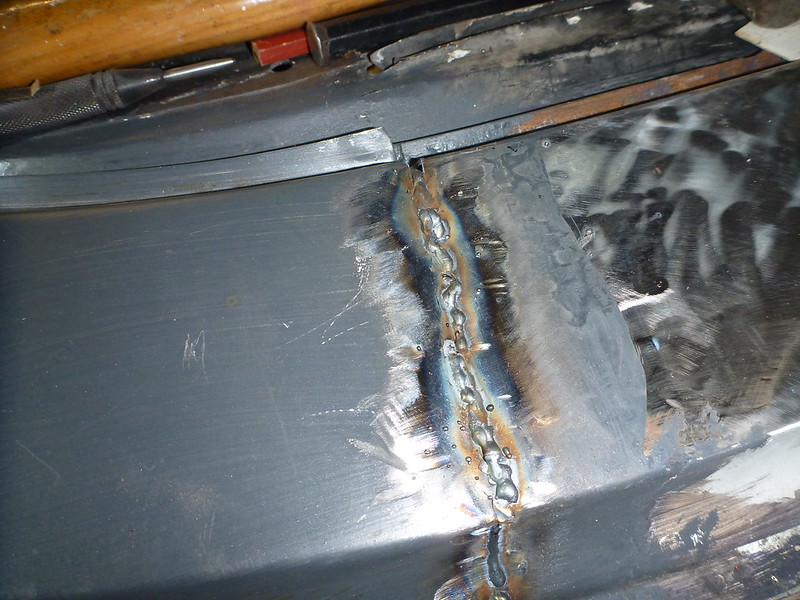
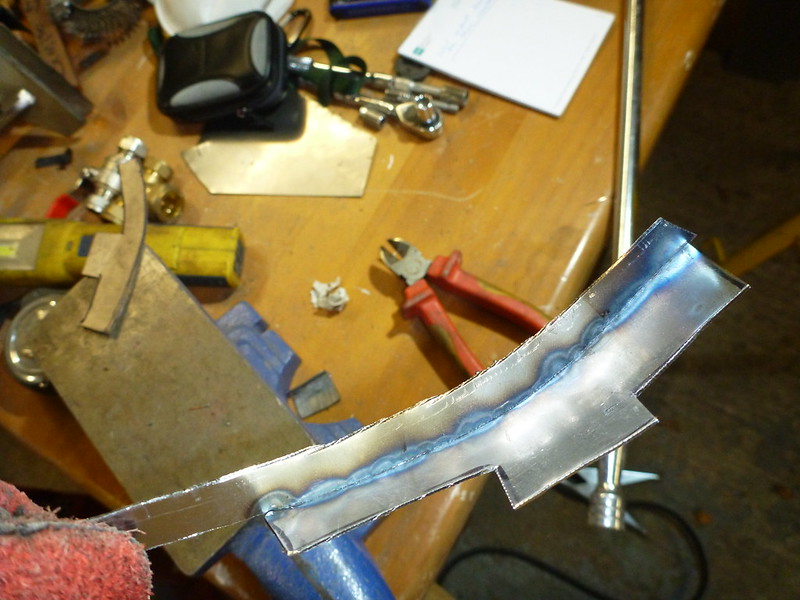
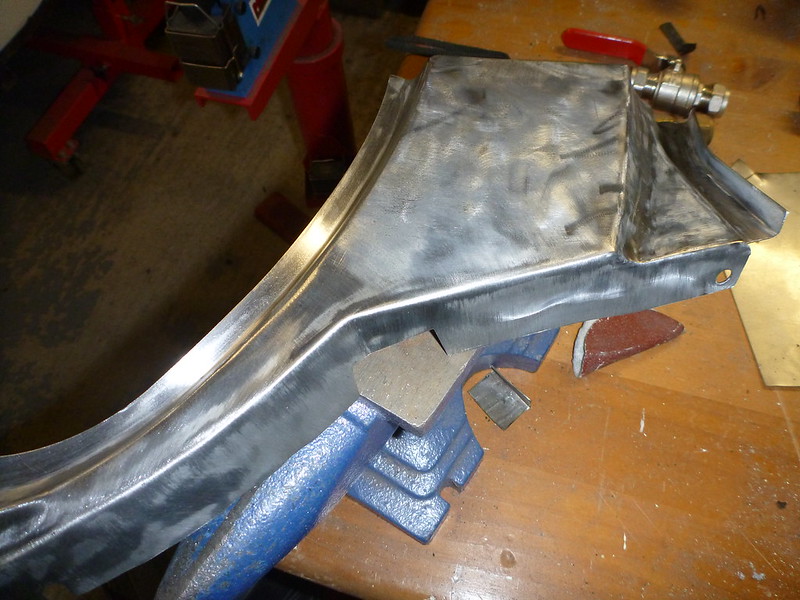
Ground it all back, filled a few pinholes and ground some more
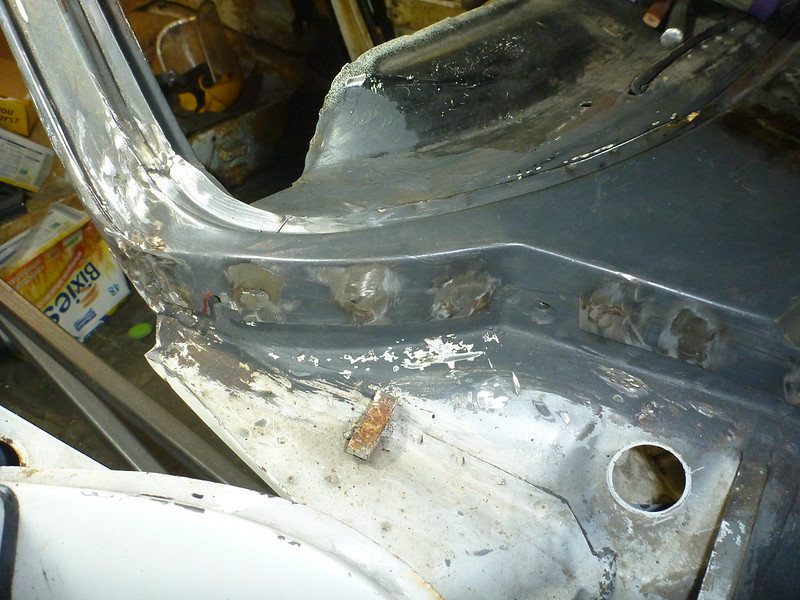
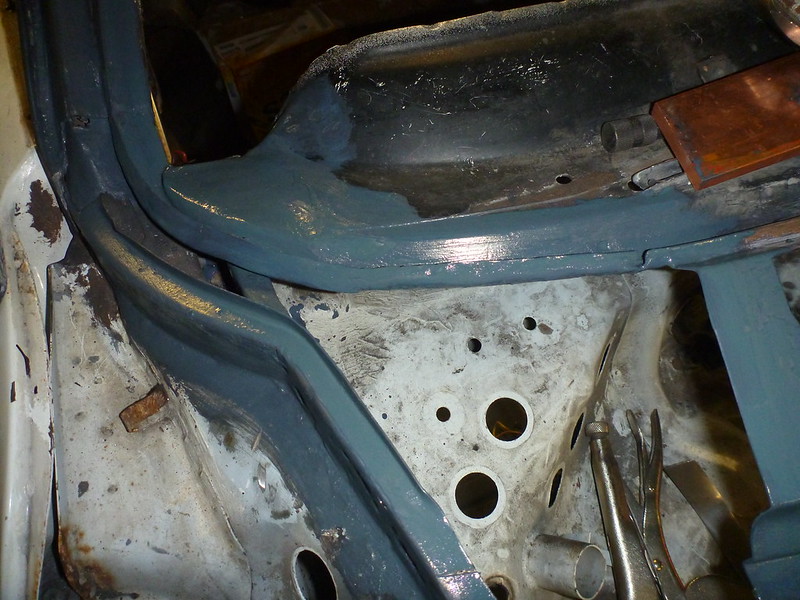
and the view from inside
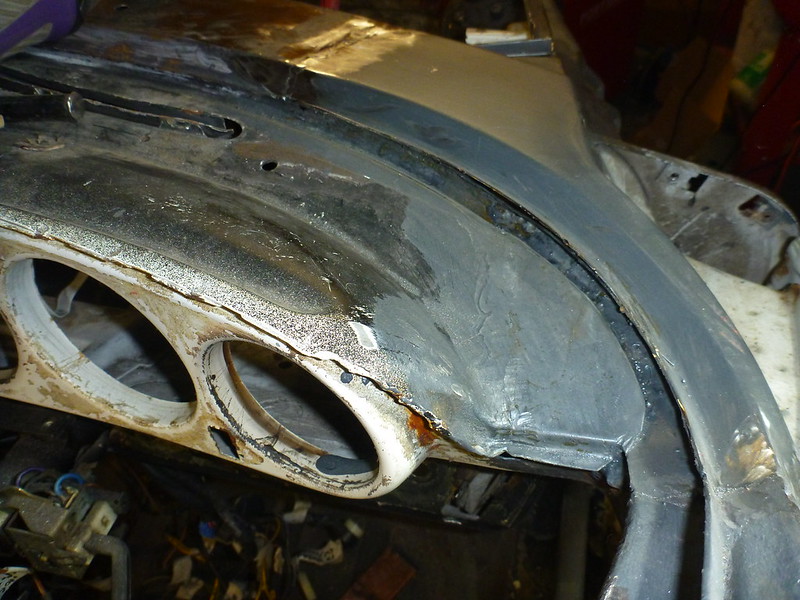
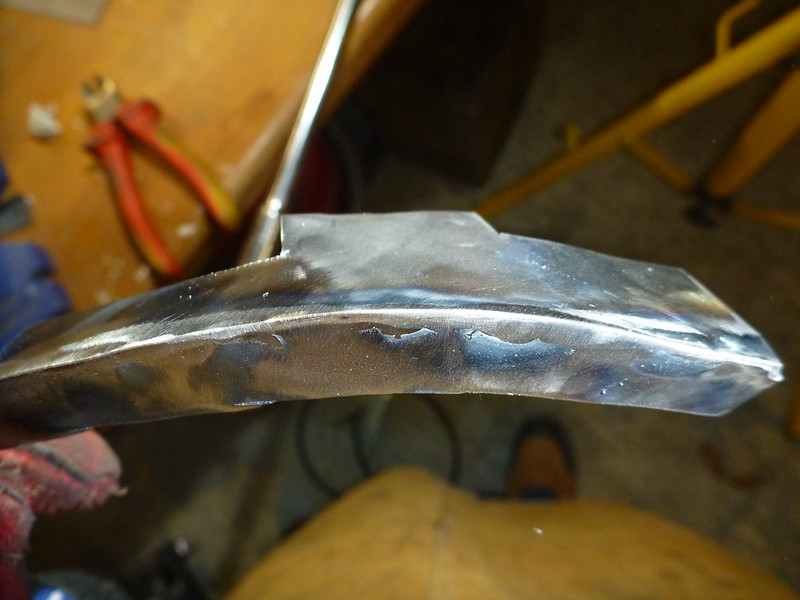
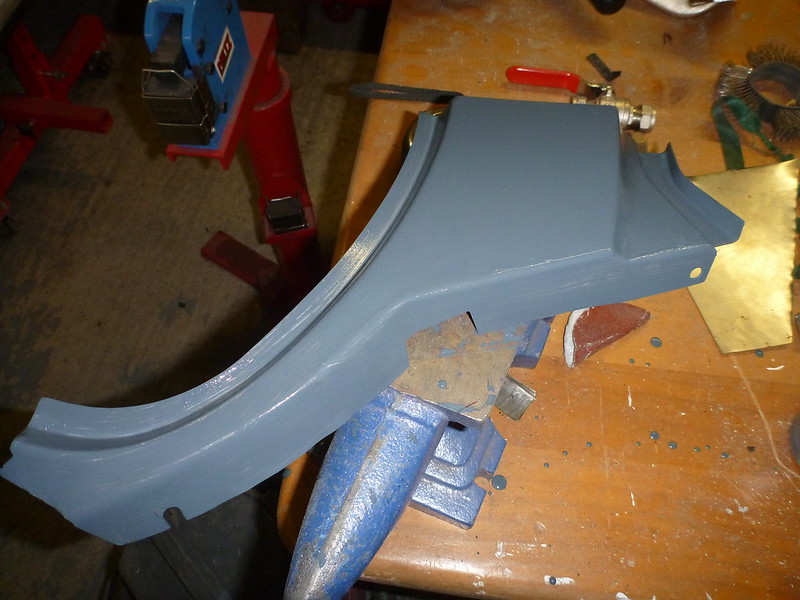
The BFH dent has been beaten back a little and a sloppy coating of zinc rich primer applied to the whole lot (applied with yard broom)
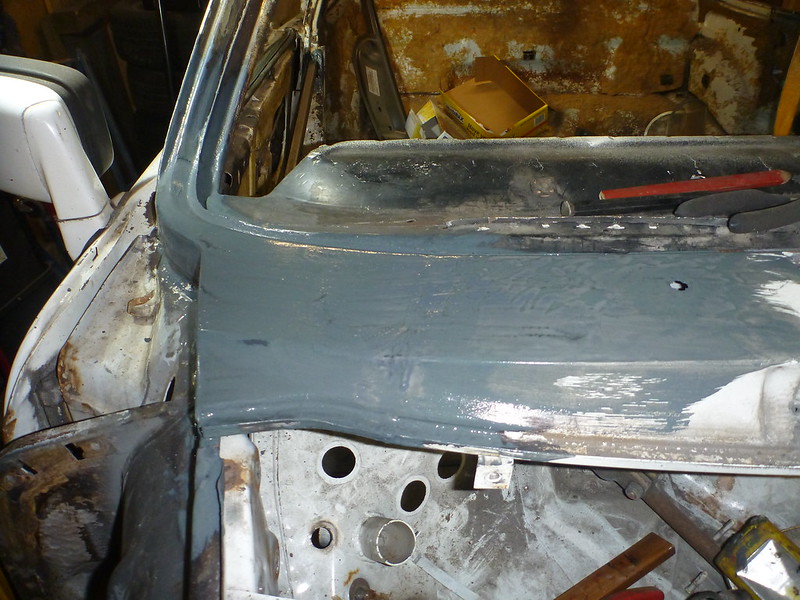
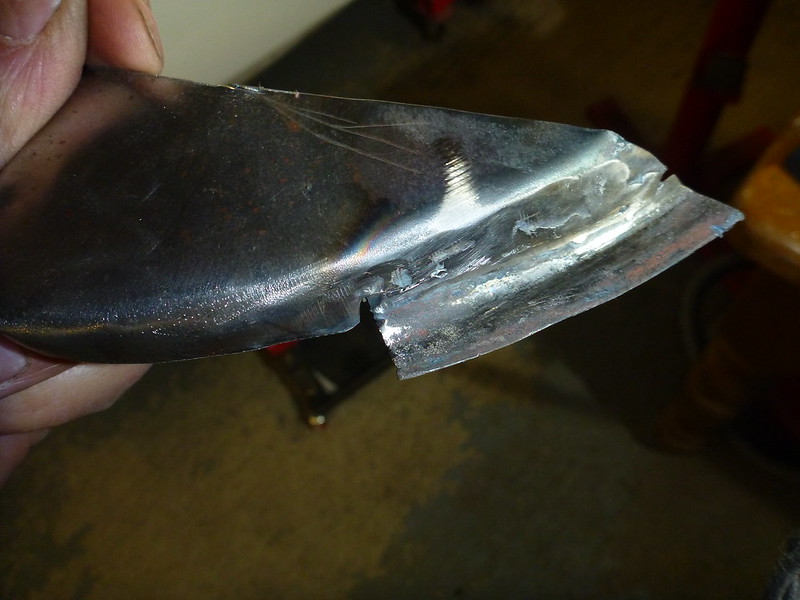
Disappointed with the level of distortion, not forgetting the big dent from the BFH , but I ended up having to weld and grind the main butt-weld twice. It’s not too bad, and a thin smear of filler / bog / bondo should see it right. Certainly it’s a whole lot better than the gaping rusty hole that was there before.
Not sure whether I'll get time to play before going to the Classic Car Show on Friday, so should have some spray on weld through primer by the time I've got the patch panel for the left side. BFH firmly back in the bottom drawer !
Getting closer to needing the super-size brave pants when I start the cills / kidneys / B-posts / rear wing patch and the re-inforcement panel at the base of the targa hoop. Think I need a lie down.