Page 3 of 20
Re: Project Blue Book
Posted: Fri Apr 21, 2017 8:48 am
by chief
Far to easy Kev

I guess it's down to how much you pay for the CV joints....
I am looking at Swayaway drive shafts as an alternative solution. I like the way they allow the CV to float on the shaft.
Re: Project Blue Book
Posted: Fri Apr 21, 2017 3:23 pm
by Bruce M
Measure the length of the driveshaft, spline count and the CV thickness and contact DaveMac Props for advice. If there is a suitable driveshaft they will know.
Re: Project Blue Book
Posted: Sat Apr 22, 2017 7:44 am
by chief
Thanks for the heads up Bruce, I appreciate it.
Re: Project Blue Book
Posted: Sat Apr 22, 2017 6:58 pm
by chief
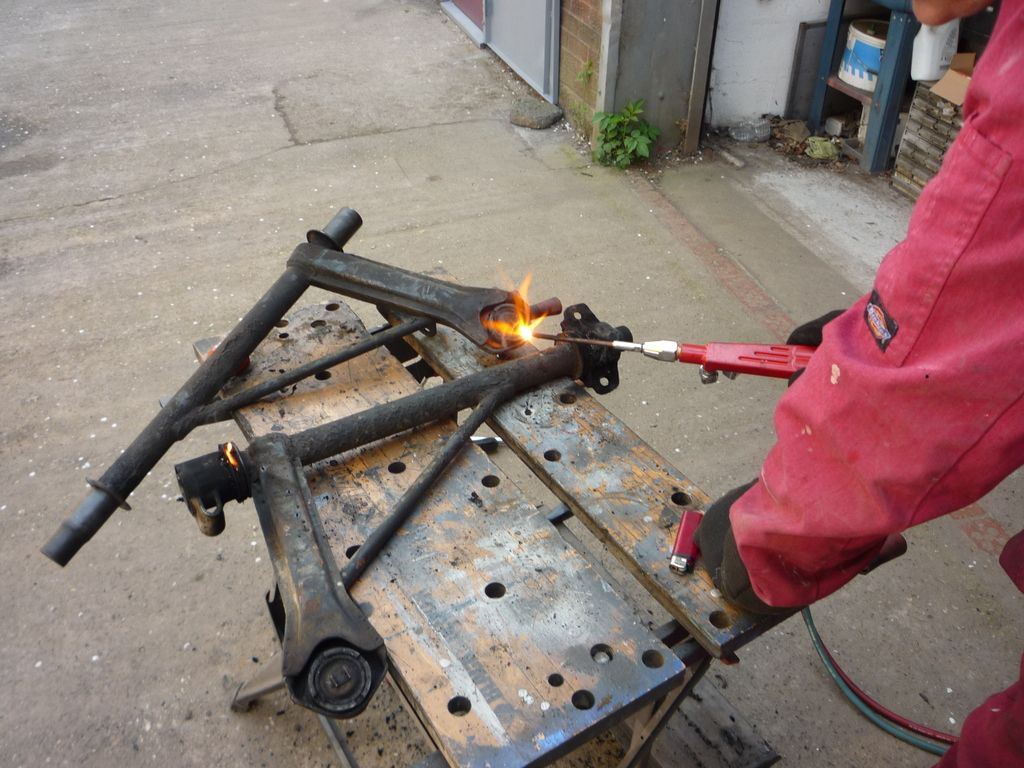
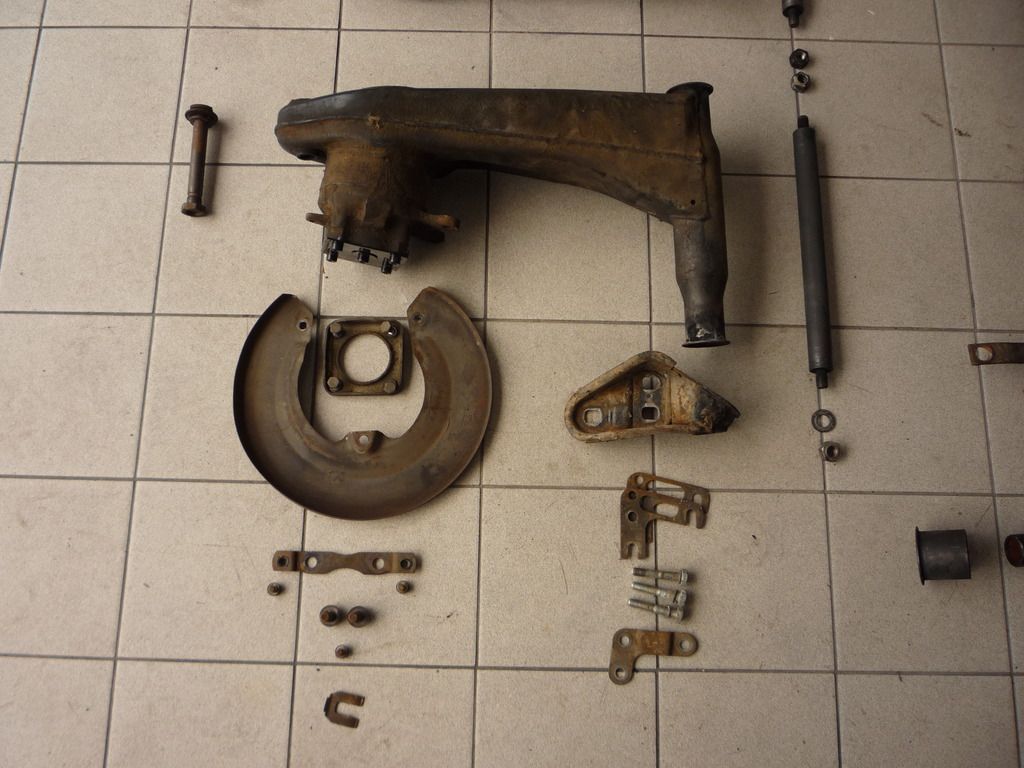
Ok, so today is all about this reprobate!
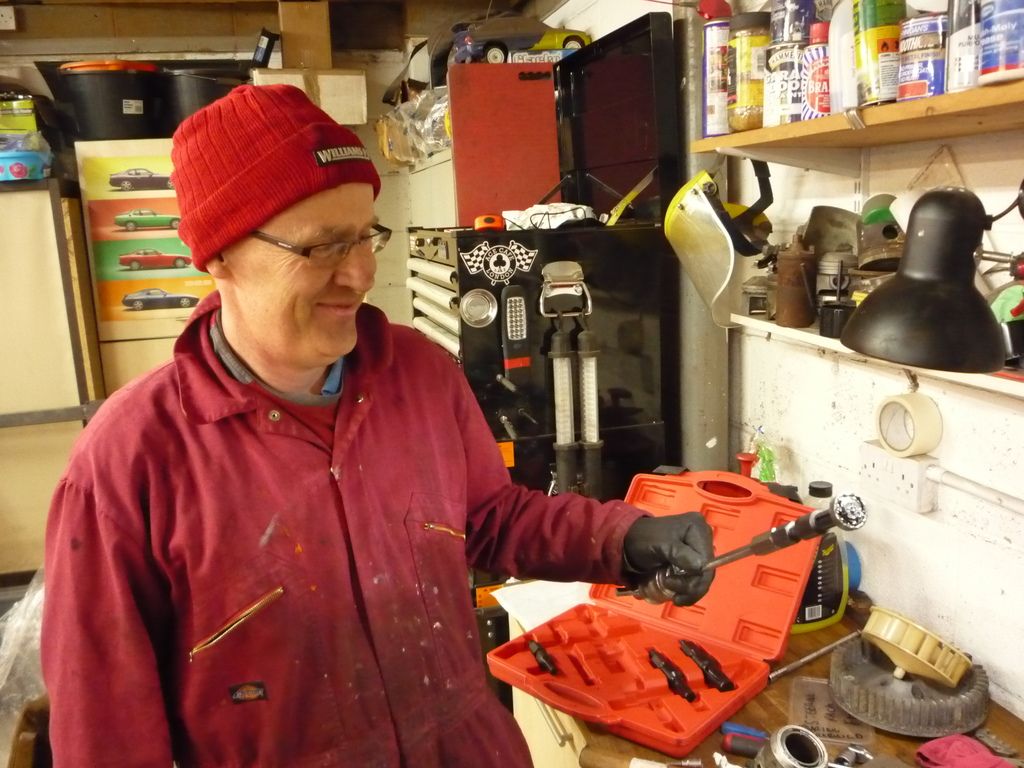
This is phil a.k.a LMR on here and 911UK.
Phil has kindly spent the whole day helping me at the Potting Shed. He had plenty to do himself but elected to help me instead. I have drunk his coffee and used his Oxy to burn out bushes. What more can you ask of a chum :thumb:
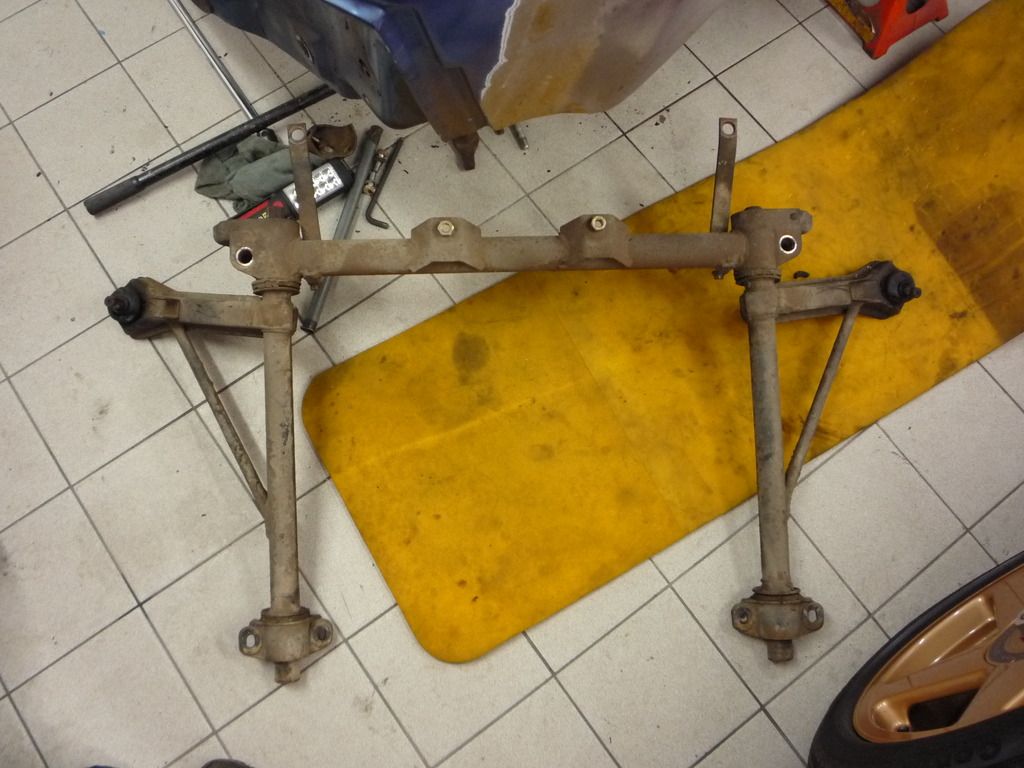
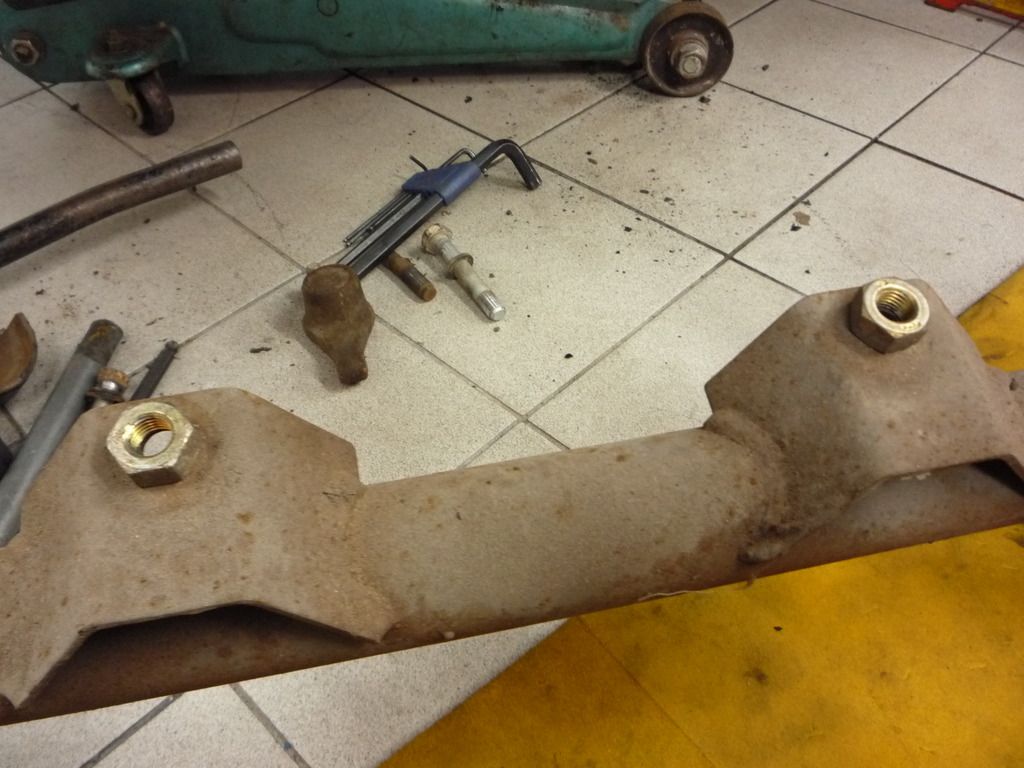
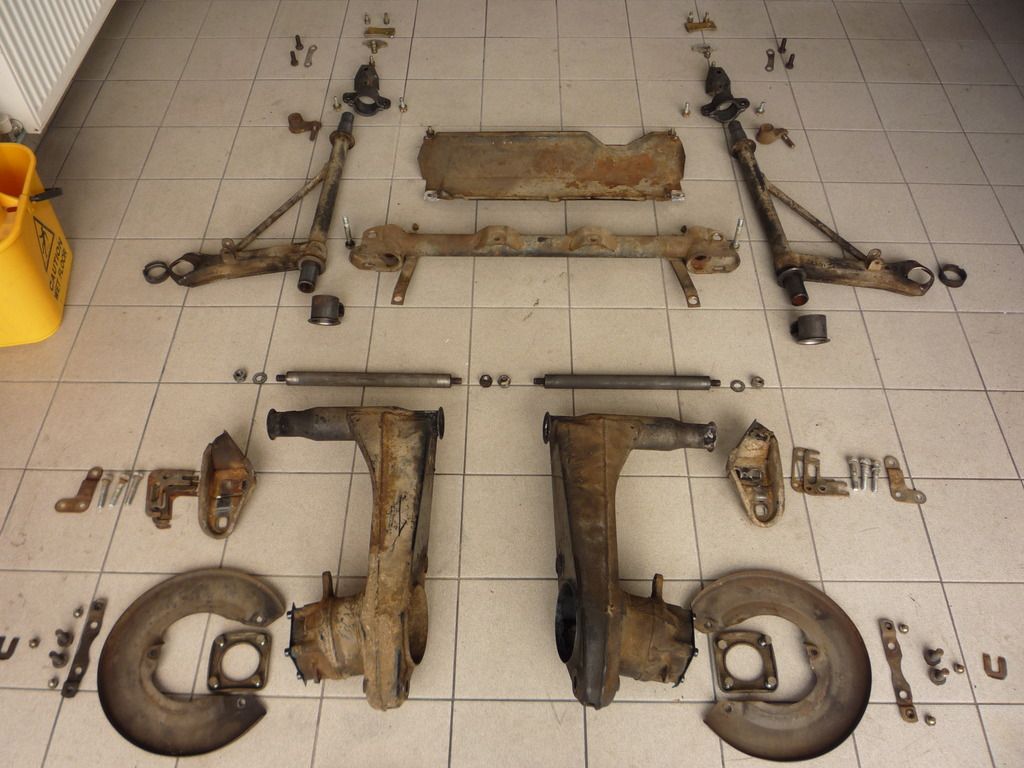
So, last night having secured his help I spent a couple of hours pulling all the suspension off in readiness for today.

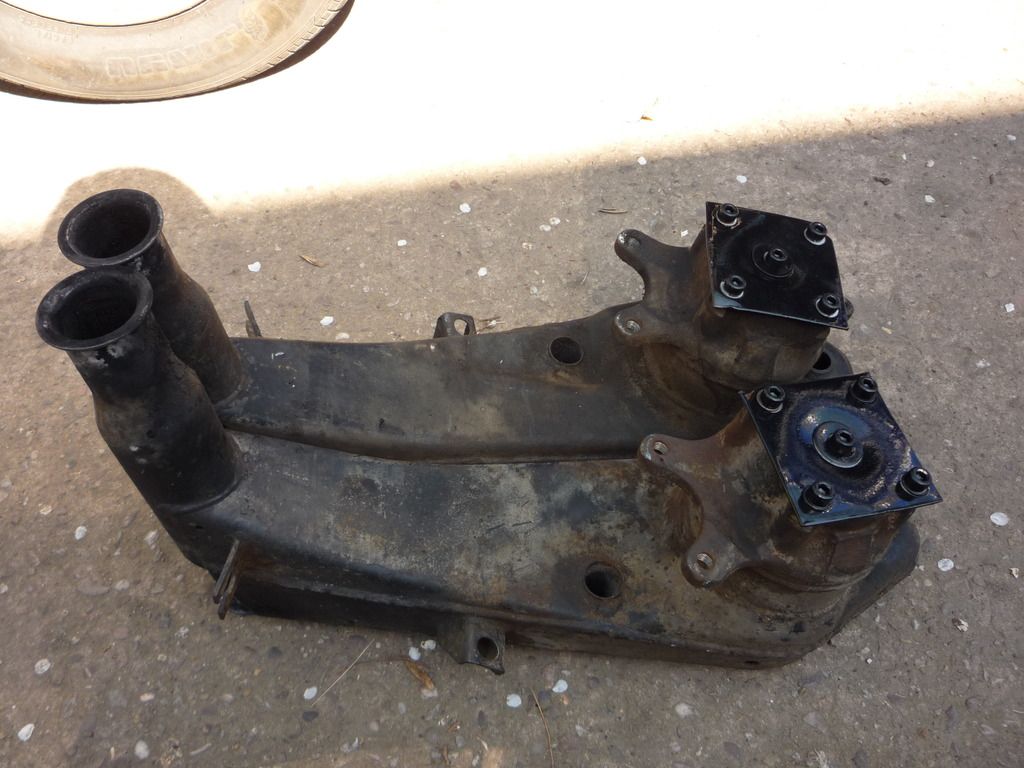
Rear trailing arms removed along with their odd packing shims.
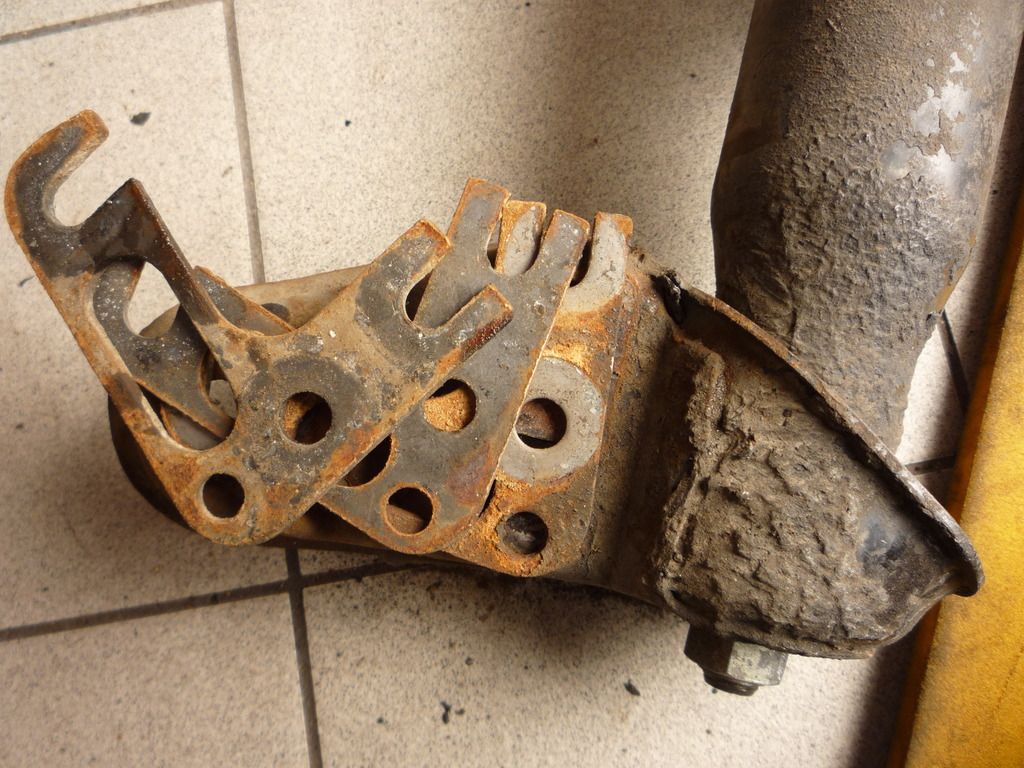
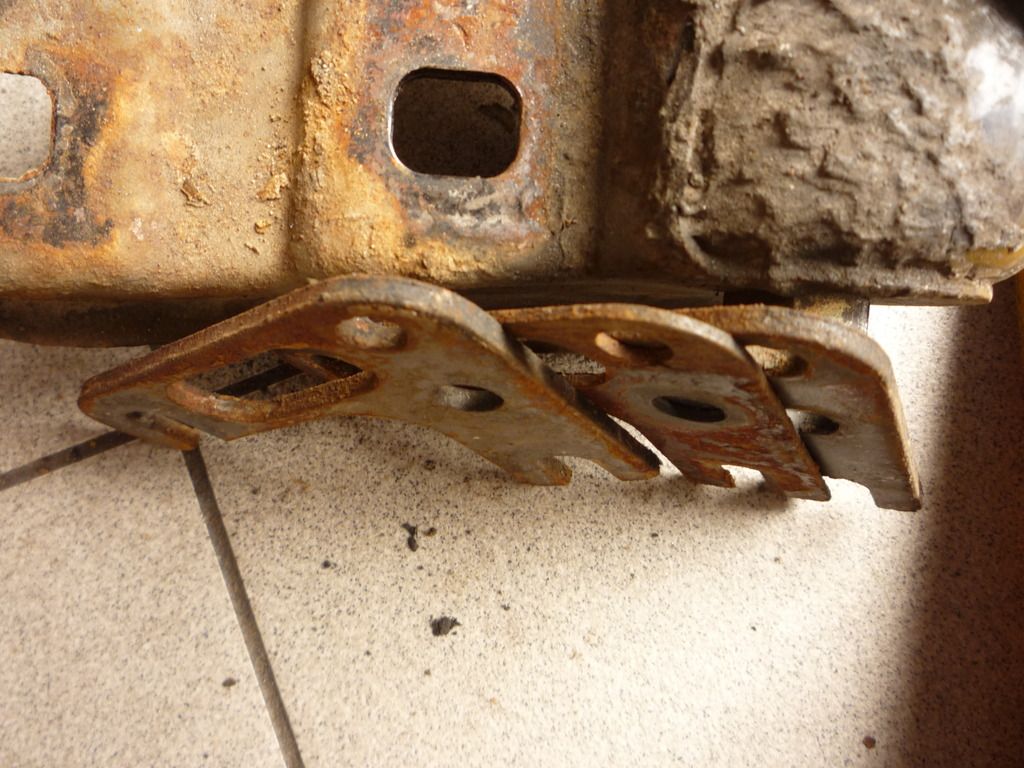
These are of different thicknesses to set the chasis geo.
Front tore down fine but I did find this horiffic modification :nooo:
Some charlie has lifted the steering rack to reduce bump steer by this daft method! just pop a couple of these bad boys in and balance the rack on them!!!!
So the poor car looks like a right invilid now...
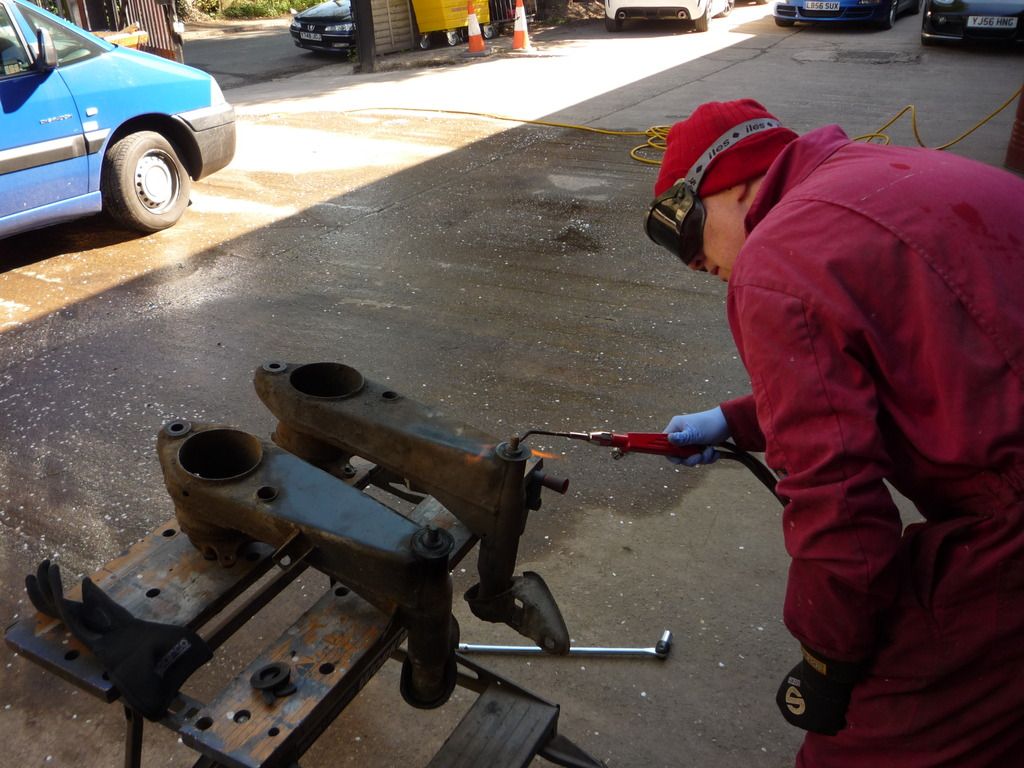
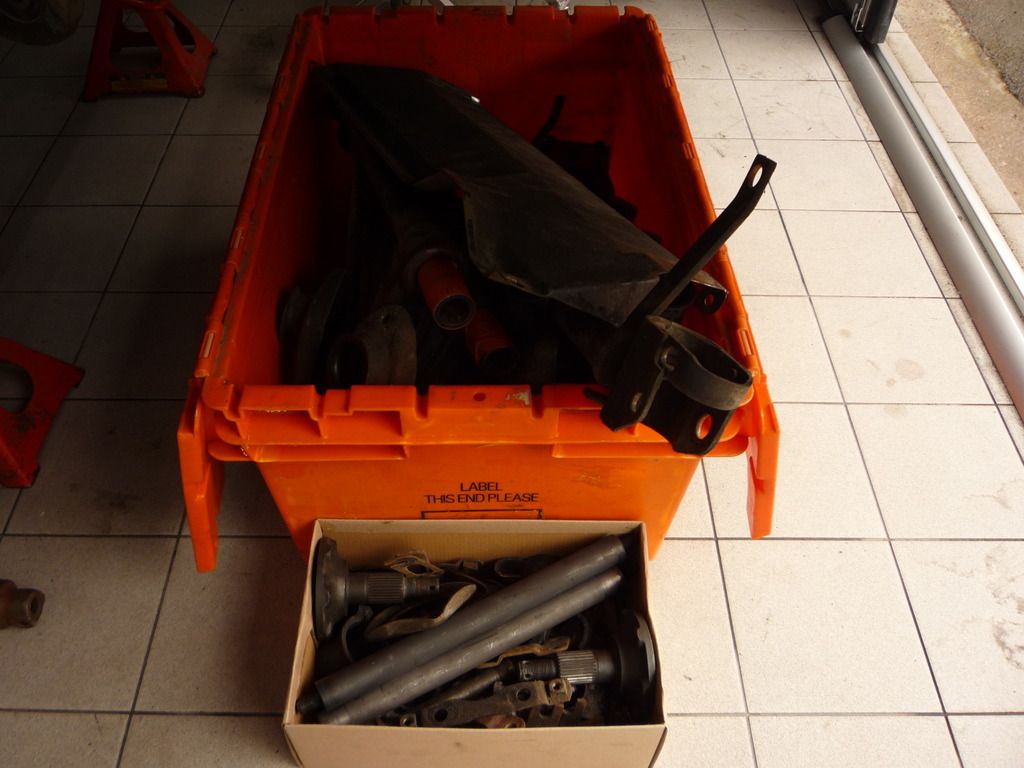
So the plan here was to burn out the rubber bushings and remove the spindles. Then drift out the wheel bearings.
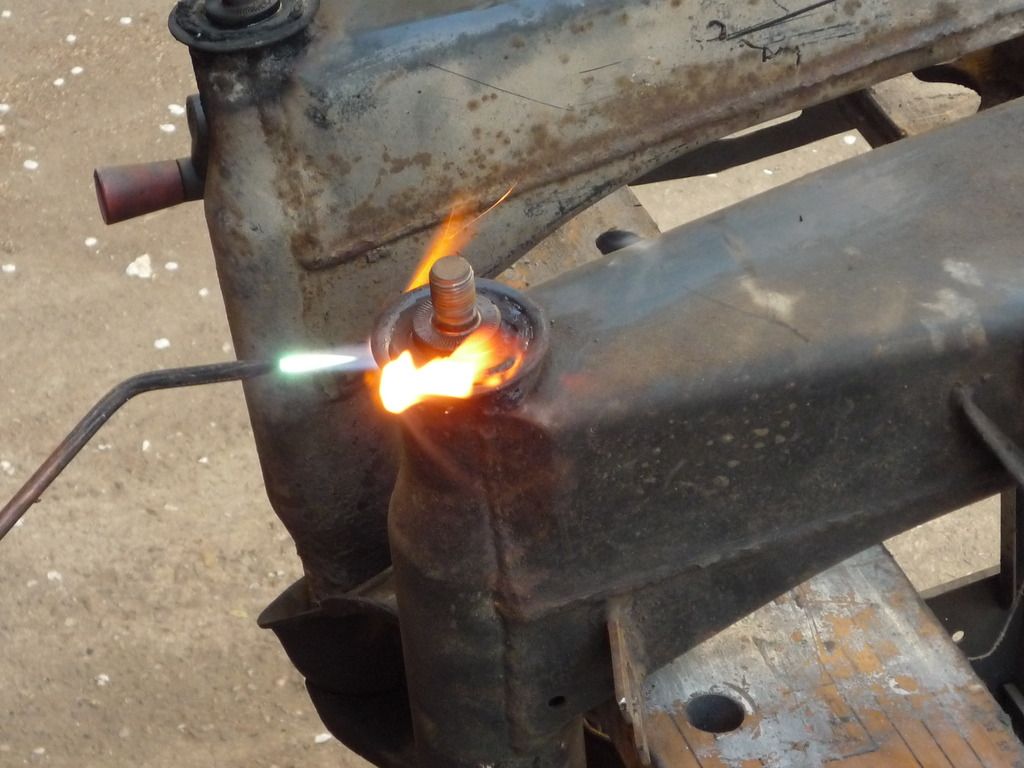
Then we watched the Roman candles burn for a while :o
Once we'd removed the bearings I used phil's patened blanking plugs so when they get blasted and powder coated the bearing surfaces will be paint free.
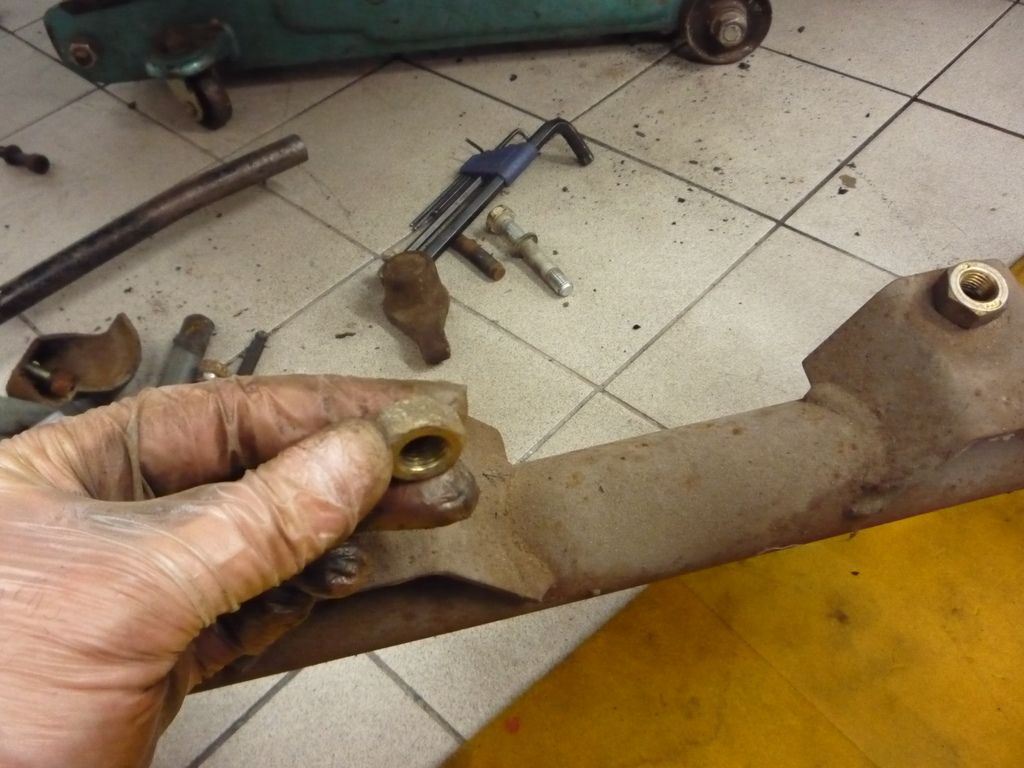
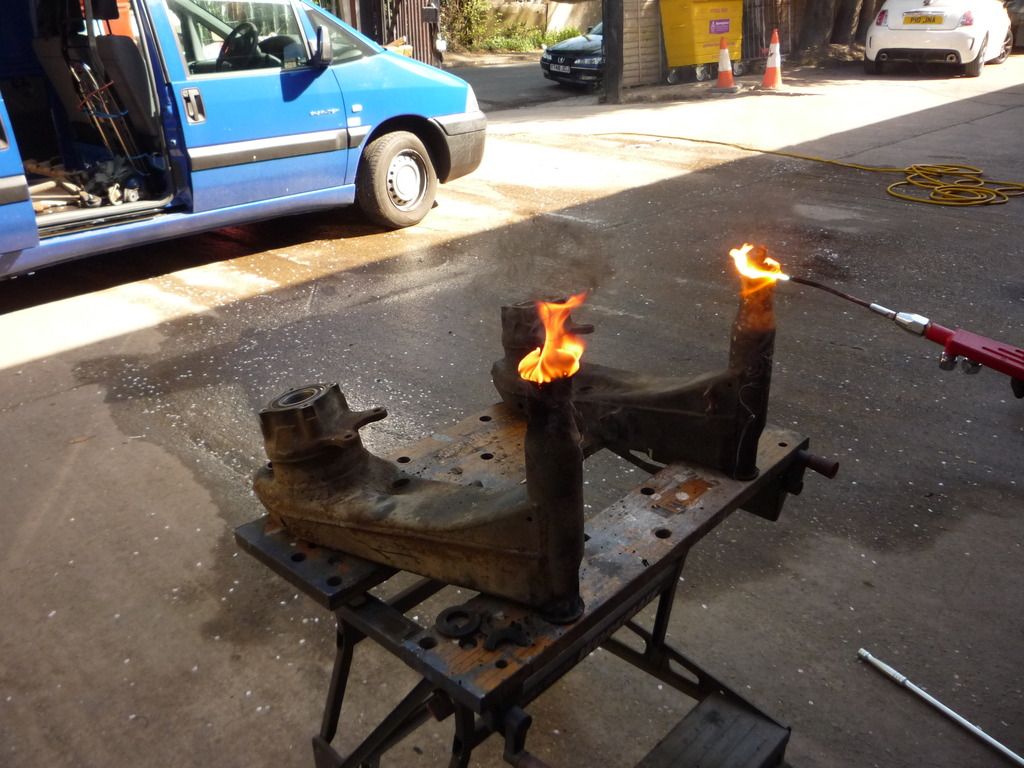
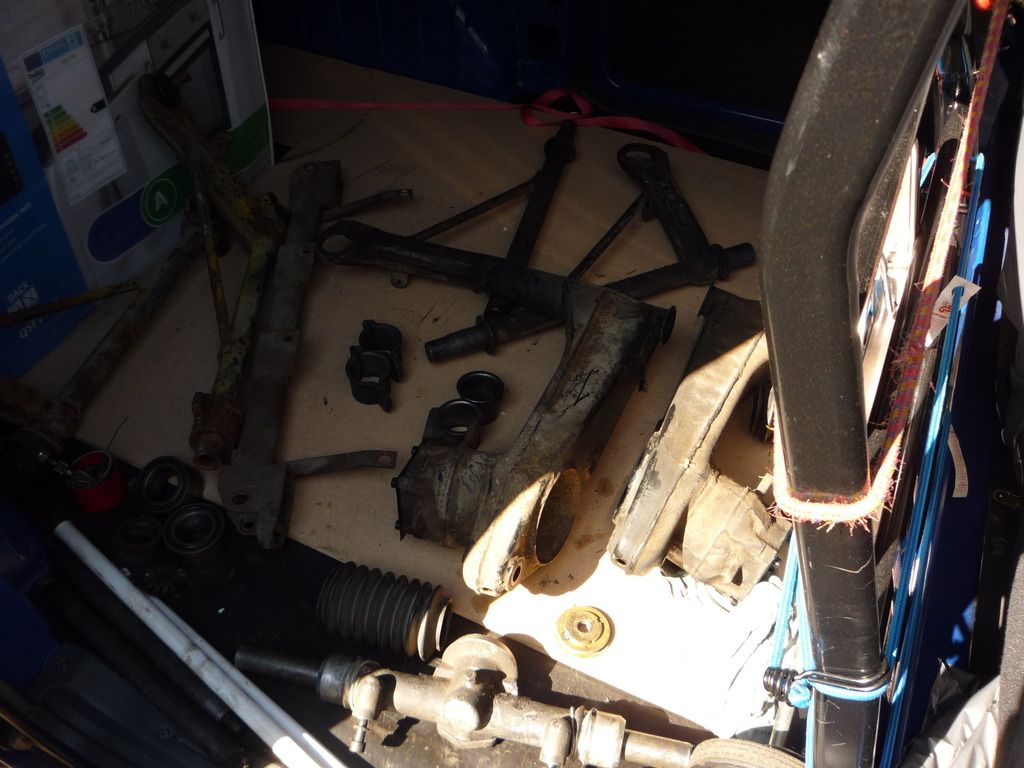
Next up was to remove the lower 'A' arms from the cross member.

Once out it was more of the same treatment!
We removed the lower ball joints then cleaned what remained of the bushings off with thinners. All got chucked back in the van and the kettle was straight back on!
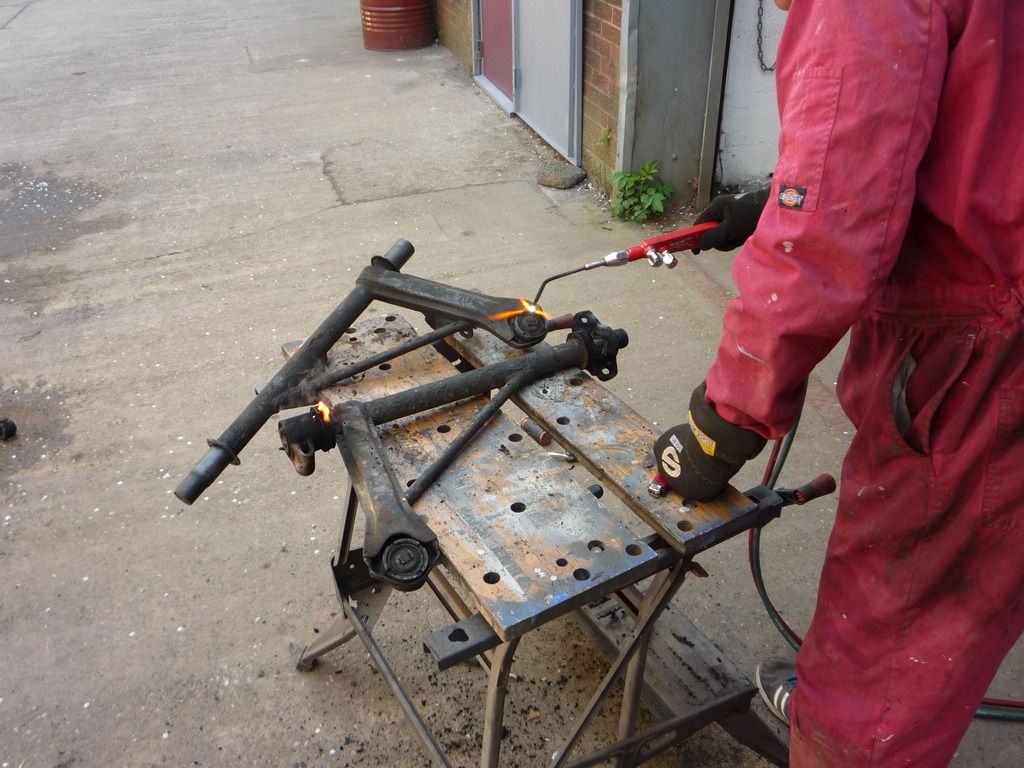
We then moved onto breaking down the steering rack. However I will get some more photos of this so you can see the detail of how it all works.
So again, a big thank you to Phil for today. This truly shows how good you Porsche people out there really are.
All the best,
Chief
Re: Project Blue Book
Posted: Sat Apr 22, 2017 8:57 pm
by defianty
It's a stinky job removing the bushes! I did mine just a couple of weeks ago. Very pleased when they finally came out.
Re: Project Blue Book
Posted: Sun Apr 23, 2017 12:54 pm
by 23e Heure
Coming along great!
Re: Project Blue Book
Posted: Tue Apr 25, 2017 1:35 pm
by chief
Thanks chums. this is gonna take a while to get it as I want it to be. But you have to start somewhere!
Lots of parts ordered this week from all over the globe...
And putting the final specifications to the suspension set up.
Re: Project Blue Book
Posted: Fri May 12, 2017 8:36 am
by chief
So, a bit of an update on the progress of the steering rack and alike...
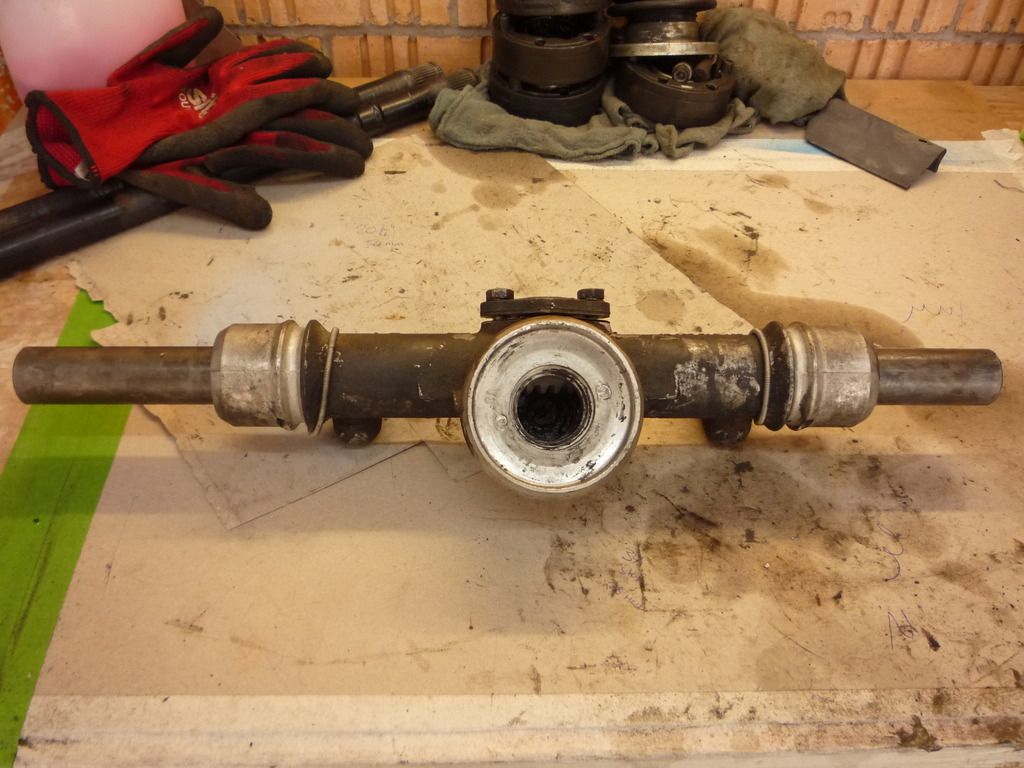
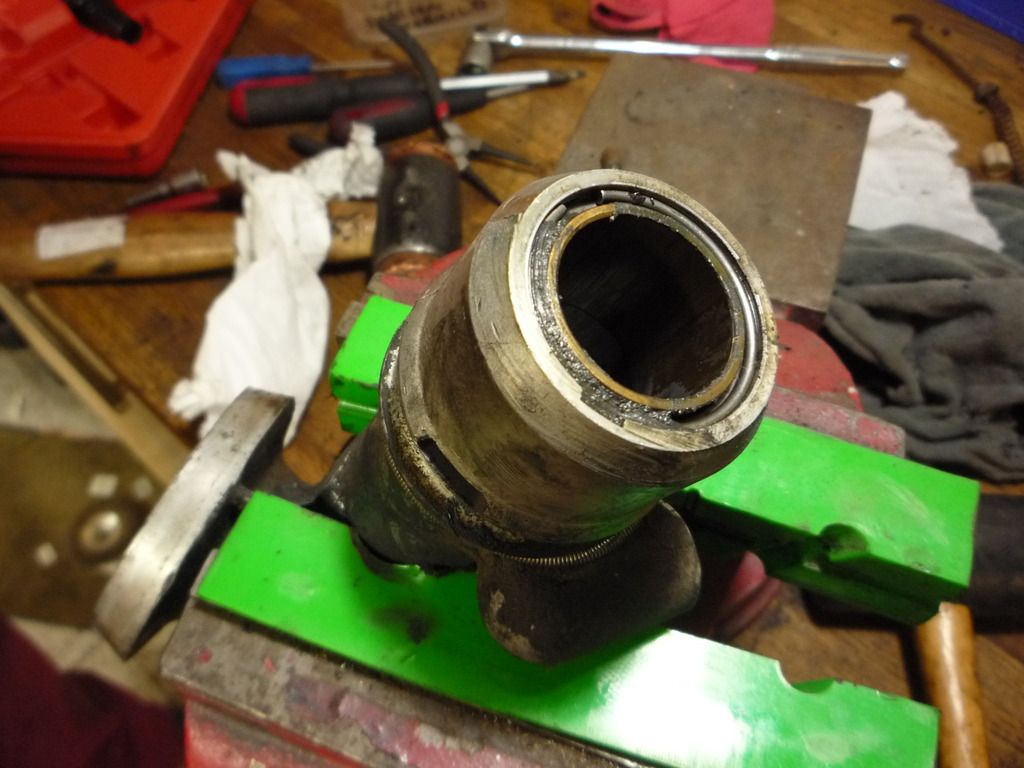
So stripped into it's component parts.
New bearings have been ordered and indeed turned up.
So time to clean and paint ready to be entombed in bubble wrap for later...

So cleaned up with the wire brush on the drill teckneek

And as if by magic....
So ready for re-assembly once i've got the dirty stuff tidied away.
Next up was breaking down the suspension top mounts.
I have ordered 25% uprated bushes for these so need to remove the old compliant rubber.
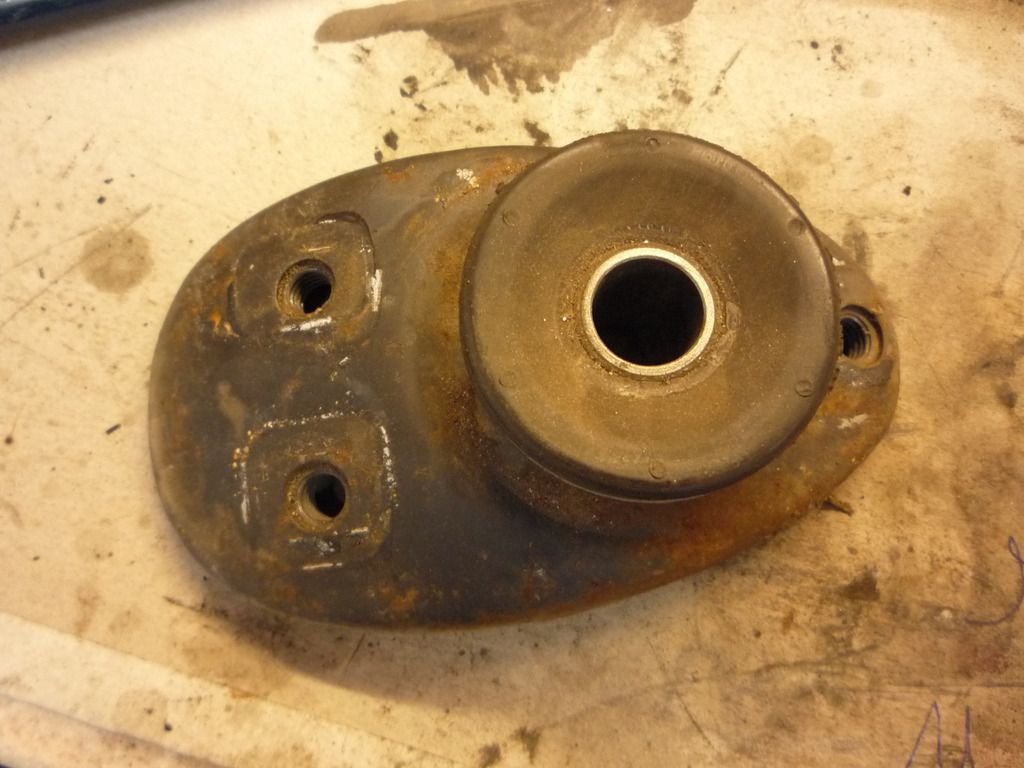
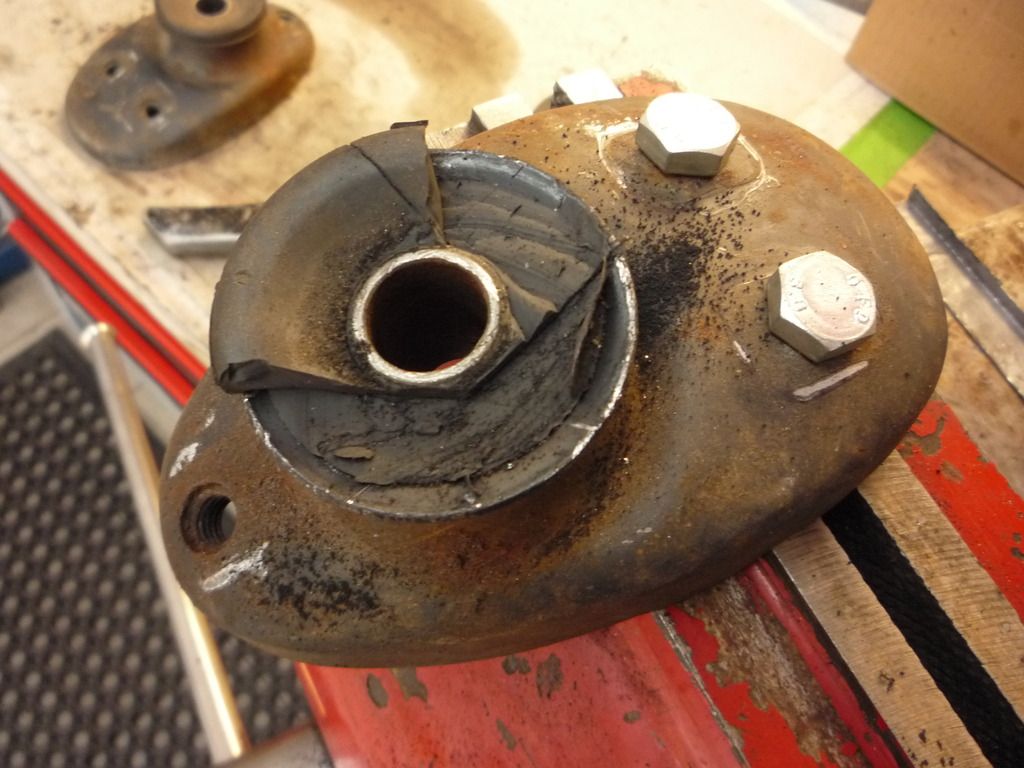
I cut around the top.
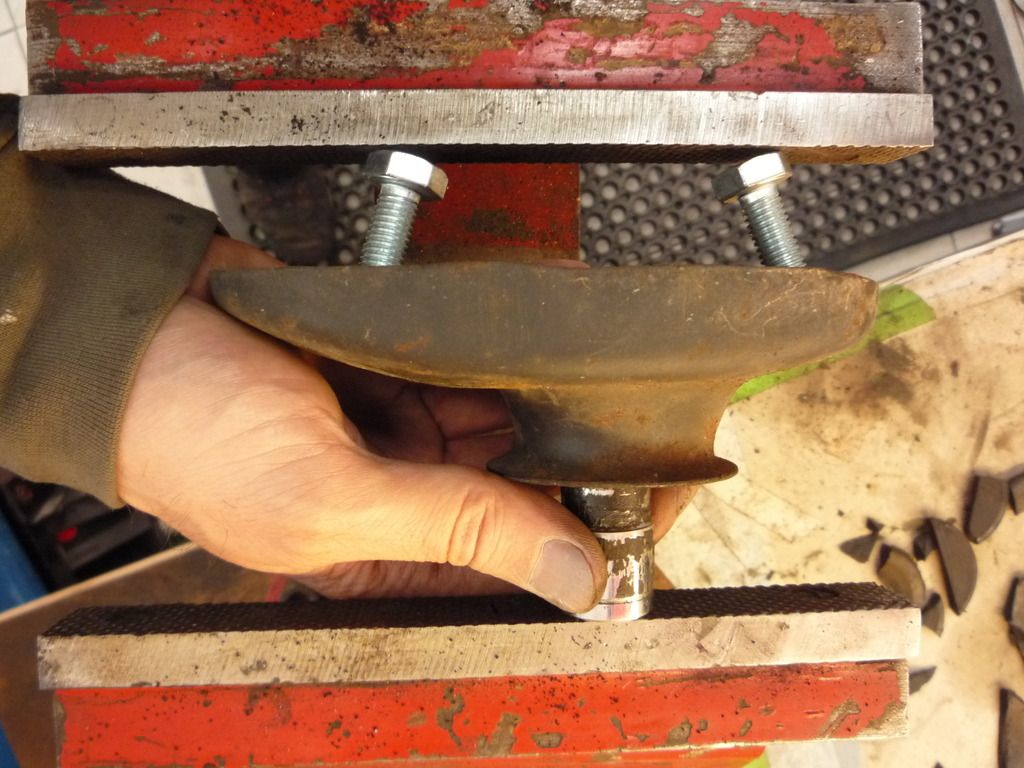
Then pressed the large part of the bush out.
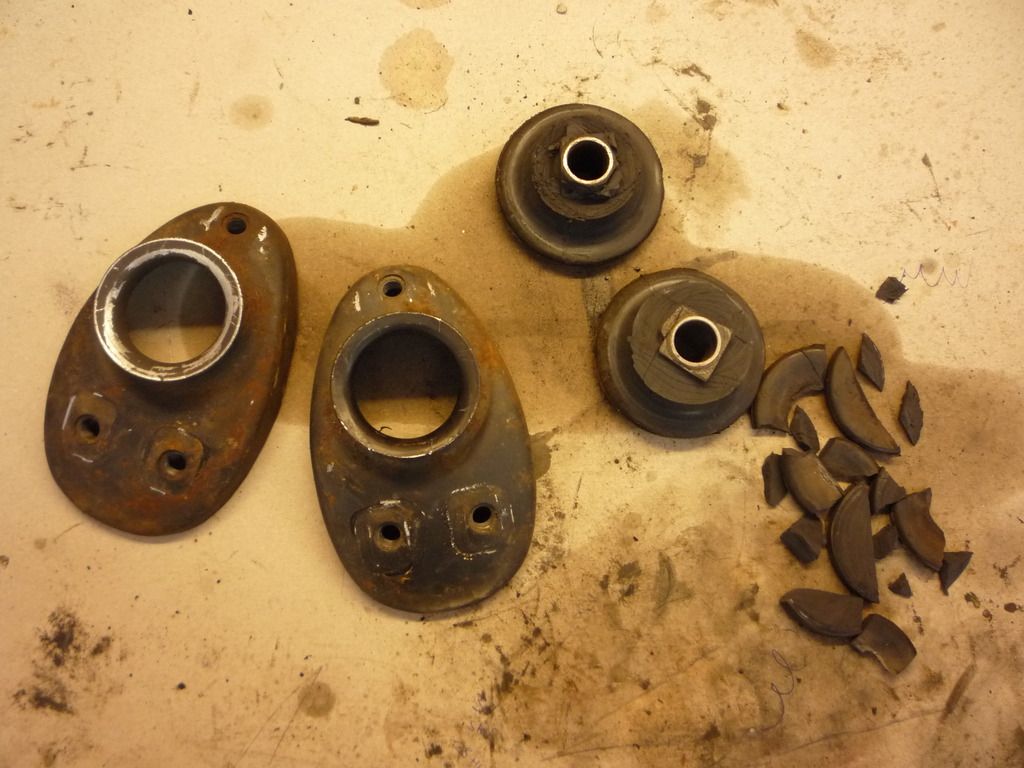
These mounts can now go on the pile for powder coating.
TOP TIP...
I find it easier to lay everything out and photograph it to later show where all the nuts, bolts and washers live. Trust me this is a foolproof way of sorting your plating and power coating!
One big box for powder coating and a littlun for passive plating in gold.
All loaded in the van ready to drop off tomorrow.
Off for and early bath.
All the best,
Chief
Re: Project Blue Book
Posted: Fri May 12, 2017 8:37 am
by chief
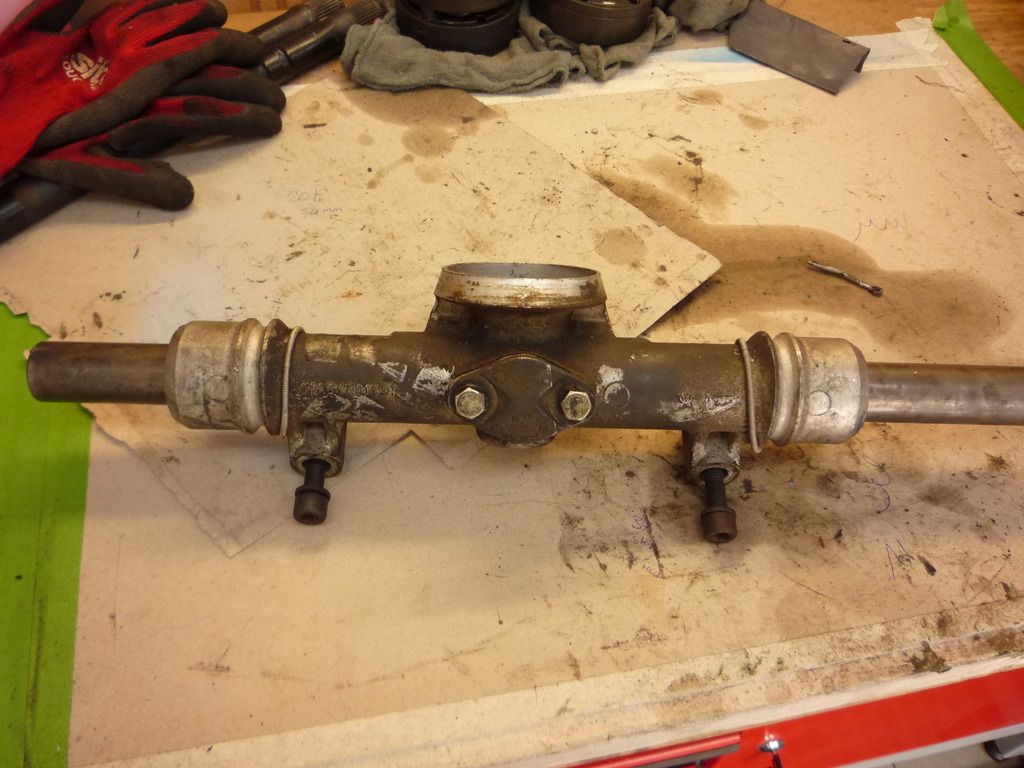
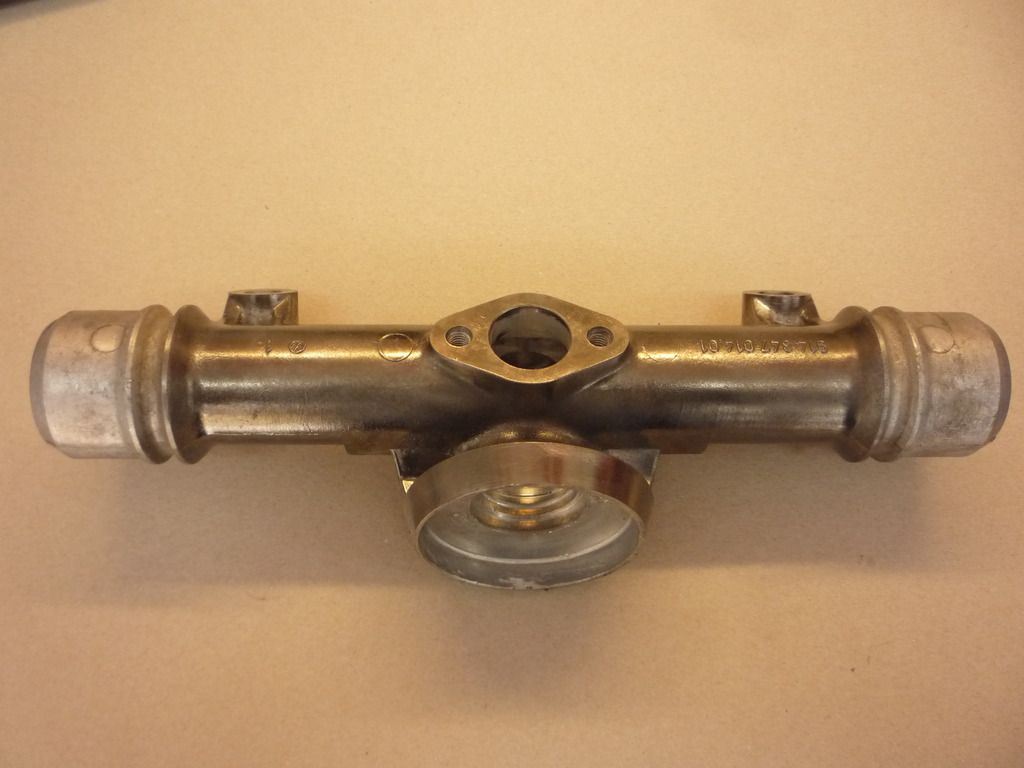
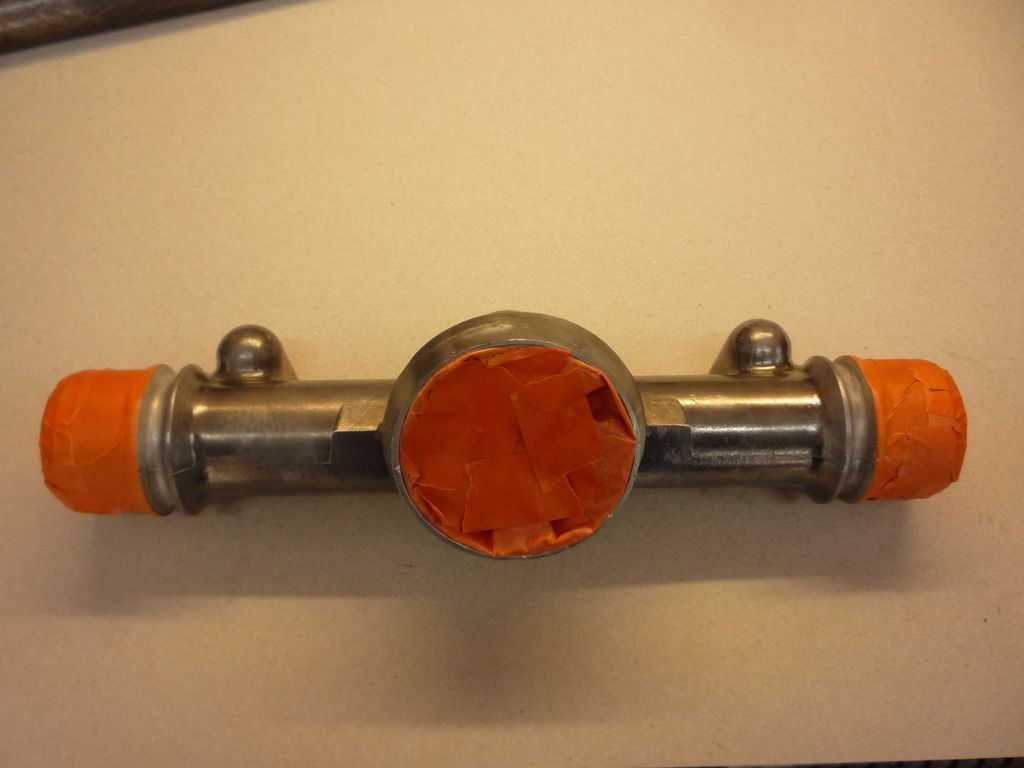
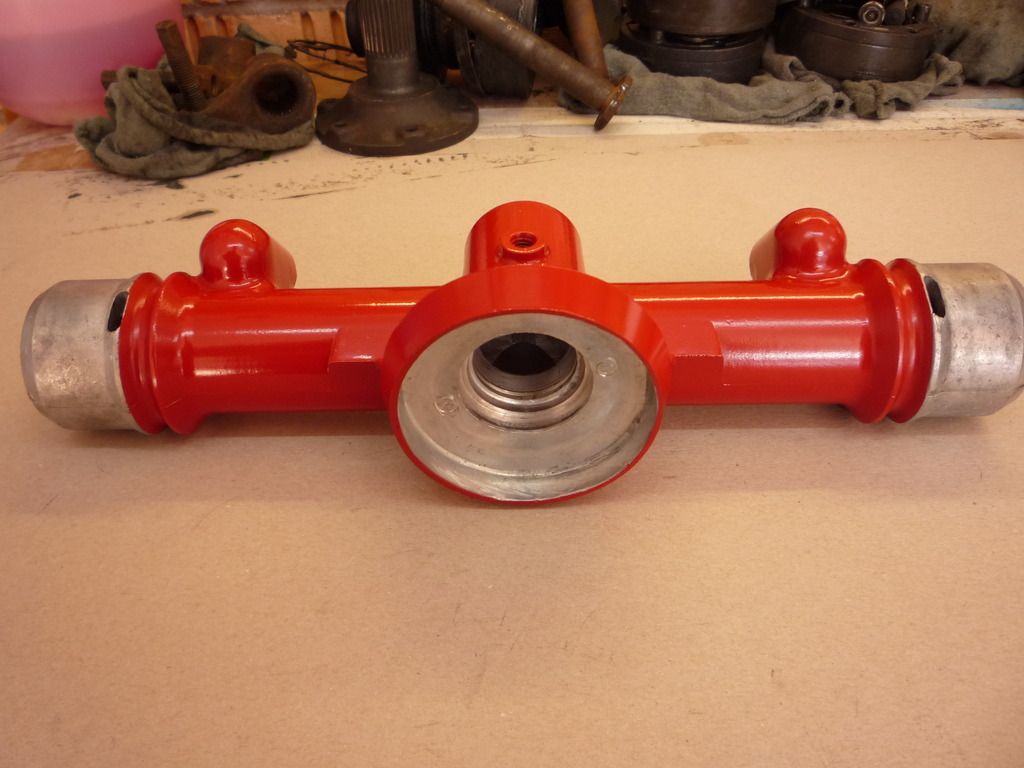
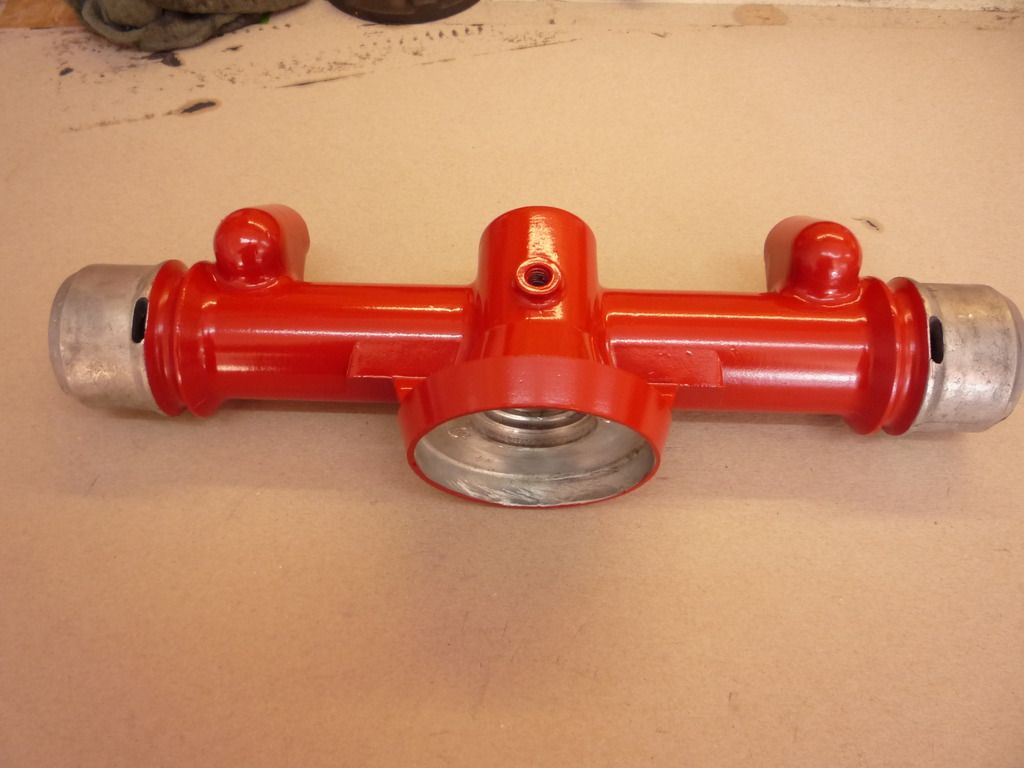
Some progress I thought i'd share with you...
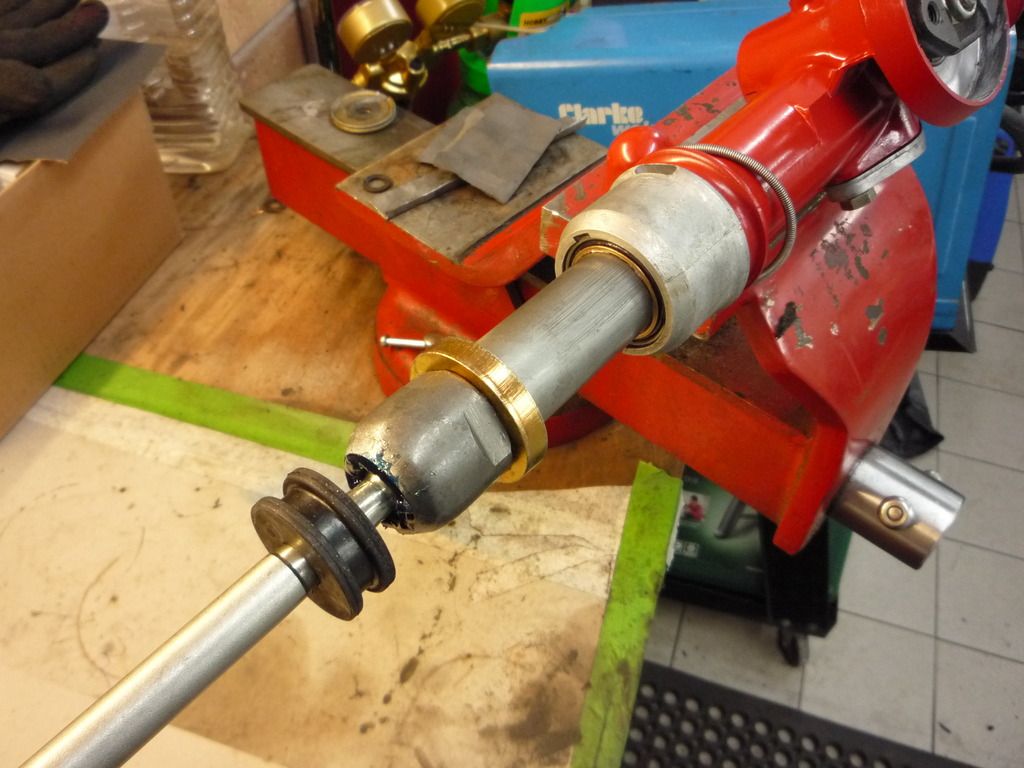
So we left it with the rack painted and drying off. Now time for the re-build.
I had ordered new bearings top and bottom along with a dust seal. These were not OEM supply so less than half the price!
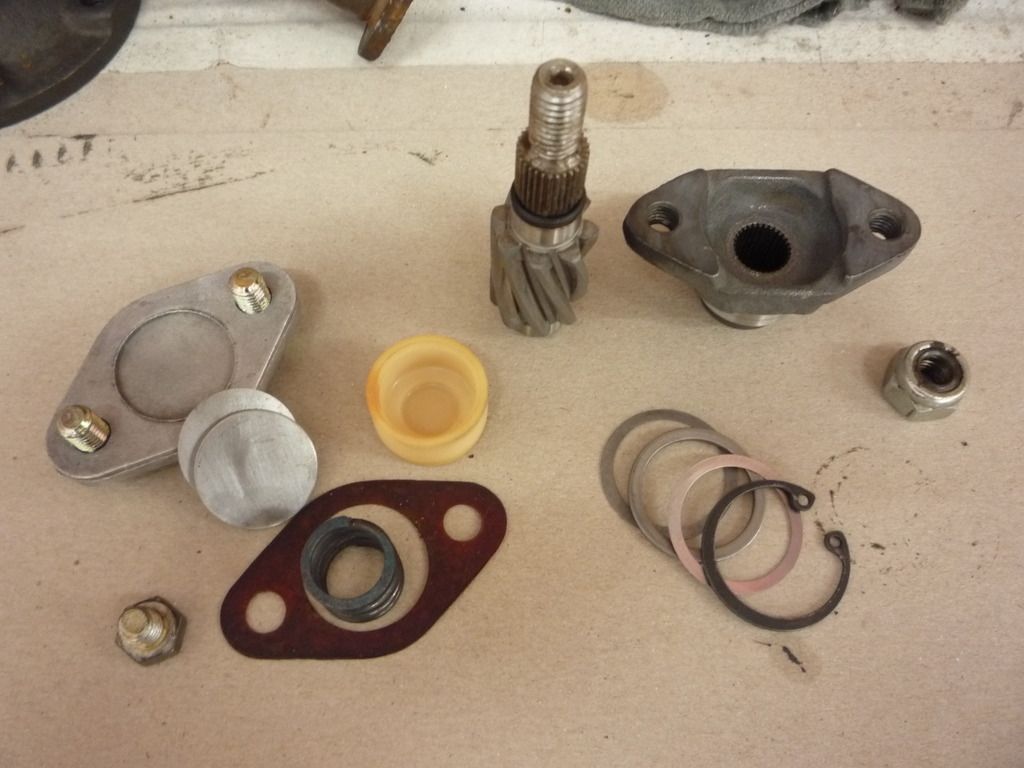
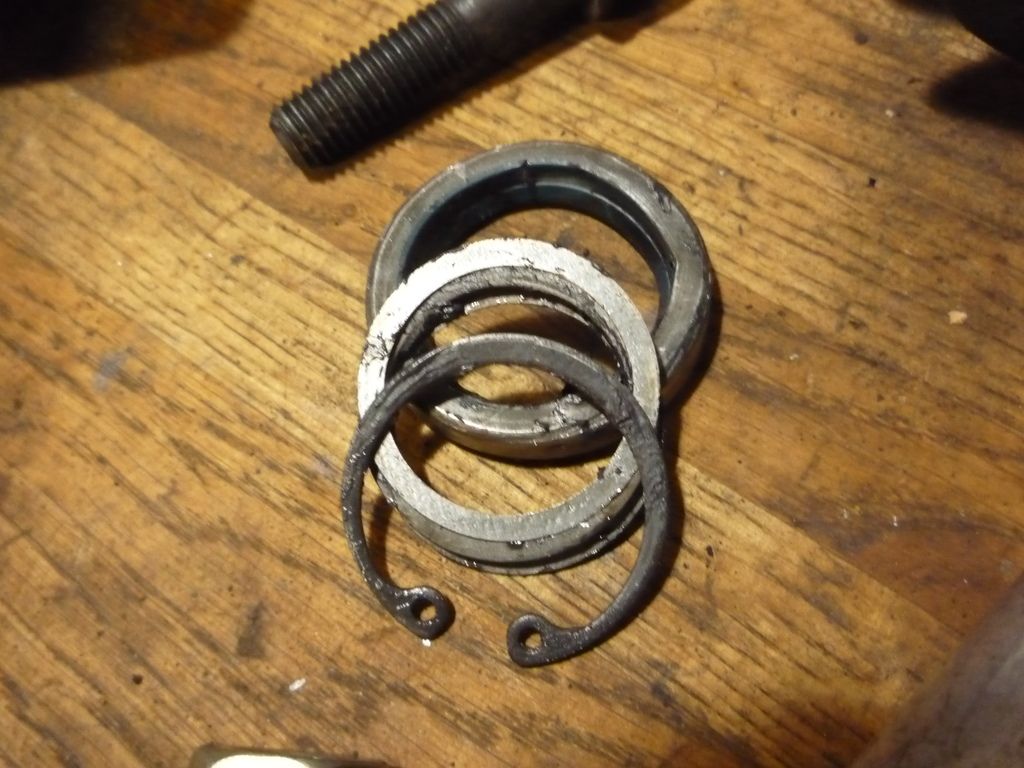
These are the parts you have to get back into the rack and in the right order!
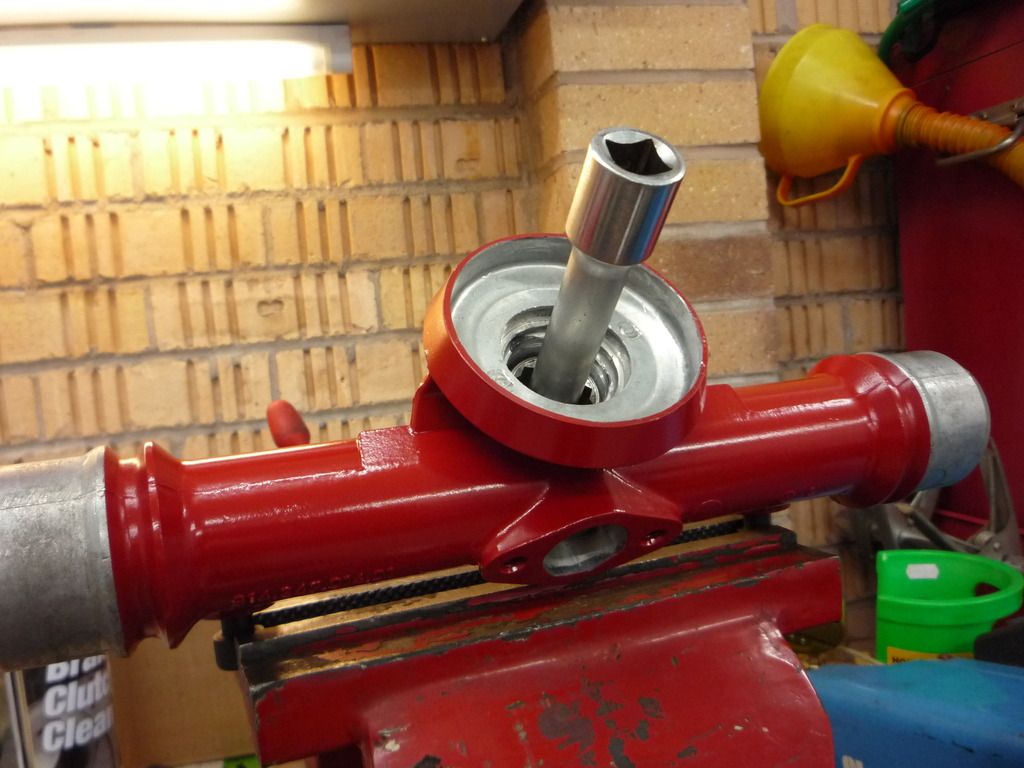
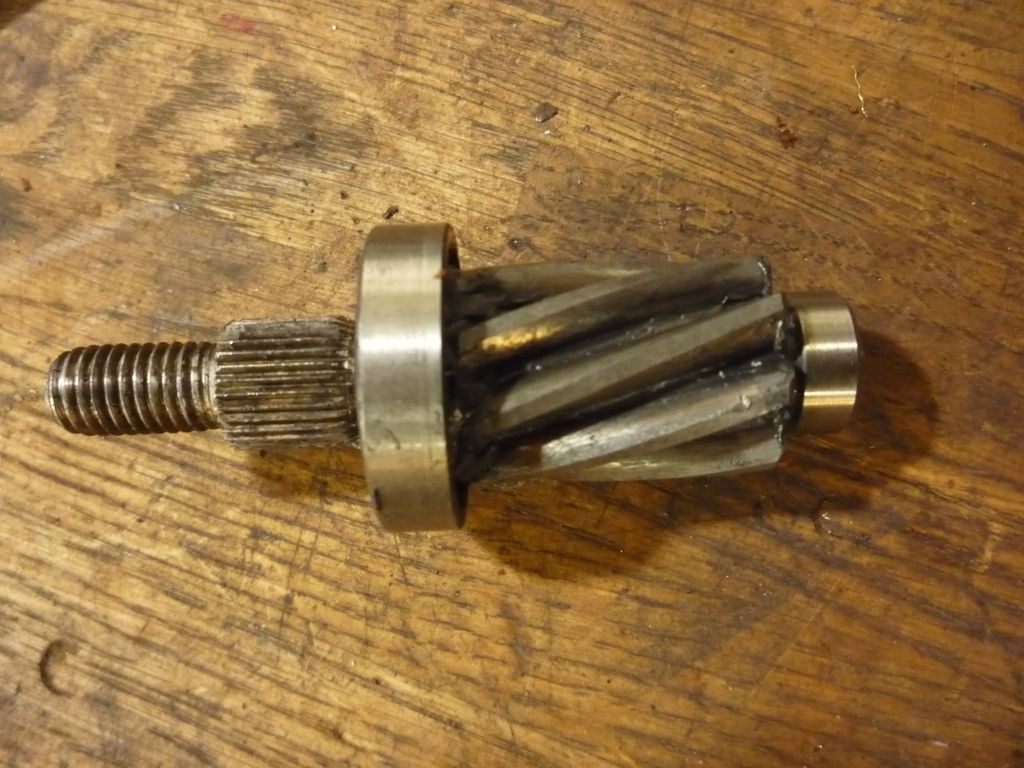
So, the bearings spent the night in the freezer and then the rack went into the oven at 60 degrees fan for 20 minutes or so. This then allowed the bearing to drop straight passed where the top one seats and down into the depths of the rack. A suitable sizes socket reversed with an extention bar allowed me to just tap the bearing into the seat.
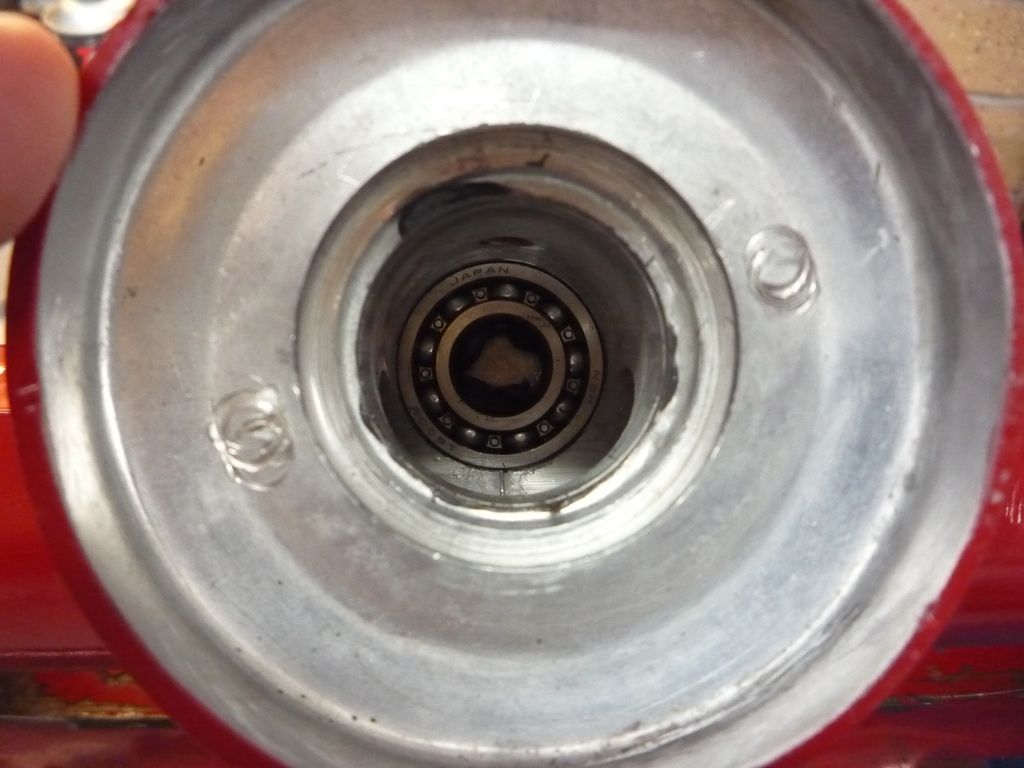
And here he is.
The top bearing was slipped over the wormed drive gear. everything was greased before hand.
The spring tension applied by this nylon cup, spring and shims give the feel to the rack.
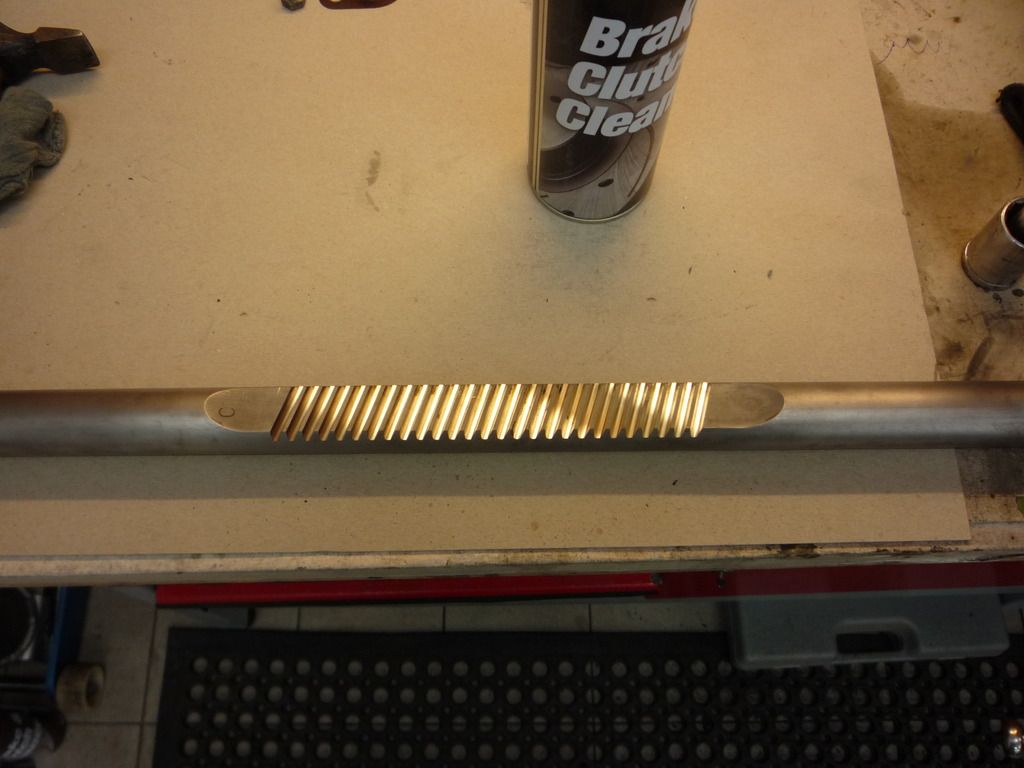
Turbo 930 bars installed which should improve the feel of the steering no end!
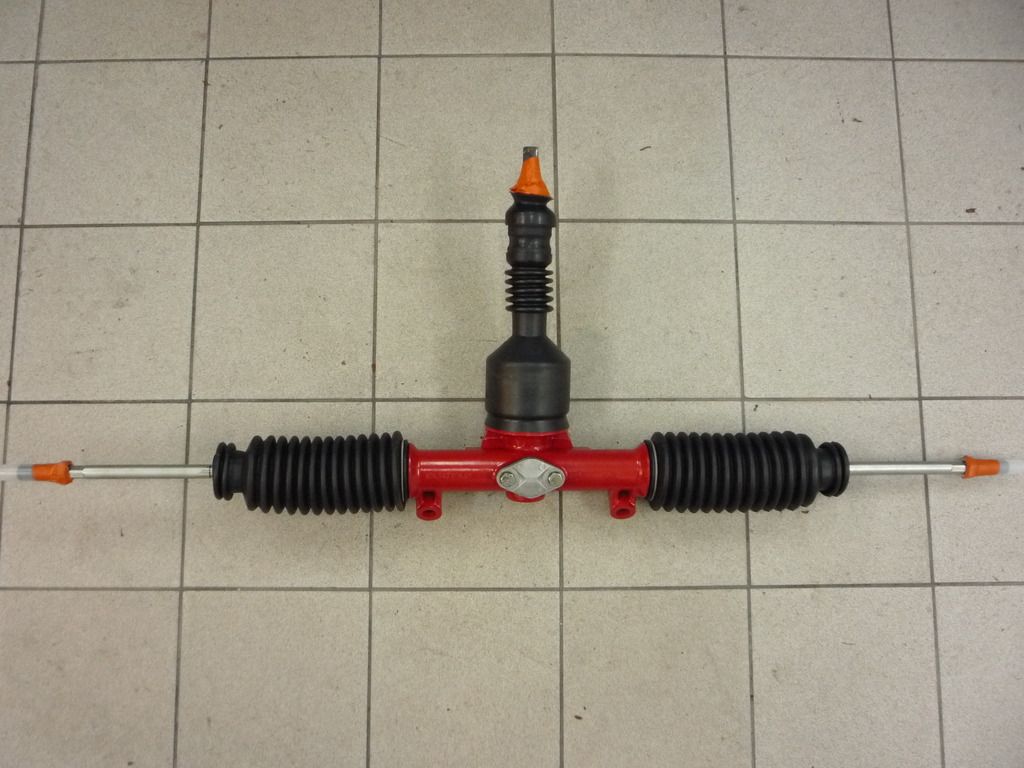
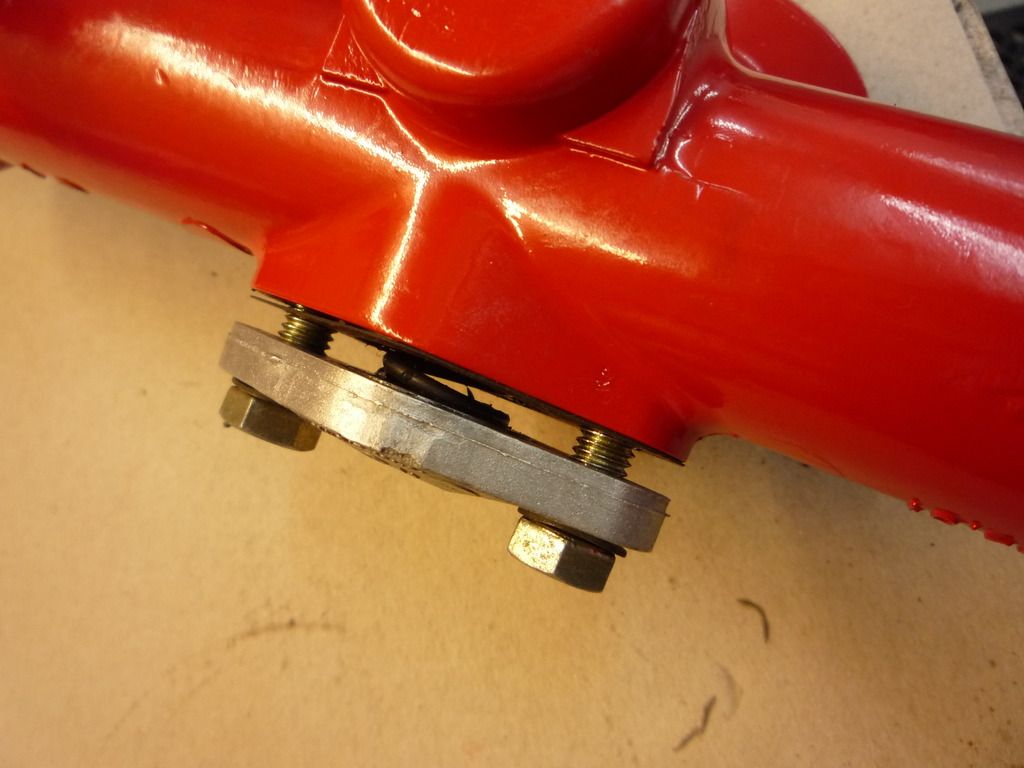
And there we have it, all done bar the modified bump steer ends (more later)...
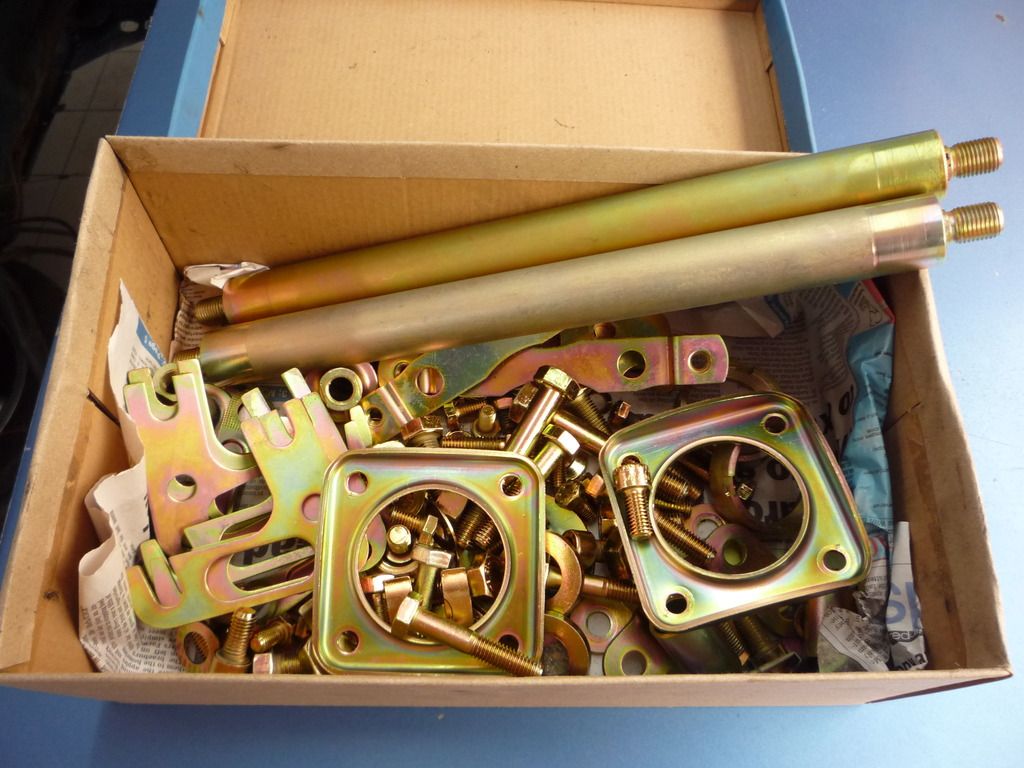
The passive plating all came back!
Very nice and only £20!!! cheapest thing done so far...
And then we're onto the next dirty bit!
The peddle box will be stripped, plated, powder coated and new modified bronze bushes to remove the nylon old wobbly ones....
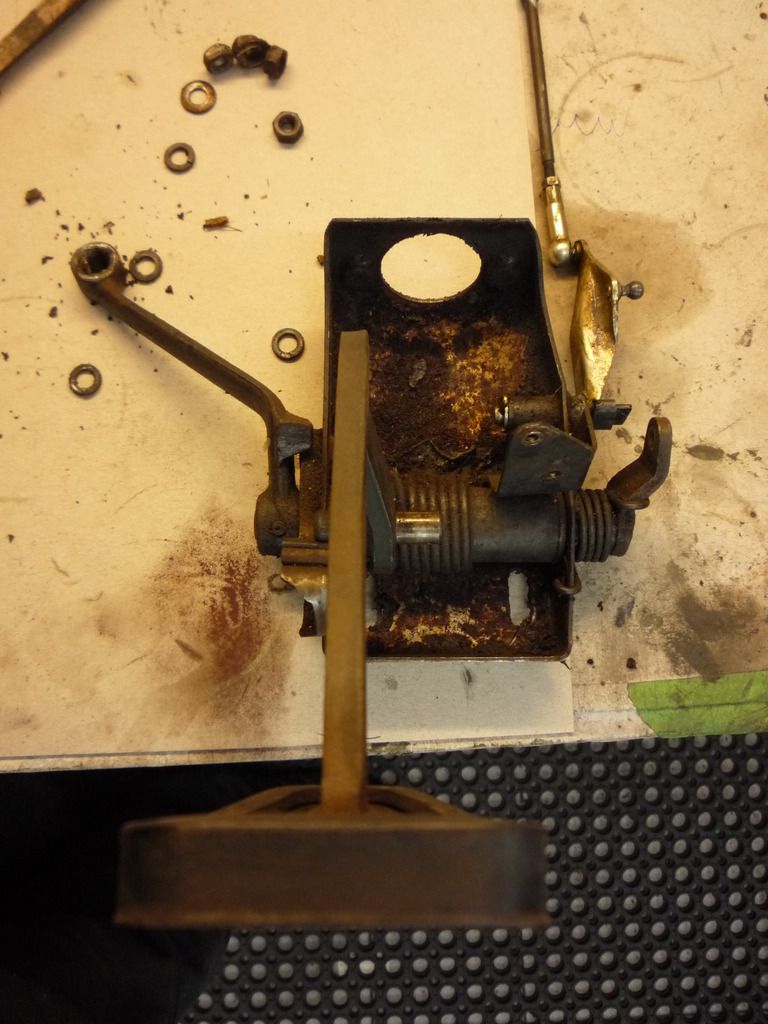
Lots of nasty roll pins and death trap springs on this one, so gloves and goggles are a must.....wish me luck, i'm going in

That is all.....Chief out.......
Re: Project Blue Book
Posted: Fri May 12, 2017 8:58 am
by hot66
if tis like the 911 pedal box, those clutch pedal roll pins are bitches. I ended up taking mine to a local machine shop to get the roll pin reinstalled as I just couldn't get it go
Re: Project Blue Book
Posted: Fri May 12, 2017 8:59 am
by defianty
Nice work Chief. We're treading similar paths at the moment. I collected all of my powder coating last week and I'll be picking up the plated goodies later this afternoon. The pedal box is a lot simpler to dismantle than I imagined and there's actually very little tension on the springs.
Re: Project Blue Book
Posted: Fri May 12, 2017 9:00 am
by defianty
hot66 wrote:if tis like the 911 pedal box, those clutch pedal roll pins are bitches. I ended up taking mine to a local machine shop to get the roll pin reinstalled as I just couldn't get it go
I only managed to get it halfway in
But putting it in the vice finished off the job.
Re: Project Blue Book
Posted: Fri May 12, 2017 1:47 pm
by chief
Thanks fellas. I appreciate the input. The new bronze bushes and roll pin have arrived, so I need to dismantle this weekend to get the parts plated and coated.
Hopefully I can drop off as I pick up the powder coated suspension......Almost a little production line going on here!
Re: Project Blue Book
Posted: Fri May 12, 2017 8:12 pm
by 914 KEV
hot66 wrote:if tis like the 911 pedal box, those clutch pedal roll pins are bitches. I ended up taking mine to a local machine shop to get the roll pin reinstalled as I just couldn't get it go
defianty wrote:I only managed to get it halfway in
But putting it in the vice finished off the job.
I have found that using the original roll pin available from Porsche 900.309.002.00 is a lot easier to fit than the aftermarket one supplied in the kit.
Re: Project Blue Book
Posted: Sat Sep 23, 2017 6:35 pm
by chief


