Page 3 of 10
Re: Shrek
Posted: Thu Aug 03, 2017 12:19 pm
by Nick Moss
It seems odd that the apparently good gaps became so bad after stripping. Usually deformation of a bare shell leads to that particular gap increasing as the rear end sags without proper bracing.


Re: Shrek
Posted: Thu Aug 03, 2017 12:40 pm
by Dougieboy1
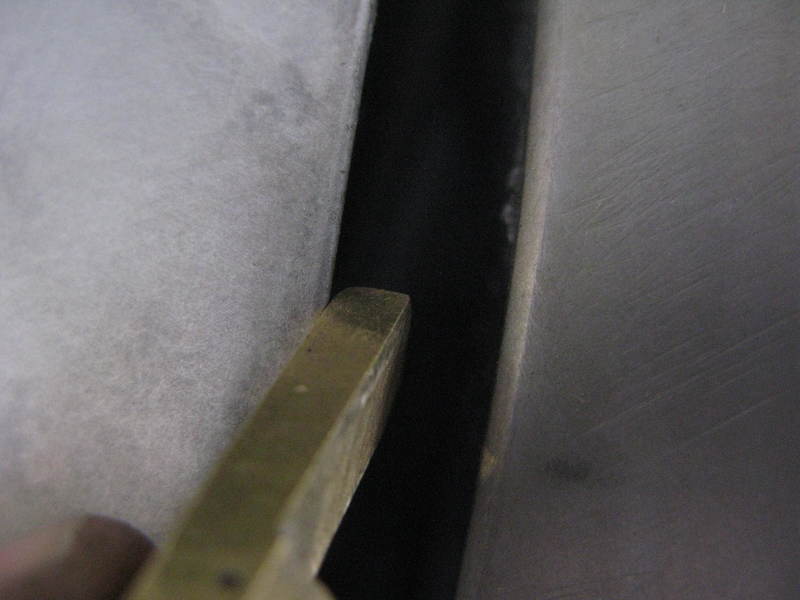
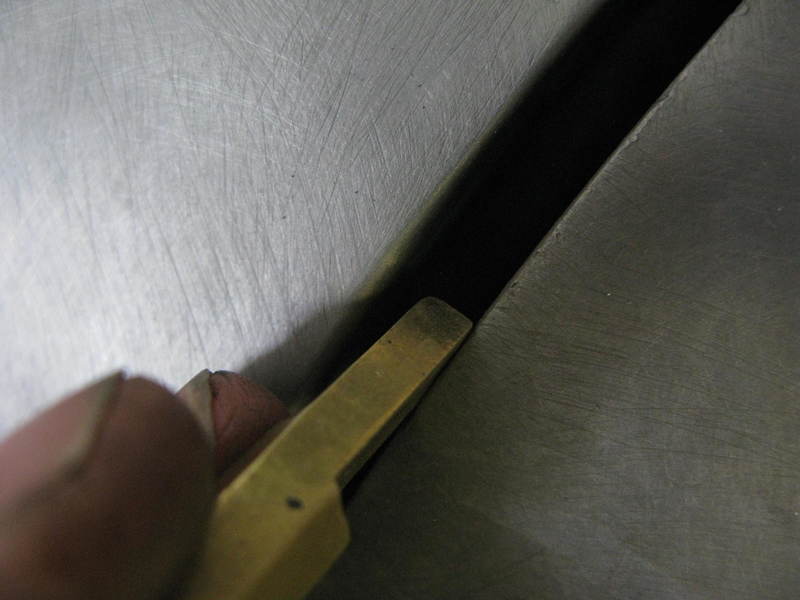
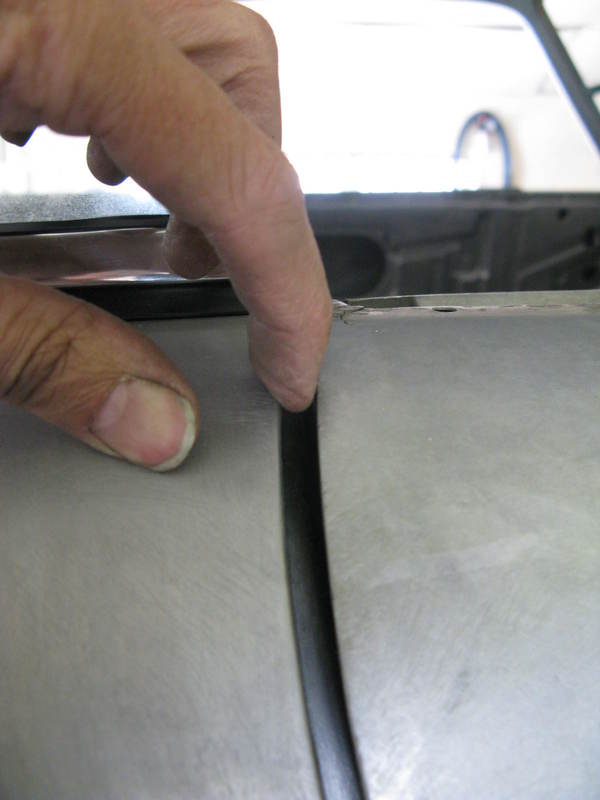
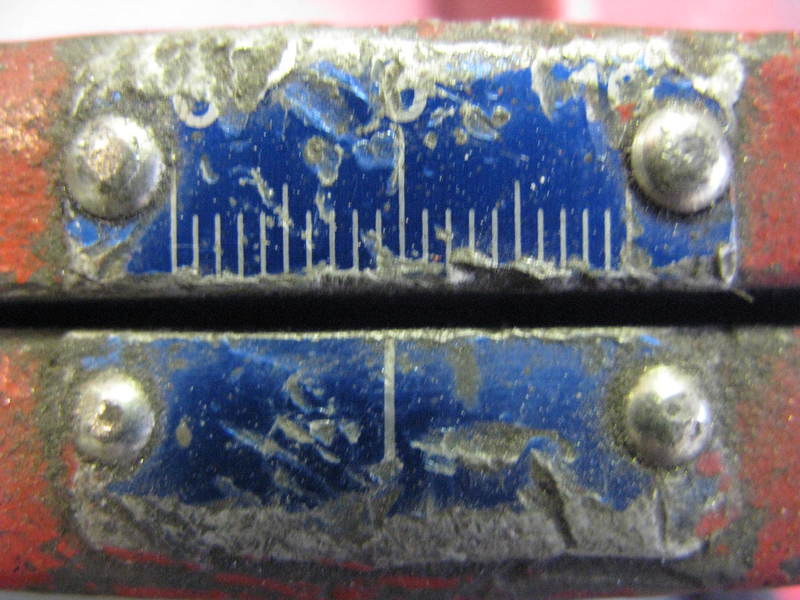
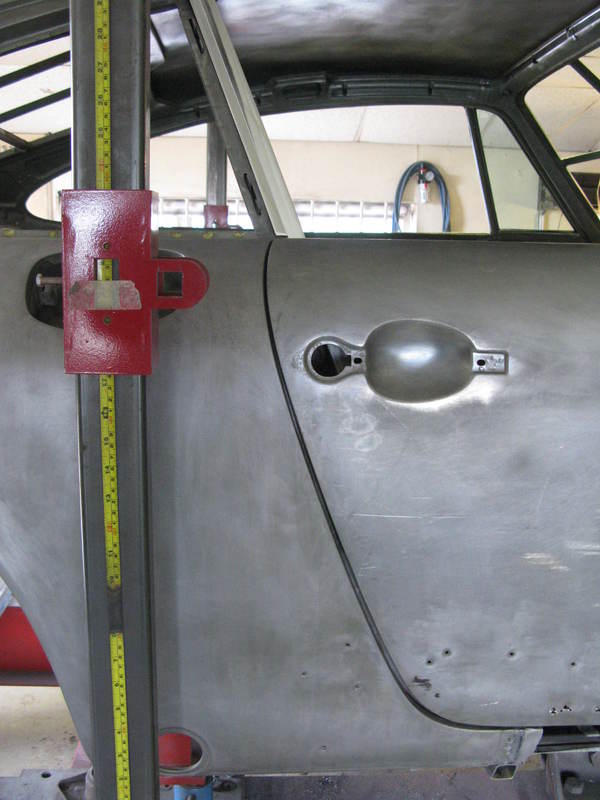
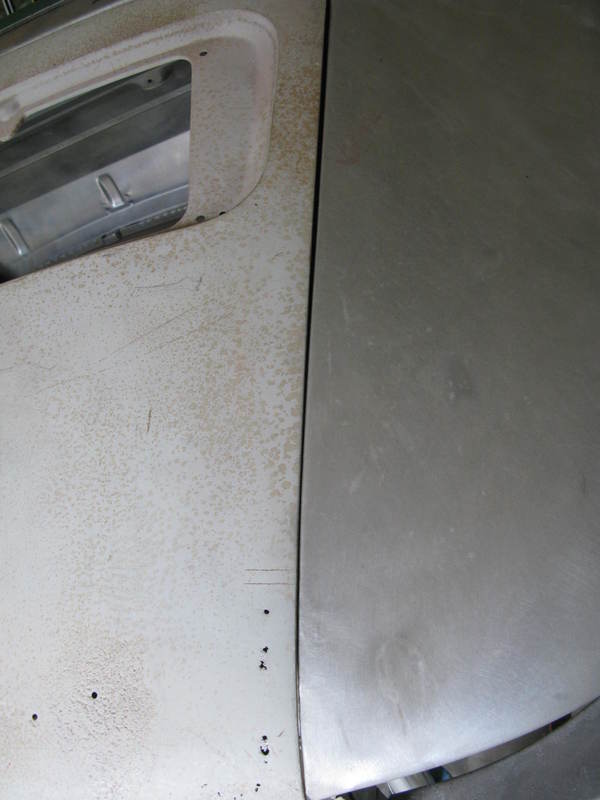
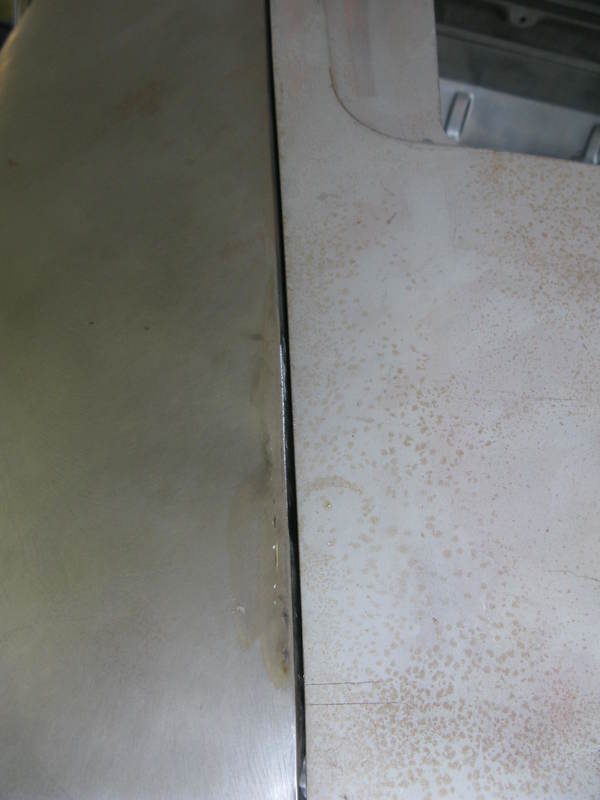
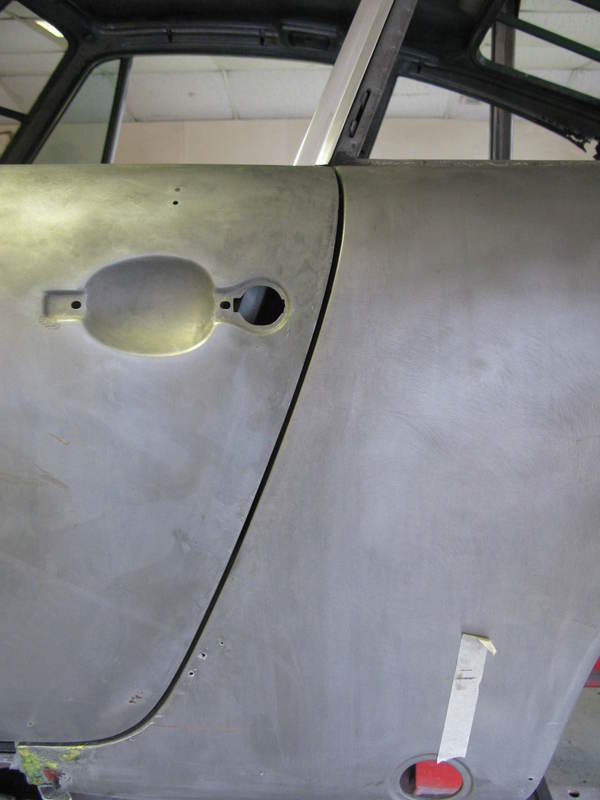
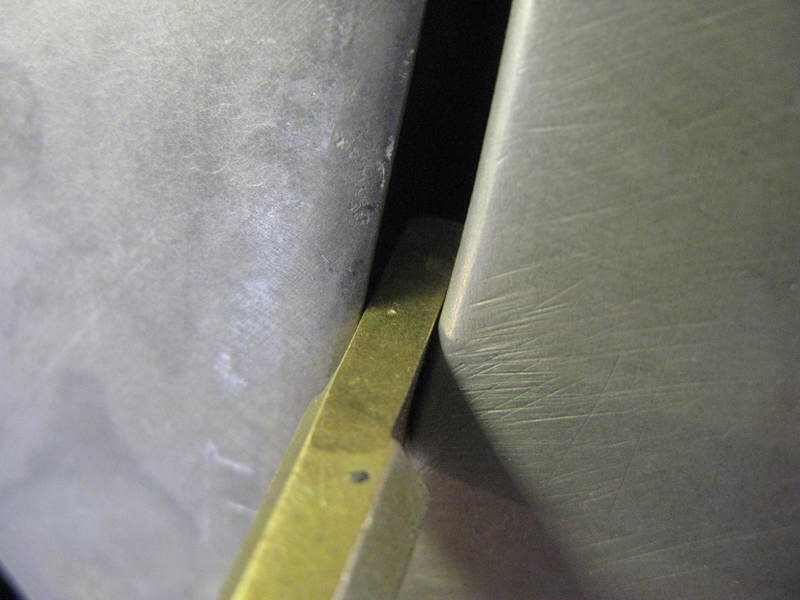
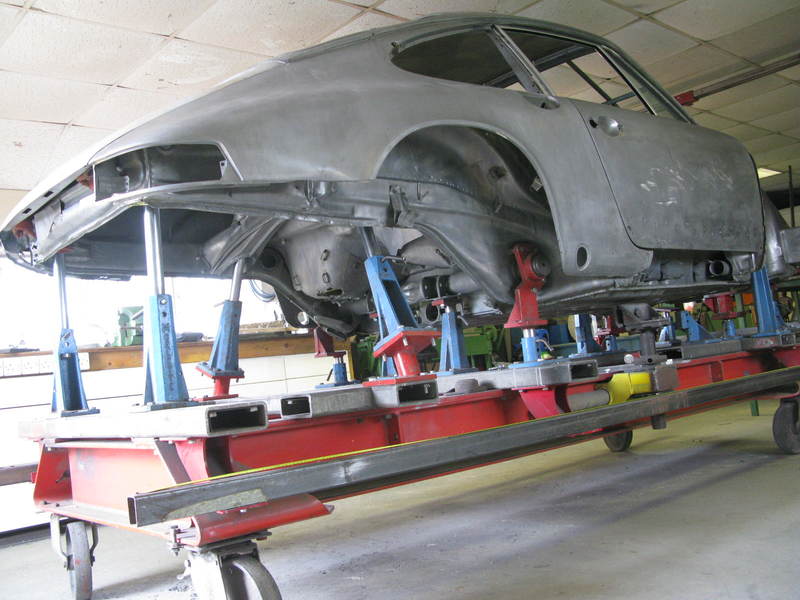
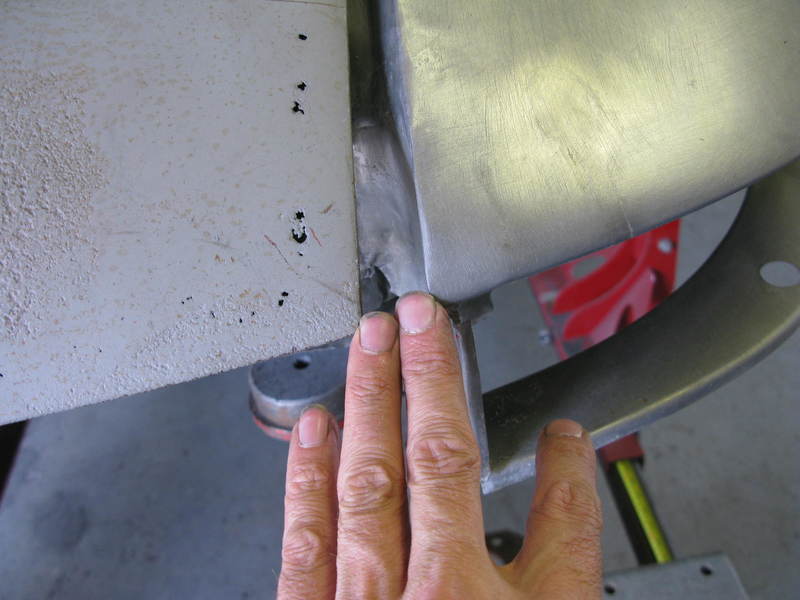
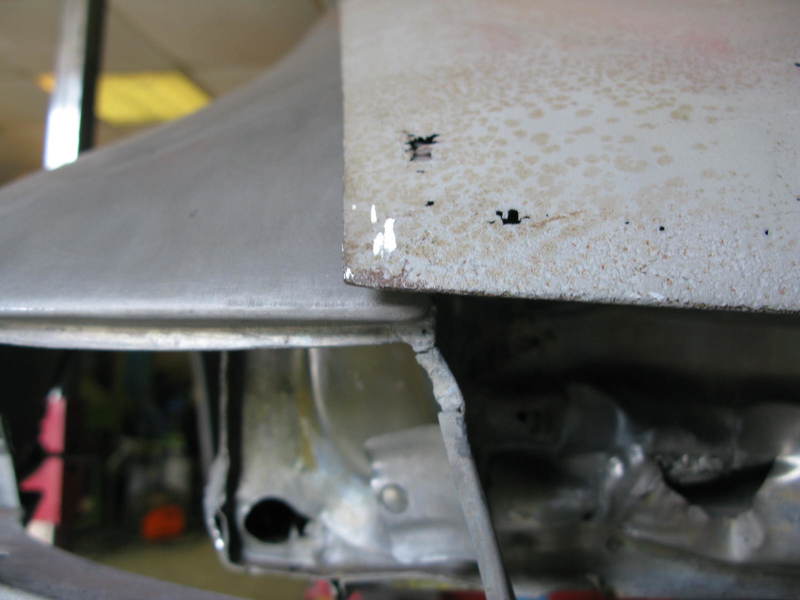
The door gaps got worse when the rear of the car got straightened (lifted up) and before the incorrect roof/a-post location was addressed so the door gap photos above are kind of intermediate stage.....
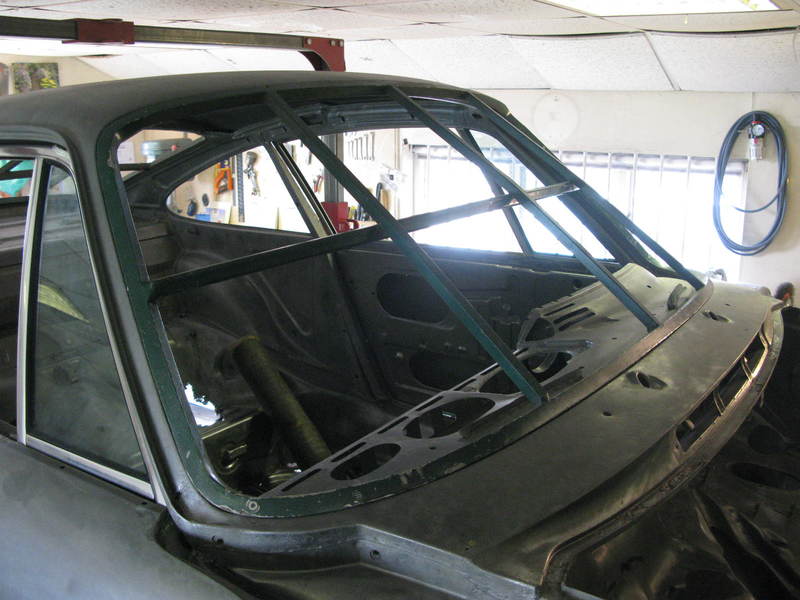
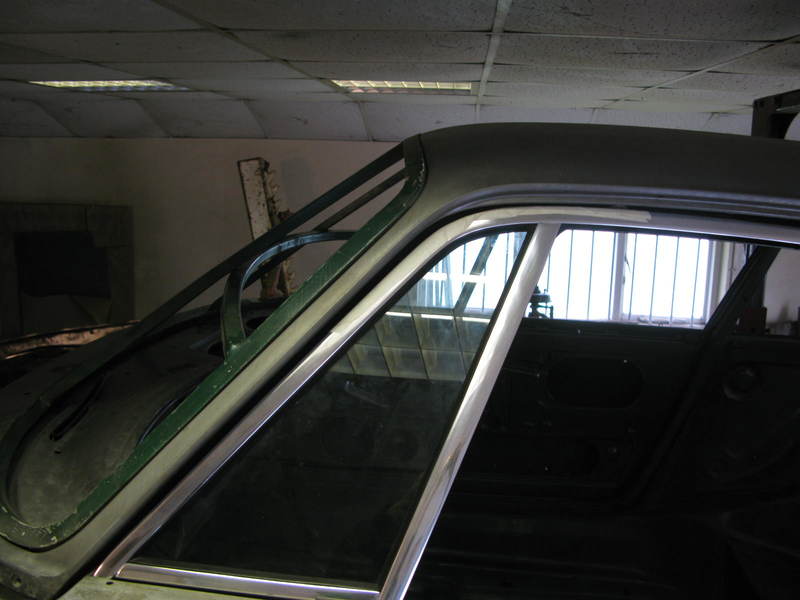
I have some other photos that i havent posted yet - barry is a very prolific photographer which is really great as i cant get down there too often even though luckily for me, he is only 15 miles away from my house. These photos show the change in door gaps in more detail.
Re: Shrek
Posted: Fri Aug 04, 2017 8:56 pm
by Dougieboy1
Re: Shrek
Posted: Fri Aug 04, 2017 9:00 pm
by Dougieboy1
Accurately !!! fitting engine lid demonstrating perfectly the bend to the right
[
Re: Shrek
Posted: Fri Aug 04, 2017 9:06 pm
by Dougieboy1
Re: Shrek
Posted: Fri Aug 04, 2017 10:28 pm
by jtparr
Bravo....glad that worked out.....!
Re: Shrek
Posted: Fri Aug 18, 2017 1:52 pm
by Dougieboy1
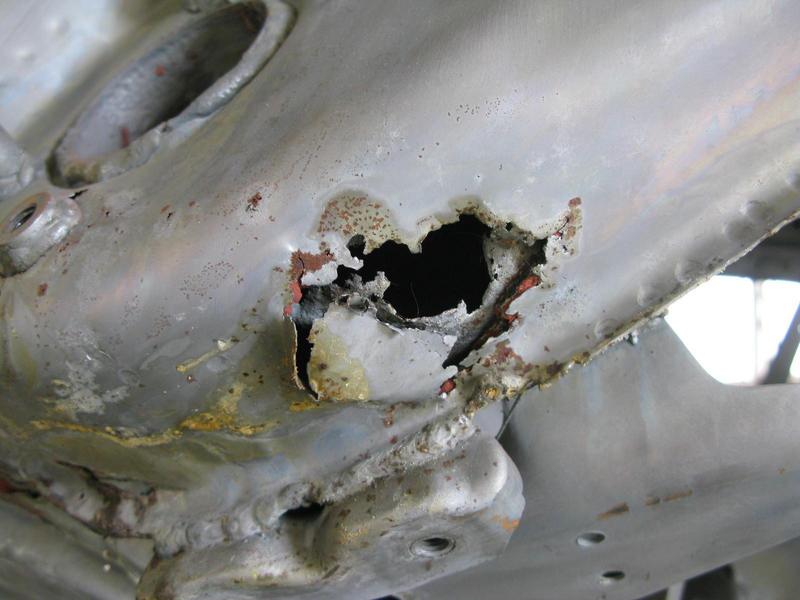
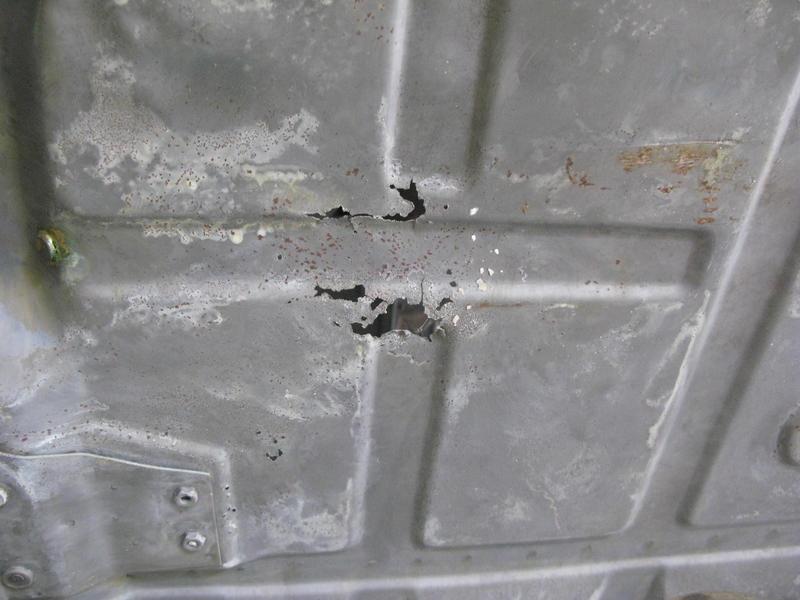
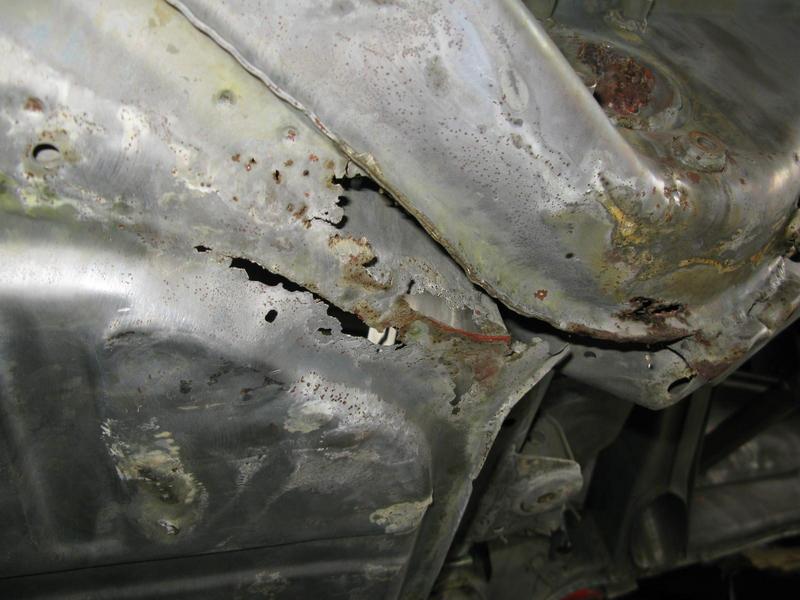
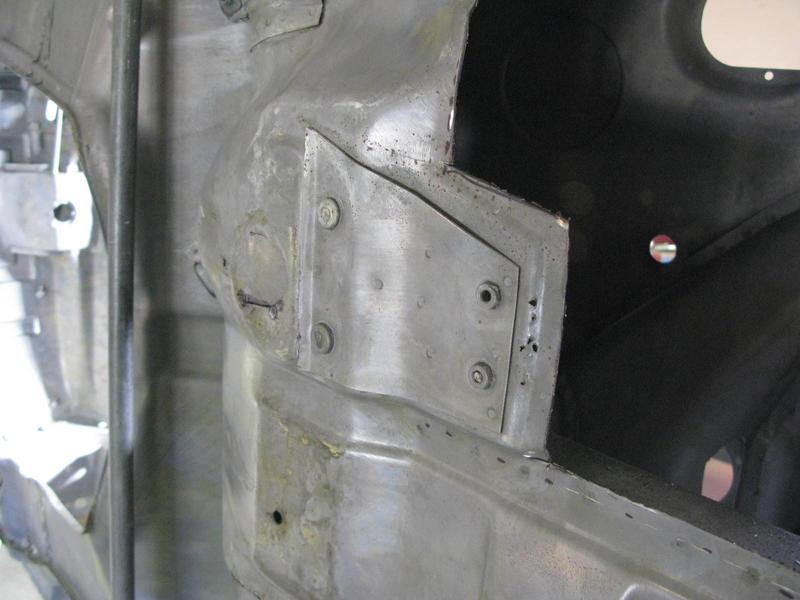
Episode 11 - Let the cutting commence
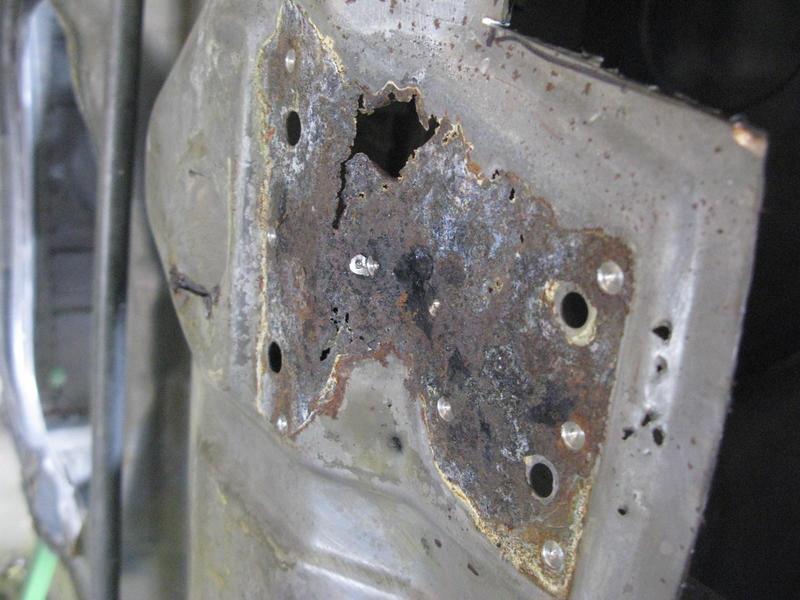
So after all the pushing and pulling, the shell was welded onto the rotisserie.
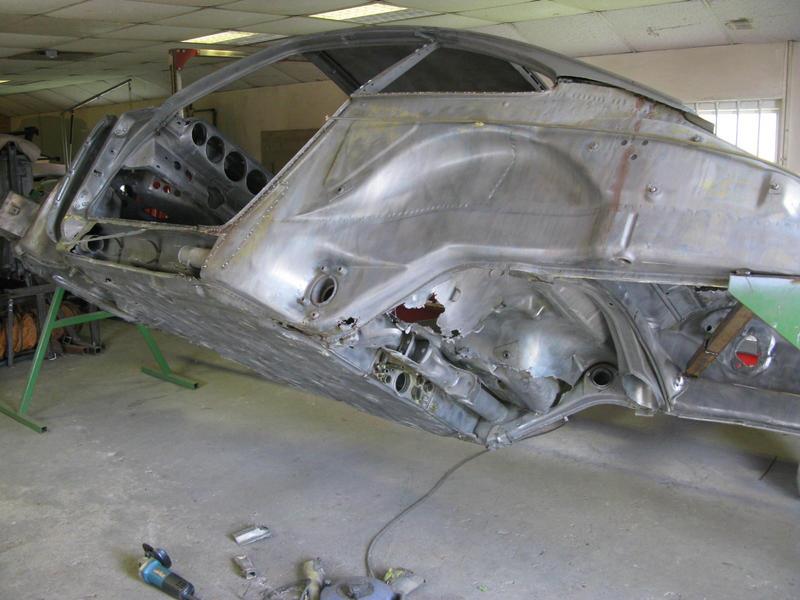
More tin worm exposed and the rotten areas become easier to access.
Sill edge
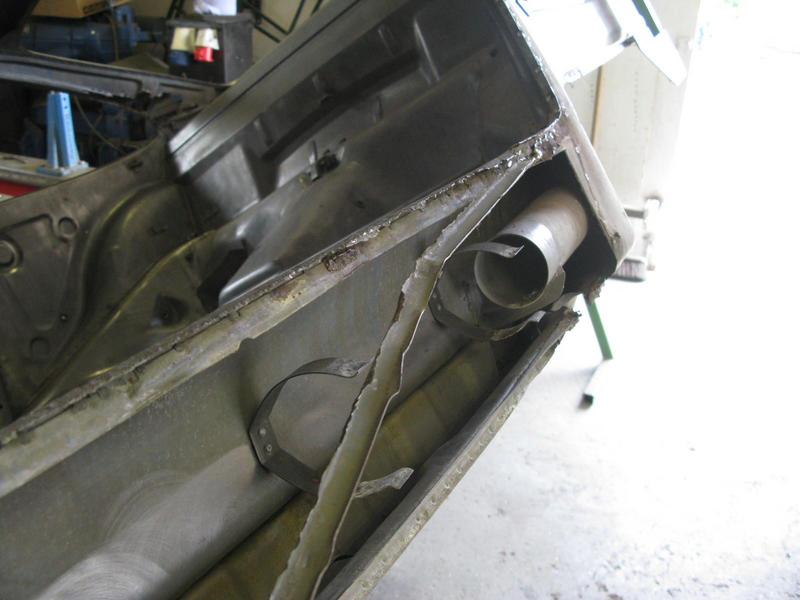
Chassis leg under the torque tube
Floor
Re: Shrek
Posted: Fri Aug 18, 2017 2:32 pm
by Dougieboy1
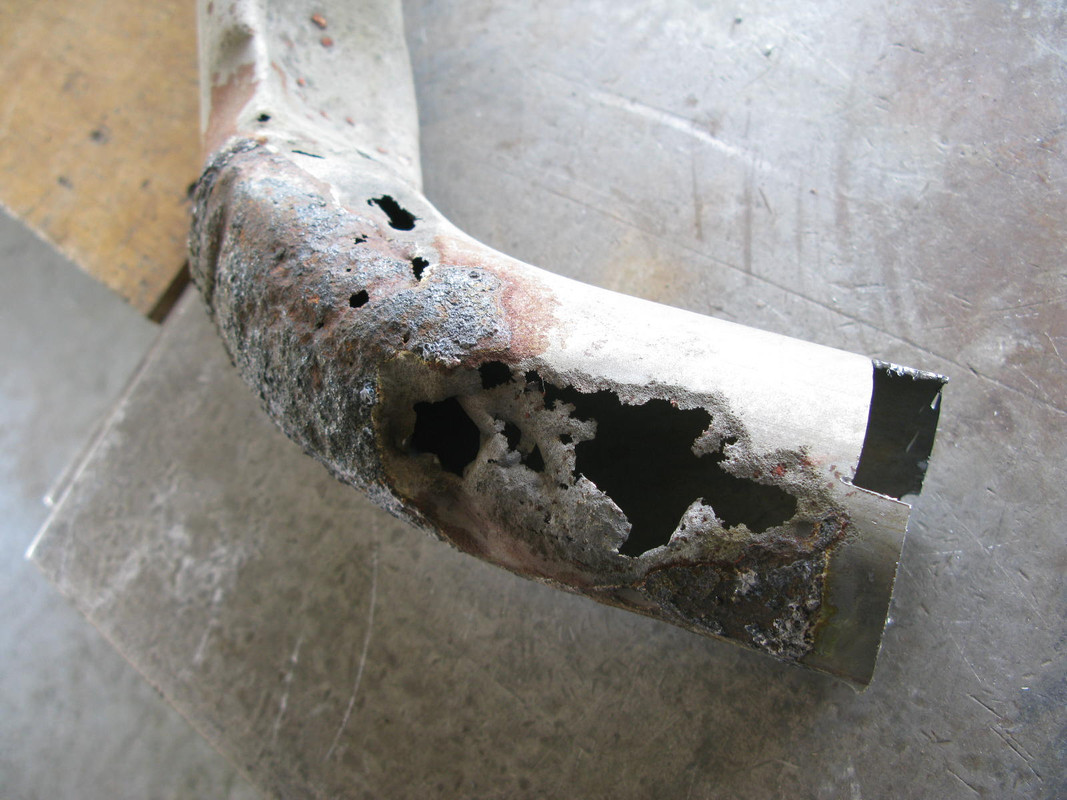
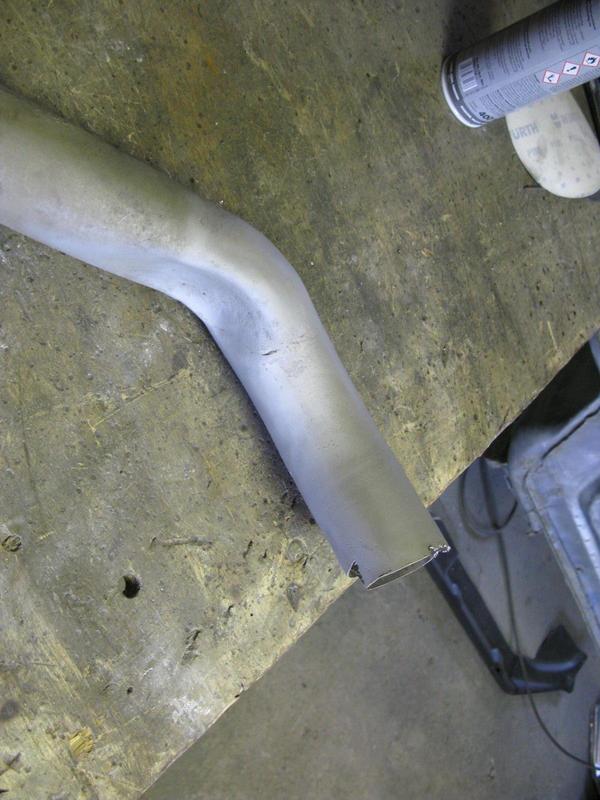
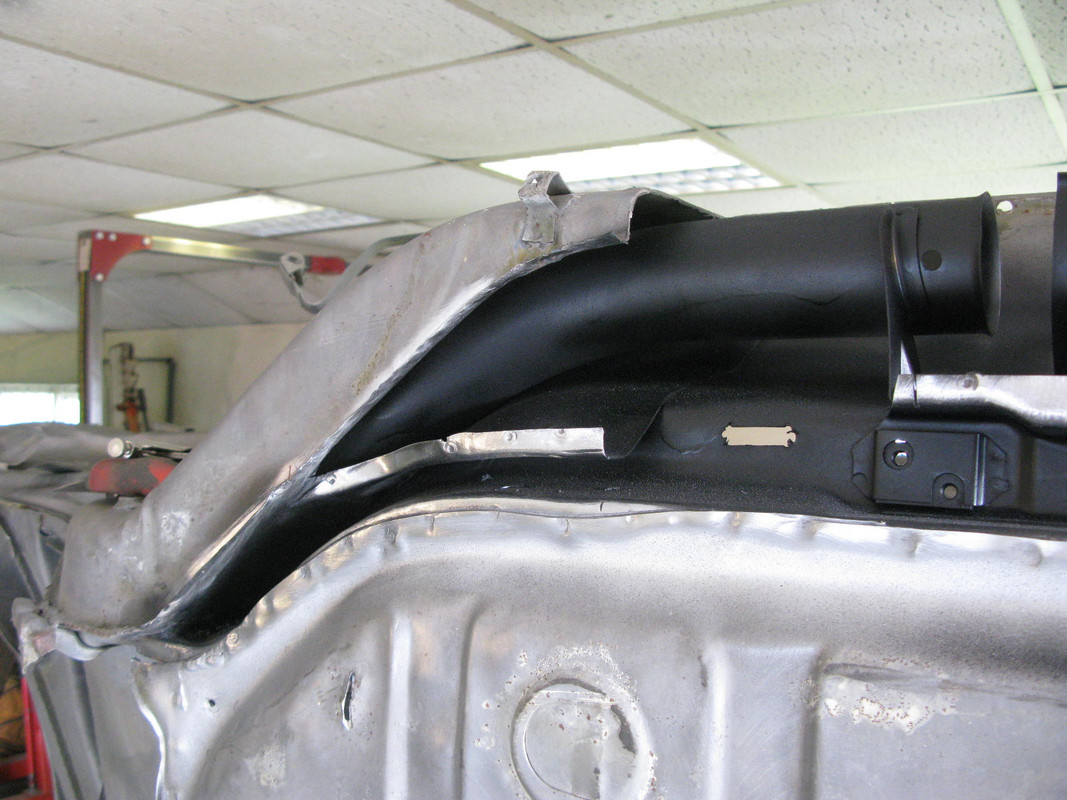
Episode 12 - Barry Carter and the Heater Tube of Doom
More detail on the heater tube and chassis damage
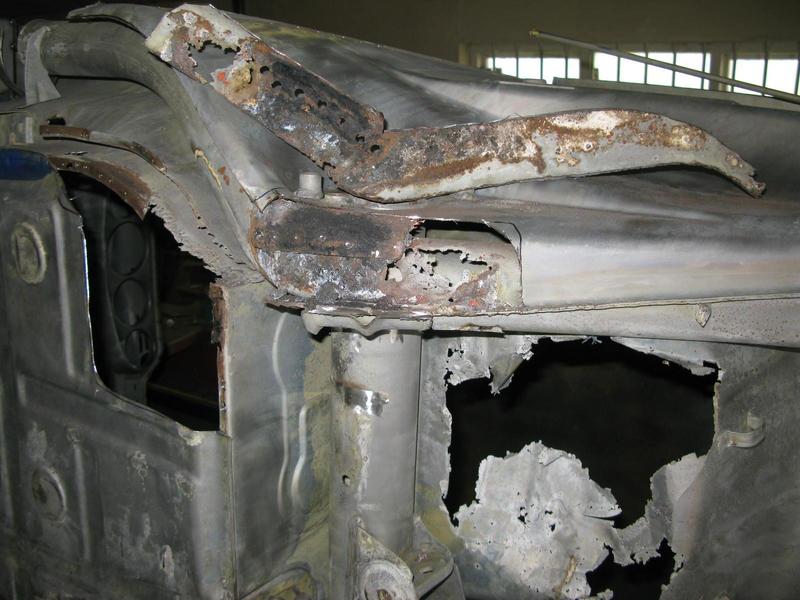
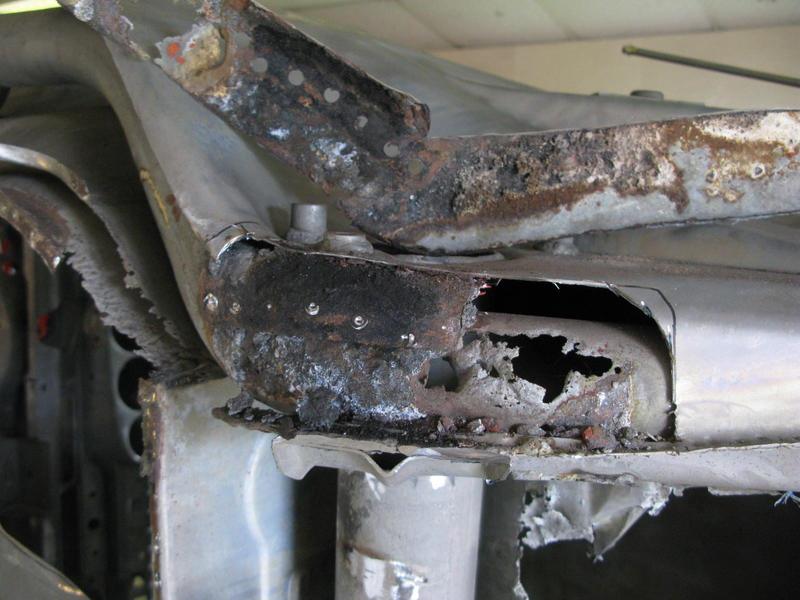
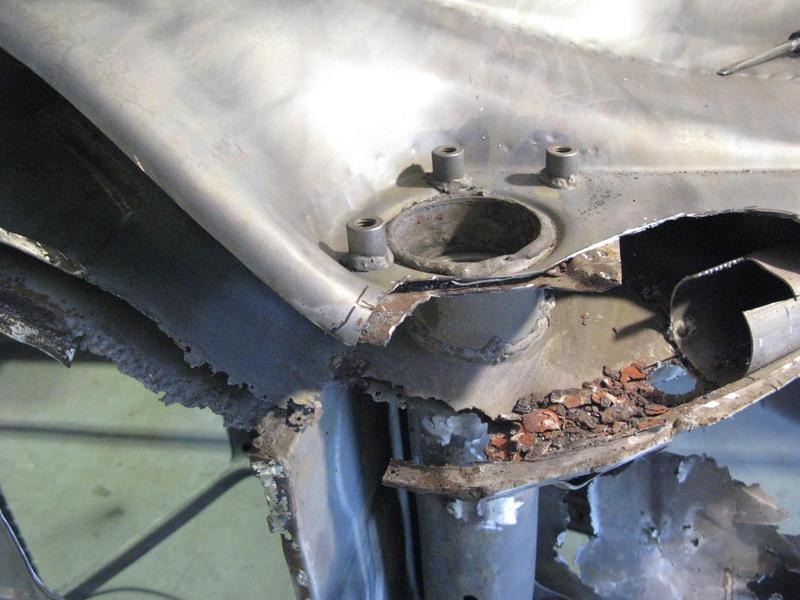
Damaged heater tube end before
And after the Carter magic
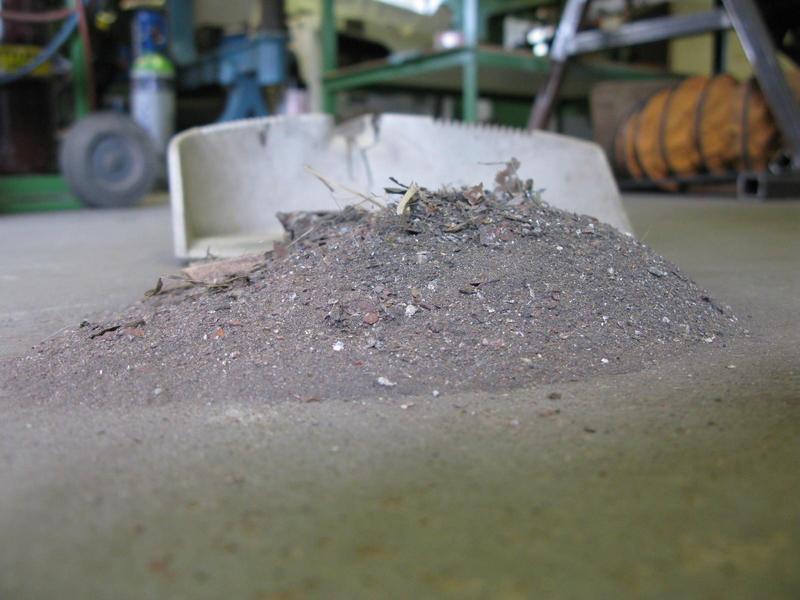
End of a hard day chopping and cutting and scraping and welding
Re: Shrek
Posted: Fri Aug 18, 2017 2:43 pm
by Nige
So when it comes off the jig doesn't it twang back into the "wrong" shape?
Re: Shrek
Posted: Fri Aug 18, 2017 3:41 pm
by Gary71
You have to pull it past the dimension you need so it relaxes back to where it should be.
I guess it will go back on the jig once the underside has been dug out so any movement from the work can be corrected.
Sent from my iPhone using Tapatalk
Re: Shrek
Posted: Fri Aug 18, 2017 4:10 pm
by Dougieboy1
Barry said pretty much the same thing. You can only get it so far before you start fighting metal deformed by the obvious impact the car has had. Much of that damage will be cut out but getting the floor area sorted gives you a sound basis to work from when the damaged metal is removed. Barry did say that at some point it may go back on the jig for a final tweak.
Re: Shrek
Posted: Fri Aug 18, 2017 5:13 pm
by Nige
Thanks for the insight guys.

Re: Shrek
Posted: Mon Sep 18, 2017 7:20 am
by Dougieboy1
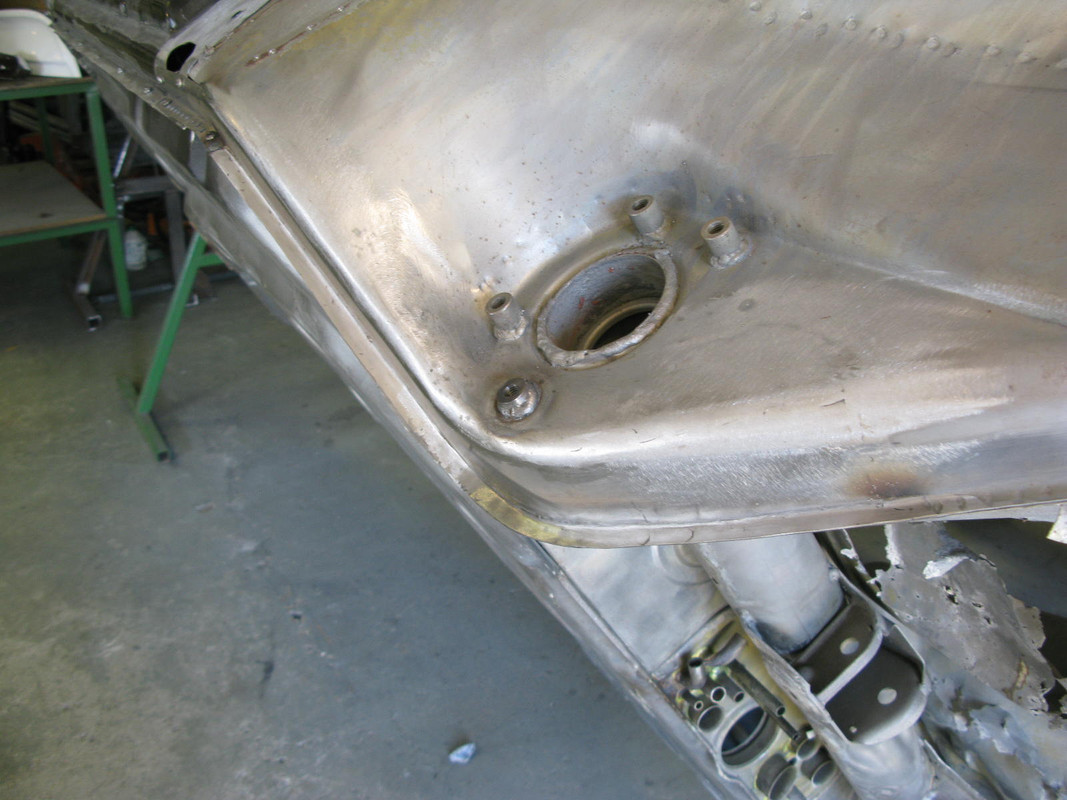
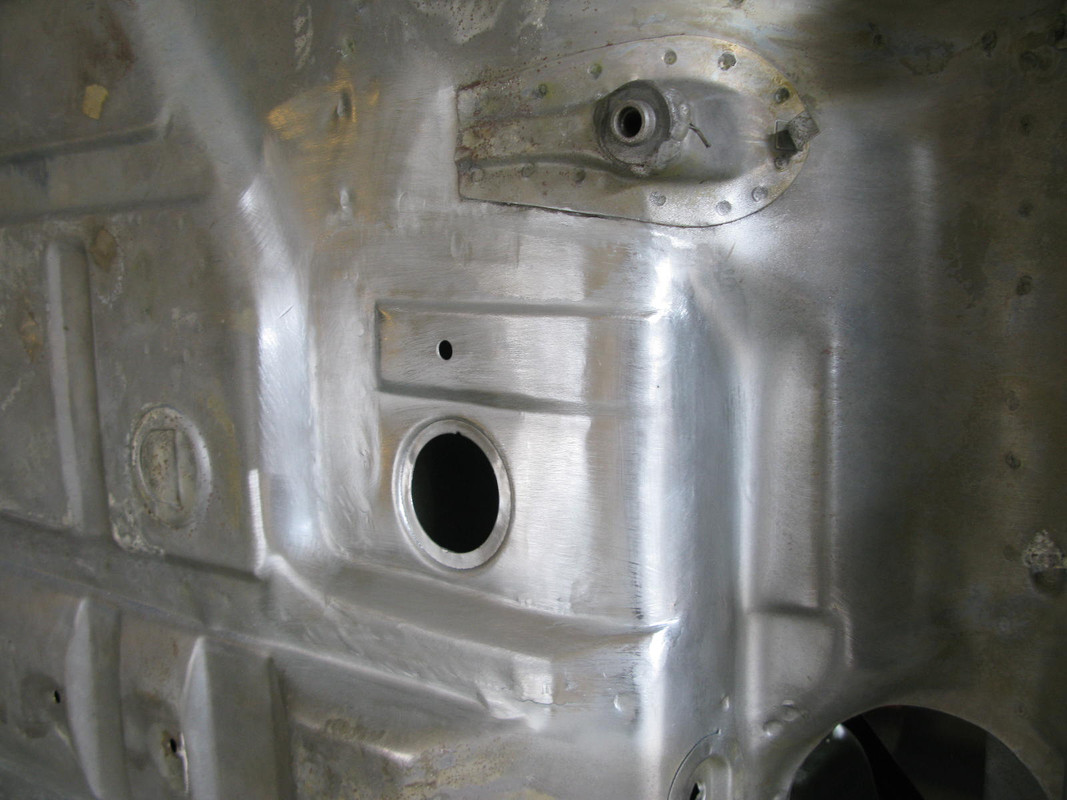
Episode 13 - A Smuggler's box
so barry has continued his work and here are some of the results
Bottom chassis rail and heater tube
From this
Through this
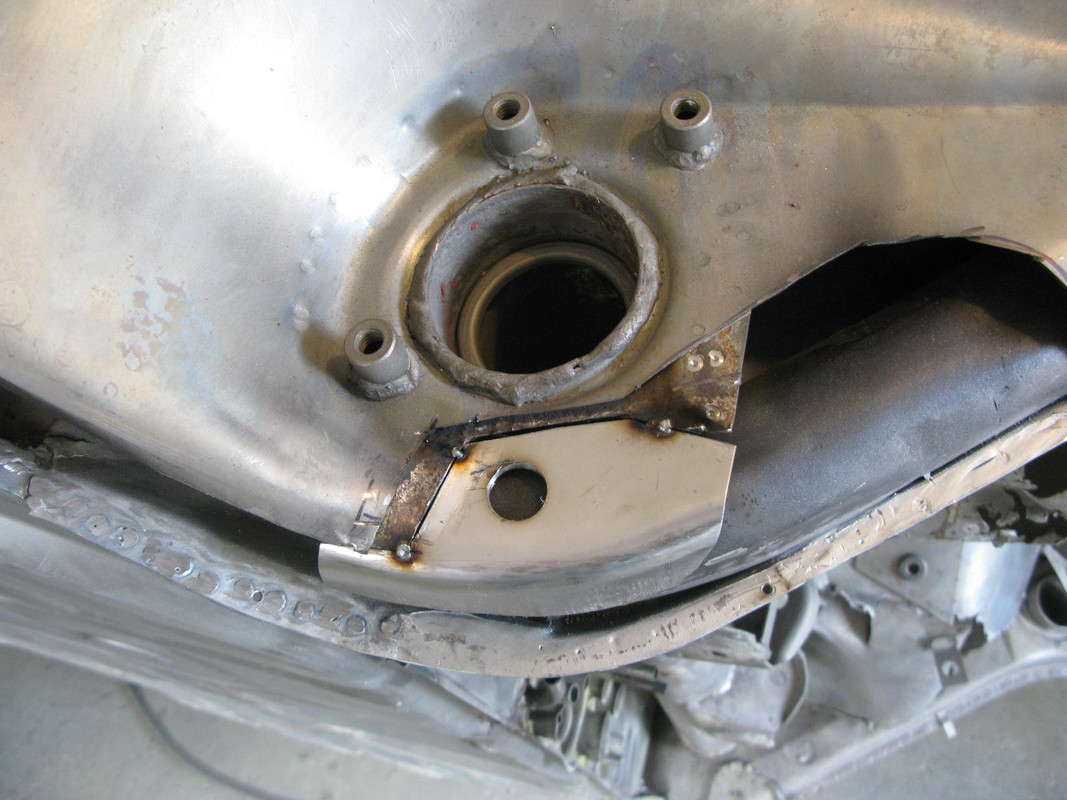
To this
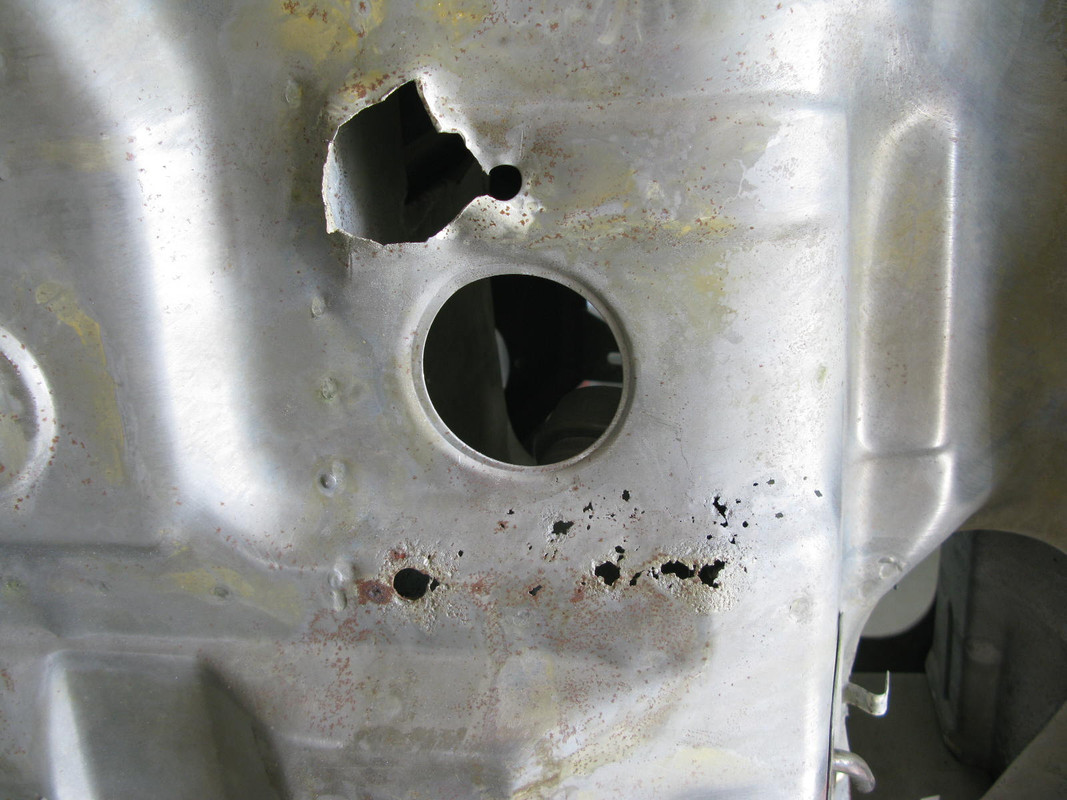
Smugglers box, from this where someone did a bit of hacking and there was some rust perforation
Through this
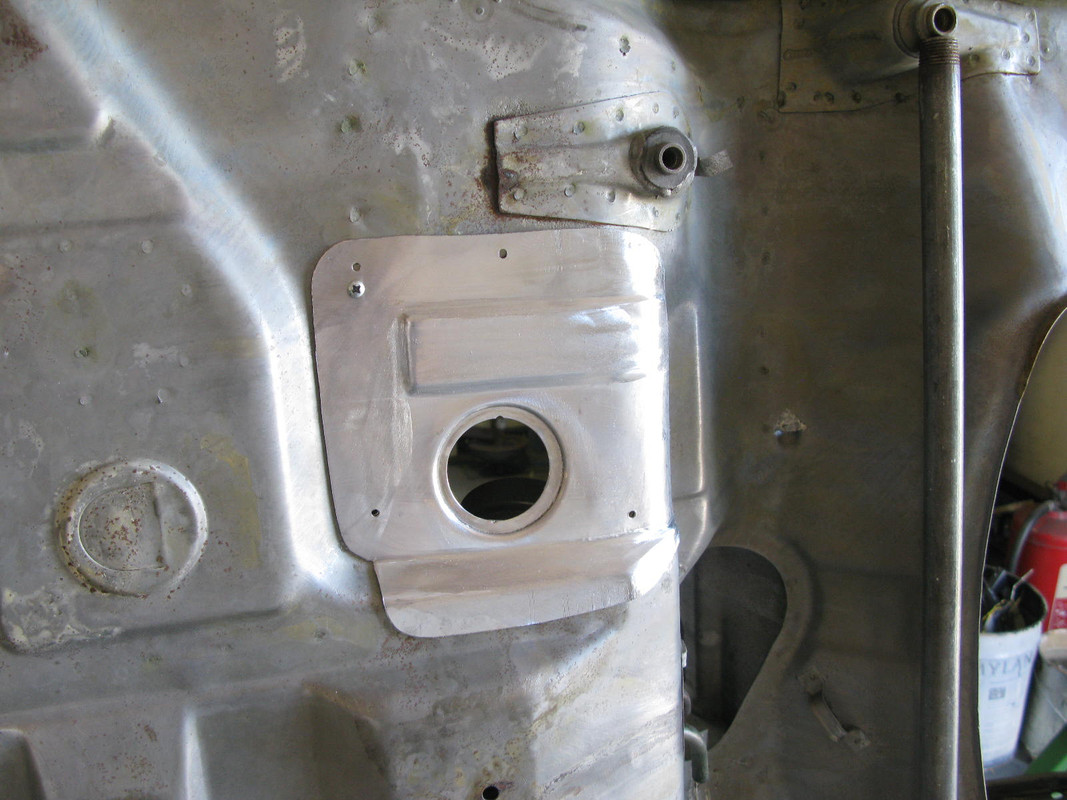
and this
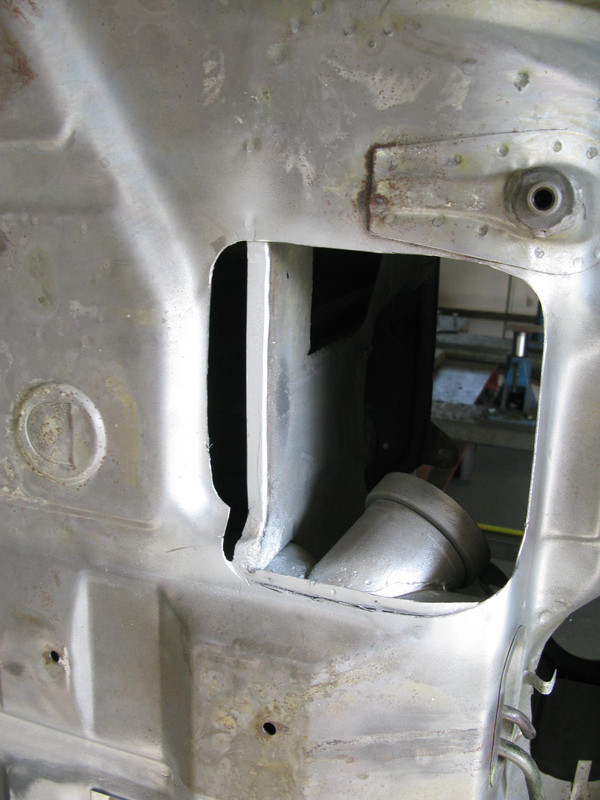
To the finished area which is now just like new
Re: Shrek
Posted: Mon Sep 18, 2017 7:32 am
by Dougieboy1
Episode 14 - The flaw in our floors
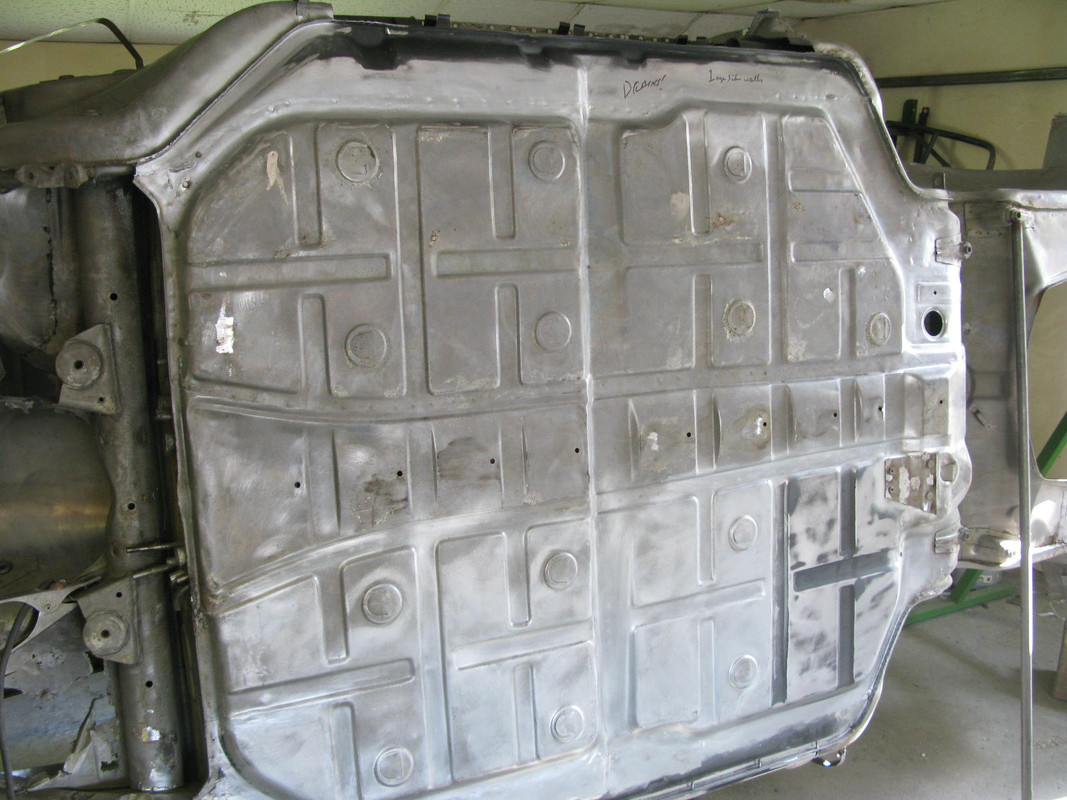
Floor work, the replacement floor panel was sectioned, the only bit being used is the outer 'L' section cut to fit the removed rotten parts
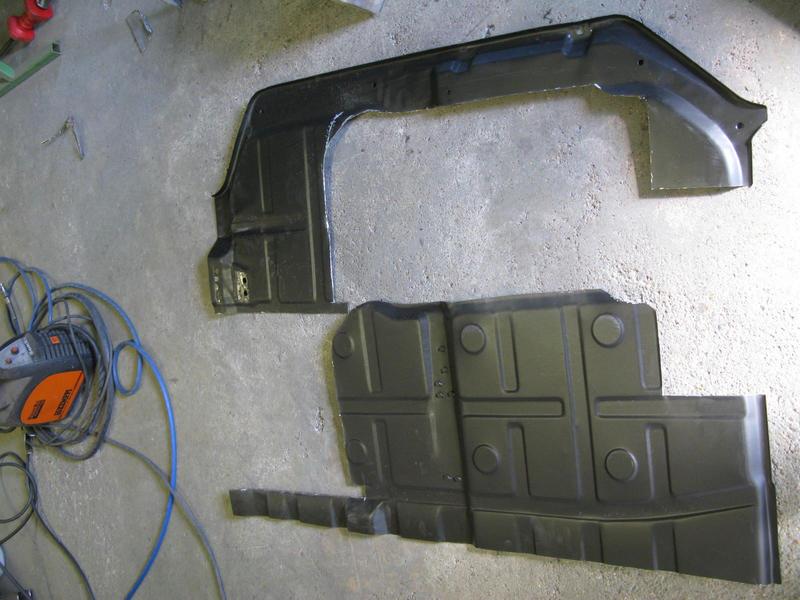
I am keen to retain as much of the original metal as possible and Barry says the replacement floors are not strictly correct for early cars so reuse clearly limits the amount of time spent 'backdating'. I also feel better about keeping as much original
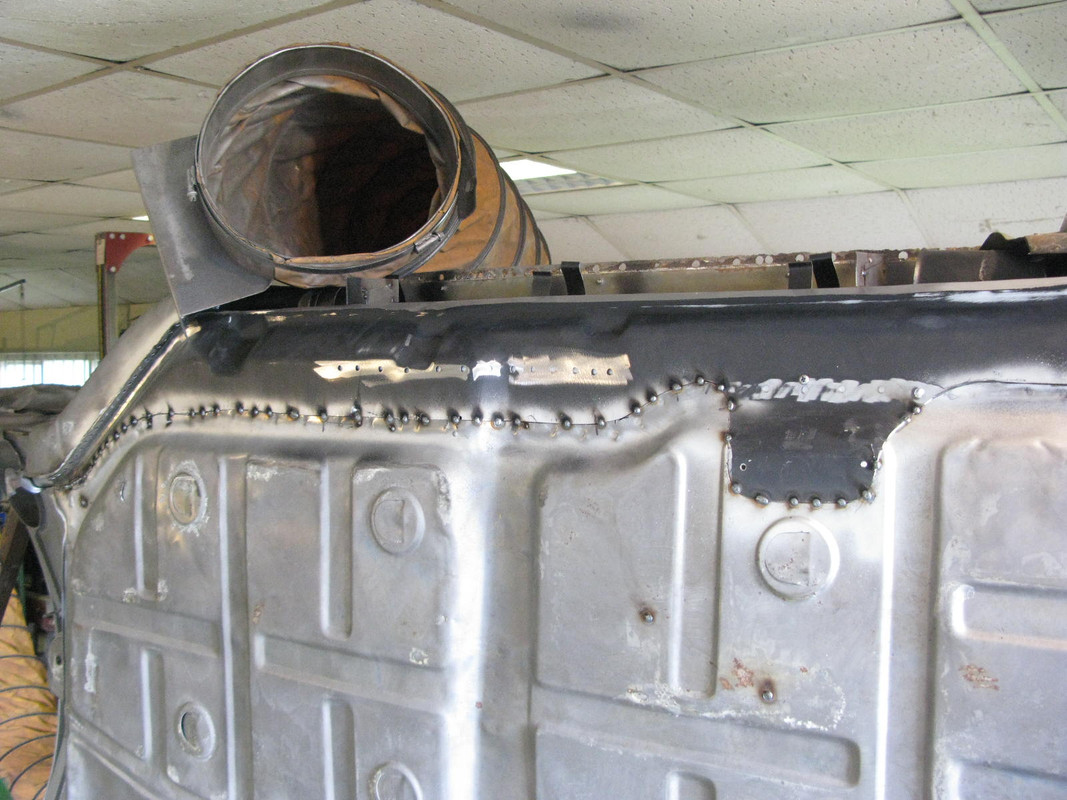
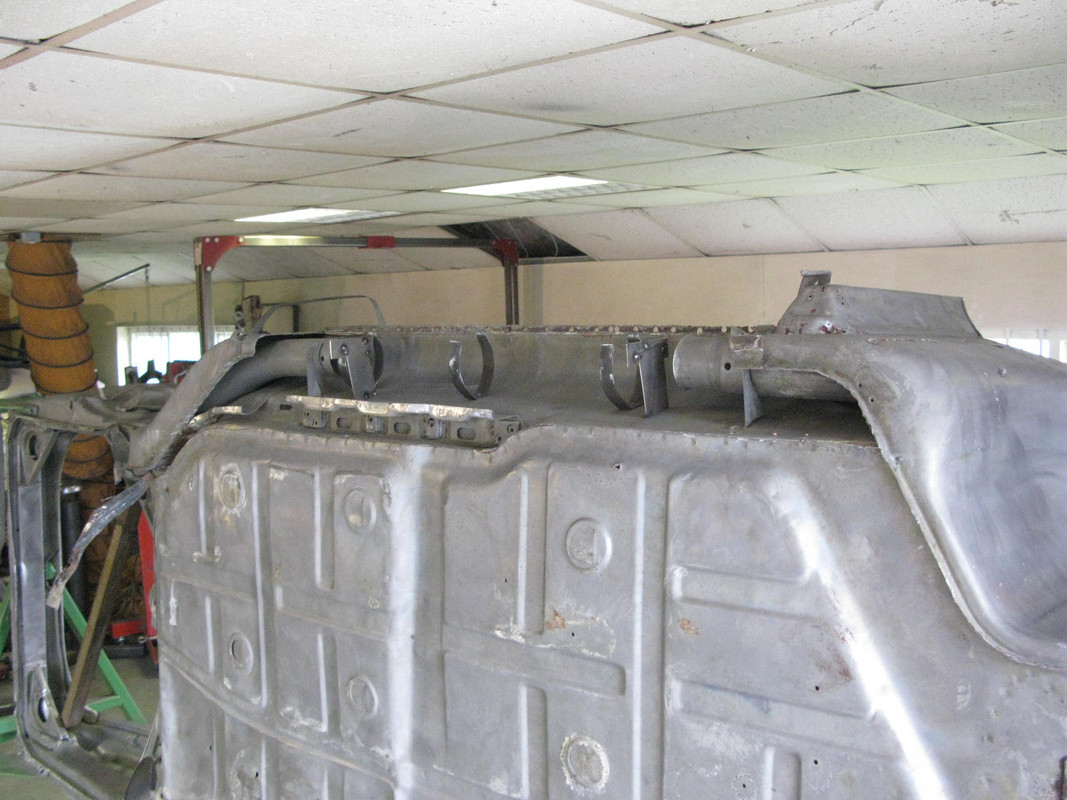
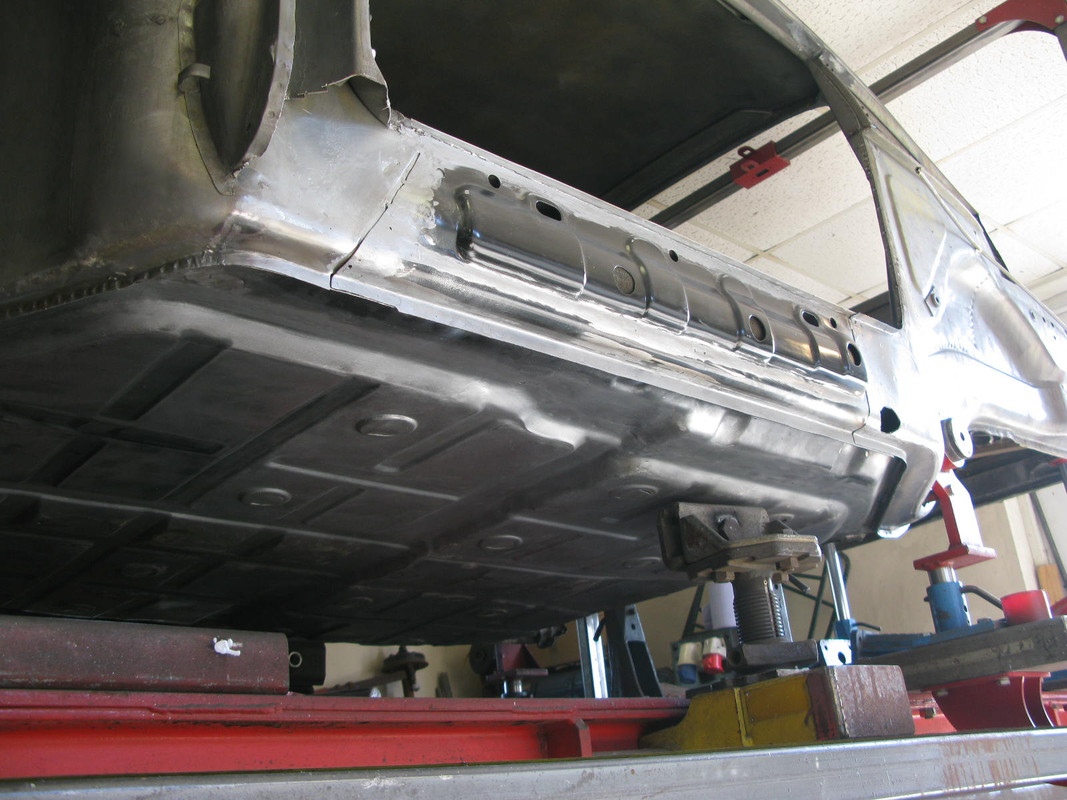
The small vertical 'slit' you can see in the picture below was a previous owner modification - he stuck a chisel through the floor at various points to presumably let water that had got inside, drain out - barry knocked these flat and sealed them
Finished floor
Re: Shrek
Posted: Mon Sep 18, 2017 7:39 am
by Dougieboy1
Episode 15 - It's sill time
And then both sills, done the same way
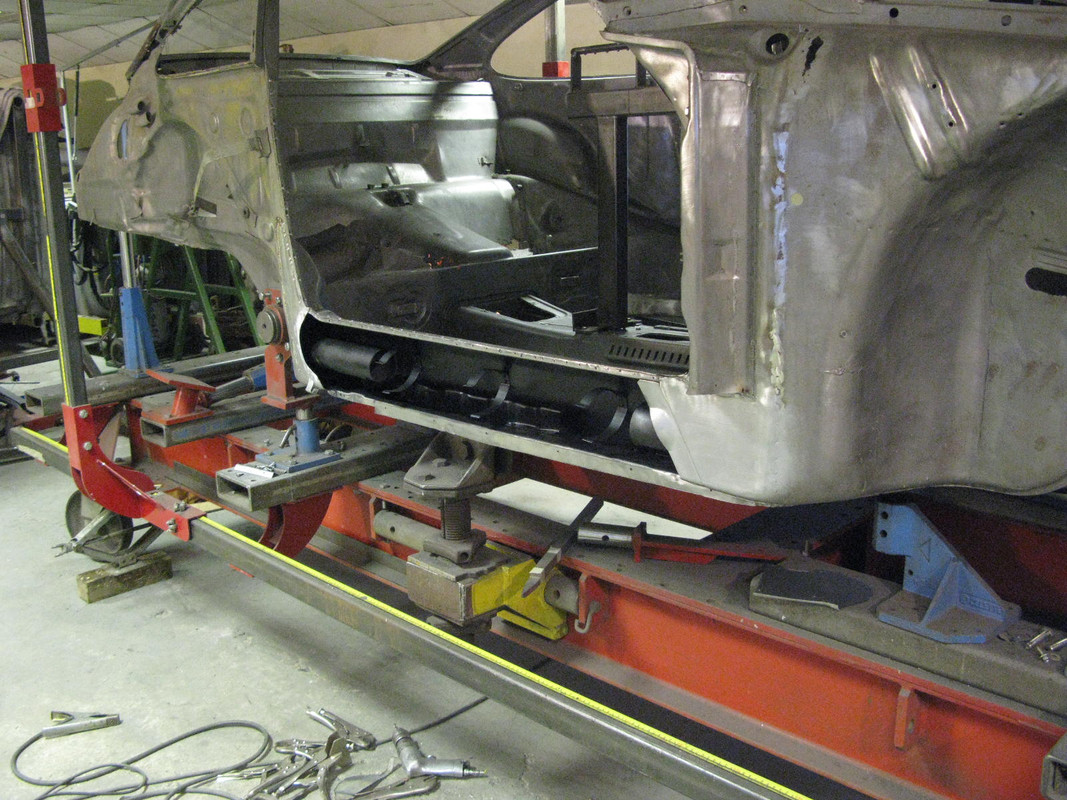
Tube fitted
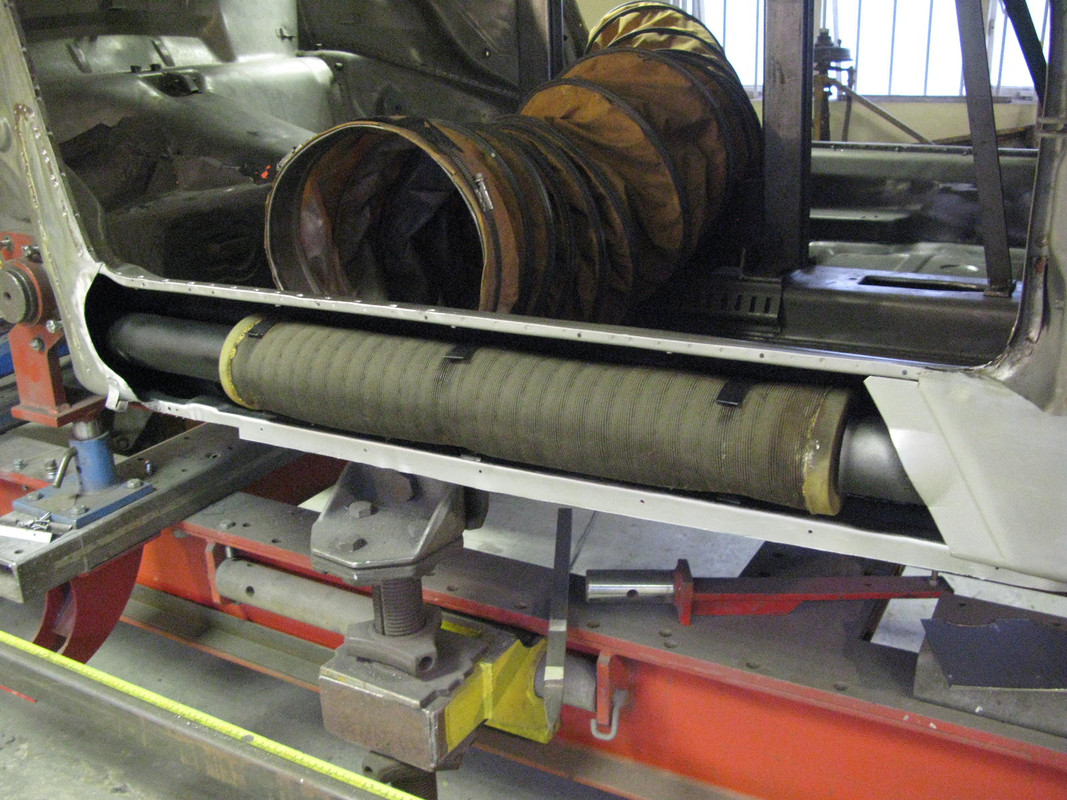
Some fabrication
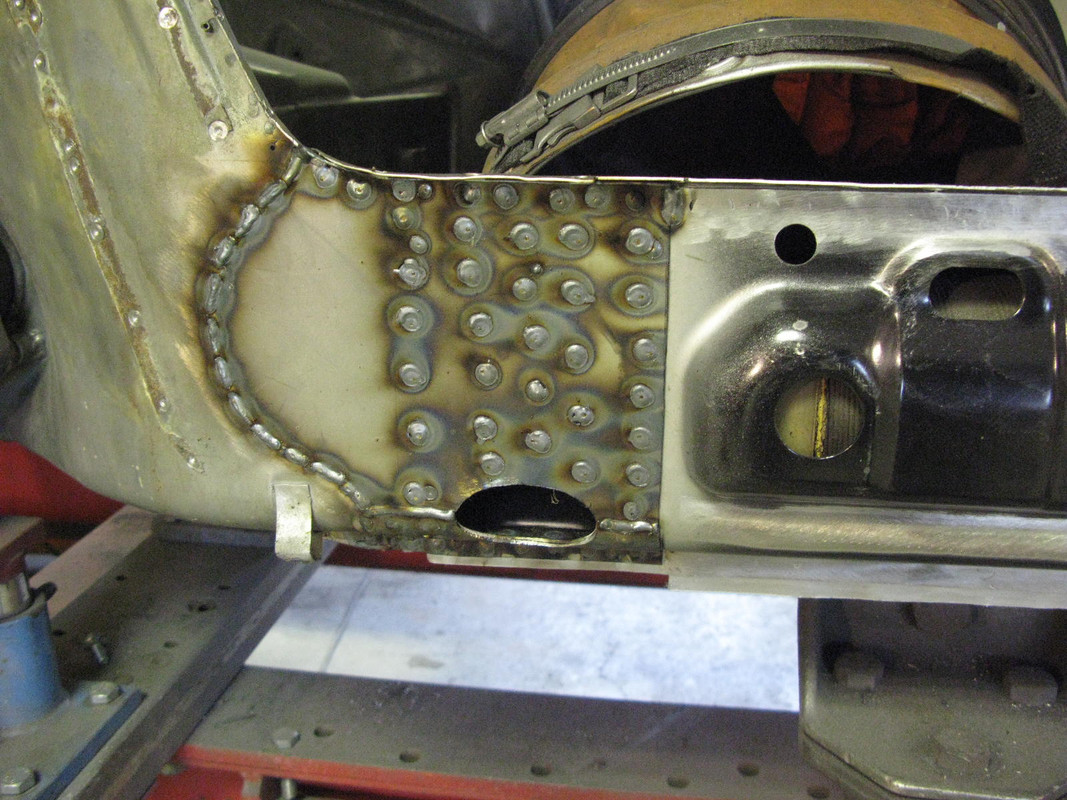
Finished
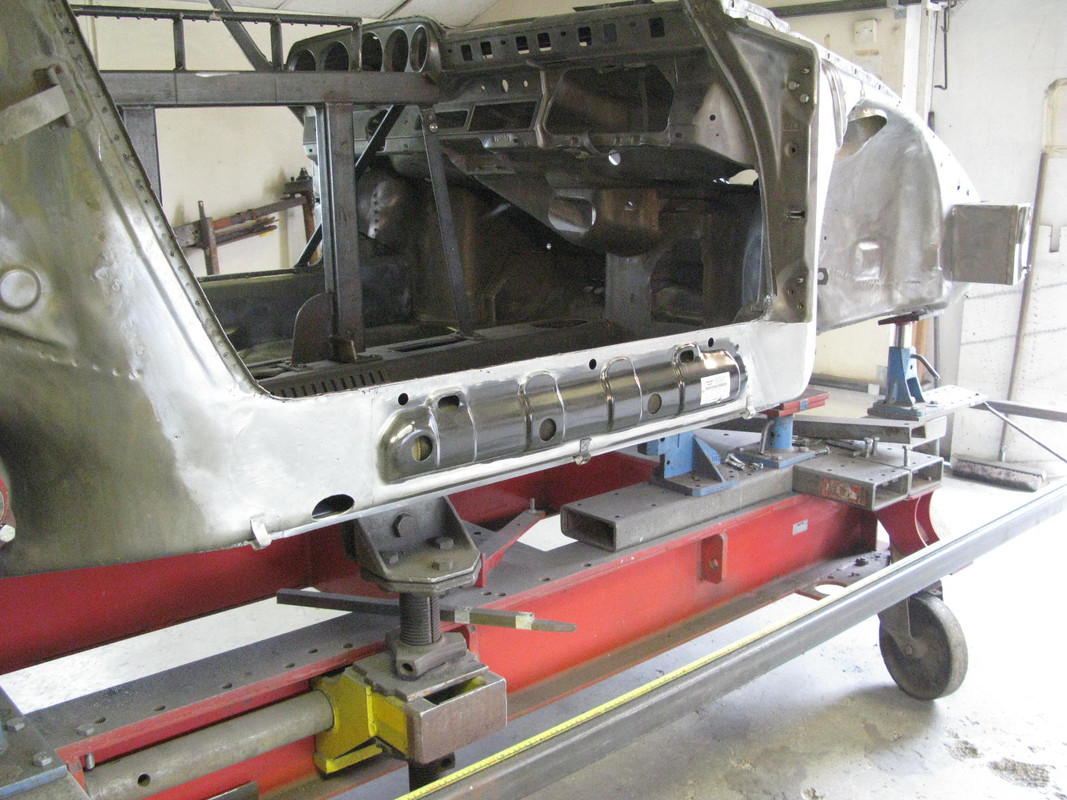
Same on the other side