Page 3 of 19

Re: Under cover Resto

Posted: Mon Aug 10, 2015 9:38 am
by hot66
always loved the look of your car 8)

Re: Under cover Resto

Posted: Mon Aug 10, 2015 11:54 am
by roy mawbey
Looking good Karl, Nice work on the underneath. Still really like your front hood gaps.

Roy

Re: Under cover Resto

Posted: Mon Aug 10, 2015 12:09 pm
by Nige
Must the one of the coolest if not the coolest 356 out there.

Re: Under cover Resto

Posted: Mon Aug 10, 2015 12:49 pm
by hashman
Bless you all for your kind comments, I'll send the cheques
later.
I'm trying to work out the best way to install harnesses in the
rear for the children and how to make it less thunderous inside.
Hole drilling and dynamat I think!

Re: Under cover Resto

Posted: Mon Aug 10, 2015 1:37 pm
by Winston Teague
Cool car. I have used these in mine:

http://shop.greenpower.co.uk/index.php/ ... rness.html

Proper top quality 4 point harness, kids size. Still involves hole drilling though.

W

Re: Under cover Resto

Posted: Tue Aug 11, 2015 7:16 am
by Burma-Shave
Thanks for the update, great job. Big surface area backing plates on the seatbelt mounts is what I learned.

Do you still think you'll paint it one day? Good honest patina is getting rarer (as opposed to the faux rust hood rides bollox), but its your car not ours!

From the other thread I just watched Jay Leno's garage on his unrestored, very patinated gulling racer..so, so much nicer than the restored cars. Racing mercs, just like old Porsches, earned their reputation by being tough under adversity - and for this reason patina suits them perfectly.

Re: Under cover Resto

Posted: Sat Oct 31, 2015 3:17 pm
by hashman
After looking at photos from Andy's (lightweight911) posts about harnesses, I made a cross bar to wrap the harness webbing around. Don't inspect the welding it's effective but ugly. Then I made some backing spreader plates out of some bullet proof metal. I managed to install the lap belts low enough, it did mean cutting into the rear seat cushion but felt this was justified as I don't think the covering was original any-way.

Image

Image

Image

Image

Image

Re: Under cover Resto

Posted: Sat Oct 31, 2015 5:12 pm
by nickT
Great update Karl, car looks cool as ever.
Nick.

Re: Under cover Resto

Posted: Sat Jun 27, 2020 3:39 pm
by hashman
I found this old post and thought I would use it to add updates to.
Keep some continuity going, and all that.

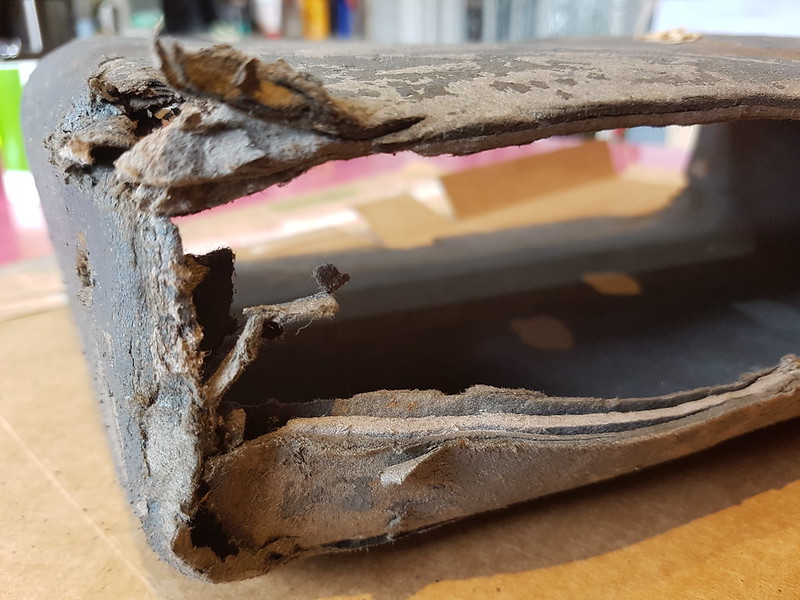
So , for 17 years of owning this car its never had a usable glove box.
A PO had cut a big hole in the rear for whatever reason.
I utilised some CAD skills Cardboard Aided Design.
I found that layering up the corn flakes box by 5, I got roughly the correct
thickness to match the glove box material.
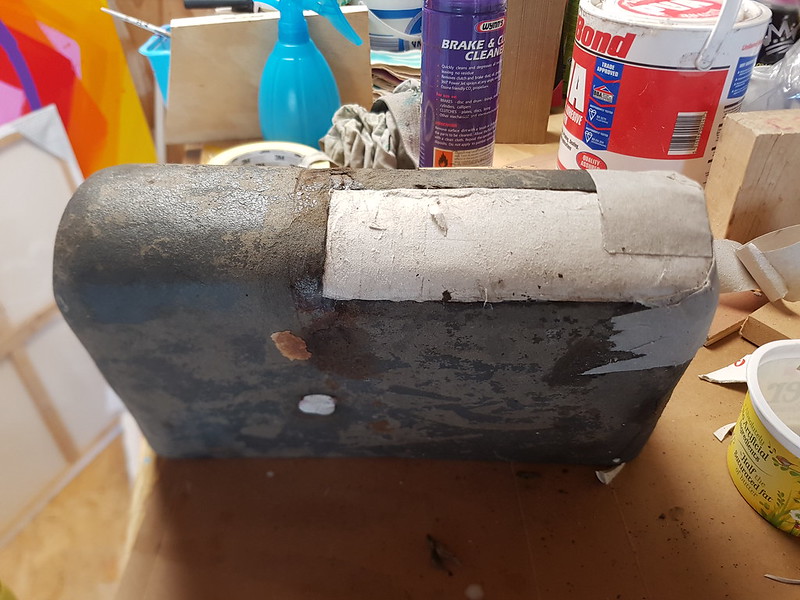
I sprayed the large flat surfaces with water , one at a time, and clamped them flat and allowed to dry.
This brought a lot of neatness back, but don't clamp too tight or impressions are left in the surface.
Where it had delaminated I pushed a paint brush between with watered down PVA and reclamped and left over night.
It took a little over a week as I was leaving each bit of work to dry over night.
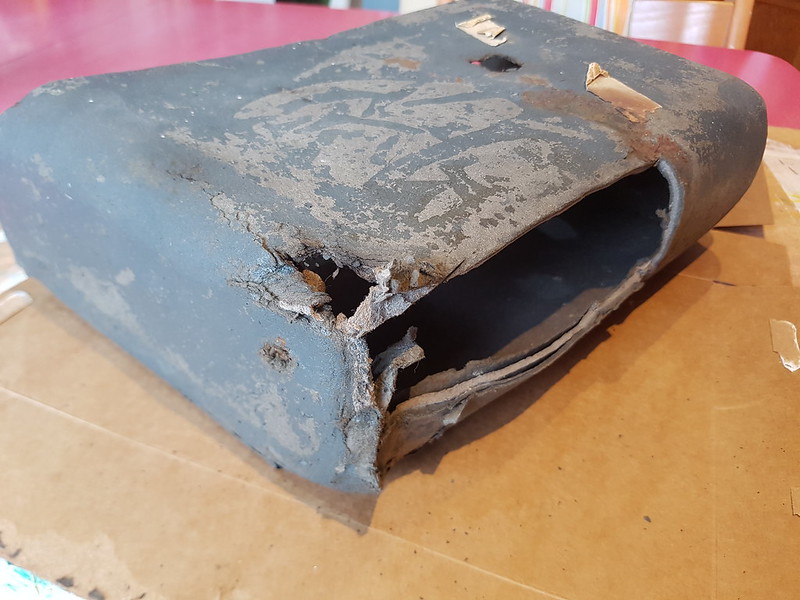
Image356 by karlhash, on Flickr

Image356 by karlhash, on Flickr

I then made a repair section by layering up cardboard over a spray can, this gave me roughly the shape of the back curve.
The spray can also came in handy for clamping the rear back into straight lines.

Image356 by karlhash, on Flickr

Once I had a good shape to fit the hole I delaminated the cornflakes box for thin pieces of card and layed these over the joins of the repair patch.
All glued in with more watered down PVA.

Image356 by karlhash, on Flickr

Image356 by karlhash, on Flickr

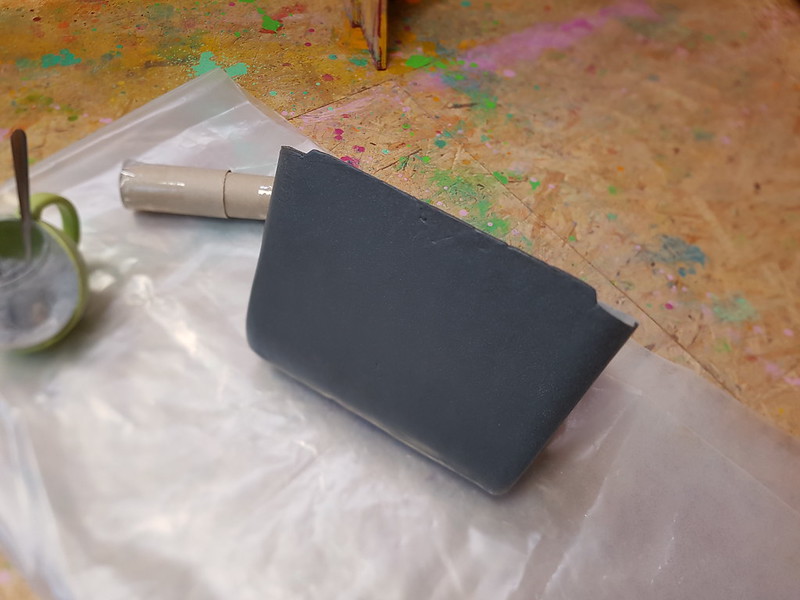
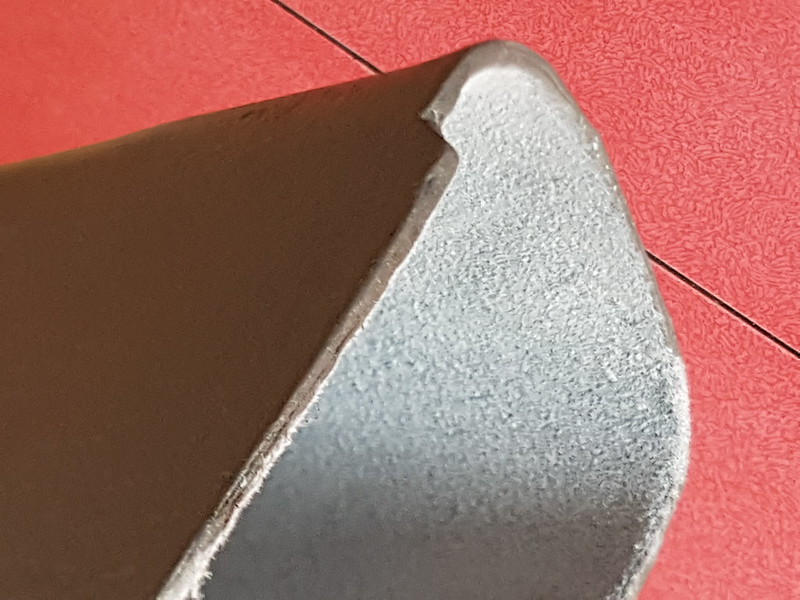
After I was happy with the shape and patches, I mixed up some acrylic paint to match the grey exterior and gave it a coat.
Then I scraped or shaved out the old flocking with a Stanley blade.
Using the acrylic paint as the gluing agent, I painted the inside and blew light grey flocking fibres into it wet, with a home made
flocking blaster. I had seen manufactured blasters for sale and thought lets make one instead of paying £20 for basically a cardboard tube.
If you want to do the same, I found that a toilet roll tube diameter fits nicely over a kitchen roll tube.
I did add some masking tape around the smaller tube to get a better/closer fit. For the ends a yoghurt pot or similar sized desert pot is close enough.
With 5 holes punched in one end you are now equipped with a pump action flocking gun.
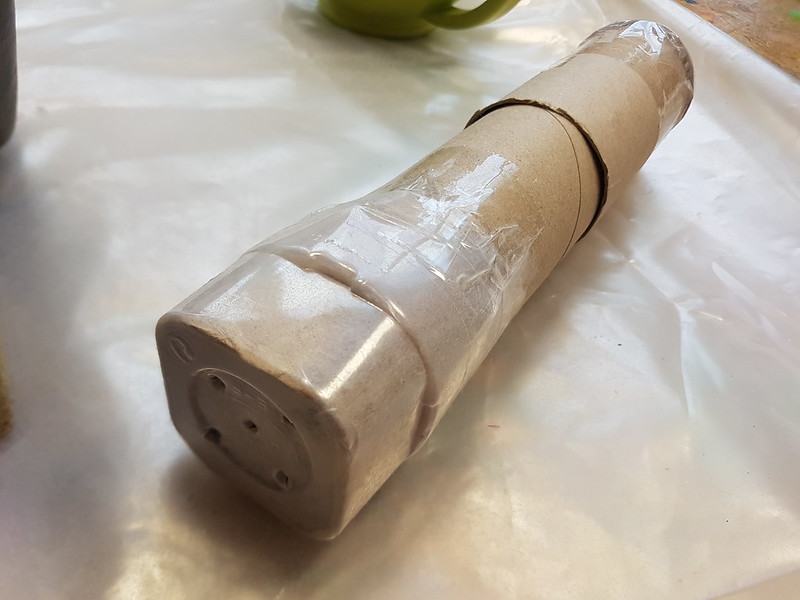
Image356 by karlhash, on Flickr

Image356 by karlhash, on Flickr

The finish is acceptable but not perfect, but that suits the rest of the car I think.
Most importantly though, my partner Hazel can open the the glove box door without a view of her feet and can actually put stuff in it !
Karl
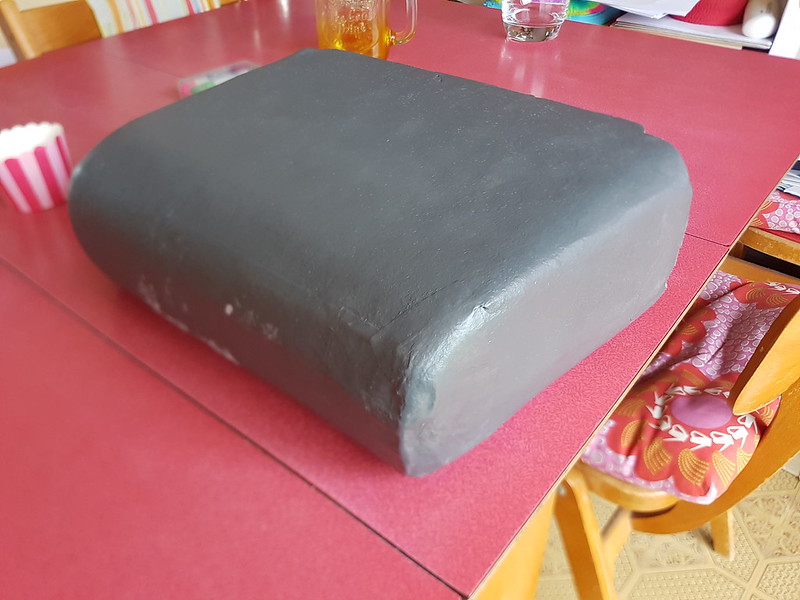
Image356 by karlhash, on Flickr

Image356 by karlhash, on Flickr

Image356 by karlhash, on Flickr

Re: Under cover Resto

Posted: Sat Jun 27, 2020 3:57 pm
by Lightweight_911
.

Brilliant Karl !!

My favourite post of the year ... :cheers: :cheers: :cheers:

.

Re: Under cover Resto

Posted: Sat Jun 27, 2020 10:52 pm
by Gary71
Lovely use of the cornflake packets :)

Re: Under cover Resto

Posted: Sun Jun 28, 2020 6:57 am
by PeterK
Very creative


Sent from my iPhone using Tapatalk

Re: Under cover Resto

Posted: Sun Jun 28, 2020 8:36 am
by hot66
Any post with cornflake packets, toilet rolls and yogurt pots gets a thumbs up from me 8)

Re: Under cover Resto

Posted: Sun Jun 28, 2020 9:05 am
by Boydyrs
Love this so much....can you post recent exterior pics as car sits today?

Re: Under cover Resto

Posted: Sun Jun 28, 2020 9:35 am
by jwhillracer
Absolutely brilliant! Technology I can understand 8)

I hope that after this lockdown more people will have discovered how to repair and rebuild rather than dump and buy new.

JW