Page 3 of 5
Posted: Sat Feb 05, 2011 1:03 pm
by 911hillclimber
Agree, very impressive shaping and welding.
I need to try harder...
Posted: Mon Feb 07, 2011 8:20 am
by Hendrik Moulds
Thanks guys, have to say though it's not me who's doing that although I wish I could!
Posted: Fri Jun 10, 2011 6:53 pm
by Hendrik Moulds
Posted: Sat Jun 11, 2011 8:59 am
by Barry
Mananged to miss this thread upto now (

): fantastic project, and very nice sheet-metal work

.
Loving the new front clip BTW, and if I remember did you say they were very well priced (for the amount of work)?
Posted: Mon Jun 13, 2011 8:14 am
by Hendrik Moulds
Barry, they are but it all depends on the dollar exchange (plus VAT of course). The great thing is they come as one piece rather than two halves and fit well with minimal work.
Posted: Mon Jun 13, 2011 11:22 pm
by Barry
It's certainly a lovely piece of work in what must be a very difficult area to get really good.
Congrats to your metal-man as well, I know you said you were delighted with his work when we last met, and I can see why. Fabulous stuff
.
Posted: Tue Jun 14, 2011 7:39 am
by Hendrik Moulds
Yes, it's not easy and of course if it's not done correctly there are plenty of people out there who will tell you so.
Posted: Wed Jun 15, 2011 2:36 pm
by tim78
Fantastic work. I look forward to seeing this progress
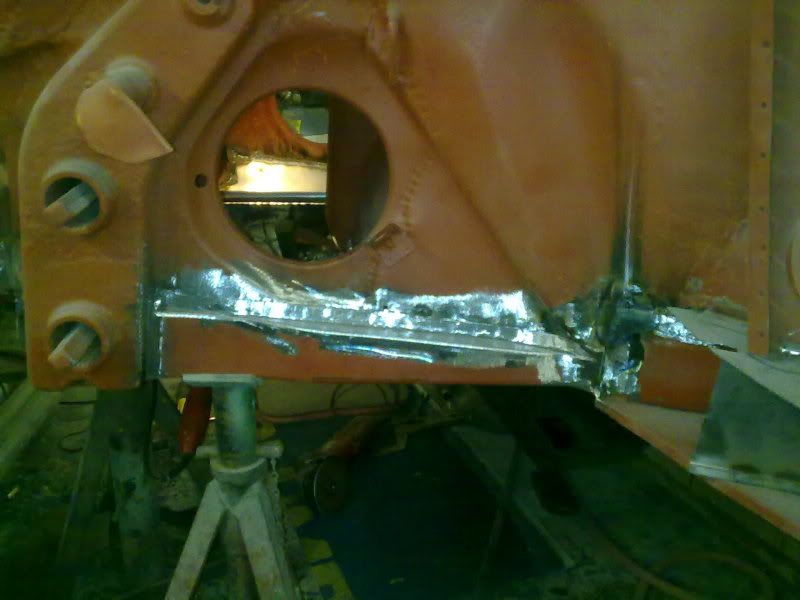
Posted: Sat Jul 09, 2011 11:40 am
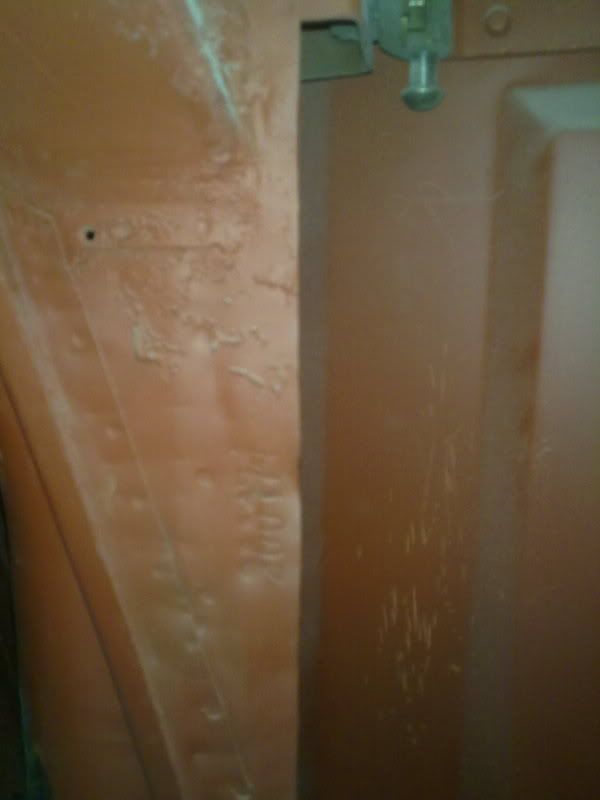
by Hendrik Moulds
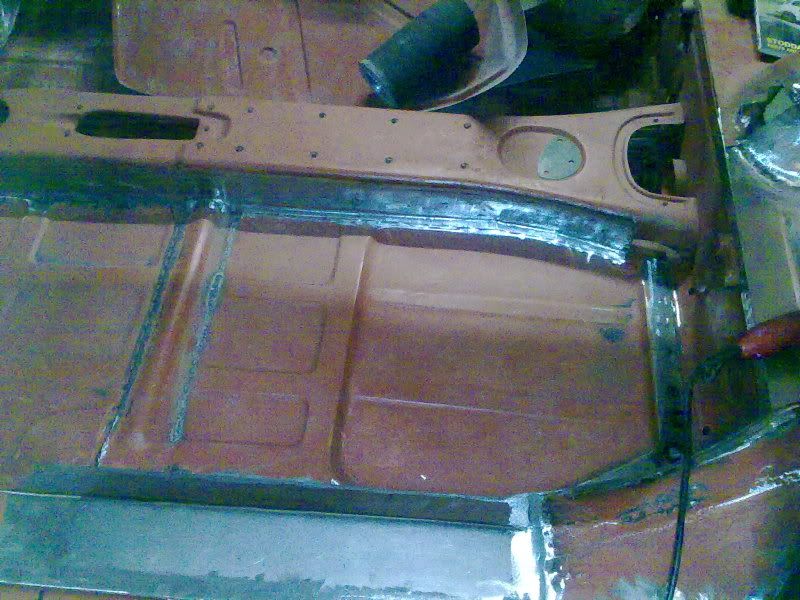
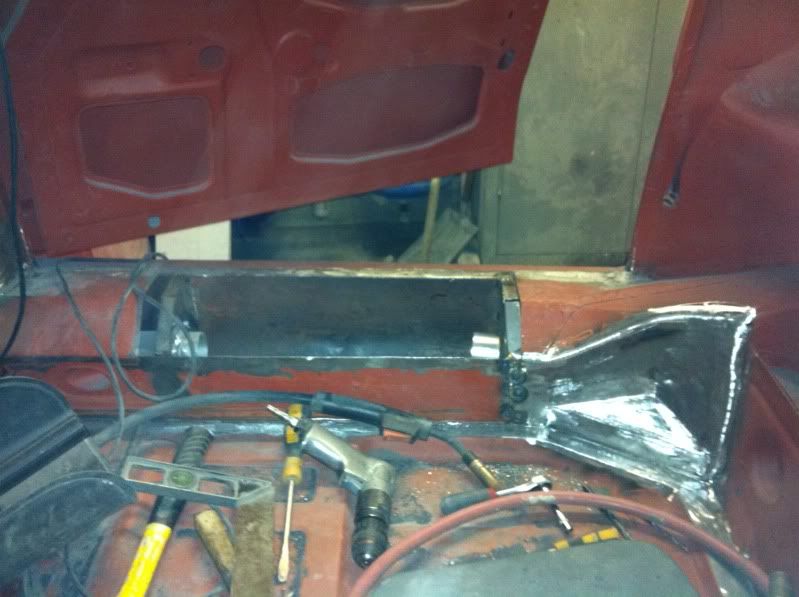
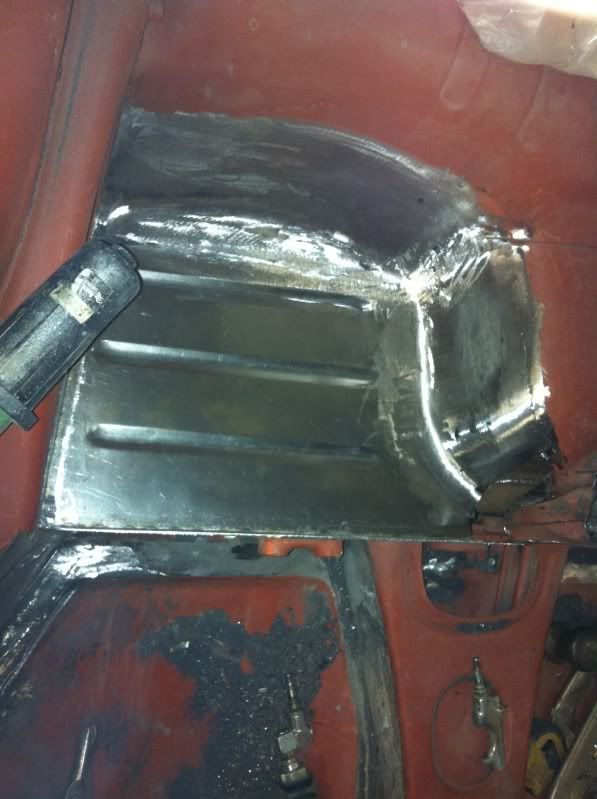
Work is nearly finished replacing the driver's side heater tube, which of course was a mess.
Also found the chassis number stamped on the A post which I didn't know about.
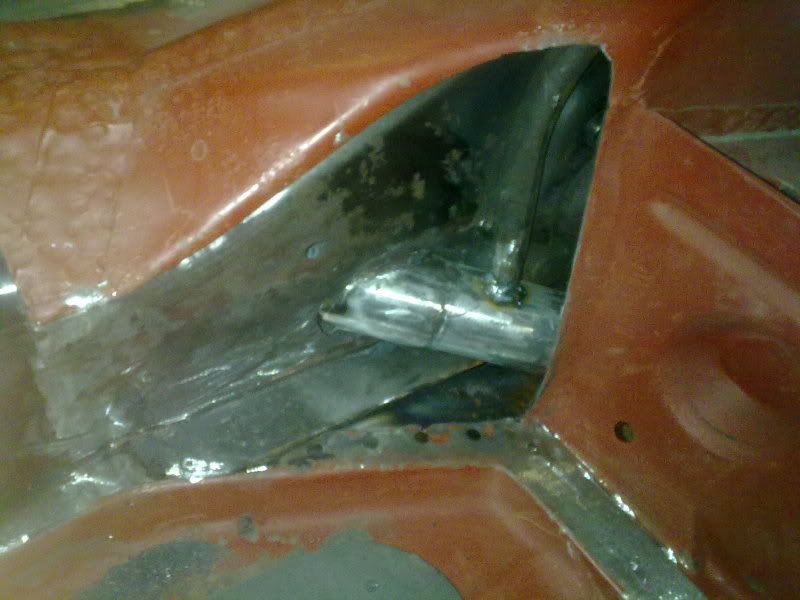
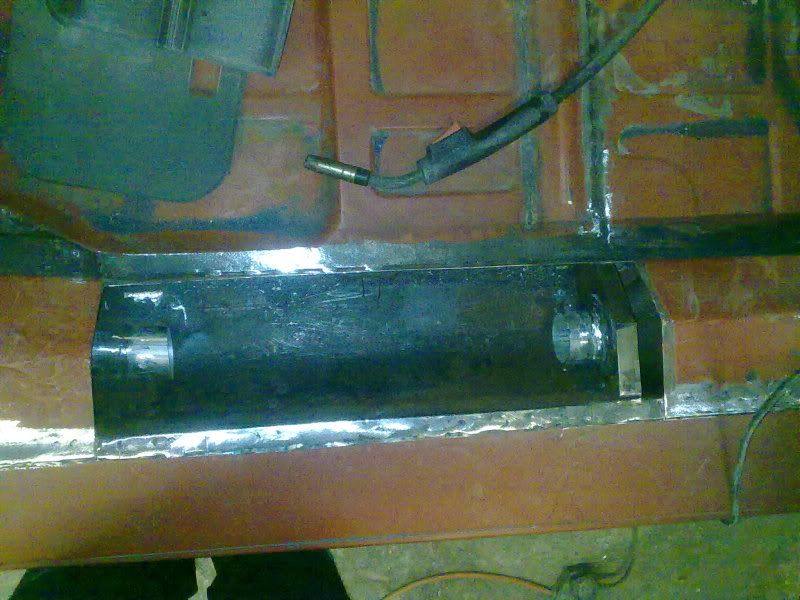
Posted: Tue Aug 09, 2011 9:18 am
by Hendrik Moulds
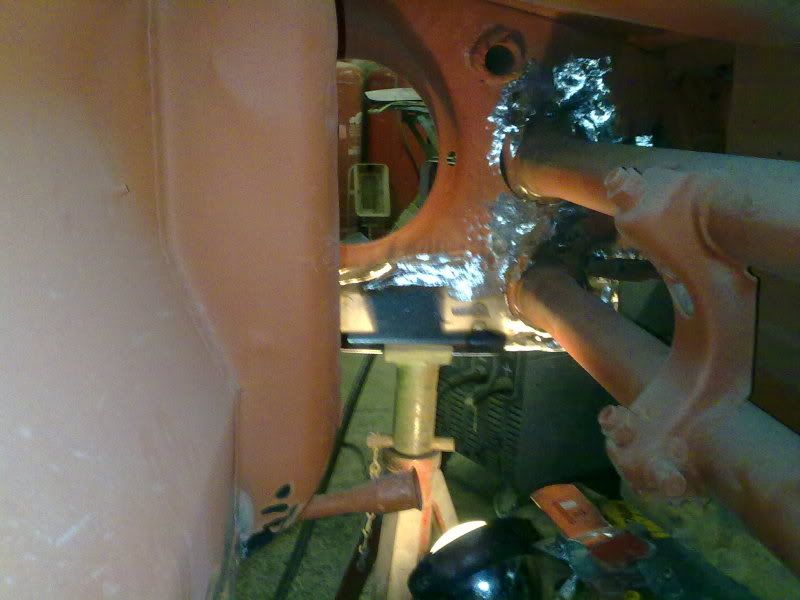
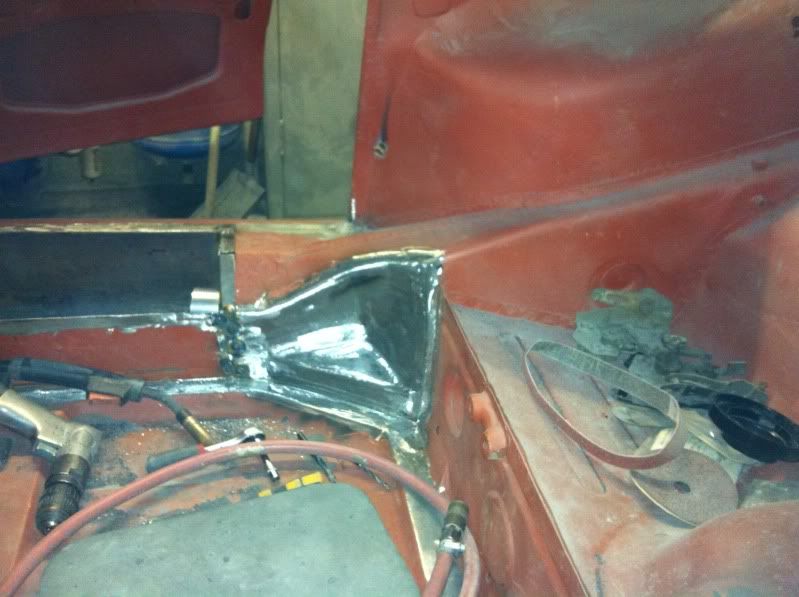
The rear part of the heater tube is now covered, of course this panel isn't available so had to be made.
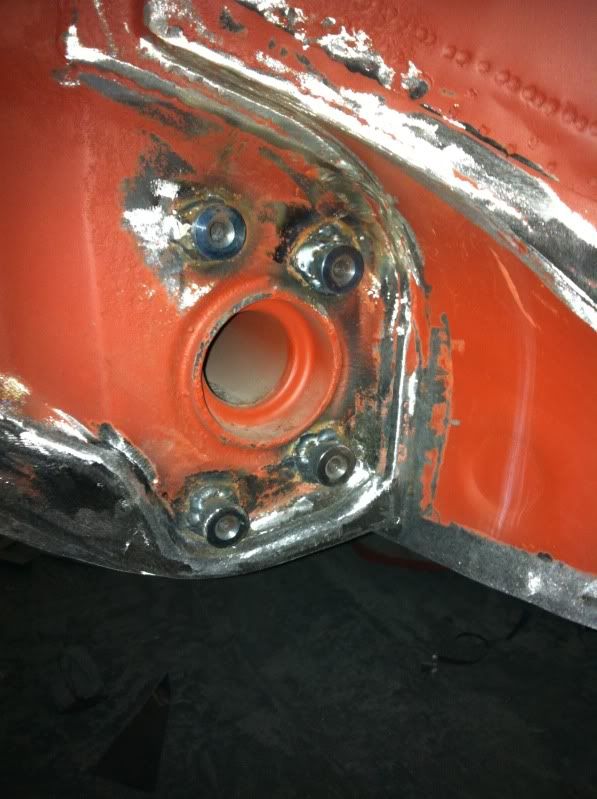
New "nuts" on for the spring plate on the drivers side as well now that everything is sorted in this area.
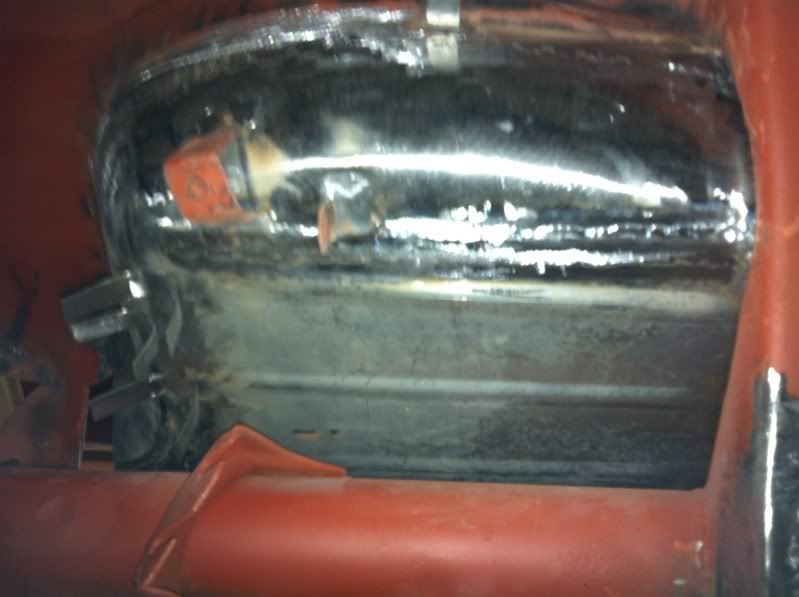
Next job is to finish the heater tube and then it's round to the driver's side rear seat base which needs replacing.
Posted: Tue Aug 09, 2011 5:52 pm
by 911hillclimber
What MIG welder are you using, and what dia wire/gas please?
The tin must be quite thin in places; it would be interesting to know how easy you find it.
Do you pull 'long' welds or a zillion 'spot' welds?
Graham.
Posted: Fri Aug 12, 2011 4:52 pm
by Hendrik Moulds
Hi Graham,
Please note I am not the welding genius, just the photographer and bill payer.
The gas used is energas with either 20 or 25% argon.
Wire is 0.6
Welder is a SIP Autoplus 189 Turbo
He uses lots of spot welds so the metal doesn't warp with the heat.
Posted: Fri Aug 12, 2011 8:00 pm
by roy mawbey
Hendrick,
Looking nice, good fabrication. Interesting thread.
Roy
Posted: Fri Aug 26, 2011 5:41 pm
by Hendrik Moulds
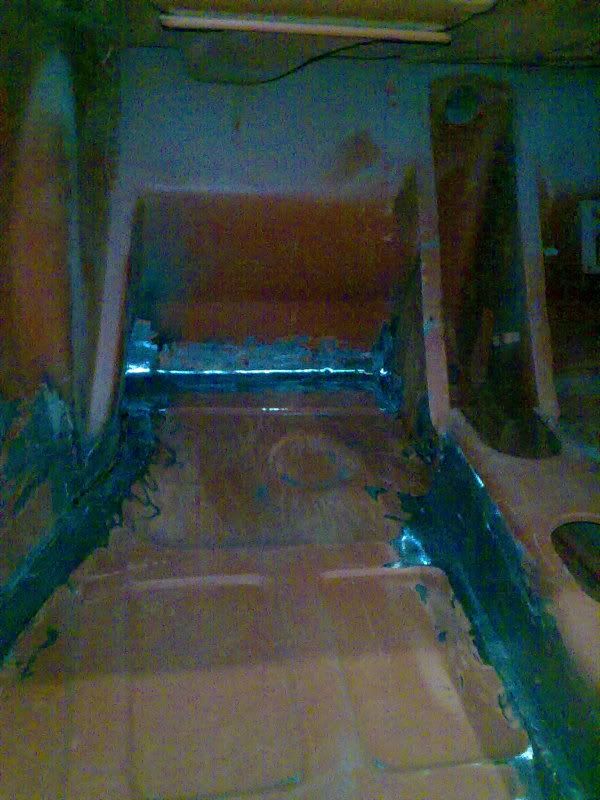
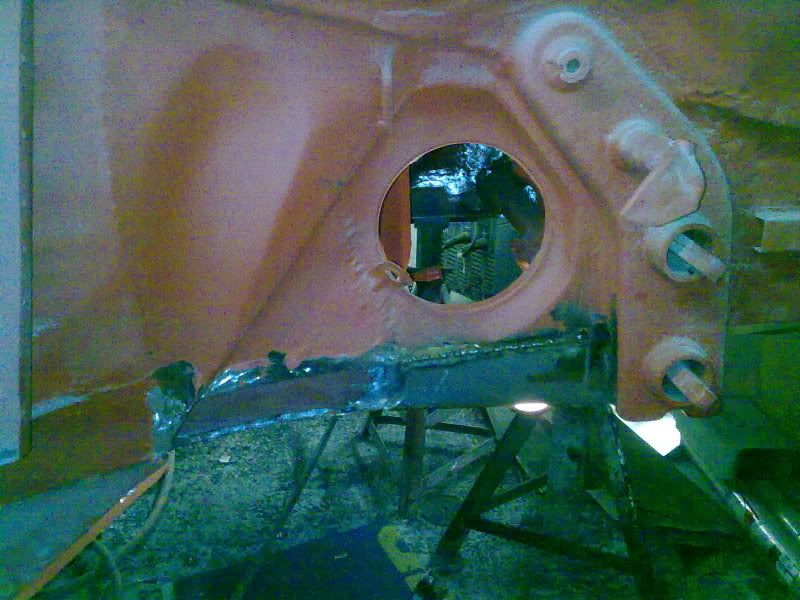
The drivers side rear seat has now been remade and is in place.
From below with the tabs welded back in place:
And from above:
Re: Notchback Restoration
Posted: Tue Oct 11, 2011 9:00 am
by Gary71
Any more updates Hendrik?