Page 18 of 36

Re: E Type 888330

Posted: Tue Oct 16, 2018 2:11 am
by jjeffries
Hugely pleasing and educational to follow along. John

Re: E Type 888330

Posted: Wed Oct 17, 2018 8:39 am
by 911hillclimber
The front picture frame generally has lasted well.
Lovely repairs as ever, well done to you on keeping as much original as possible.

Are the 531 tubes ok?

Re: E Type 888330

Posted: Wed Oct 17, 2018 9:24 pm
by jtparr
Hi

Simple test for any engine 531 frames is to pick them up and turn them....if you (which you will) hear the gentle tinkling sound it means rusty flakes are moving around...!....with a wall thickness of 0.9mm that’s not inspiring.....and with the full weight of the engine being supported by them it’s too great risk.....

I wouldn’t have kept my frames even if they were silent....they cost something like £3,000 for the 2 side frames which is not cheap I grant you....and could be bought for less but the manufacturer I chose produces perfect work.....and in relative terms is a small part of the metalwork costs

Jp

Re: E Type 888330

Posted: Wed Oct 17, 2018 10:20 pm
by jtparr
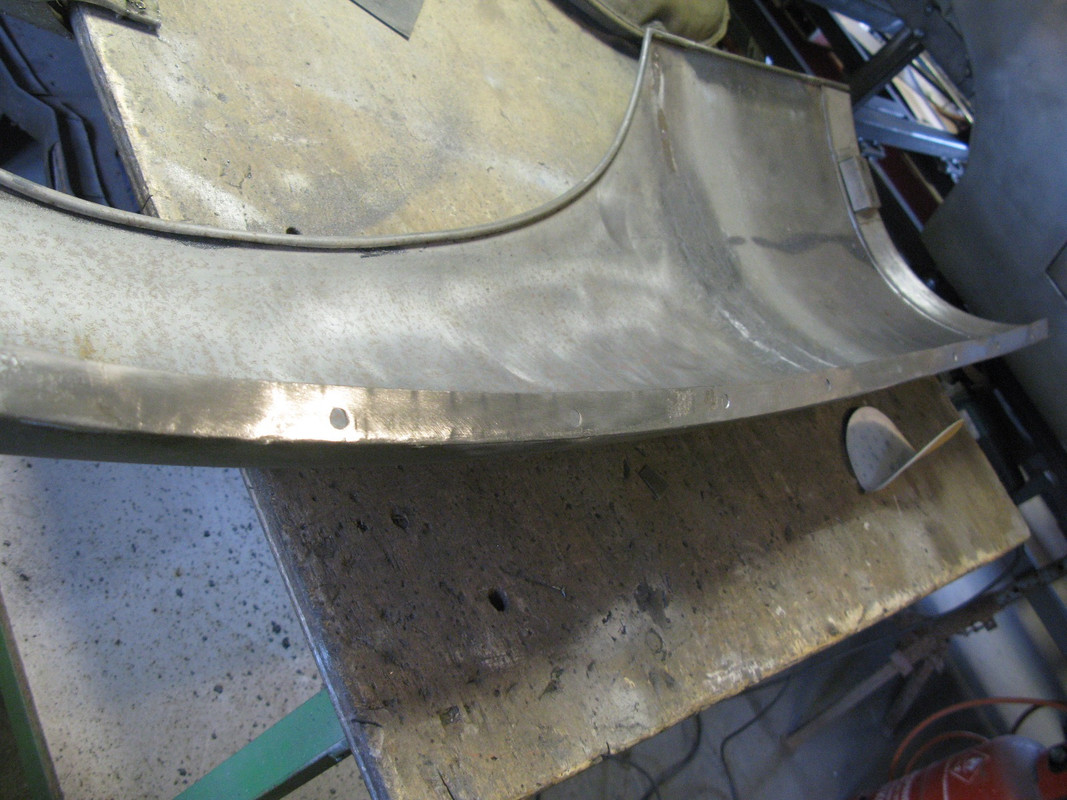
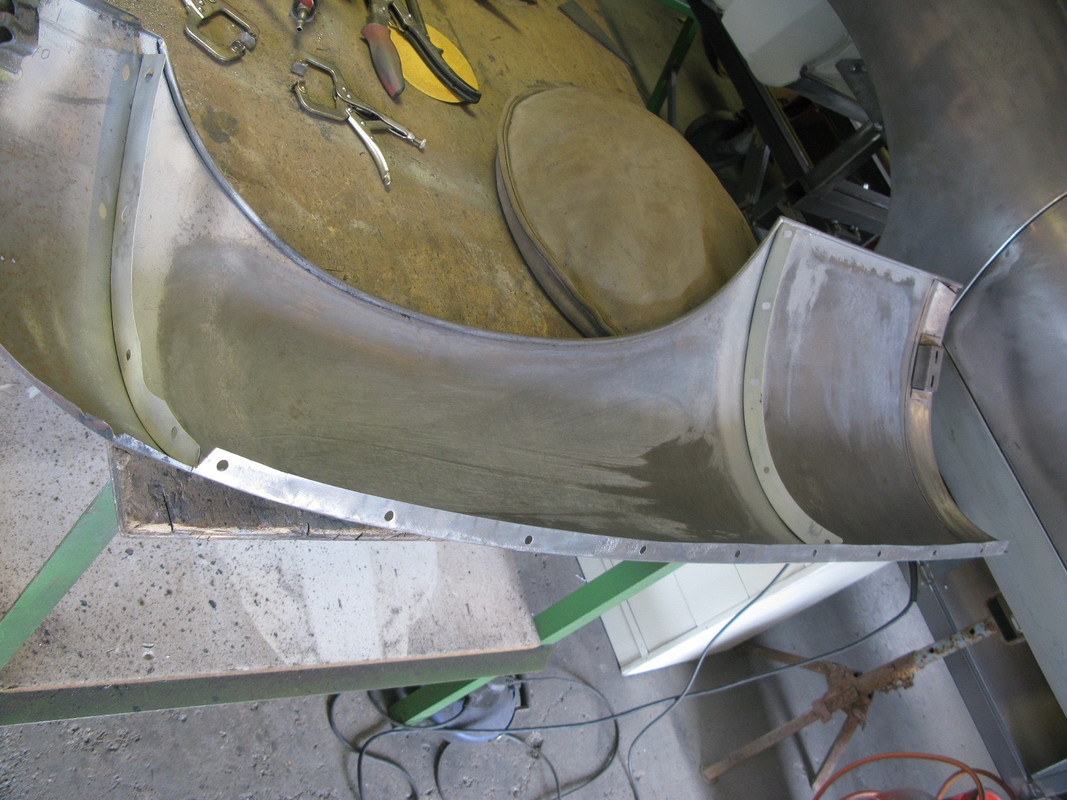
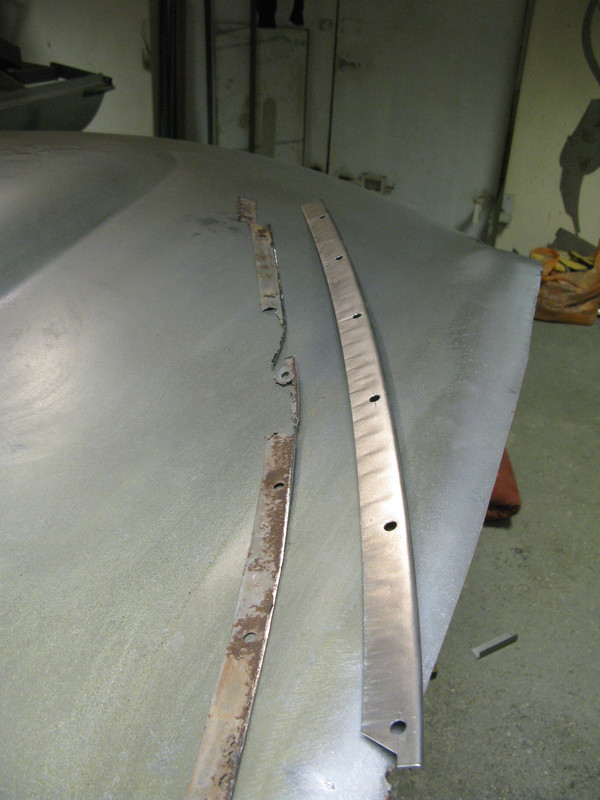
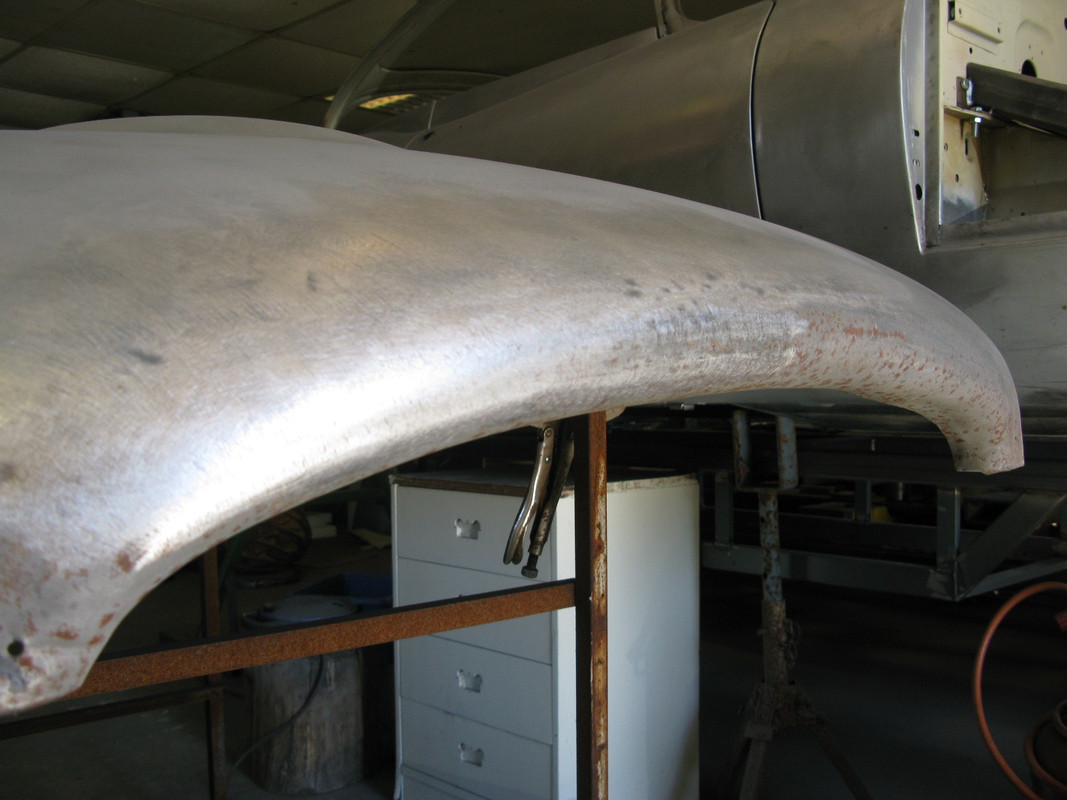
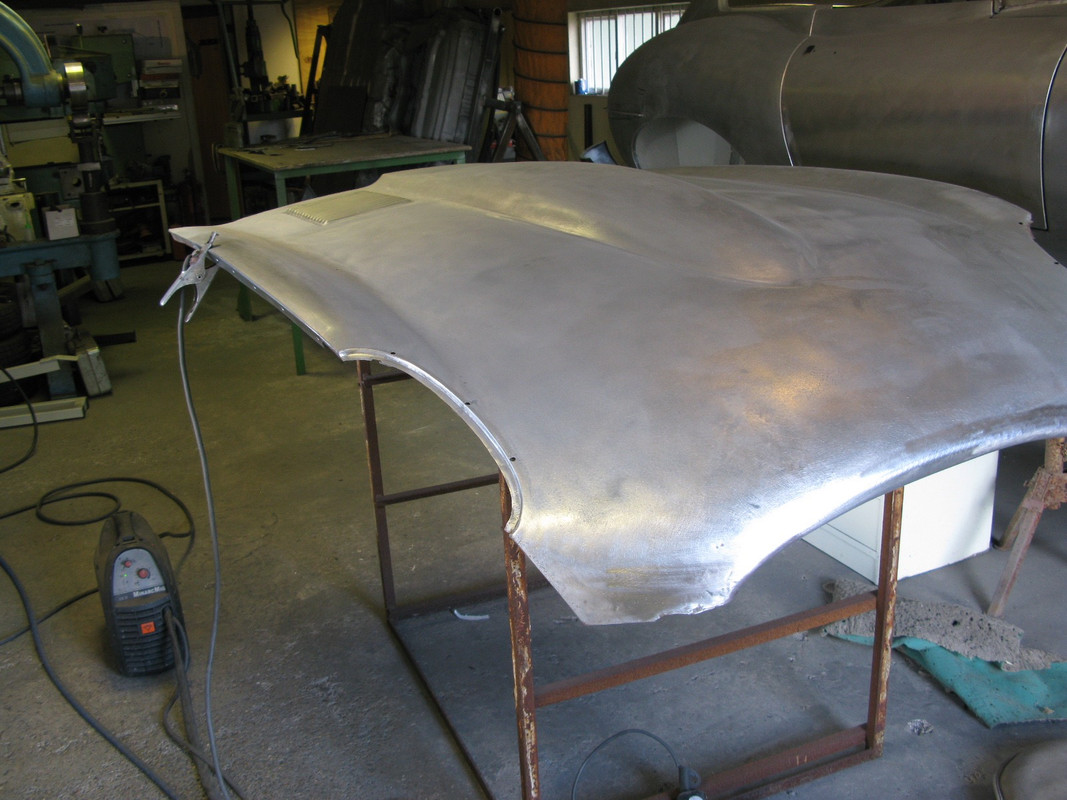
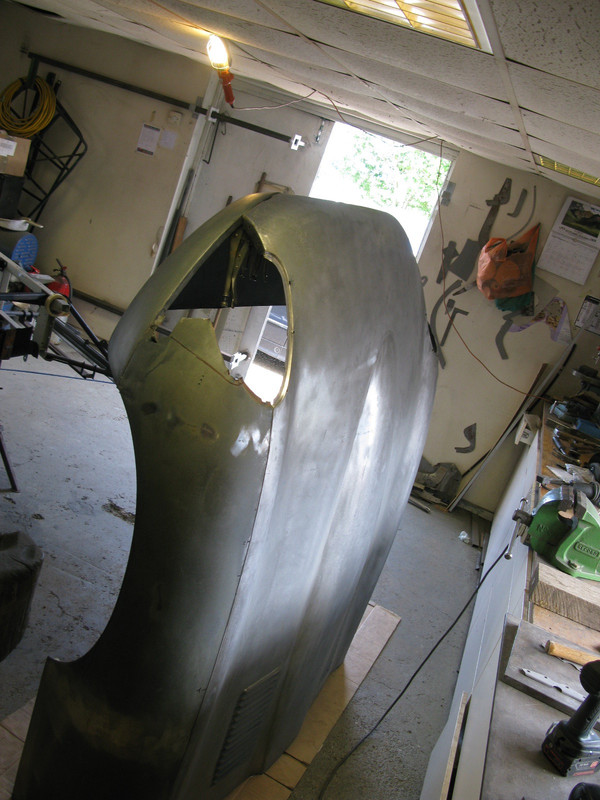
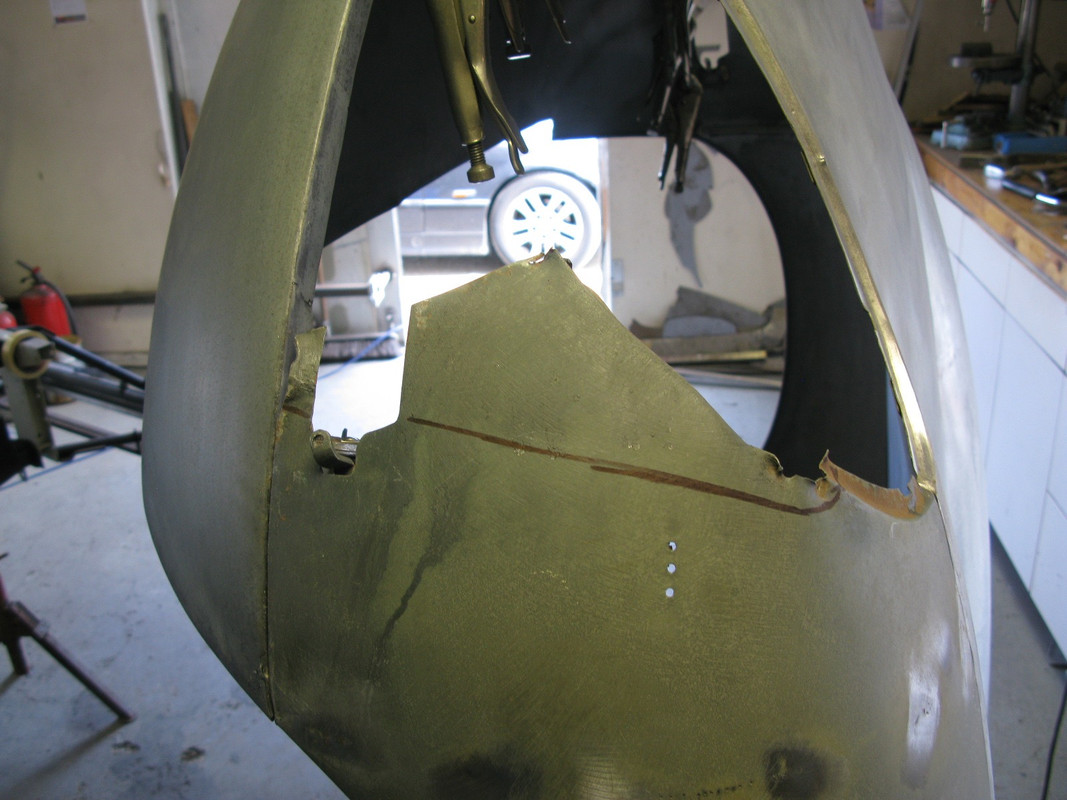
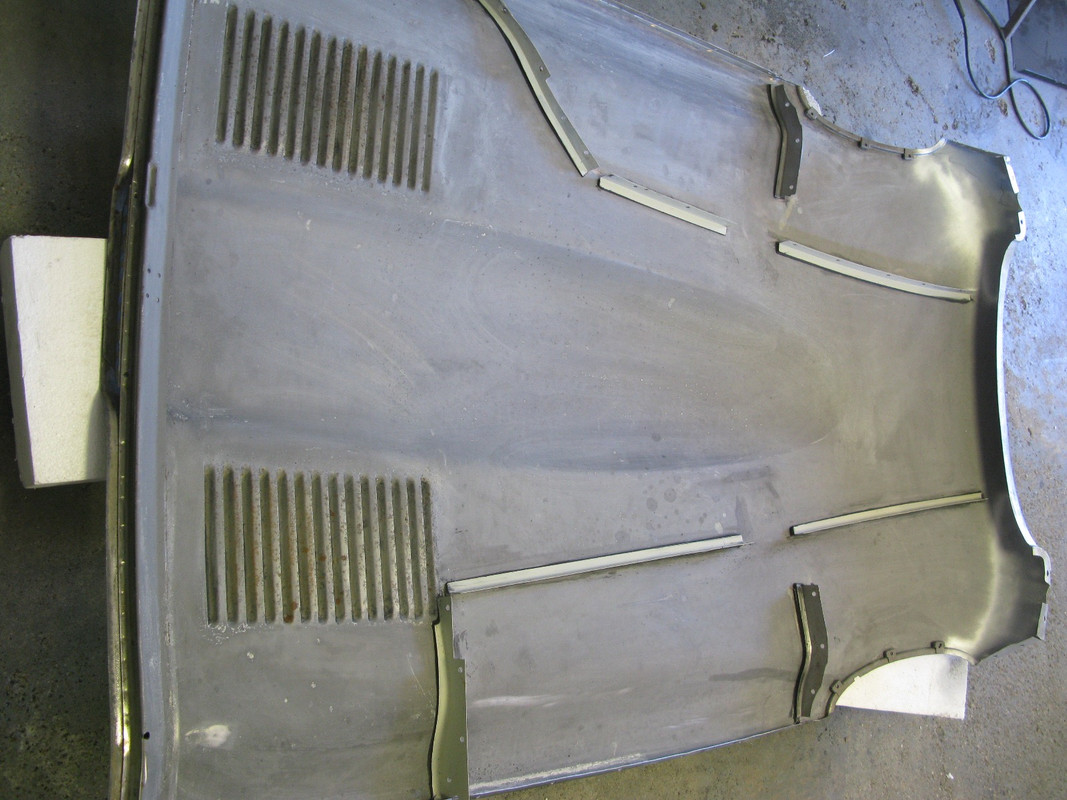
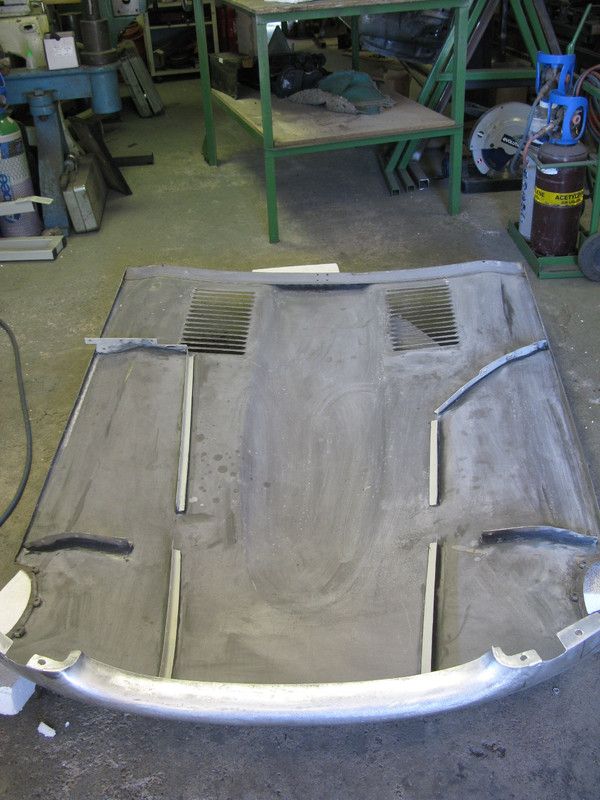
part three of the bonnet works was to rectify rust along the wing edges, inner wing stiffeners and restore those sensuous curves

An E Type bonnet is without any doubt a graceful outer form, but is somewhat primitive in construction, creating multiple traps for debris which if left unattended will begin the slow and inevitable process of rust

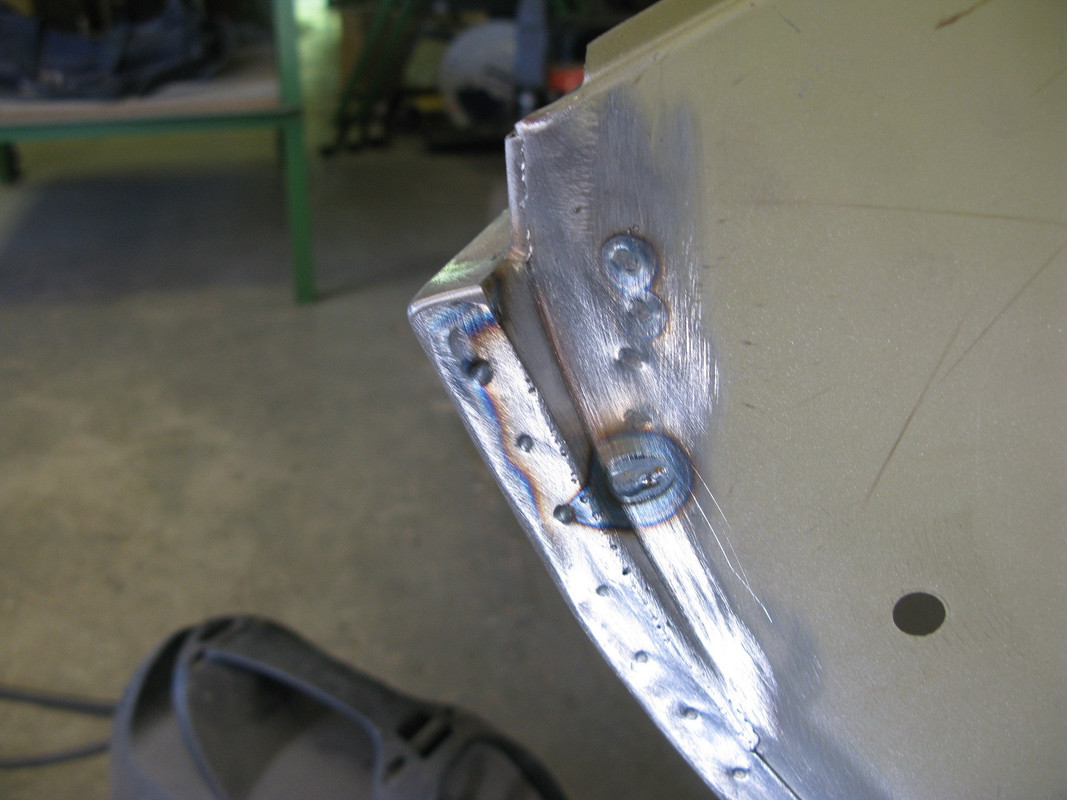
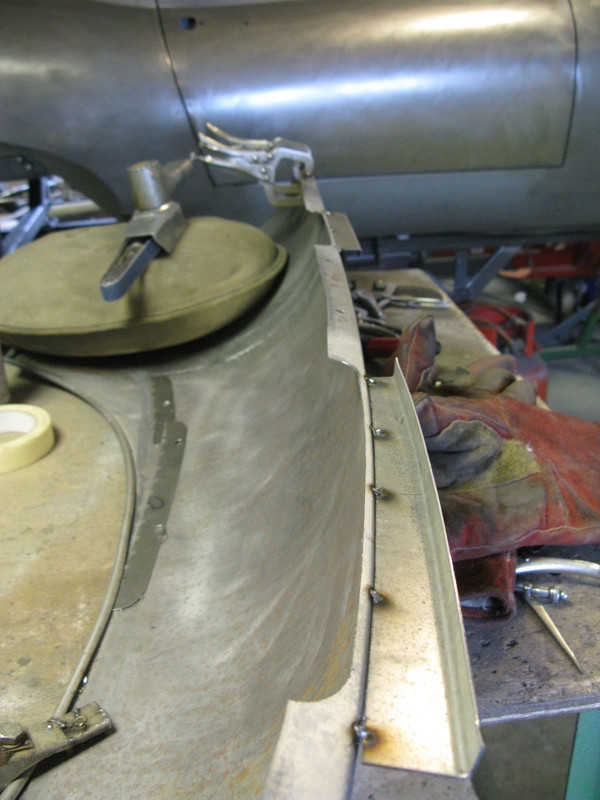
a series of flanges are used to hold the 2 wing panels to the inner bonnet panel, which in the initial year or so of production were spot welded to the wings, and then subsequently held in place with Sikaflex

i knew my bonnet was not original but rather an earlier item as the flanges were spot welded
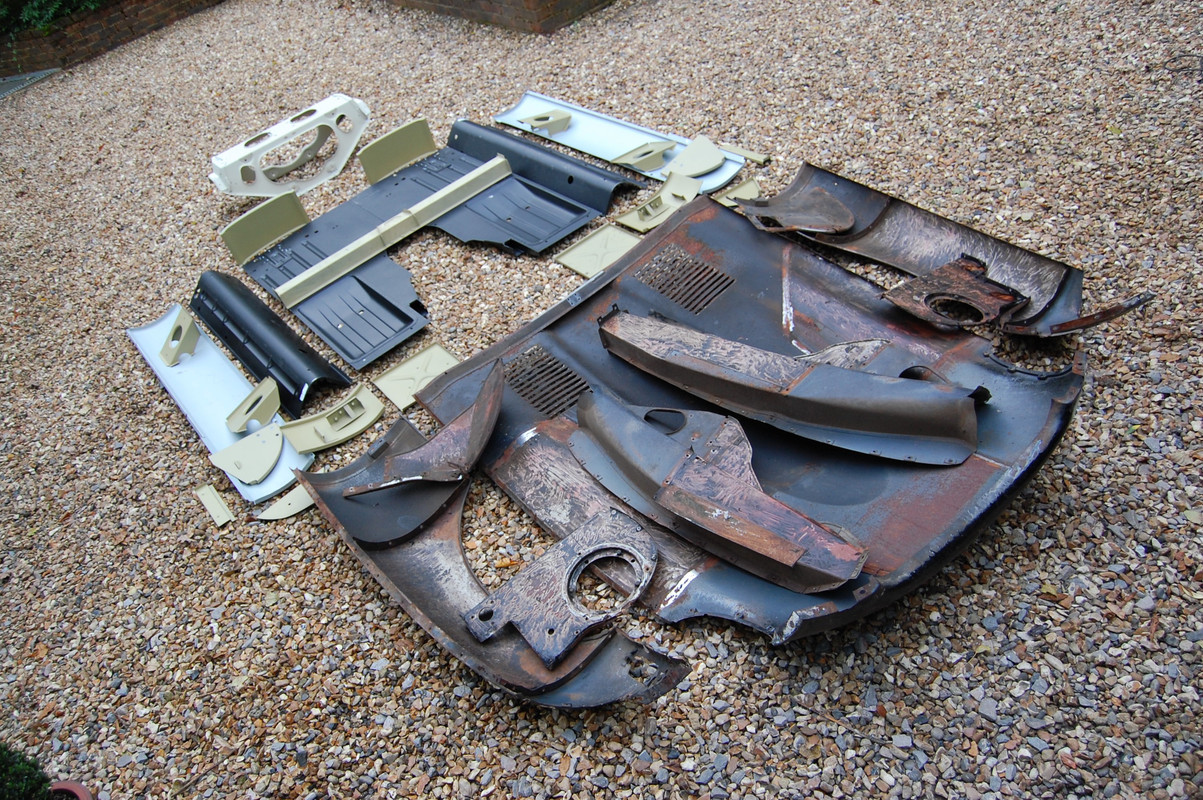
Image

but in fact whether welded or bonded the rust problems are common to all....


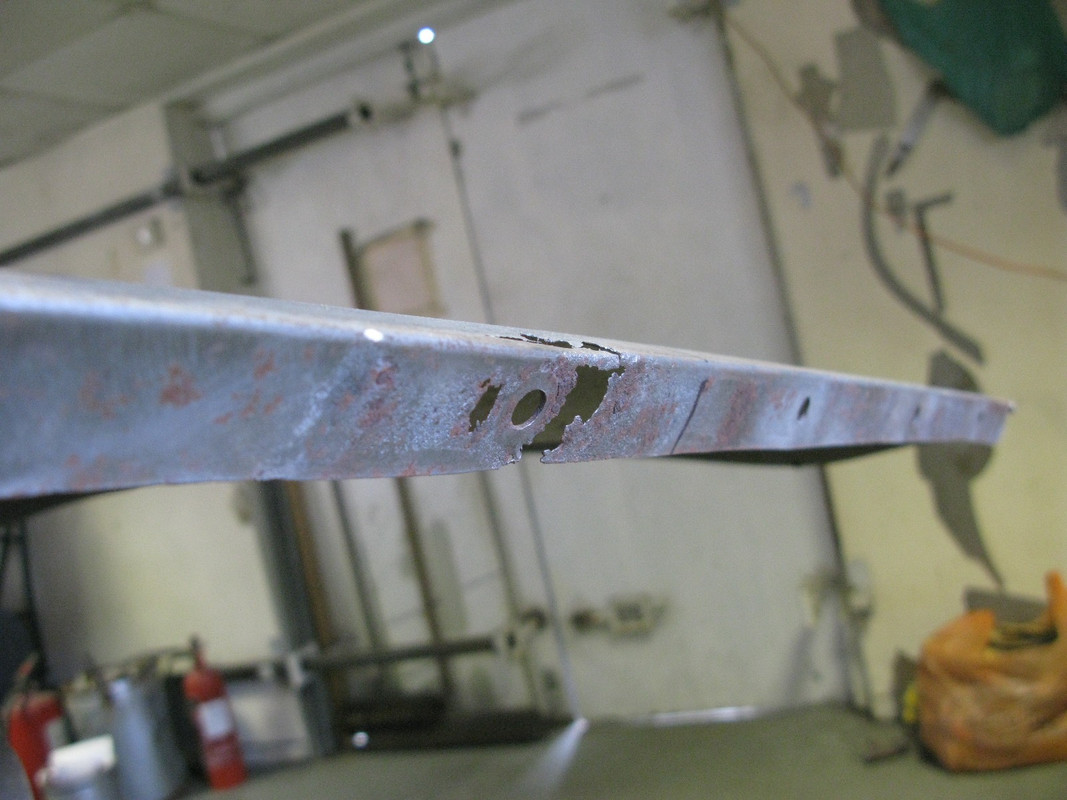
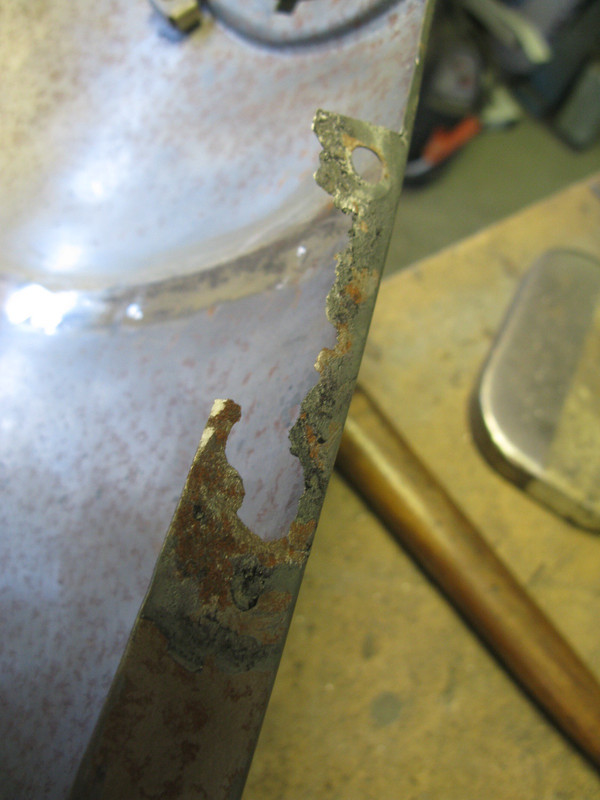
this is the outside of one flange....
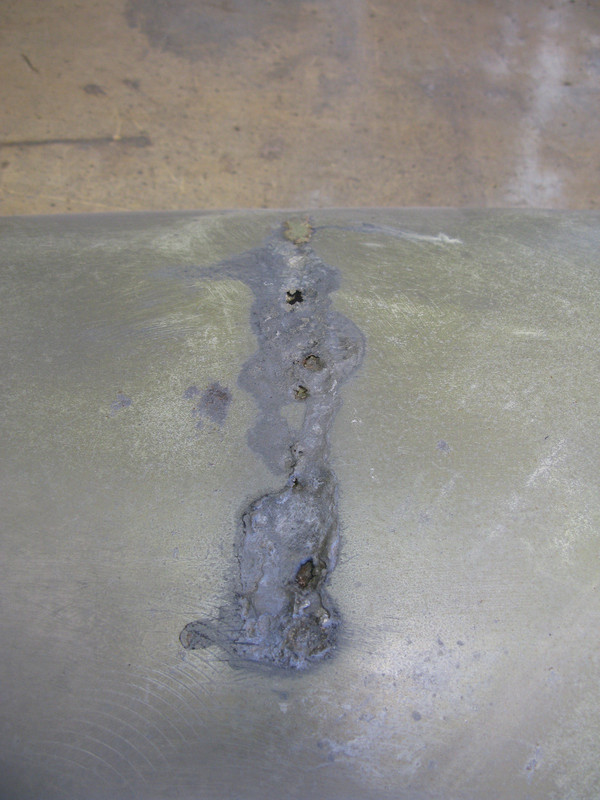

Image


which was the result of this inner damage....
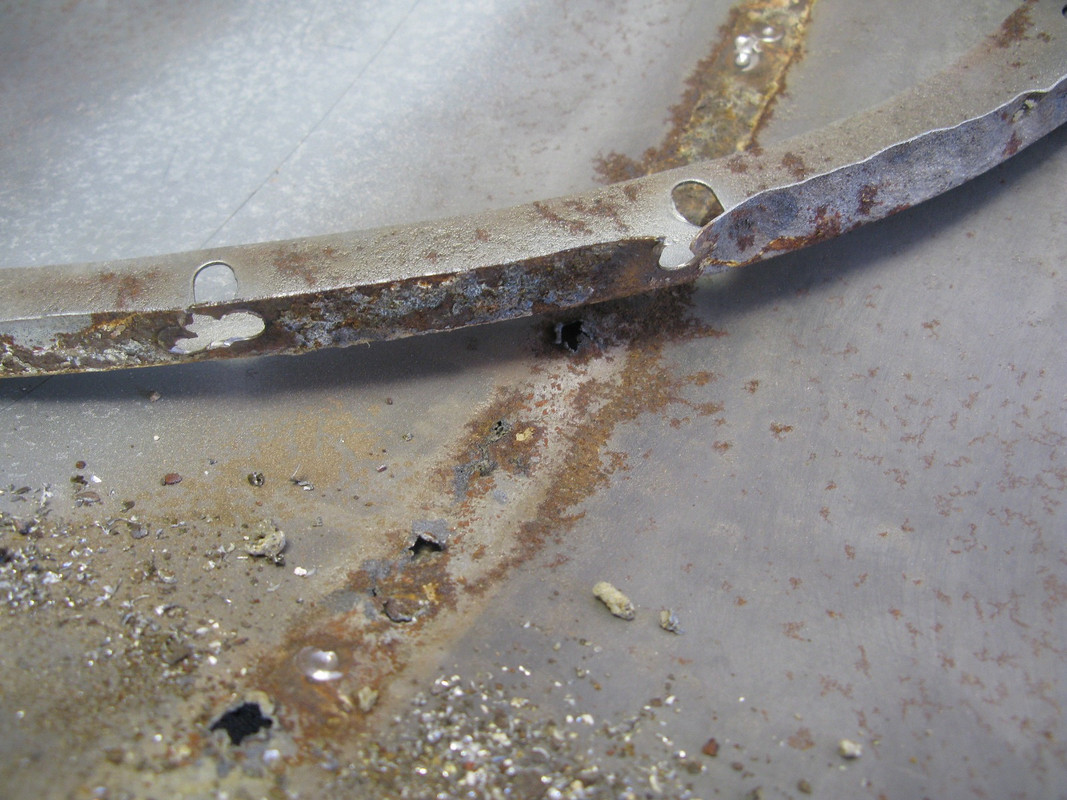

Image


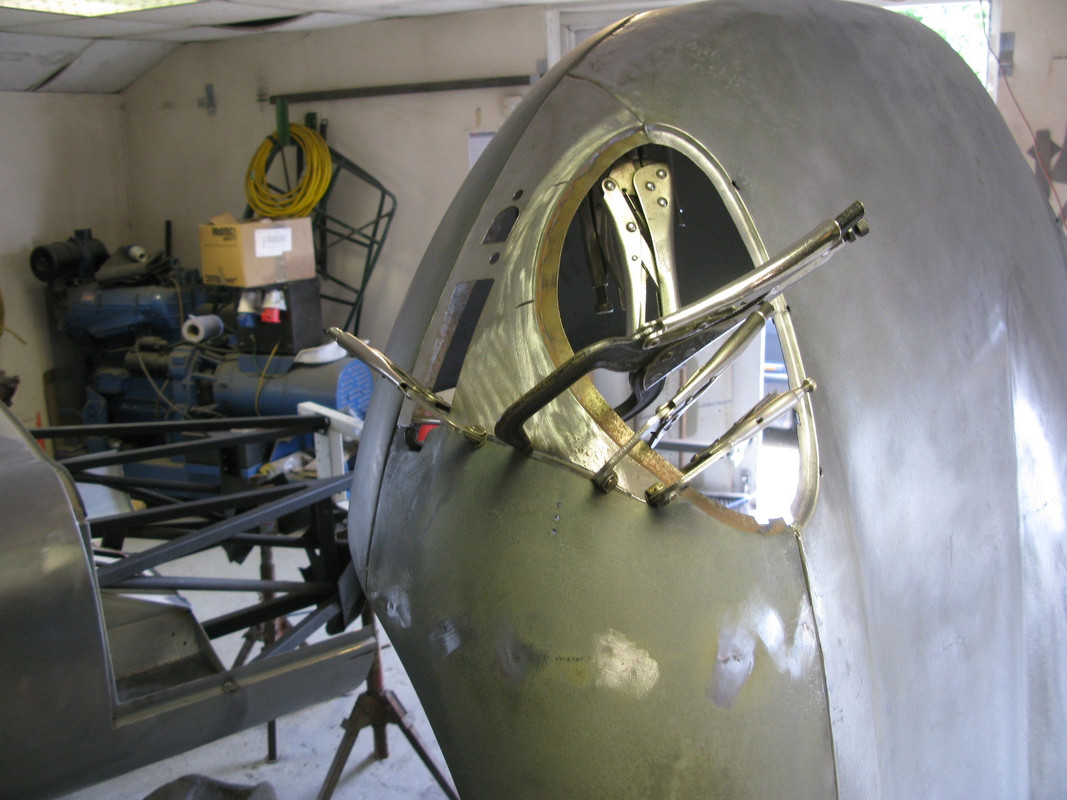
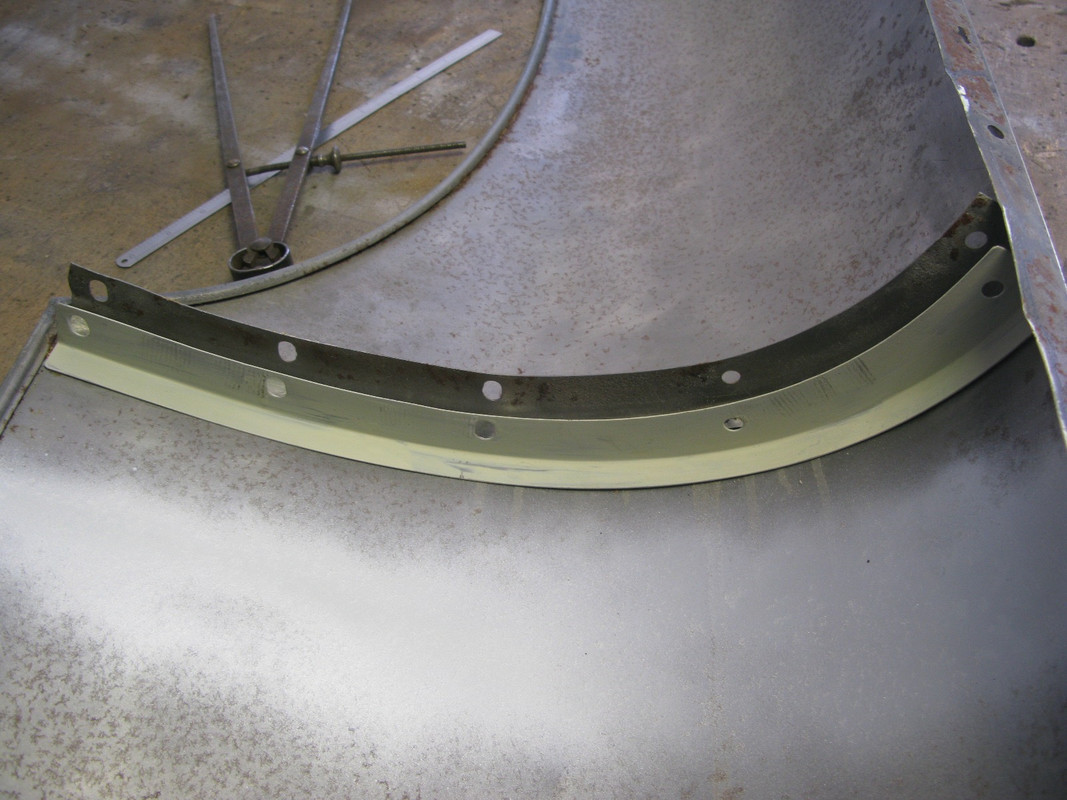
which meant I needed not only a new one of these....(hand crafted by Barry, with careful attention to matching the original bolt holes....)
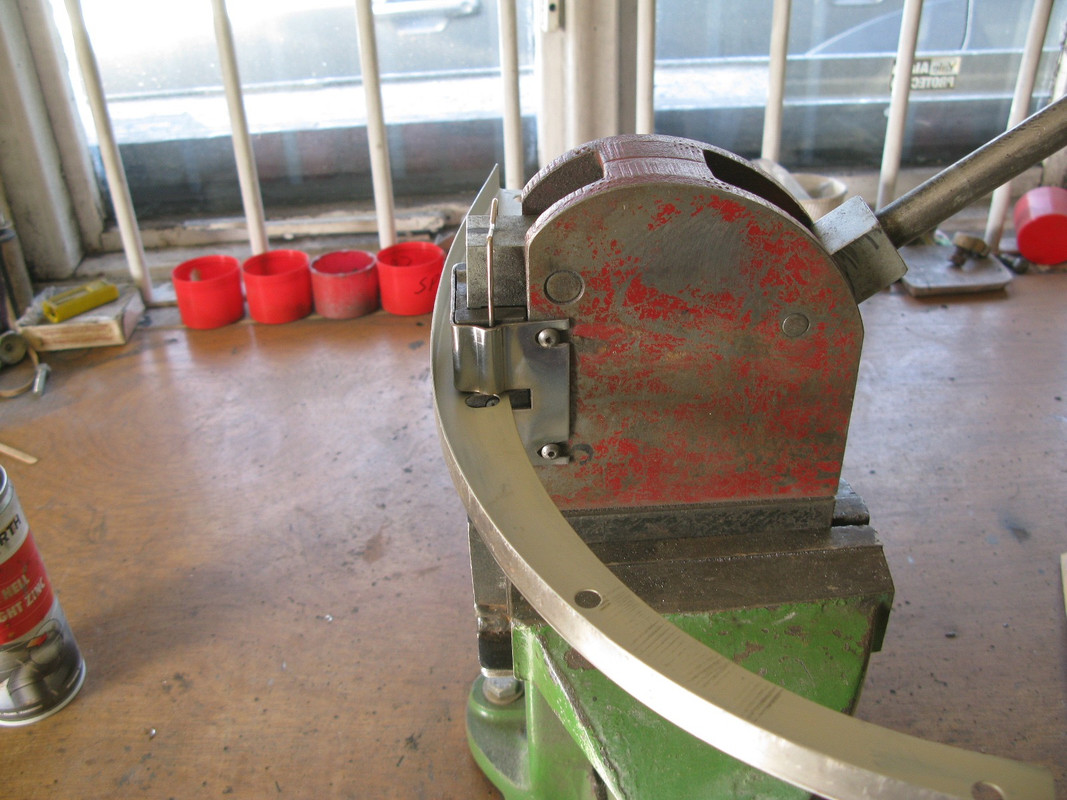
Image

Image


but also need some of this...


Image

Image

Image

Image


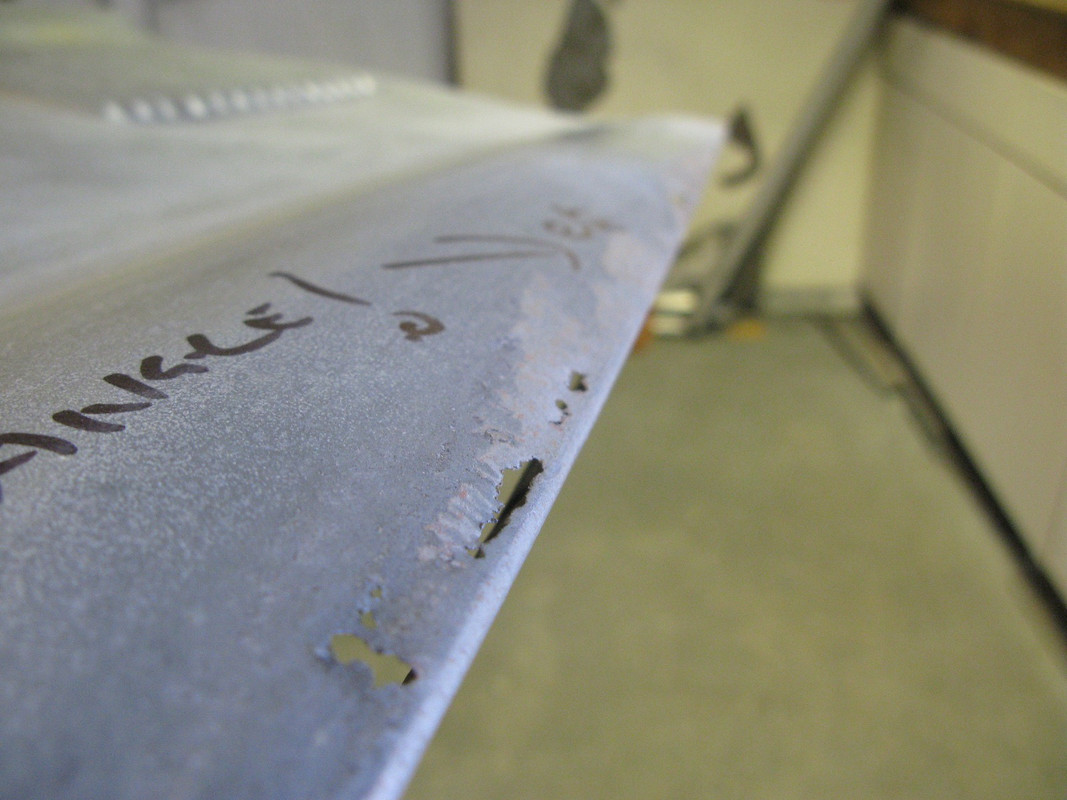
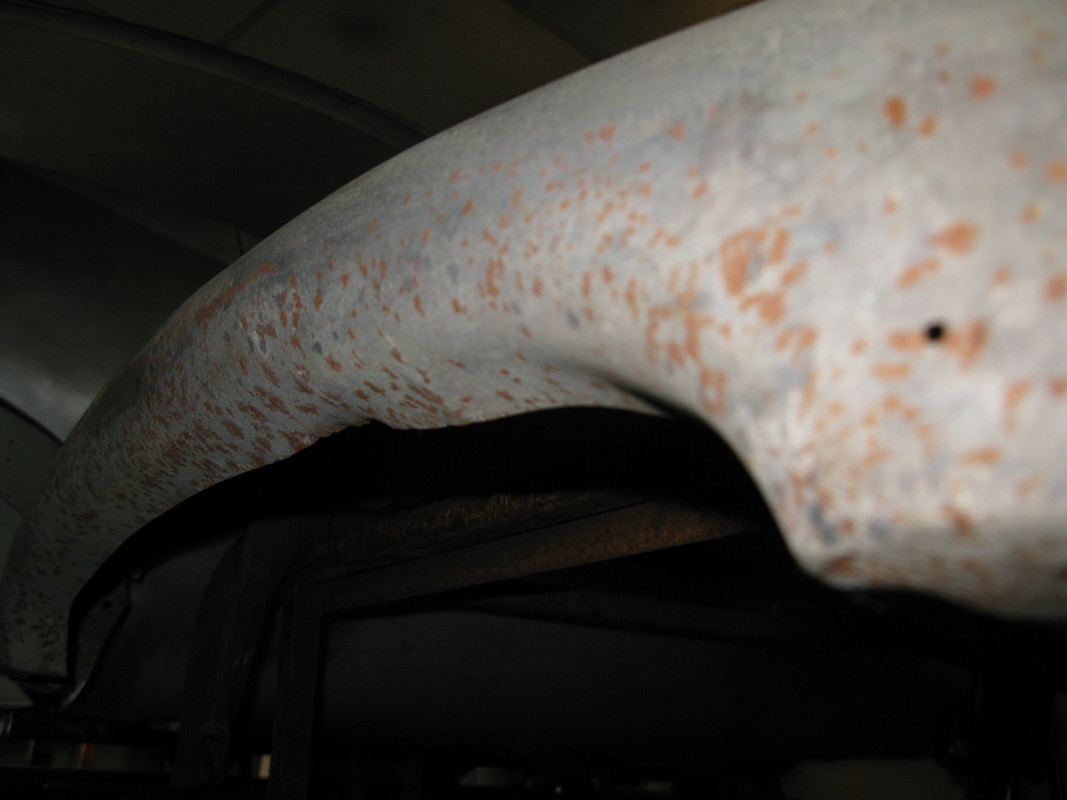
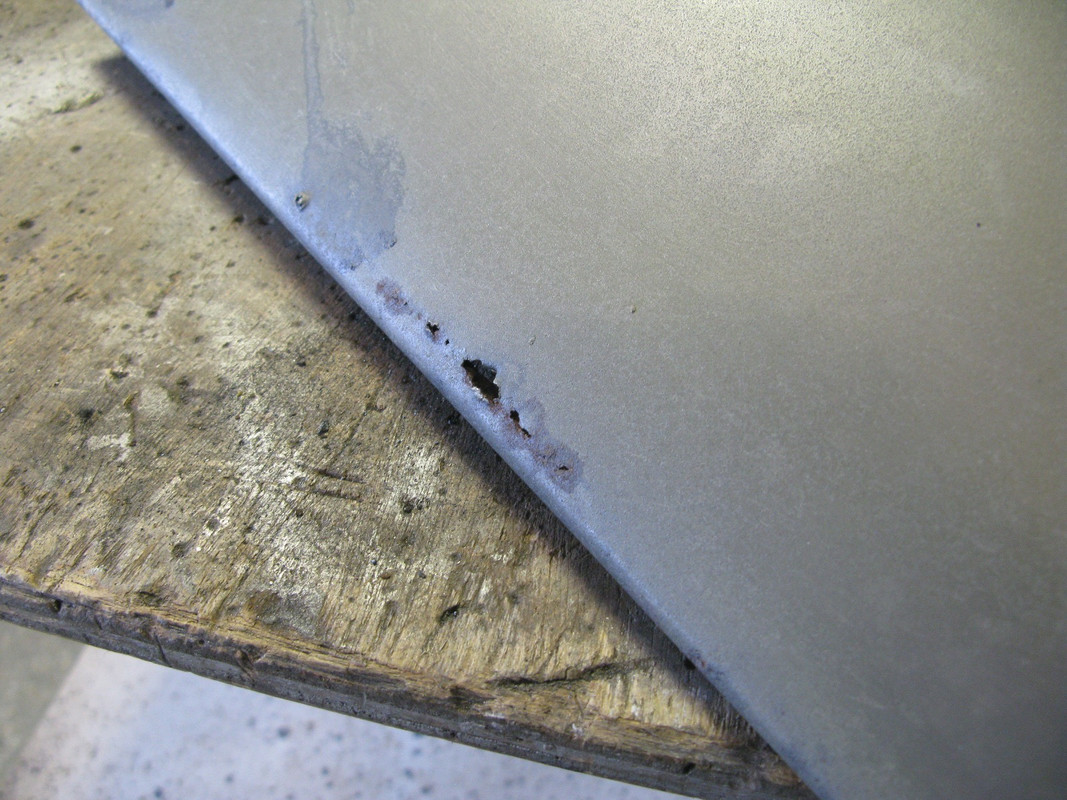
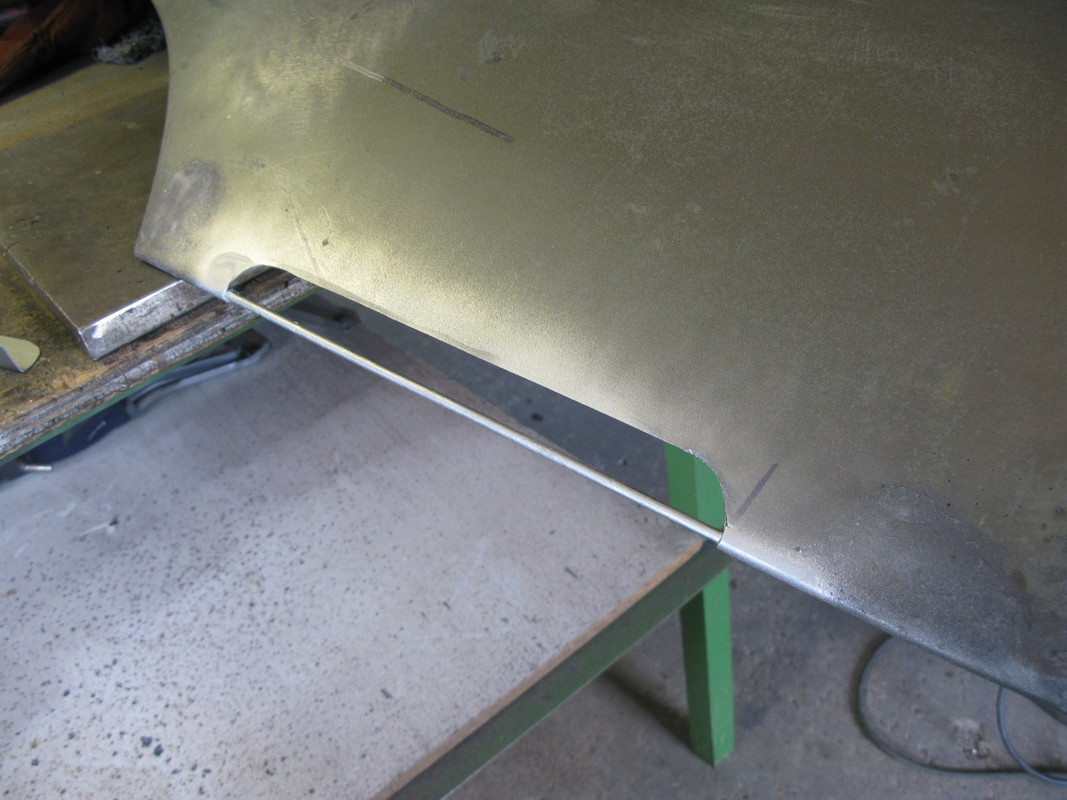
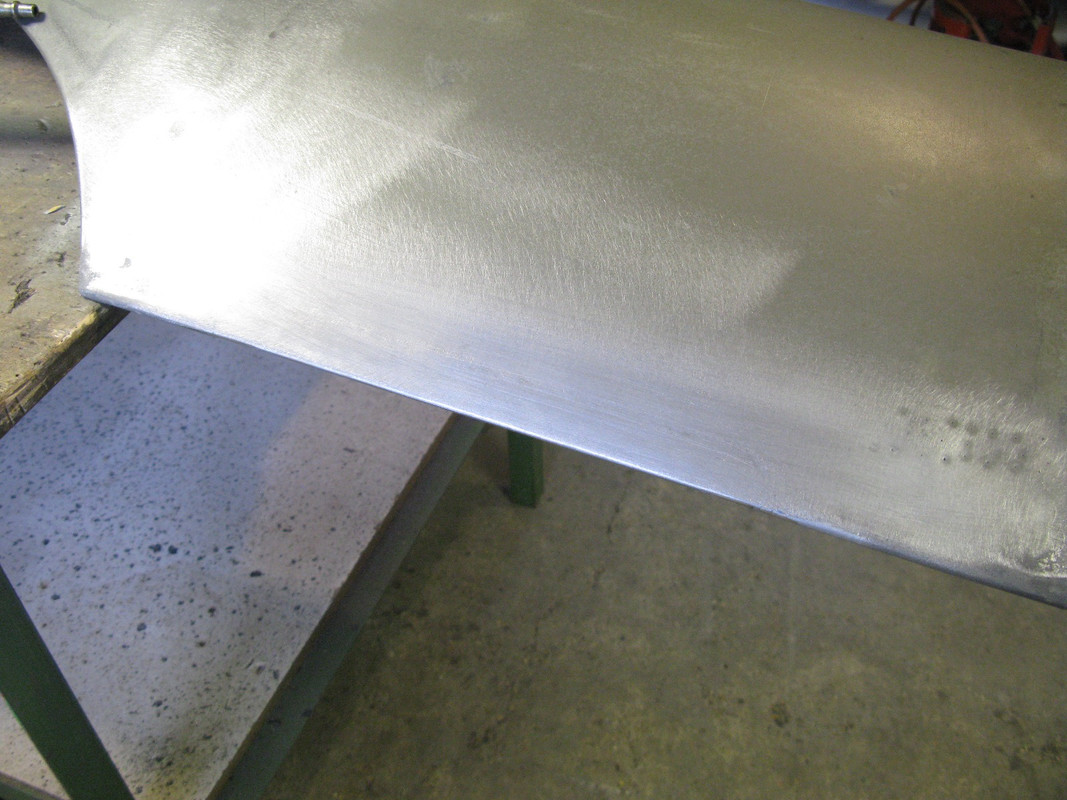
at the lower rolled edges more rust had developed...these are a pain to repair as the rolled edge is unforgiving to unpick and re-roll....so if at all possible it is better to try and leave the edge alone and repair within....if possible....but sometimes it isn't....so a small, but time consuming series of processes is needed to repair...
Image

Image

Image


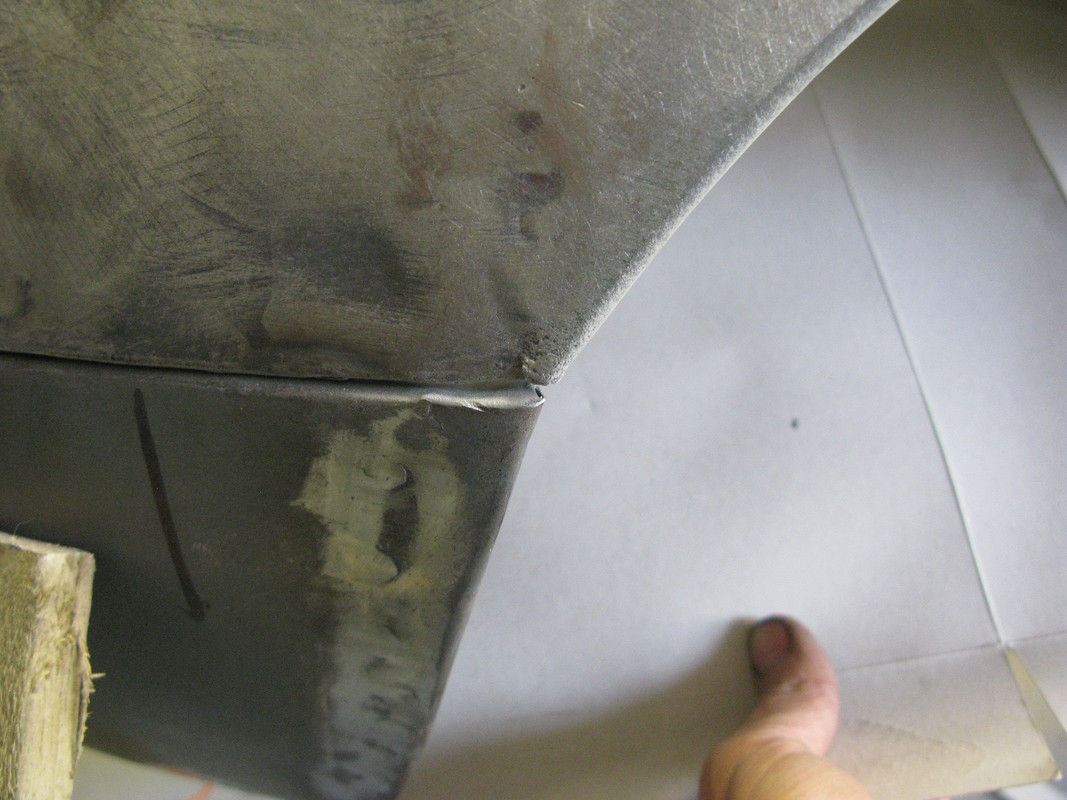
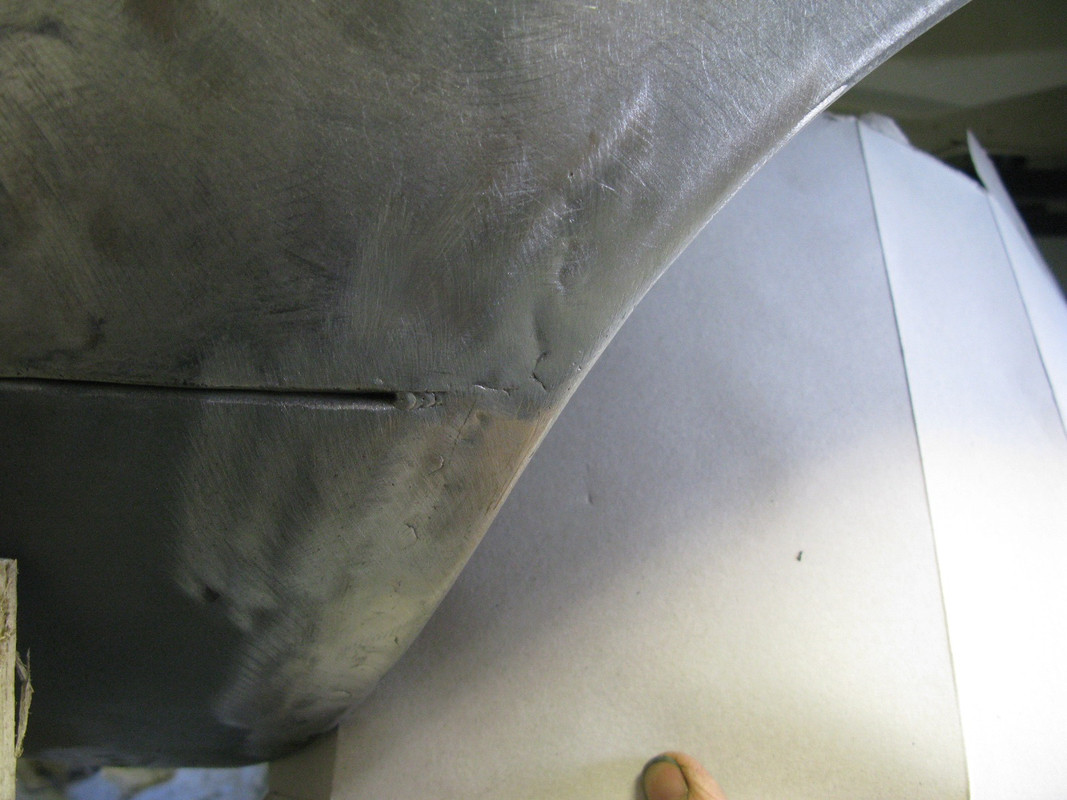
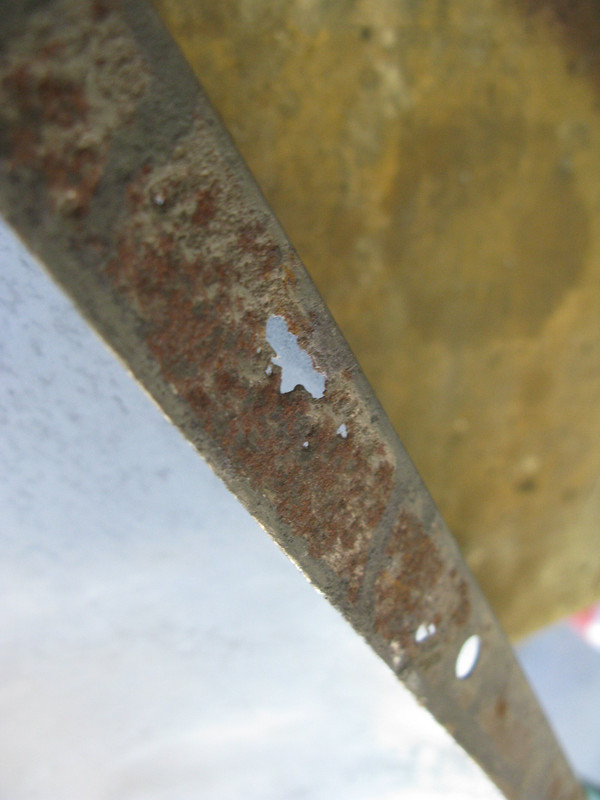
where inner bonnet and outer wings meet along a curved junction more rust develops, usually the result of debris being flung off the wheels and forced into any crevice and seam.....
Image

Image

Image

Image

Image


and more....


Image

Image

Image

Image

Image


once all this had been repaired, and there were multiple cases of each type, there were 2 further matters needing attention


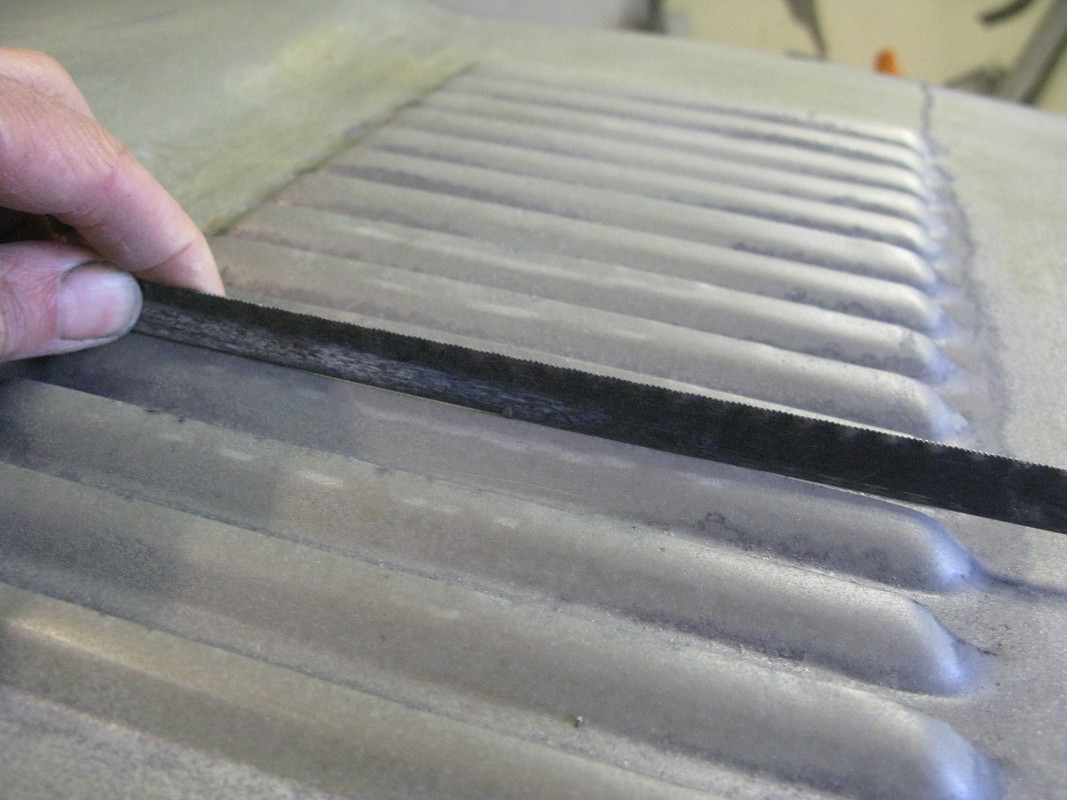
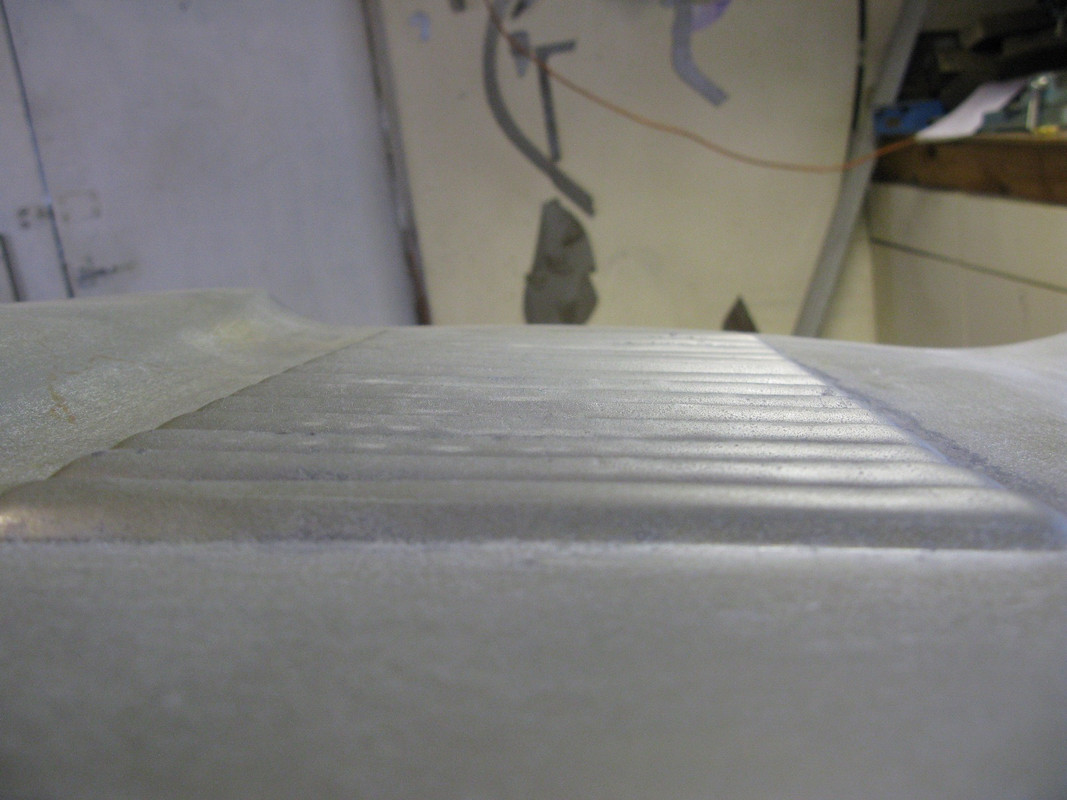
just about all bonnets seem to suffer damage to the extract louvres....so they needed careful straightening
Image

Image


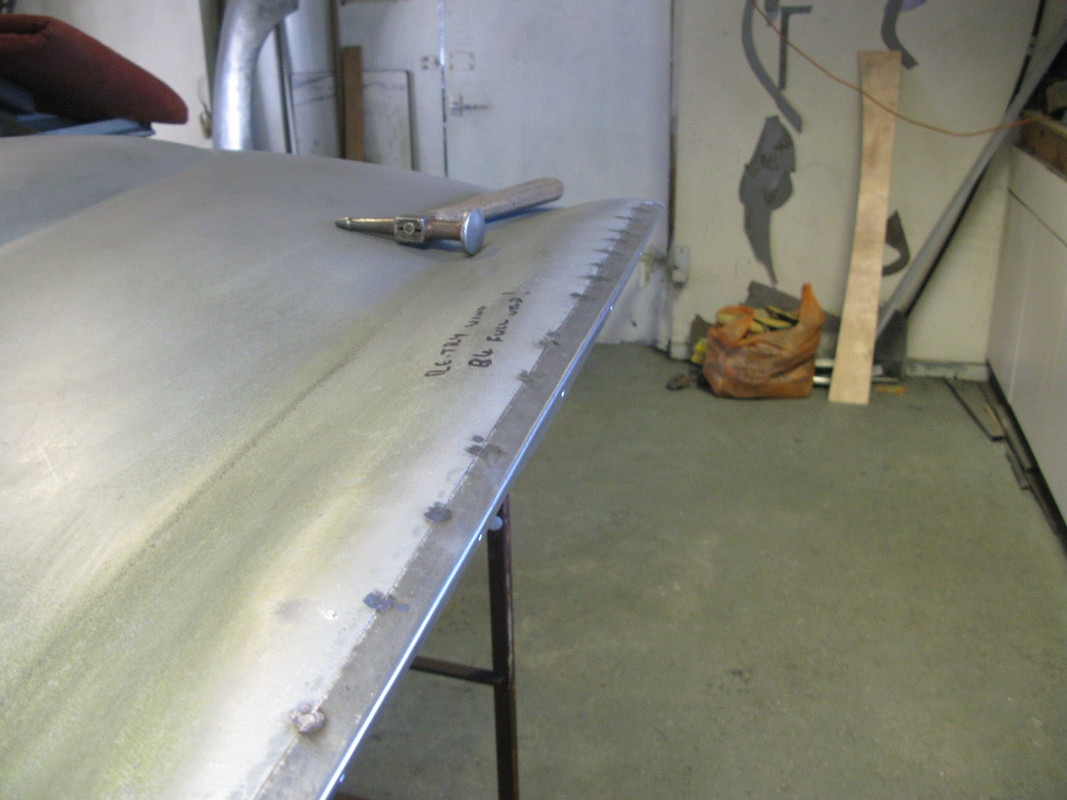
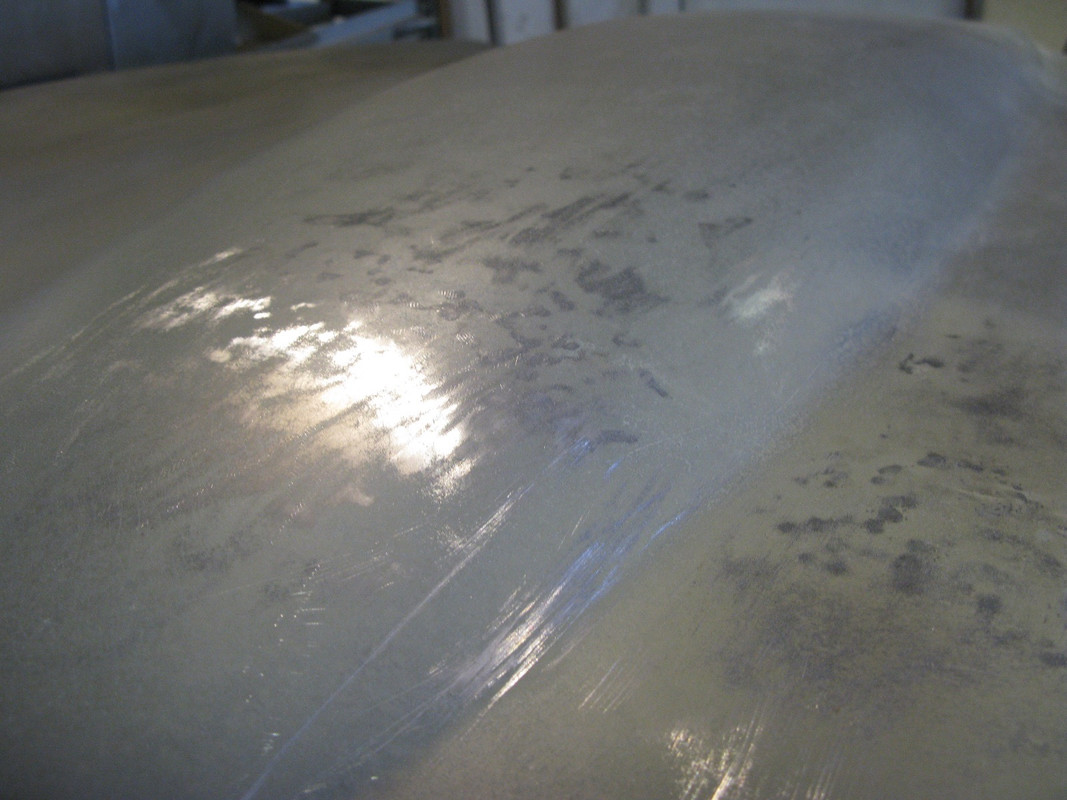
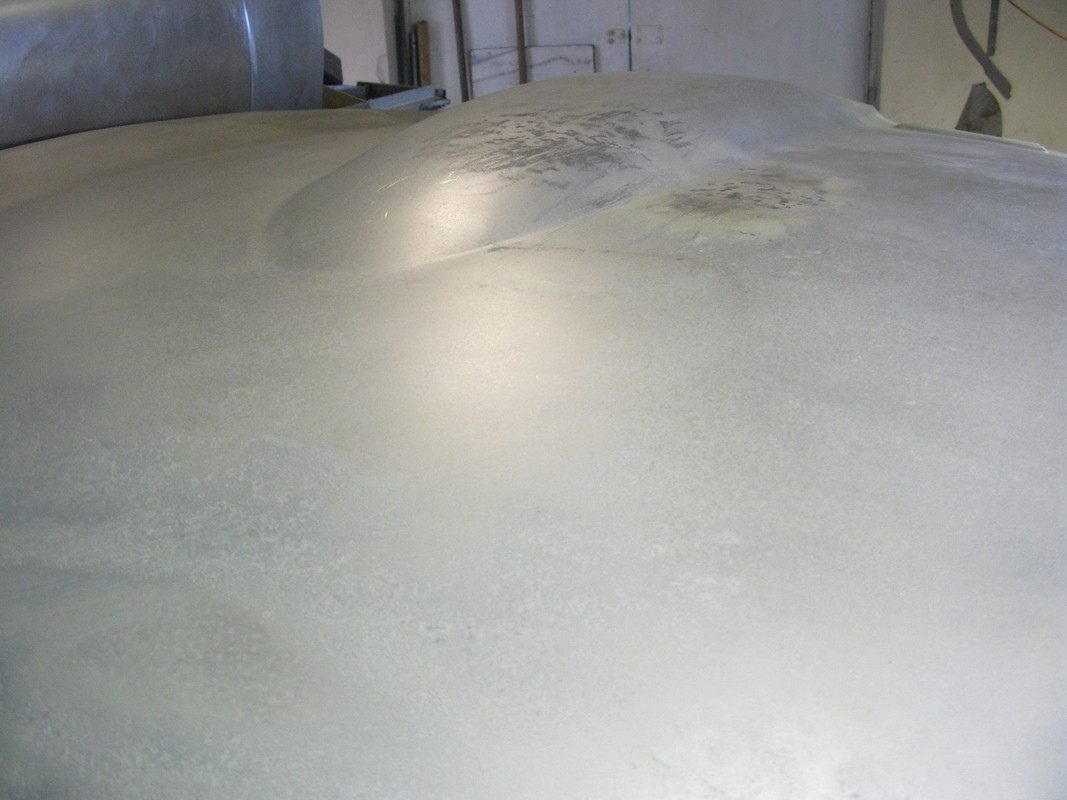
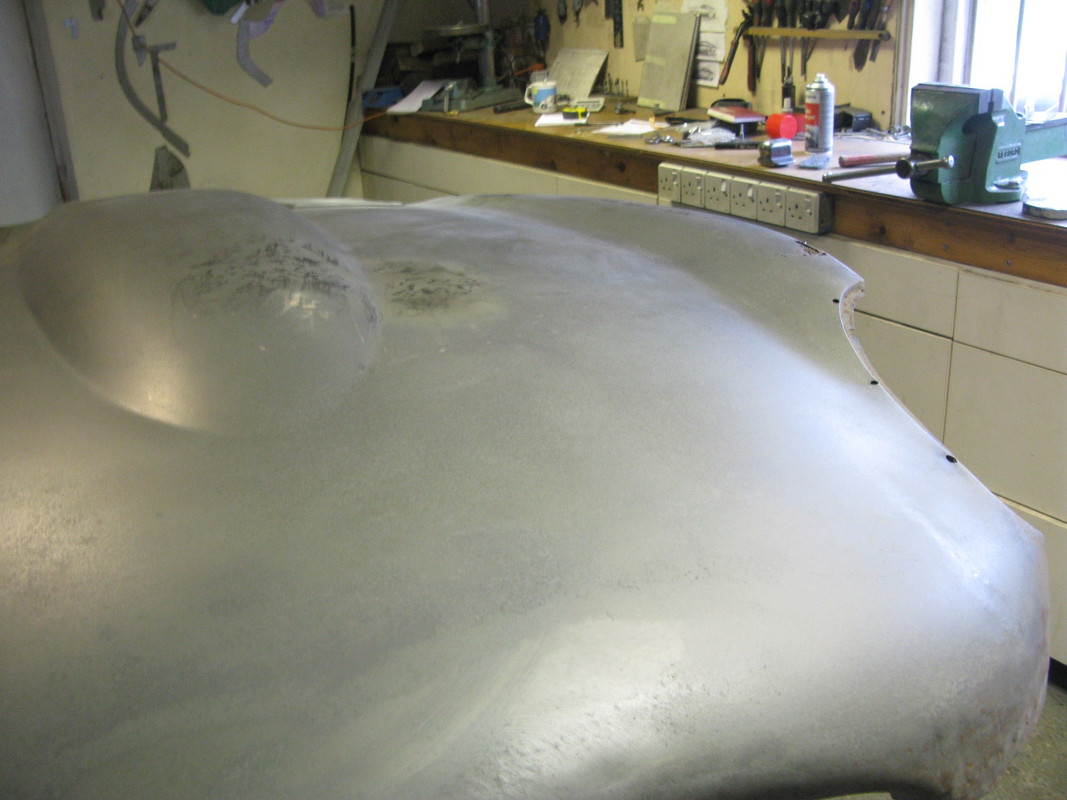
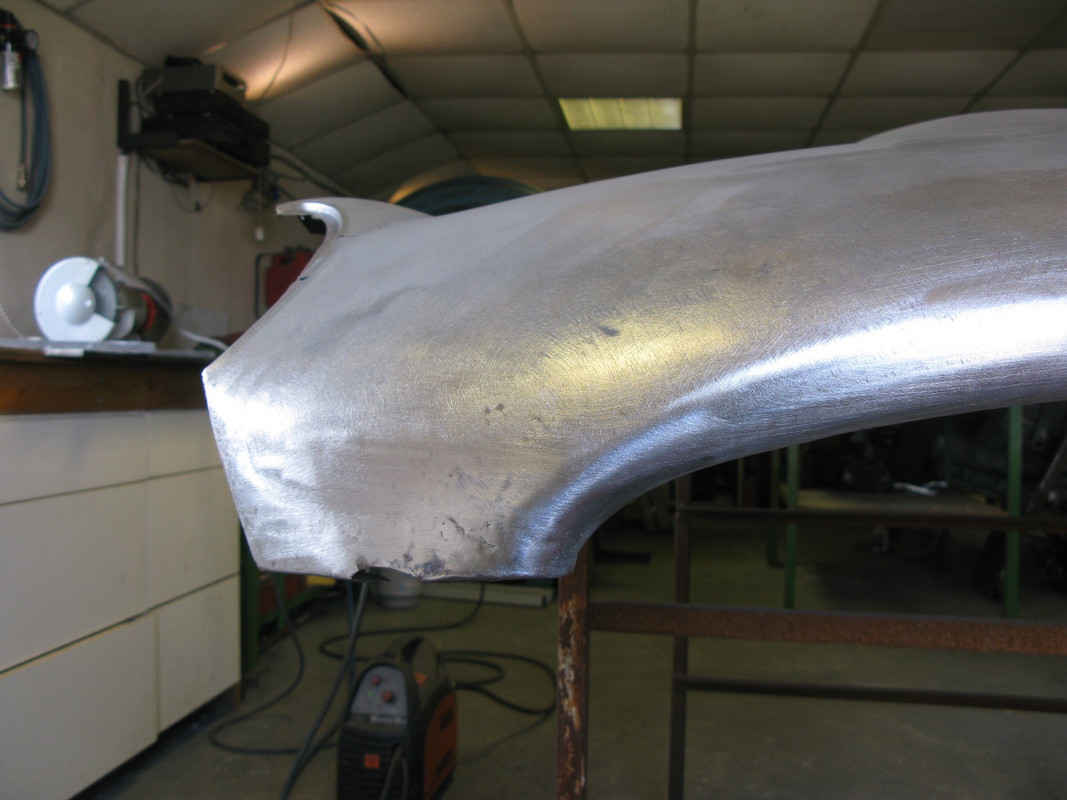
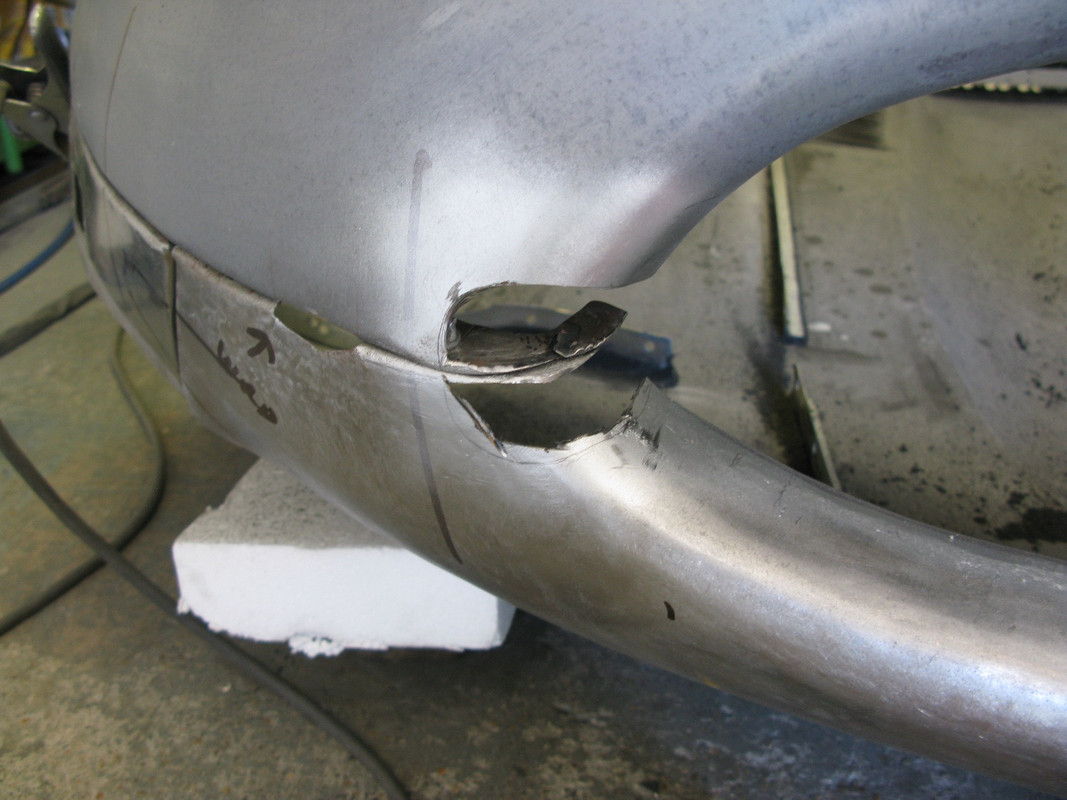
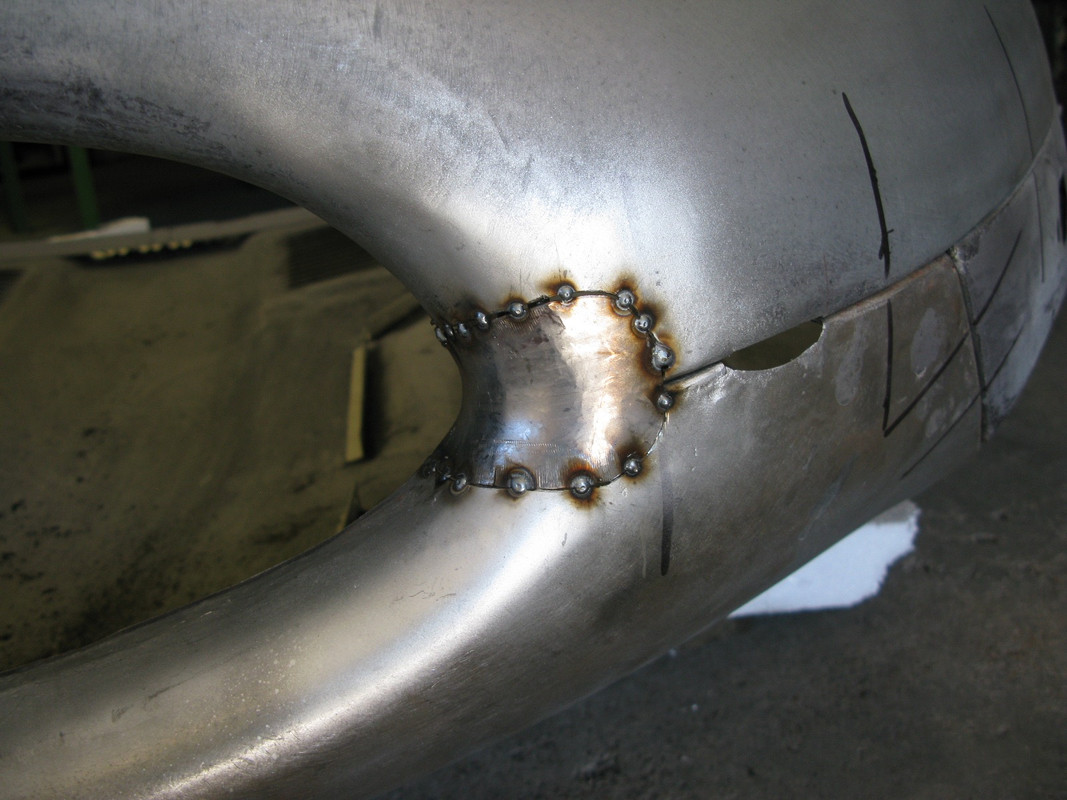
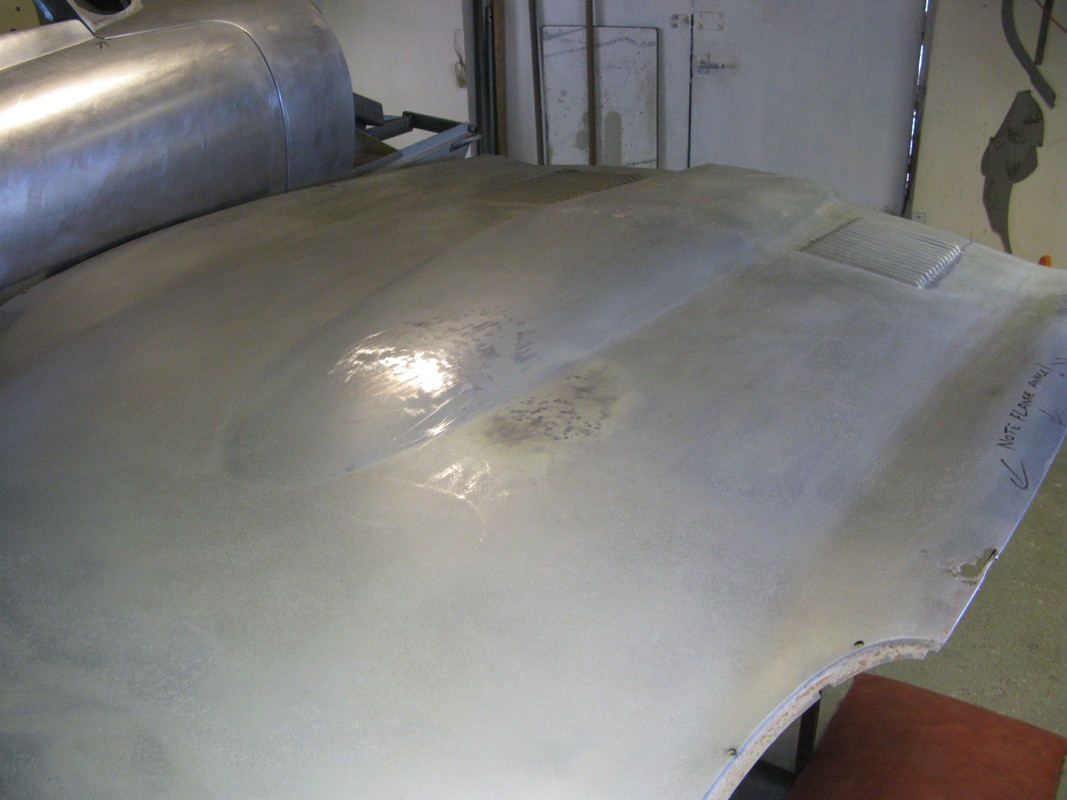
and most old bonnets seem to suffer impact damage around the nose and the power budge.....

Image

Image

Image

Image


so hours of hammer and dolly work was needed to restore the curves but also ensure the sharp crease line of the power budge was reinstated..(early bonnets have a cleaner crease which makes them distinguishable from later versions and also new reproductions, so thesis essential in restoring an early car...


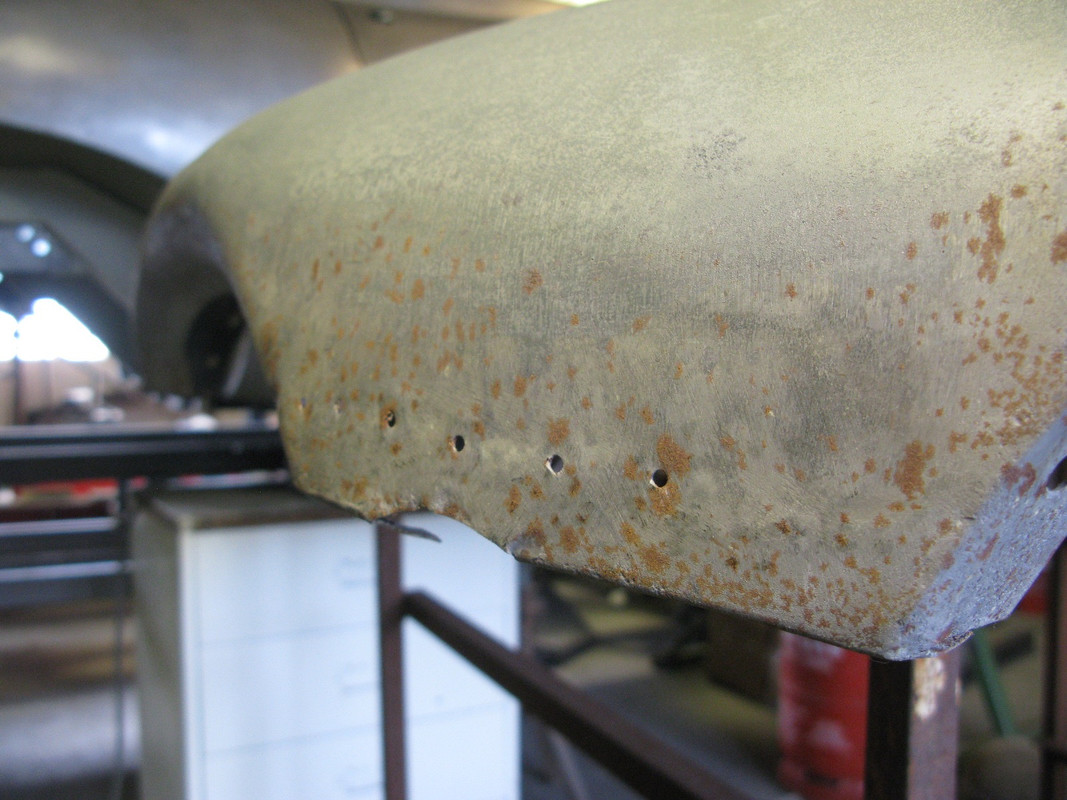
and the nose....

Image

Image

Image

Image

Image

Image


hours of careful work....just perfection.....


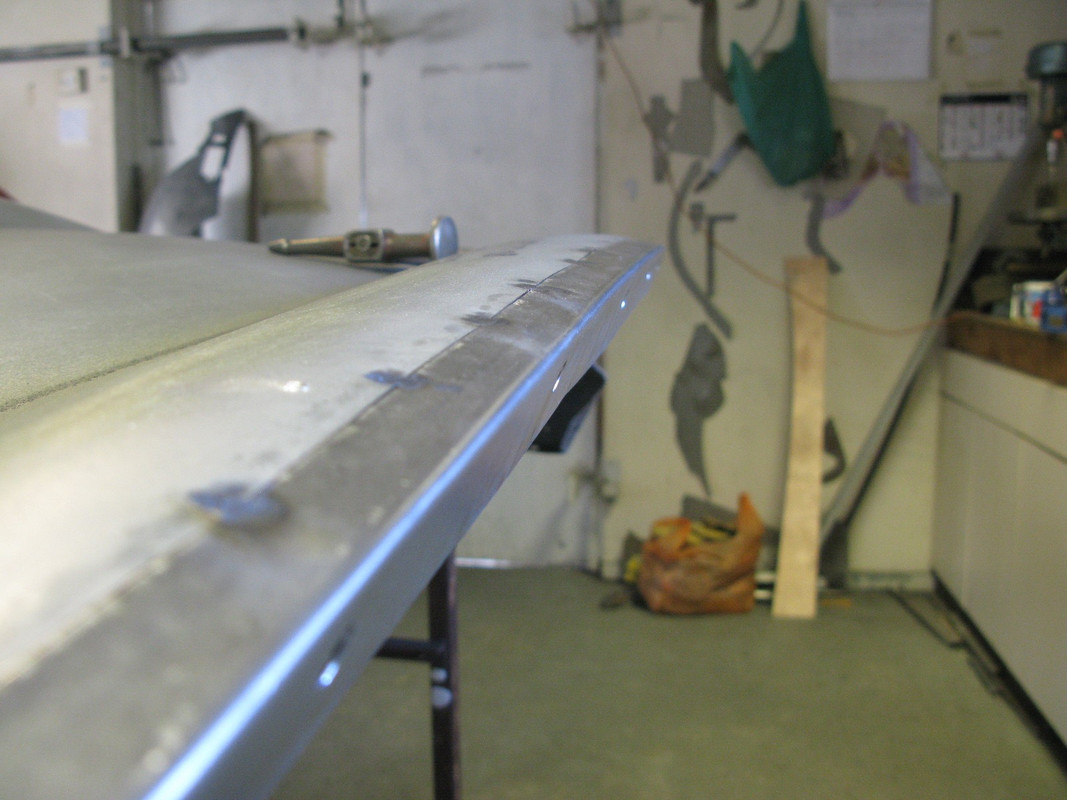
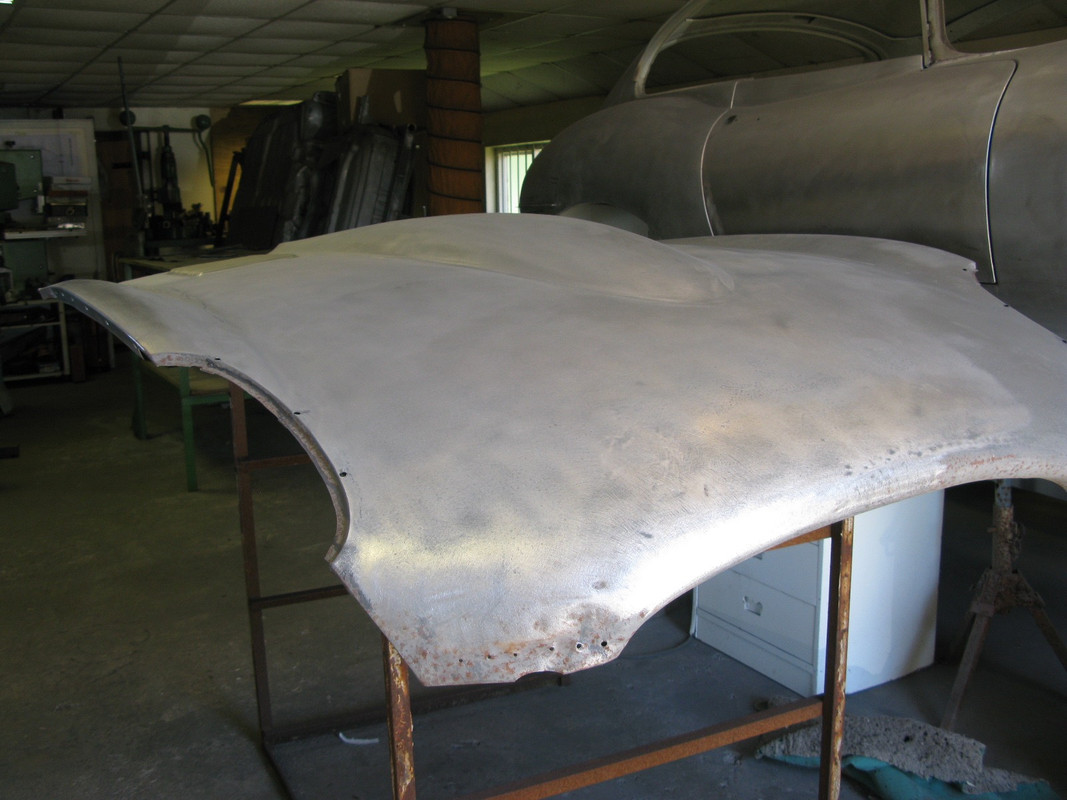
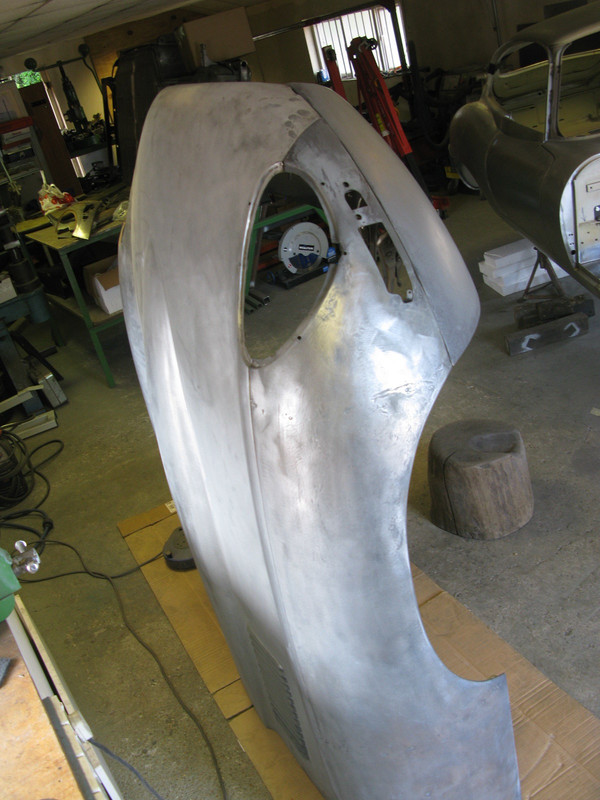
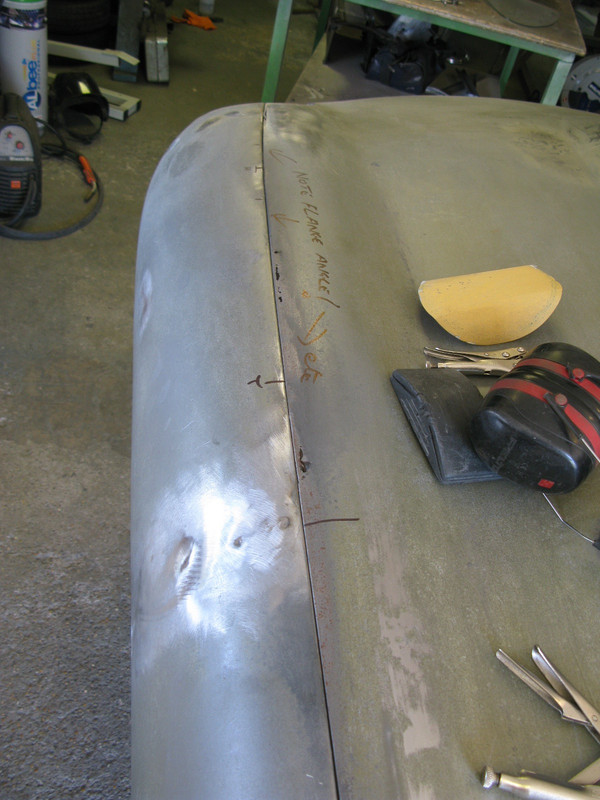
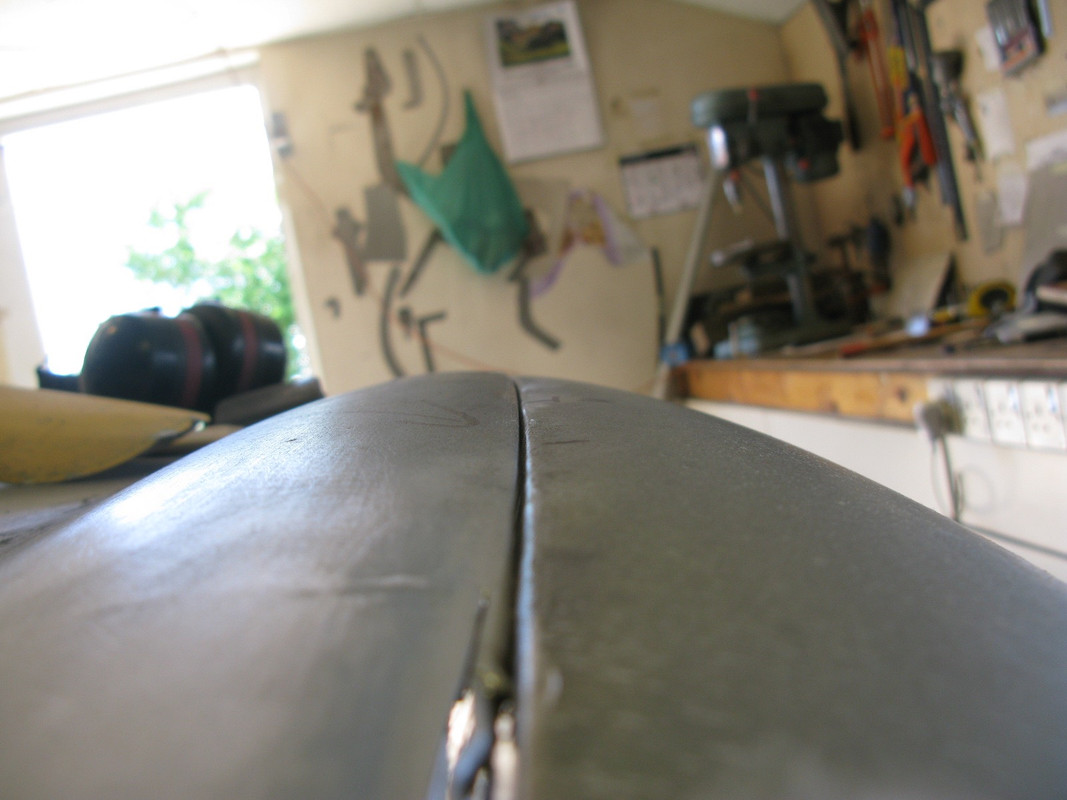
which only then allowed the wings and centre section to be mated to appreciate the further work which was going to be needed to ensure the paired edges would eventually be parallel but also to ensure a single compound curve was formed as the inner panel geometry flowed into the outer wing ....note how the return flanges are not at a right angle, they are curved in plan view and they are curved along their length....
Image

Image


all of this allowed the bonnet to be readied for a full trial assembly.....which back in the day was said to be allowed a working week for a 2 man team......that is with new panels....Barry was largely on his own....and the panels were far from factory fresh......

Re: E Type 888330

Posted: Wed Oct 17, 2018 10:57 pm
by hot66
wow :cheers:

Re: E Type 888330

Posted: Thu Oct 18, 2018 12:25 am
by Darren65
Fast becoming my favourite DDK thread of all time and not even a Porsche!

Absolutely incredible! 8)

Re: E Type 888330

Posted: Thu Oct 18, 2018 7:30 am
by KS
/\ /\ /\ What he said! Amazing skills!

Re: E Type 888330

Posted: Thu Oct 18, 2018 9:32 pm
by maxakarudy
Great work on the Jag, nice to see repairs done properly in preference of replacement panels

Re: E Type 888330

Posted: Thu Oct 18, 2018 10:32 pm
by 911hillclimber
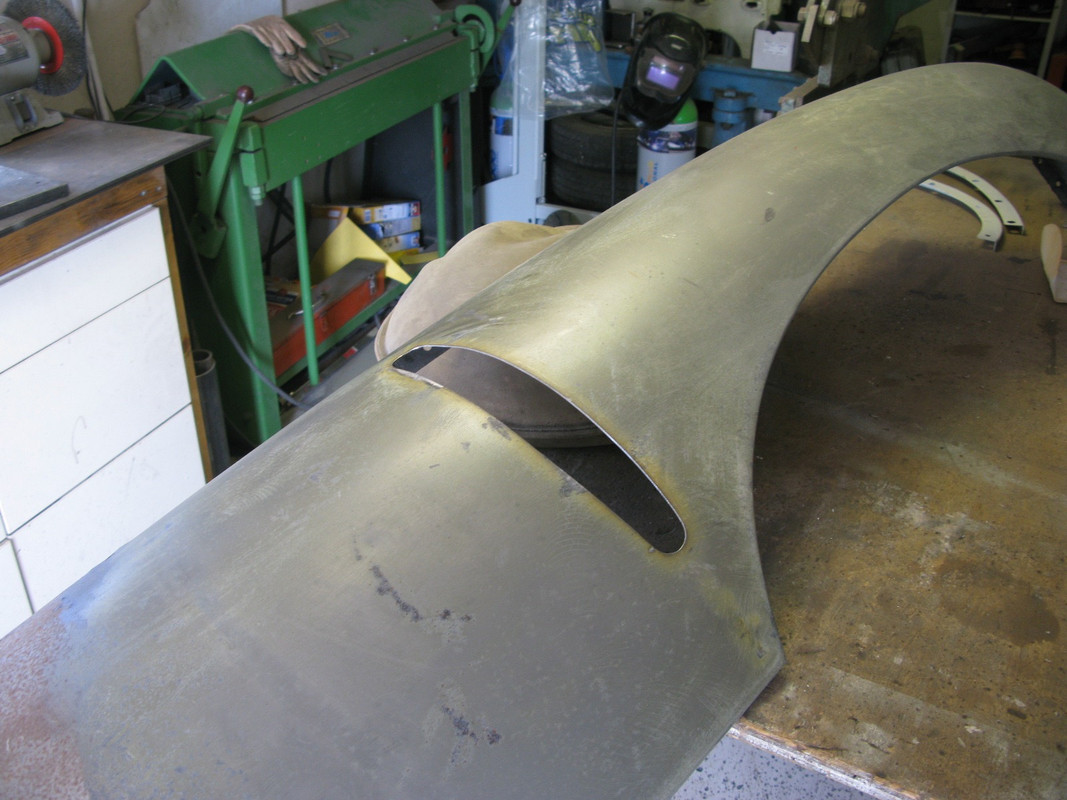
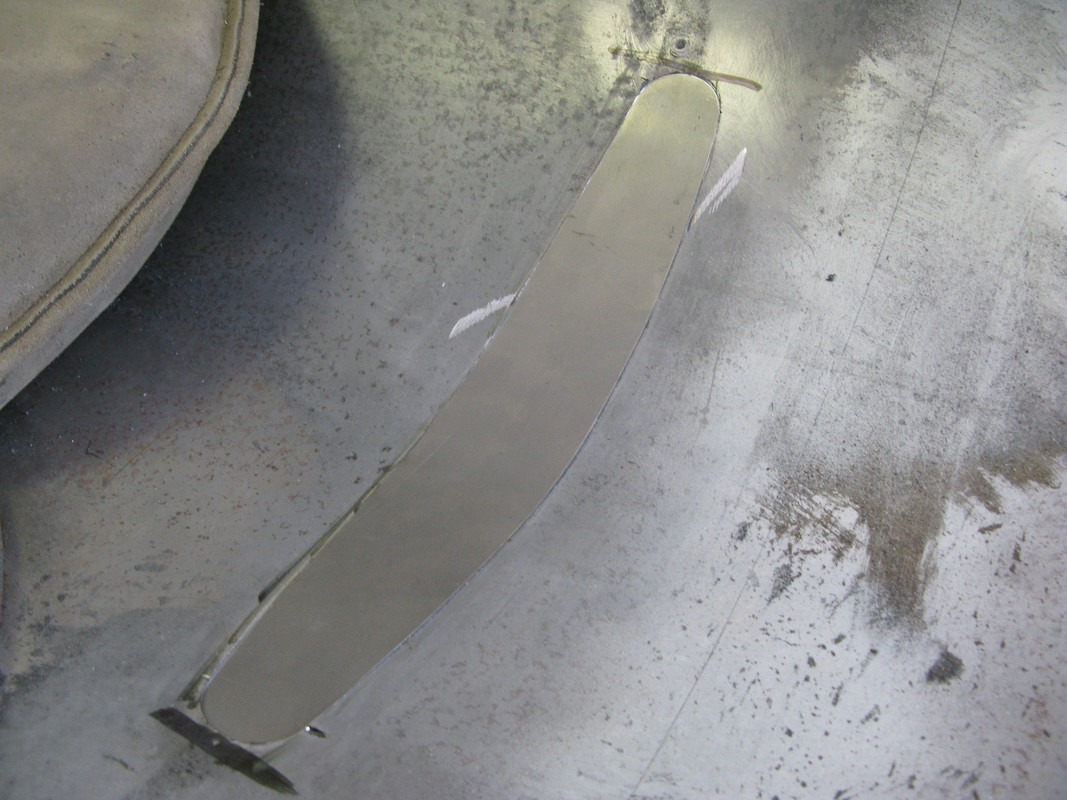
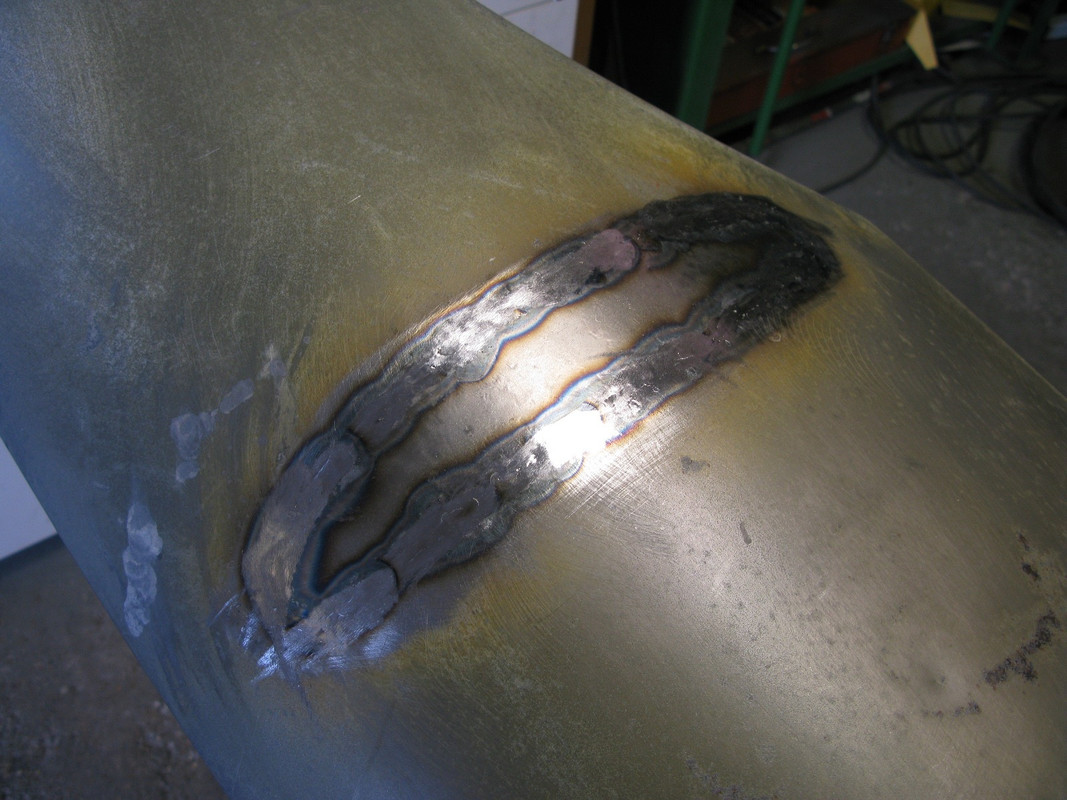
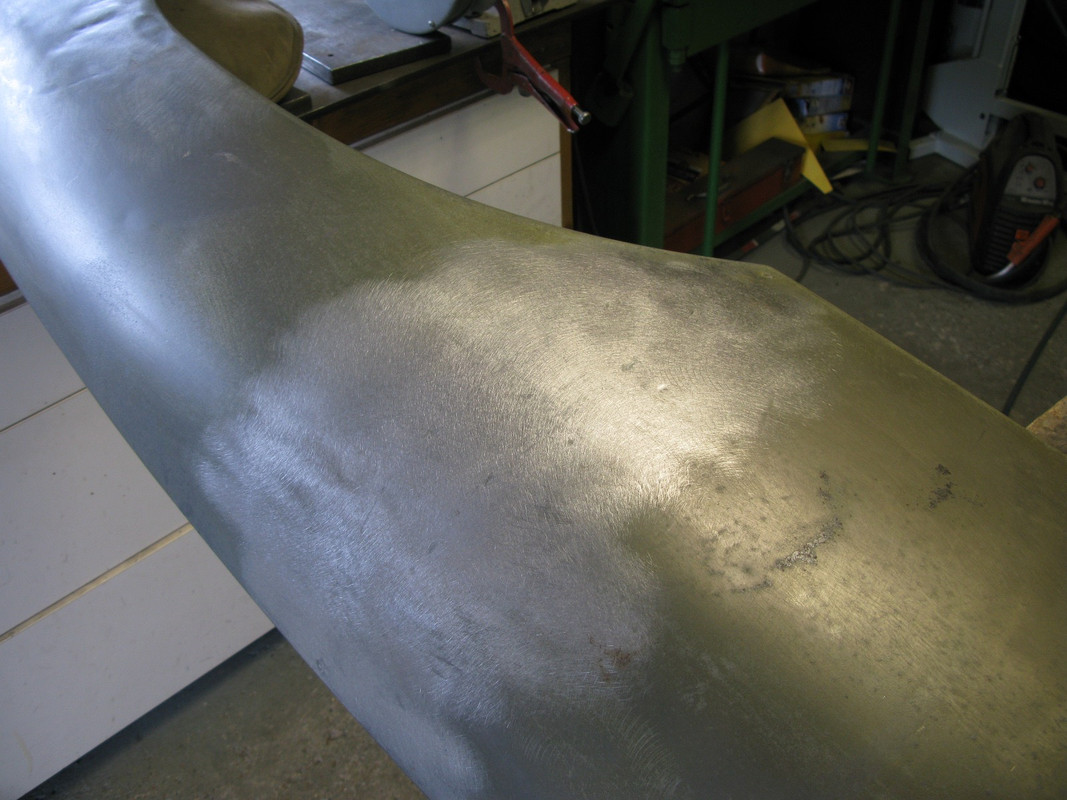
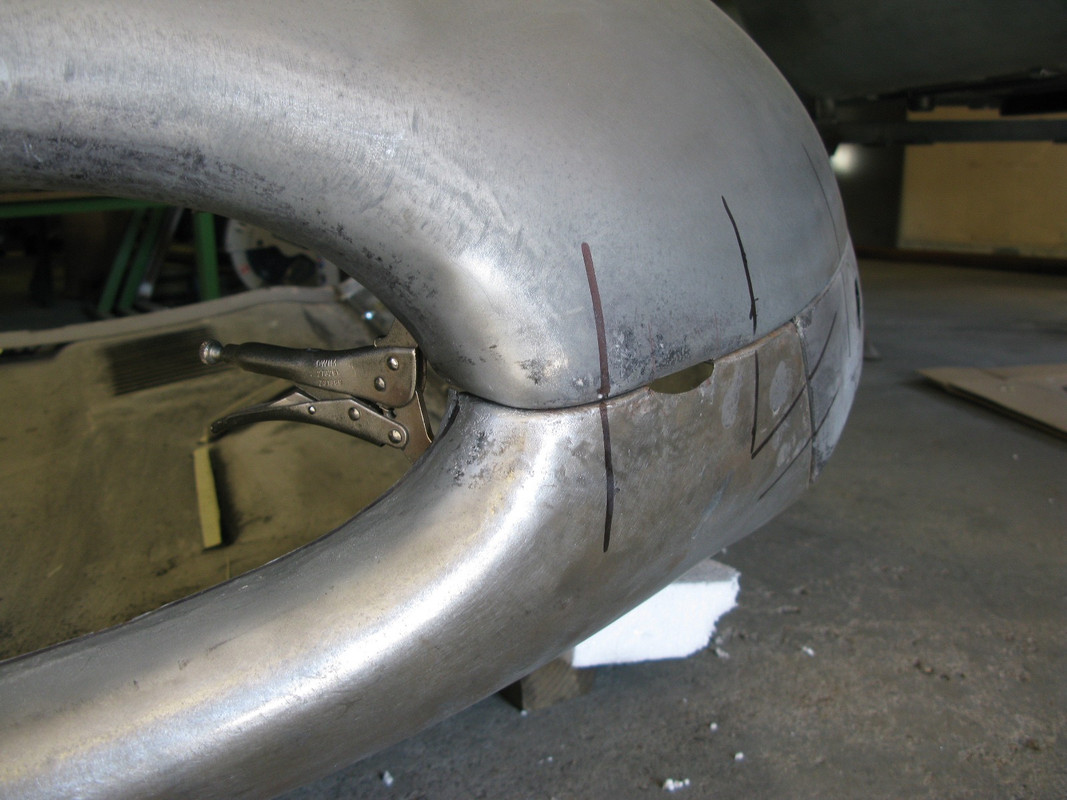
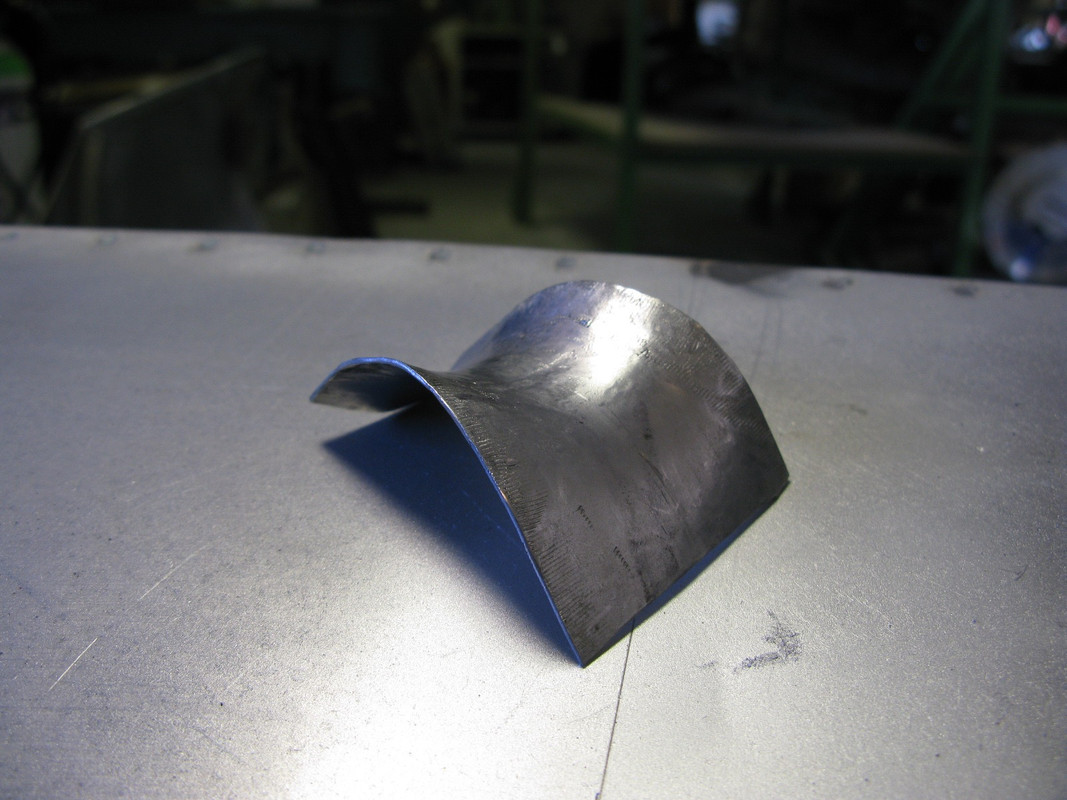
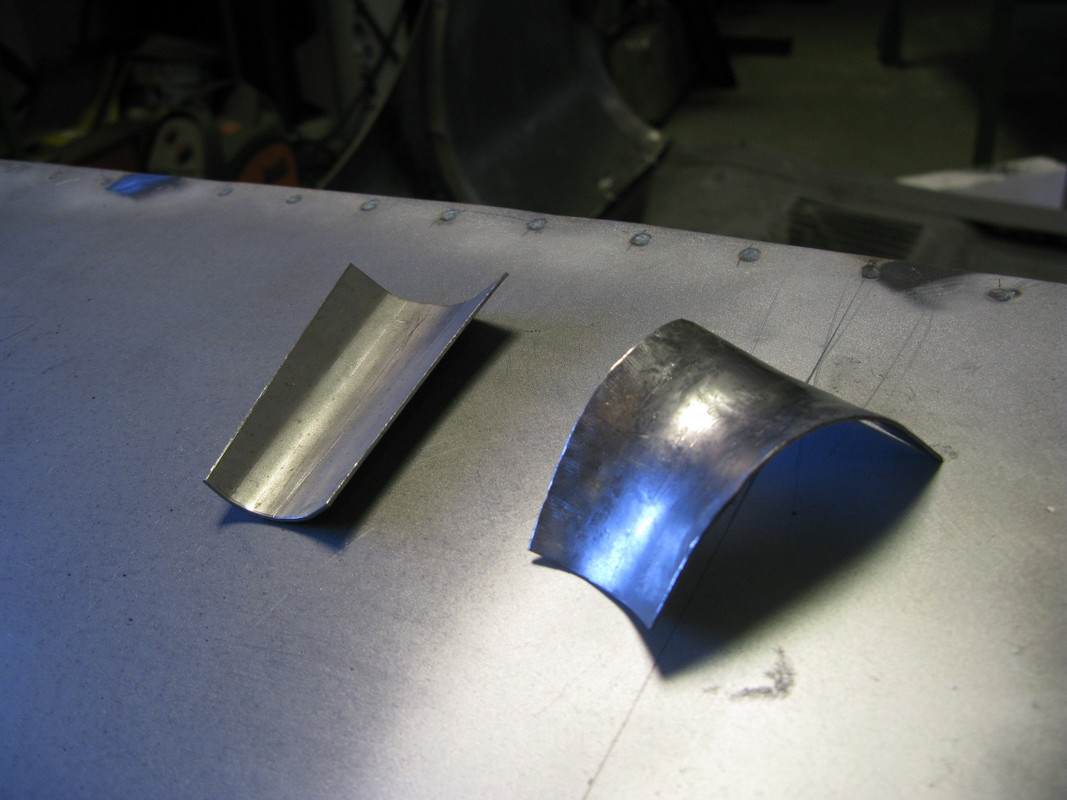
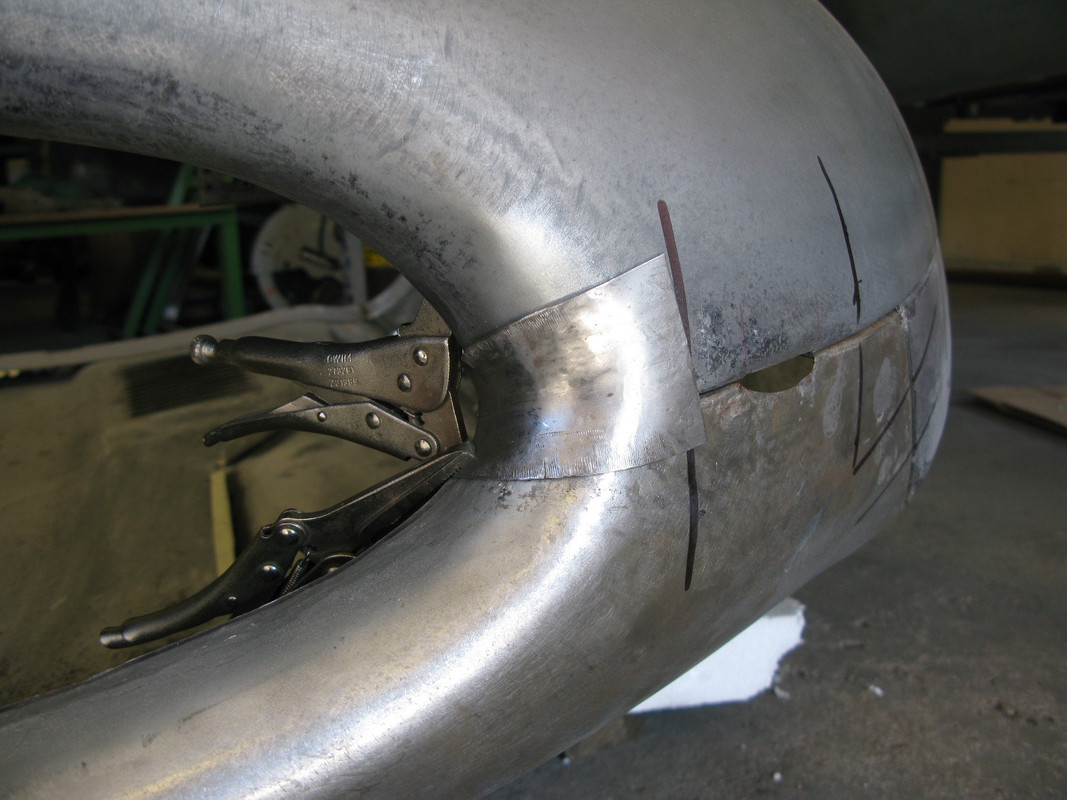
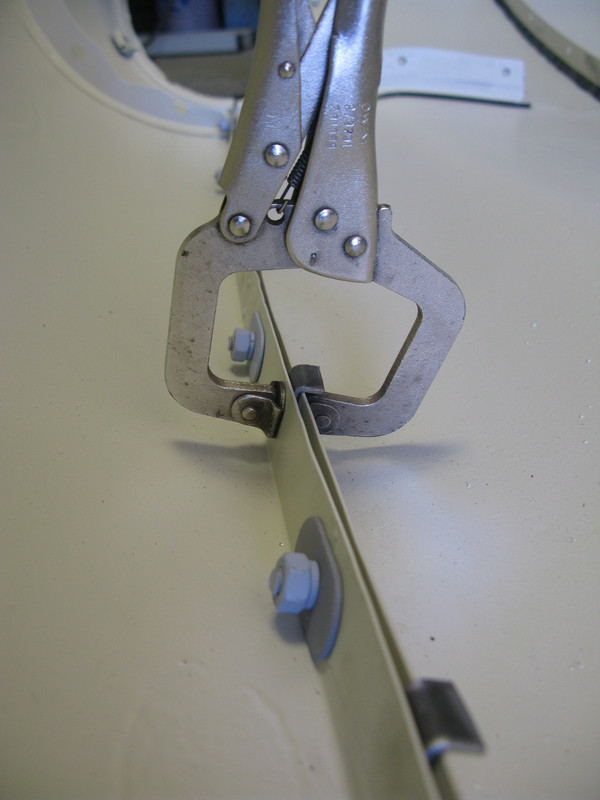
Second time looking at the last episode, just noticed using a length of scrap tacked to the curved panel to hold the shape while effecting the repair.
Just class.
Long been my fav thread on DDK by far, bar none.

Re: E Type 888330

Posted: Thu Oct 18, 2018 10:34 pm
by jtparr
The shear joy in being part of this process is hugely rewarding.....I am very lucky in that respect to be able to do it.....and after the best part of 40 years thinking about it too.....
Being able to develop a rapport with somebody like Barry is a great way to share similar aspirations and attitudes to the quality with which one undertakes a project....
It’s also fantastic to appreciate the pleasure this brings to others

DDK is a special place.....
Re: E Type 888330

Posted: Thu Oct 18, 2018 10:37 pm
by jtparr
911hillclimber wrote:Second time looking at the last episode, just noticed using a length of scrap tacked to the curved panel to hold the shape while effecting the repair.
Just class.
Long been my fav thread on DDK by far, bar none.

Glad you spotted that...I didn’t mention it...it is a simple but yet such clever level of attention and skill

Re: E Type 888330

Posted: Thu Oct 18, 2018 10:37 pm
by Gary71
It's just metal working porn.

Great to have Barry in our little community. Just a shame he doesn't post anymore.

Too busy creating E Types from scratch no doubt :)

Re: E Type 888330

Posted: Sat Nov 03, 2018 9:23 pm
by jtparr
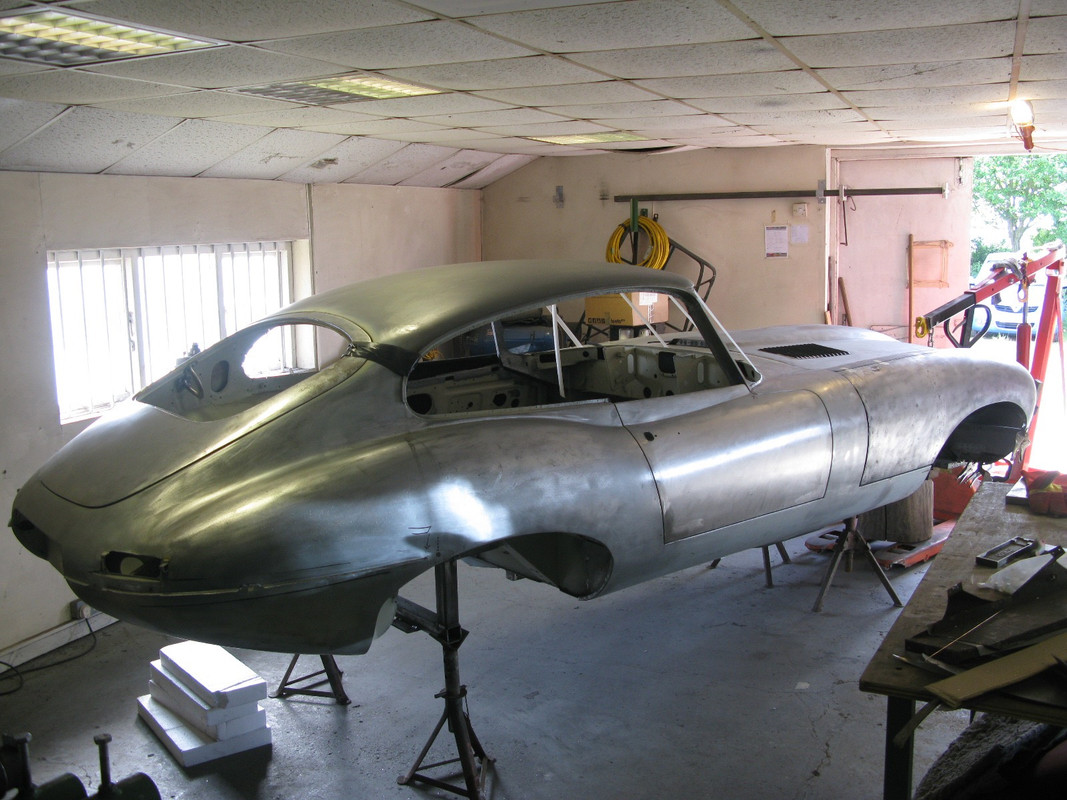
completion of the bonnet was without any doubt a testament to Barry's creativity and inginuity

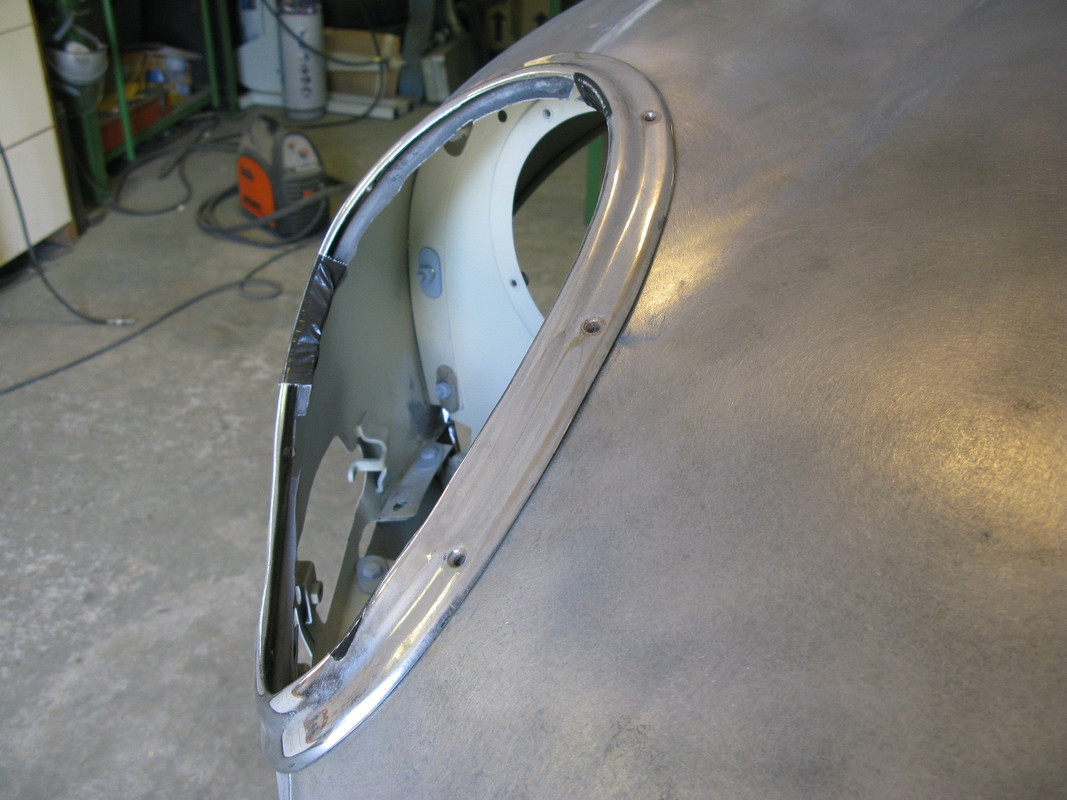
Starting with individual pieces such as missing headlamp surrounds....too much rust meant the panel needed a replacement section from Chuck in the US

Image

Image

Image

Image

Image


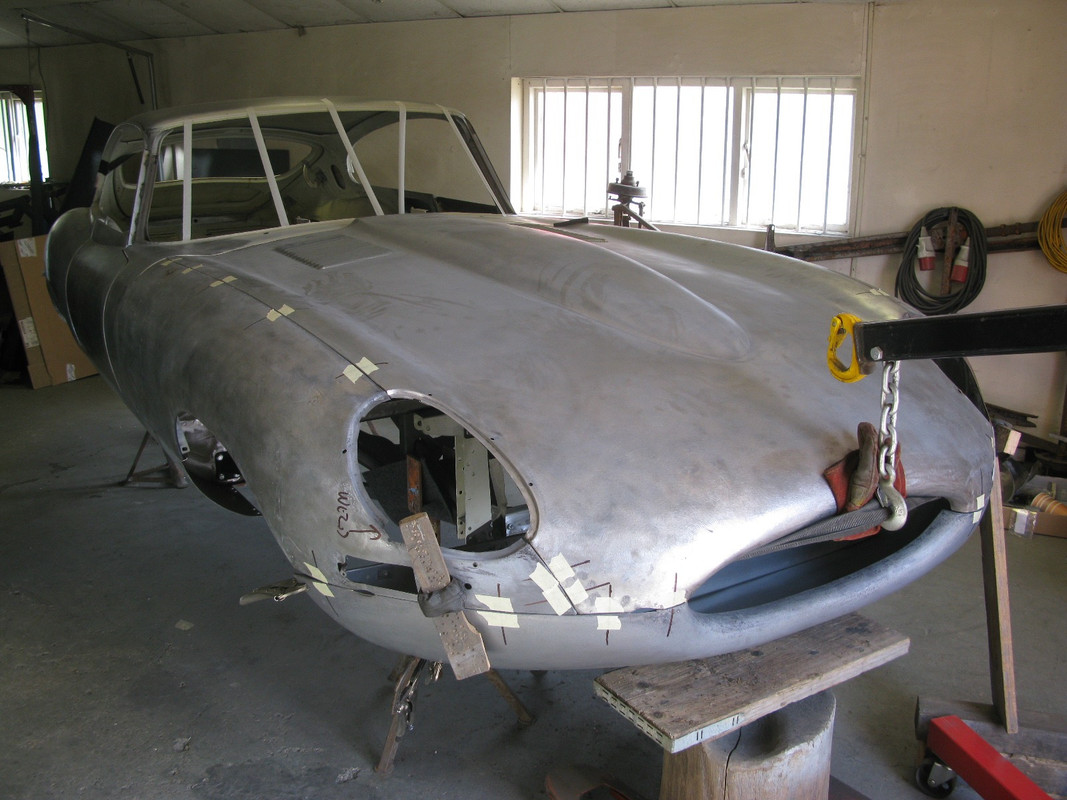
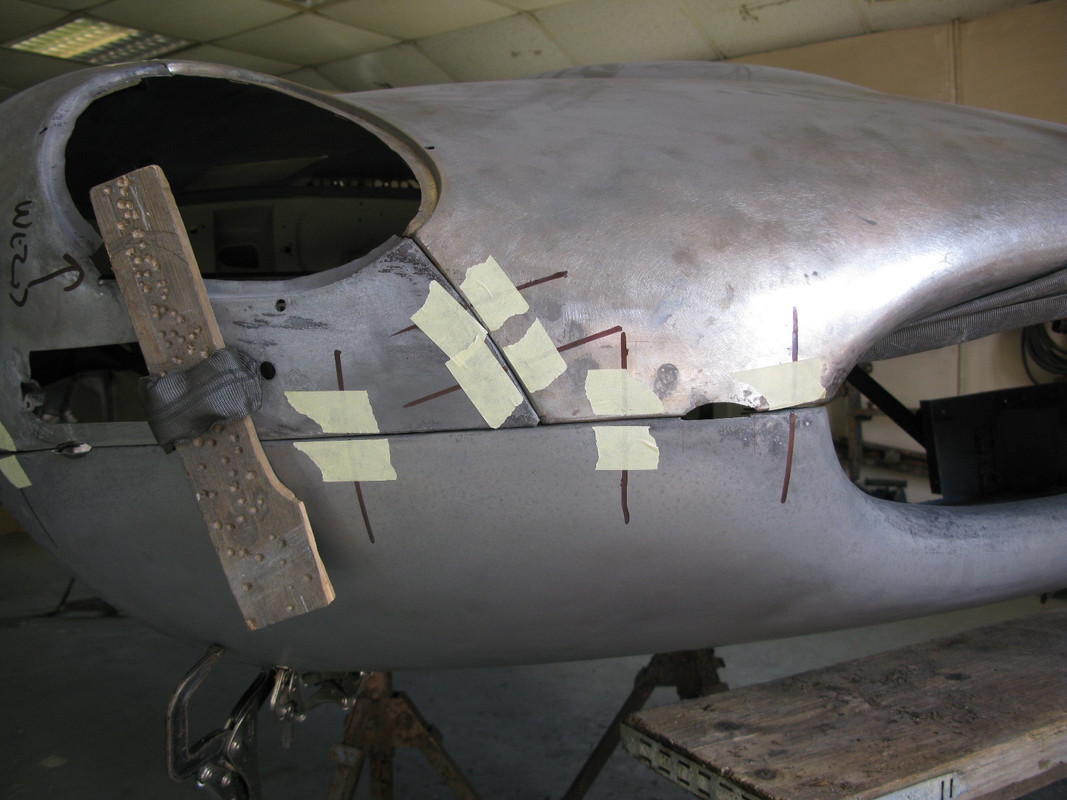
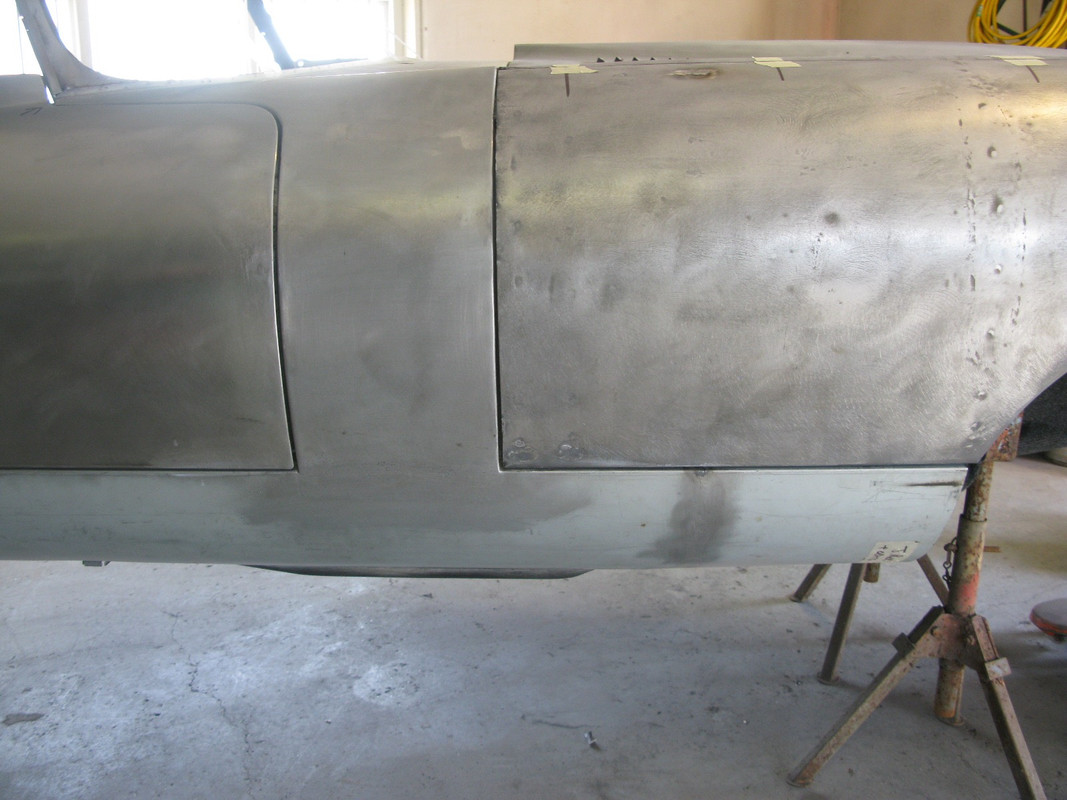
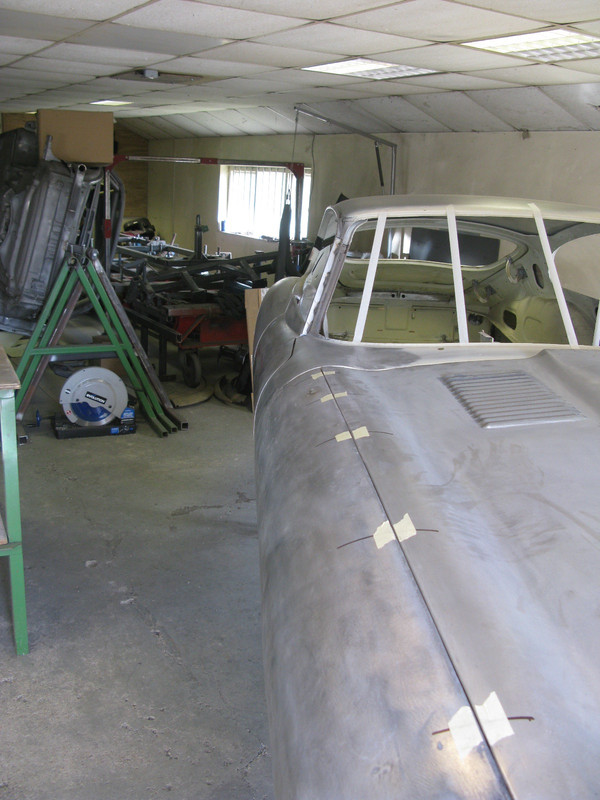
This allowed the complete bonnet to be temporarily assembled (outer panels only, no inner bracing) to allow adjustment and gradually perfect the panel gaps between it and the shell


Image

Image

Image

Image


once this was established the inner panels could be trial assembled to check all was still in alignment


Image

Image


this is no easy process as it also involves a degree of confidence in the initial assembly....Sikalfex is needed, which doesn't like to be taken apart....so we (I did actually spend a weekend in Sussex at this point as the bonnet is too unwieldy to man handle alone) needed to get it right first time....

Image


suffice it to say this was not a linear process....but time is a wonderful thing....especially when you approach problems with a calm and analytical mind....(thats barry....not me...)


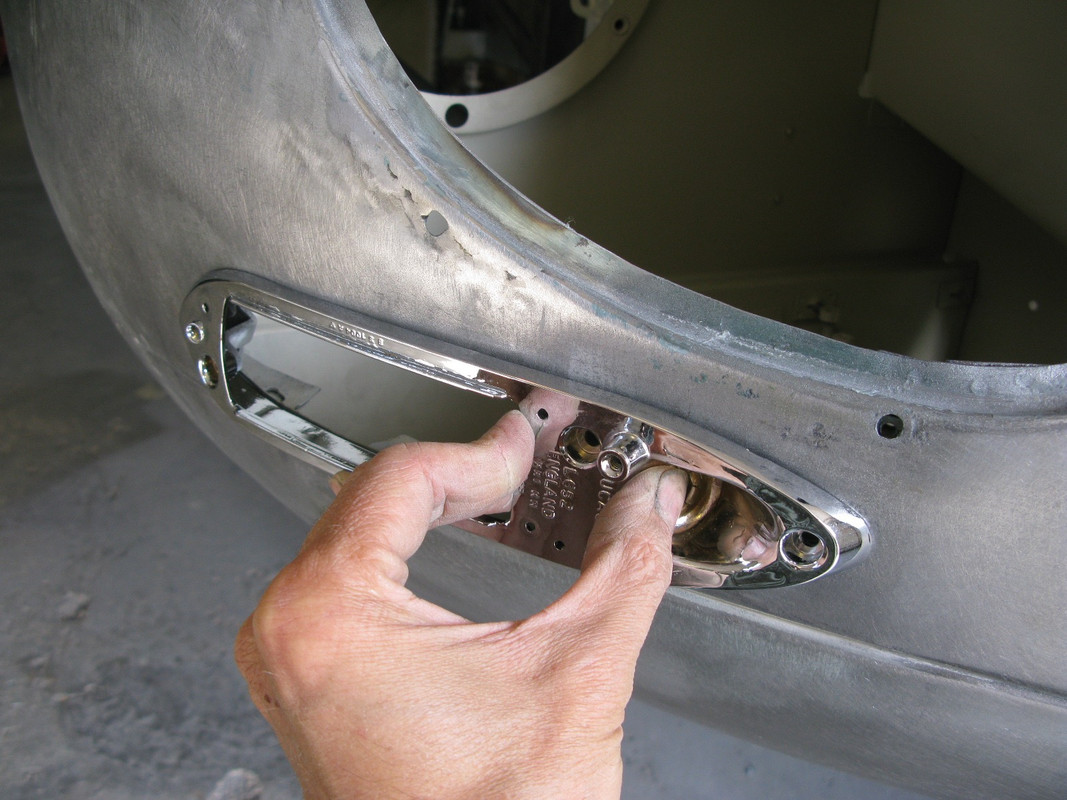
once assembled we completed the decision making process for how to make our signature touches to the bonnet....(more on the bumpers later)....but first up was this gorgeous level of finesse to the mouth....


step one...perfectly symmetrical and even return flange dimensions.....


Image

Image


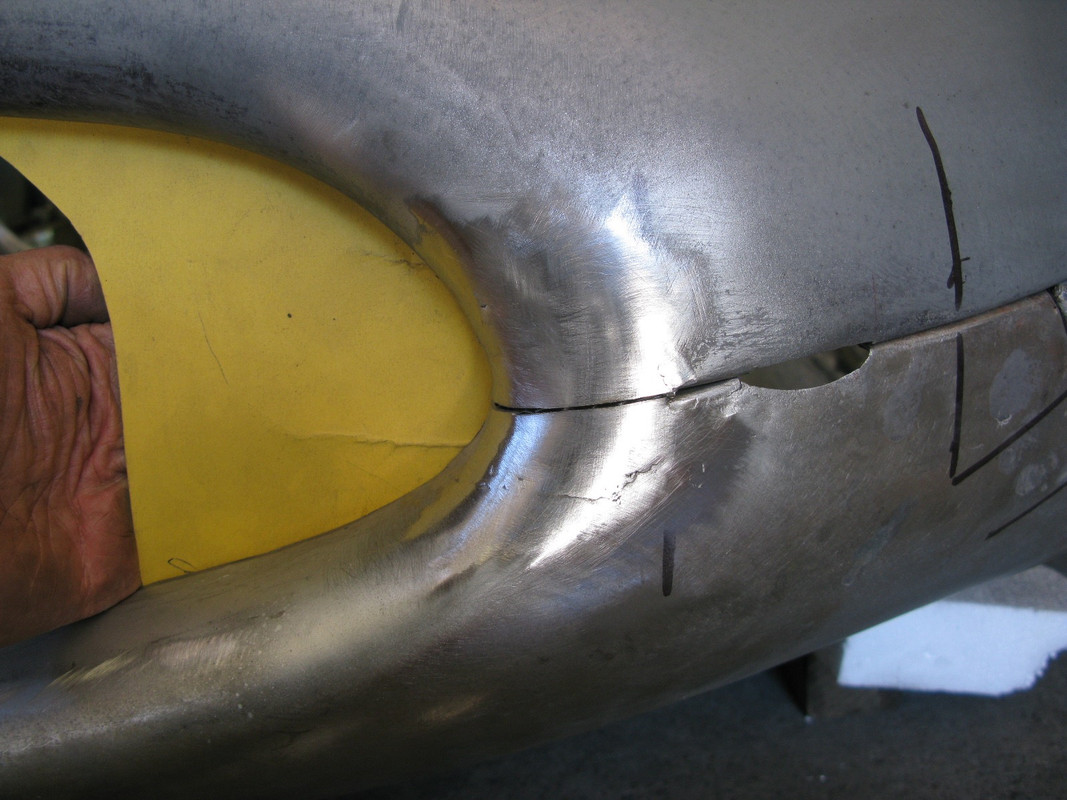
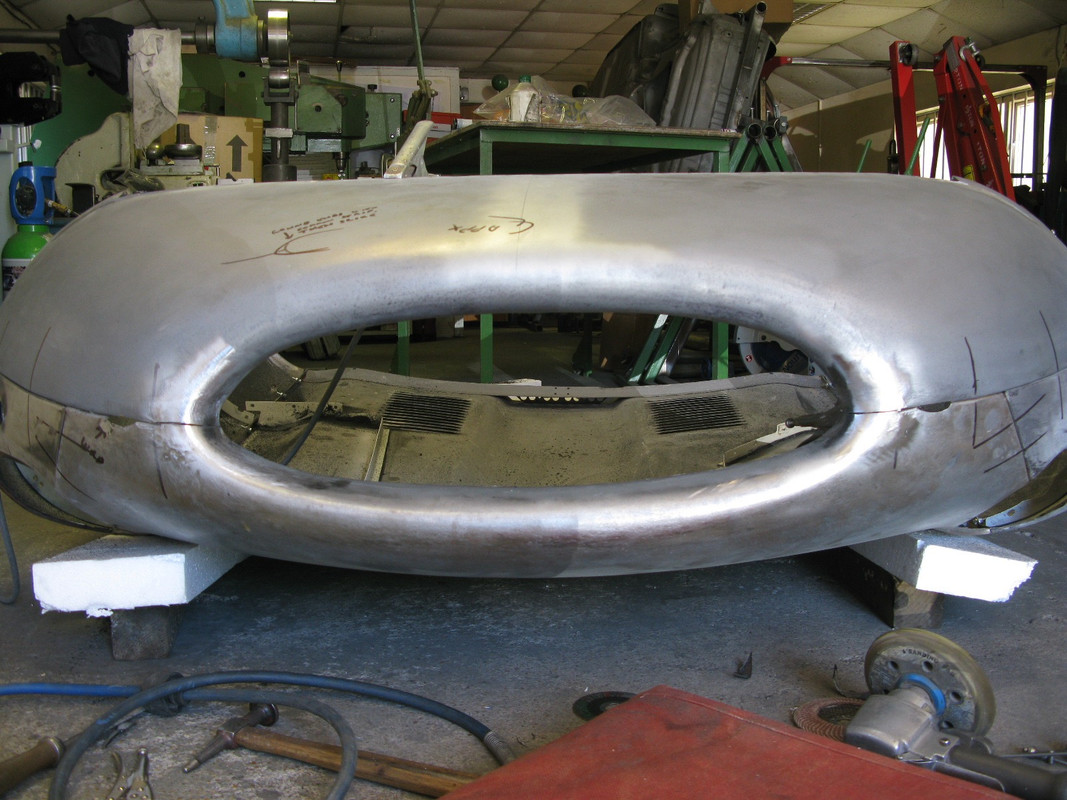
step two, ensure a continuous single flowing eclipse for the opening, not two partial ellipse...


Image

Image

Image

Image

Image

Image


isn't this perfection.....


Image

Re: E Type 888330

Posted: Sat Nov 03, 2018 9:44 pm
by jtparr
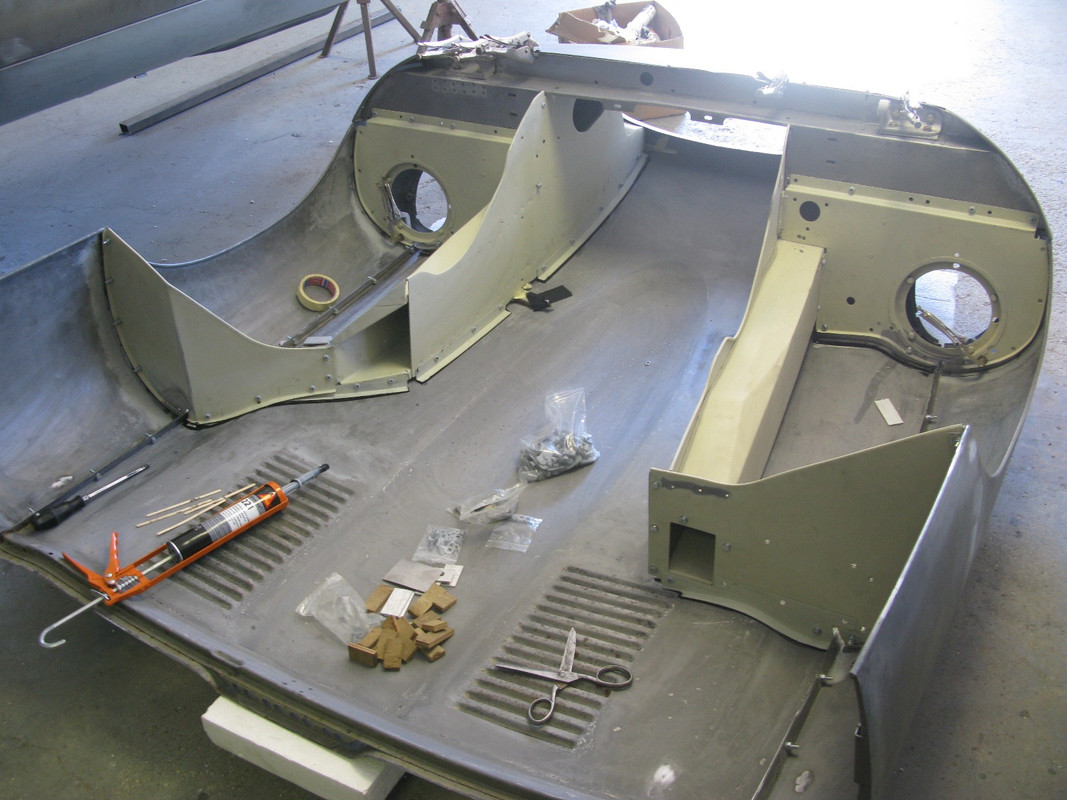
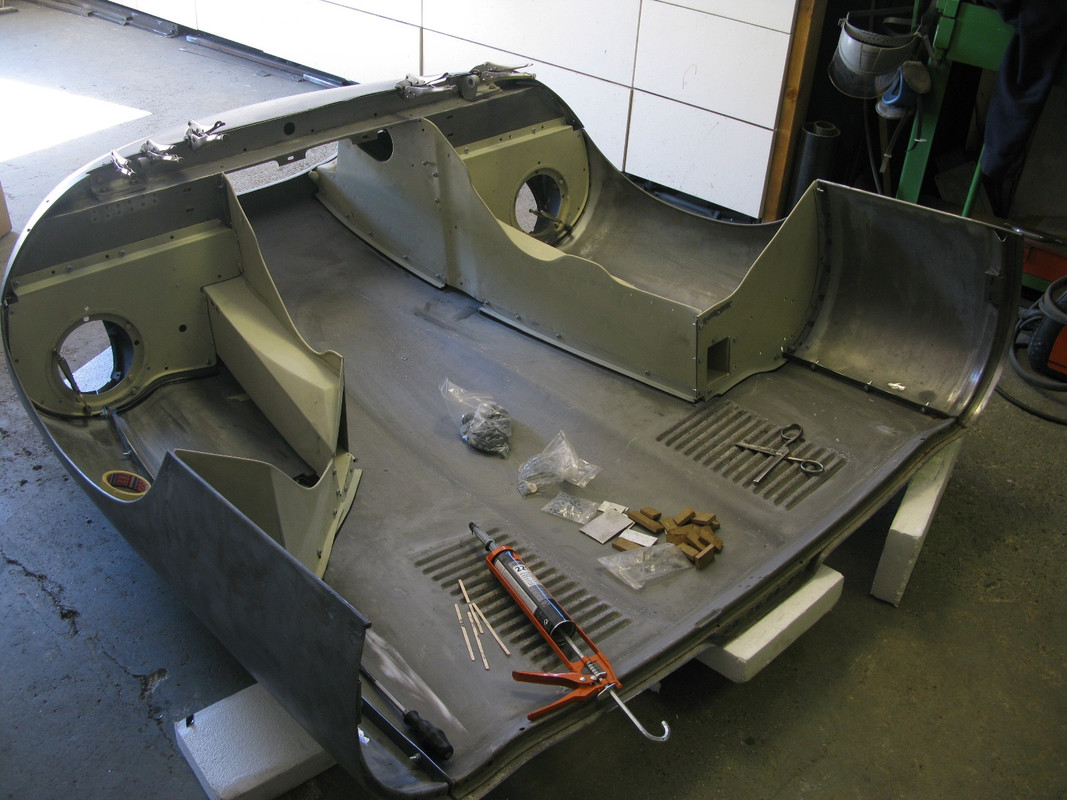
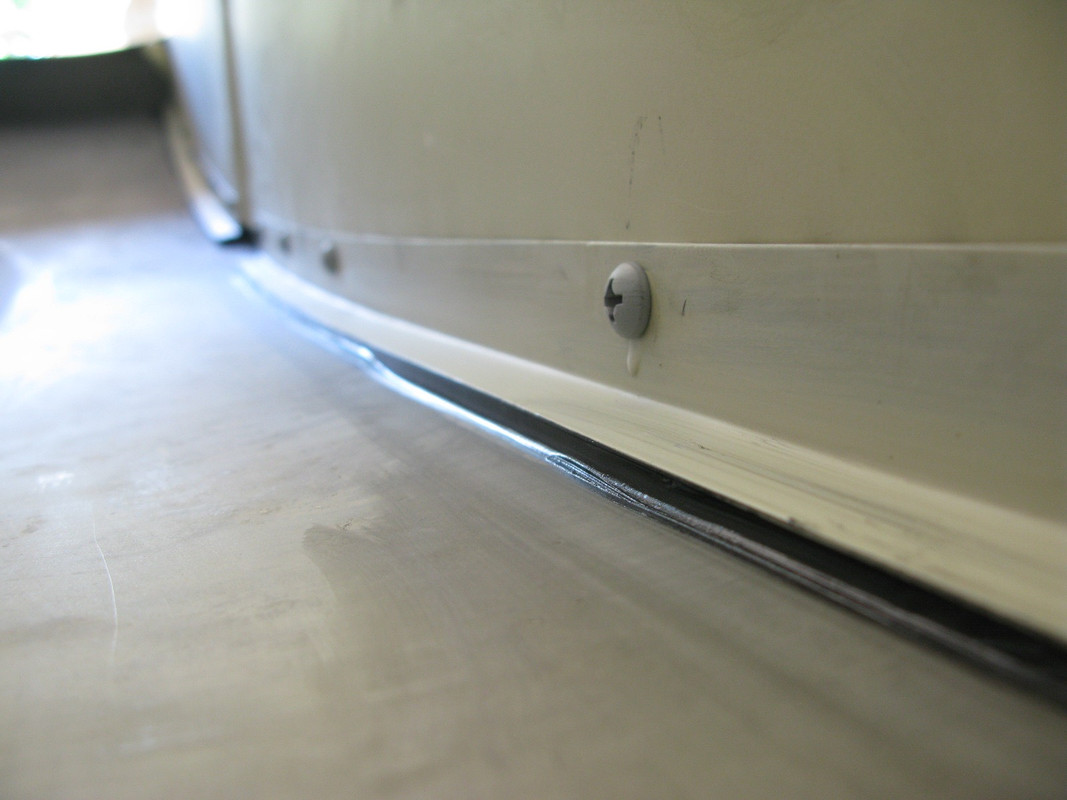
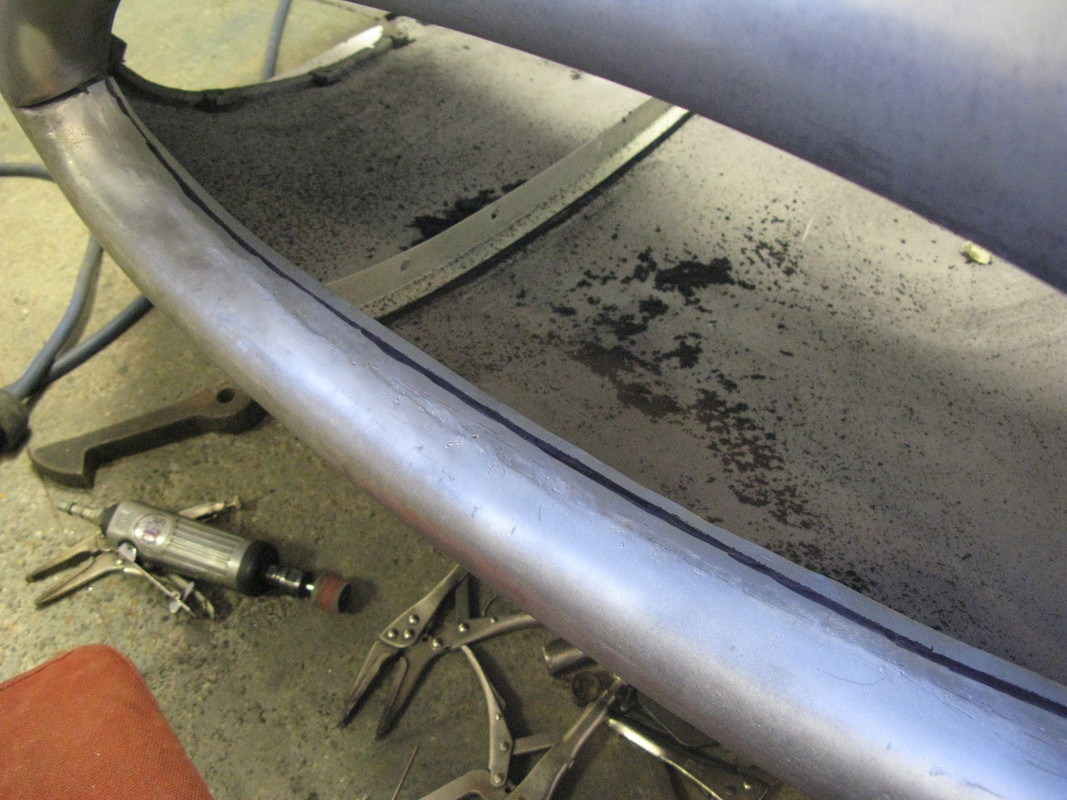
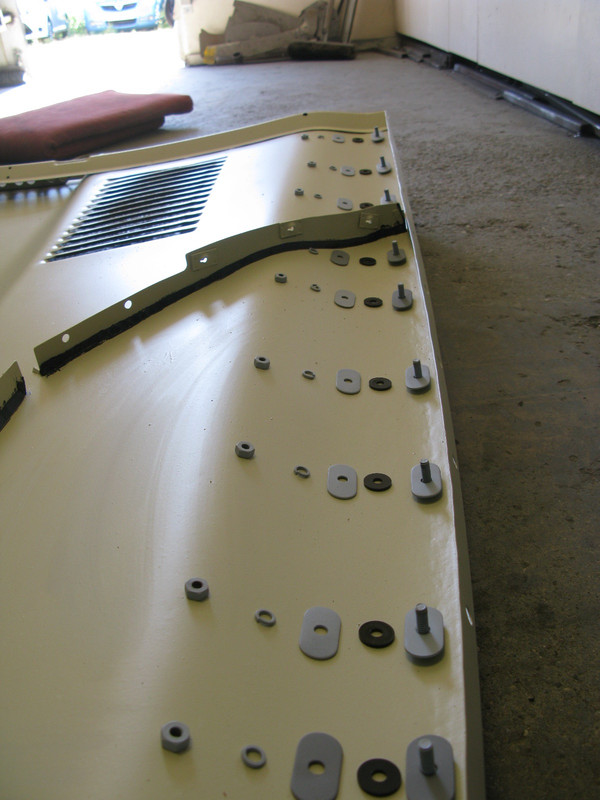
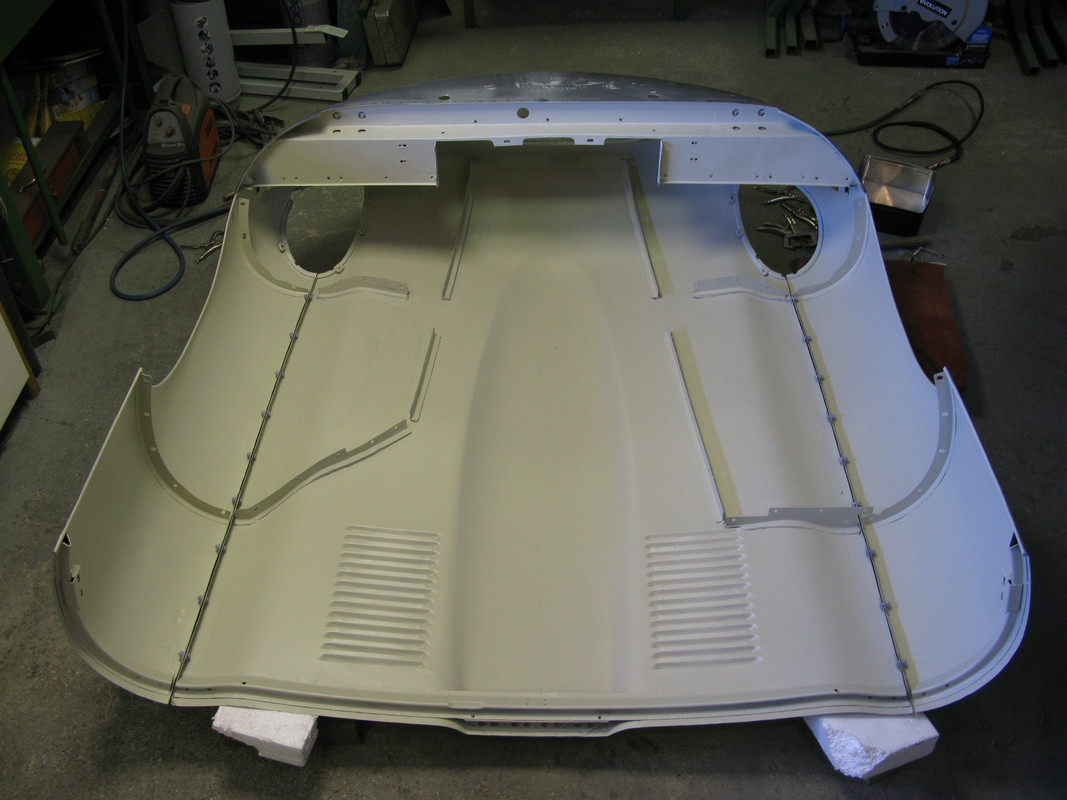
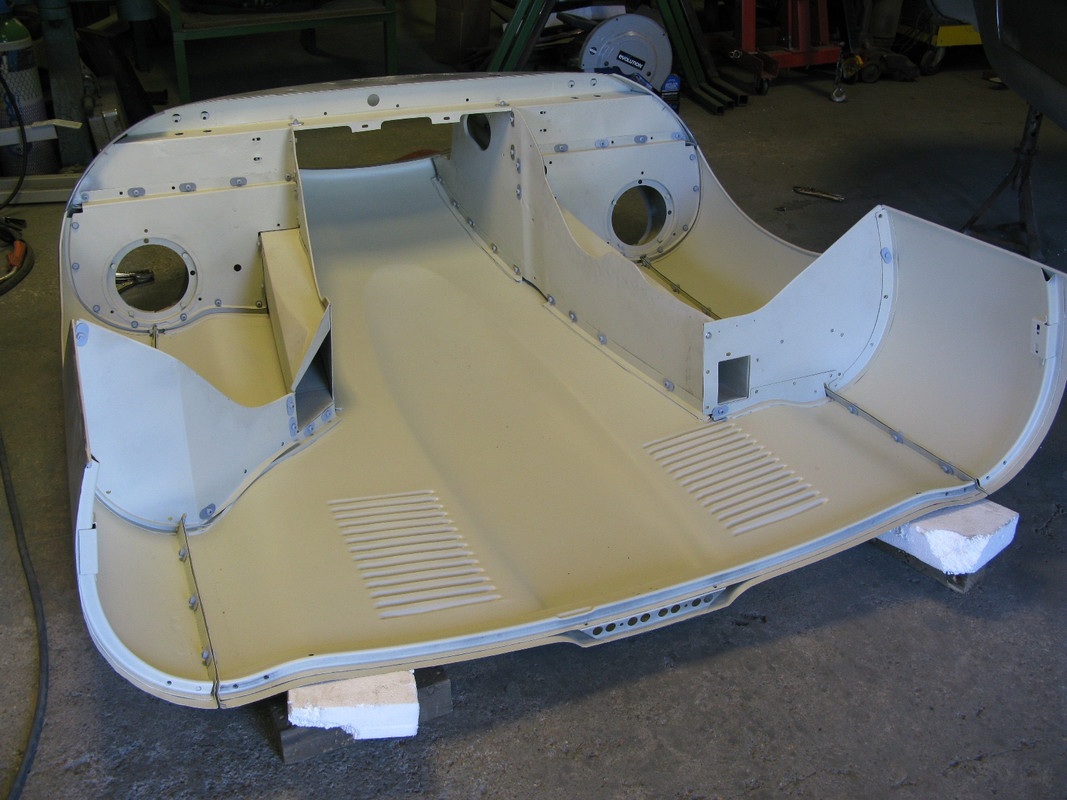
with major surgery complete the bonnet was disassembled one more time and thoroughly cleaned so that all hidden and masked flanges and edges could be epoxy primed....this would be the last time the bonnet was taken apart, from now on it would remain in a single piece throughout painting to ensure correct alignment once complete...


Image

Image

Image

Image

Image

Image

Image


but not before a final adjustment to the curves.....again....the flowing lines of lower chin panel to perfectly blend into the lower leading edge of the wing....


Image

Image


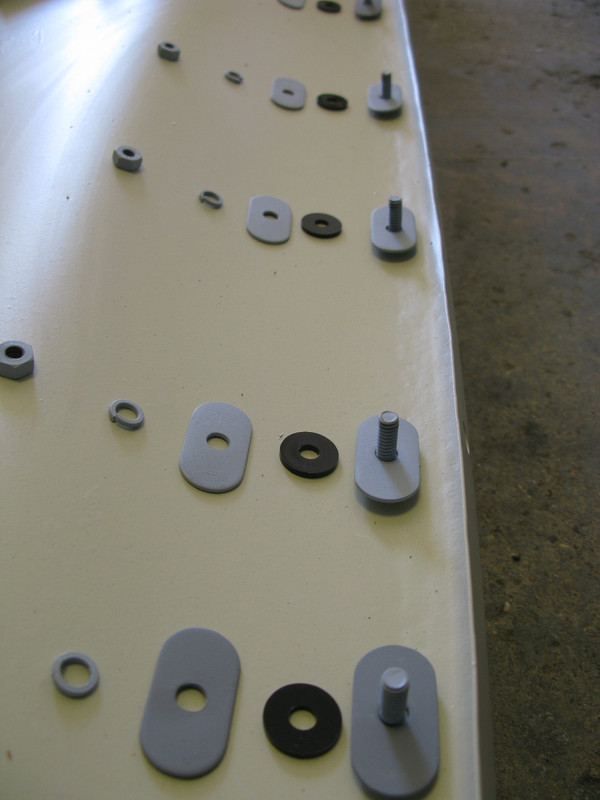
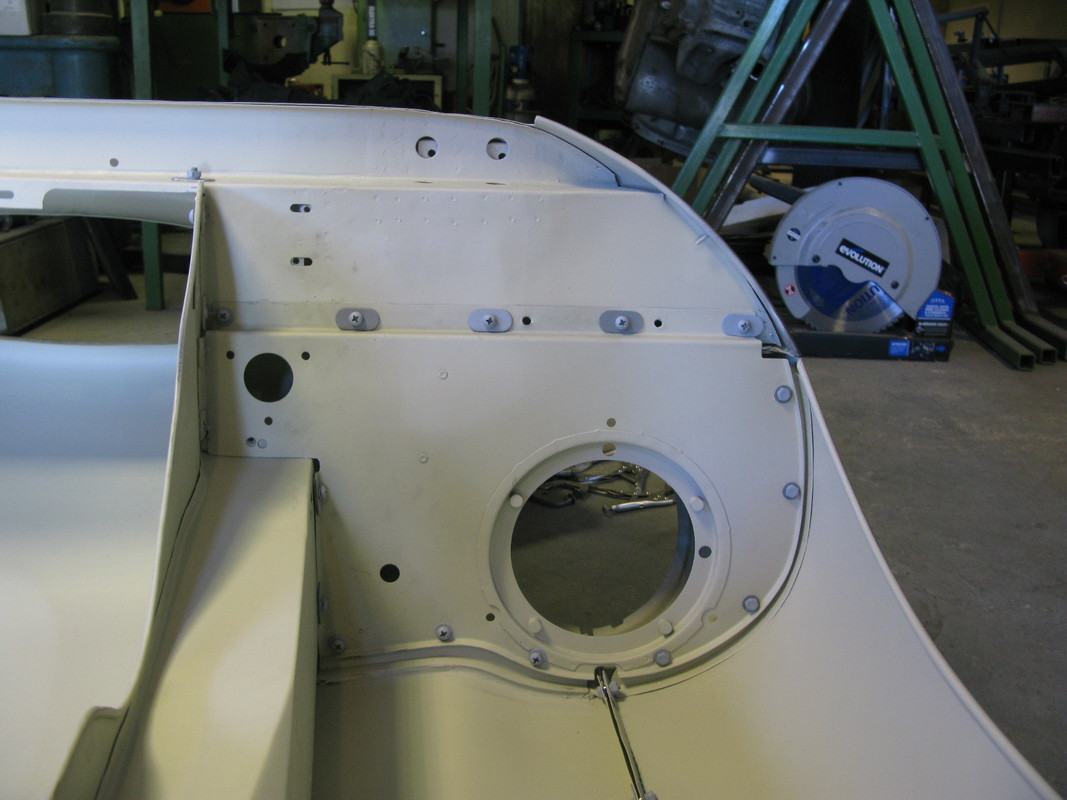
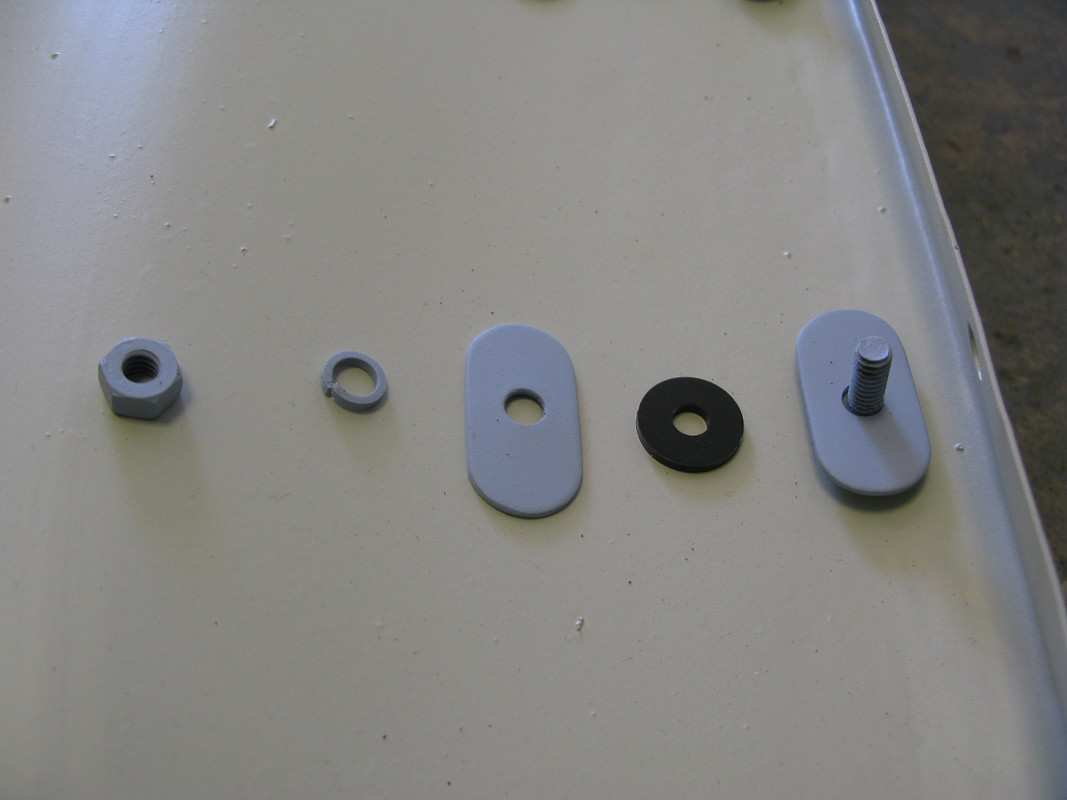
and naturally the attention to detail continued, with all original bolts and nuts with the correct GKN marking being retained, and assembled with heads perfectly aligned....


Image


....and all return flanges were trimmed to ensure matching profiles between adjacent elements....


Image


why would anyone do otherwise....?


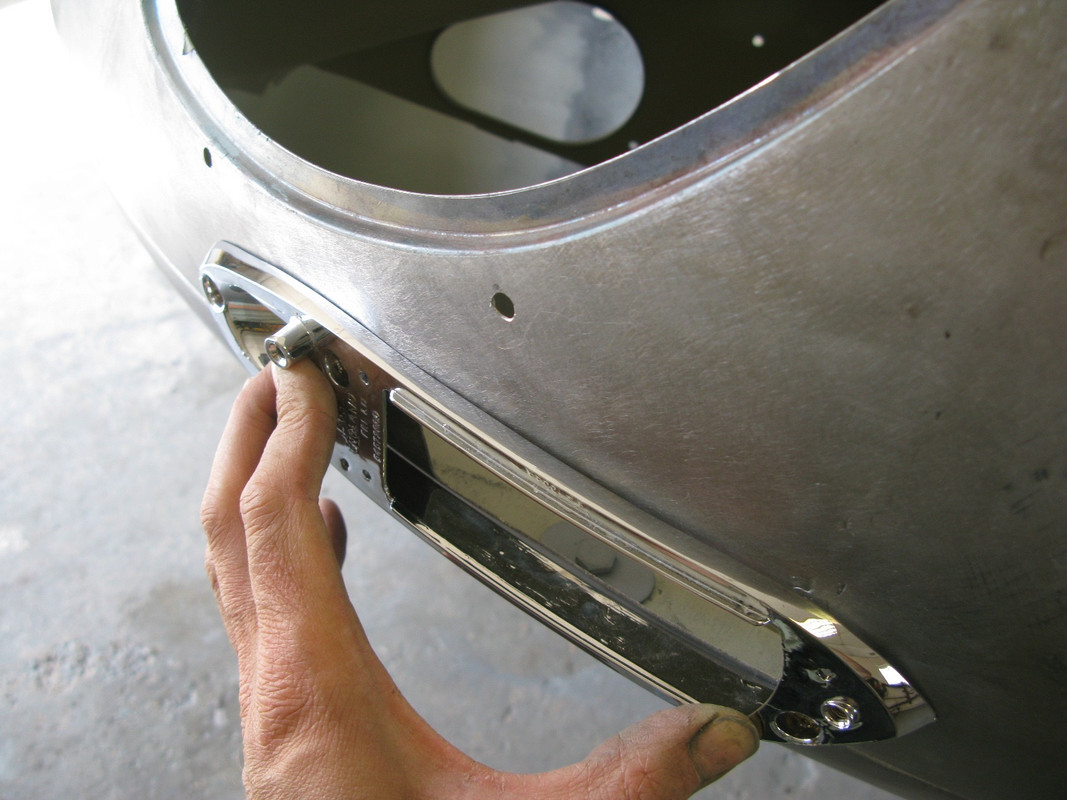
there was time to then finesse the fitment of ancillary items....fundamentally essential before painting began.....


Image

Image

Image


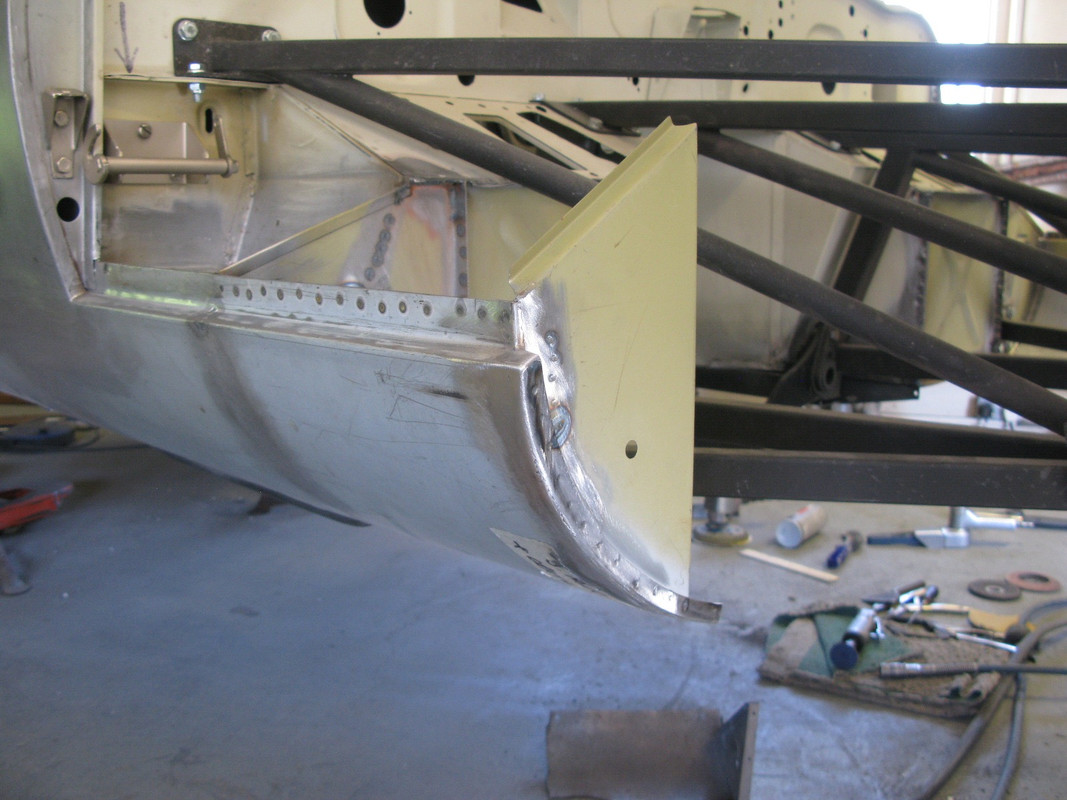
lastly item on the shell was to then install the cill closing panels, which needed the form of the bonnet to be established for perfect alignment


Image

Image


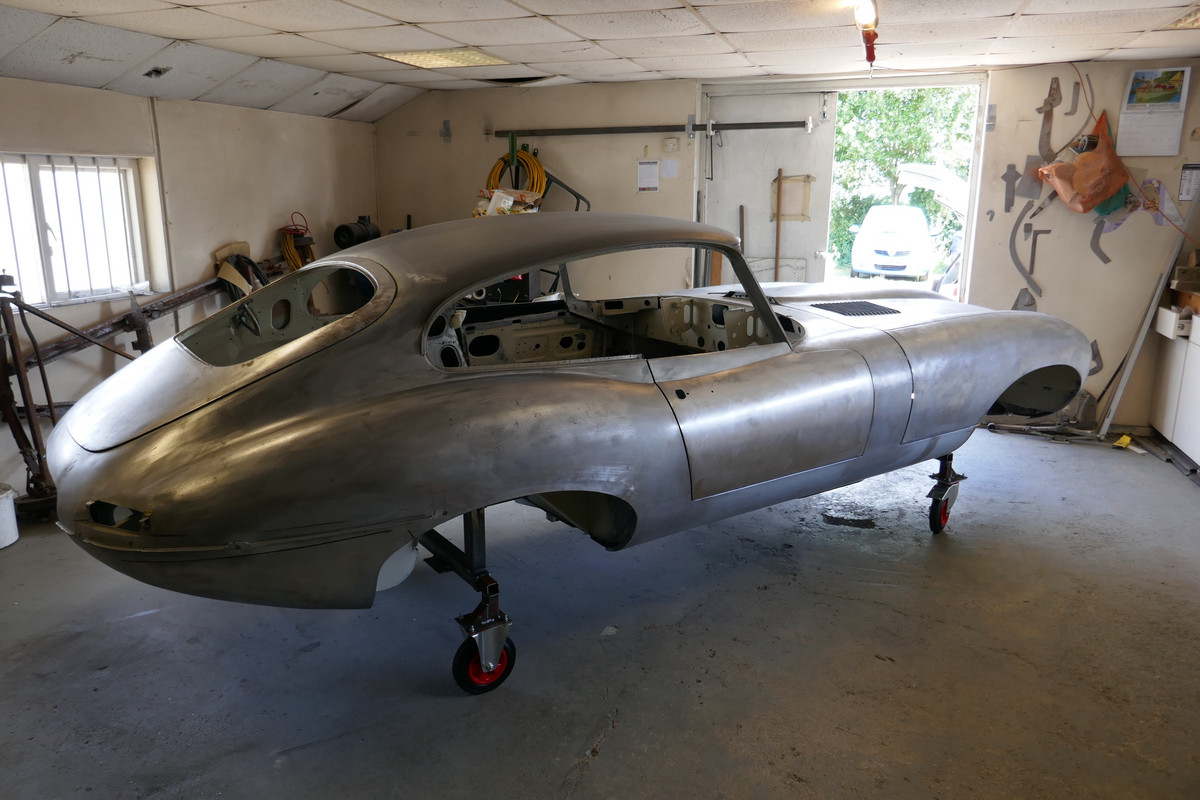
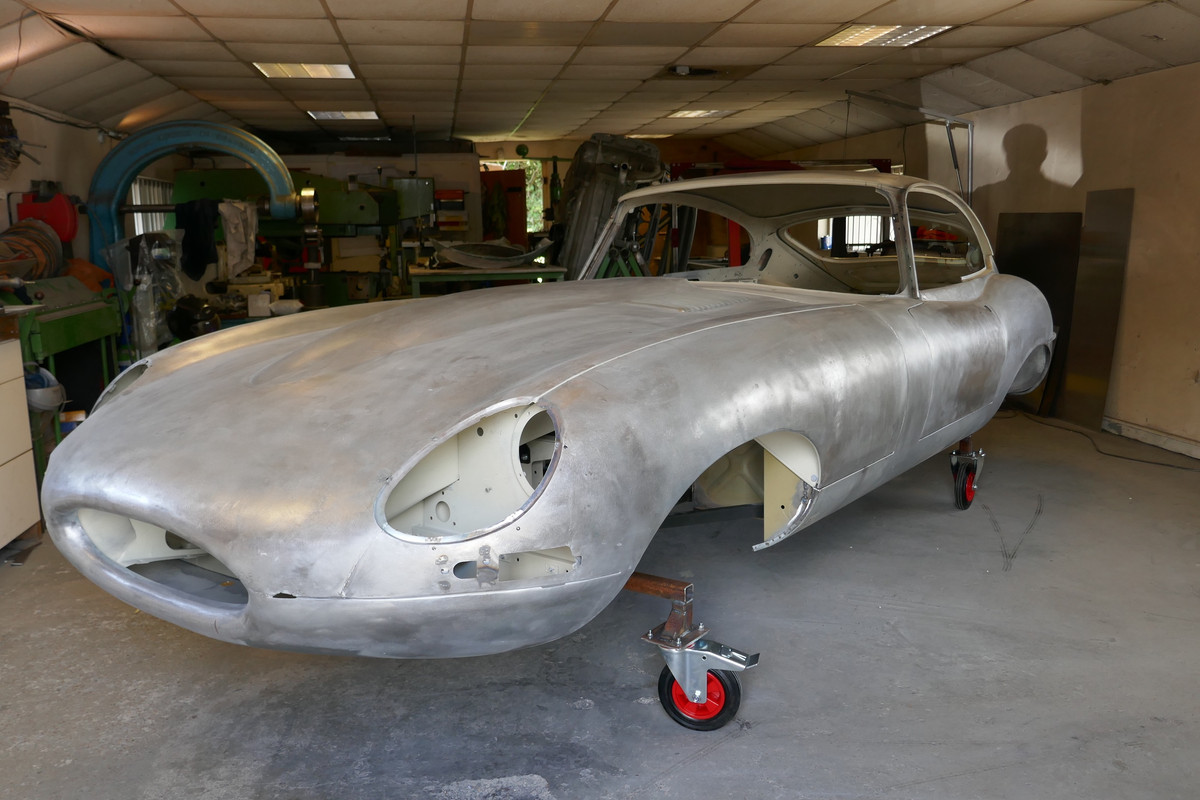
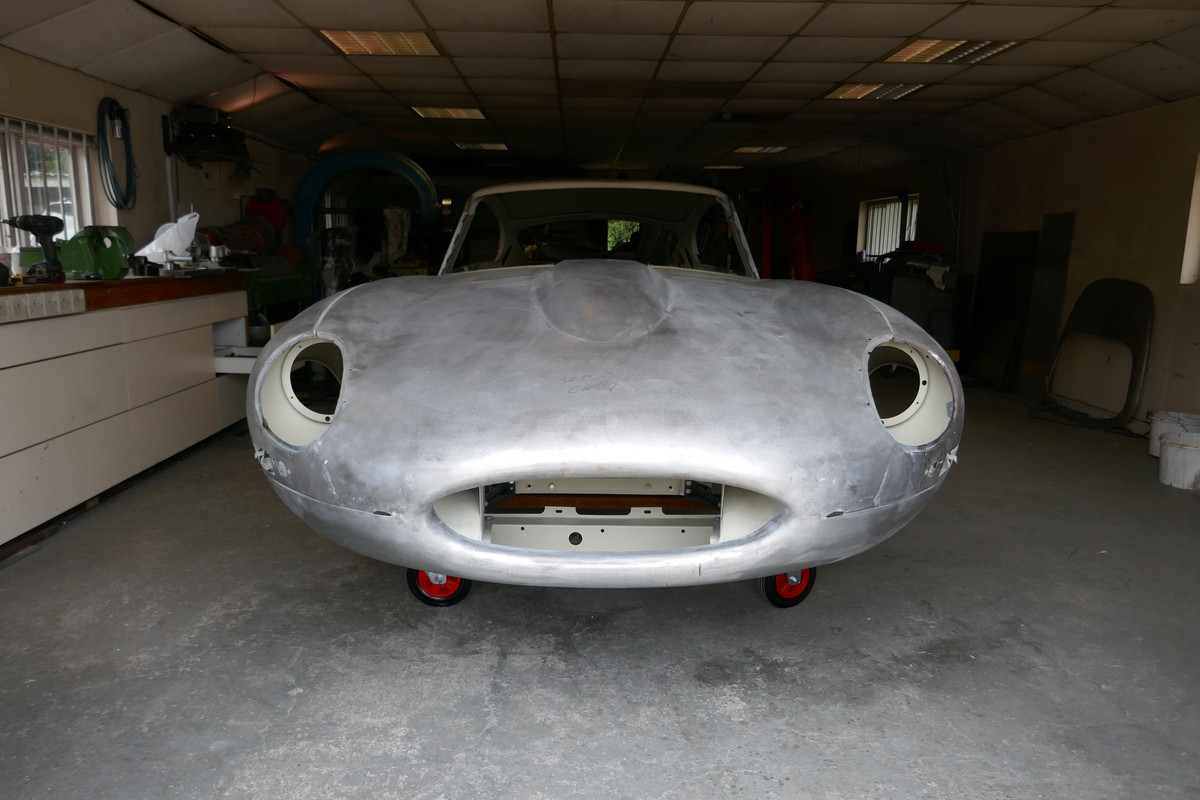
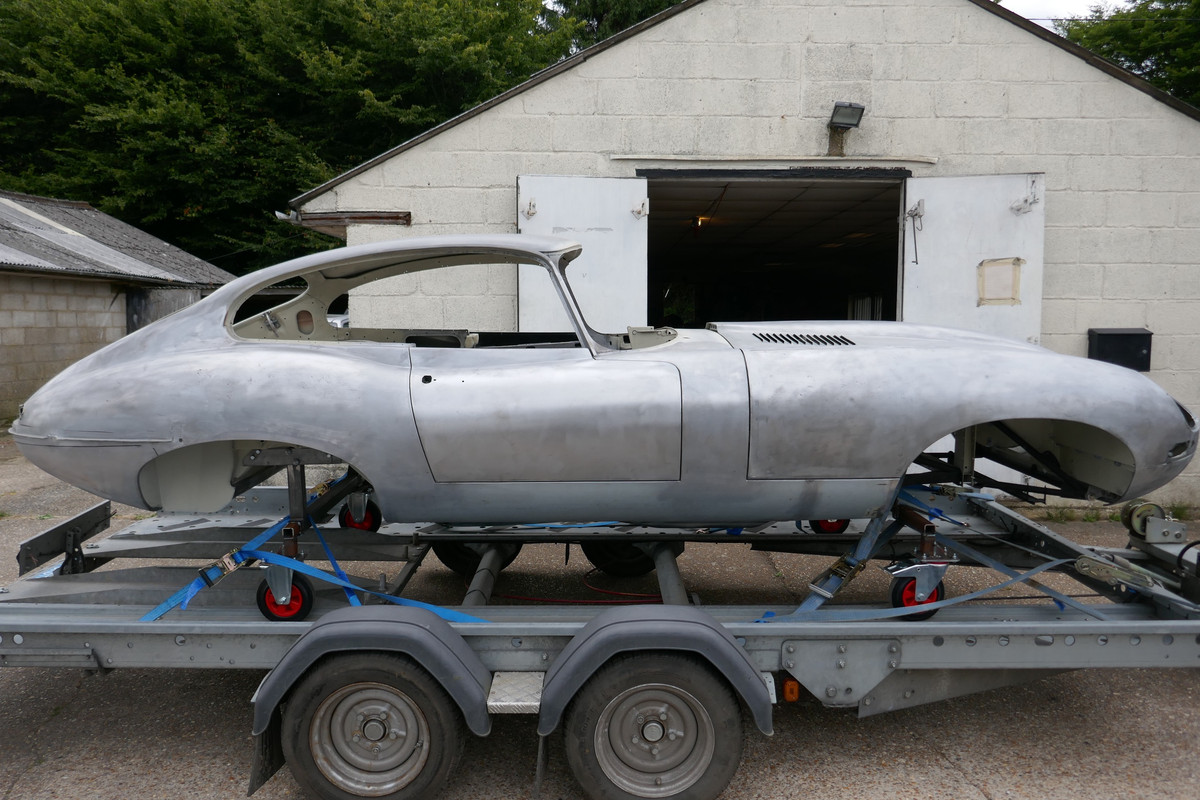
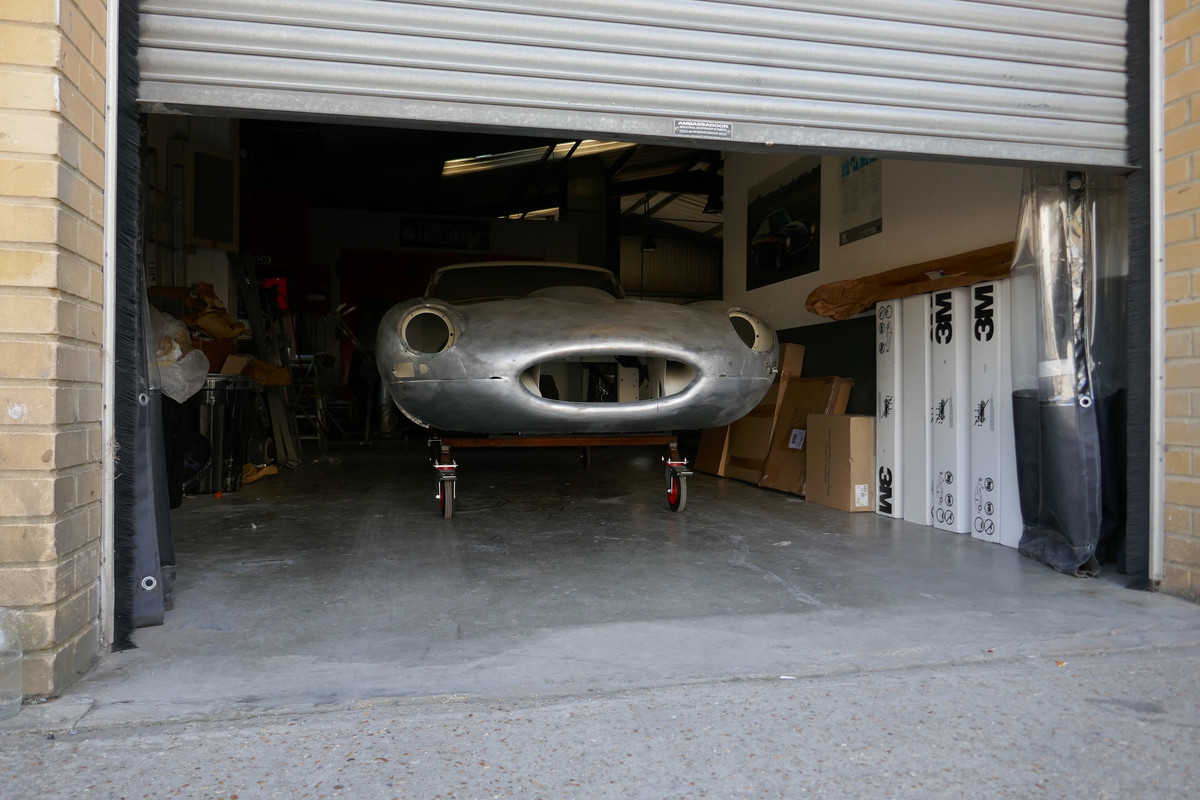
so after many many hours of careful work she was ready to move to DC Coachworks....


Image

Image

Image

Image


her new home for the next few months.....


Image


thanks for looking

Jp

Re: E Type 888330

Posted: Sat Nov 03, 2018 10:04 pm
by Gary71
No words really.
Just lots of thumbs up