Page 18 of 43
Posted: Tue Jun 21, 2011 4:29 pm
by 911hillclimber
Ah! wise move!
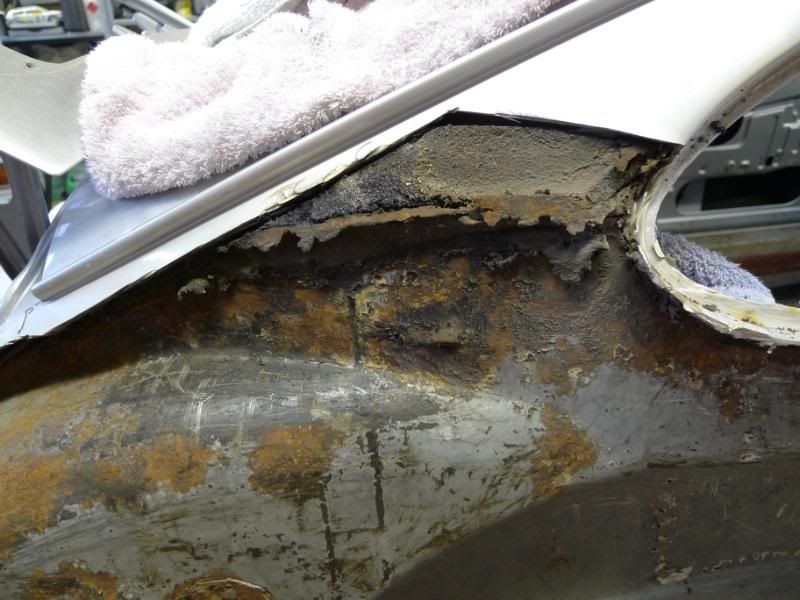
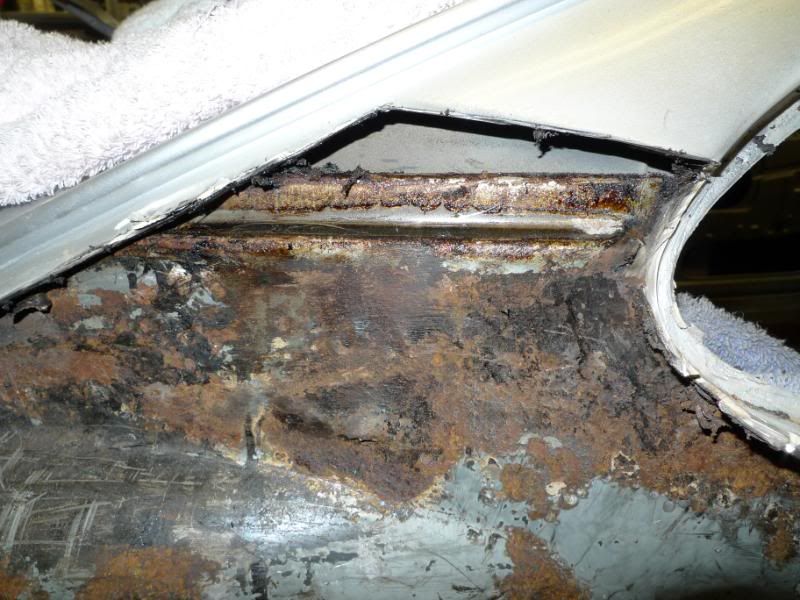
Mine was originally filled with a foam cavity filler when i pulled my rear wings off (actually by hand!). Mud and bullets will get in that gap dead easy if left open.
Posted: Tue Jun 21, 2011 4:37 pm
by johnM
911hillclimber wrote:
Do you seal or fill the cavity Barry to the rear of the rear window (C post?)
I took a template of this area before barry recieved the shell so I can make up a foam piece soak in underseal and fit once the paint is complete.
Kind Regards
Posted: Fri Jun 24, 2011 10:50 pm
by johnM
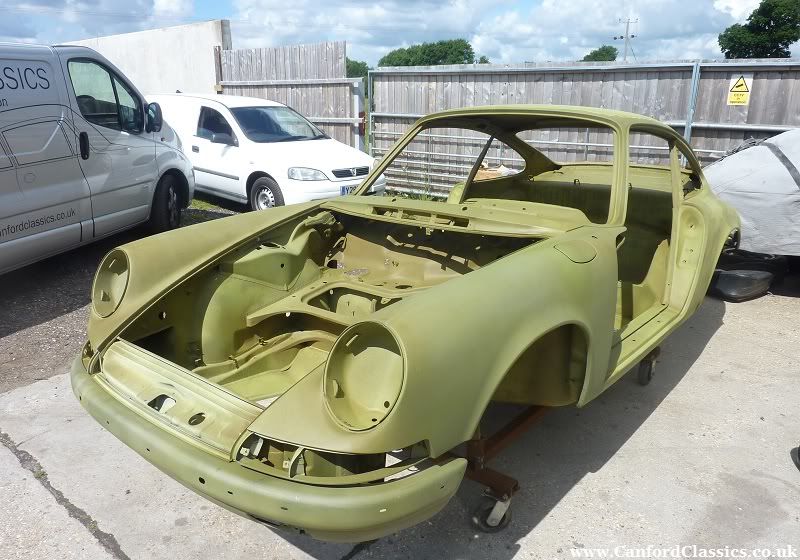
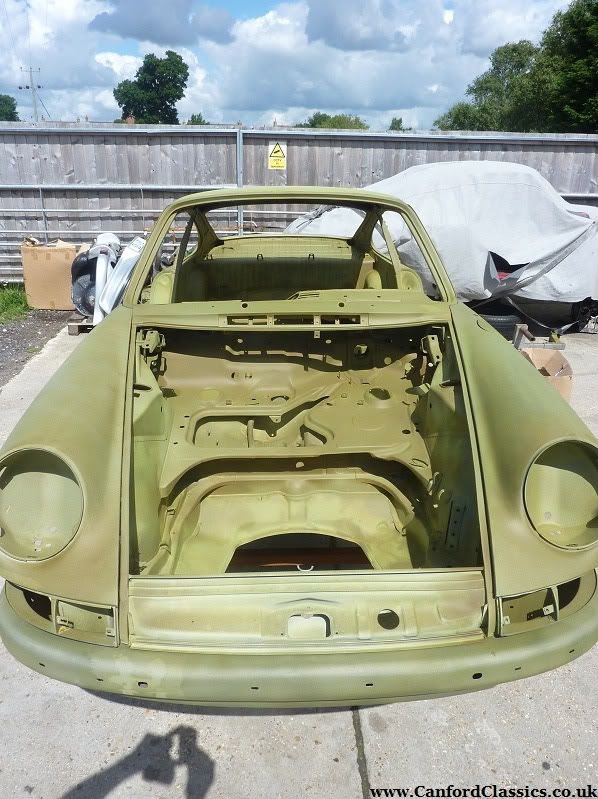
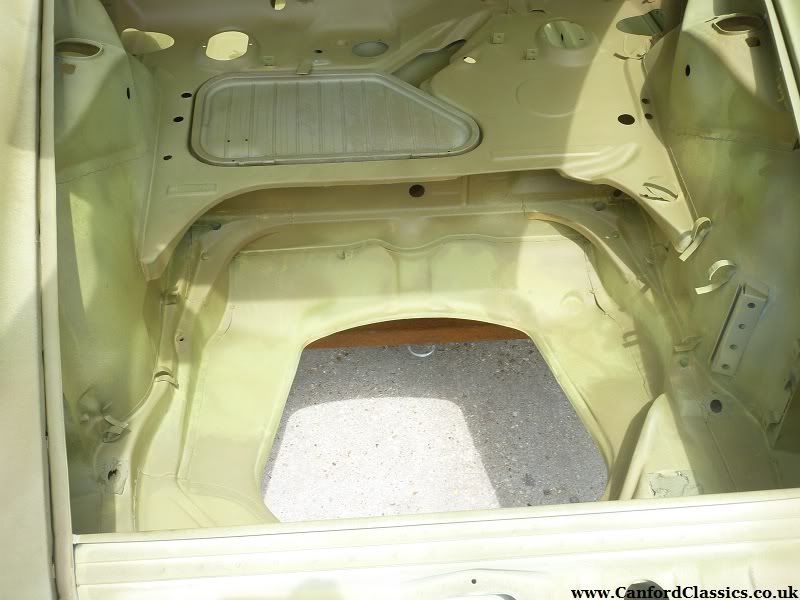
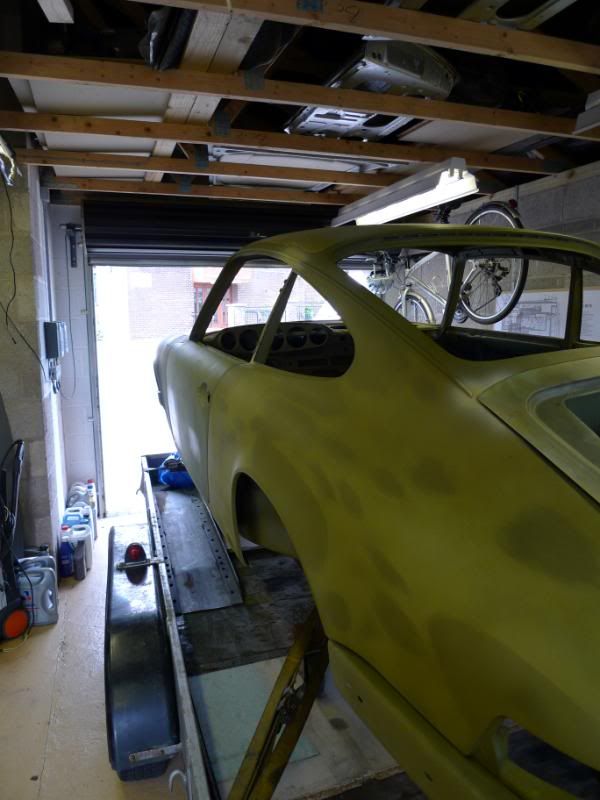
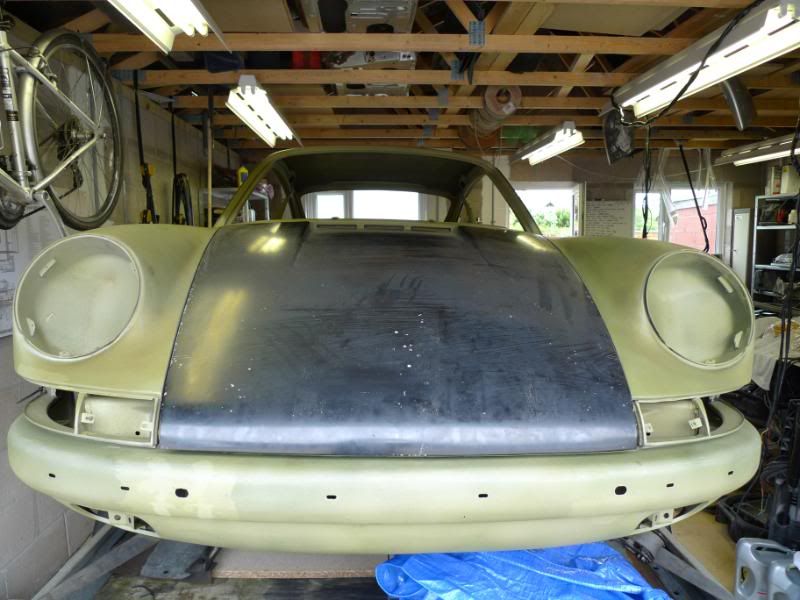
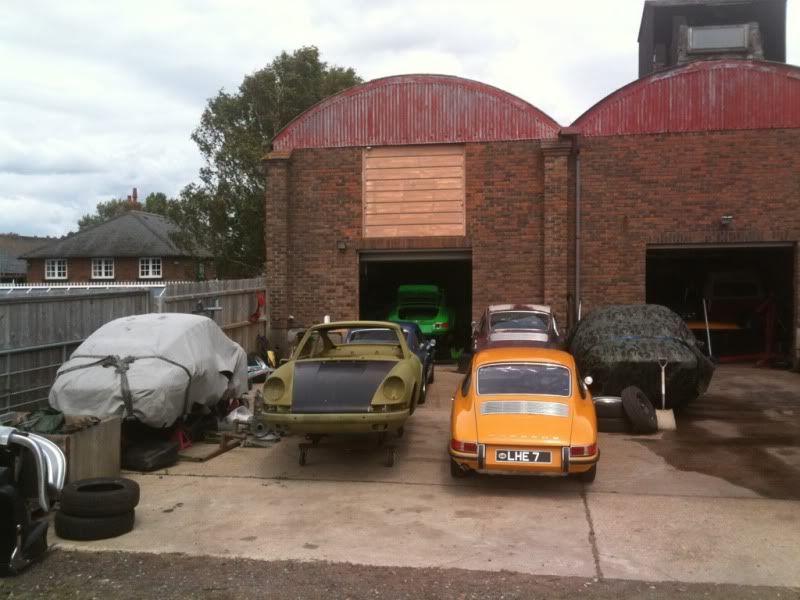
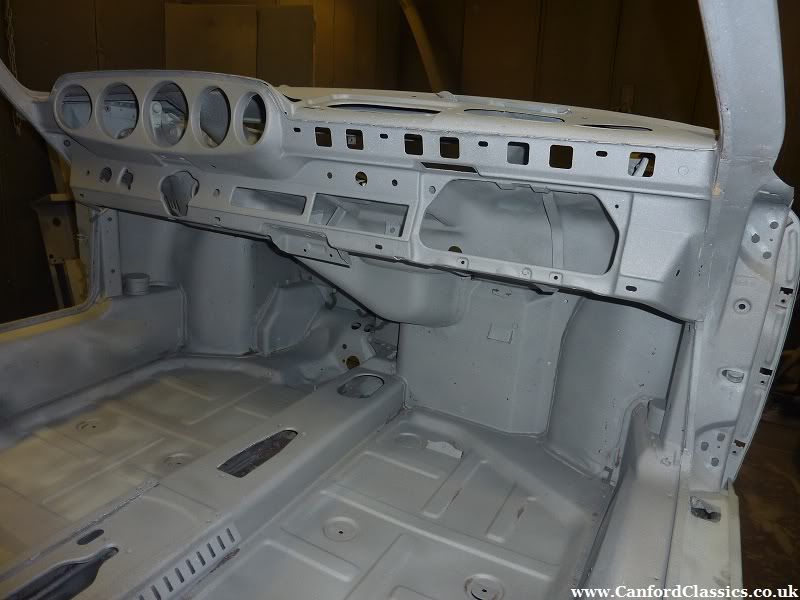
Alan from canford classics has been busy over the last couple of weeks. Alan has had the shell media blasted and etch primed. The car looks very clean after the blast. Alan is also busy polishing and anodising lots of bits and pieces as well. Sould be into paint in the next week.
Kind regards
Posted: Fri Jun 24, 2011 11:41 pm
by Mr Pharmacist
That etch primer looks like olive green (assuming that's your car on the dolly John!).

Posted: Sat Jun 25, 2011 6:33 pm
by 911hillclimber
Back to the foam/wheel arch:
That's the spot! My car even 23 years ago was that bad up there.
Way back then I glued a simple baffle plate there and sealed it. No problems in 60k miles and 23 years..
Posted: Sat Jun 25, 2011 9:30 pm
by Alan @ CanfordClassics
Incase a few more pics help.
We media blasted the shell for John.
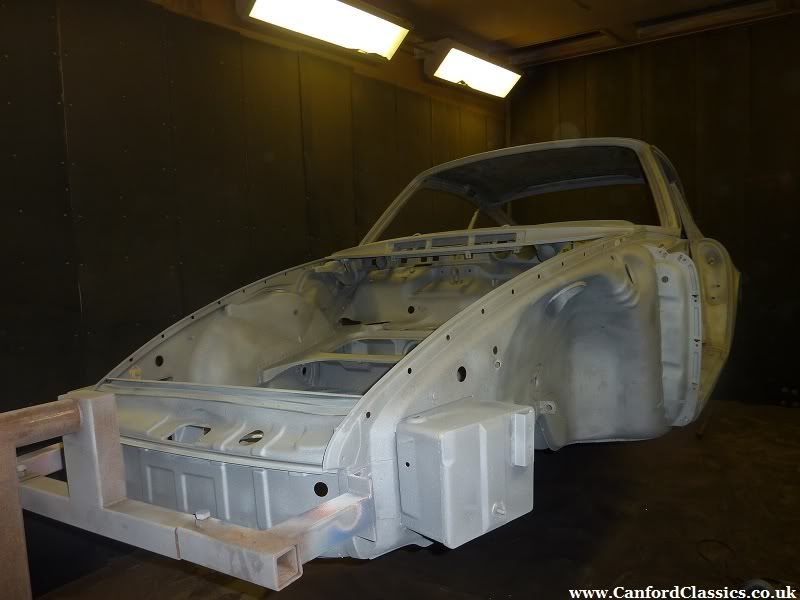
All the underside
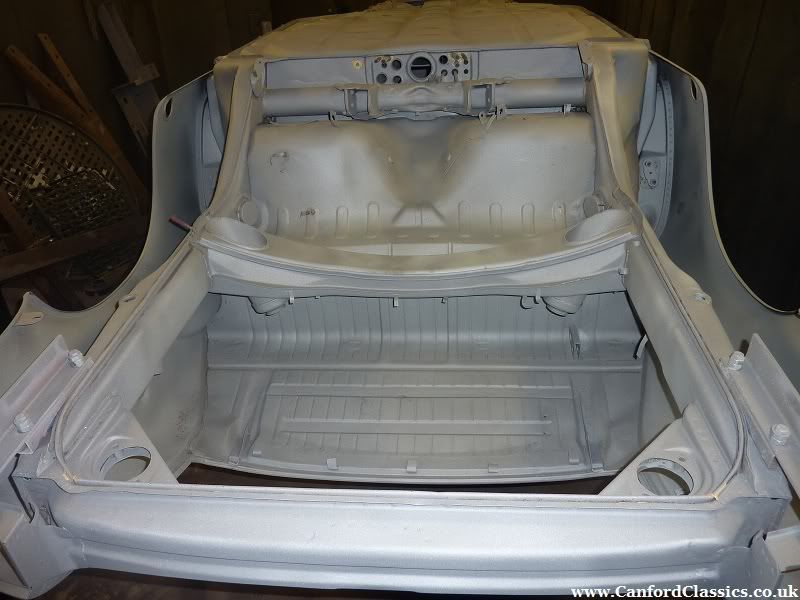
and the inside
Alan
Posted: Sat Jun 25, 2011 11:22 pm
by Alan @ CanfordClassics
Posted: Sun Jun 26, 2011 1:04 am
by johnM
Lots of miles this weekend. When I picked the car up from Alans their was a fine spred of early cars. Alan has done a fantastic job of the blasting, it's really nice to see the car clean and solid.
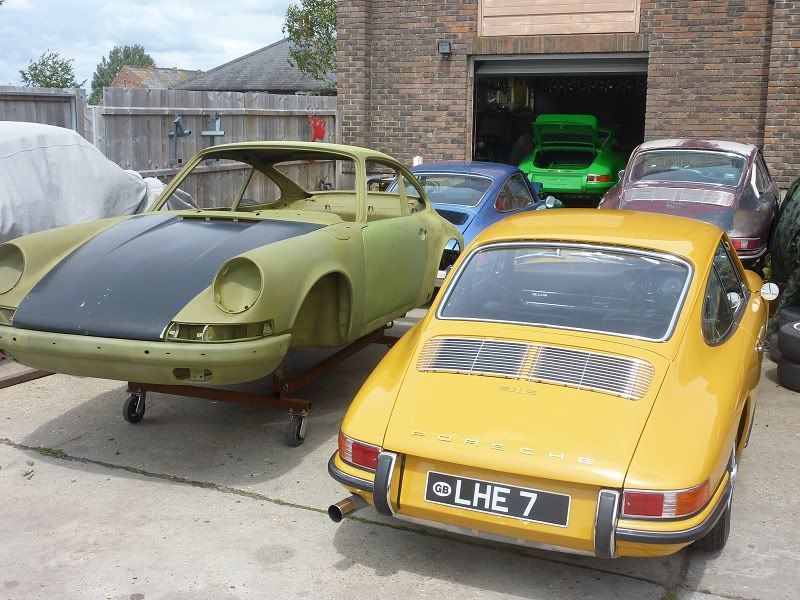
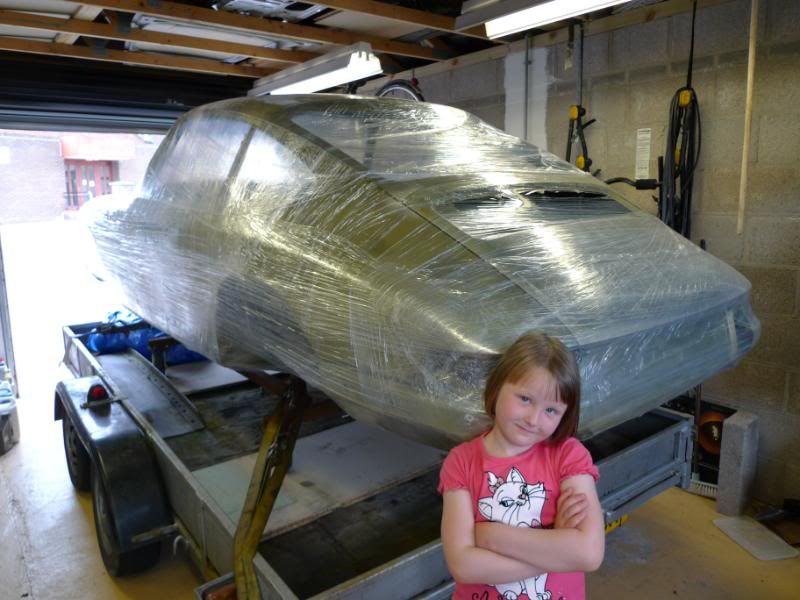
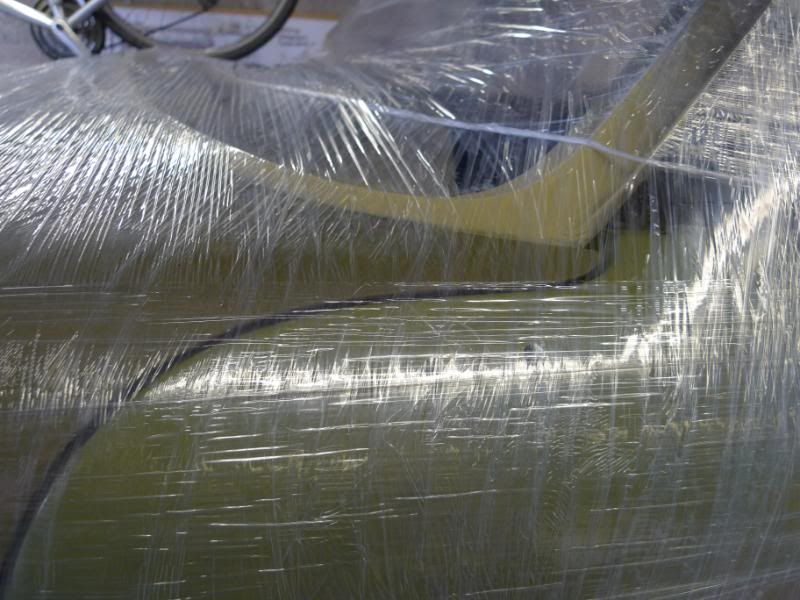
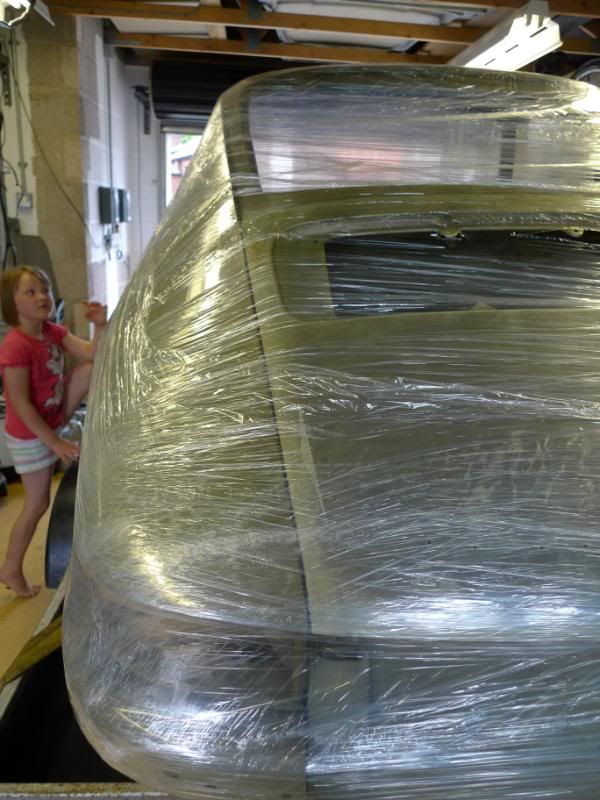
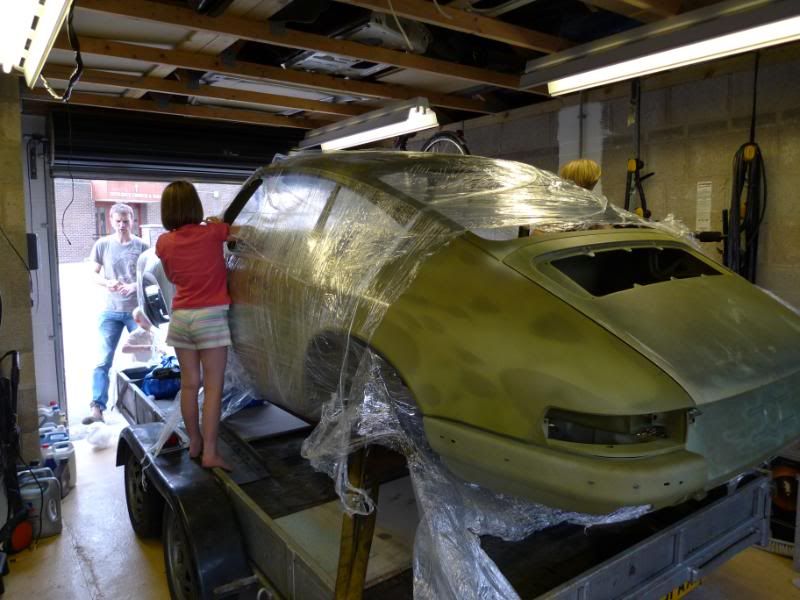
The blasting had uncovered a number of pin holes and also a crack in each of the rear shock mounts. This was all sorted in no time at Barrys. Once done and paneled back up I wrapped the car in cling film to keep it dry and then covered it with a tarp and a car cover to keep it dry on it's way back to Cumbria. It was dry for 372 miles and then rained for the last 6 miles, typical. Any way got the old girl back home.
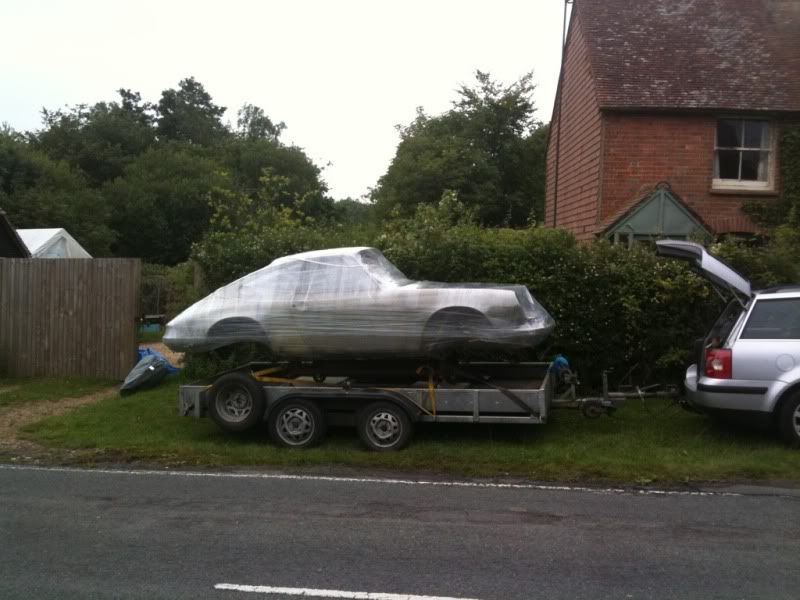
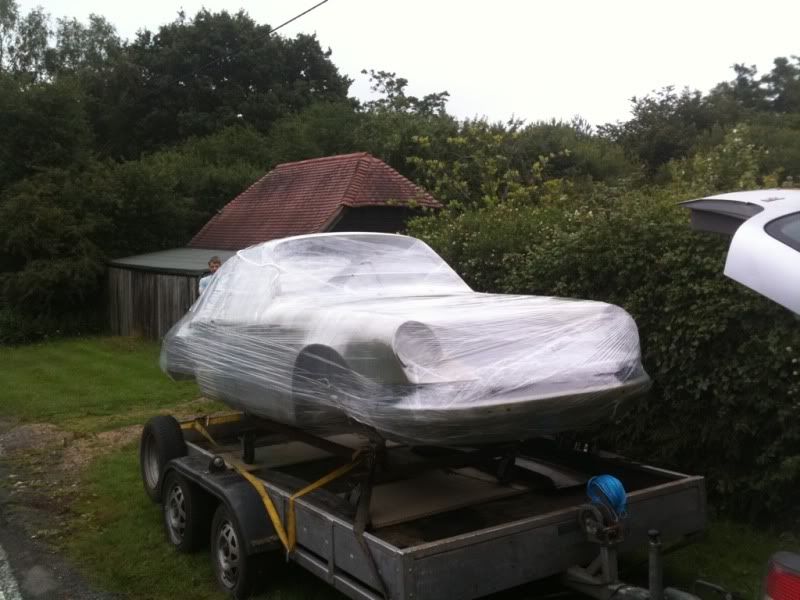
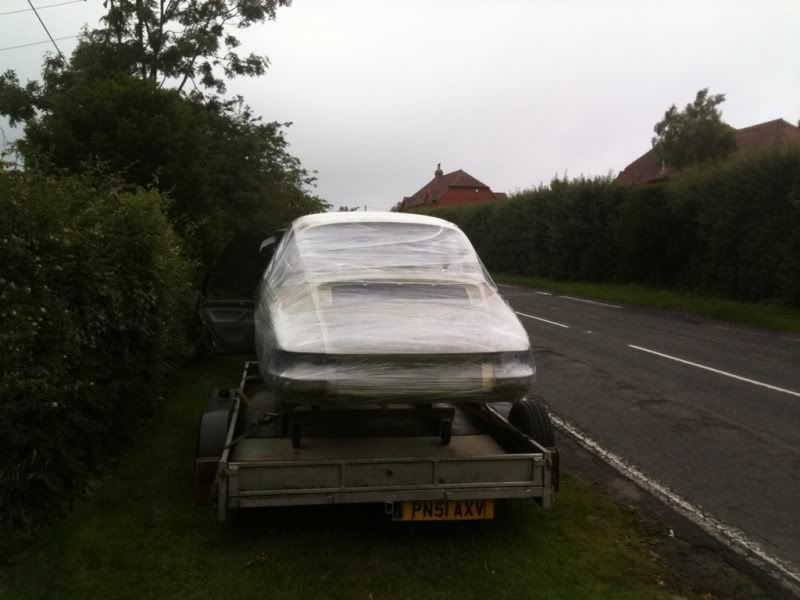
Nice to have it back. Now for some paint.
Posted: Sun Jun 26, 2011 7:00 am
by 911hillclimber
That process certainly works well. Shell looks great and certainly as good as new!
Look forward to the re-build on here.
Graham.
Posted: Tue Jun 28, 2011 7:32 pm
by johnM
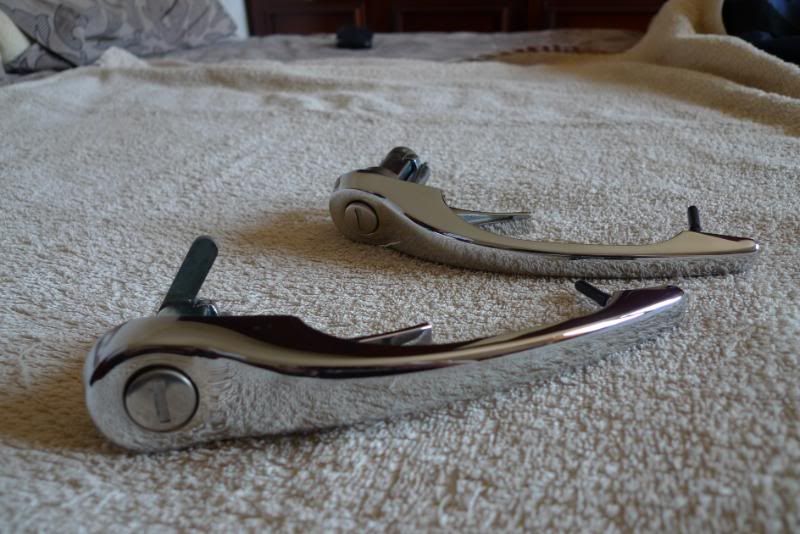
Posted: Mon Jul 11, 2011 12:05 pm
by johnM
Not too much going on at the moment. The shell was dropped off at the paint shop last Friday. It will be great to see some paint on the shell but I am sure lots of prep has to go on before that happens.
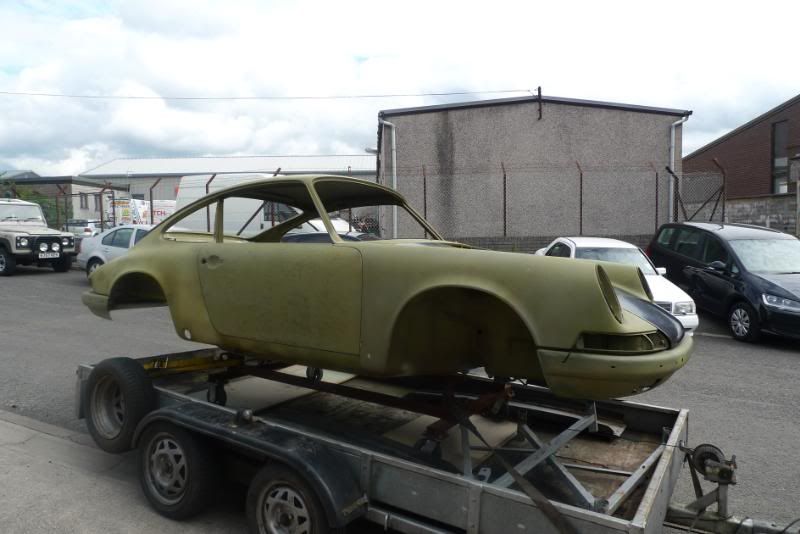
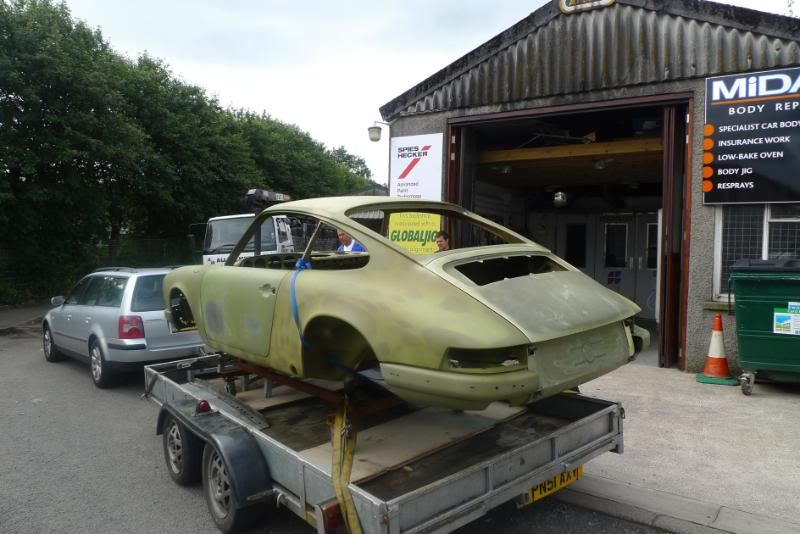
Kind Regards
Posted: Wed Jul 13, 2011 11:03 am
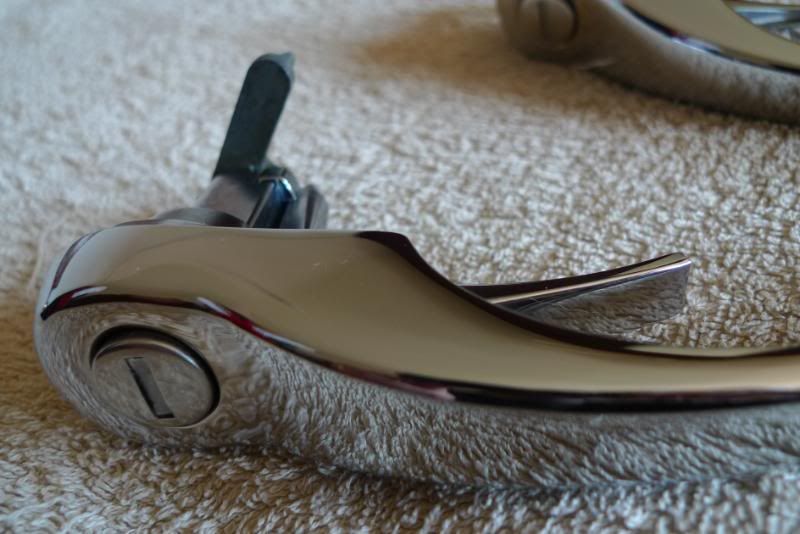
by johnM
Posted: Wed Jul 13, 2011 12:04 pm
by Barry
Very nice

.
Posted: Wed Jul 13, 2011 1:03 pm
by mycar
Very nice indeed.
Mike.
Posted: Sun Aug 07, 2011 7:51 pm
by Darren65
John / Alan,
Can you tell me what process was used for the etch priming, was it just a conventional process or it was it dipped/charged in any way?
Many thanks,
Darren