The 'Maverick' Classic Porsche Forum and Classic Porsche Club for Porsche 356, Aircooled Porsche 911, Porsche 912, Porsche 914 & Porsche Replicas. 'We join for the cars but stay for the people'
.....so now the fun starts and first the centre tunnel strengthening .....in Barry's words....
......This takes some explaining.
As supplied, the piece is too long, has no details as to how to scribe into the tube, or where to place the edge bends.
We needed to remove the existing impact bumper reinforcements.
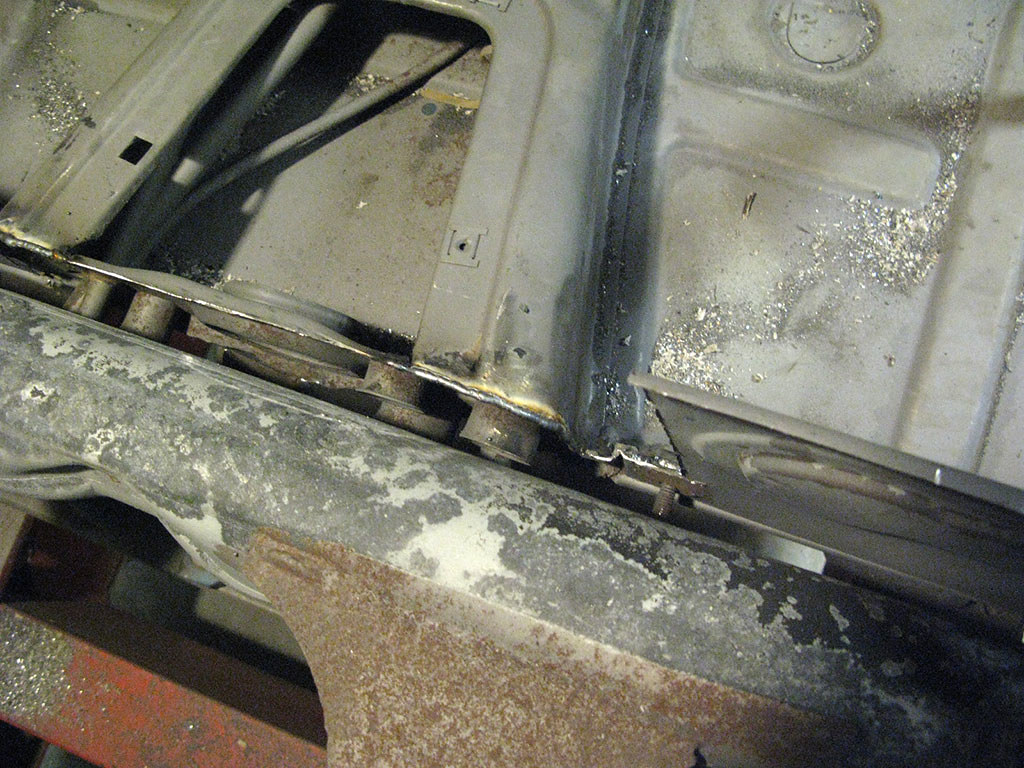
The RS reinforcement (RS r.) sits directly on top of the tunnel, not the raised flange behind it. Therefore to be able to attach the RS, you need to remove a section of bulkhead plus the raised portion right at the end of the tunnel.
This then leaves the tunnel main pressing and end plate detached from each other, so these need tidying from the drilling out and welding together.
You then have to template a card version of the RS r. so that it fits in the correct place on top of the tunnel, meets the tube correctly and has the information needed to create the end bends.
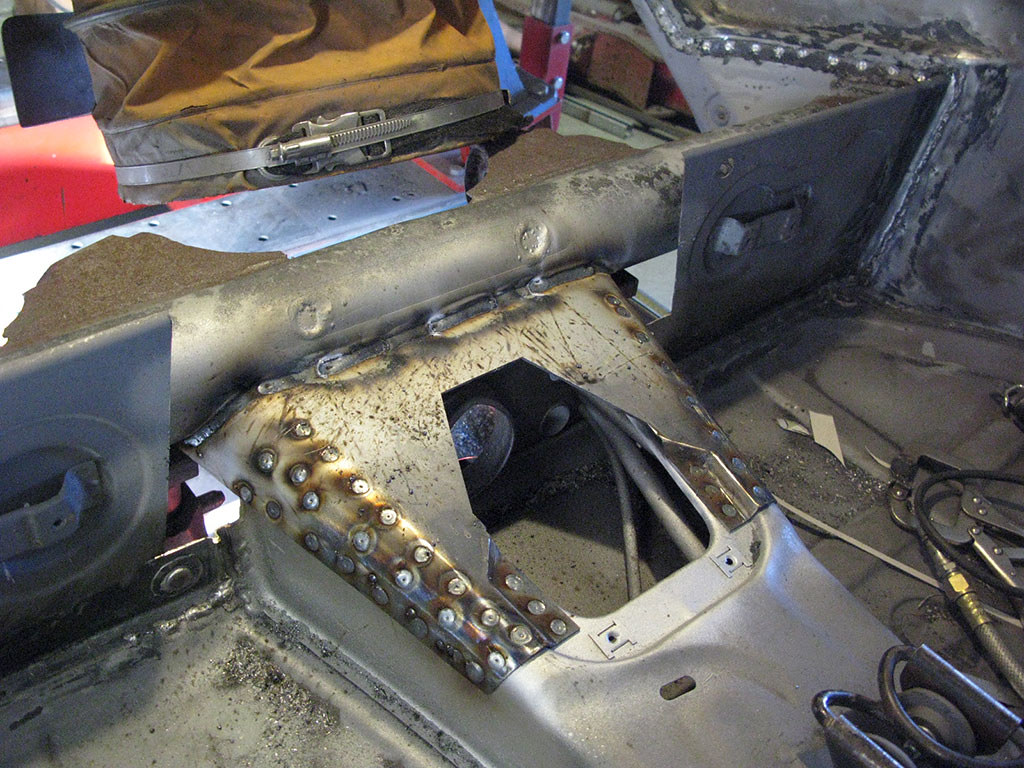
With the new RS r. prepped, it can be welded in.
Then the portion of removed bulkhead has the thickness of the RS r. subtracted from its base and the remains of the original reinforcements removed.
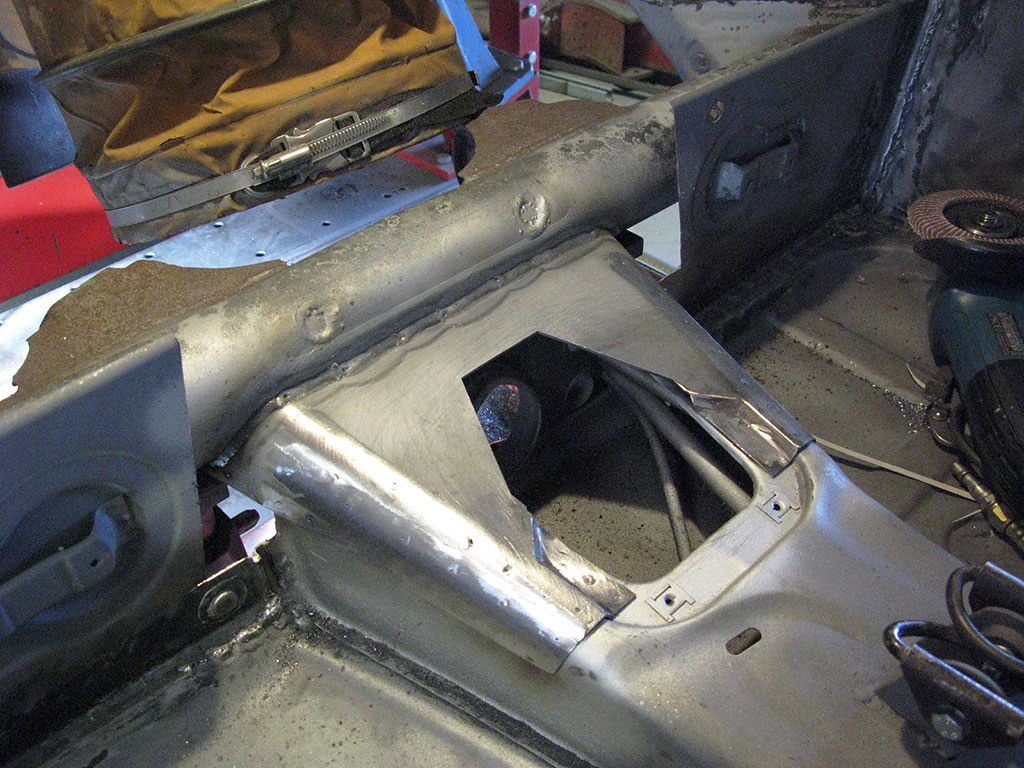
This is then welded into place and also welded to the RS r..
The whole area is tidied.
Later the underside of the area will be checked and welded where required.......
....more soon ....
Cheers,
Last edited by Darren65 on Sun Jan 26, 2020 1:51 pm, edited 1 time in total.
After the centre tunnel mod Barry moved on to the brackets for the short trailing arms which Marek Lappock supplied.......as far as how you fit these correctly with the car pointing in the right direction when fitted up my contribution was little more than to supply Barry with a copy of Bruce Anderserson's Performance Handbook which highlights a few basic dimensions......
.....for what is ultimately a few minutes of welding the brackets in place, exactly where is a whole different science! Again I'll let Barry explain.....
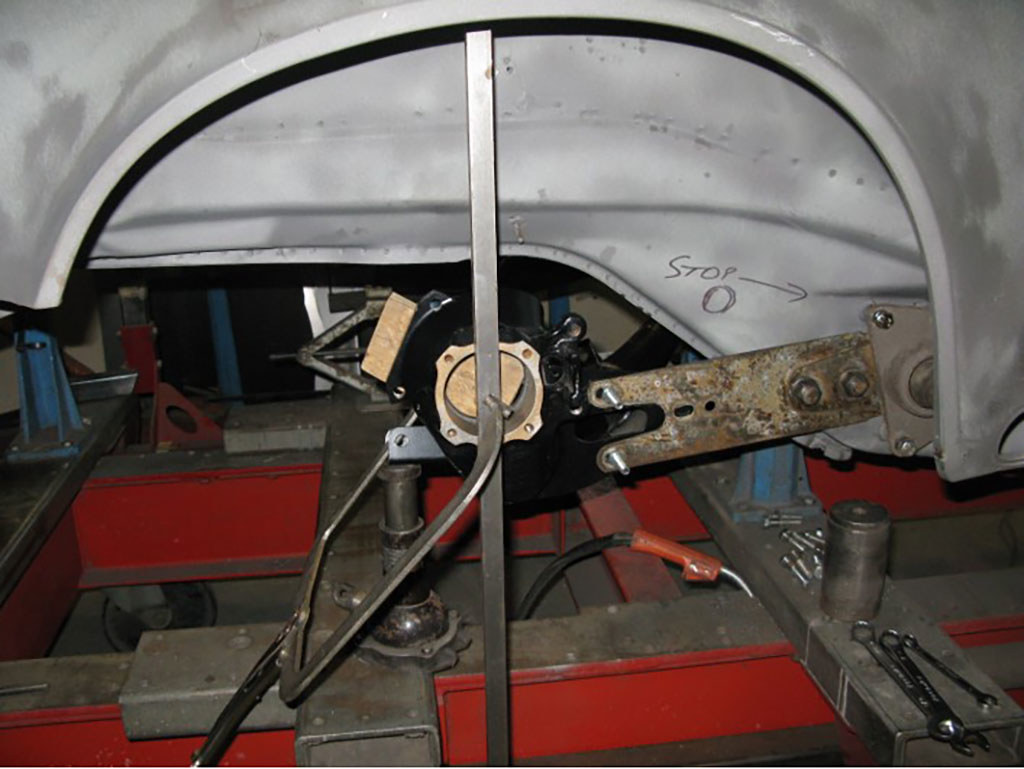
Using the info from the Anderson book and confirmed by Josh (via Gary) and Ben, I made up a little jig using the milling machine as a plotter.
I keep an engineer’s level at work, and used this to ensure my jig was kept level relative to the Celette. It’s more than accurate enough for the job.
I couldn’t remember if the forward adjustment on the spring plates also had an element of eccentric adjustment so didn’t dare not look at these. The bolts were stuck solid and took an awful lot of shifting. As it happens, it turned out there wasn’t an eccentric element anyway! Nevertheless to be able to have everything on the rear end in the middle of the adjustment travels during set-up was very useful. It meant I could aim to leave you with maximum adjustment in all planes from the start, rather than kicking off with one or more adjusters near their limits.......
......
Last edited by Darren65 on Tue Jan 28, 2020 10:05 pm, edited 1 time in total.
.....It soon became clear that with the arms and spring-plates mounted onto the new brackets, something wasn’t right. Luckily the brackets were only tacked at this point.
Essentially, the nearside looked really lovely, but the offside was toeing out by miles. The only way to correct it was by using all of the available adjustment and even then it was tight.
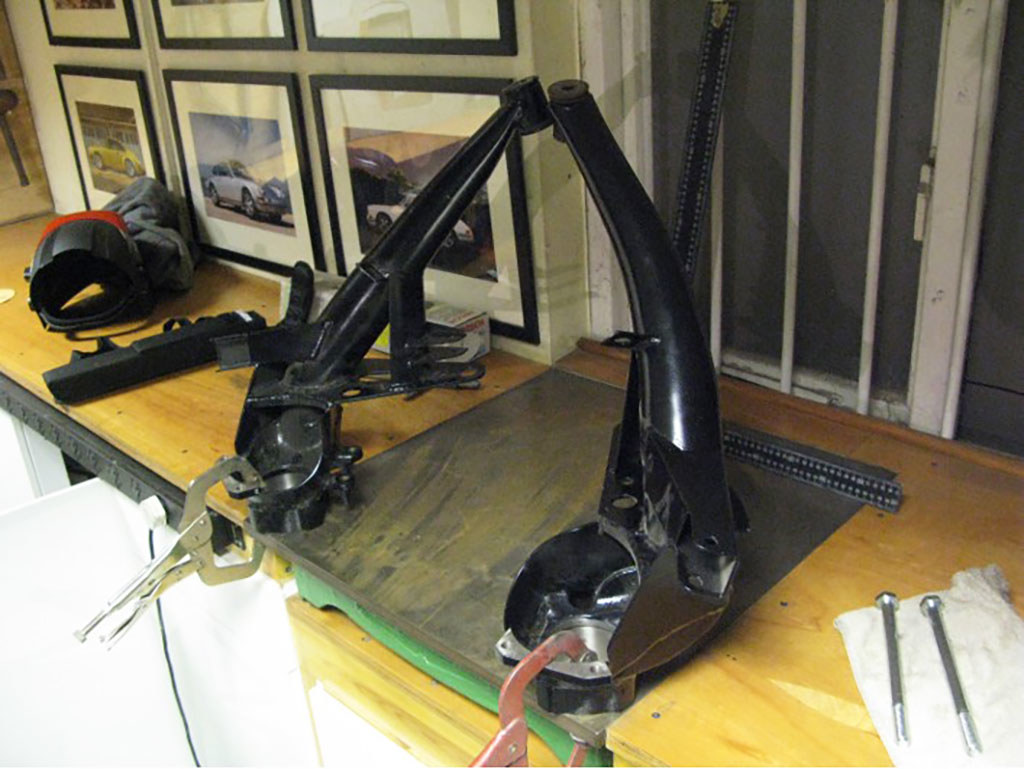
By a long and painful process I eventually realised that one of the arms was a tiny bit different to the other. You can see with both hubs clamped down, there was a small height difference at the bush. If you held the bushes dead even, this then opened up a roughly one mm gap at the hub. Multiply this up by the wheel diameter and it would give the error I was seeing.
As we discussed, we decided to leave the arm as actually it must be nearly impossible (and unreasonable) to get them spot-on, and we elected to shift the new mounting a little instead....
.....I was happy with the height of the new mounts and wanted them to be dead even as this would really show if different. Therefore some steel was quickly tacked in to reference this before removing the RH mount. Then, using my rig, I mounted the arm in the best position as far as I could see. With the bolt in place, this positioned the new mounting in the required position. Tacked in, the whole thing was re-tested.
Obviously I’ve been guessing the ride-height, so assumed a wheel / tyre diameter of 21” (15 inch rim plus two x 3in tyres), and assumed the top of the tyre would be about even to the lower edge of the wing lip.
I then measured as far I as could: neutral toe, neutral camber, equal in-out side to side and as close to possible matching wheelbase side to side. I think we ended up about 2.5mm difference in reality. I don’t think you’ll notice this, other than only being able to turn left obviously. Other than roundabouts, I don’t think this should be an issue .....
.....I don't think Barry is serious about not being able to turn left!
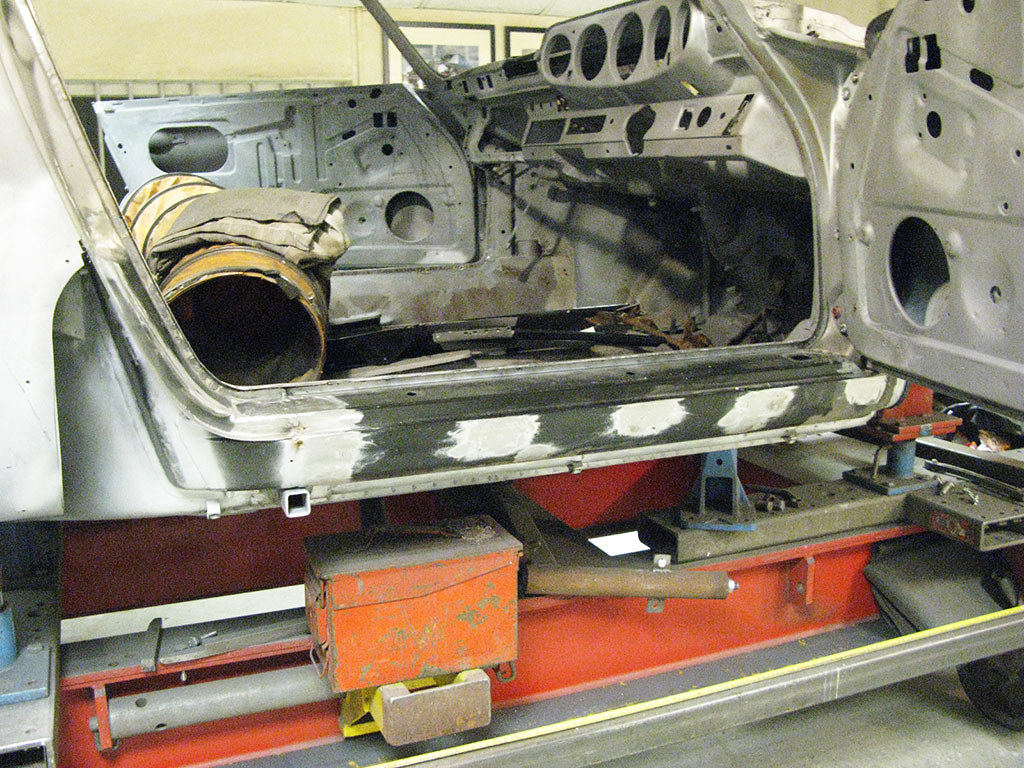
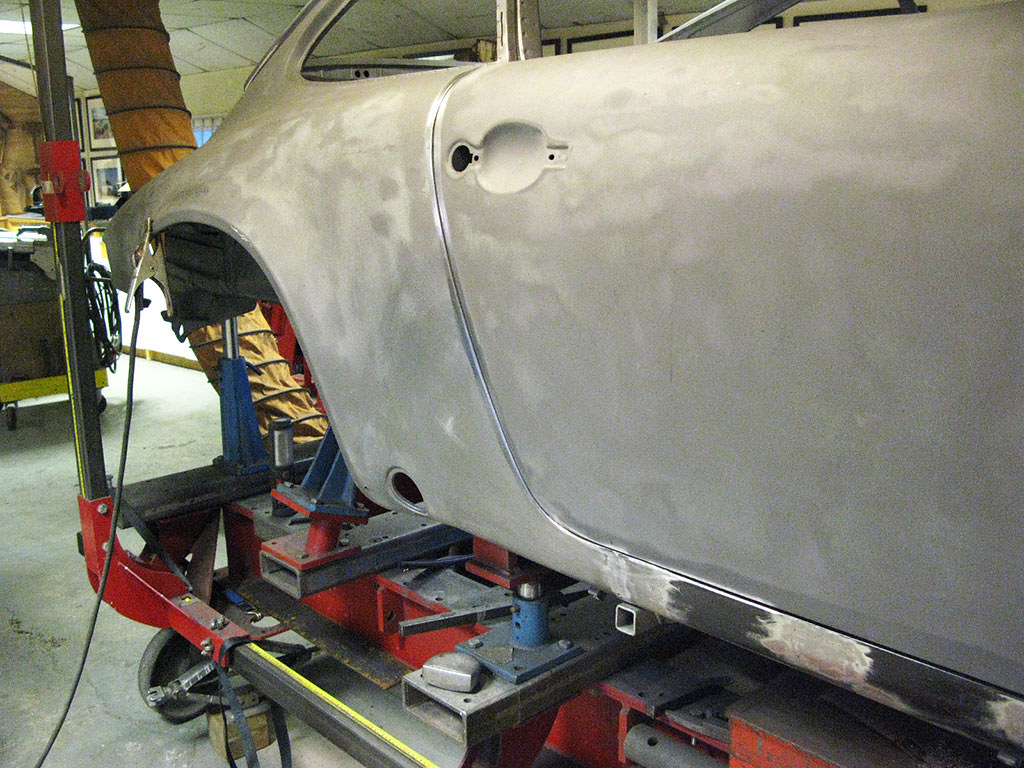
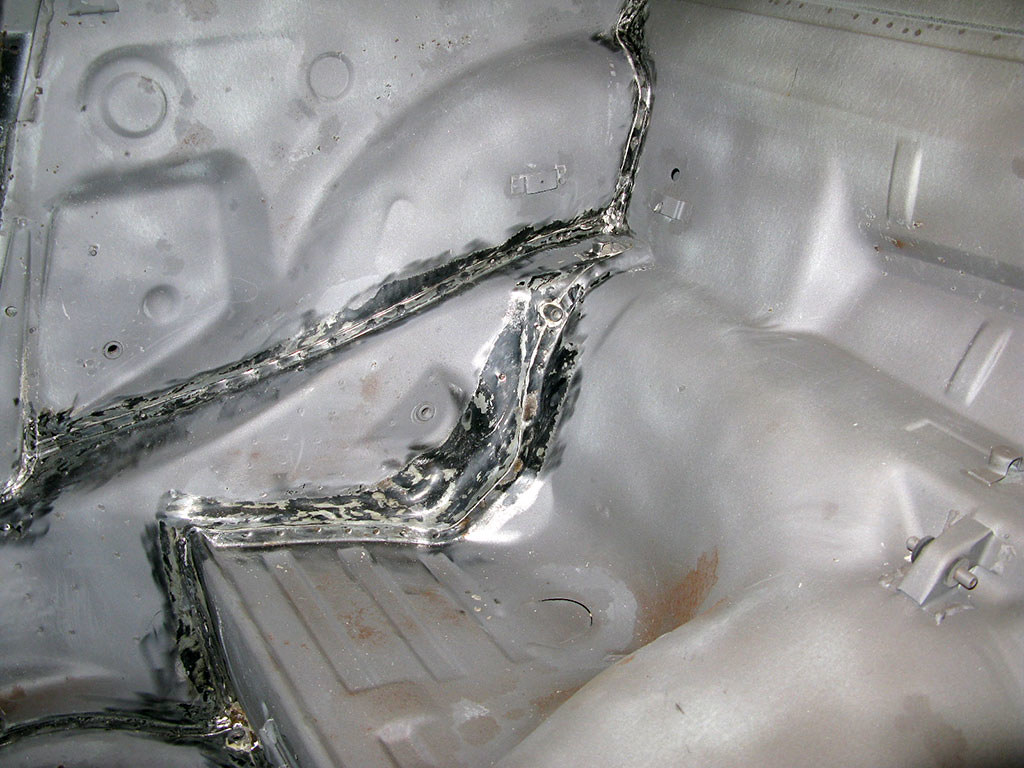
Safe in the knowledge the the short arm brackets are perfectly positioned the additional RS torque tube strengthening could be fitted, fabricated in 2mm steel....










 .....
.....

 .....in Barry's words....




 ....
....






 [/url
[/url


