After a bit of a break I'm back on it again this week. Decided to progress the front wings first as being removable made things easier. Overcame the first issue of the clamps not being long enough.
 2022-01-27_02-04-53
 by
richard cannings, on Flickr
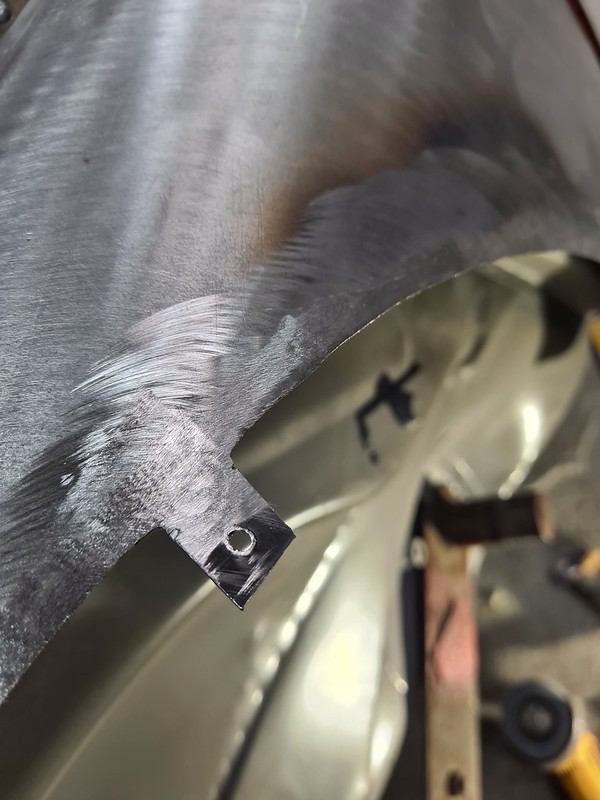
After much measuring attached them with self tappers, marked roughly with a sharpie and removed again. Used some satin black to make the scribe mark move visible. The only issue that the paint can burn off when you get close with the grinder but I've found the remains of a can of stove paint so I'll give that a go on the next one.
 2022-01-27_02-17-27
 by
richard cannings, on Flickr
Most of the removal was done with the angle grinder and 1mm disc then finished off with power file, leaving tabs for the screws.
 2022-01-27_02-07-17
 by
richard cannings, on Flickr
Had the idea of using the MIG to tack then going over with the tig, issue with this was that the MIG welds were contaminating the TIG. Welding would be going well then blow through every time I hit a tack. I'm the end went with TIG tacks, they are also much better as they are soft and you can tweek then with the hammer and dolly.
 2022-01-27_02-07-57
 by
richard cannings, on Flickr
Then did the TIG in approx. 10cm runs. I found the best welds were with the TIG set quite high (28A), with a circular motion moving forwards quickly. Haven't really got the hang of the foot pedal so tended to speed up as the panel got hotter.
 2022-01-27_02-08-16
 by
richard cannings, on Flickr
 2022-01-27_02-08-40
 by
richard cannings, on Flickr
Distortion was minimal and hadn't removed it yet on the following image. This is just after a quick sand, still find it amazing now soft the TIG welds are.
 2022-01-27_02-09-18
 by
richard cannings, on Flickr


 FLARES1299076646 by richard cannings, on Flickr
 kirk arch by richard cannings, on Flickr
 2021-12-17_12-03-35 by richard cannings, on Flickr