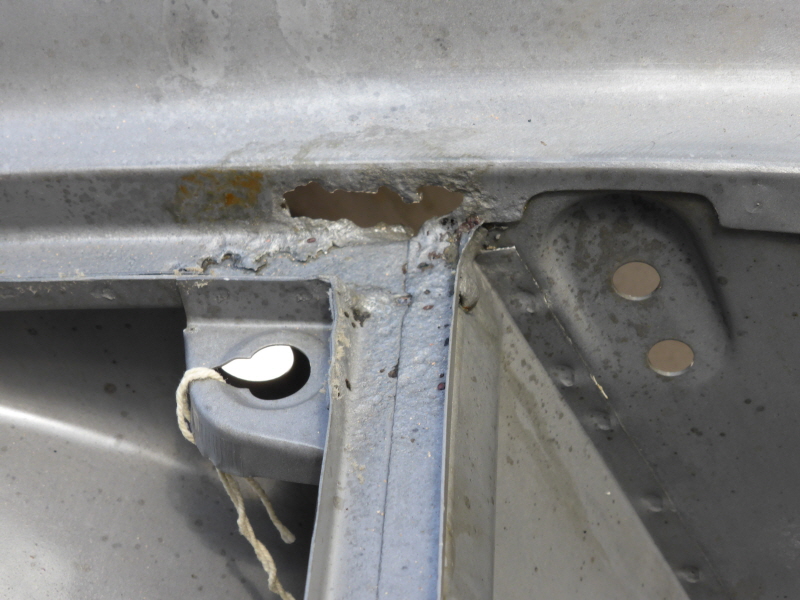
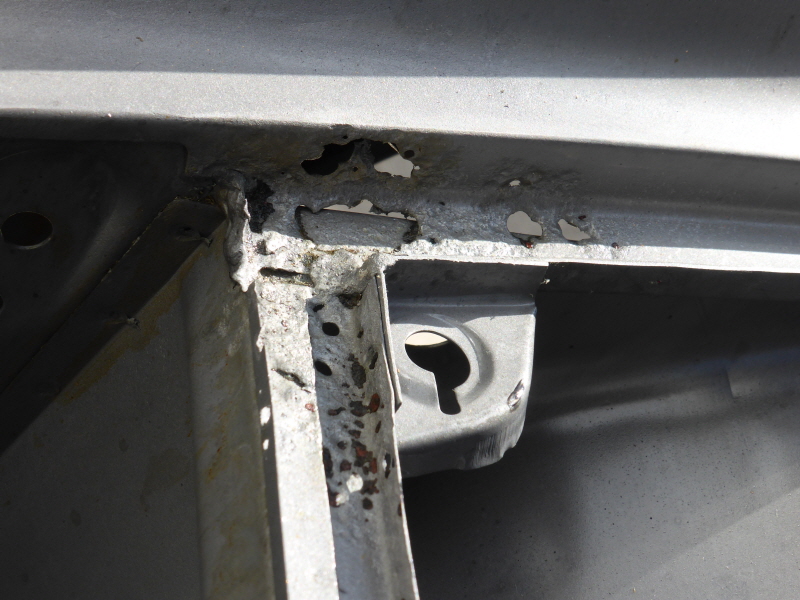
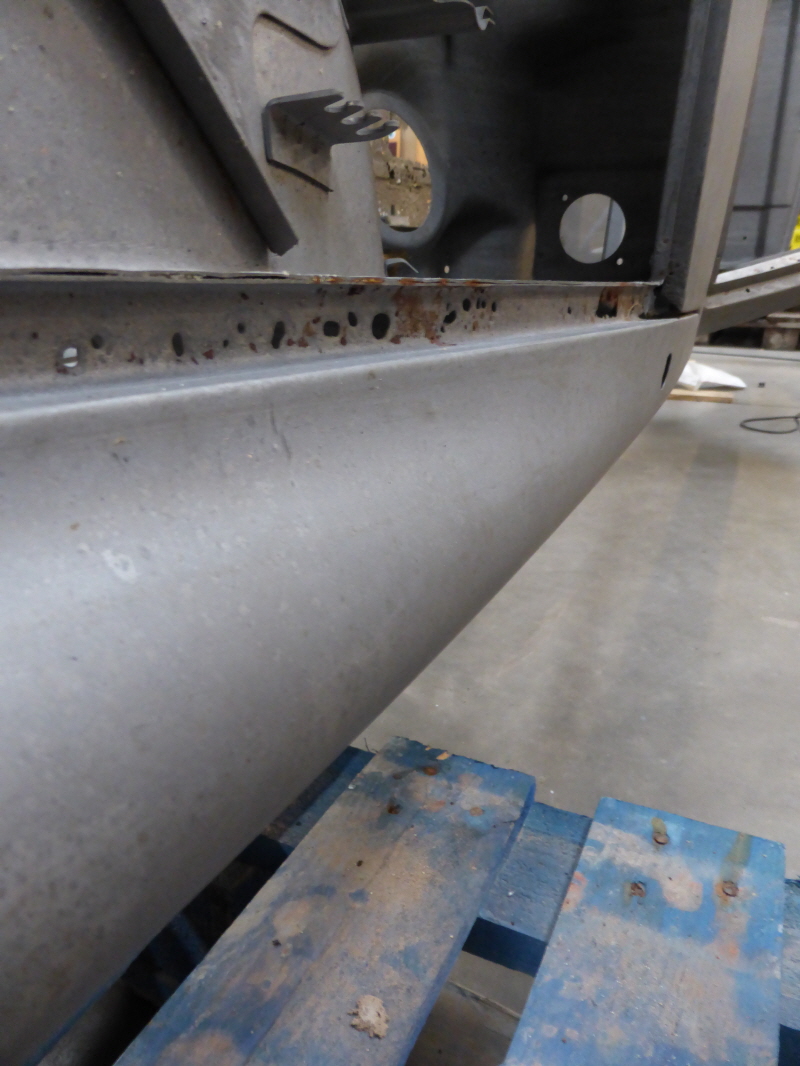
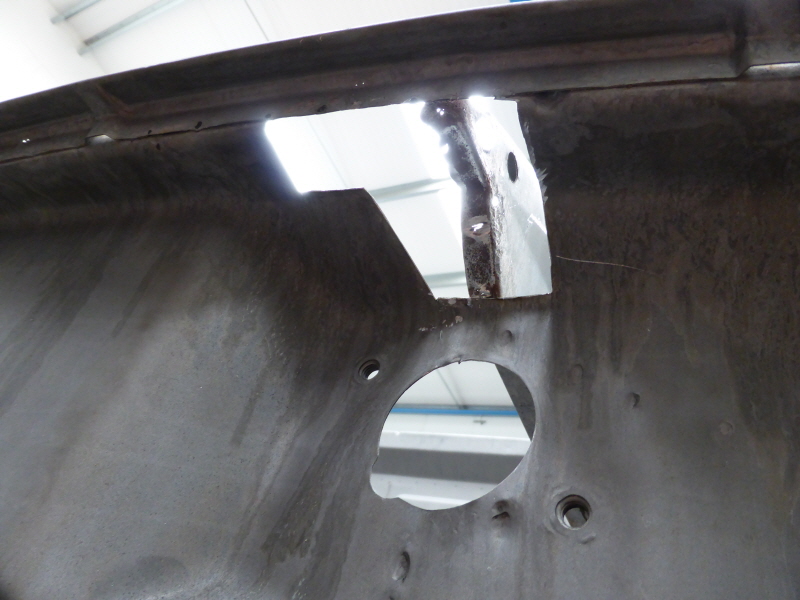
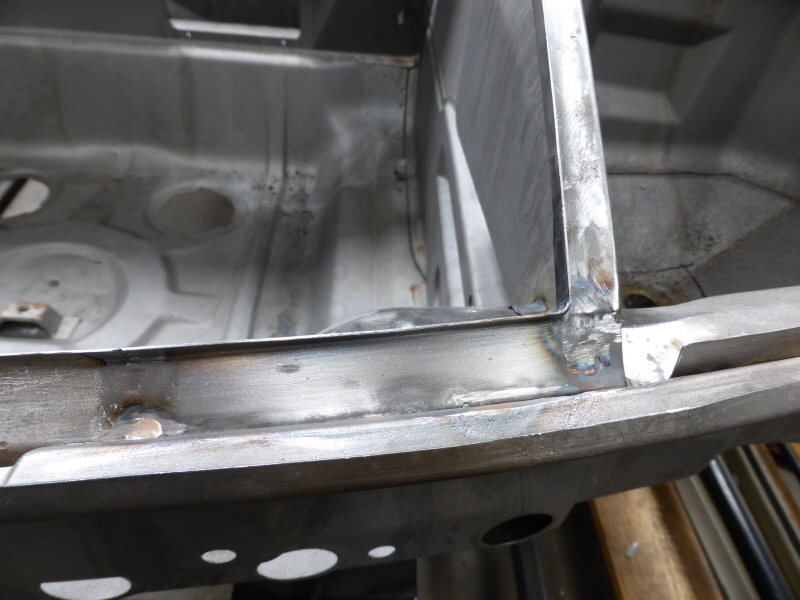
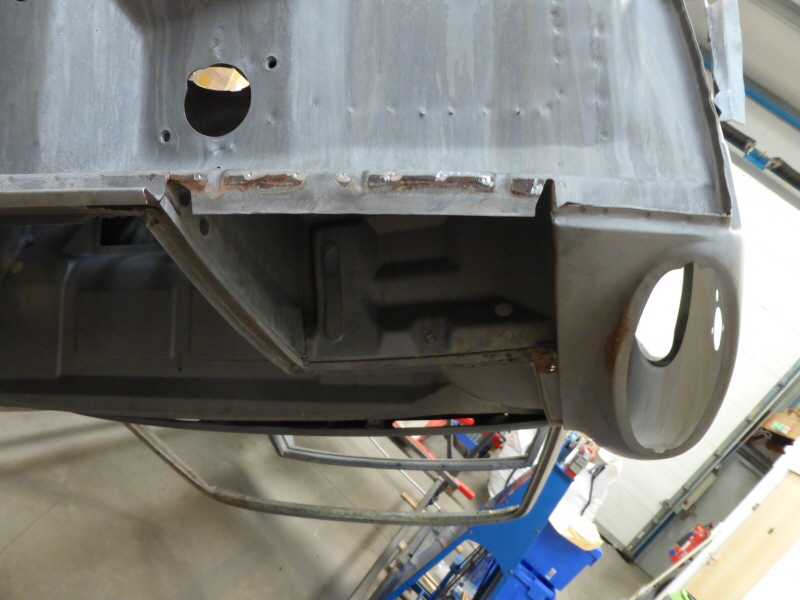
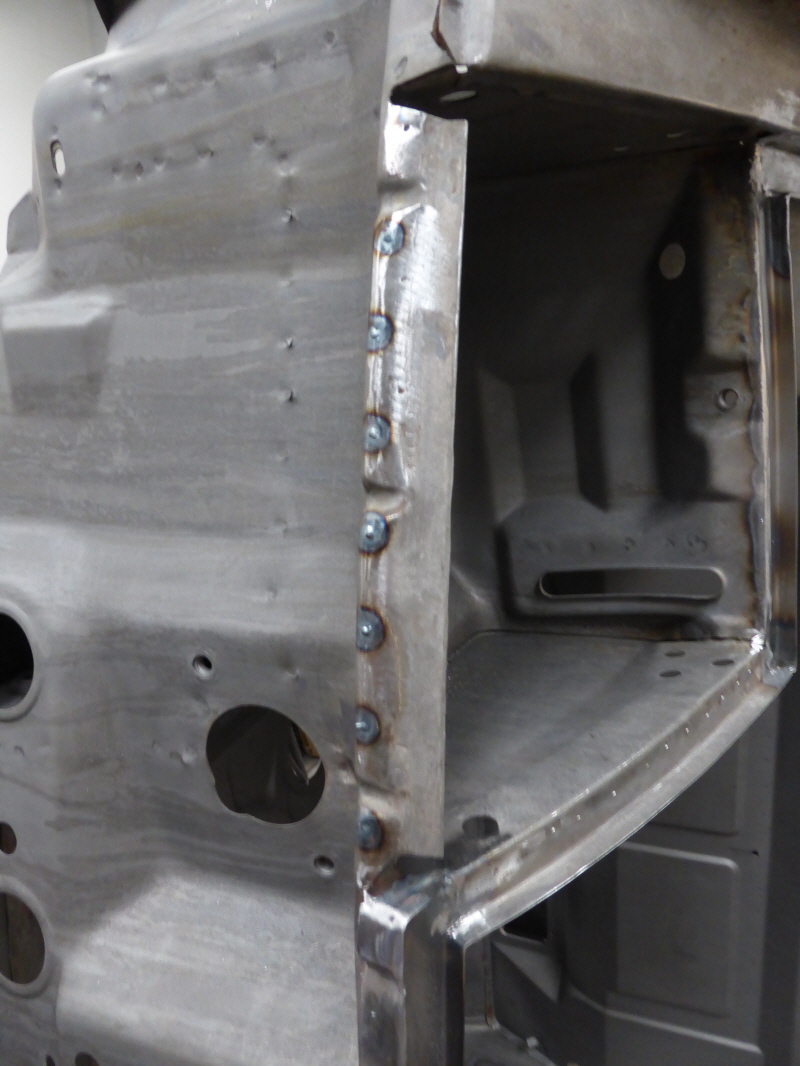
I've not made as much progress as I would have liked with my 914 since my last update, which was almost a year ago (embarassingly). However, I have made some progress, so an update of my DDK thread is rather overdue.
After looking at the many rotisserie designs available, every one I looked at had features which I thought I would modify if I bought it. Most of them only seemed to be available via ebay, and there seemed to be a considerable amount of competition between their makers to make the cheapest. Some looked ridiculously flimsy to me, and others were not bad designs, and seemed reasonable value for money, at around £400.
The biggest let down of all the designs I saw was that whoever came up with them seems to have given little or no consideration to making them easy to store without wasting lots of space when not in use. Most seemed to have sacrificed disassembleability for low cost, with very awkward to store fabrications. In the end I decided to make one, by converting parts I had already made for the modular stillage / trolley I'd made the the body shell when it went to be stripped. I also decided to include bearings so it is as easy as possible to turn the shell, with the idea being that is little of the welding as possible would need to be done 'out of position' if the shell was very easy to turn.
The end result cost maybe an extra £250 in box section, bearings and laser cut parts, and all breaks down ito long straight parts or small fabrications for storage whenever I get the bodywork finished:
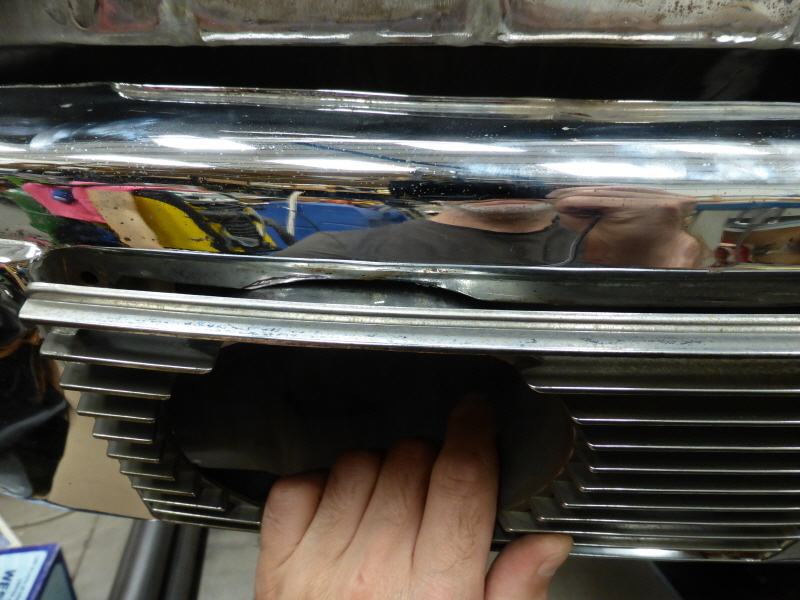
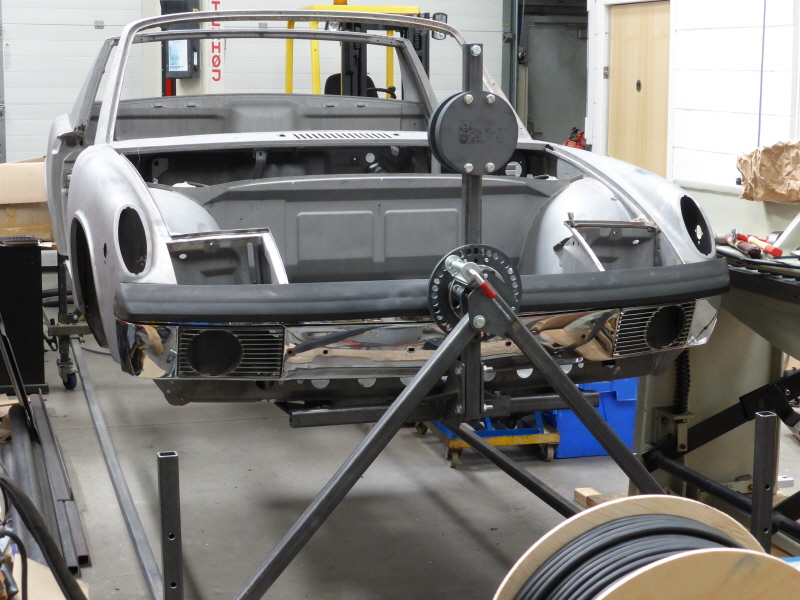
I decided to pick up on the suspension mouints at the front rather then the bumper mounts, as they needed no restoration, and I hadn't decided at the time exactly how I was going to mount the early front bumpers I'm converting to, or whether they would be steel or fibreglass:
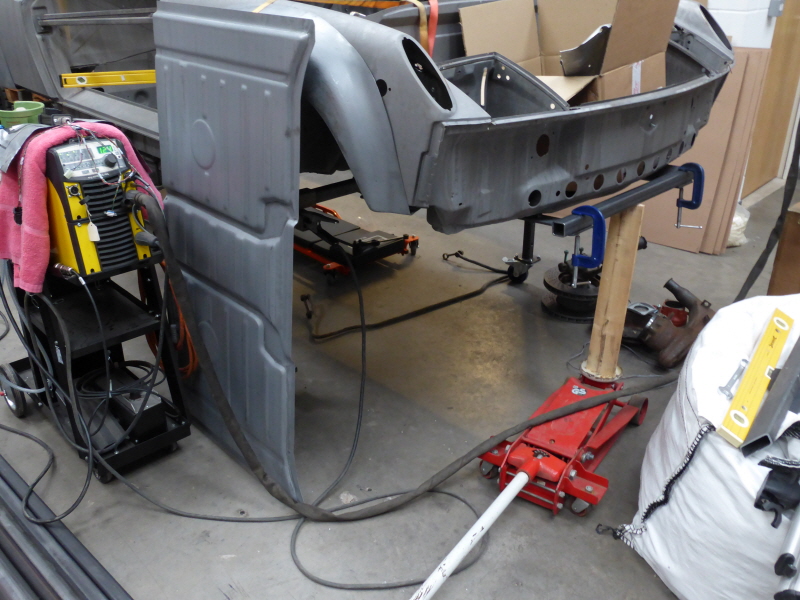
The beginnings of a foldable 'A frame' with an indexable plate on the FWD rear wheel bearing assemblies which the shell will pivot on:
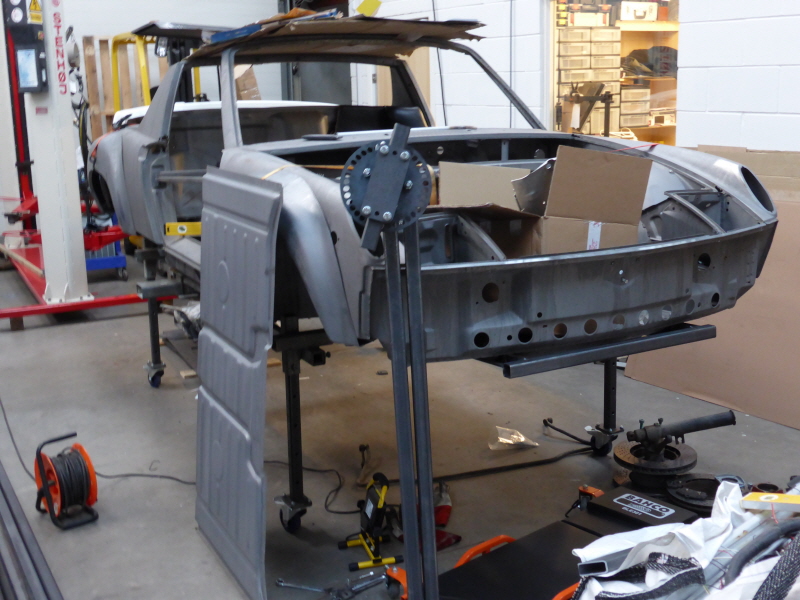
Here it is assembled. The height at which the front of the shell pivots is adjustable, currently by slackening bolts and jacking the shell up or down. A screw thread adjuster would be a nice add on, but probably not with the effort. The round steel discs on the tube sticking out to the right at the front make a sliding counterweight which gives fine adjustment of the C of G. A gate latch bolt locates in the indexing plate every 10 degrees:
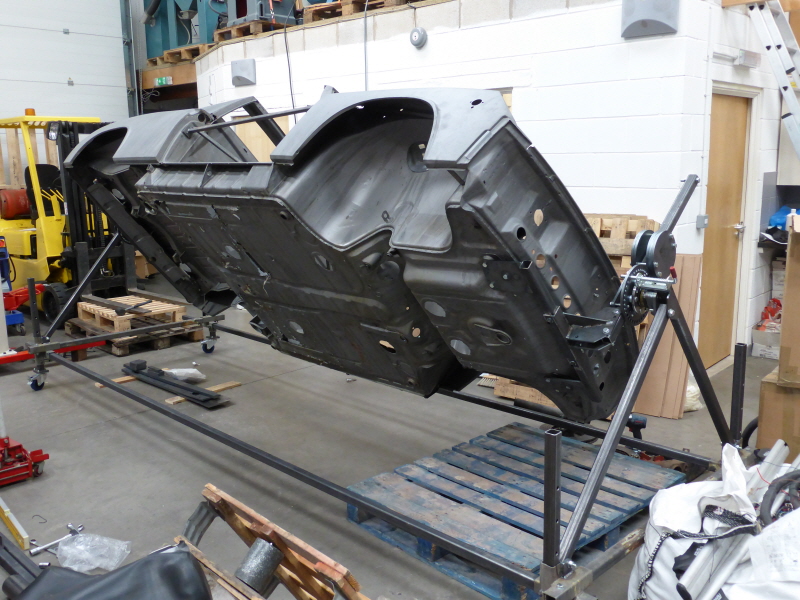
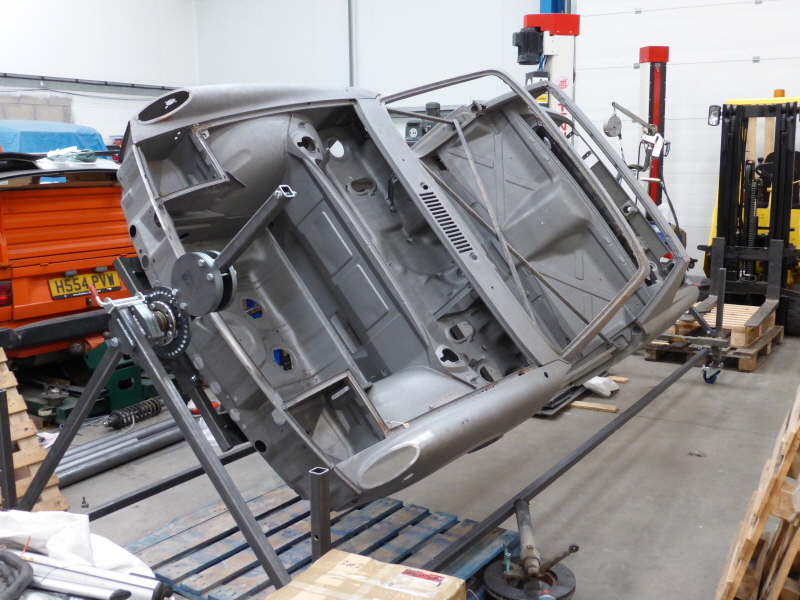
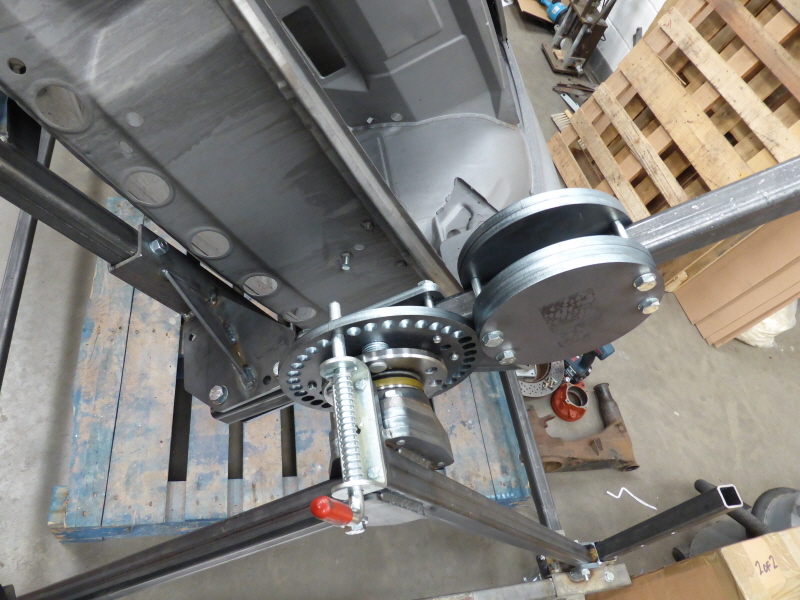
After a bit of playing around with the coarse and fine adjustment, I got the C of G spot on. If I spin the shell, it carries on rotating for a good few minutes. At first this was just amusing, but it had an unexpected advantage. All sorts of bits were falling on the floor from inside the closed sections in the shell. Almost all ash from the pyrolysis oven. I kept spinning it, for maybe half an hour, and afterwards swept up maybe half a dust pan of bits.
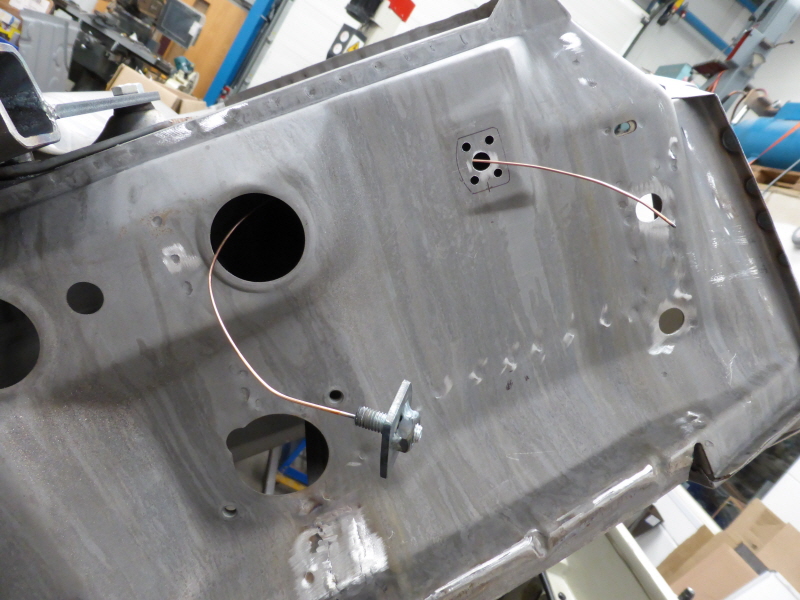
Many months after finishing the rotisserie, I finally had time to make a start on the bodywork. However, even before welding anything on the shell, I decided to put a couple of days practice into tig welding 0.9mm steel to find the optimum tig settings and procedures.
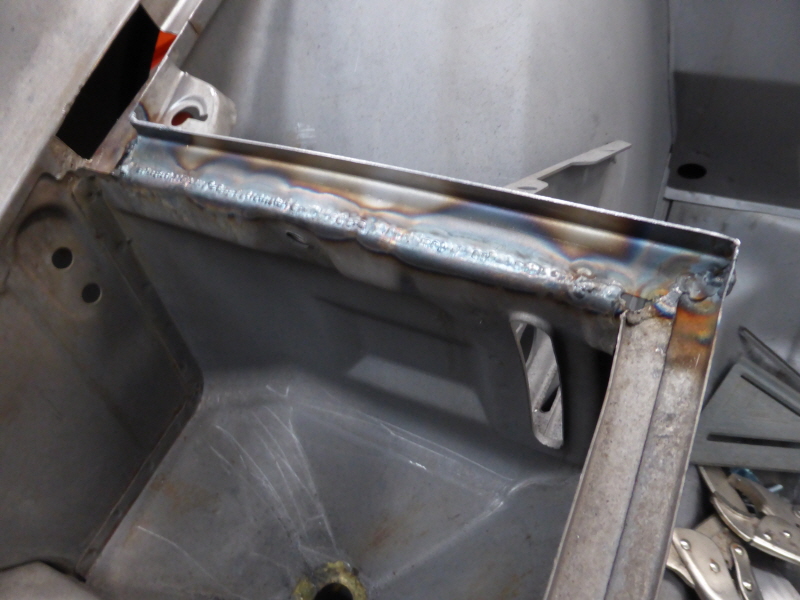
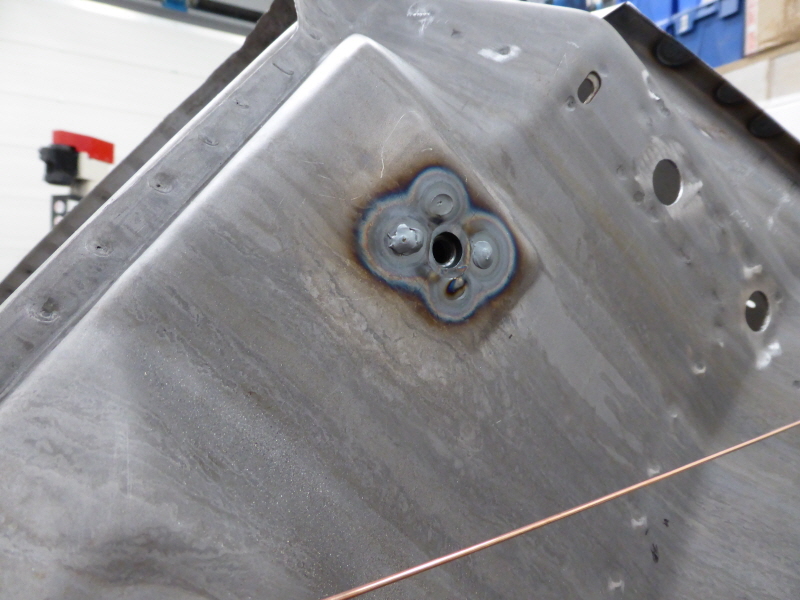
My best results were with pulsed tig, using very short bursts of about 80A, followed by a long gap. This effectively produces a series of overlapping tacks, with time inbetween each pulse to move and reposition if the access is awkward, while putting in minimal heat.
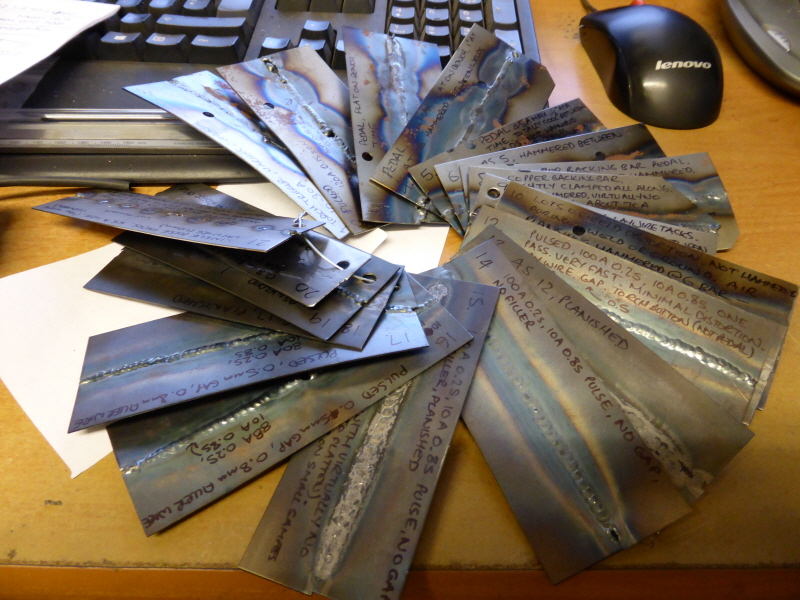
My tig experimenting showed four real revelations (to me!), so were time well spent before doing any actual bodywork:
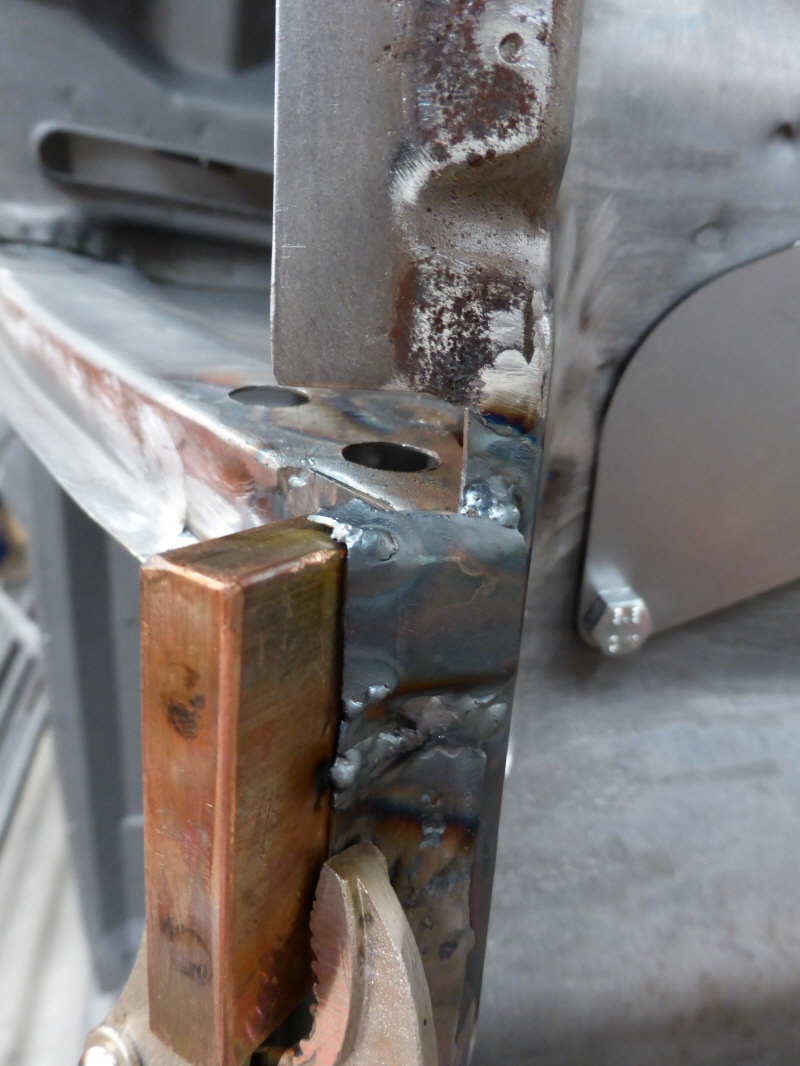
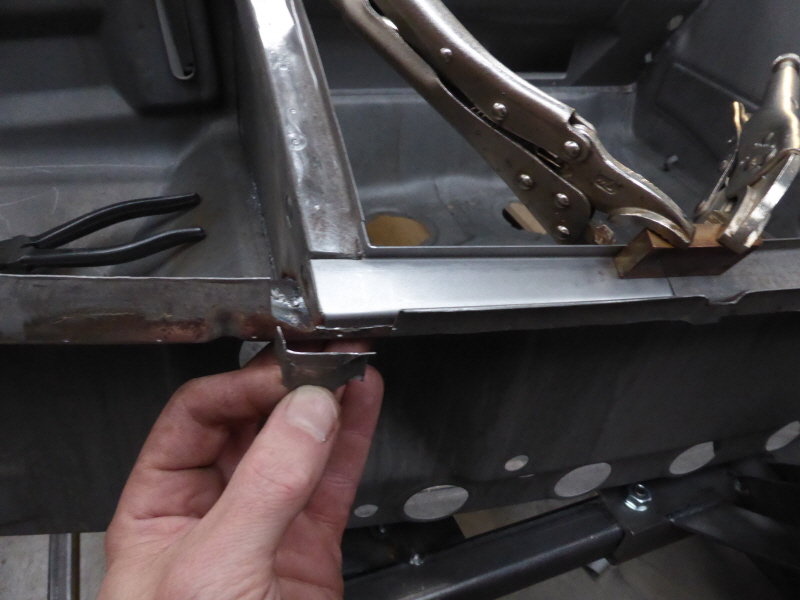
1. Using copper backing bars. I expected them to work well, having never tried before, but they proved far more useful than I expected. If they can be clamped up to the work tightly enough, it was possible to get rid of almost all the distortion, as the copper sucks almost all of the heat out of the surrounding steel despite a far higher welding current being needed.
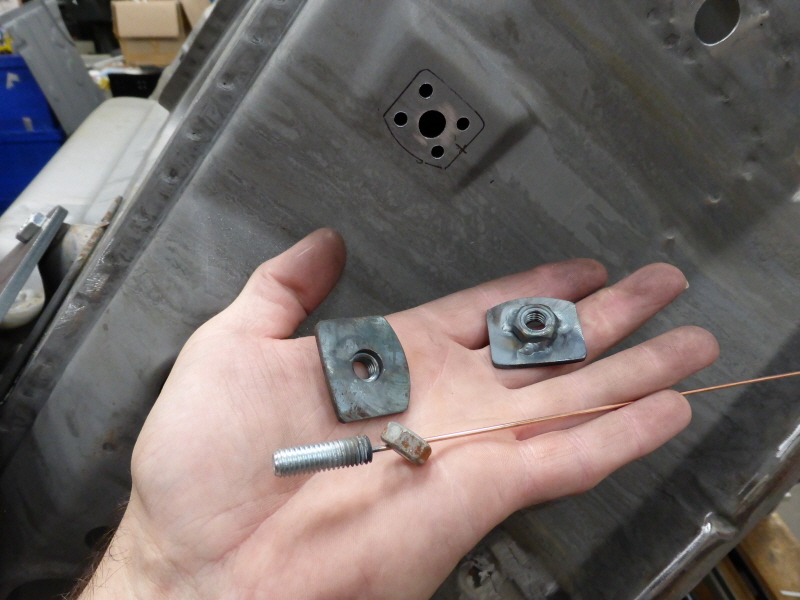
2. How copper backing bars allow a gap between two thin panels to be filled, say if two panels are not a perfect fit together. I bridged a gap of around double the steel thickness, and got a neat weld too. Pretty sure I couldn't do that without the copper block behind the weld.
3. How much difference getting the tig filler wire size just right makes on thick sheet steel weld. I'd started out using 1mm ER70S, as it's the thinnest I can get easily, but it was still a bit too thick. Using straightened 0.8mm mig wire was far better (It's really easy to straighten by twisting it while in tension until it yields, which is at about 30 turns per metre - thanks Youtube).
4. Using a pedal. I've had a pedal for my tig for many years, but have never really got on that well with using it. Probably because I had learned to tig without having a pedal. However, the pedal has proven invaluable for tiging bodywork. Especially for initial tacking, which I don't find easy at all without using the pedal.
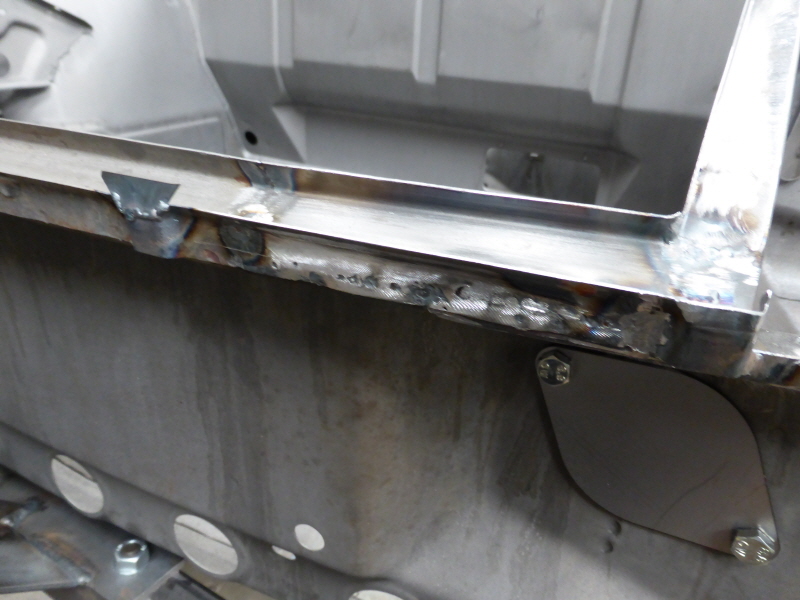
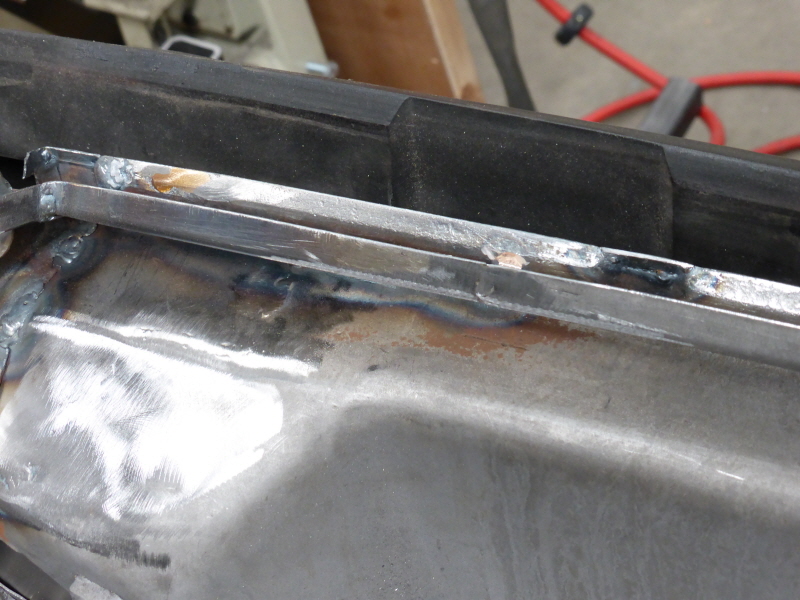
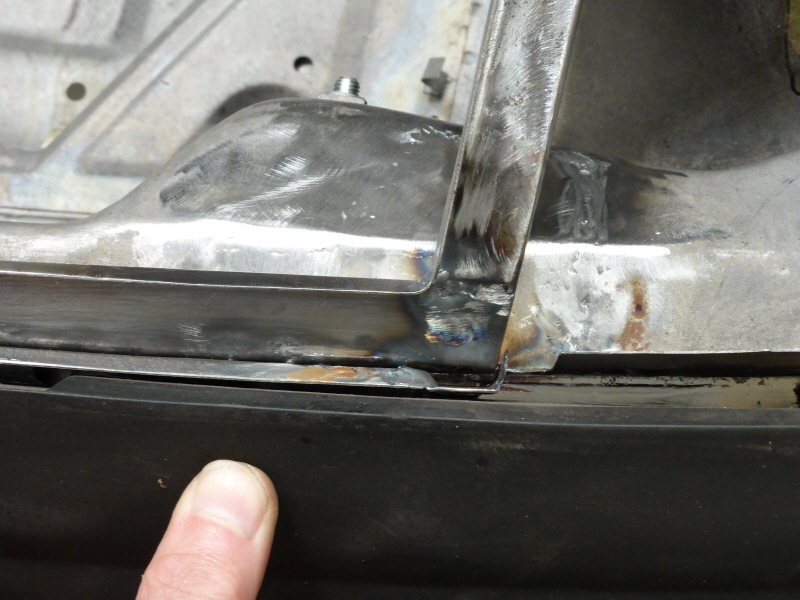
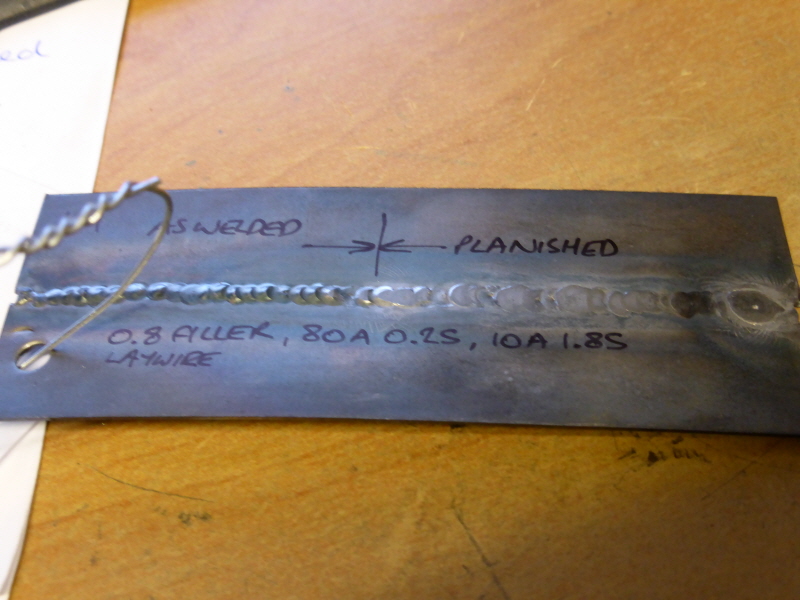
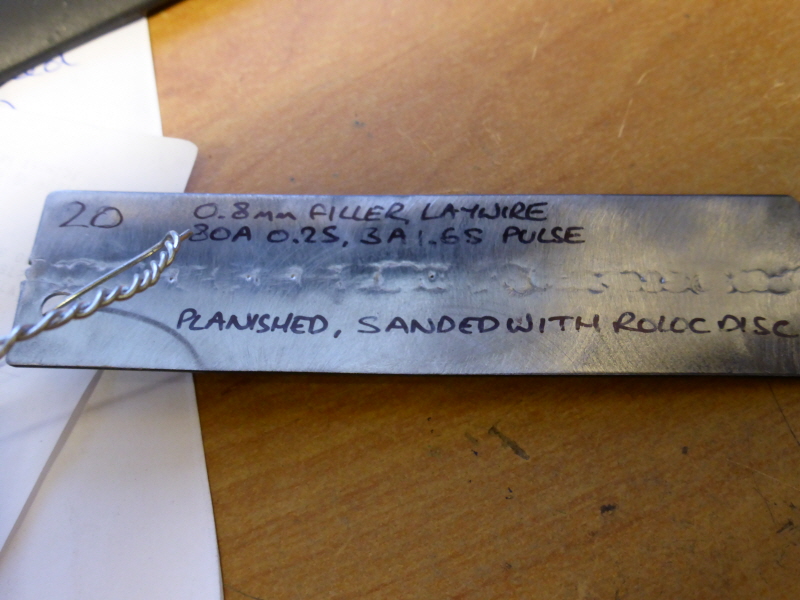
5. The 5th revelation was not to do with the actual welding, but how effective planishing tig but welds in bodywork can be. I’d bought the cheapest air planishing hammer I could find – the one everyone on US forums refers to as the ‘Harbour Freight’ planishing hammer. It was something like £100 inc VAT & delivery, new, so my expectations were not high. After changing the top tool for a flat one with no rubber grommet edge (sold as a riveter tool for an air chisel by numerous Chinese ebay sellers), and making a flat bottom tool from EN24, I tried using it to planish tig but welds. The results were amazing to me. It is relatively easy to get rid of all the distortion by hammering the weld bead flat, without stretching the base metal, and doing so gets rid of any need to grind the weld bead:
I have taken all the photos of the actual bodywork progress so far, but don't have time to write up and upload then at the moment. I'll try to get that done in the next couple of days.