Page 2 of 9
Re: Next Project
Posted: Tue Dec 30, 2014 8:15 am
by oliver365
superb

Re: Next Project
Posted: Mon Jan 19, 2015 3:35 pm
by mdmax72
No joy in finding a steering column clamp for a Speedster.
Decided to buy a Coupe clamp as it's the same dimensions, only difference is its taller. So l can use as a profile to make my own Speedster clamp. The Speedster column rubber shows how's much short the coupe clamp is.
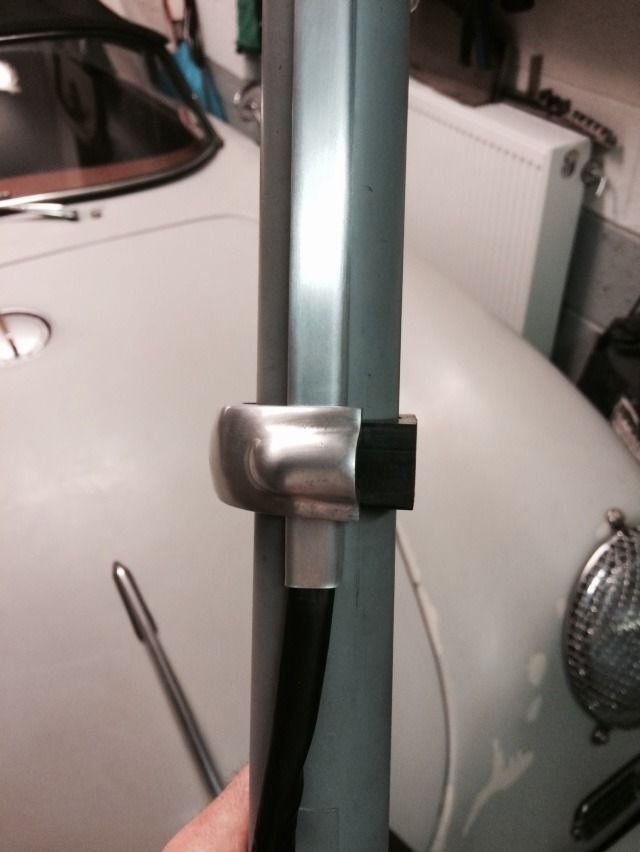
I could just make a spacer to make up the difference, but where's the fun in that. Also the cost of these clamps is ridicules. So, figured if l use it as a template l can sell it on and get my £££'s back. So ordered a block of Aluminium at a cost £9 with postage. Now all l need to do is mark it out and cut it out. Easy if you got a cnc machine.
Re: Next Project
Posted: Mon Jan 19, 2015 7:21 pm
by greg356a
Love it

Re: Next Project
Posted: Mon Jan 19, 2015 7:59 pm
by sladey
mdmax72 wrote:Easy if you got a cnc machine.
Or a drill press

Re: Next Project
Posted: Mon Jan 19, 2015 8:04 pm
by myatt1972
Ive got about 4 cnc machines in the cow shed, when you coming to get them gents?....................................only joking
Re: Next Project
Posted: Tue Jan 20, 2015 11:06 am
by oliver365
skills

Re: Next Project
Posted: Tue Jan 20, 2015 6:54 pm
by mdmax72
Will it fit in the car Keith, if so I'll have one
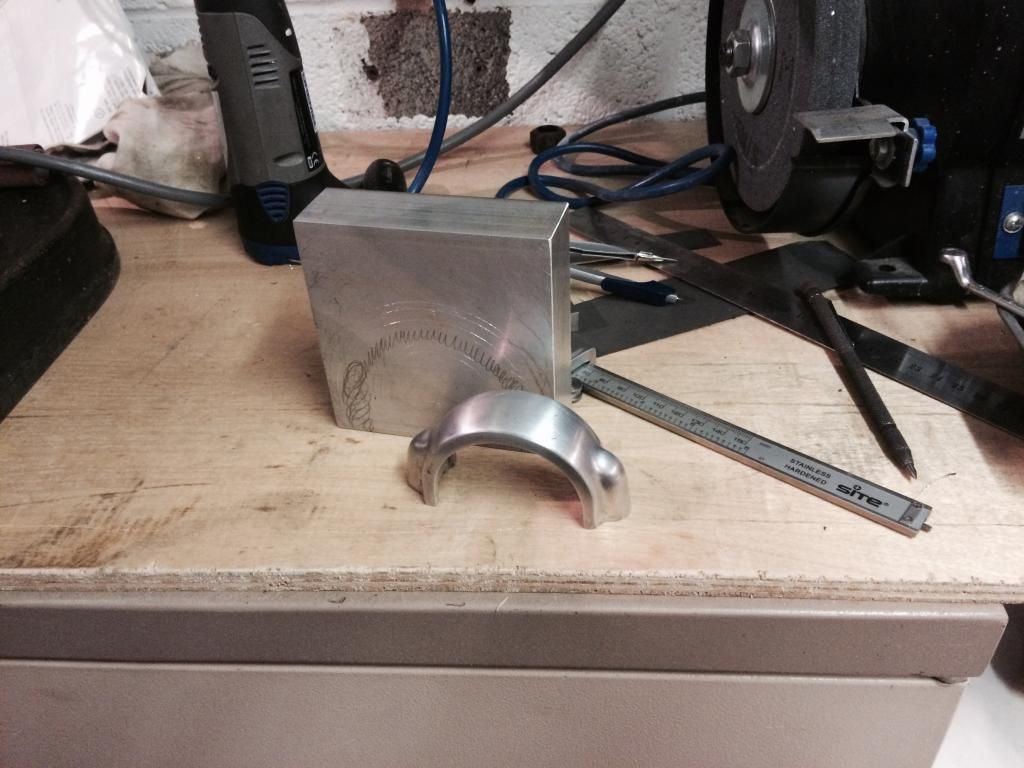
What a tool Mark, makes me wonder how l managed without one for all these years.
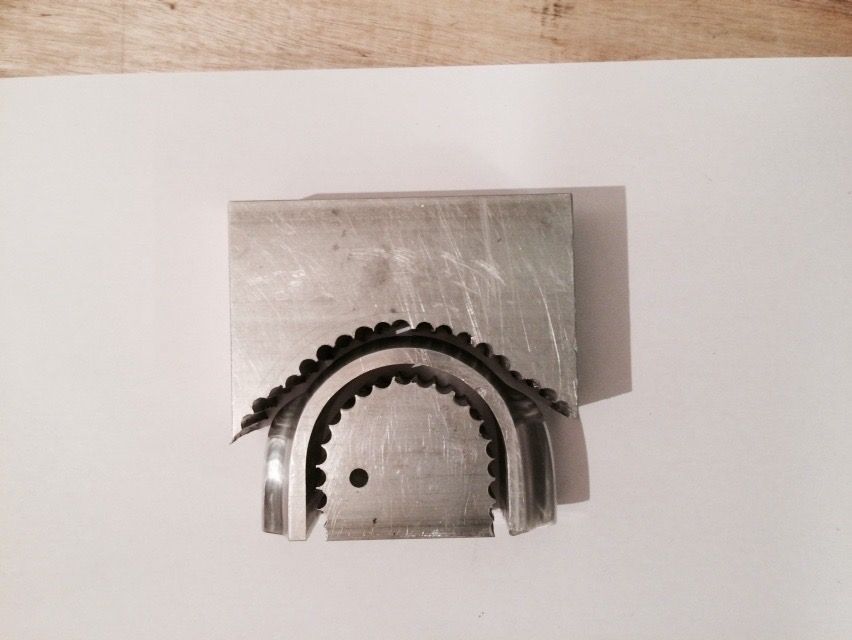
Here's what l got upto last night.
Re: Next Project
Posted: Thu Jan 22, 2015 6:58 pm
by mdmax72
Making some good progress with the clamp. Got it to the basic shape, now the fun begins with shaping it up.
Re: Next Project
Posted: Thu Jan 22, 2015 9:44 pm
by haasad
Nice work.
Re: Next Project
Posted: Thu Jan 22, 2015 11:18 pm
by sladey
Awesome work!!
Did you do all that with the drill press?
Did you have a guide/fence for where to do the drilling or was it all by eye using the markings you made on the metal?
Re: Next Project
Posted: Sat Jan 24, 2015 9:10 am
by 911hillclimber
A good drill press, and a good cross-axis vise on a rotating base/ dividing head? And a sharp milling cutter as a drill??
Good substitute for a vertical miller.
Re: Next Project
Posted: Sat Jan 24, 2015 10:11 am
by mdmax72
sladey wrote:
Did you do all that with the drill press?
Did you have a guide/fence for where to do the drilling or was it all by eye using the markings you made on the metal?
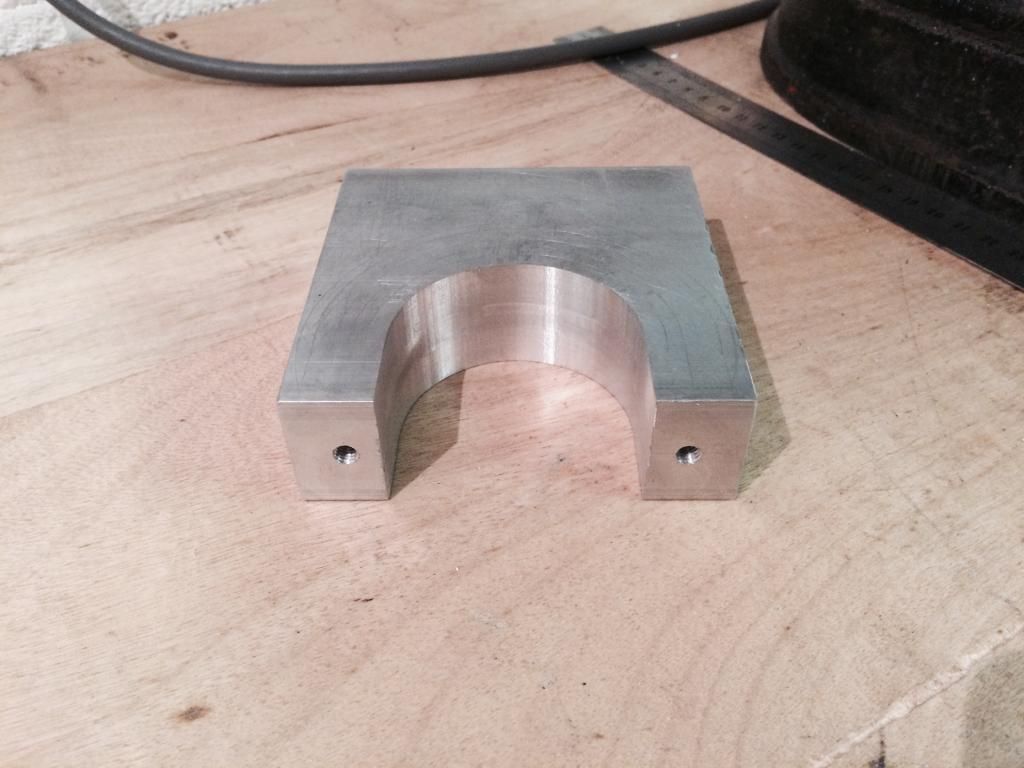
Yes 100% all done with the same drill press you have. Did it with-out a guide or fence. Marked it out precisley and drilled out the basic shape, then used some tungsten burrs to start carving it out by eye and feel. Maybe not the right way to do it but it worked for me and surprisingly didn't take to long.
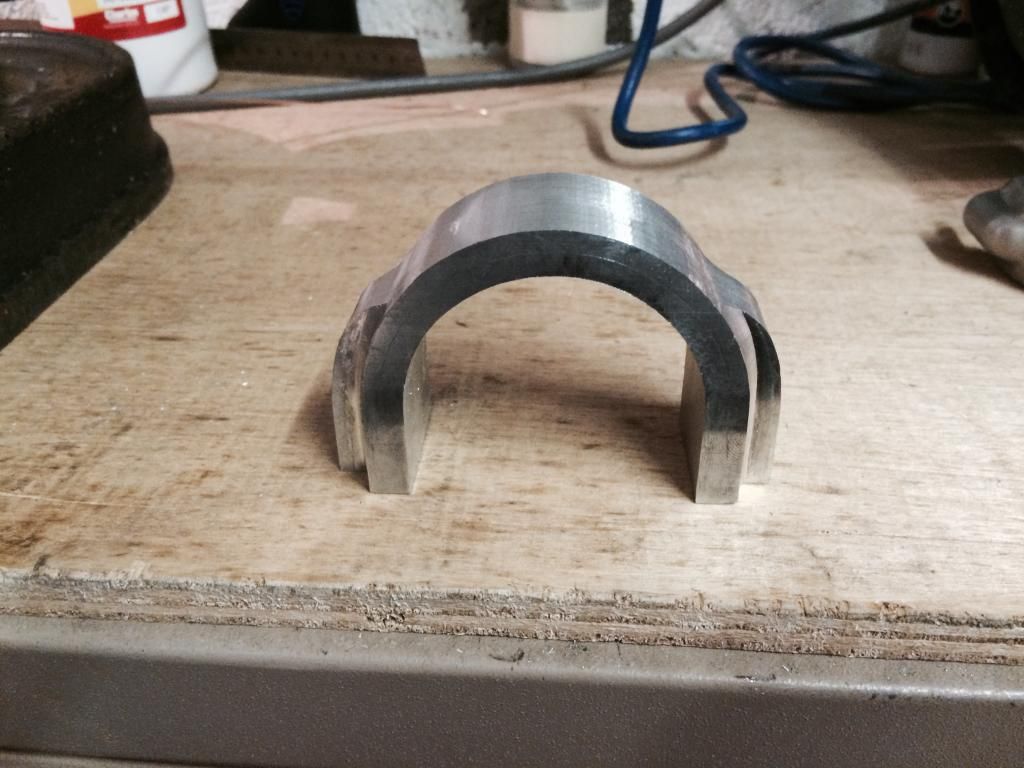
Last nights session results.
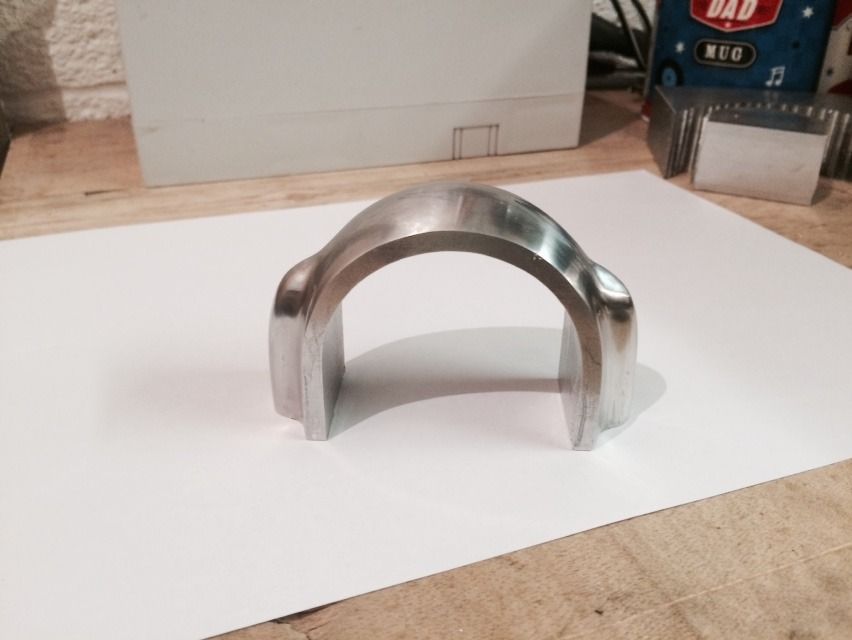

Just need to finish the inside of the bracket for the rubber to insert. Not sure how I'm going to do this yet...
Re: Next Project
Posted: Sat Jan 24, 2015 11:37 am
by Lightweight_911
Quality work !
Re: Next Project
Posted: Wed Feb 18, 2015 7:20 pm
by mdmax72
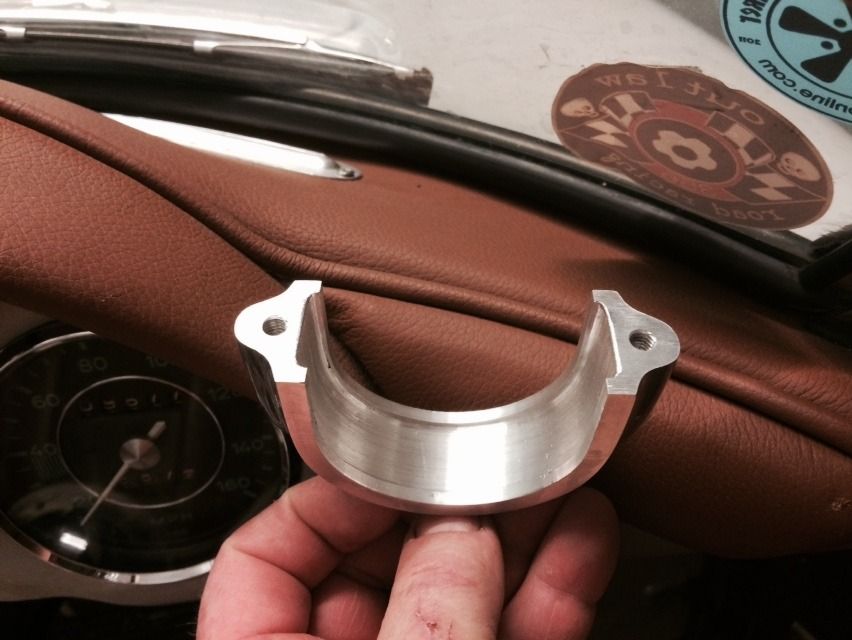
Progress has been slow the last few weeks. Bracket is now complete. Managed to machine the inside of the bracket to accept the rubber and happy with the result. Also got my head round the wiring needed to convert the stalks to work with my loom.
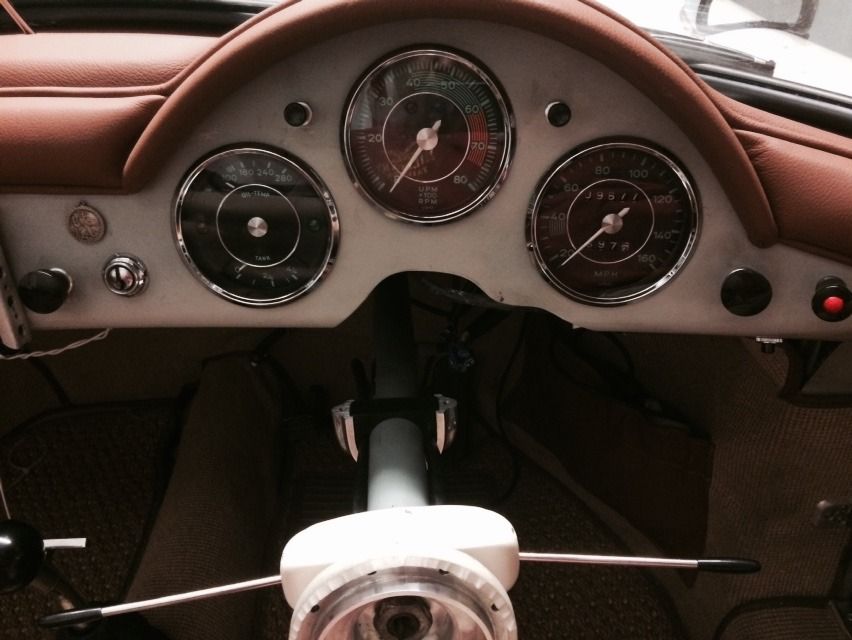
Been putting this bit of for a while, as I'm more of a metal guy and a few of you guys are dabbling in grp. What would you suggest the best way to do the dash. Chesil cut-out for the ignition and indicator body. Why!!! Anyhow it needs filling, what's the best way of doing it. Will all the clocks etc need to come out?? Any ideas welcome...
Re: Next Project
Posted: Wed Feb 18, 2015 8:00 pm
by sladey
mdmax72 wrote:sladey wrote:
Did you do all that with the drill press?
Did you have a guide/fence for where to do the drilling or was it all by eye using the markings you made on the metal?
Yes 100% all done with the same drill press you have. Did it with-out a guide or fence. Marked it out precisley and drilled out the basic shape, then used some tungsten burrs to start carving it out by eye and feel. Maybe not the right way to do it but it worked for me and surprisingly didn't take to long.
Last nights session results.
Just need to finish the inside of the bracket for the rubber to insert. Not sure how I'm going to do this yet...
Only just caught up with this - awesome work - that is a thing of beauty! (But no answer to your question I'm afraid)


