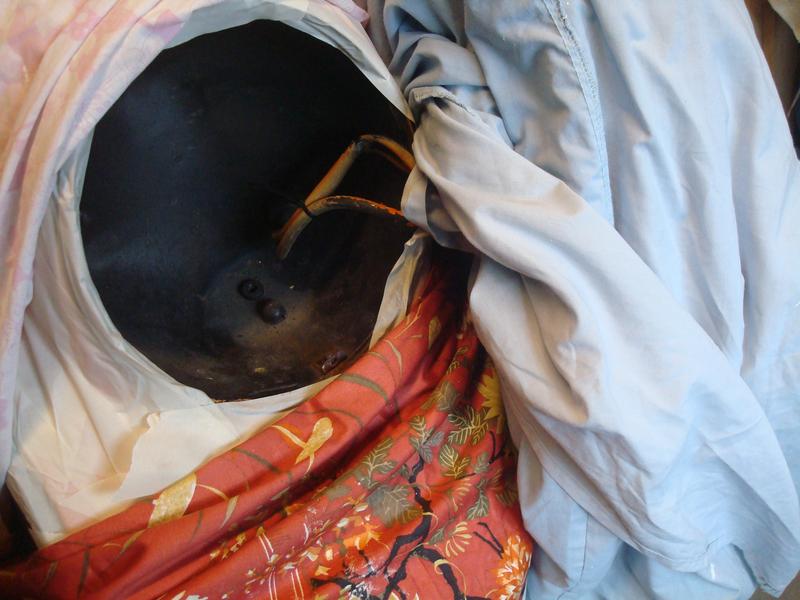
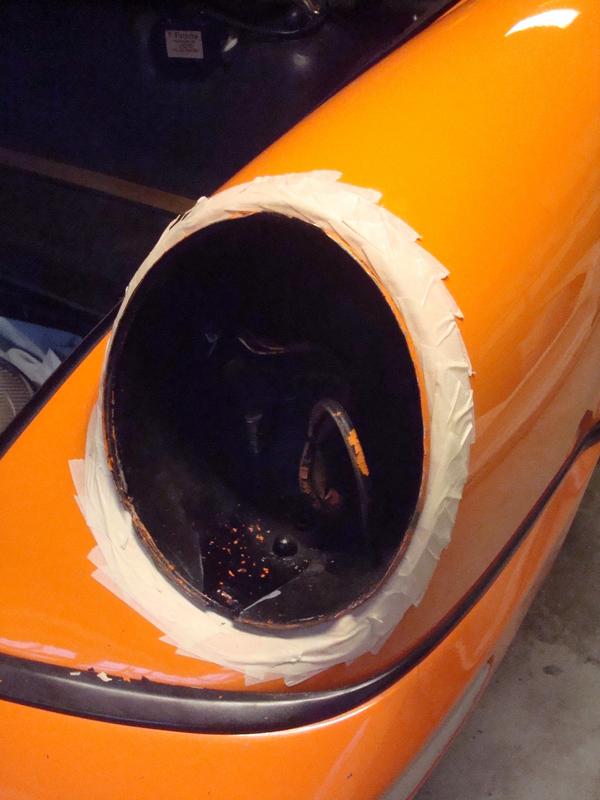
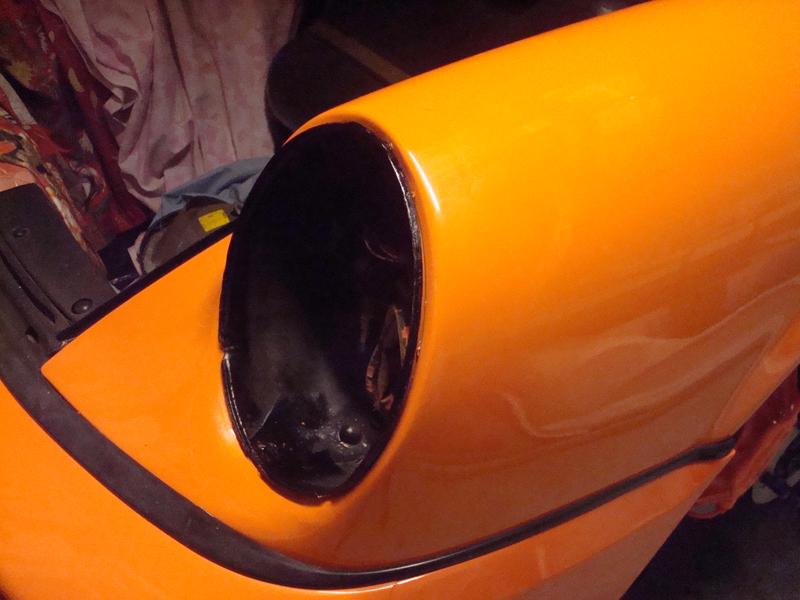
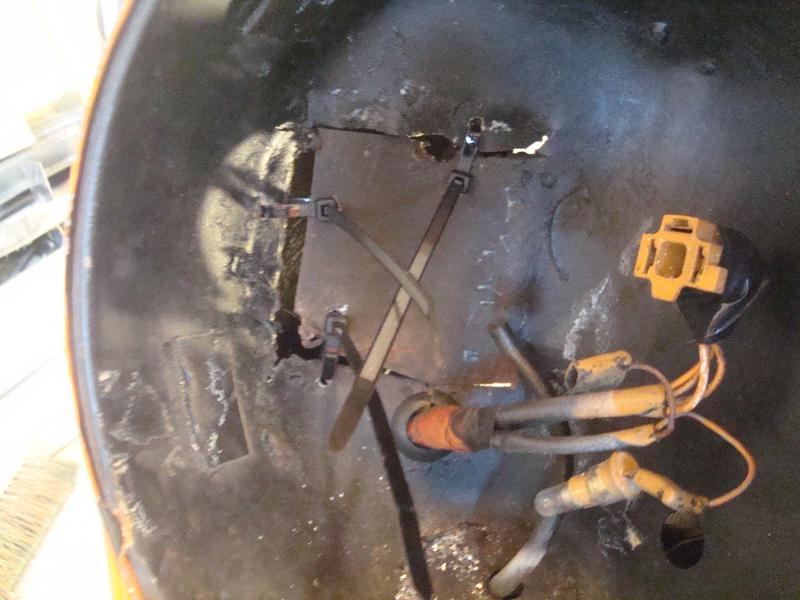
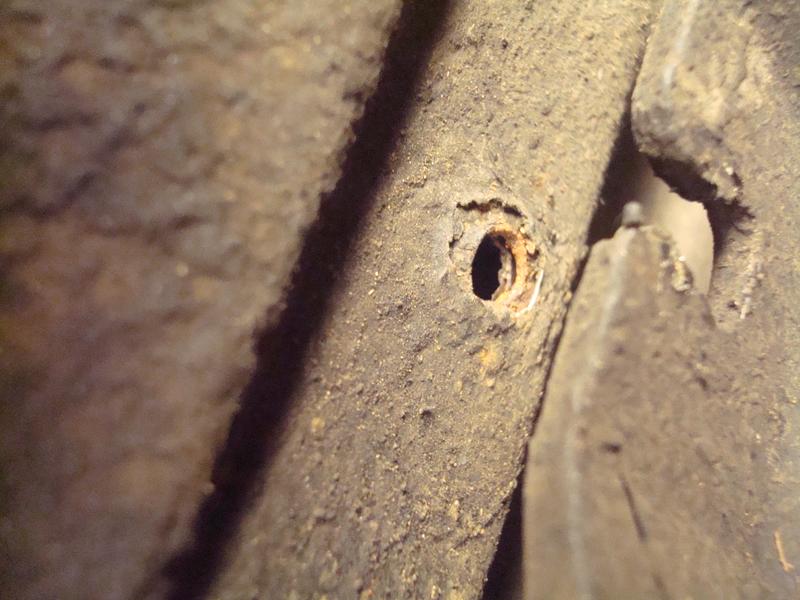
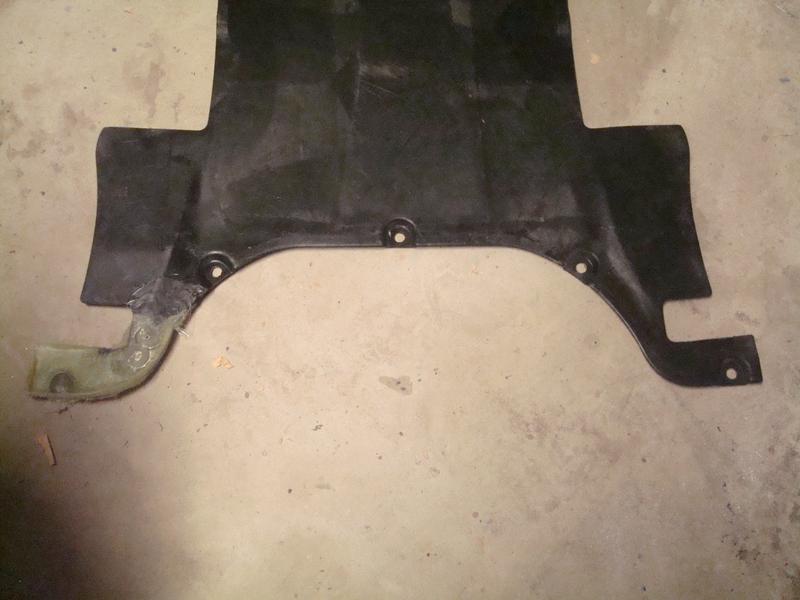
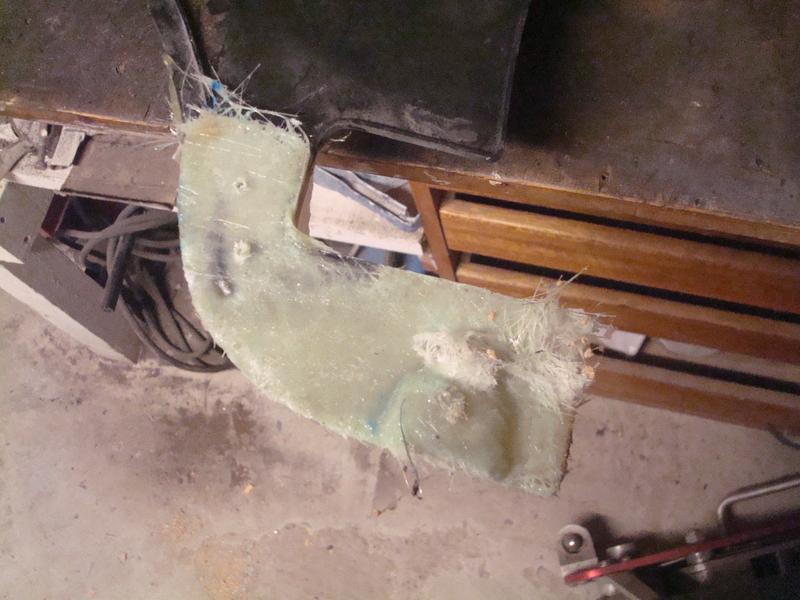
Next up was the front undertray. Angus pointed out on his appraisal that there wasn't one, and after spending so much time cleaning everything up under there I looked into getting one. They looked a bit heavy at £180 odd, so I found one with damage for less than half that on ebay. Operation fix.
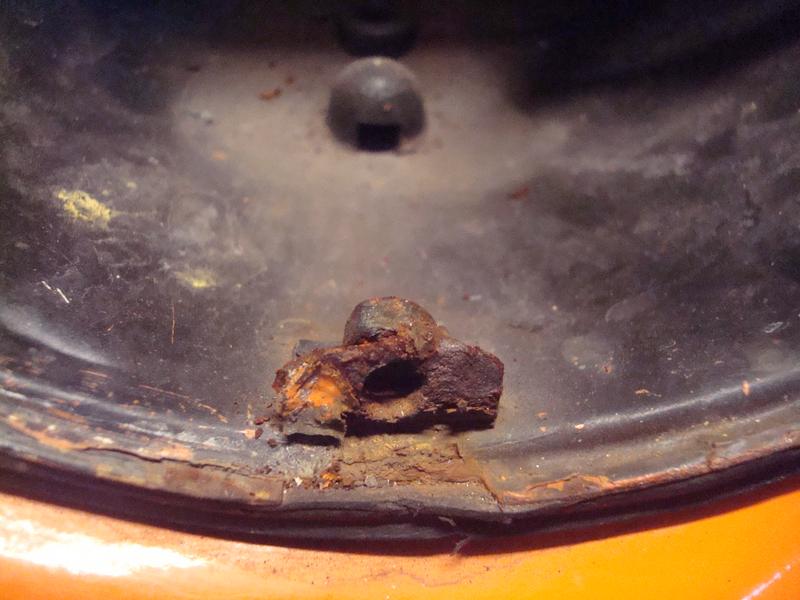
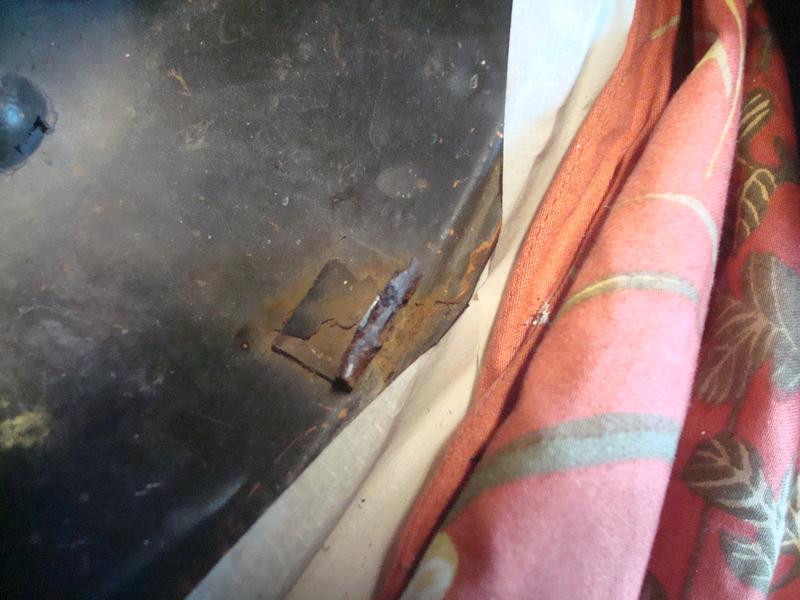
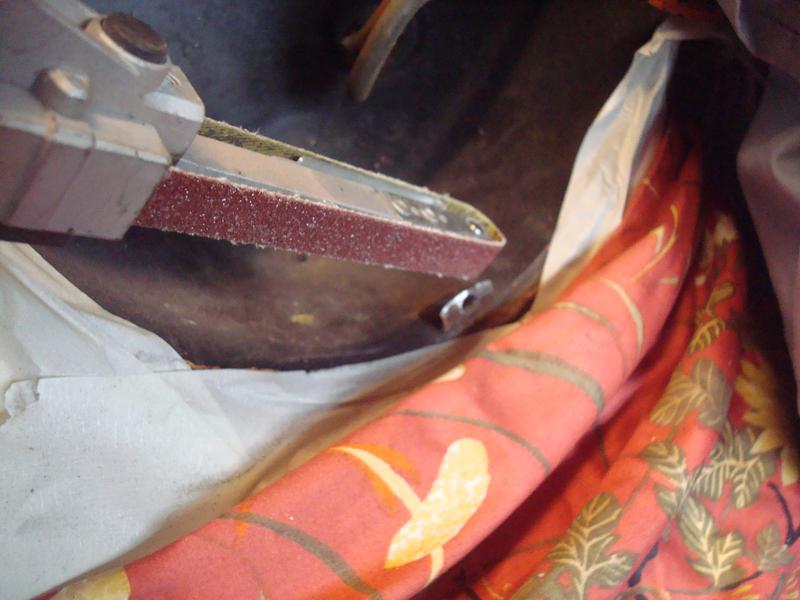
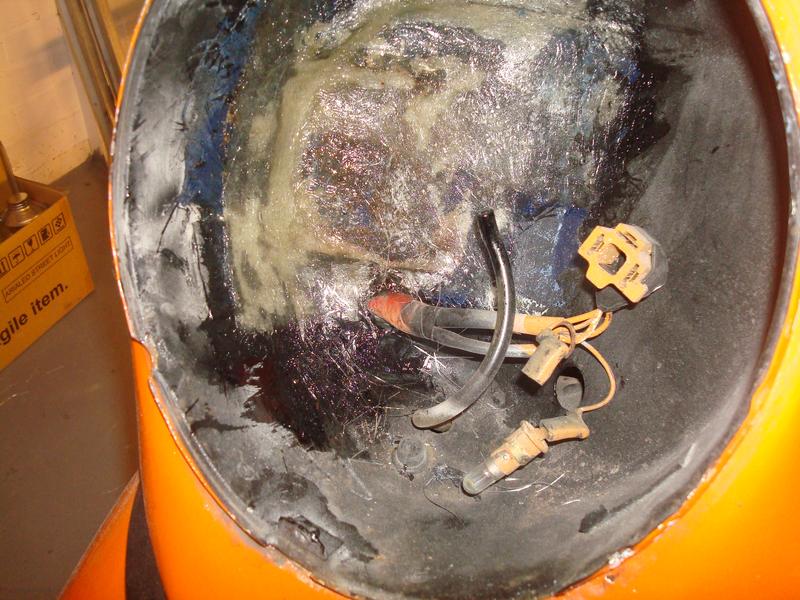
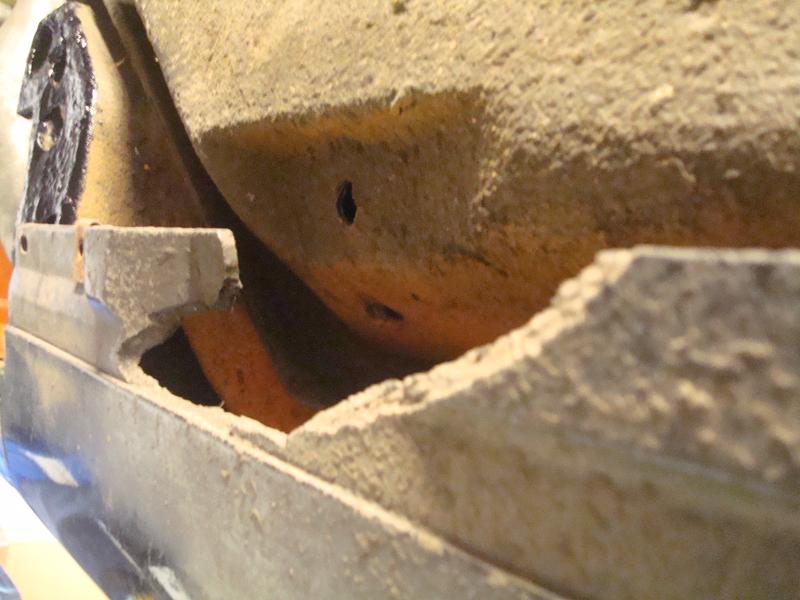
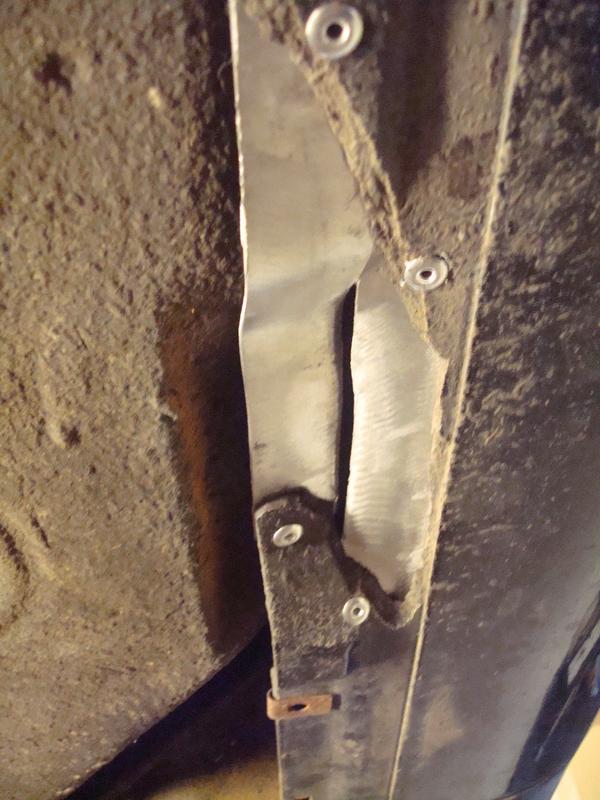
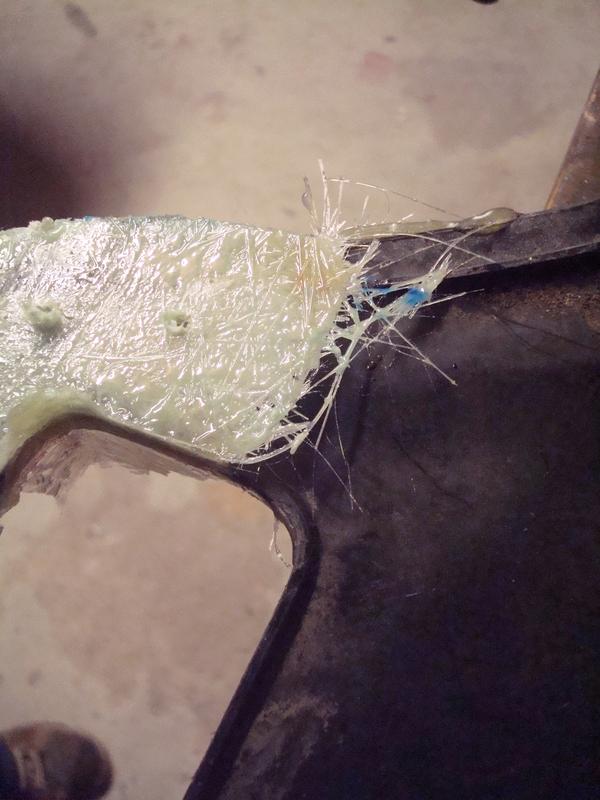
The problem with the one I had was that the front 'ear' had snapped off, and without it air would get underneath and after a while probably snap the thing in half. So again I tried to do an economical repair that would get it usable without spending days on it. Fibreglass was the obvious material to use (I have loads in stock after moulding the dash for the 914) but I didn't want to spend days making a mould. So I thought about how I could cheat....
The first step was to cut out the shape in card, a bit larger than required
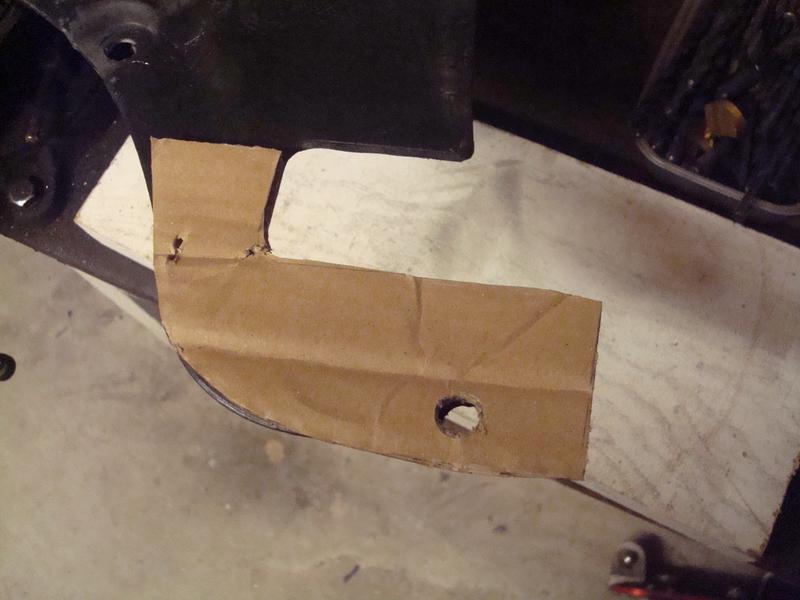
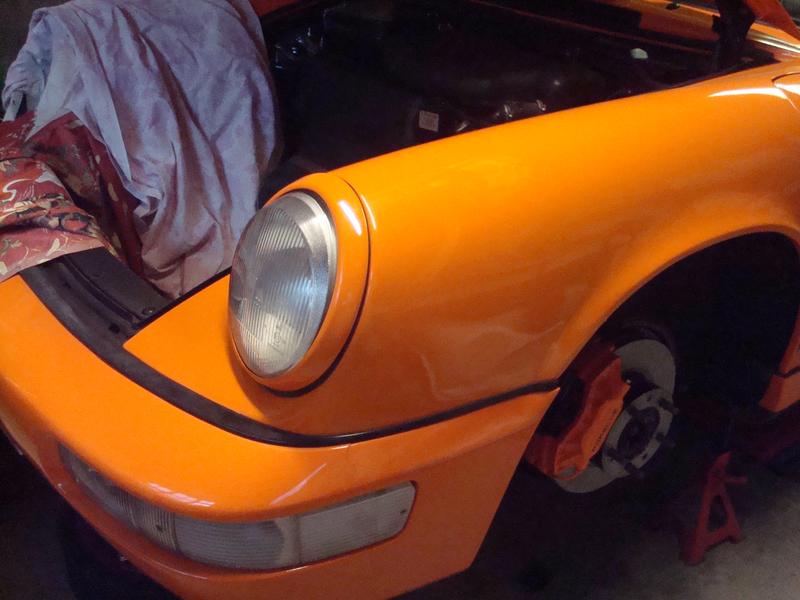
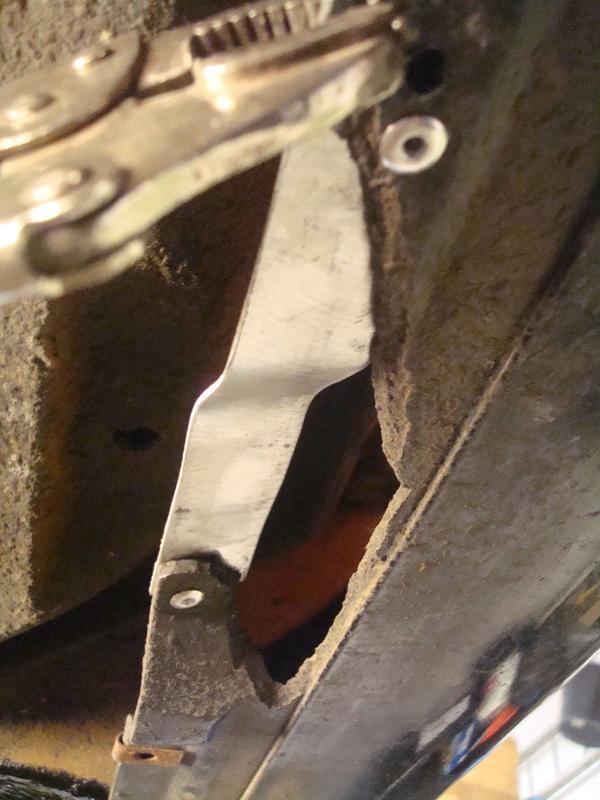
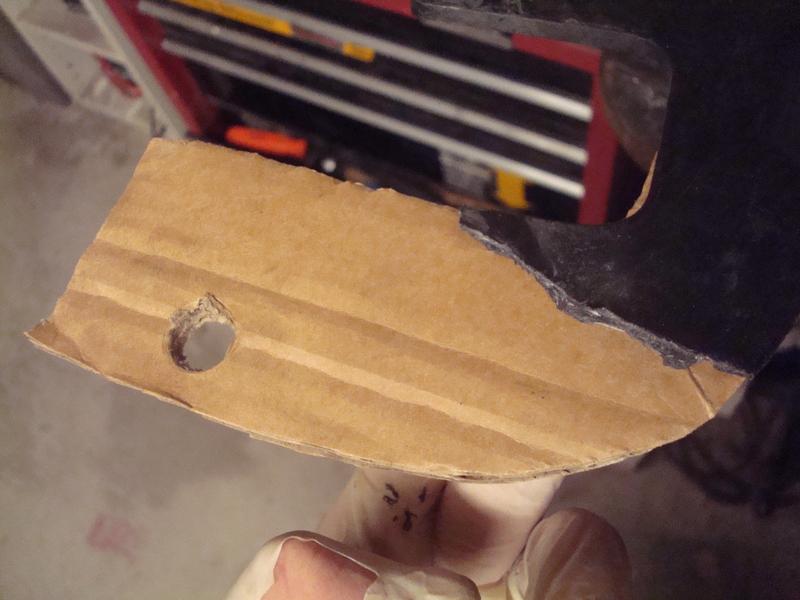
Offered up, I wanted the finished panel to look like this
So now I had to figure a way of creating my non-mould. I traced the template out on a block of 6 by 1
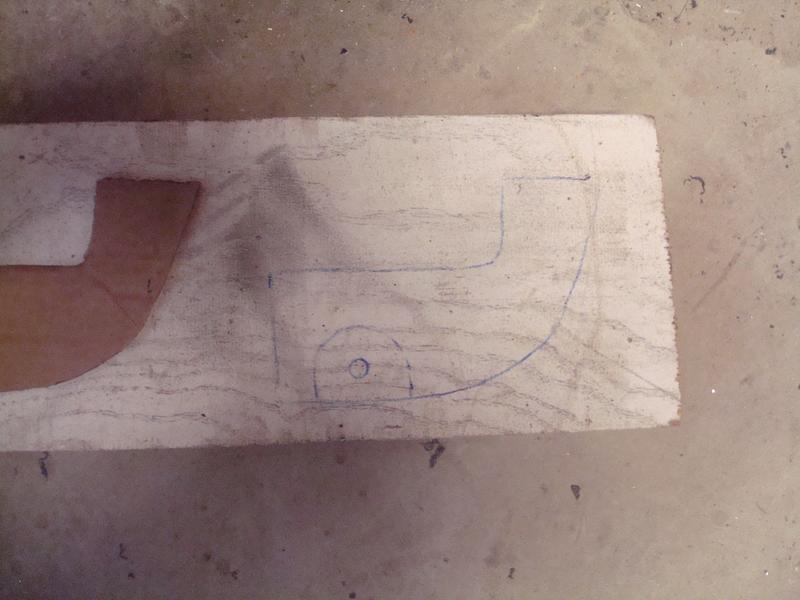
Then cut the shape out with a fine cutting disc
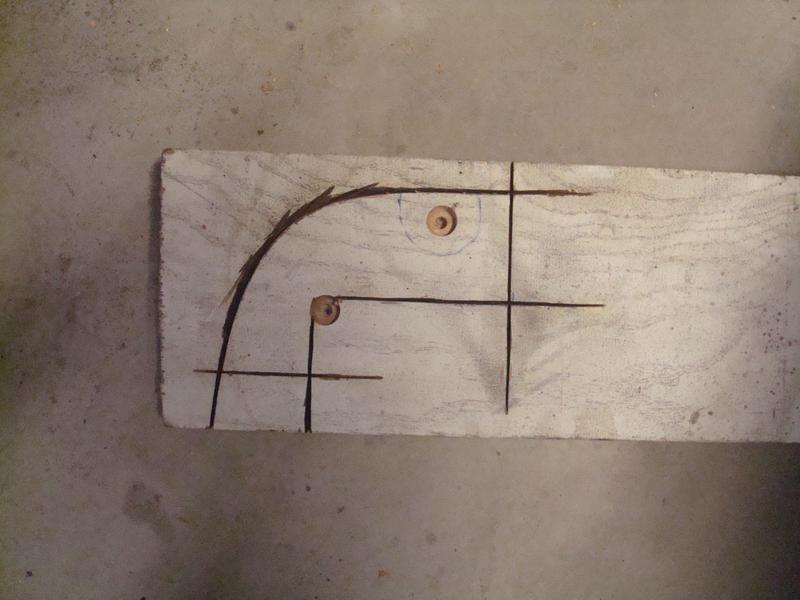
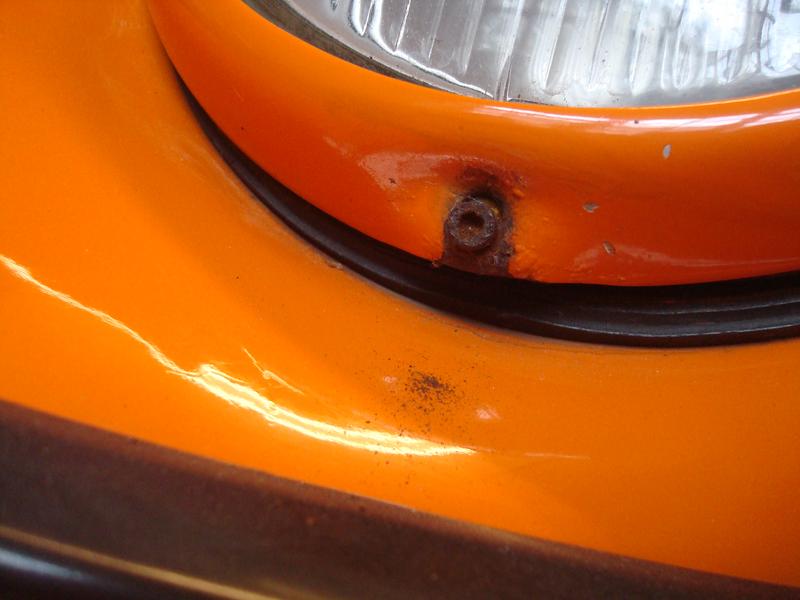
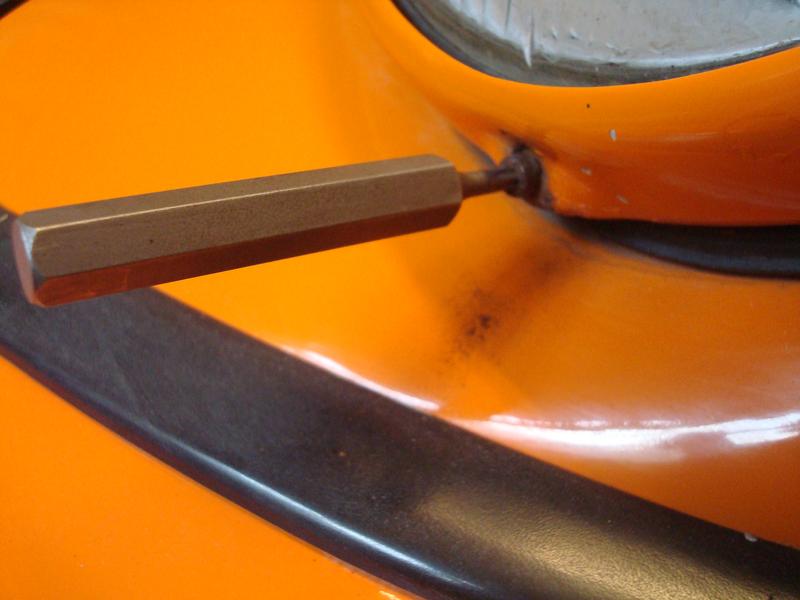
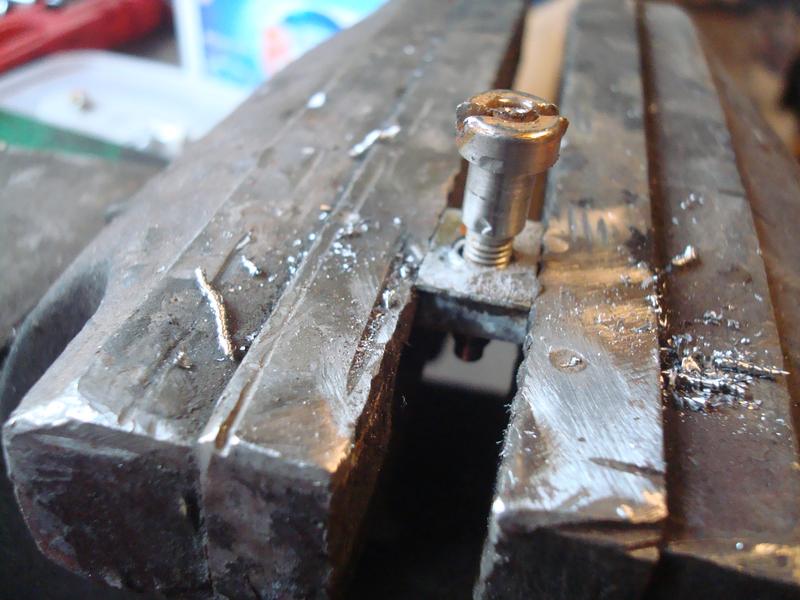
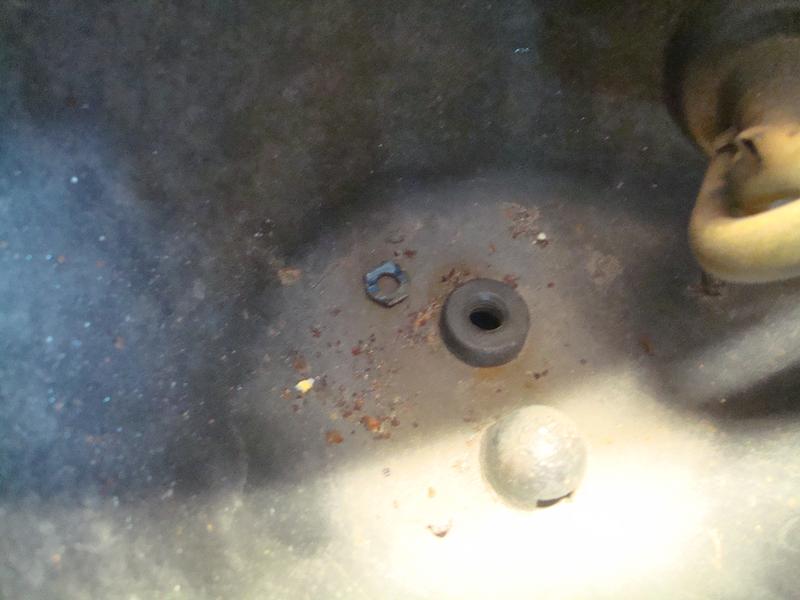
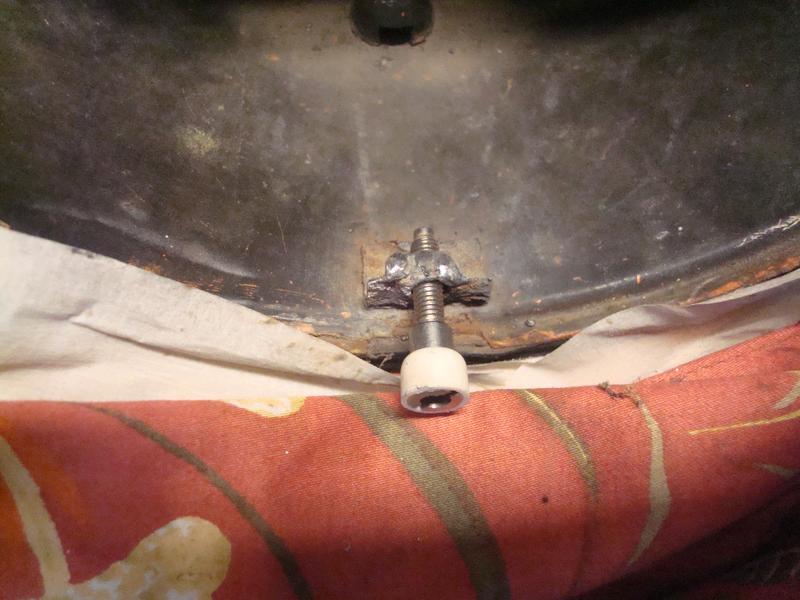
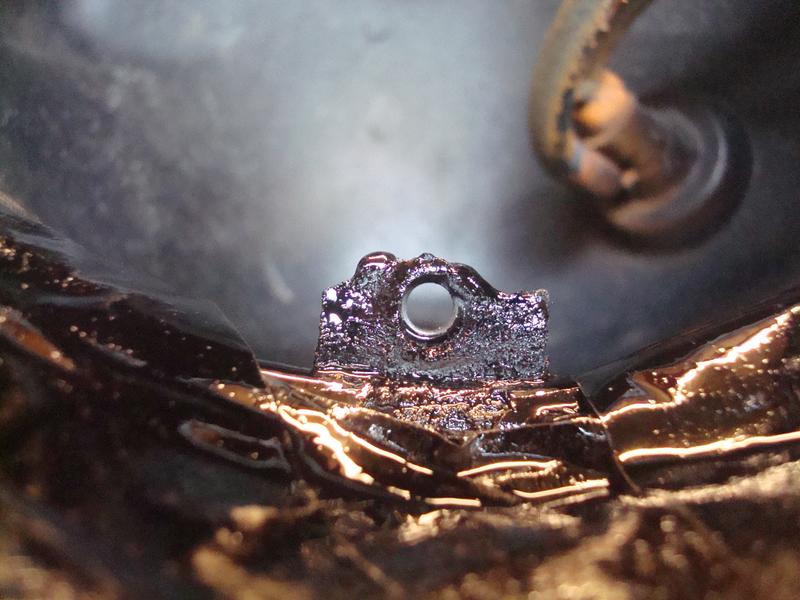
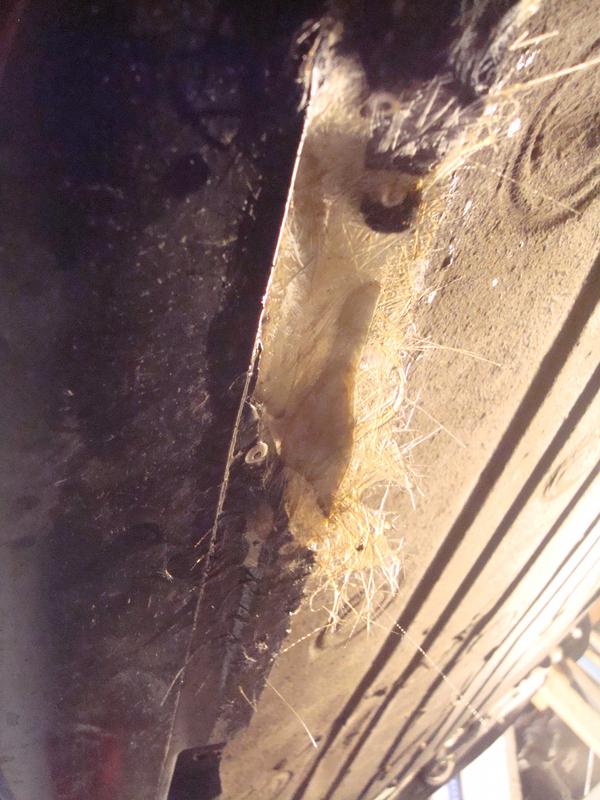
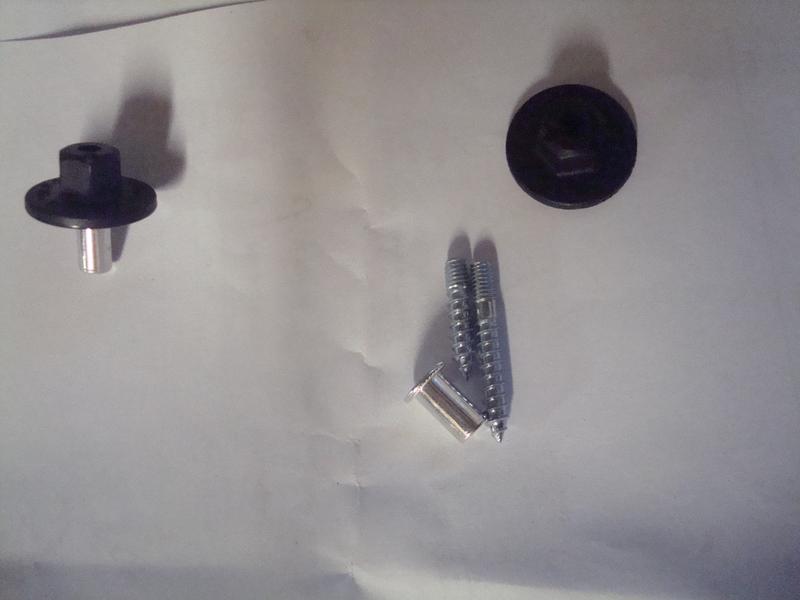
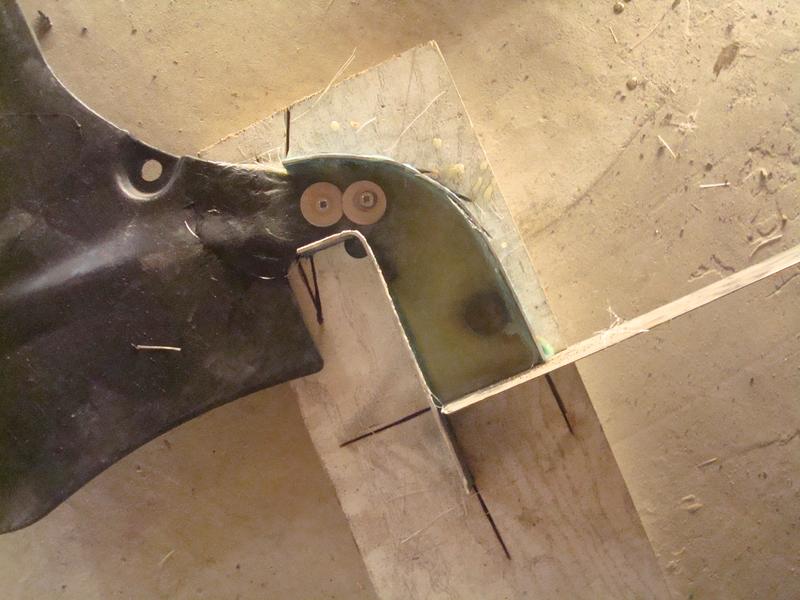
I then marked where the fixing hole needed to be, and used a chisel to notch out the shape from the missing section (effectively the top hat nuts all fit in a rounded recess)
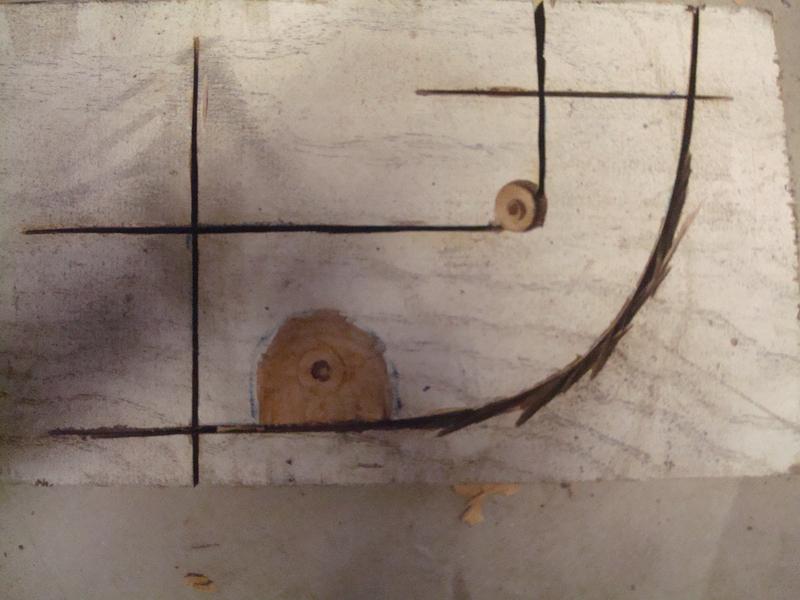
Then made it 3D but tapping some stainless strips I had kicking about into the recess I had cut, effectively making a crude mould

Then with some sock shaped matting at the ready
I wiped neat Fairy Liquid into my 'mould' as release agent, and then ran in some resin, pre-wet the cut matting and laid two into the mould. I then attached the panel in the right place and screw it into the mould, so that the underside matting adhered under some pressure, then laid two layers on the top. I noticed that the matting was setting into the recess I had made in the mould, so found my chisel balanced in the recess worked a treat for forming the shape
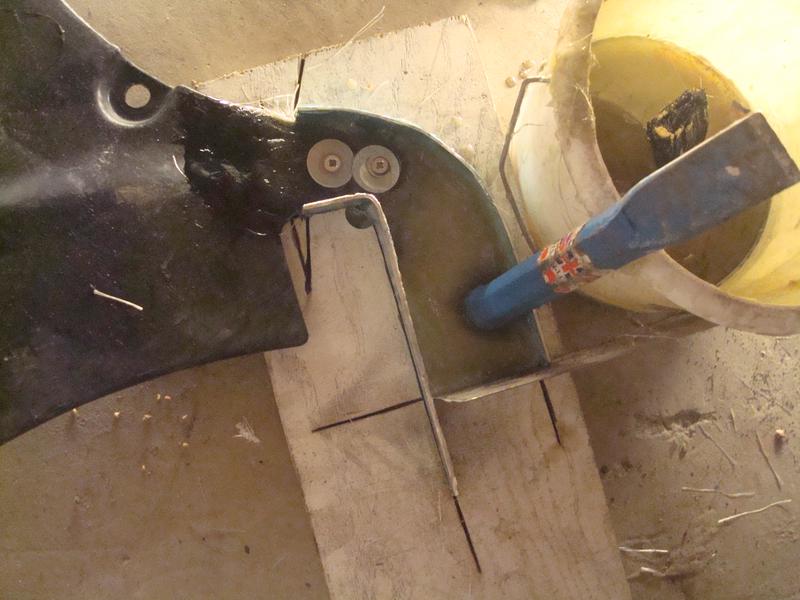
And you know what, it worked...
A few hours later, I simply removed the screw and lifted it out of Mssrs Heath & Robinson's mould.
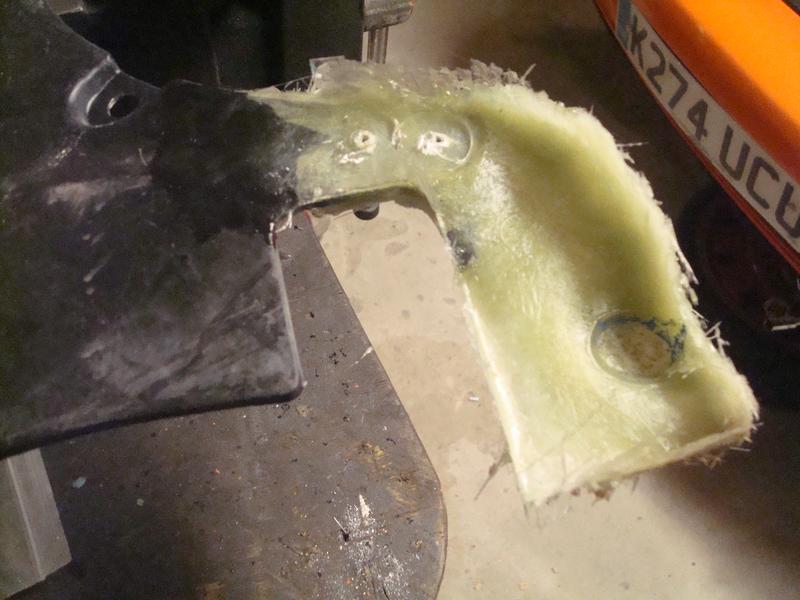
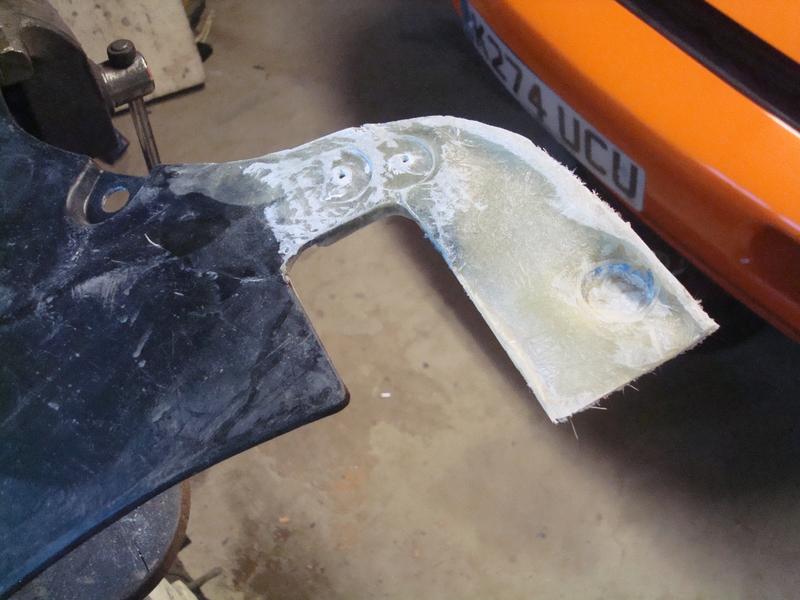
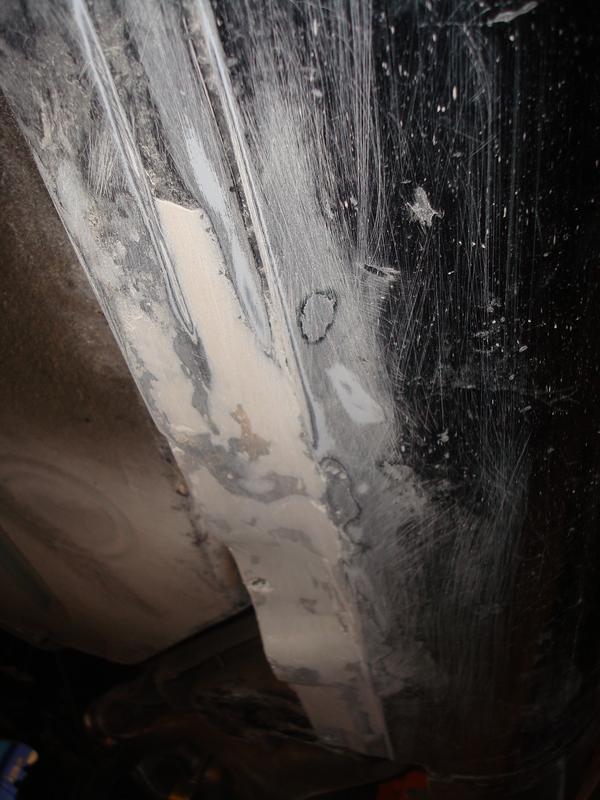
I am pretty pleased to be honest for what I consider to be a pretty crude repair. These pics are all pre final fill, and with just 10 mins work from this it looks pretty much spot on. It is now painted black and trial fitted and it is perfect. I will take a further pick later to show the finished job