Finally some tangible progress…..
The engine has now been returned, partially assembled and to be completed by me
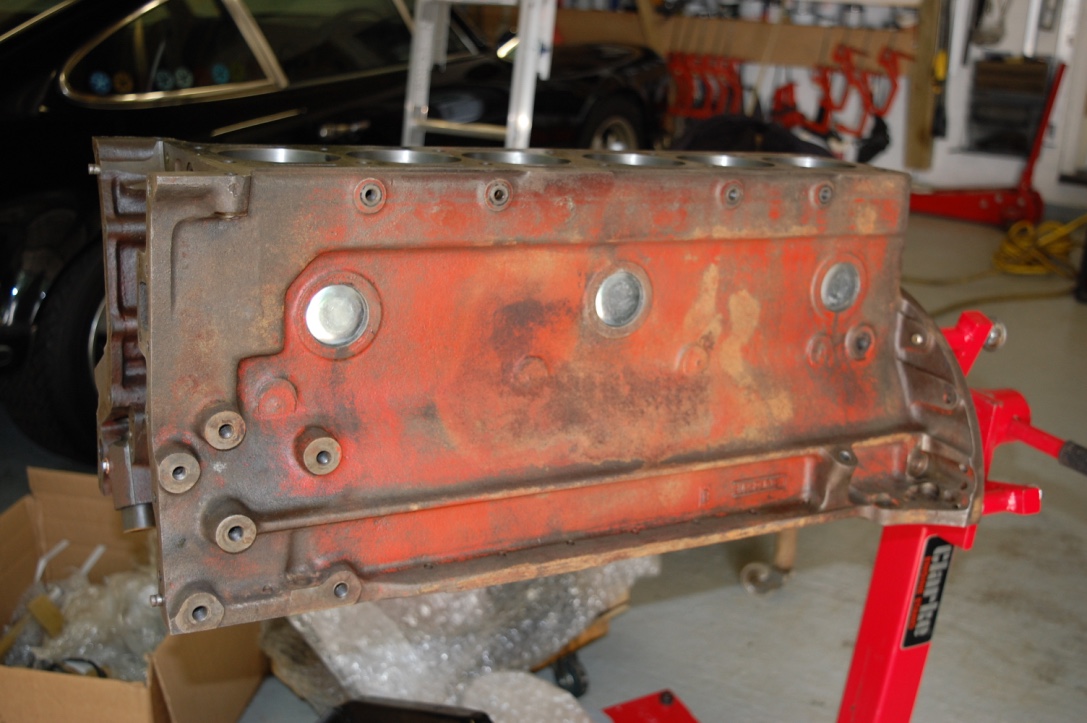
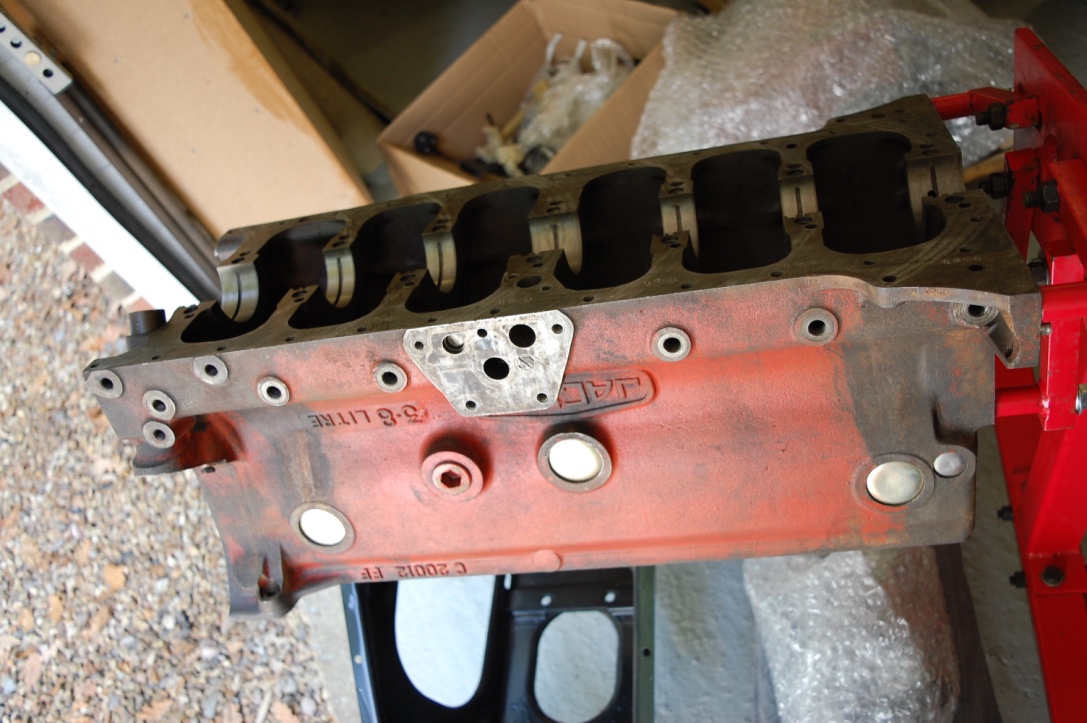
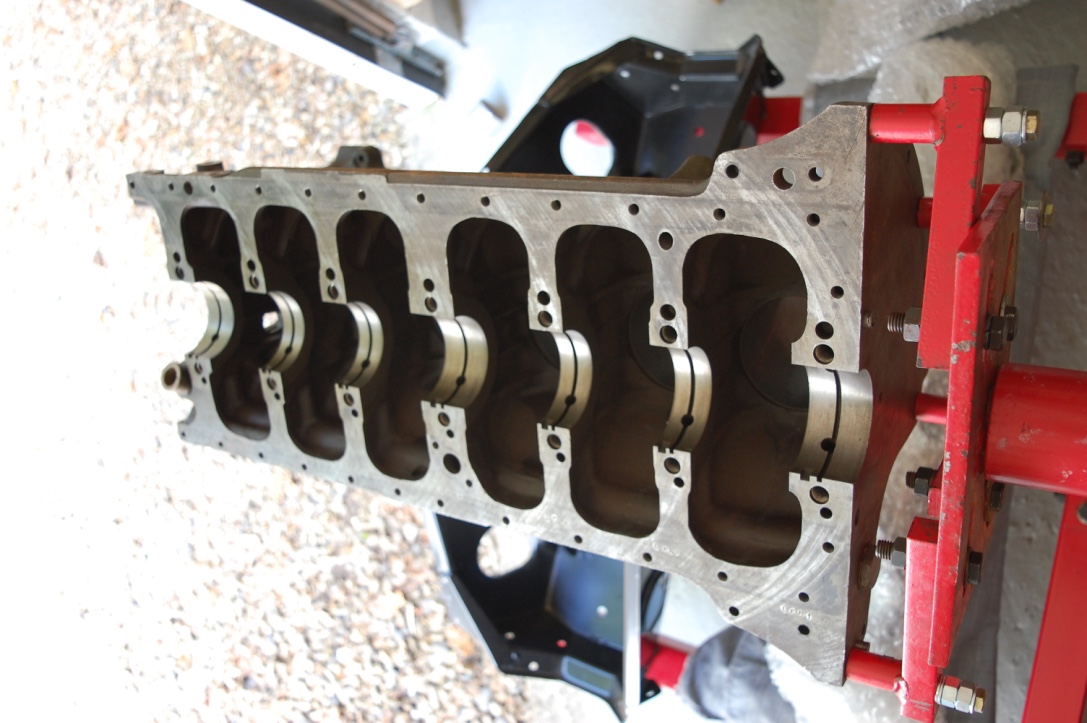
Block was chemically cleaned prior to a rebore of +20 thou
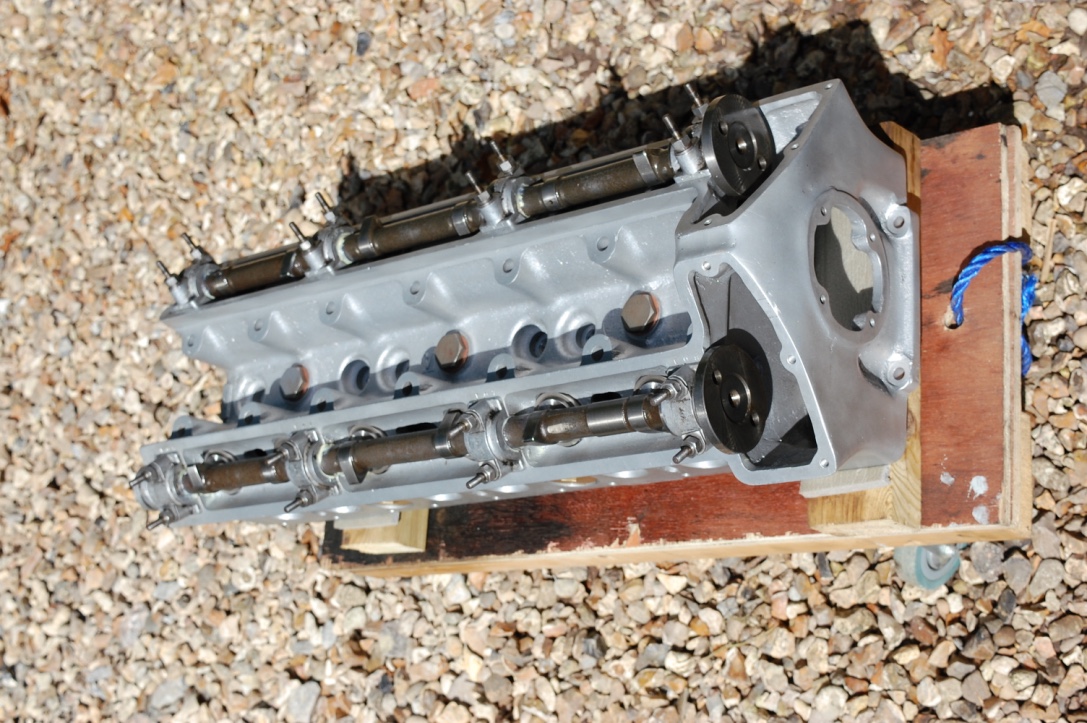
Head was cleaned and had some aluminium welding to reinstate the apertures for the water passages, then bead blasted and ultimately skimmed by 6 thou
v
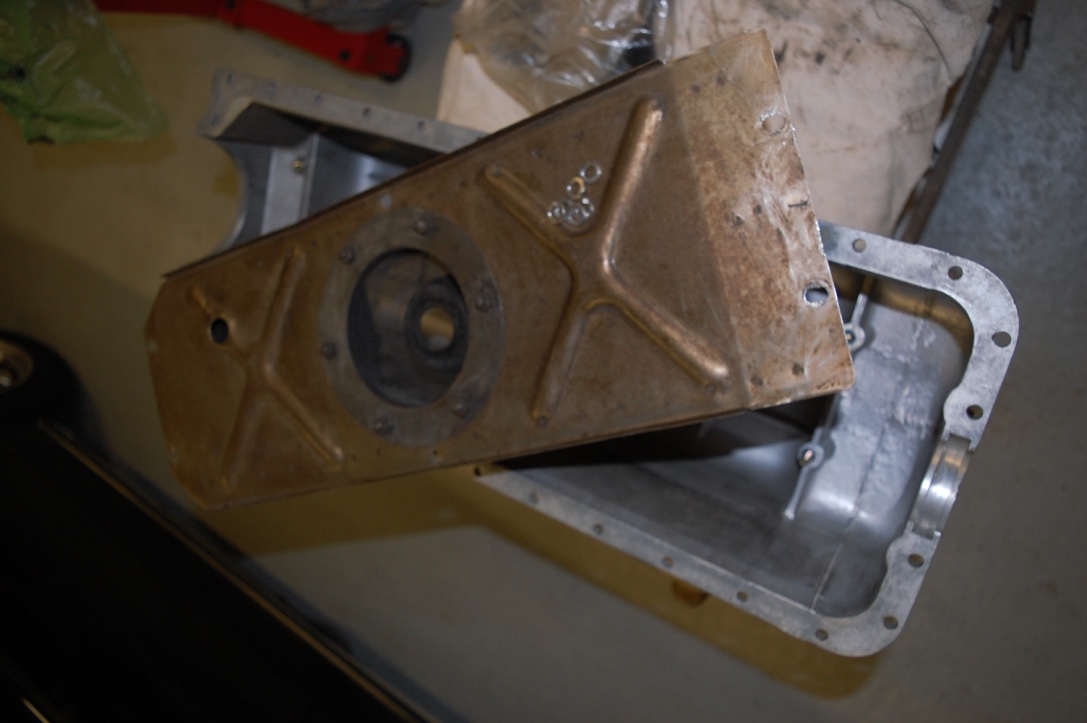
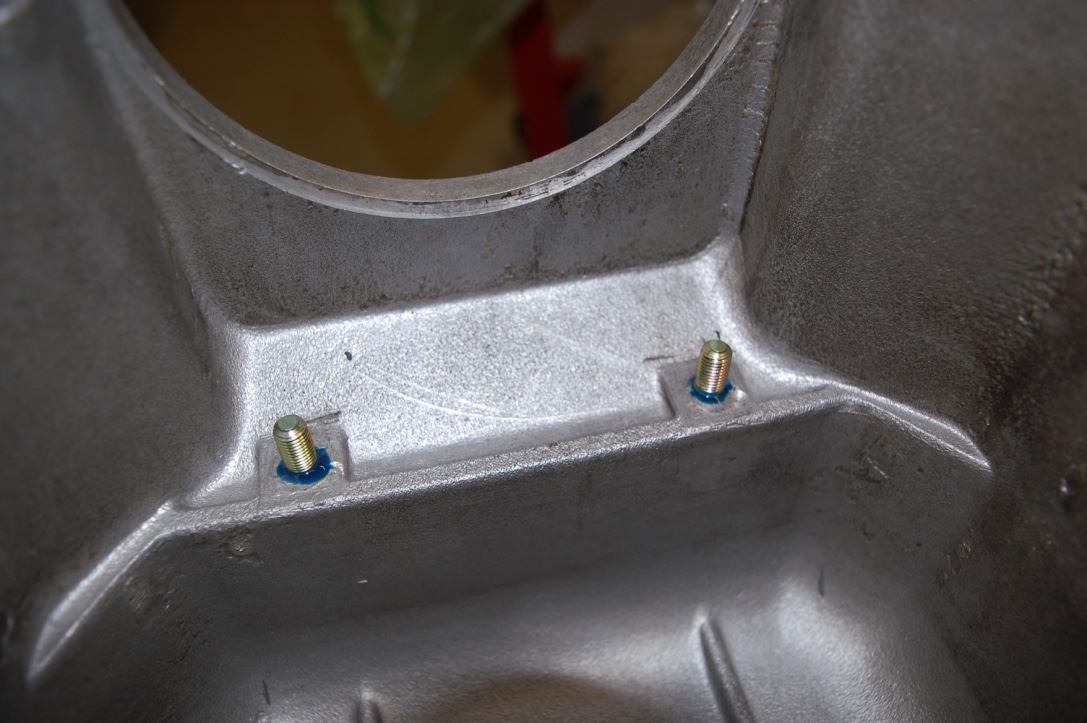
sump was vapour blasted so i just added new studs to accept the inner tray and filter
Valve guides lined with K Line inserts, new valves throughout plus new springs, followers and re-built for me with the correct 4 and 6 thou clearances.
Whilst I had initially thought of re-building the head the shimming process is not straight forward and I thought was best left to Mike at SRS in Sutton to complete
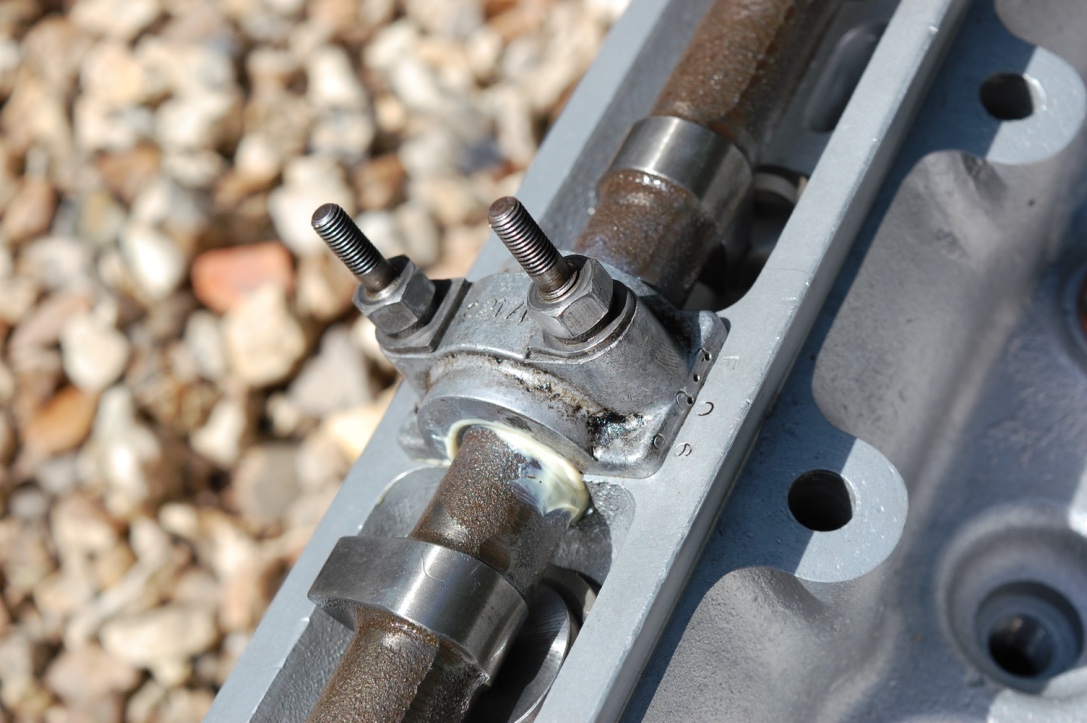
Camshafts needed only a light polish so standard spec new bearings were able to be used
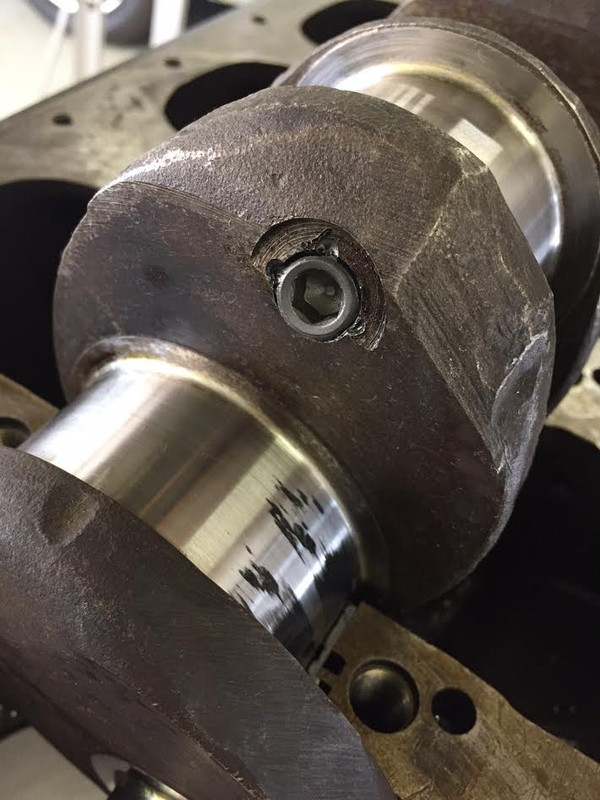
Crankshaft needed all 6 core plugs to be drilled out prior to chemical and blasting to clean out the old oilways, again just a light polish to the bearing surfaces which has kept it within original spec dimensions for new standard size bearings to be used
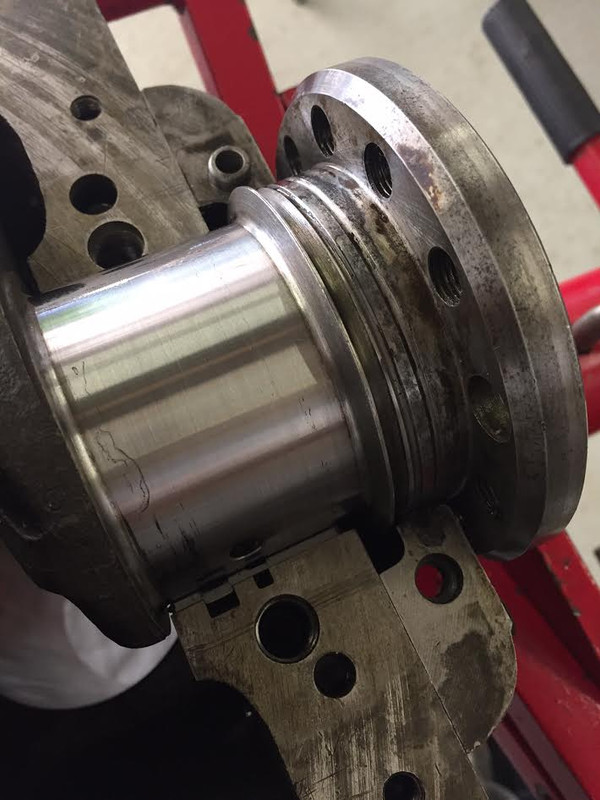
Clutch has been uprated to the later 4.2 litre type so the flywheel was both skimmed to clean it up and drilled to accept the new pins and bolts which are spaced differently
The crankshaft, crankshaft damper, clutch and flywheel were all balanced as an assembly and the new Mahle pistons and original con rods checked and machined to ensure no more than a 0.1mm gram difference between components
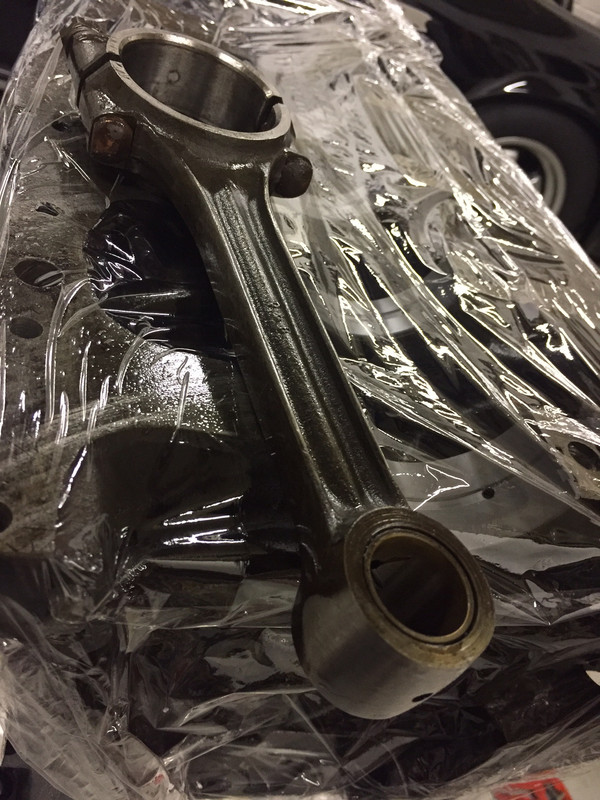
Piston skirt clearance was to modern Mahle tolerances, of 0.1mm and the piston ring clearance checked and machined to within the original workshop manual 0.38-0.51mm tolerance range
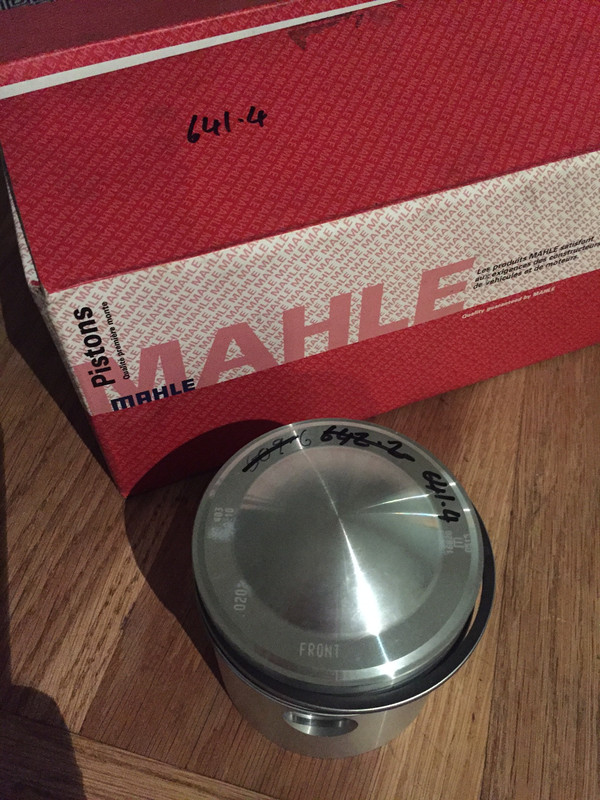
So….somewhat better overall than original spec it has to be said……
Jaguar painted the valley sections of their twin cam heads different colours over the years, with the early E Types being a pumpkin shade of orange, but the later 3.8 were painted gold. The painting of the head was stopped during the lifetime of the series 1 4.2 cars in around 1966
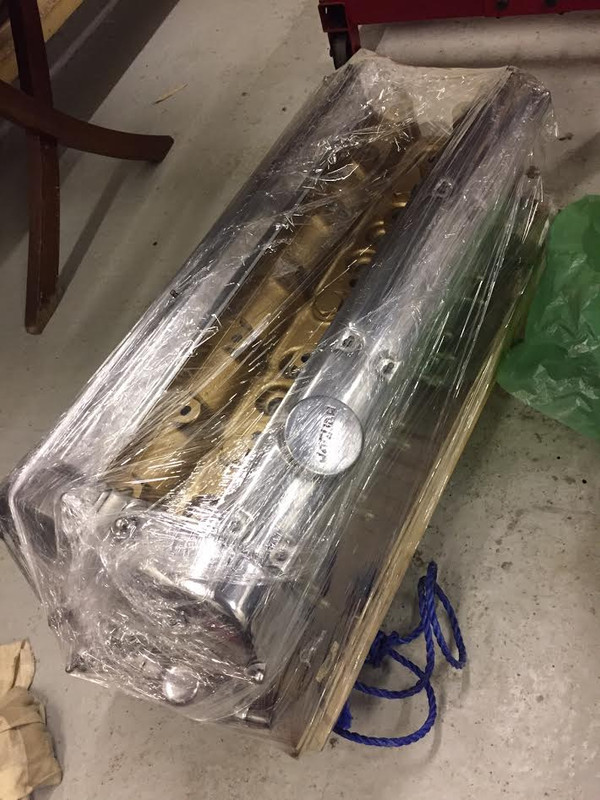
Delivered to me in natural aluminium......and then spray painted....
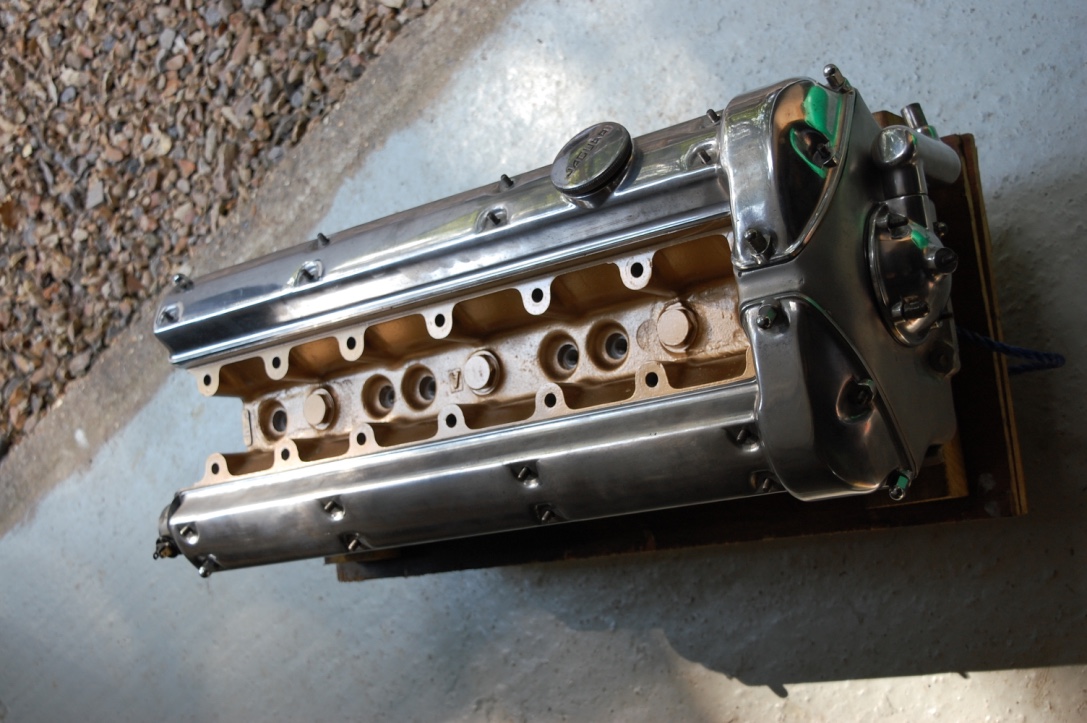
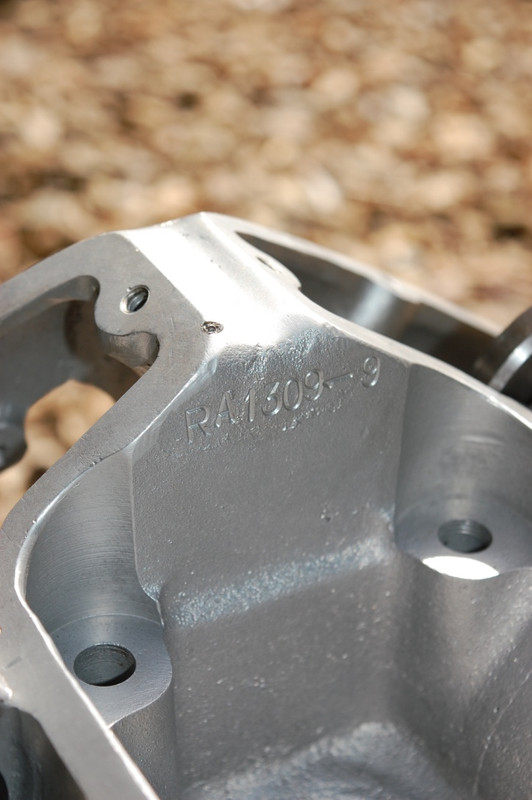
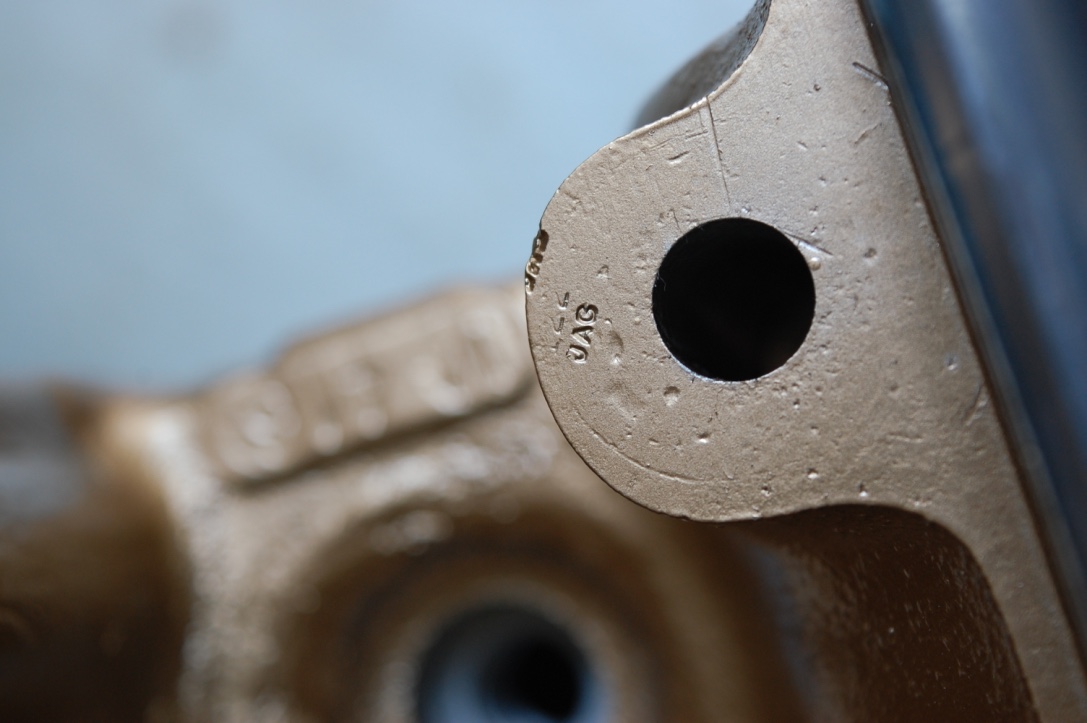
Lovely isn’t it…..with odd details revealed once cleaned...like the JAG foundry
stamping
The contrast between polished, milled and blasted finish with original bolts and copper washers all cleaned and polished....and temporary use of the old chrome dome nuts to locate the cam covers...to keep the internals protected
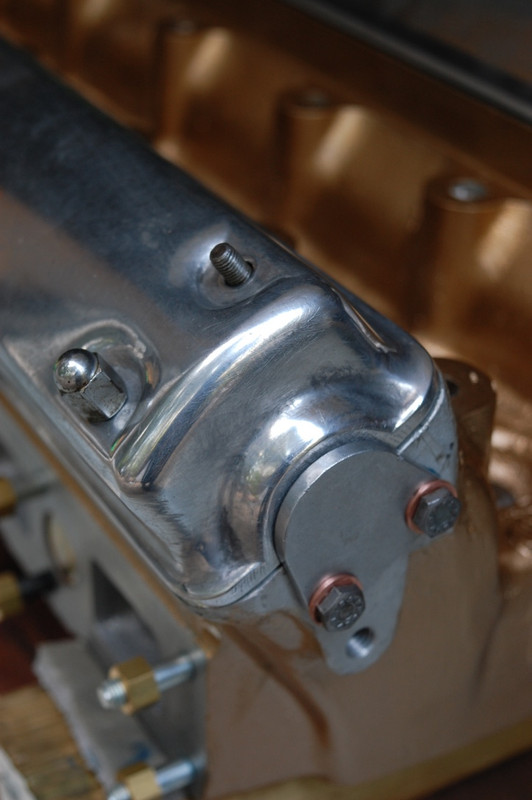
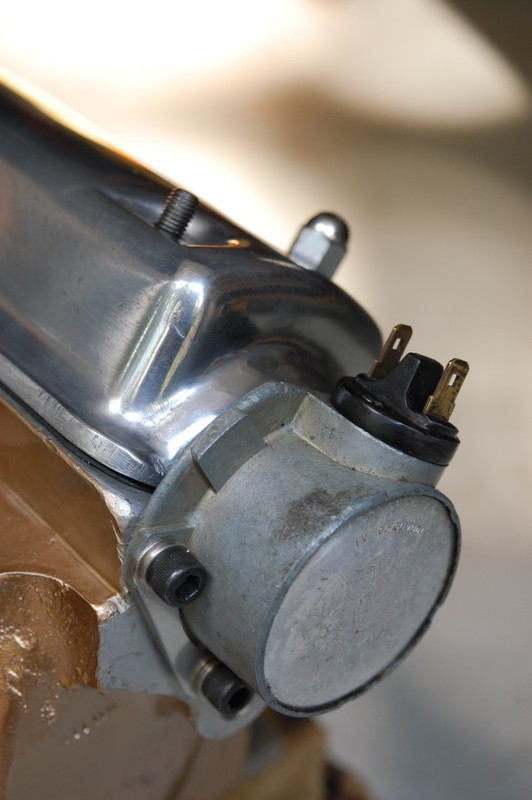
Now assembled and protected …..note the oil filler cap not aligned…fibre washers need a final adjustment in thickness to resolve that
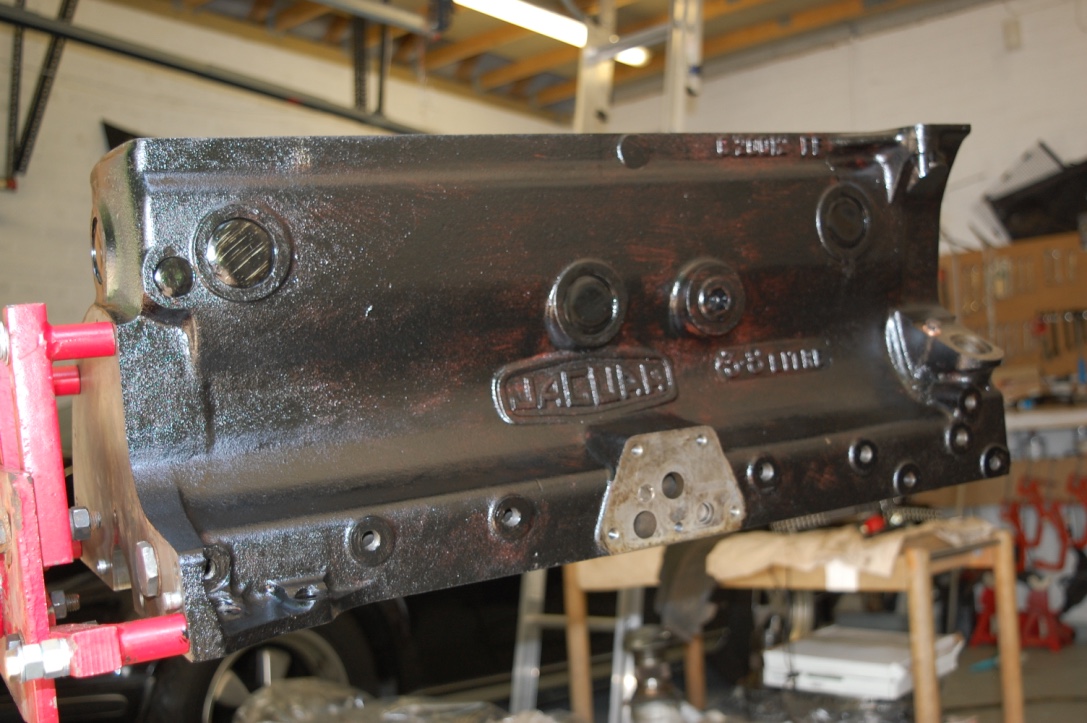
Similar cost saving measures were adopted for the blocks and in truth my car should have a red lead primer colour for the block as the top coat of black was omitted from late 1962, but black is what it should have had if it were not for the pursuit of “building to a price”...and their head of estimating Arthur Whitaker
This is it as it should have been and will now remain.... after the first coat of black enamel paint
I had also completed the re-assembly of the Moss gearbox
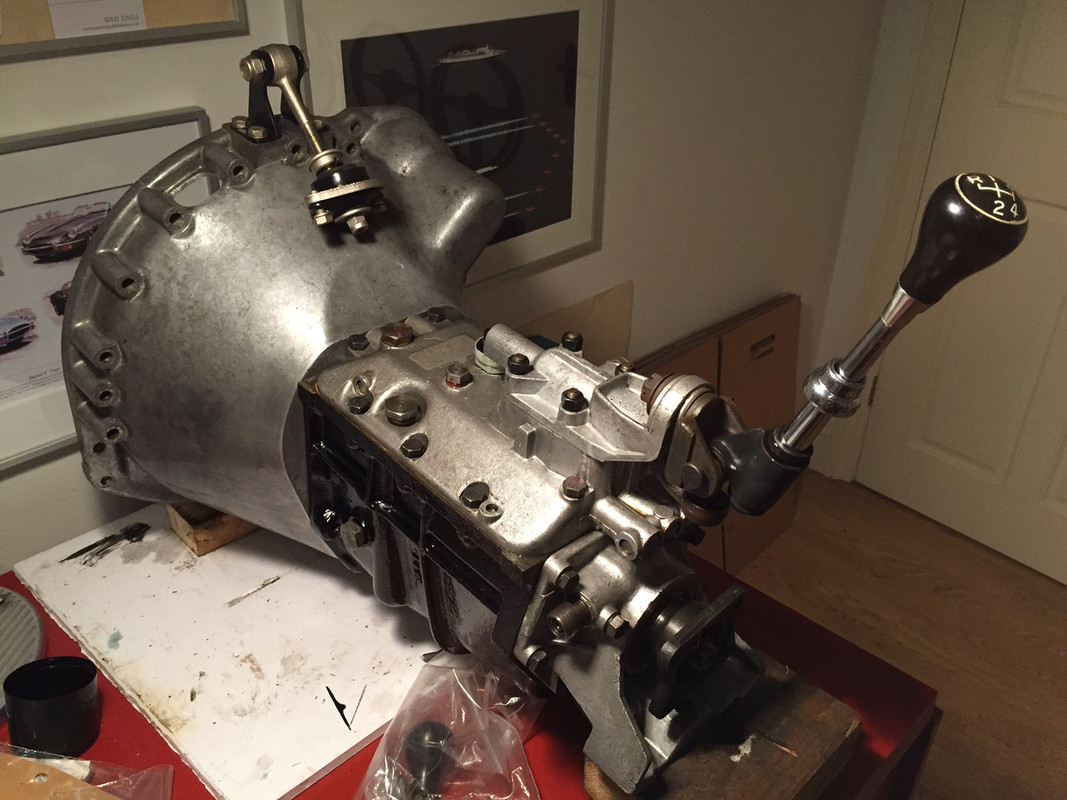
Internals were inspected for wear, which apart from minor marks on the (non-synchro) first gear teeth all looked good, so with new gaskets and a thorough clean and a fresh coat of primer and black paint assembly was straight forward
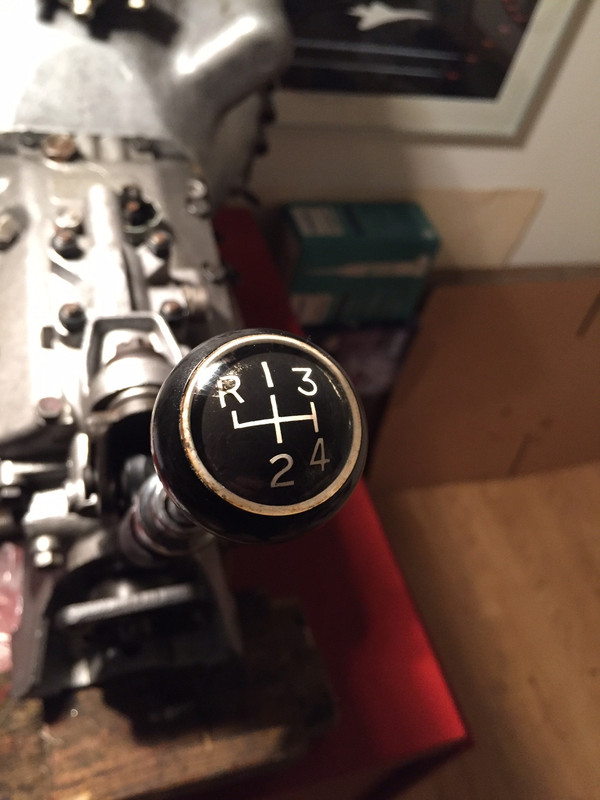
The gear knob was missing from my car but I managed to source a couple of originals to choose from, this has a small amount of patina and looks the part….certainly superior to the reproduction items which are simply incorrect….
The original bell housing had been repaired by welding in new metal and after I spent quite a few hours grinding/filing and wet + dry finishing the case any evidence of earlier damage is minimal
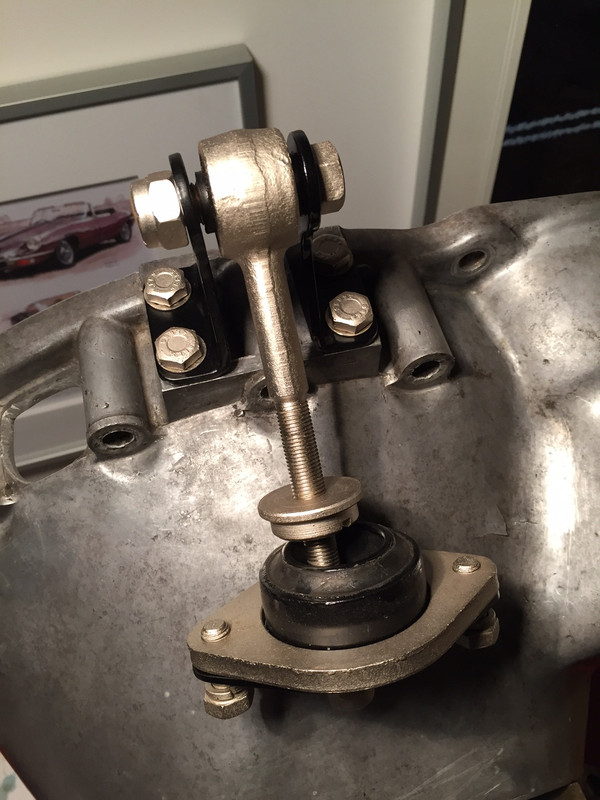
and completing the restoration of various brackets....with correctly aligned fixings...
So, bringing this up to real time again, this week has seen me installing the crankshaft oil seal (rope), which after an initial failed attempt, a second and better rope seal was sourced and we have success….whether it will eventually leak is another matter…..
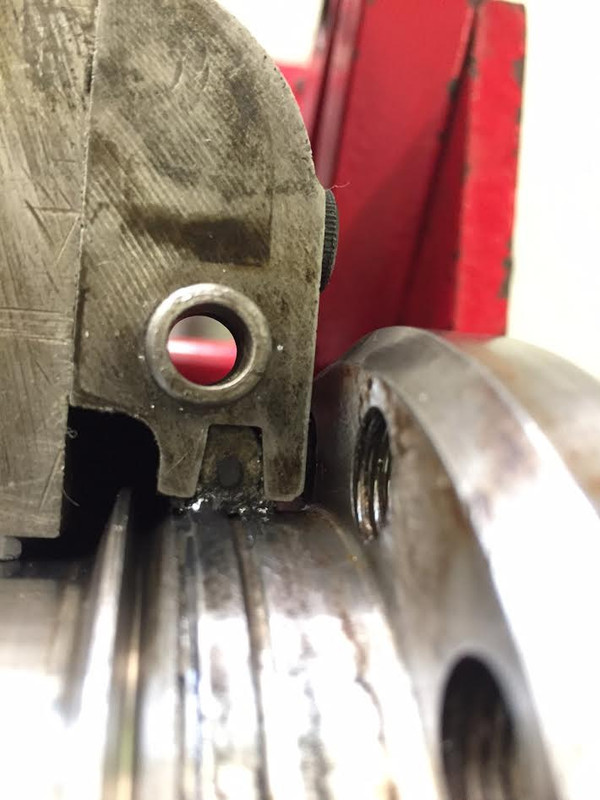
This weekend I installed the crankshaft ....with plenty of Graphogen ...having checked the clearances with the plastigauge kit.....
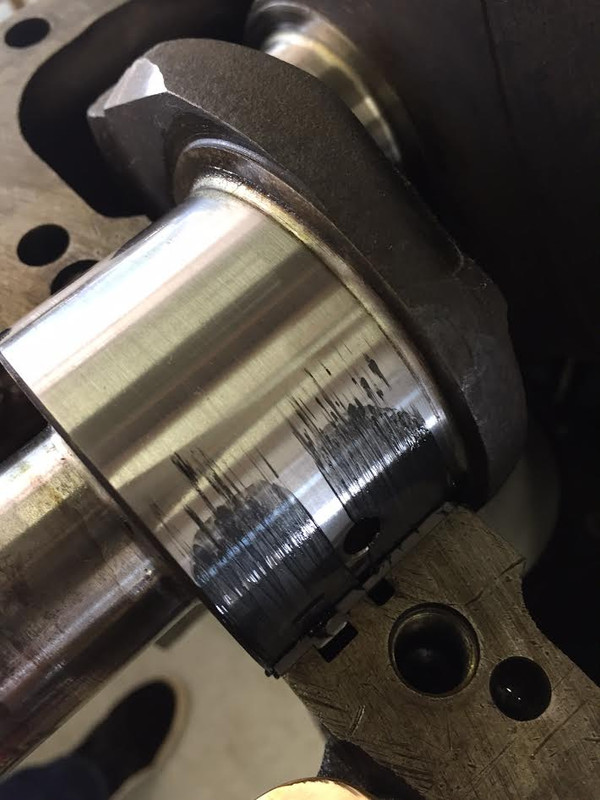
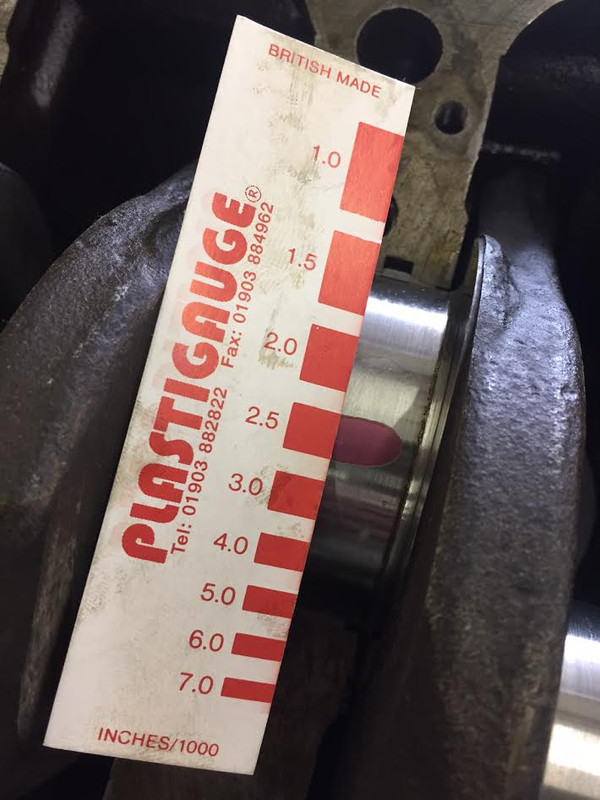
and started to assemble the pistons….happy with progress so far....am working through this assembly very slowly as its all completely new to me
....more next week….
regards
Jonathan
 brilliant! Thought you might like it.