Page 9 of 43
Steering Column
Posted: Sat Jan 15, 2011 5:00 pm
by johnM
I thought I would post this as I have not seen this on the forum.
I have removed my steering column from my shell, to do this you have to undo 3 bolts that are anti tamper bolts, I used a small chisel to back off these nuts.
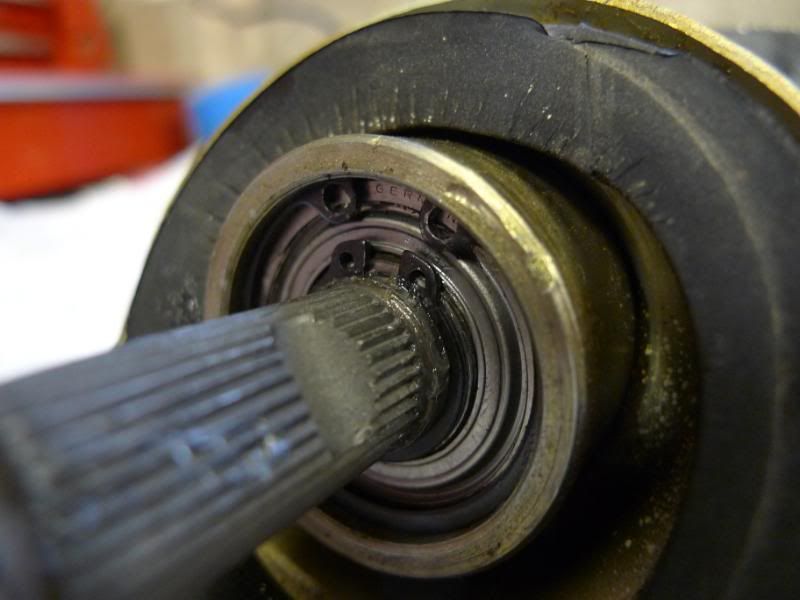
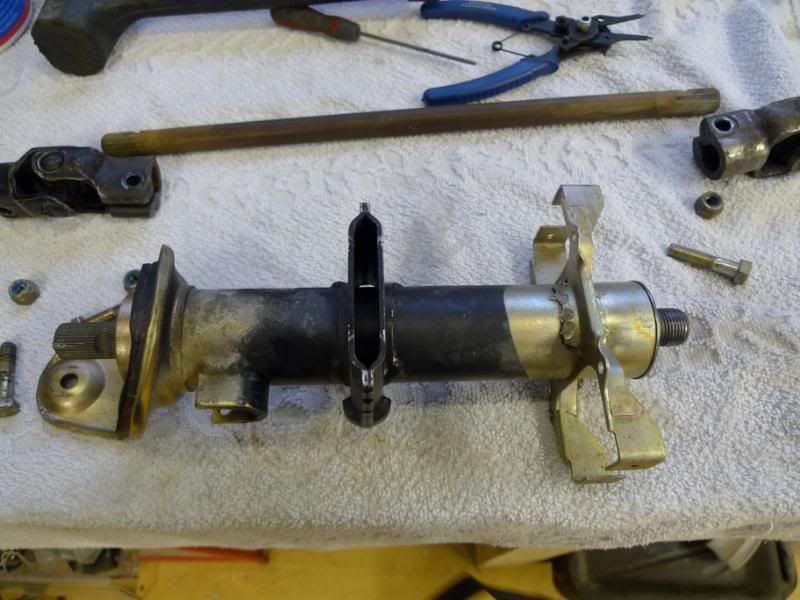
Once out I stripped the column removing the bottom circlip then with-drawing the column shaft. I then removed the bottom bearing retaining circlip and pressed out the bottom bearing. You can then tap out the upper bearing using a small drift and hammer. Once every thing was cleaned it was time for the refit.
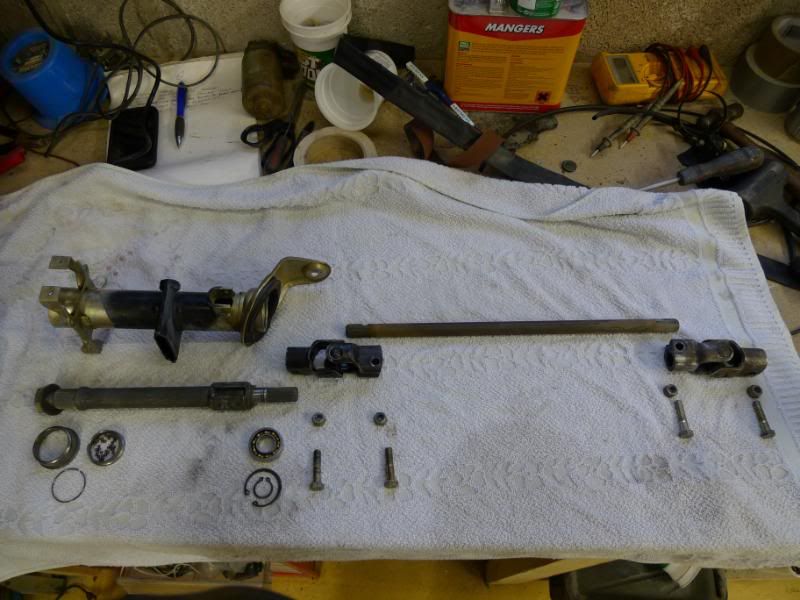
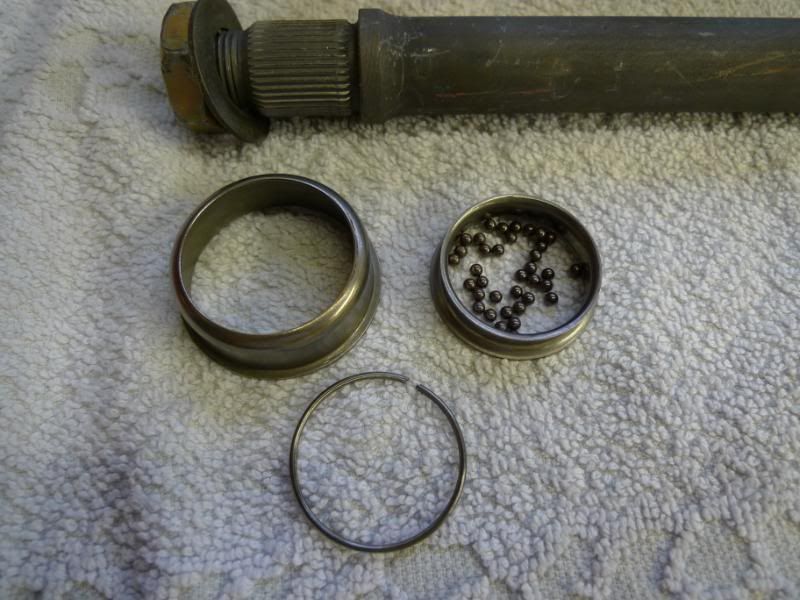
First you can assemble the upper bearing, I applied a little grease to retain the ball bearings during assembly.
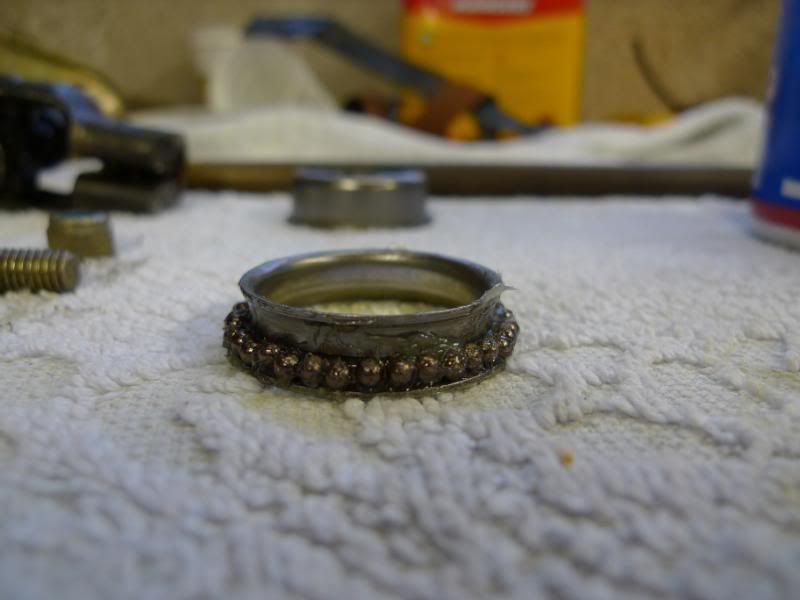
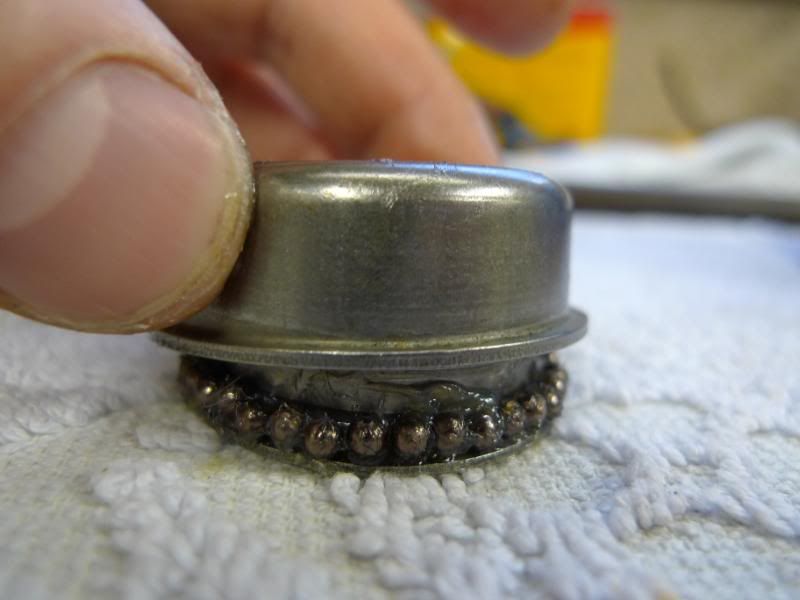
Once the outer race is fitted you need to fit the retaining spring clip.
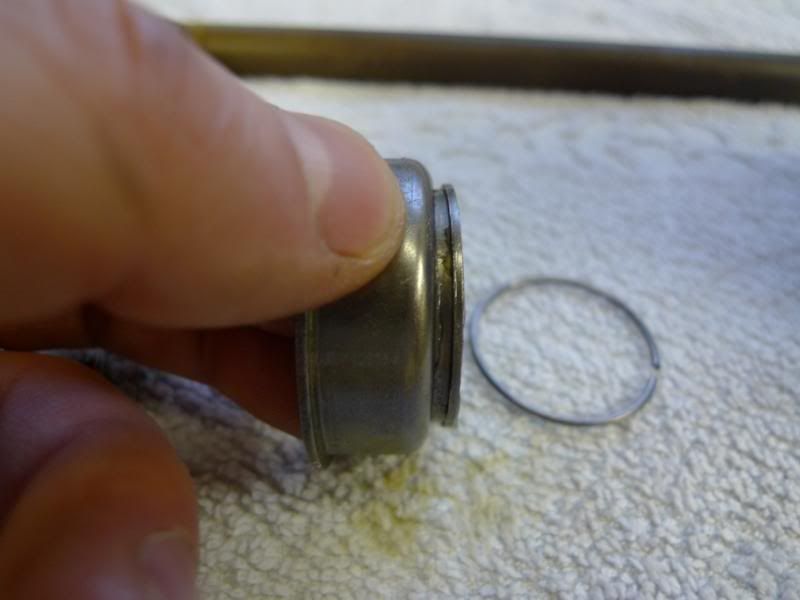
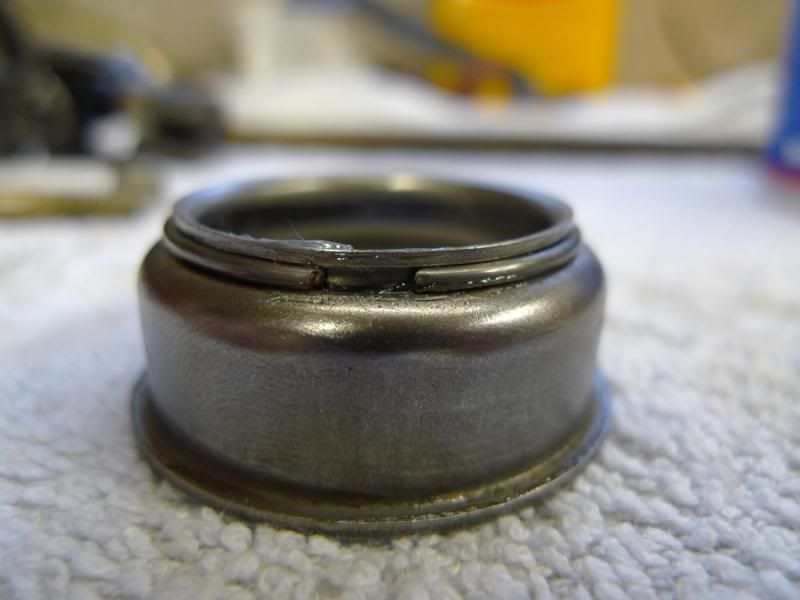
the upper bearing can then be fitted to the top of the steering column housing.
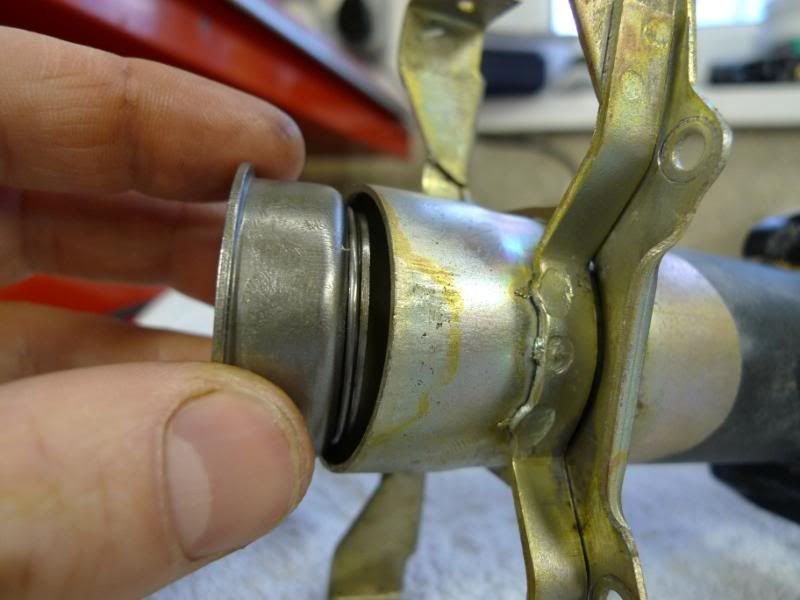
And fitted
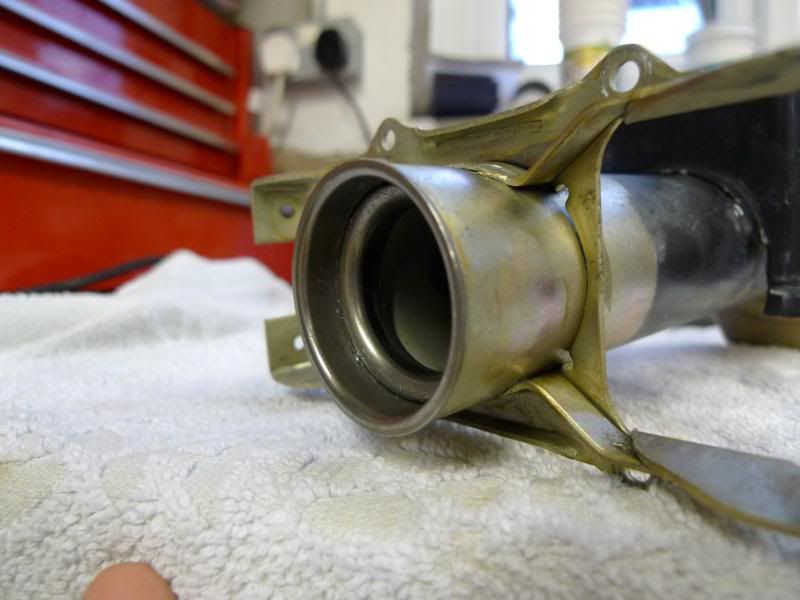
You can now assemble the lower bearings.
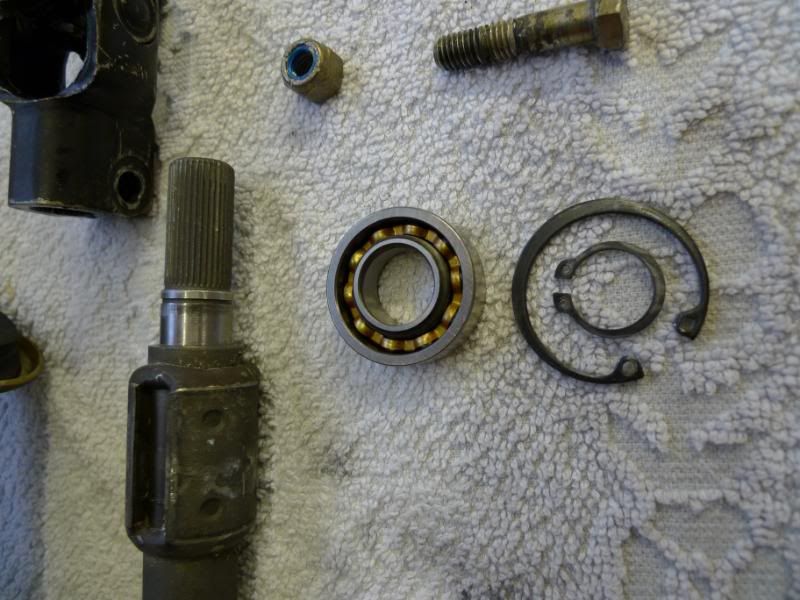
the bearing is pressed into the housing.
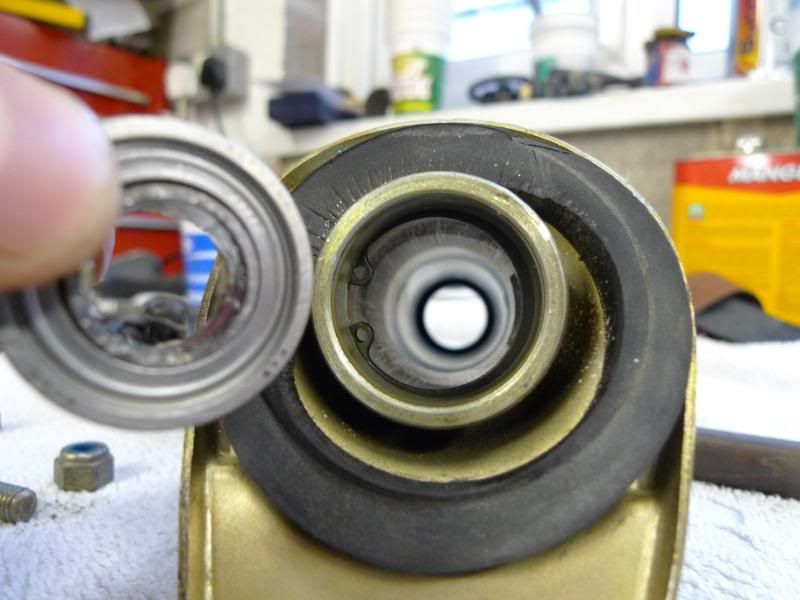
And the circlip fitted.
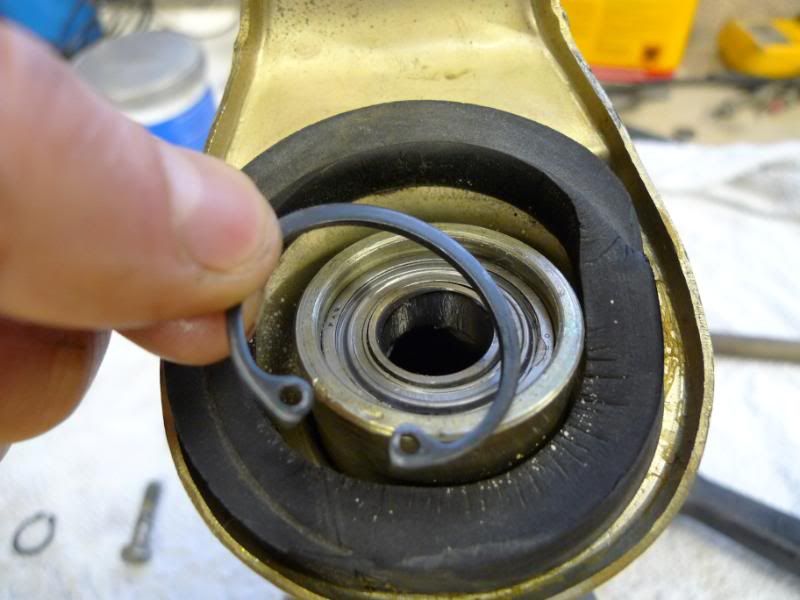
Once that is assembled you can fit the shaft it is fitted from the top and then a circlip is fitted at the lower bearing to secure the shaft.
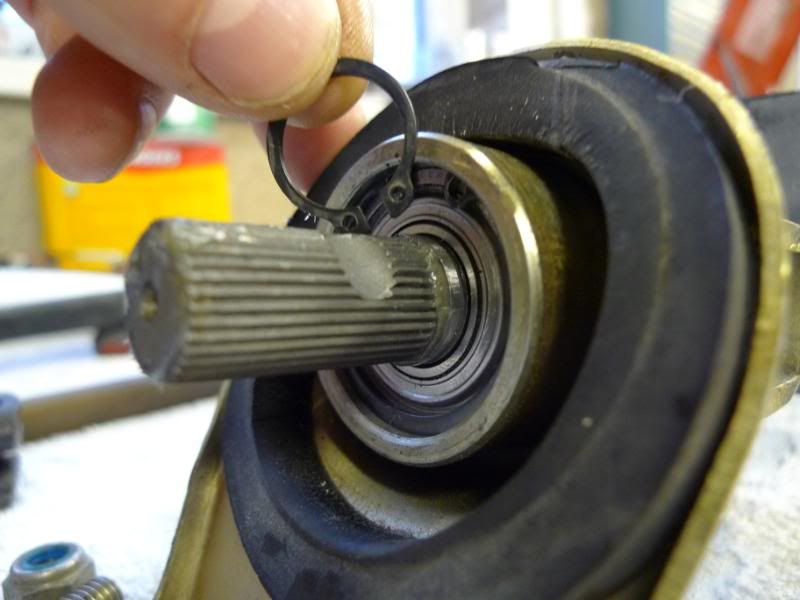
You then have the column rebuilt.

Posted: Sat Jan 15, 2011 8:28 pm
by hot66
great John
Could you copy & paste that into the 'how to' section for future reference

Posted: Sat Jan 15, 2011 8:34 pm
by Alan @ CanfordClassics
Great pics John and good idea James. In case further info helps, these items differ from LH to RH drive, they also changed in 72 which use a larger steering lock. The lower bearings are available new (as a complete sealed unit) and are a few £.
HTH and I look forward to seeing more.
Thanks
Alan
Week 2
Posted: Mon Jan 17, 2011 10:08 am
by johnM
Week 2 Torsion Tube Area
Posted: Mon Jan 17, 2011 10:15 am
by johnM
The torsion tube area was also in a real state, unlike the 2.4 the 2.2 and earlier cars have the heater tube going over the top of the torsion tube, this makes access a lot easier. The strengthening parts had dissolved and at some point the torsion bar ends had been replaced but were not welded onto the tube very well at all, probably due to them not having good access.


Well a bit of work there then!!
Week 2 Bonnet Strut Mount
Posted: Mon Jan 17, 2011 10:18 am
by johnM
Week 2 Floor
Posted: Mon Jan 17, 2011 10:24 am
by johnM
The whole rear section of the floor is being replaced, this has allowed better access to the back of the torsion tube area and the pics here are a small repair to the bulkhead just by your heel if you were sat in the back seats.


Some bits we will not need.

Re: Torsion Tube Area
Posted: Mon Jan 17, 2011 1:05 pm
by Gary71
johnM wrote:

I feel your pain!
Is the other side the same, or has Barry not looked yet!
Good call on taking the old repair panels off. That ealier repair was definitely the quick cover up approach.
Keep at it, eventually you will find a solid bit to start welding onto...

Posted: Mon Jan 17, 2011 1:10 pm
by Gary71
How is Barry going to tackle the torsion tube? This is completely impossible to get into without ripping the whole back end out...
Posted: Mon Jan 17, 2011 1:16 pm
by johnM
Gary71 wrote:How is Barry going to tackle the torsion tube? This is completely impossible to get into without ripping the whole back end out...
Not sure thats Barrys department

At the moment all I do is write cheques
.............and clean bits.
Posted: Mon Jan 17, 2011 3:40 pm
by jury
Blimey John, its abit worrying when you found out what is actually under the paint! Will turn out great though, I imagine the handling will be transformed
Cheers for the Steering column write-up, actually proved handy this weekend
Chris
Posted: Mon Jan 17, 2011 5:41 pm
by ian cox
Hi John,
Having just repaired similar amounts of corrosion on my 2.2s I can really feel for you.
Mine was so bad I replaced the entire floorpan, rally damage, as well as the roof, all 4 wings and a repair to the torque tube just like you.
You have gotten away with out have to change the inner inner seal i.e. the sill that the carpet glues down to on the inside of the car.
Perhaps i should try and get some pictures up to show an outstanding basket case.
It was the perfect storm. 40 year old car, significant rust, and very badly repaired crash damage.
Posted: Mon Jan 17, 2011 6:11 pm
by johnM
jury wrote:
I imagine the handling will be transformed
Cheers for the Steering column write-up, actually proved handy this weekend
Chris
Glad the write up has proved to be of some use.
I am thinking the car will feel totally different once rebuilt, its got to be ALOT stiffer
ian cox wrote:Hi John,
Having just repaired similar amounts of corrosion on my 2.2s I can really feel for you.
Well like I said, I have the easy job its Barry that has to sort all the mess out. I sound like I'm in the "I love Barry" club.

Sounds like you have had a similar project, have you posted any pictures?
Kind Regards
Posted: Mon Jan 17, 2011 6:38 pm
by 911hillclimber
Easy bit for Barry to fix i think. Safe hands!
What surprises me is that the car (presumably) passed MoT's with this rot or certainly some level of rust in key areas.
Mine was nearly as bad 22 years ago! I can still remember that sinking feeling every night when digging deeper and deeper.
8 months of intense part time welding.
The car I'm sure will drive so so so much better after (and certainly safer).
Keep the repair pics coming for us all.
To the column:
Why did you strip it and restore? Was there play in the bearings?
Posted: Mon Jan 17, 2011 8:04 pm
by johnM
911hillclimber wrote:What surprises me is that the car (presumably) passed MoT's with this rot or certainly some level of rust in key areas.
The car I'm sure will drive so so so much better after (and certainly safer).
Keep the repair pics coming for us all.
To the column:
Why did you strip it and restore? Was there play in the bearings?
The car still has an mot
The column had some grit or sand from a previous life (I think parts had been grit blasted before) so as I was trying to clean it all out without washing all the grease out of the bearings and I thought sod it, may as well strip the lot.
Kind Regards


