Page 9 of 12

Posted: Tue Feb 26, 2008 8:18 pm
by sdelan
Barry wrote:Bit of an update: the car has been used twice since the MOT.

The first time I drove pretty steadily to a family BBQ, and it behaved pretty well, except that right at the end of the drive I heard a bit of a noise from the rear, in time with wheel revs.

Then, on the way to the wedding last weekend, one of the driveshafts really started protesting, induced I think by a bit of full throttle/third gear action. Two things became apparent then: one, the car is really quite quick when wound up, and two, one of the driveshafts was poorly.

As per the thread under '911', it turned out that one of the CV joints has lost it's grease, which had been replaced by a sorry mixture of rust and gunge. Driveshaft has now been re-built, and I'm looking fowards to being able to drive the car again.

Next stage is to quieten the car down with a pair of gear selector shaft boots ( I fitted these to the last car, and couldn't believe the difference they made). Also I want to put in the mountings for the four-point harnesses at the same time: might do these over this weekend.

More to follow ...
Hi Barry - one of the CV joints on my car also makes an intermittent clunking racket - is it costly/difficult to replace the CV joints OR to re-build/repack the grease ?

Regards
Sean

Posted: Tue Feb 26, 2008 8:28 pm
by hot66
I replaced on eof my CV's & rebuilt the other 3 . Its all straight forward although reassembly will get you thinking :lol: Remember to install new gaskets between the cv joint & the output flanges

Posted: Tue Feb 26, 2008 9:01 pm
by sdelan
Thanks James

Was it that one of the joints was to worn to rebuild? And how much did it cost to repalce if you don't mind me asking ?

sd

Posted: Tue Feb 26, 2008 9:12 pm
by hot66
one of my cv's had actually cracked on one of the races. Can't remember how much it cost but I got it from mathew @ type911.

Posted: Tue Feb 26, 2008 10:29 pm
by Barry
Sean / James: I tried to hold of one C.V. joint a while ago, and everyone (including Matthew) said they 'had one on the shelf'. It was actually tosh, they were all refering to the same supplier's stocklist, which was wrong.

Anyway, for 'our' cars (2.4s) (certainly last year) all of the usual names (Type911, Brays etc etc) could only supply complete driveshafts rather than individual joints.

I managed to get mine from Dave Mac propshafts: I've got their part numbers here somewhere if you need them. They were about £50 each joint I think, so very reasonable.

You assess a joint by removing it, flushing all of the grease out and looking for play, rough balls ( :shock: steady!), or tight spots in the normal range of movement. It would be quite normal to find the joint stiff (or almost locking) when you take it beyond it's designed range.

With mine, it failed over a very short distance, almost certainly in protest of the car being disused for seven years or so. Upon inspection, it was clear that the opposite one (inner again) also had lots of play, but was at least running smoothly. I replaced the failed one, and have a two more here: one to replace the obviously worn one, and a last one as a spare.

One thing: if you decide to assess, or at least, clean all of the joints at once, dismantle them one at a time: you will need an un-disturbed one as a reference for reassembly. Believe me, they don't go together quite how you think: I seem to remember that the arrangement of the grooves is just about the reverse of what instinct tells you they should be :? . :)

Posted: Tue Feb 26, 2008 10:35 pm
by Barry
BTW, I seem to remember that the availablilty problem was only for the 'middle period) joints: perhaps 2.2 and 2.4?

The ones I got in the end are for a later car (3.0?), and officially have six bolt holes, rather than the 4 bolt holes, and 2 holes for the roll-pins. In actual fact, the six-hole type work fine, and the only difference was that all of the 'six-hole' design holes are the same size (10mm I think).

The 4+2 type have two holes that are 8mm counterbored from half way through to 10mm, and the other four are (as above) 10mm plain. This was so that the roll pin cannot work it's way out (being 10mm, and trapped by the reduced diameter).

Posted: Mon Mar 24, 2008 8:29 pm
by Barry
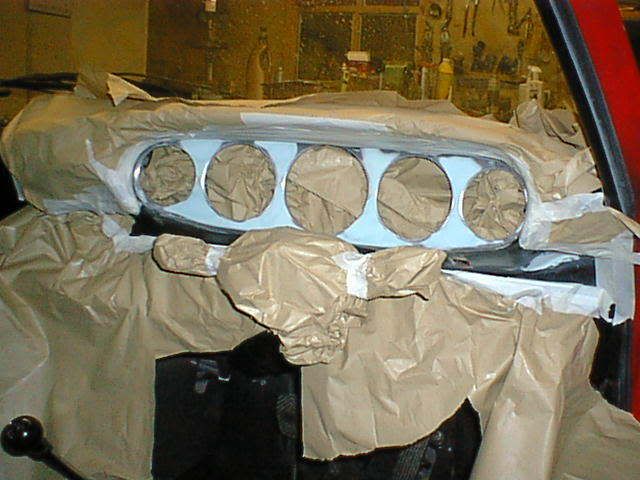
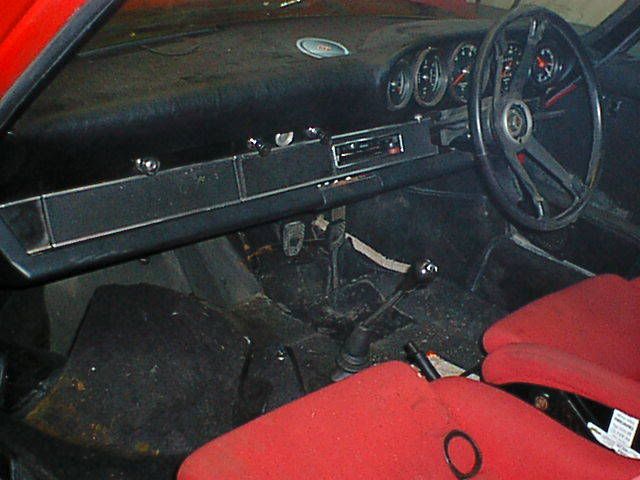
Going back to the car: as we left it, I had mullered the dash removing the stuck-in gauges.

In the end I hammer-and-dollied the dash straight again, and skimmed it with a high grade, ultra fine filler (note new handlebar steering, doesn't seem long ago they used steering wheels :roll: :

Image

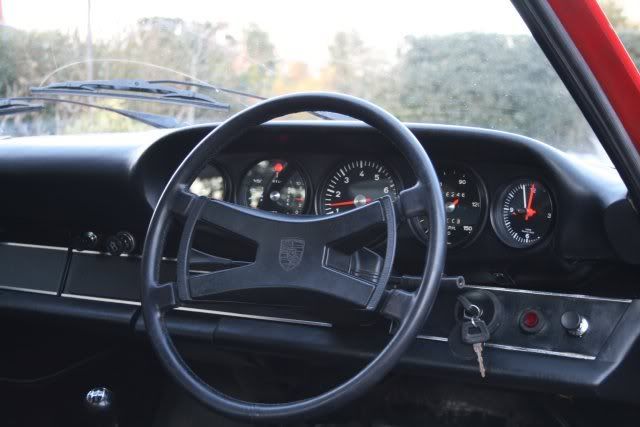
Now looks much, much better than originally and with all gauge rims re-painted, esp. with the 380 wheel installed, and working tacho as well :) ...

Image

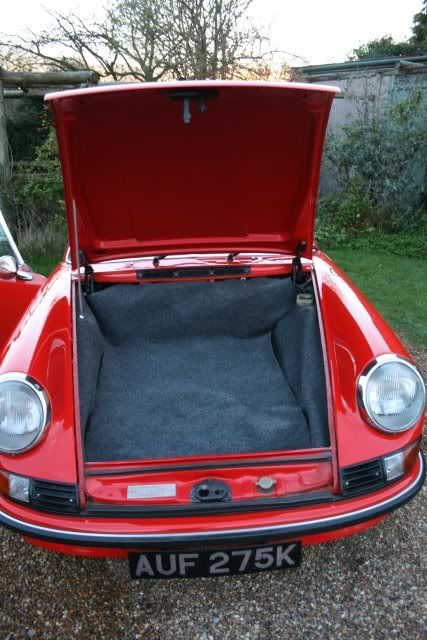
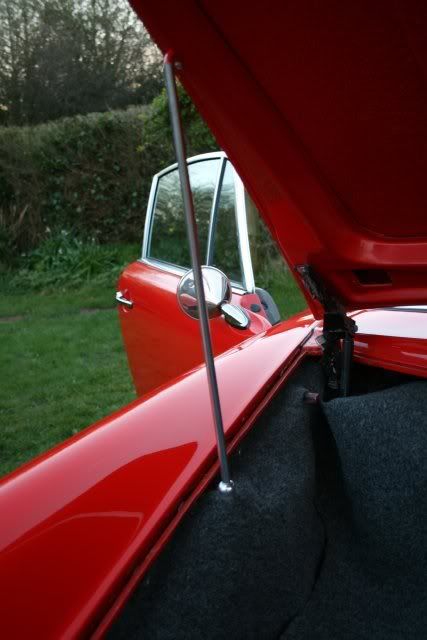
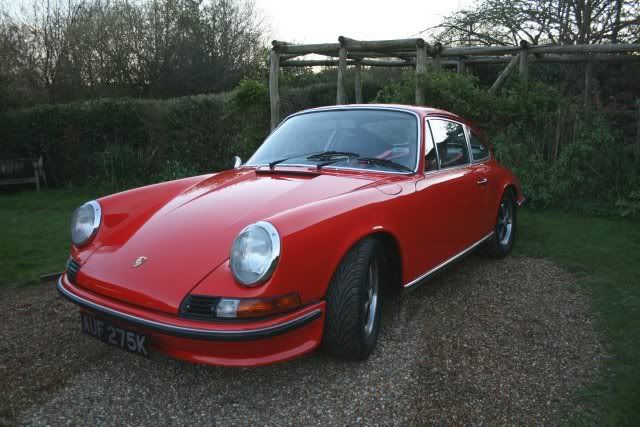
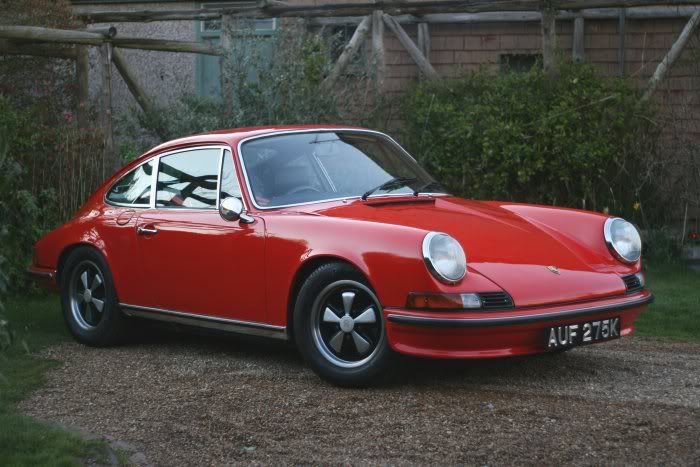
Fitted the new plates, with 'new' reg number: much nicer. Also tidied the boot area, and made a liitle boot prop (struts a bit lazy in the cold weather). It locates on a little spigot on the bonnet, and the cup (turned on the lathe) sits over the strut top. I happened to have the bit of aluminium tube here:

Image

Image

Also gave the whole car another compounding (hand) followed by HD Cleanse:

Image

Image

By which time the light was going .... still managed to get a quick drive in: can't quite believe just how quick this thing is (very nearly as quick as the Cappuccino :roll: ).

Carpets next ....

Posted: Mon Mar 24, 2008 8:42 pm
by 912uk
you make it look so easy mate.. well done i need to tick off a few jobs on the 12 for CLM's so threads like this help get me out in the garage...

Posted: Tue Mar 25, 2008 9:34 am
by jamie
That looks really good! Such a transformation.

Posted: Tue Mar 25, 2008 12:35 pm
by impmad2000
Nice Tacho :) :wink:
Tim (Very slow !!)

Posted: Tue Mar 25, 2008 1:00 pm
by Barry
:).

More to follow soon: next areas are to clean up beneath the pedal boards (which need repairing), and then start on a carpet set. Footwell ones first, as they are the most urgent.

At the same time, I might remove a few of the engine bay bits, and get them tidied up.

There're still the arch liners to go, plus some electrics (O/S window motor a bit slow, and s/roof* motor doesn't switch from dash, but runs fine on direct wiring).

* Was amazed (and pleased) to find the sunrof area to be in perfect nick: I really wasn't sure what I would find when the roof first opened after all those (laid up) years.

Posted: Fri Mar 28, 2008 11:52 pm
by owen nw
just read this CLASS you make it sound easy , i love the way you say i JUST made this lol CLASS change you name to porsche GURU love the work fair play owen nw :shock: :shock: :shock: :shock: :shock: :shock: :shock: :shock: :shock: :shock: :shock: :shock: :shock:

Posted: Sat Mar 29, 2008 9:46 am
by elkelk
fascinating thread, the results are superb

Posted: Sat Mar 29, 2008 1:28 pm
by Barry
:) Thanks very much for the above comments: better pics to follow, possibly tomorrow evening.

Today I'm staying warm and beginning to make up some better carpets. First job is to cut and join the new belt for the (industrial) sewing machine, and we're good to go.

More to follow ....

Posted: Sat Mar 29, 2008 6:35 pm
by Barry
Okey dokey, managed to get the sewing machine fired up this afternoon. I already had some black carpet here, plus some edge banding.

The cutting of the carpet is simple enough: just turn the new carpet upside down, and place the old bit on it (also upside-down). The carpet I used has got a bonded backing, and so marks quite well with a sharpish instrument. I used the pointy bit of the scissors. You could easily cut a whole set of blanks in a couple of hours, even taking it slowly.

The tricky part is sewing on the edge banding, which is only just wide enough to go over, round the side and under the edge of the carpet. As you sew it, it creeps out of position, and either goes crooked, buckles up, or falls off the edge of the carpet. To cap it all, if the top and bottom of the edging don't get stitched evenly, the carpet rears up like the preverbial British Rail sandwich.

Anyway, I've just done the pedal board and two front footwells for now, and will take all of the carpets out at some stage and have a go at the whole lot. BTW, I also made one matching over-carpet, and will make a set of four when I do the main re-carpetting.

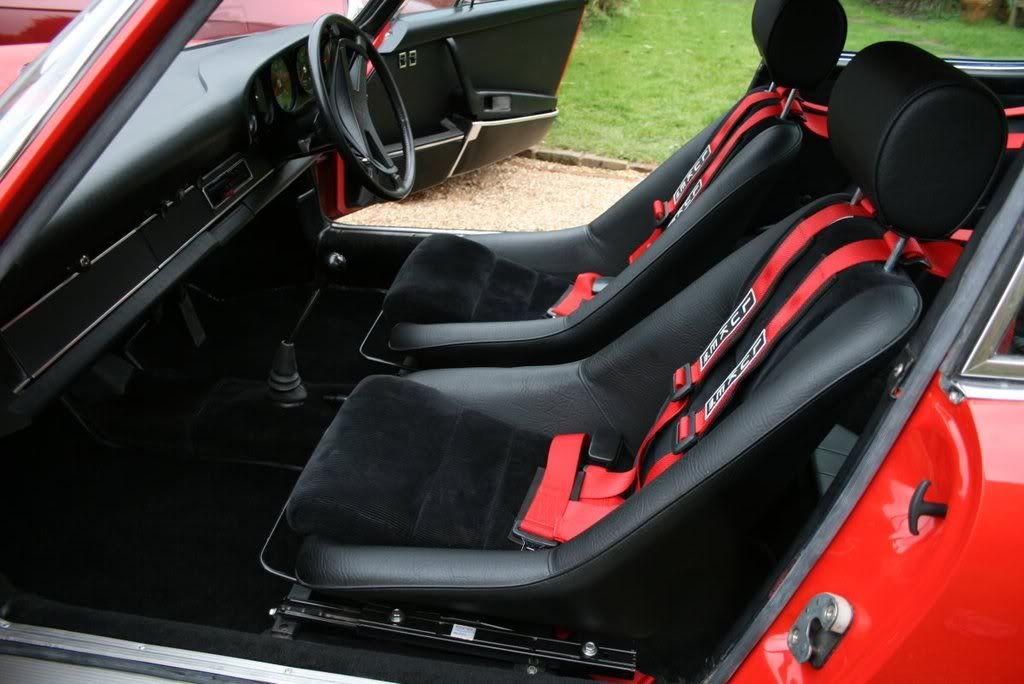
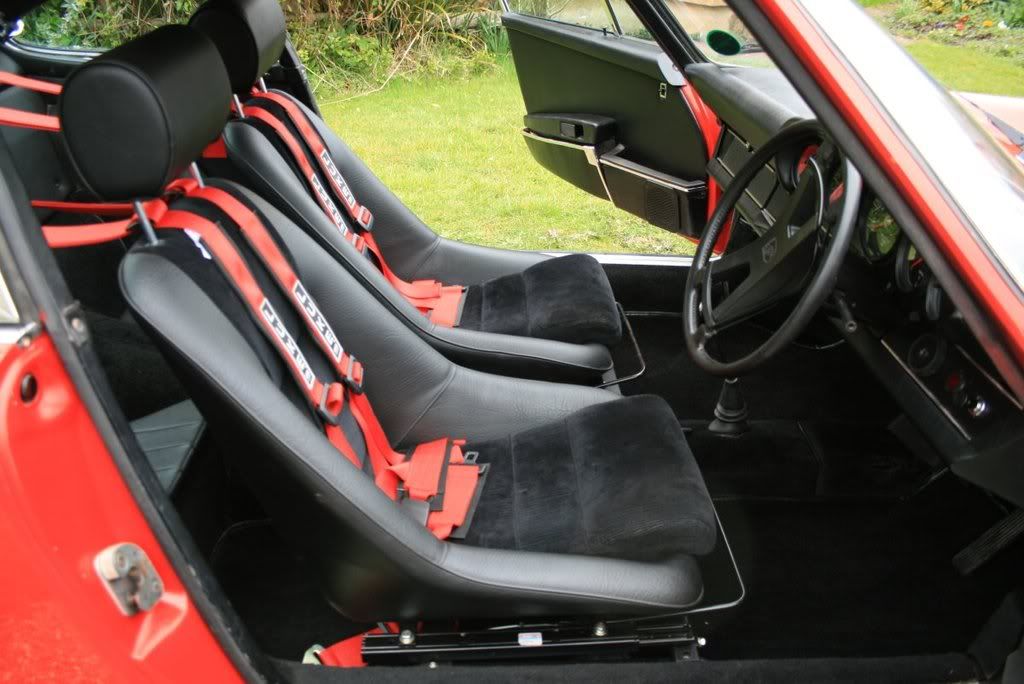
Forgot to say before (I think) that I had already bought a pair of BF Torino seats from Mark Waring (ex-display), and as the inertia belts were scrap, fitted a pair of Luke harnesses left over from the TR restoration (originally I was going for the orginal interior colour of red, hence these harnesses, but changed to biscuit). I modified the (modern) Recaro seat runners that came with the car to match the BF's.

Just a reminder of last July:

Image

And earlier today ....

Image

Image

Either electrics next (sunroof, washers (which were fine, I think I disturbed something last weekend), rear demist. Think everything else is fine as far as wiring is concerned.

After that, I'll move onto the (filthy) engine bay. BTW, car is now on oil change number four in 300 miles (when I first got it, the oil was black, black, black) and each change is dropping out cleaner and cleaner oil. Super oil pressure though, so I suspect that it's still a happy engine: certainly pulls rather well.

More soon, just going to order some more of that edge banding so I can do a load more carpet'y things ....