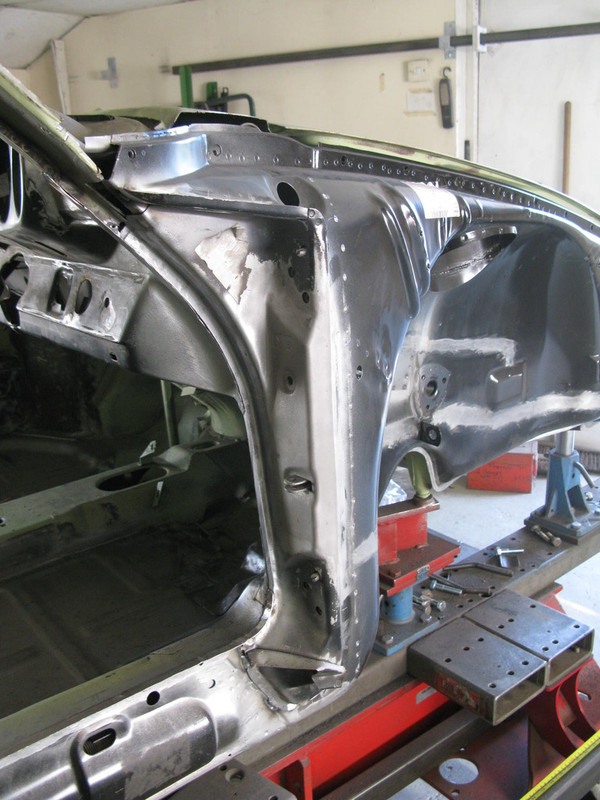
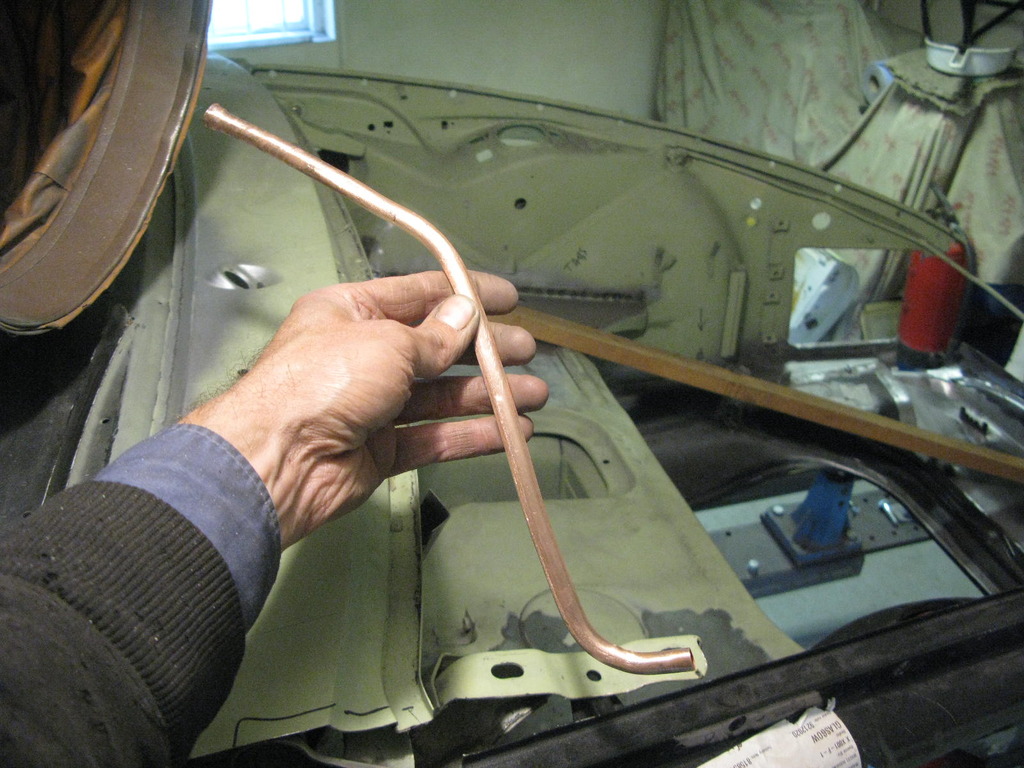
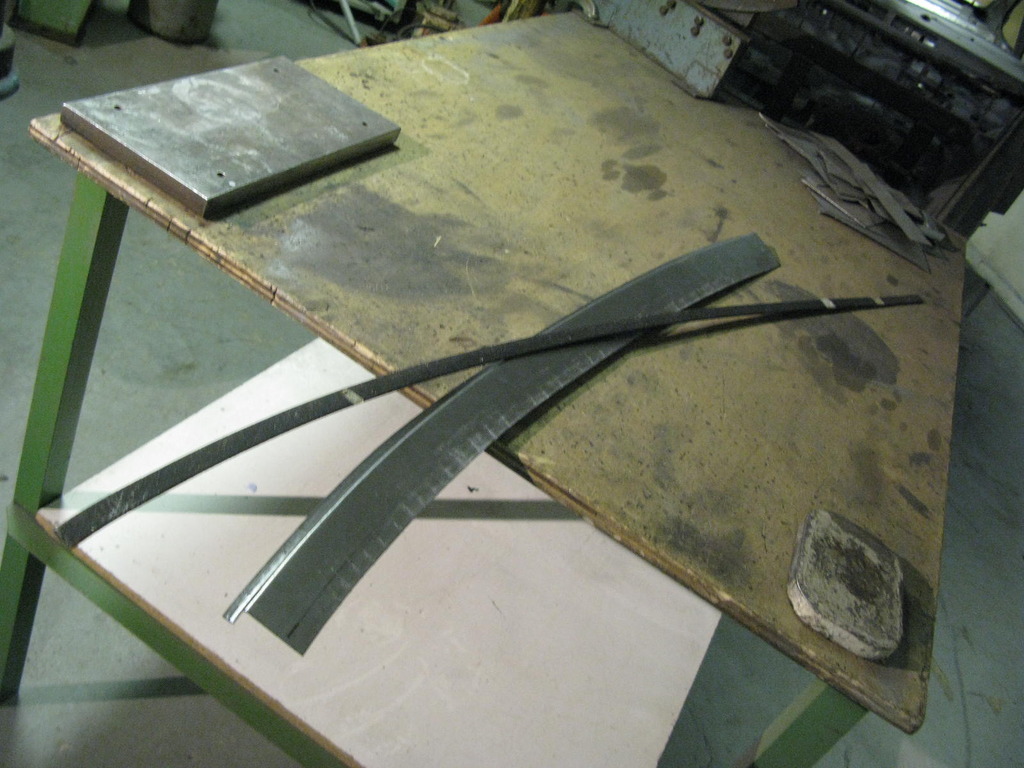
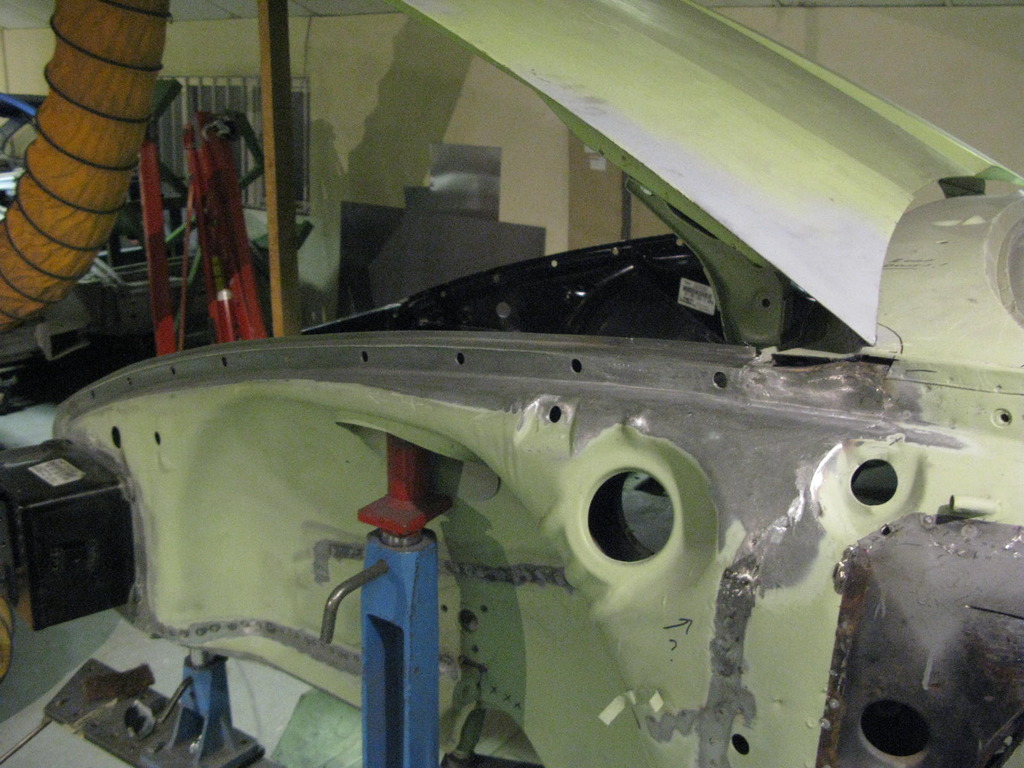
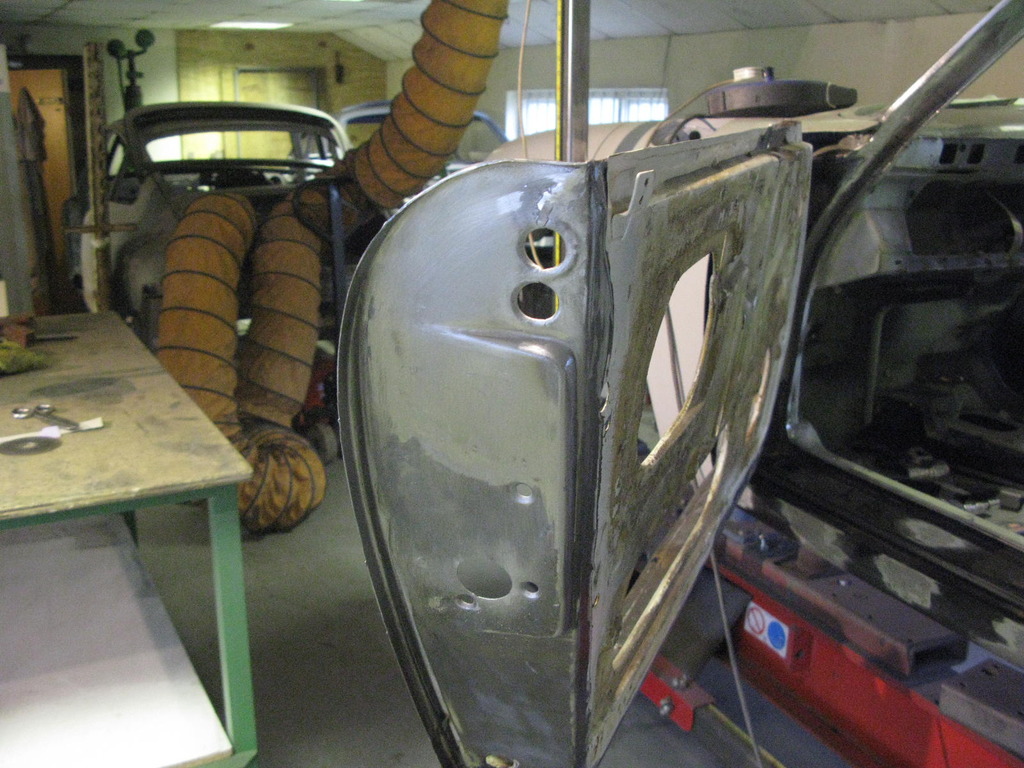
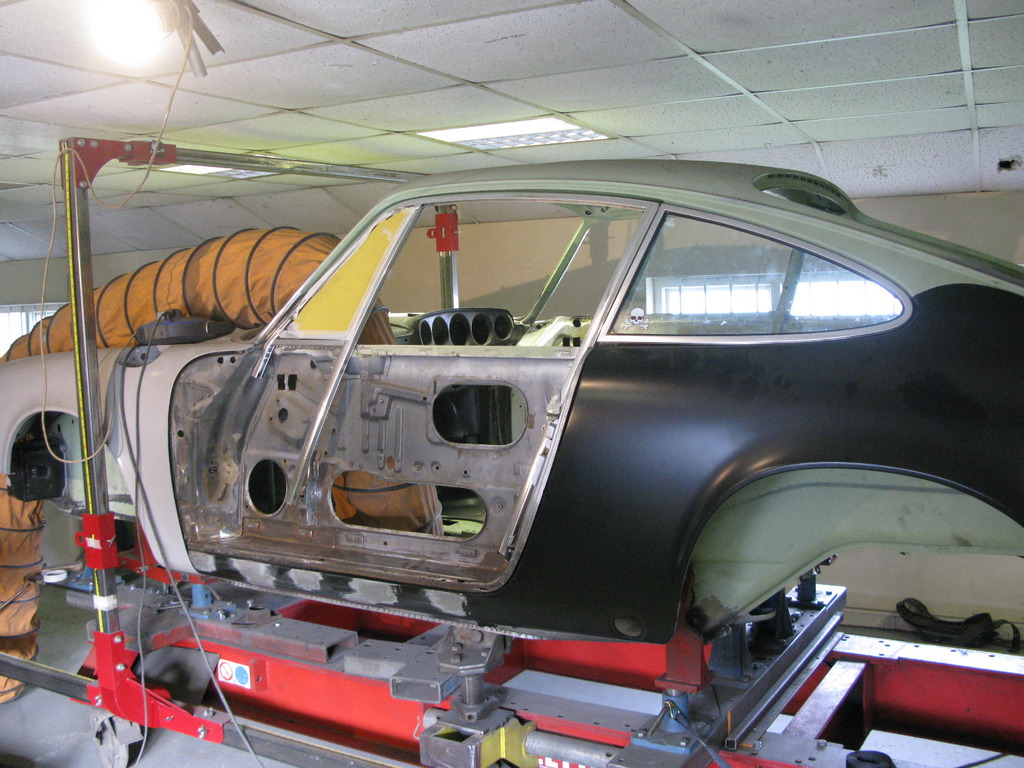
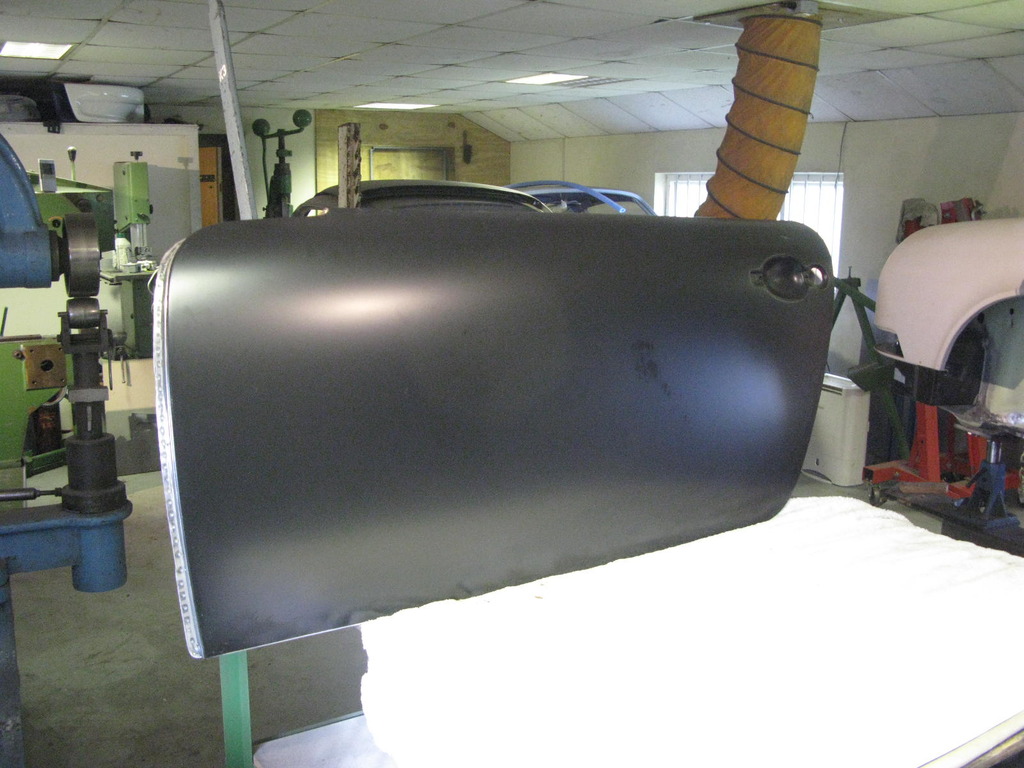
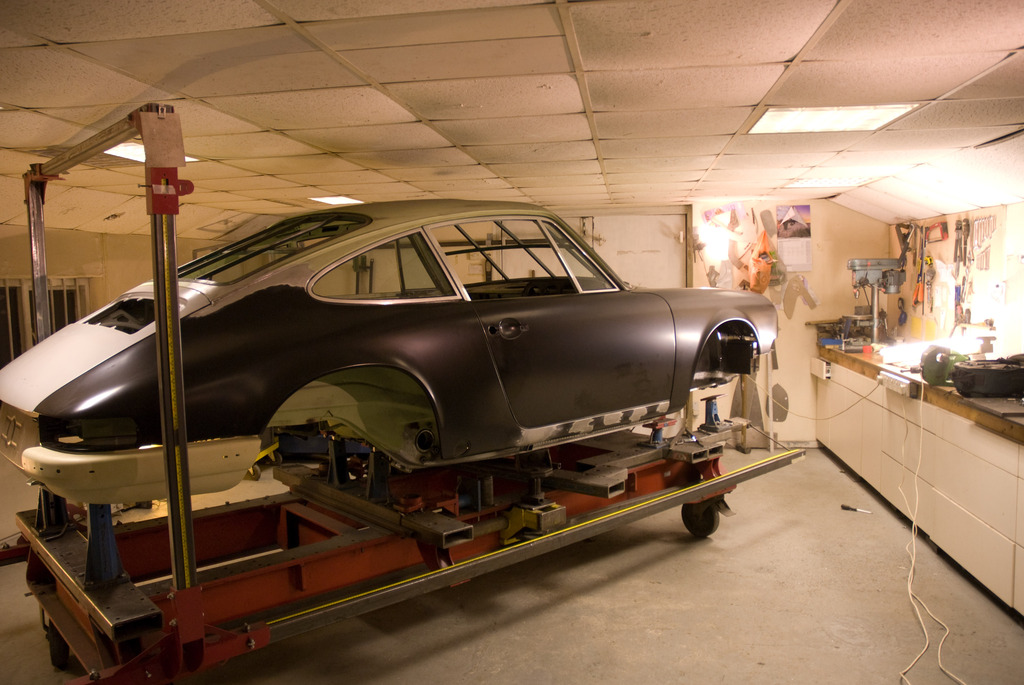
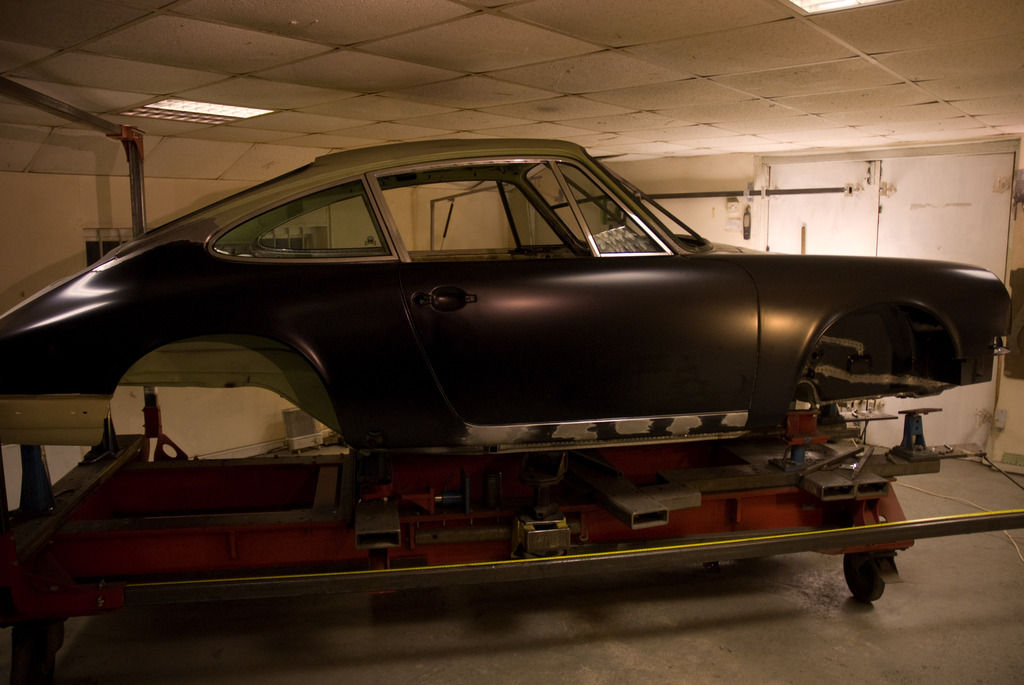
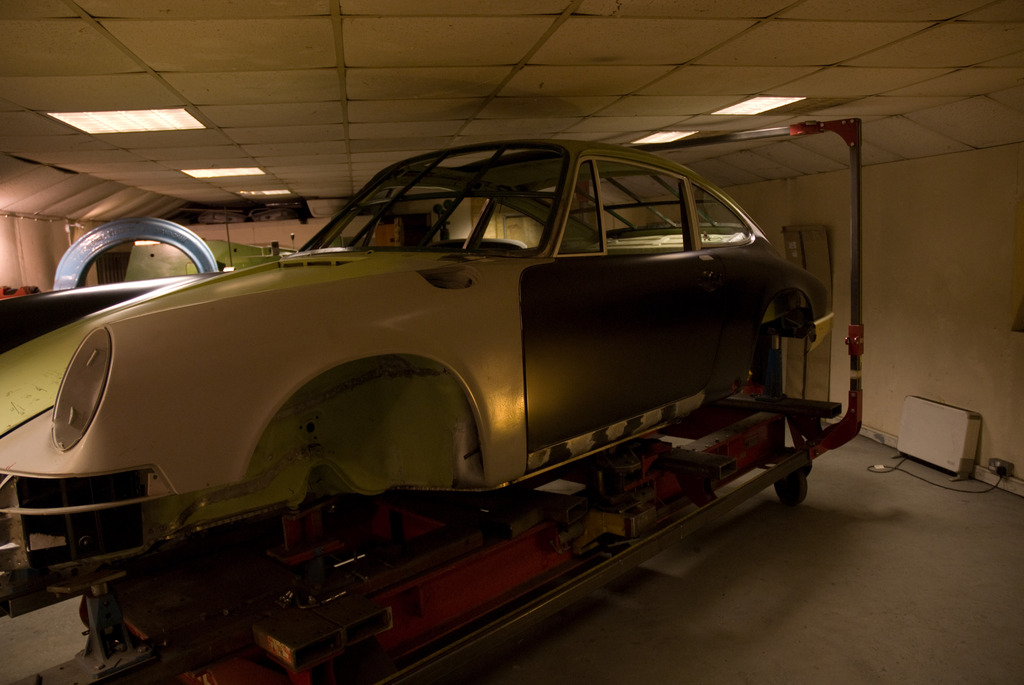
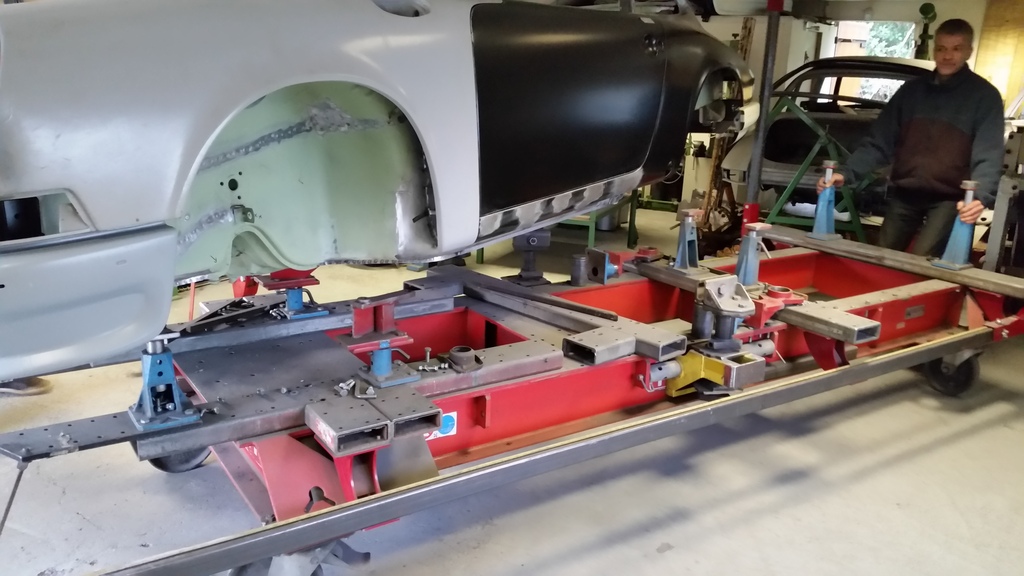
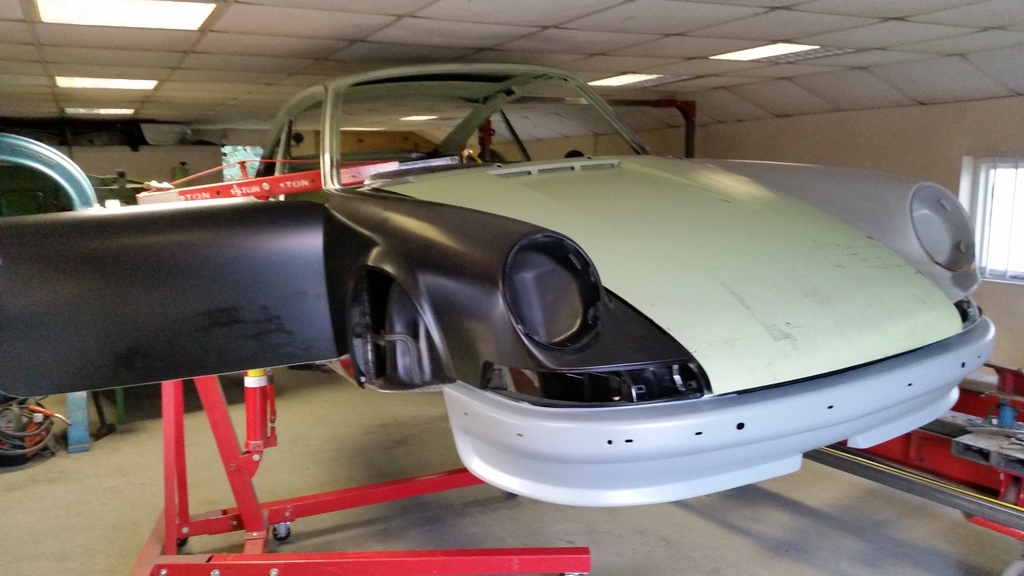
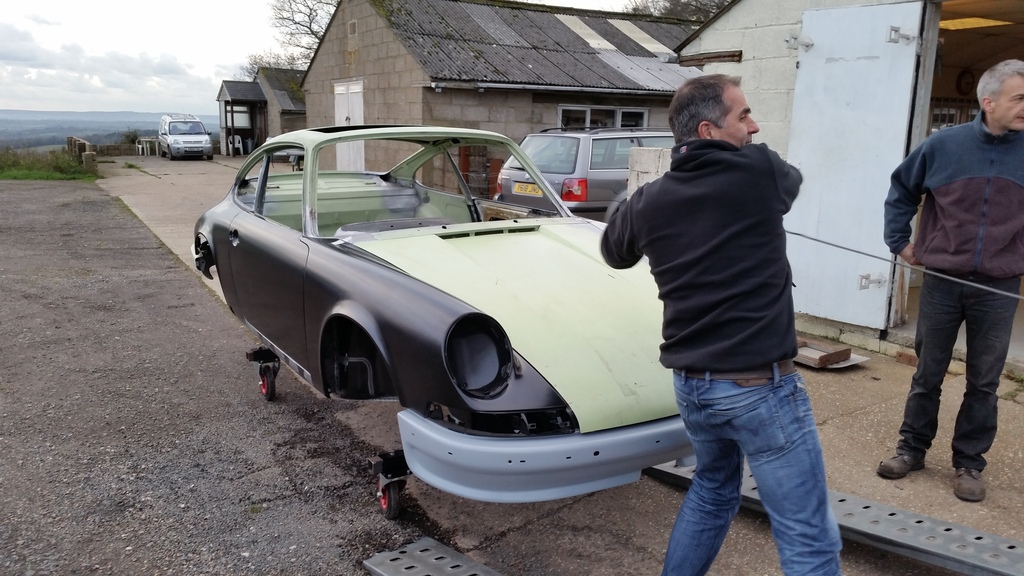
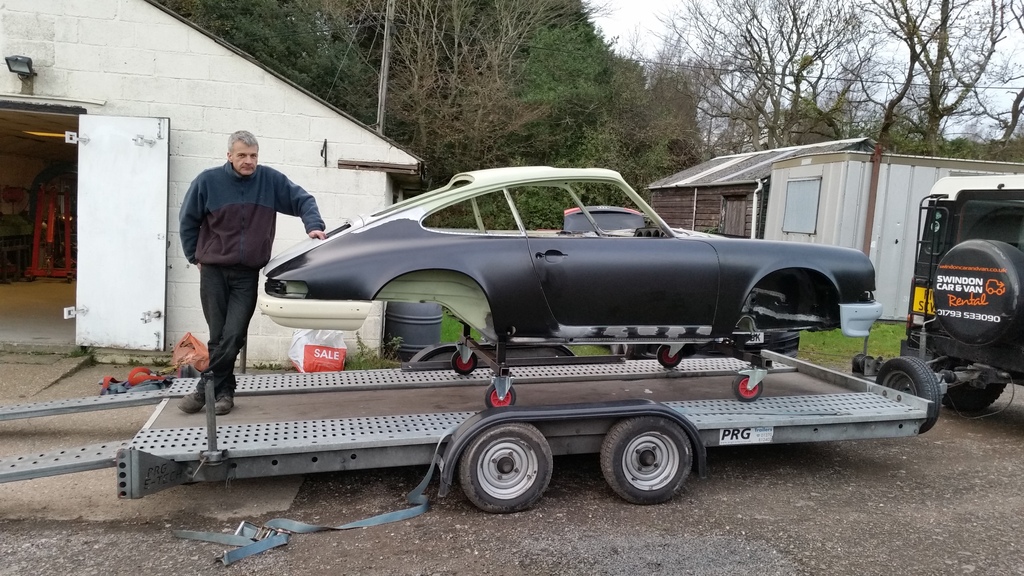
So after many hours of really hard graft by Barry we move into the final stage of the shell restoration... (about bloody time hey Adam?)
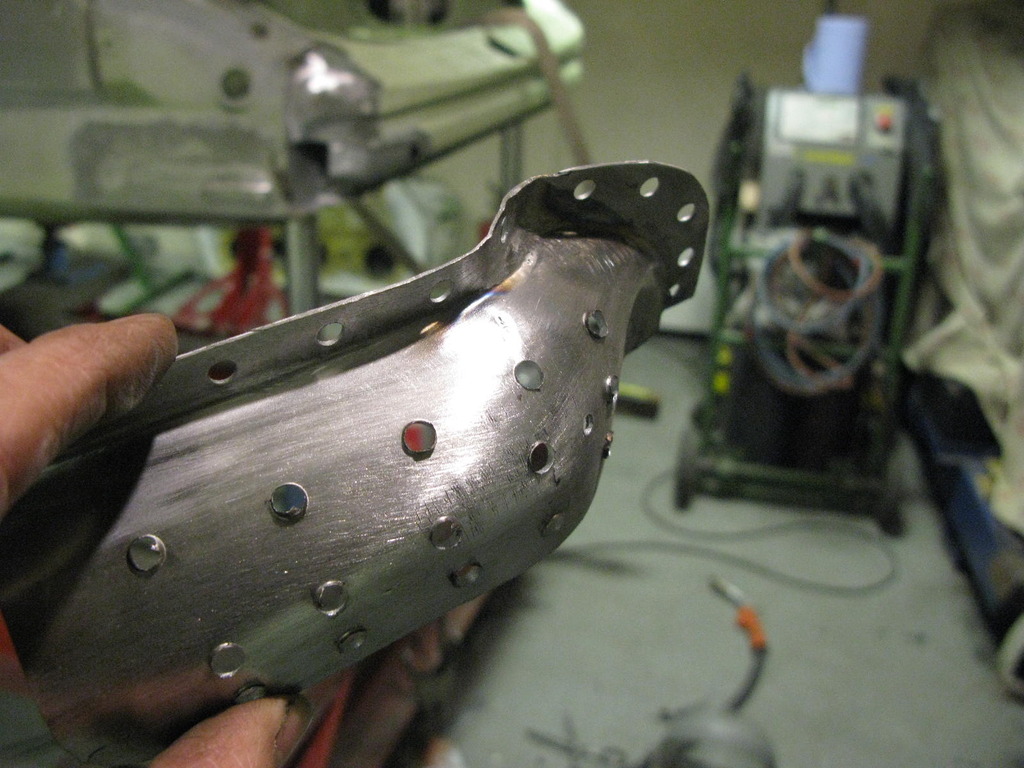
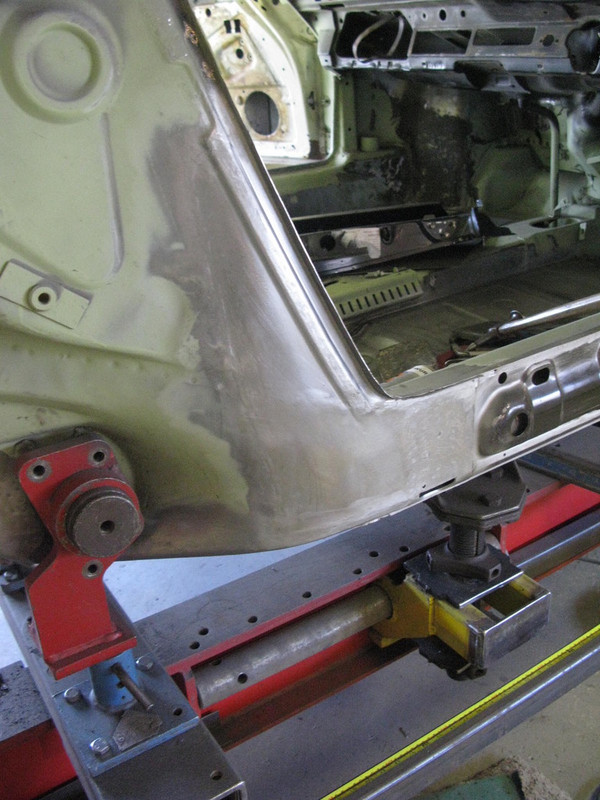
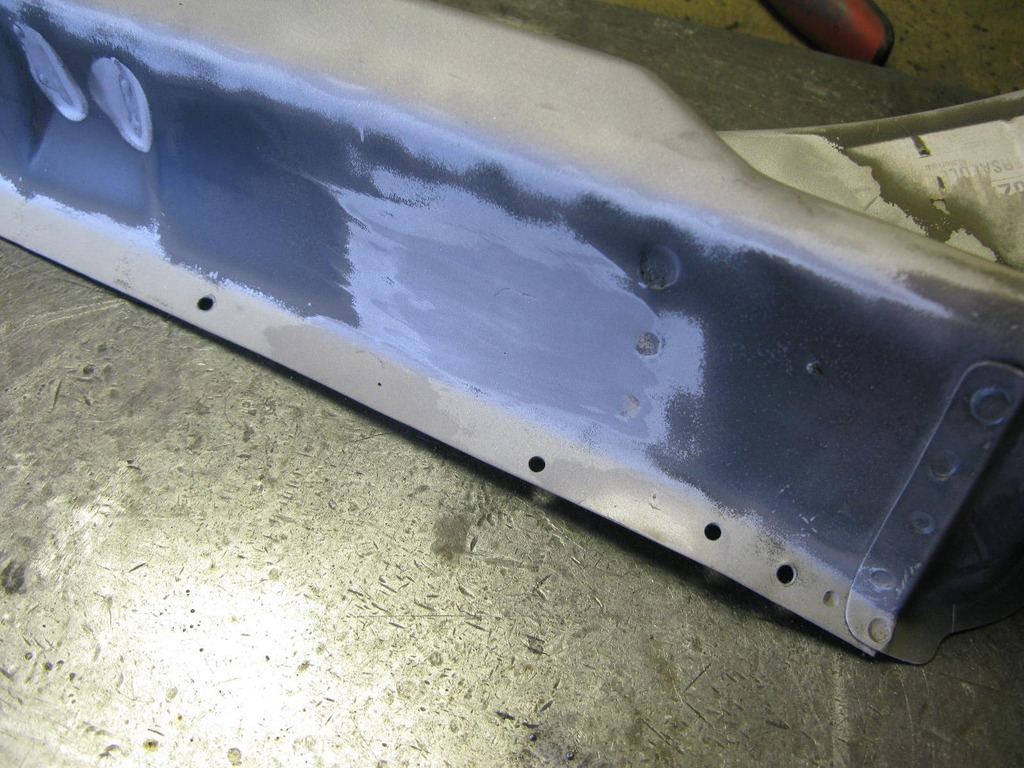
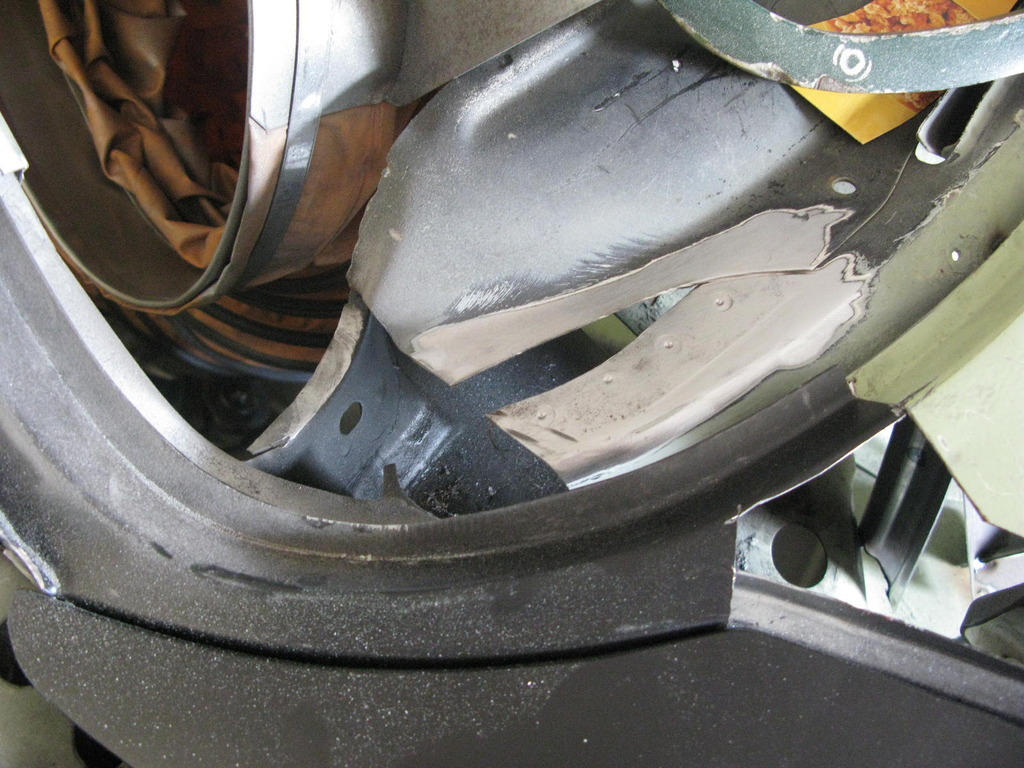
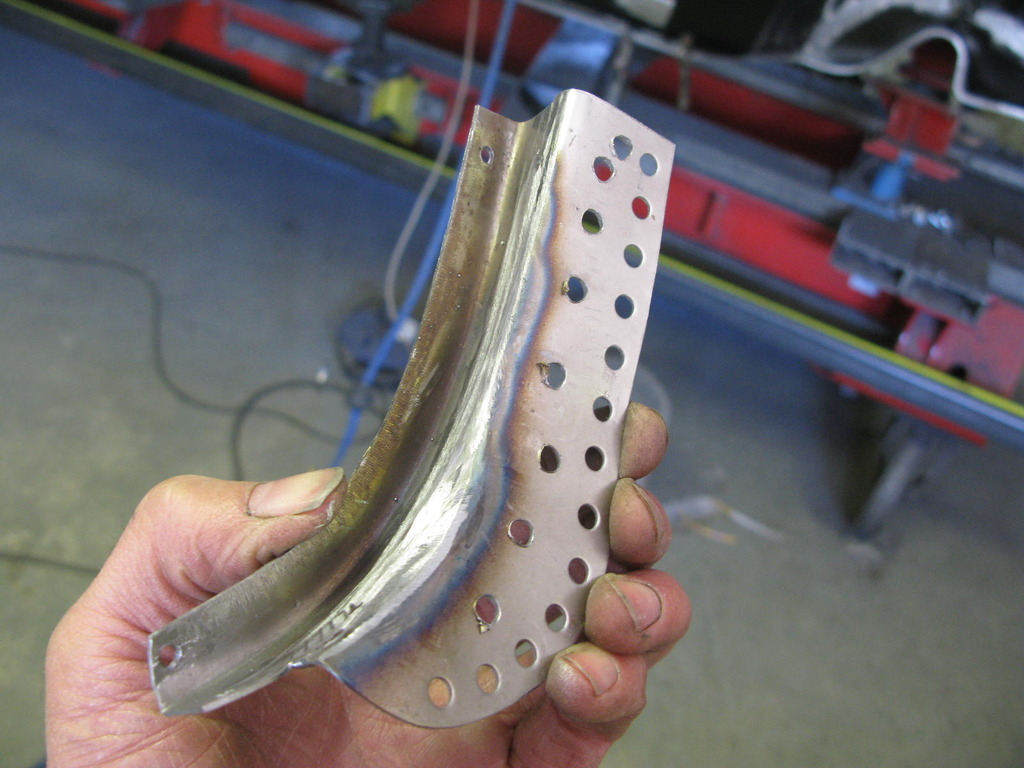
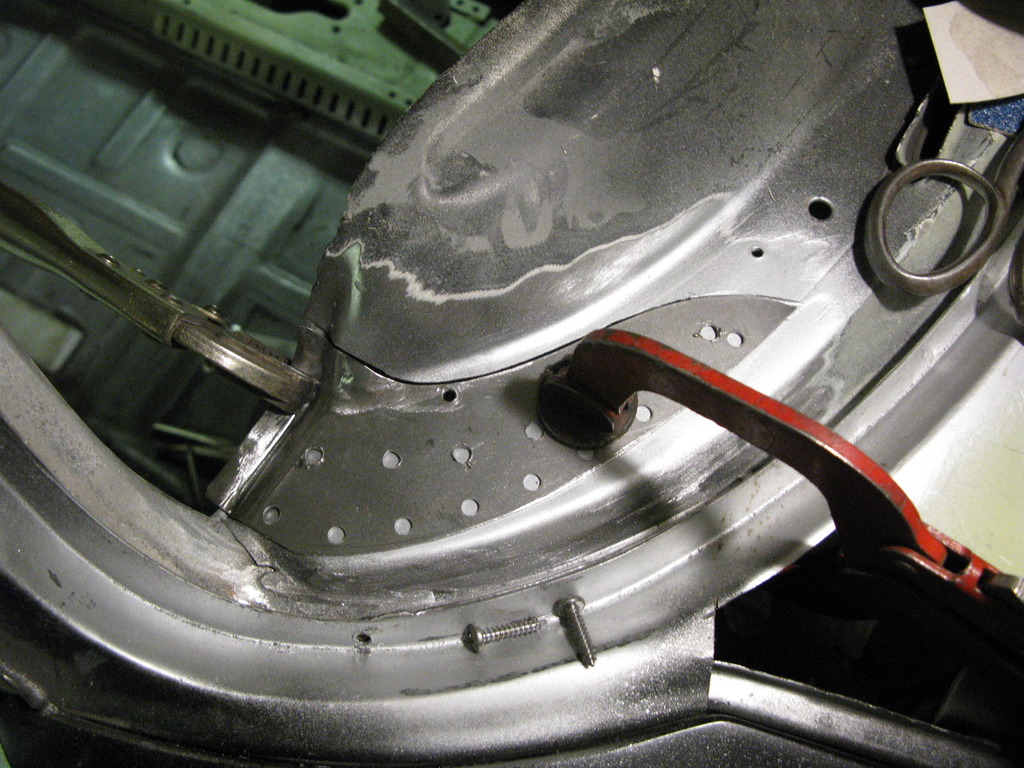
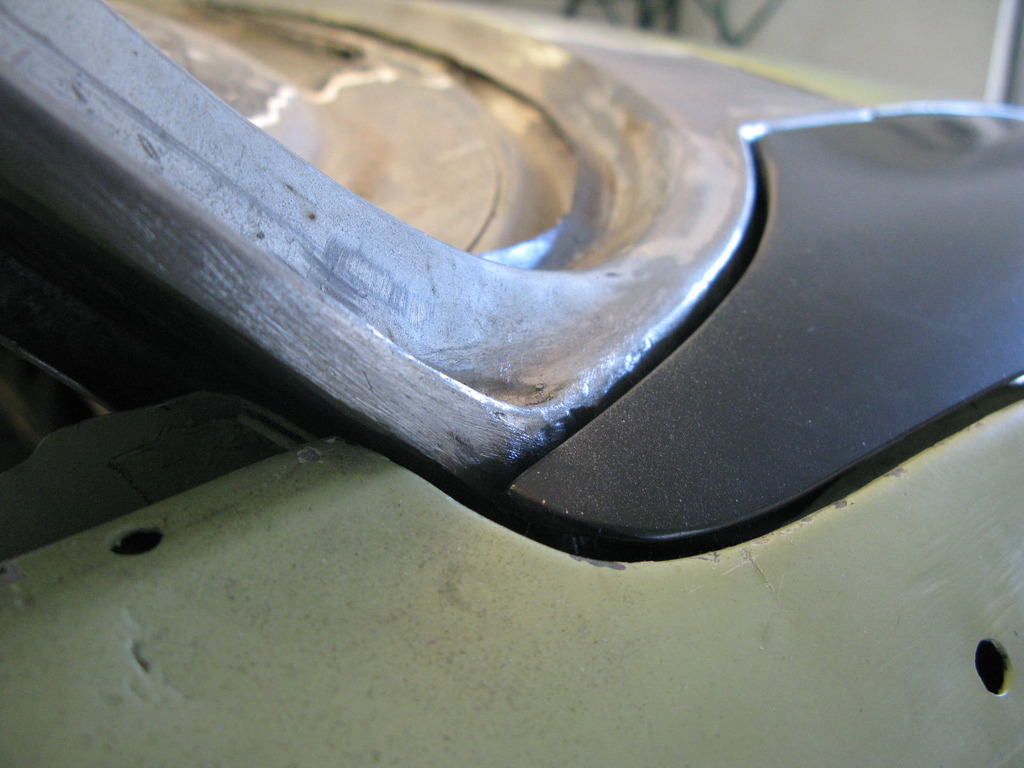
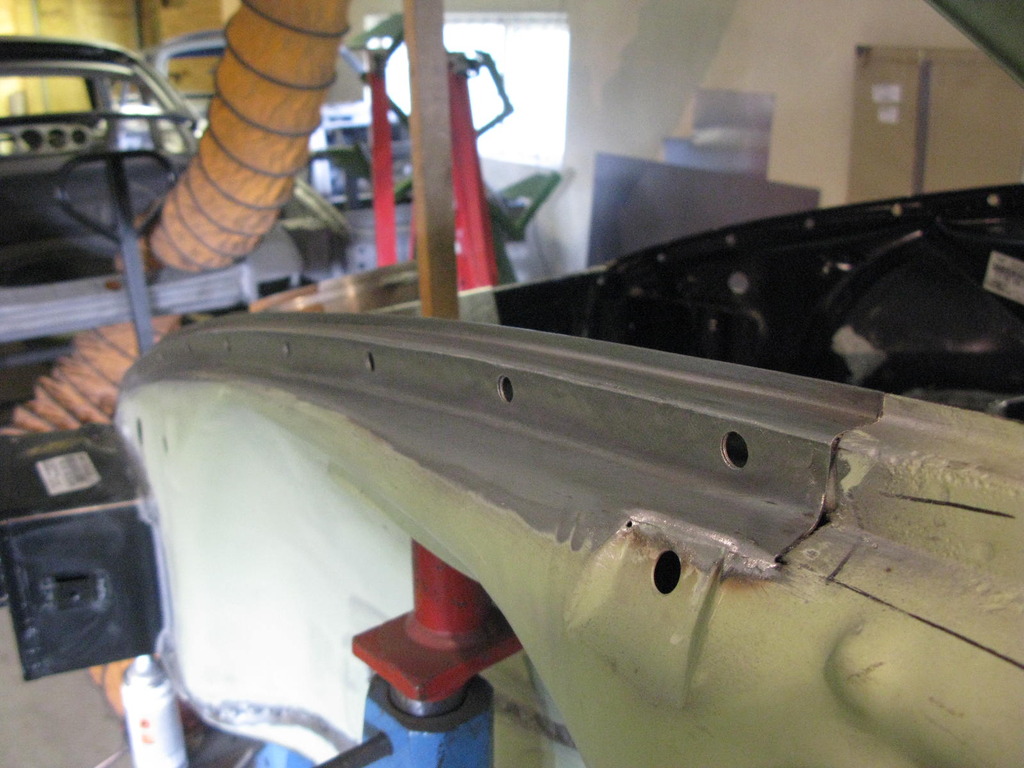
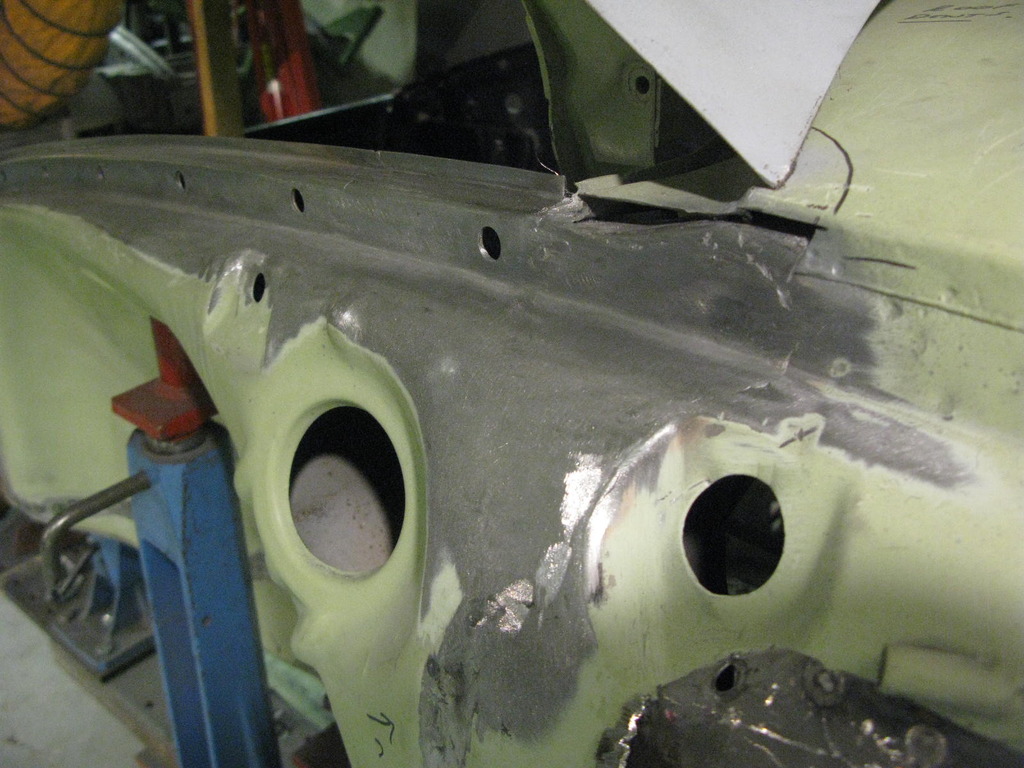
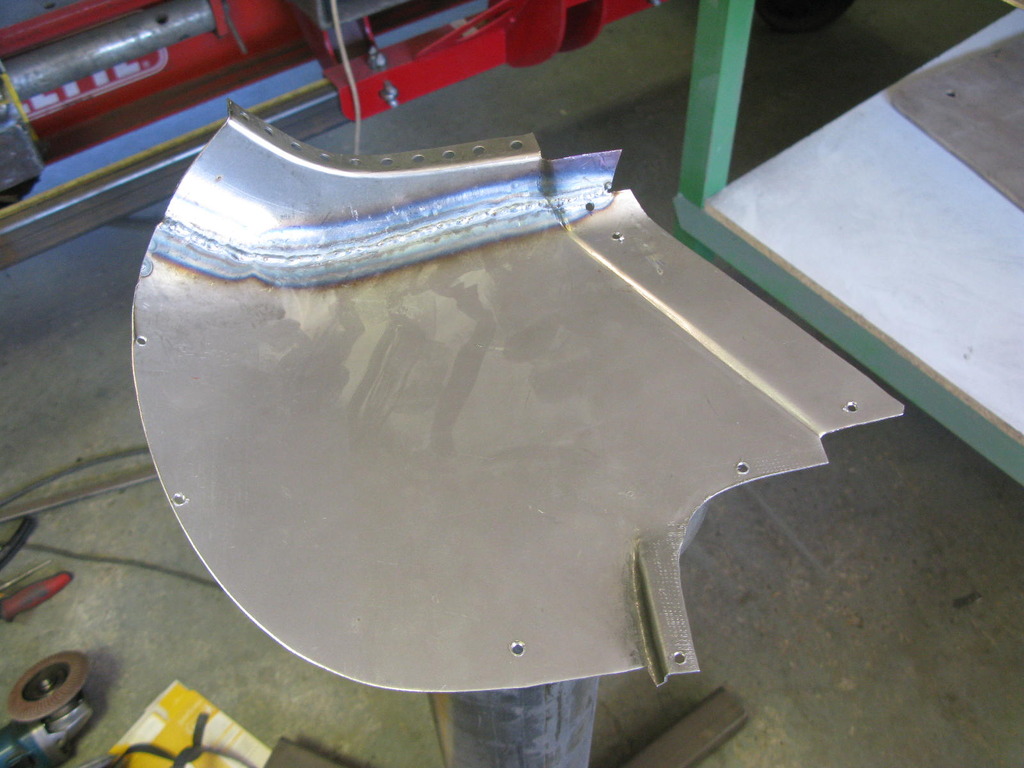
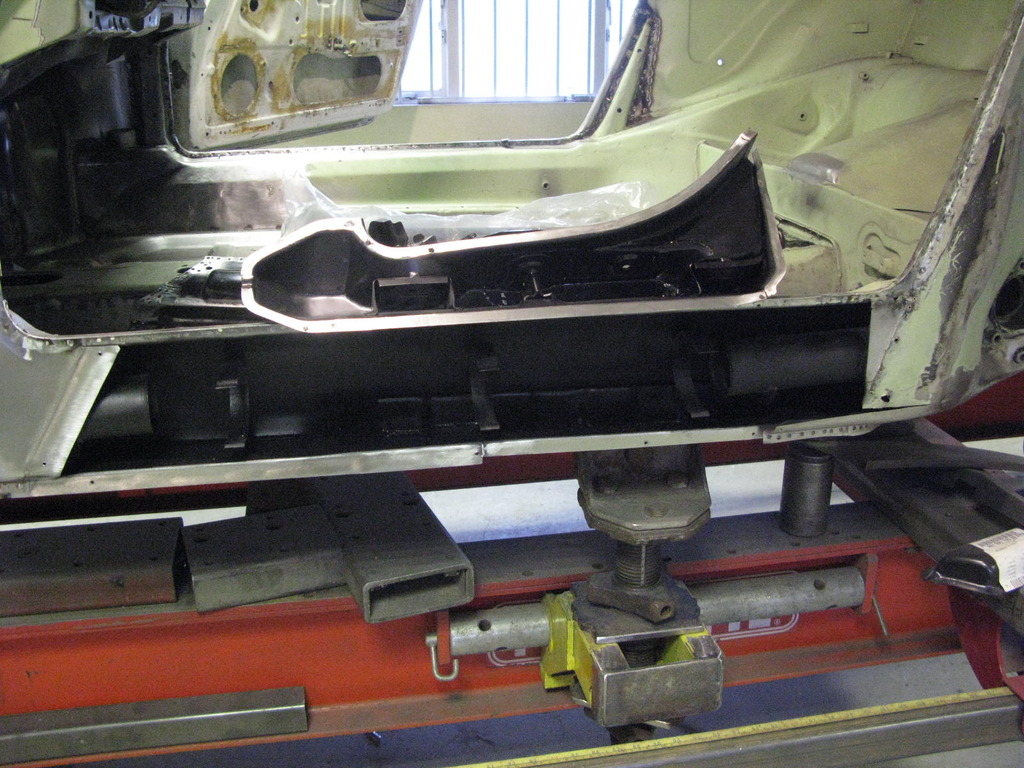
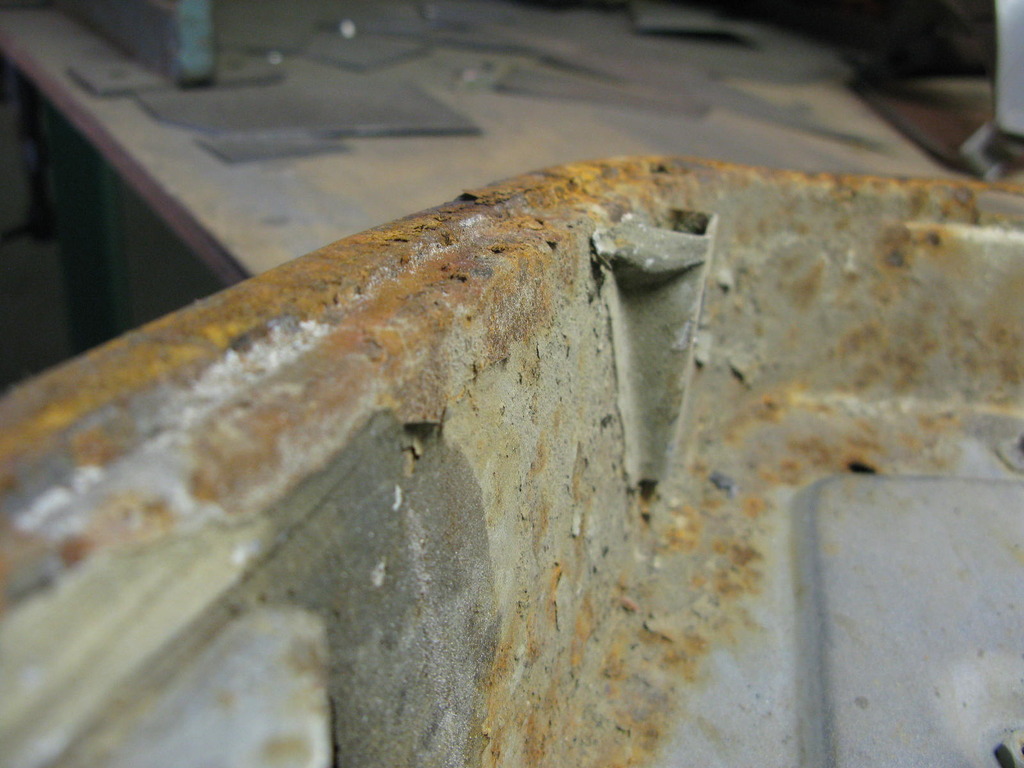
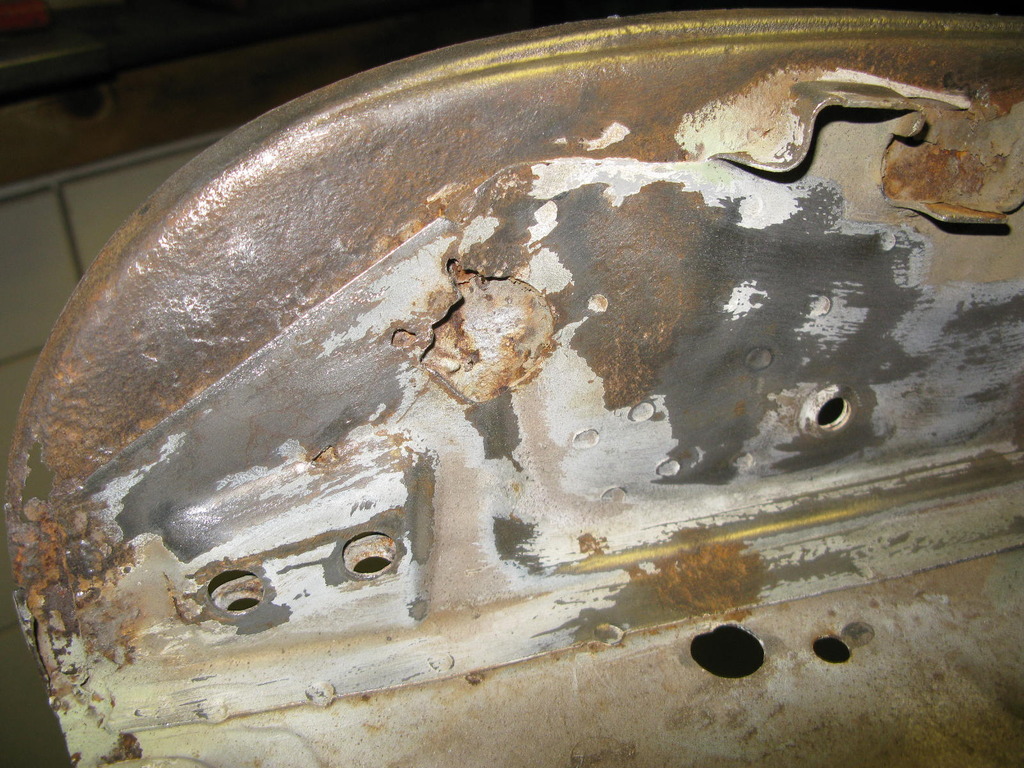
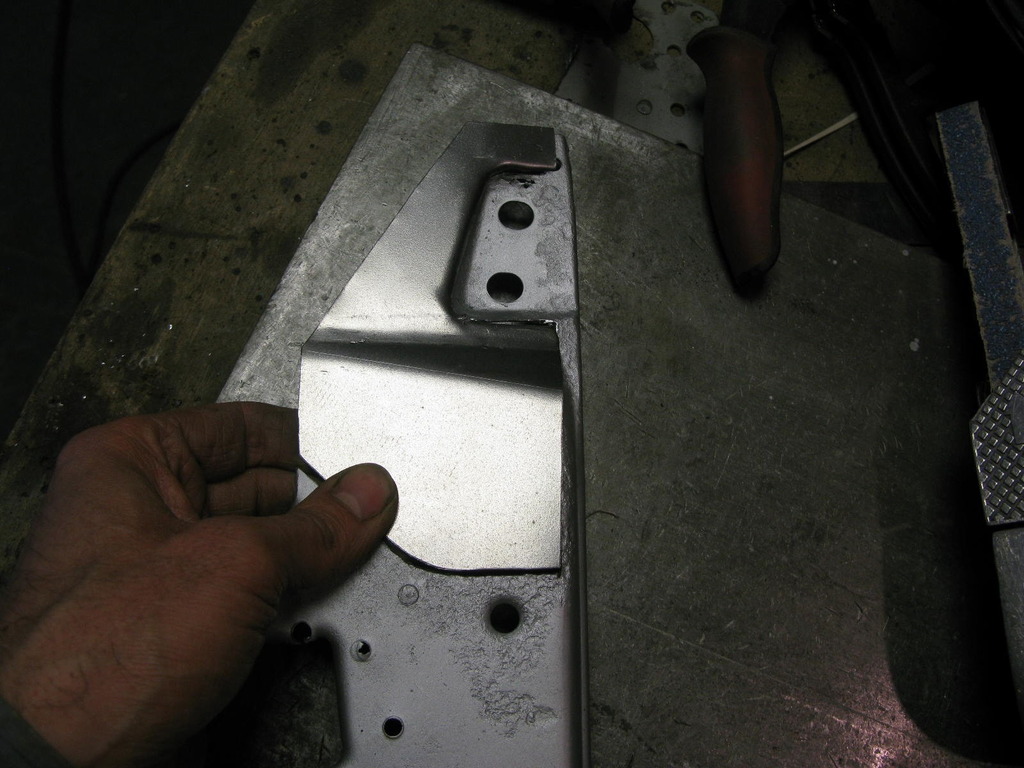
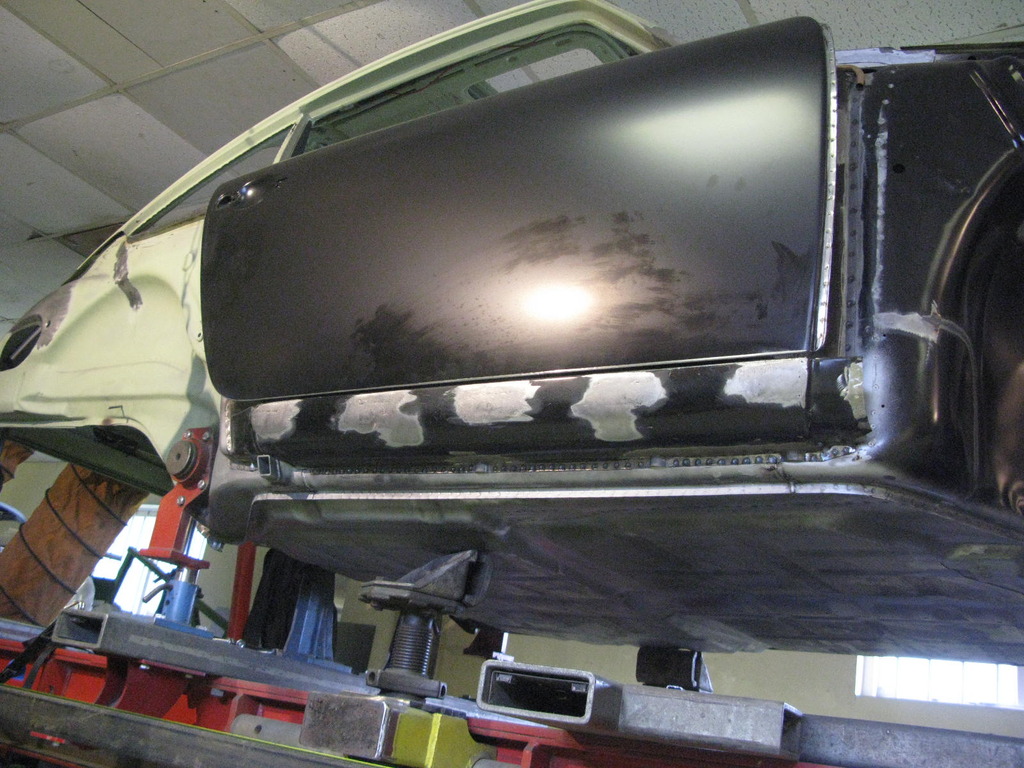
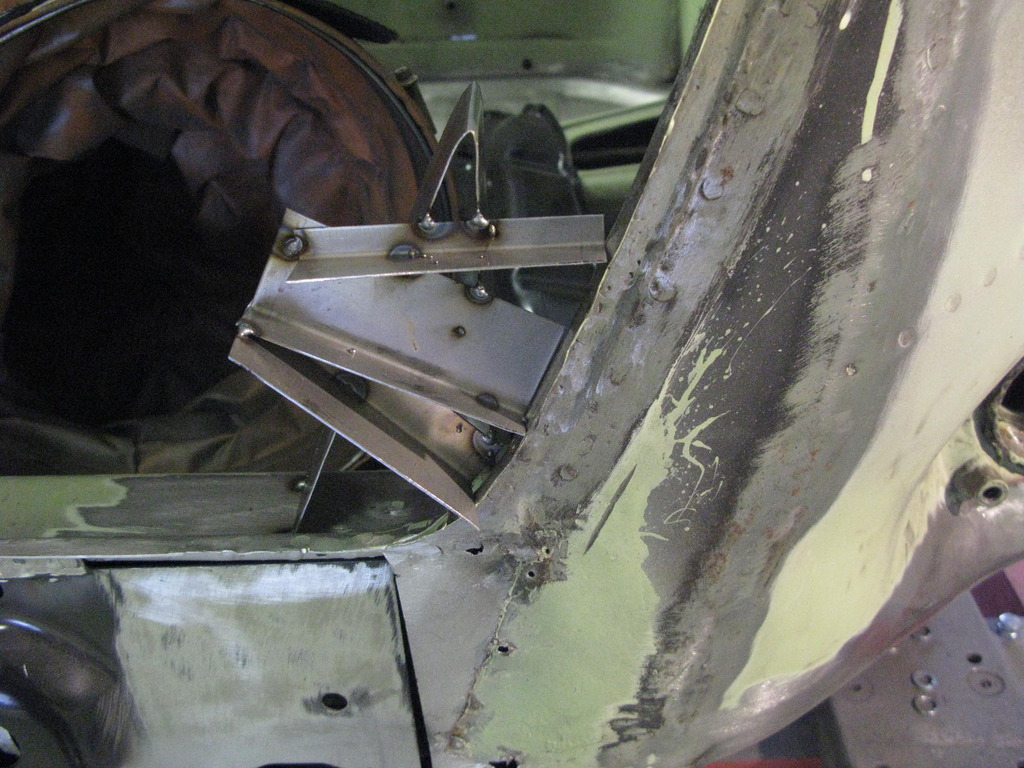
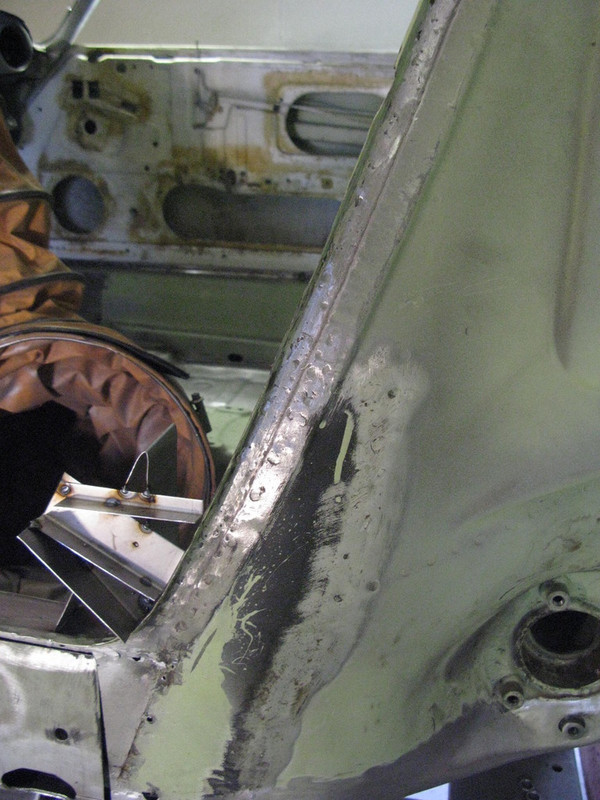
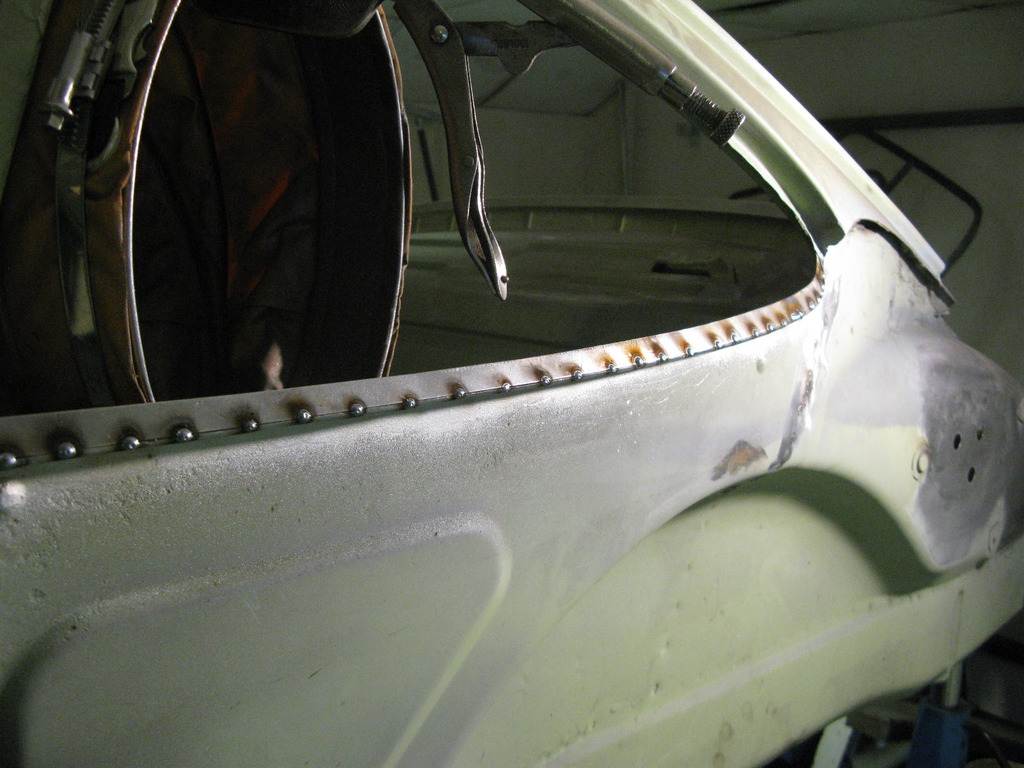
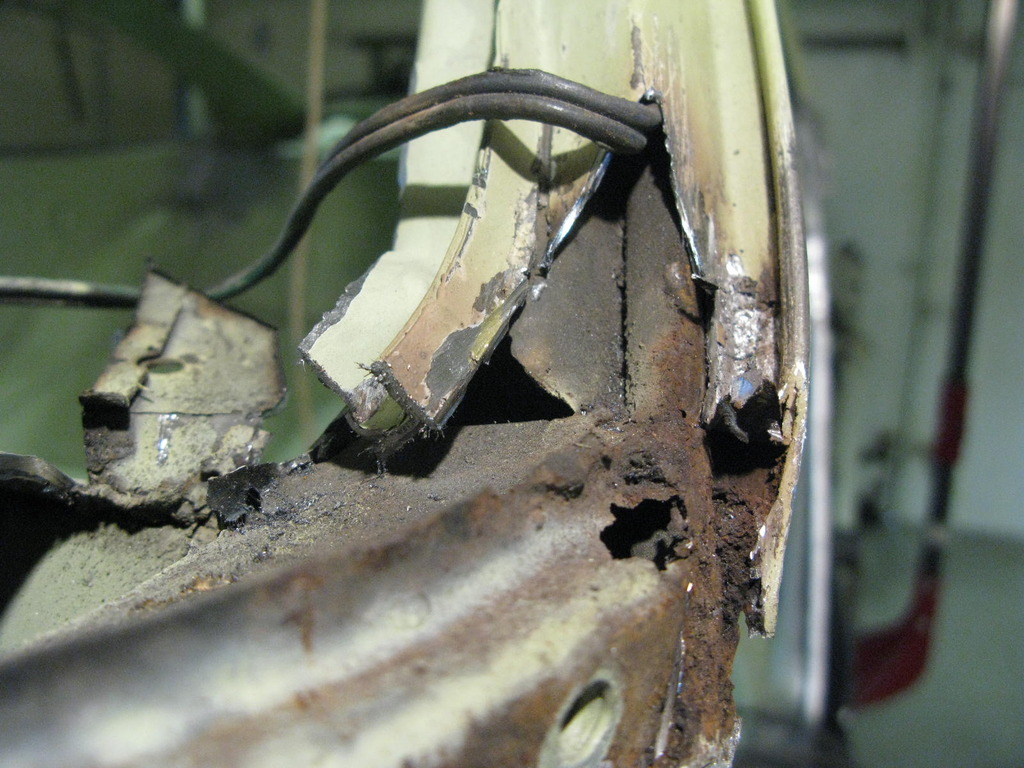
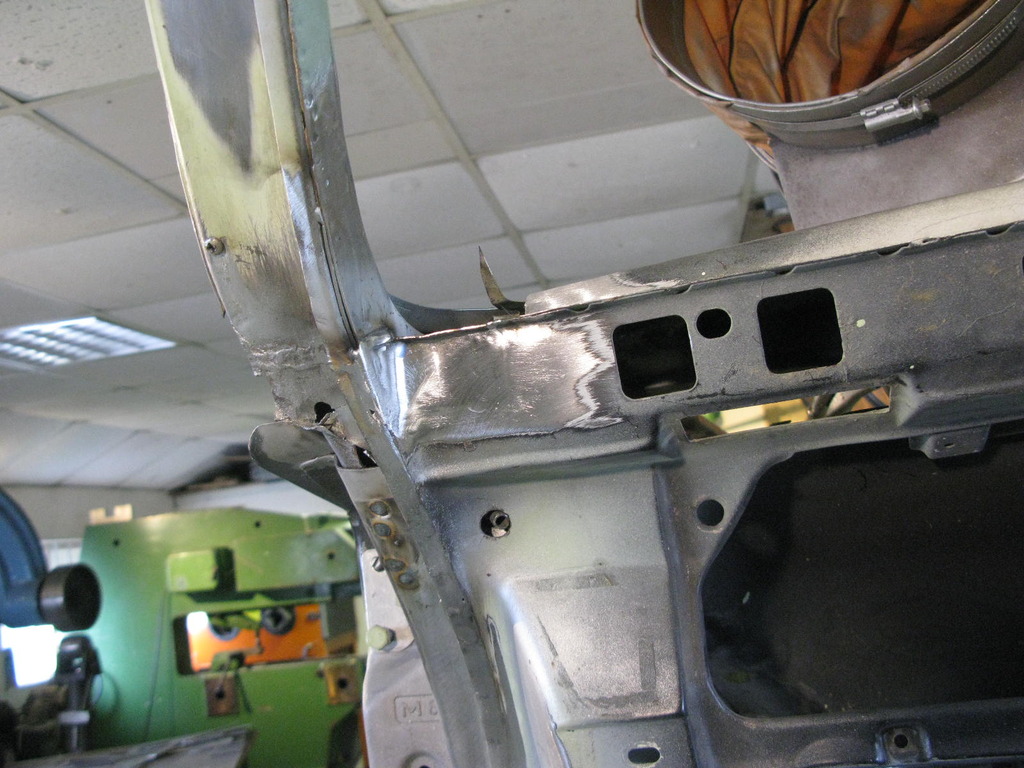
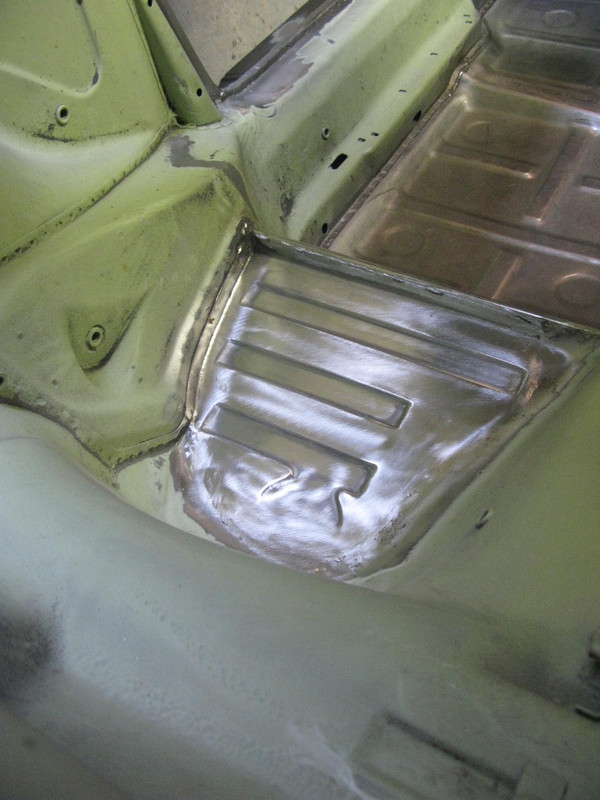
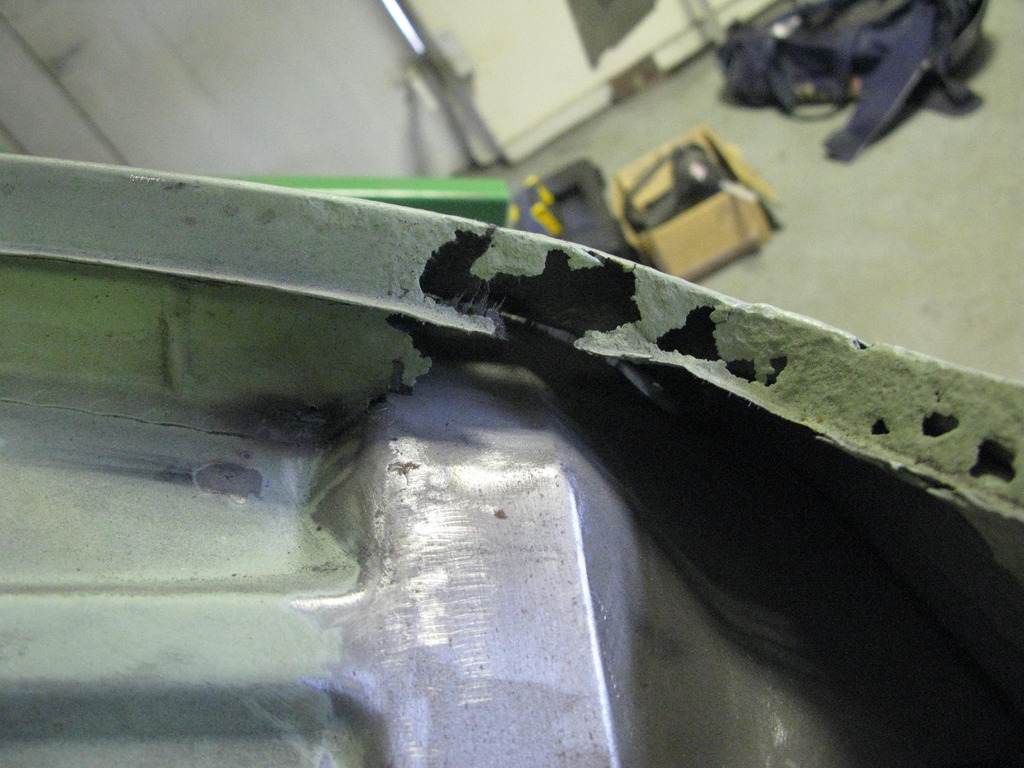
54. Rear inner wing front repair (N/S).
Same pattern as the other side although this side didn't require as much metal to be cut away. The main problem in fact, was the state of the inner to outer wing flange which had taken a real battering.
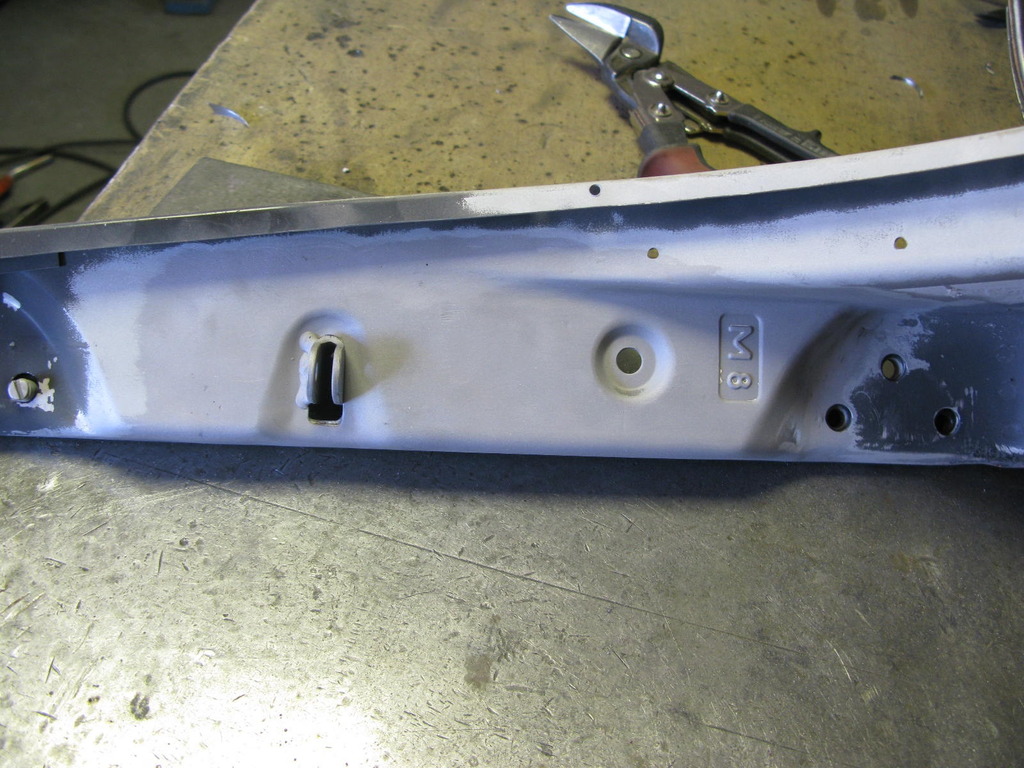
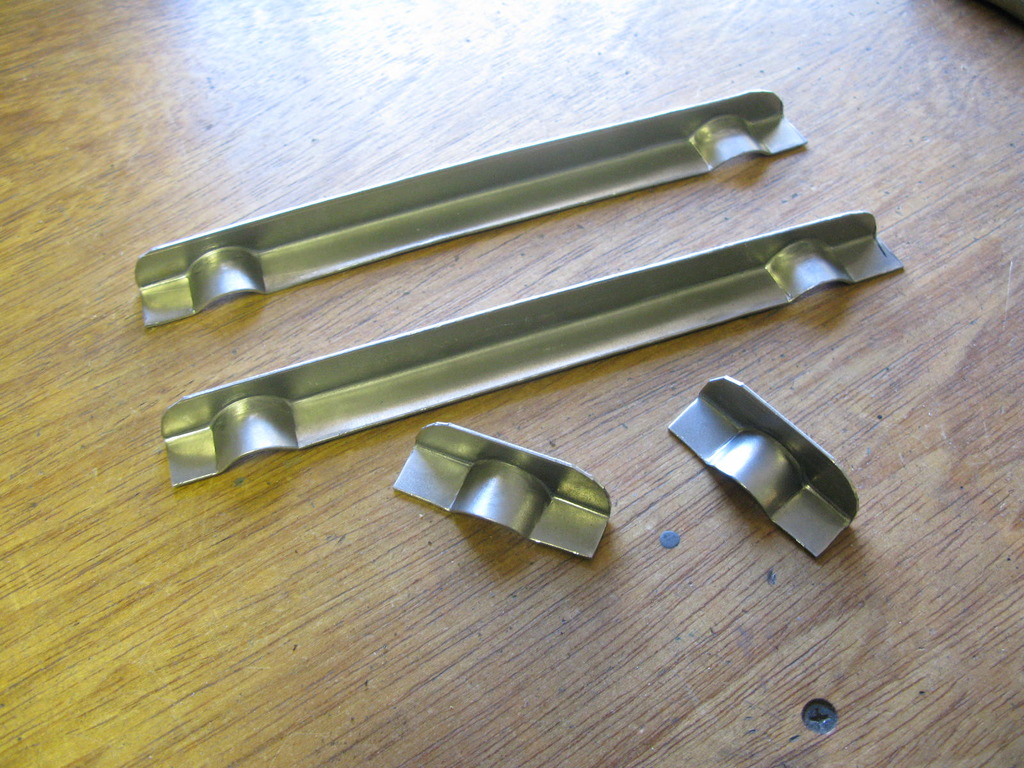
Come outer wing time the addition of these new flanges really helps to make a nice job of the spot-welds, plus we get to claw back a small percentage of the time.
The lists are beginning, always a sign that things are marching on!
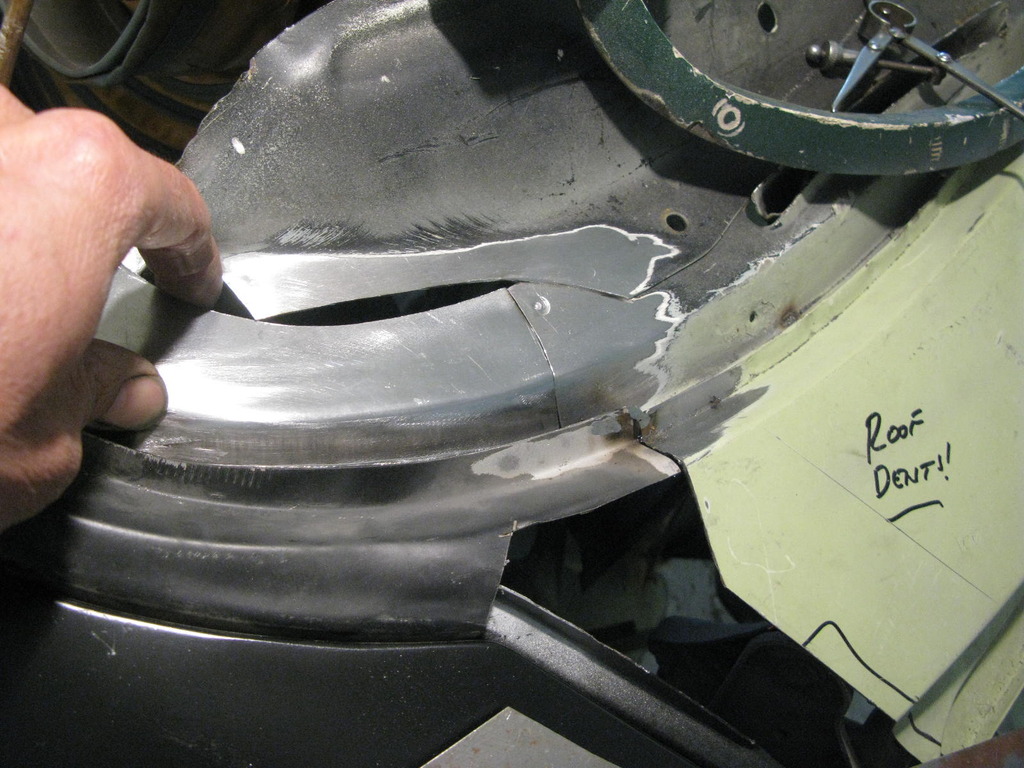
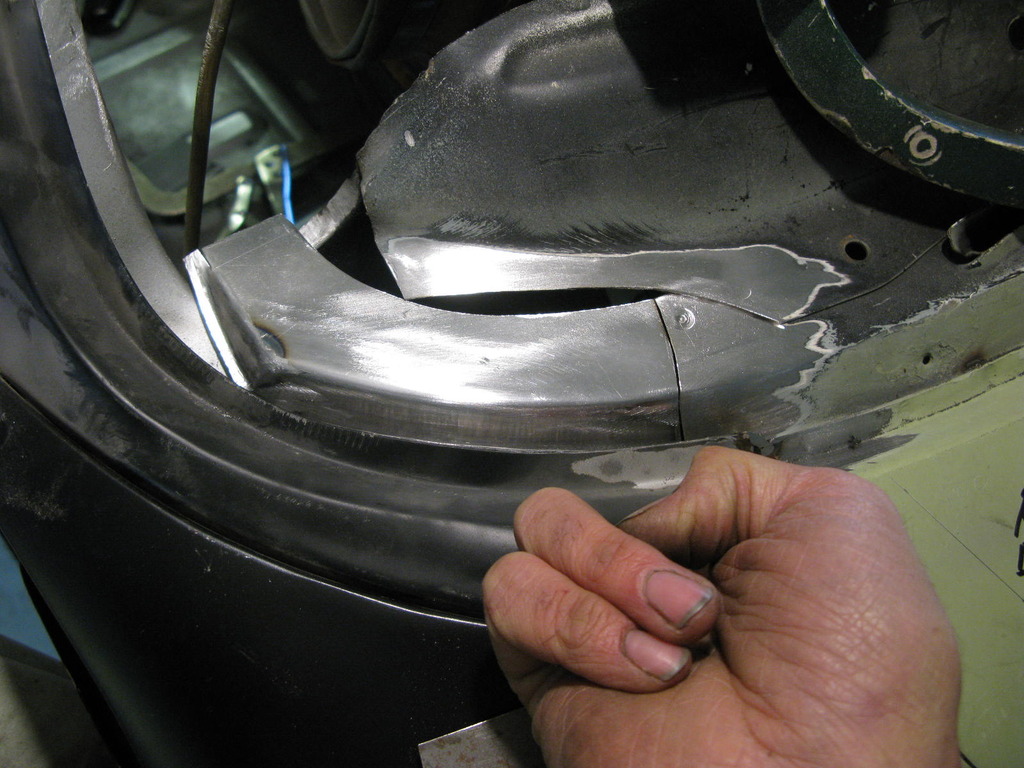
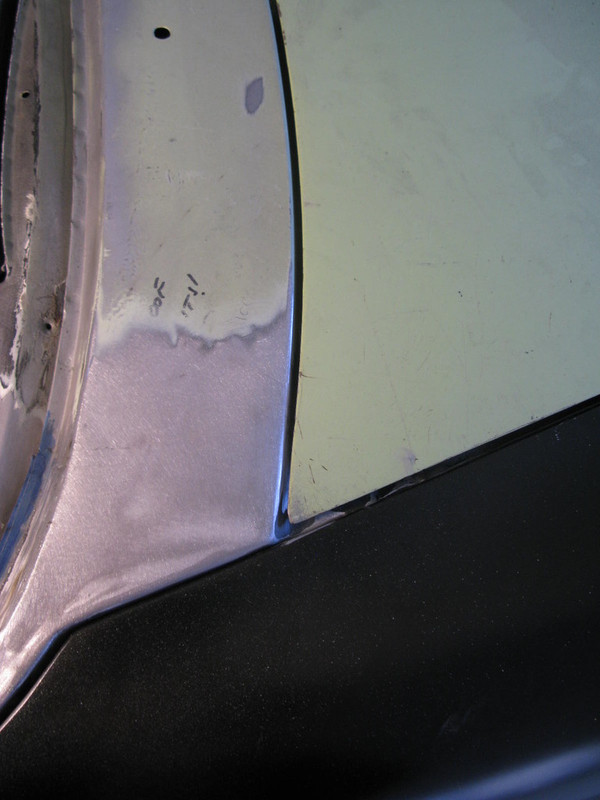
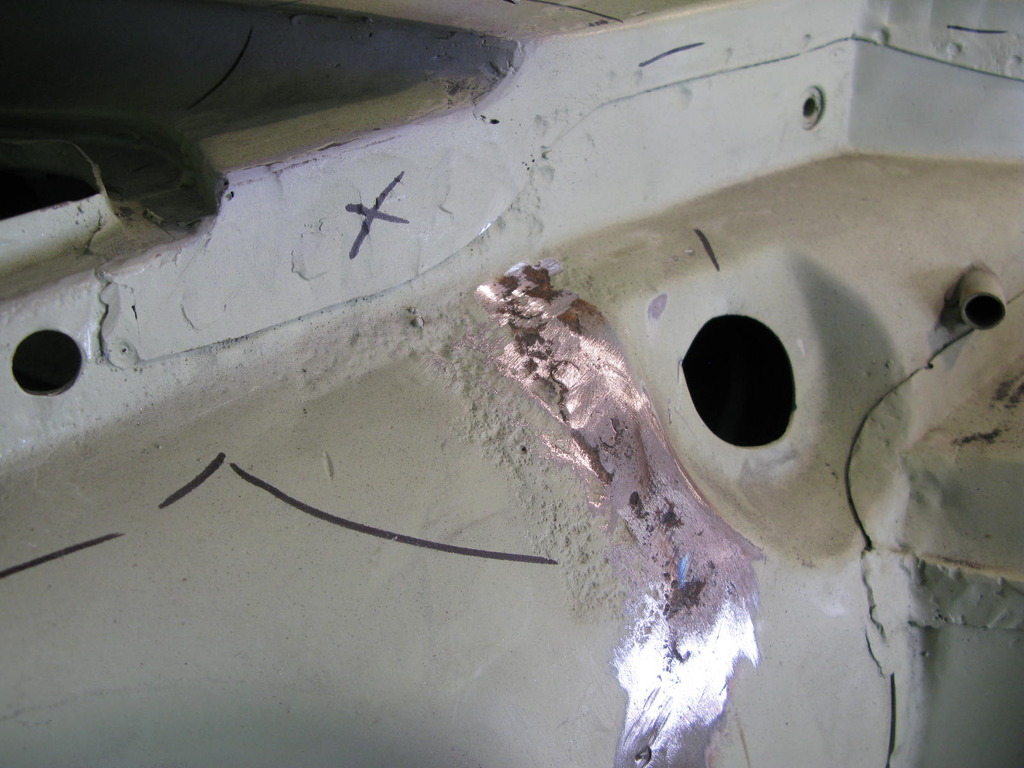
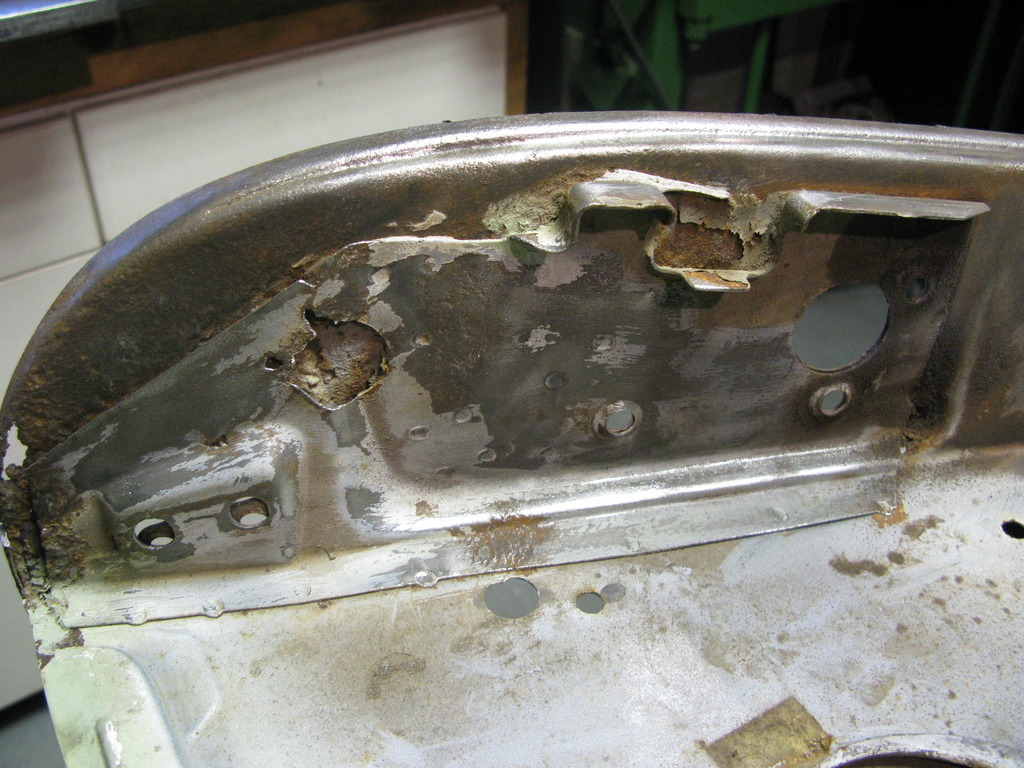
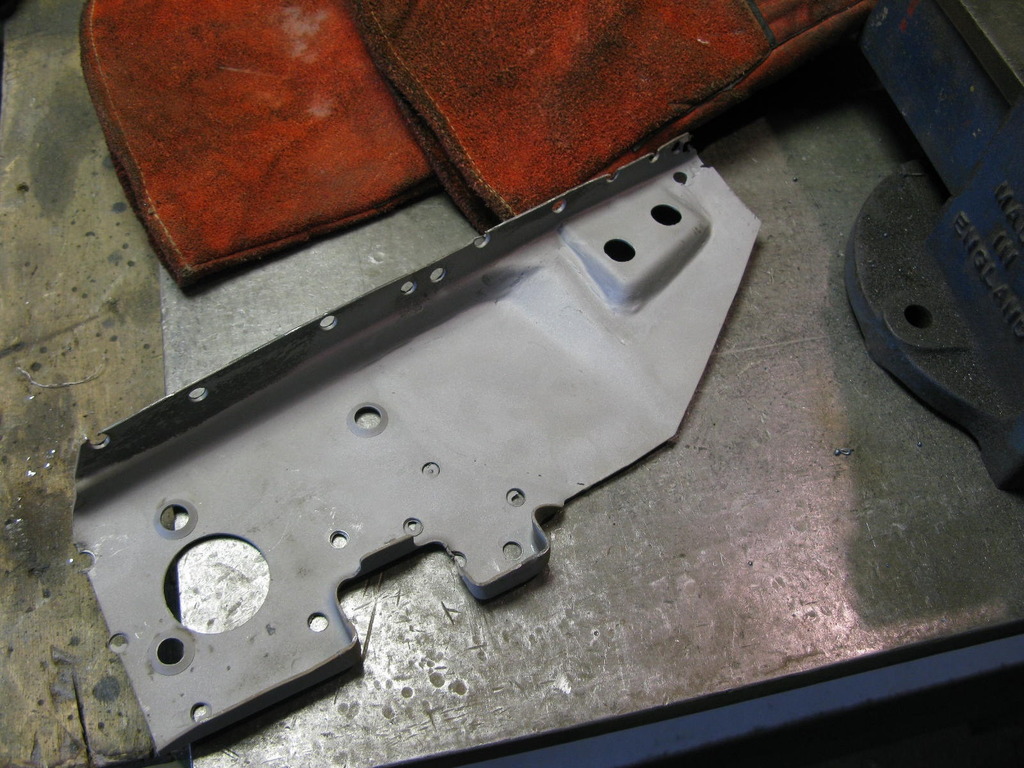
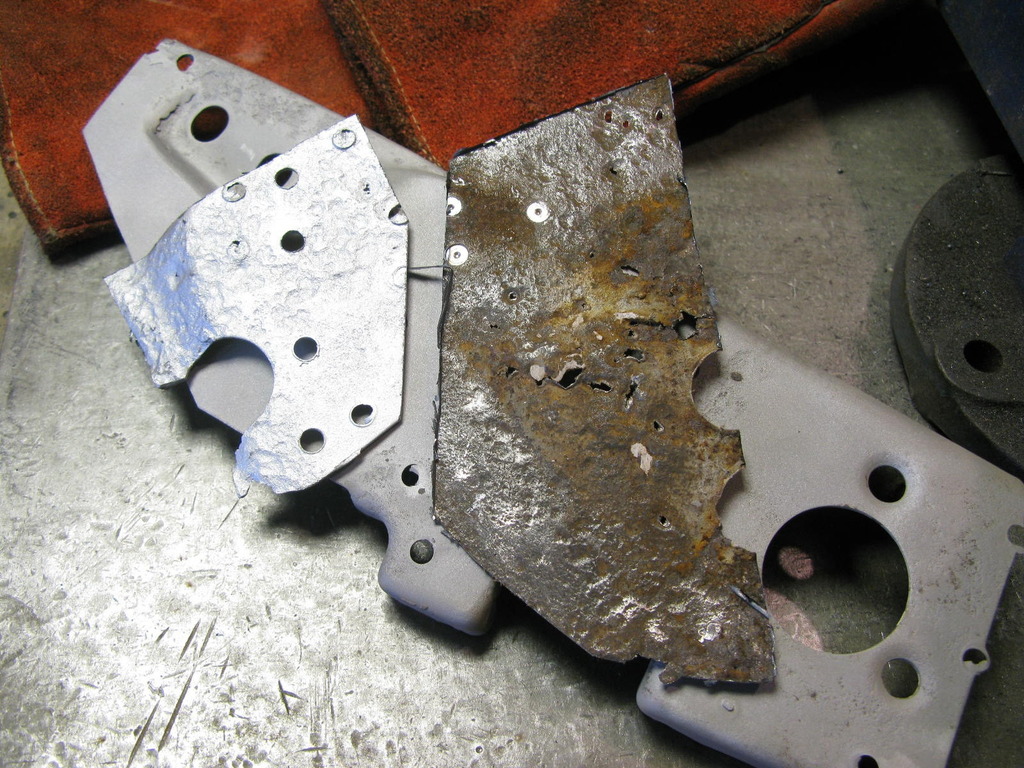
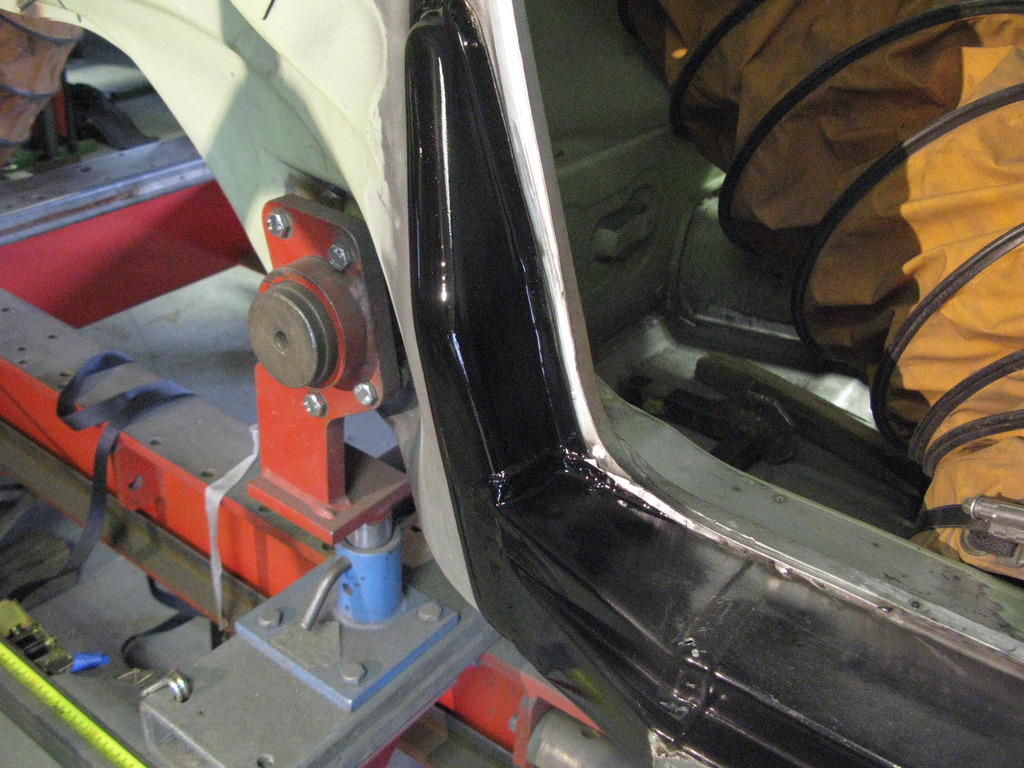
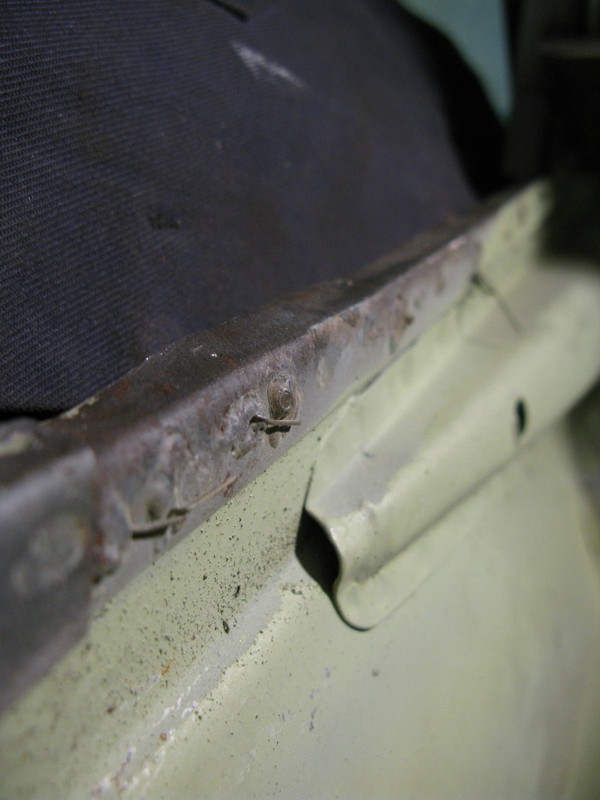
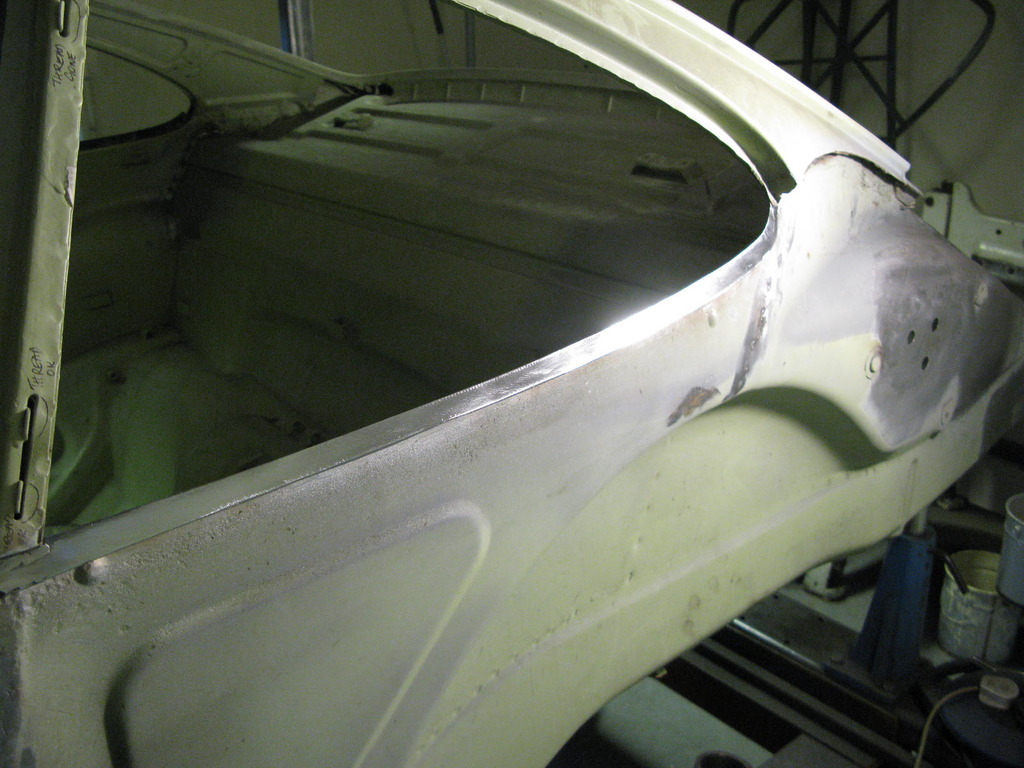
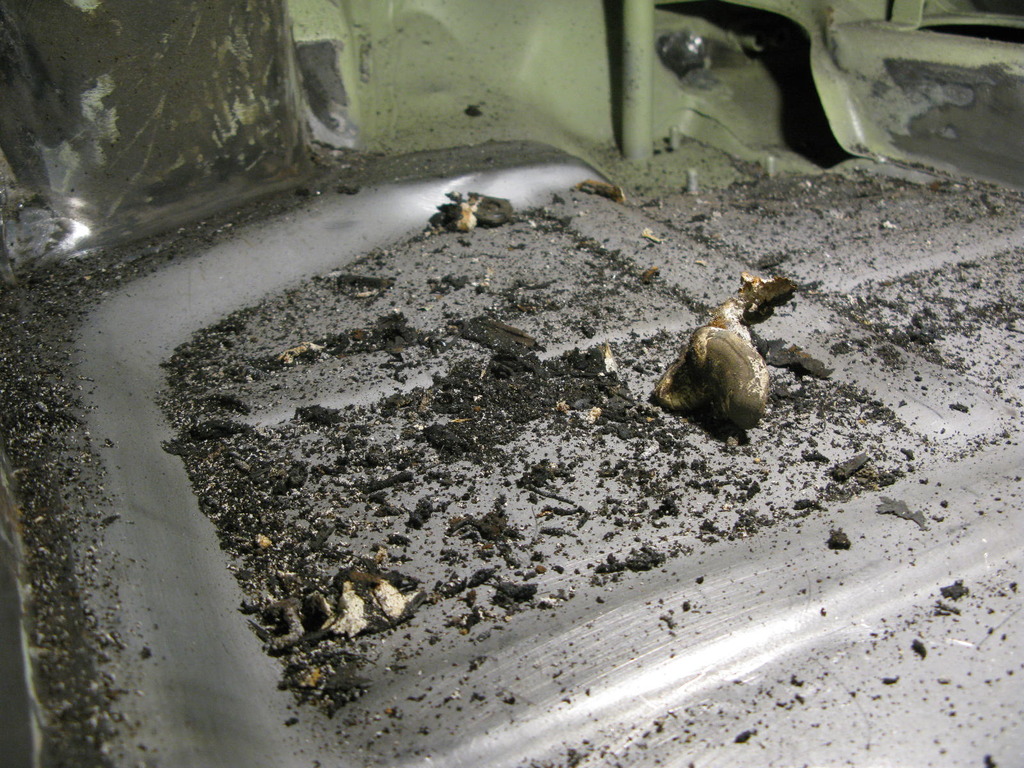
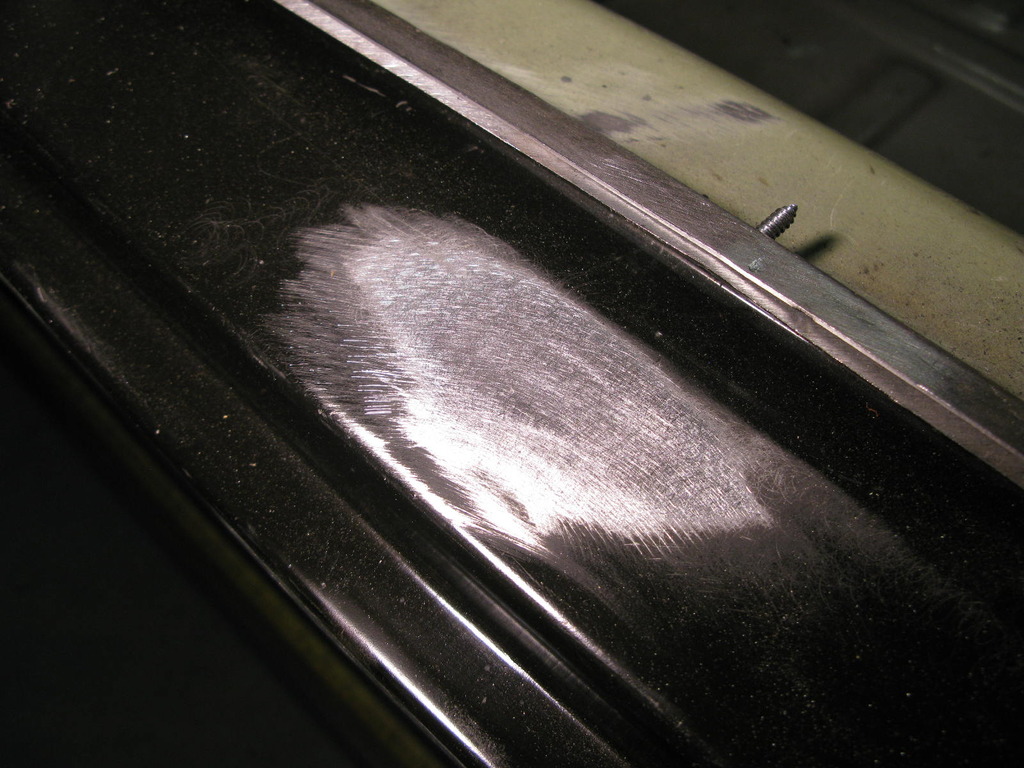
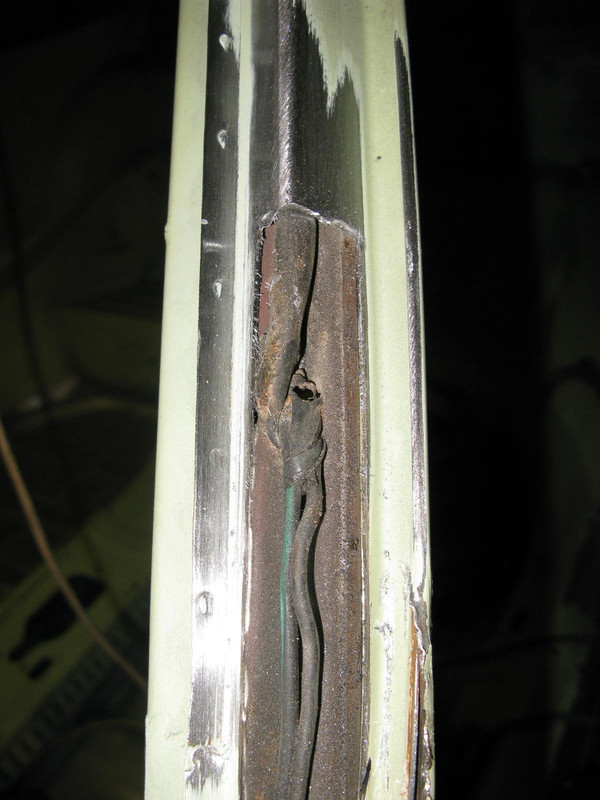
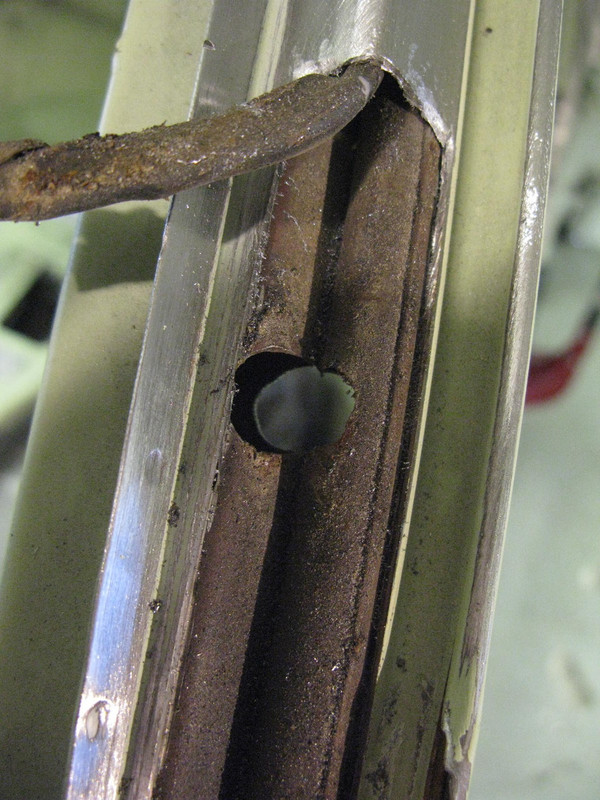
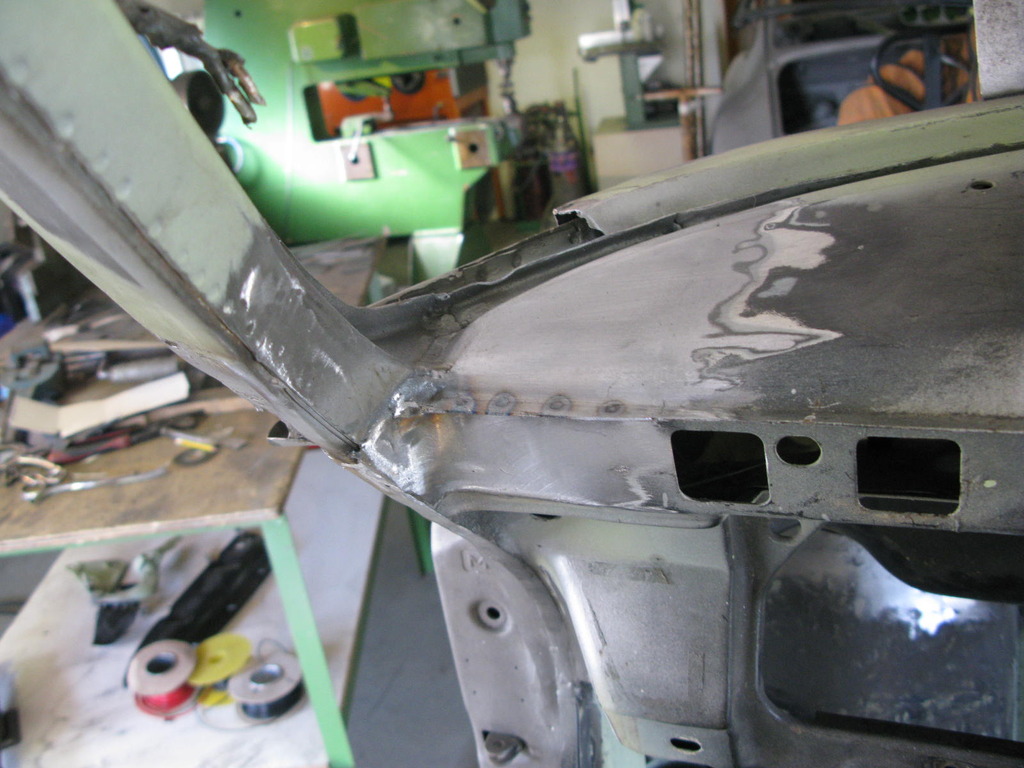
 55. Sealant everywhere! Rear Quarter Flange
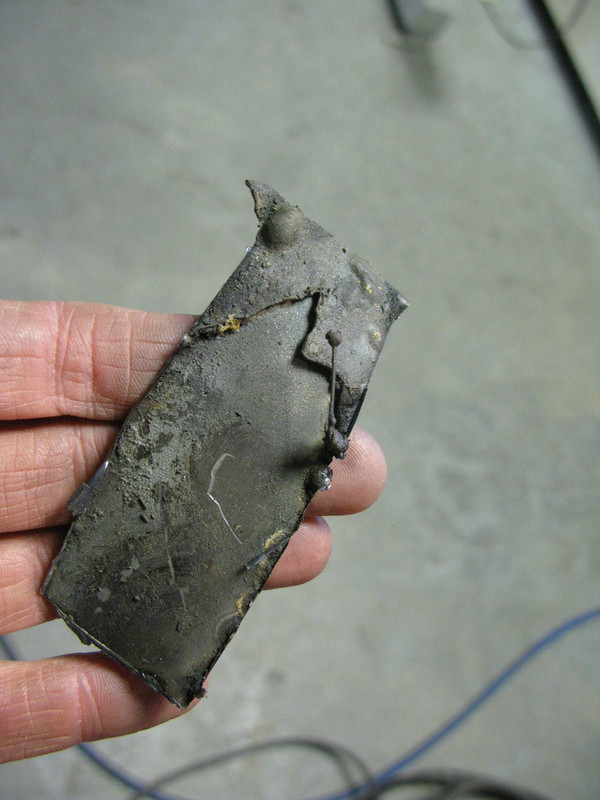
Barry got a real shock when he spotted all of this sealant. It was tough stuff as well, Sikaflex style rather than a bathroom sealant.
It took quite a while to remove with a pointy wire brush in the drill, upside down in the footwell being showered with the stuff. As you can imagine he was expecting to find something really nasty underneath, but it was perfect. Obviously there must have been a leak there at some point caused by something else that was being tackled.
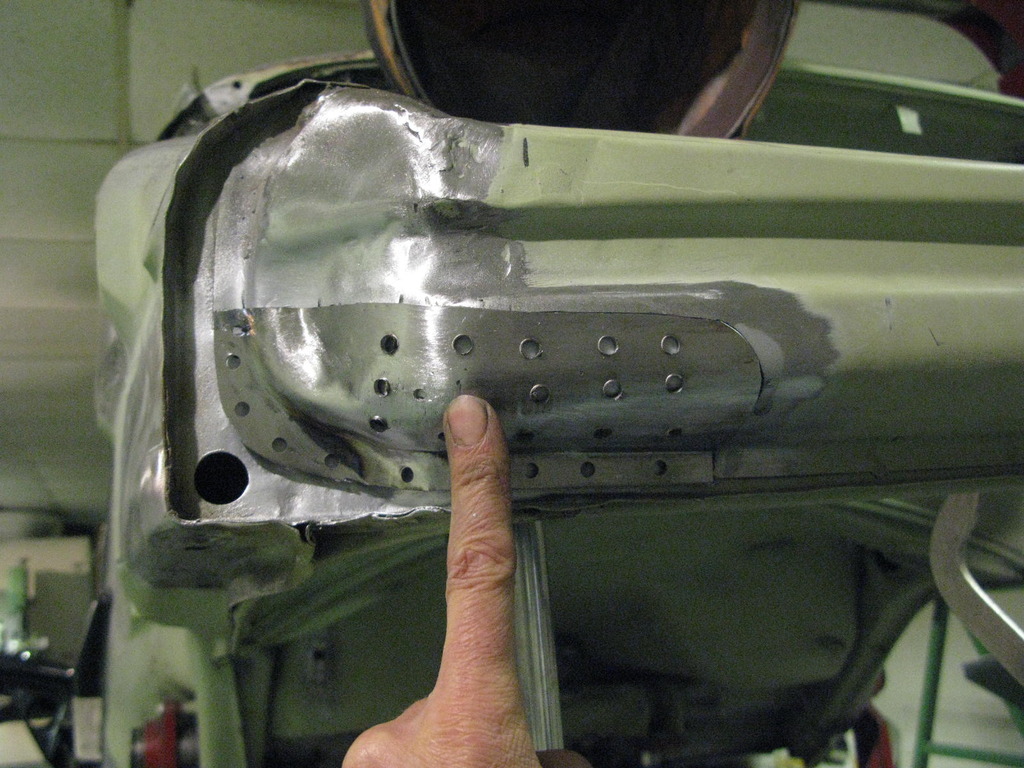
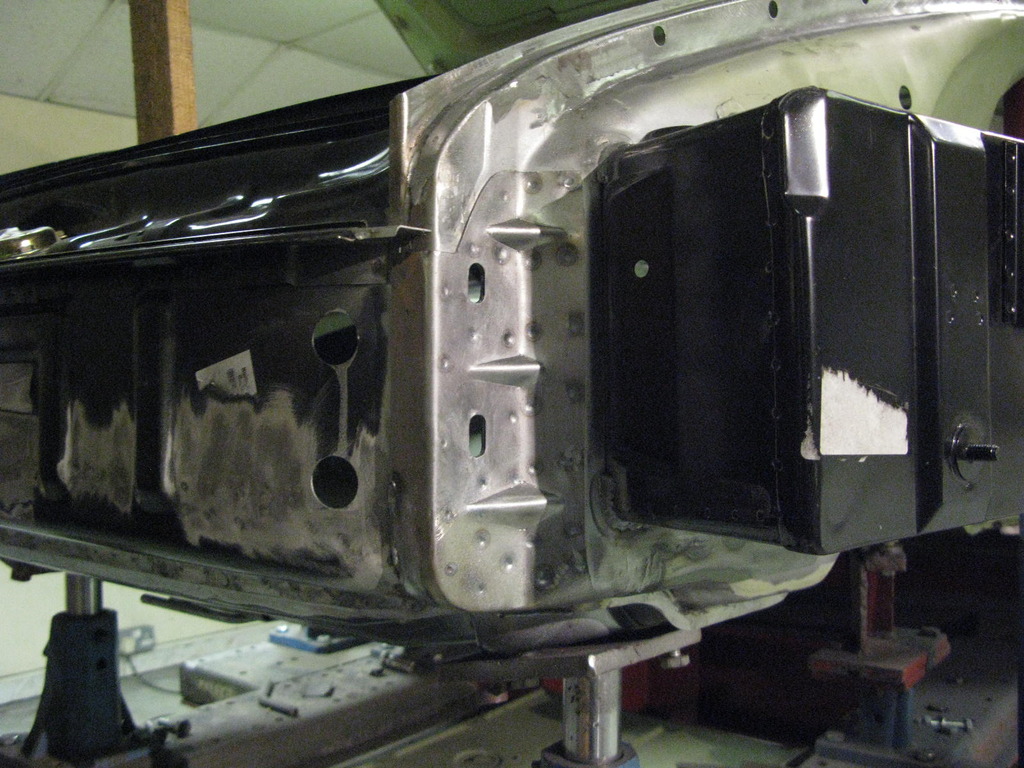
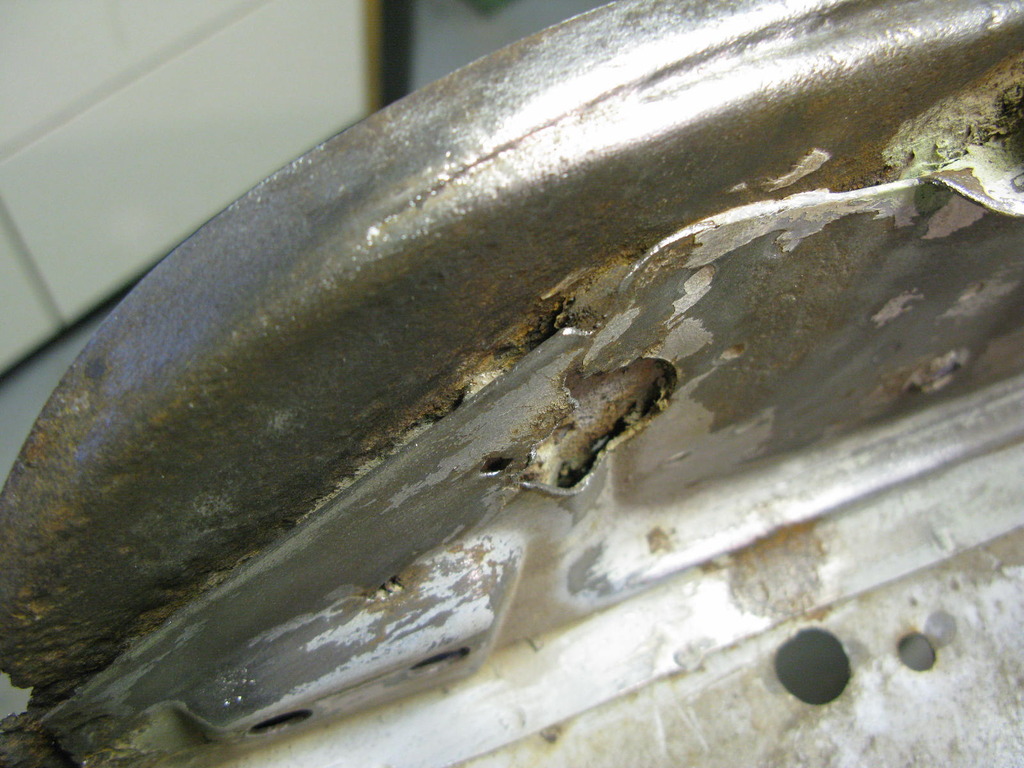
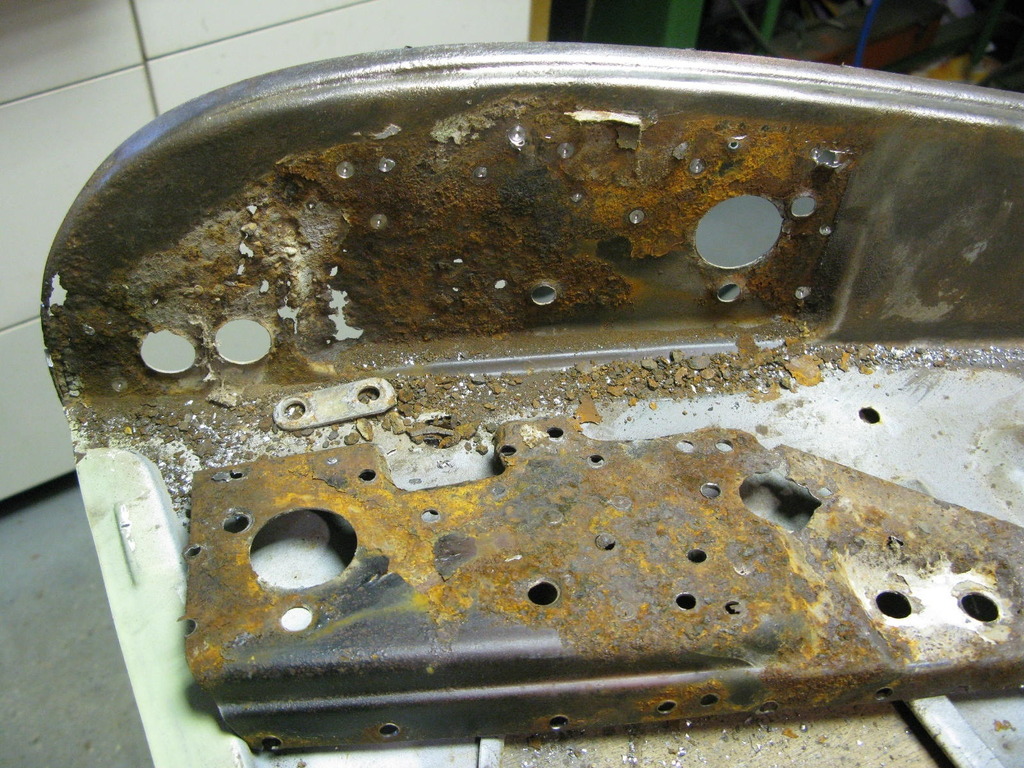
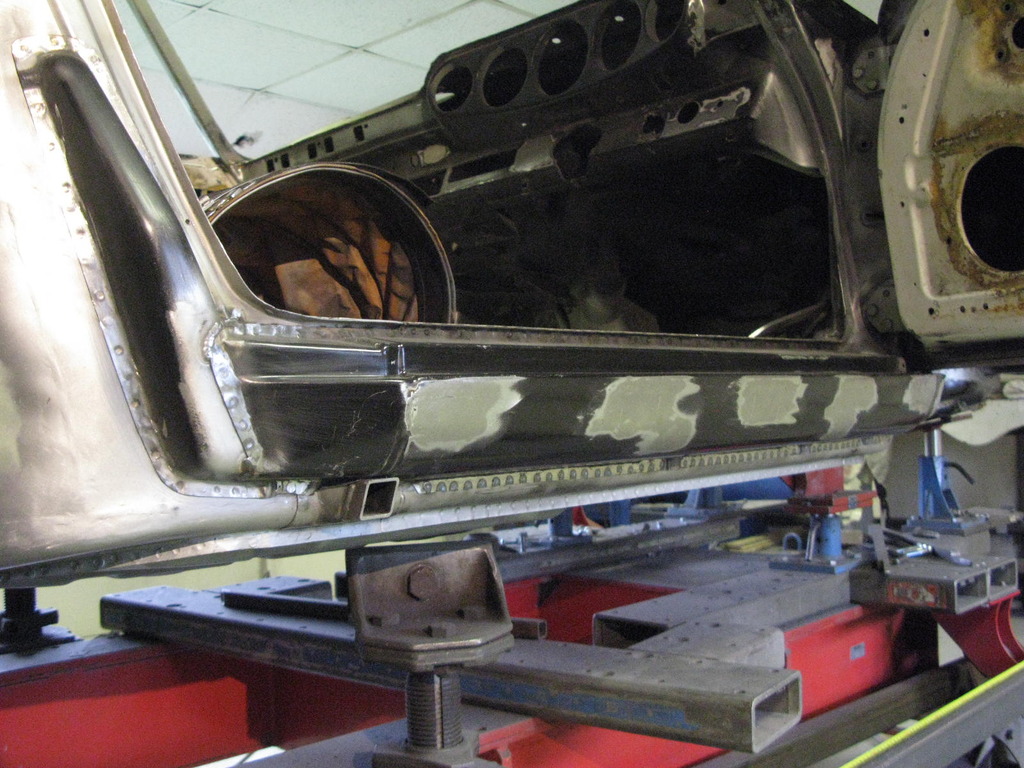
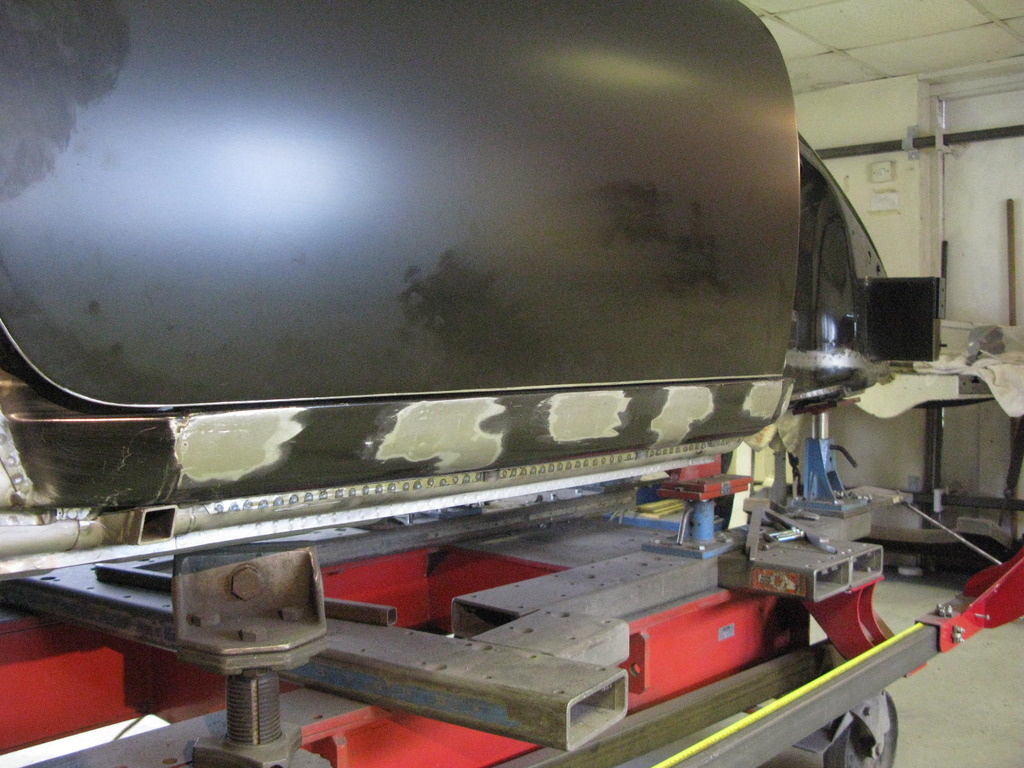
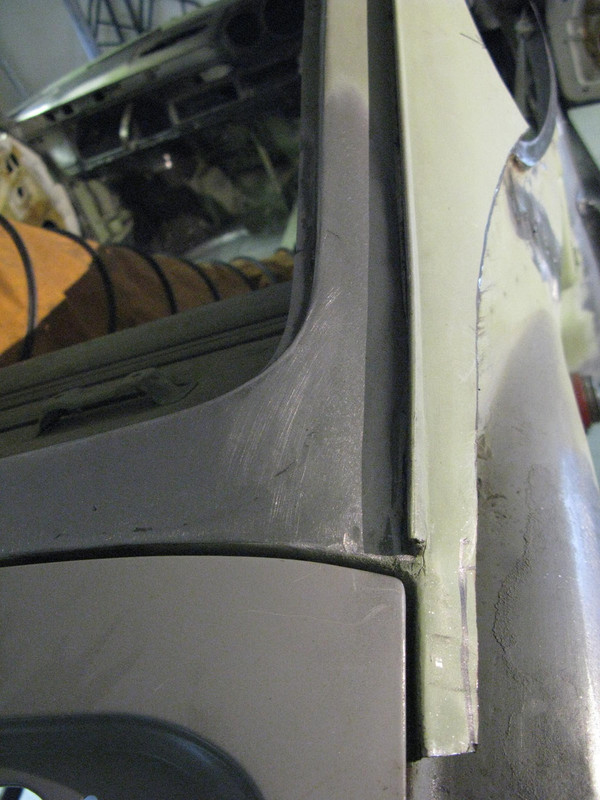
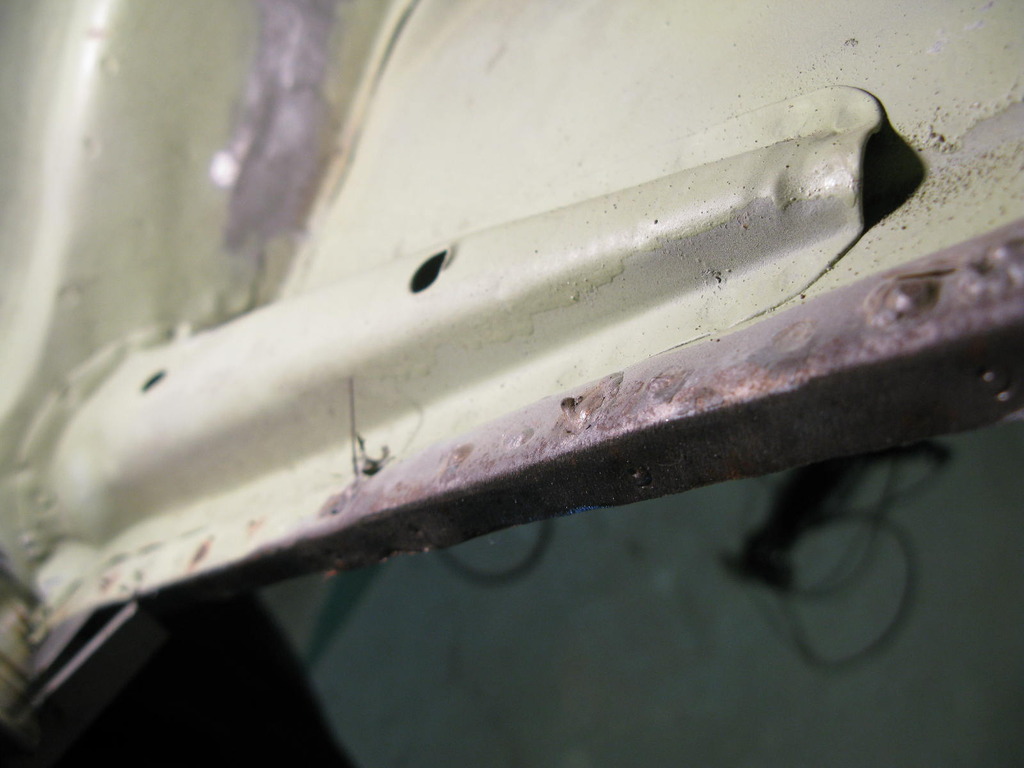
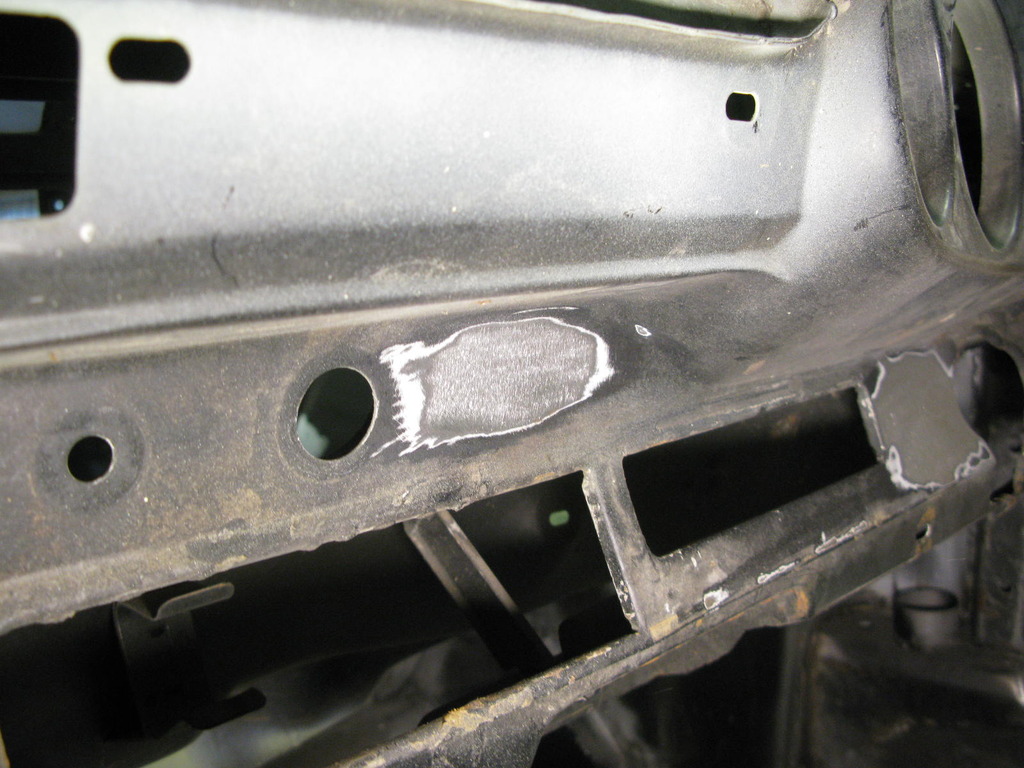
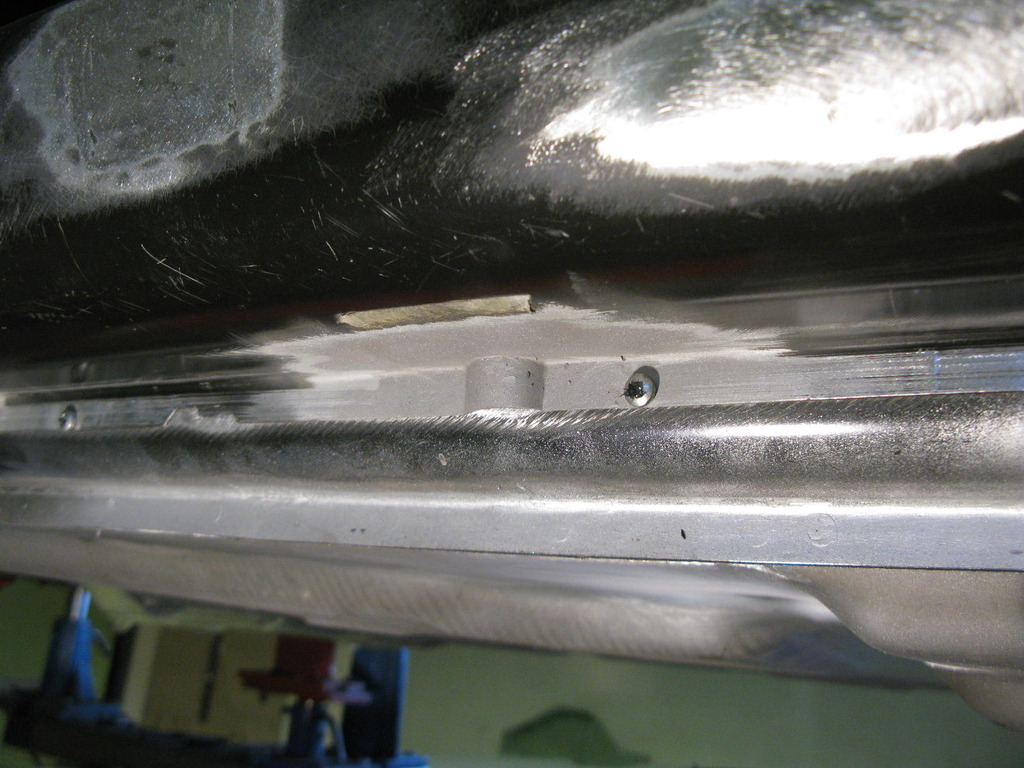
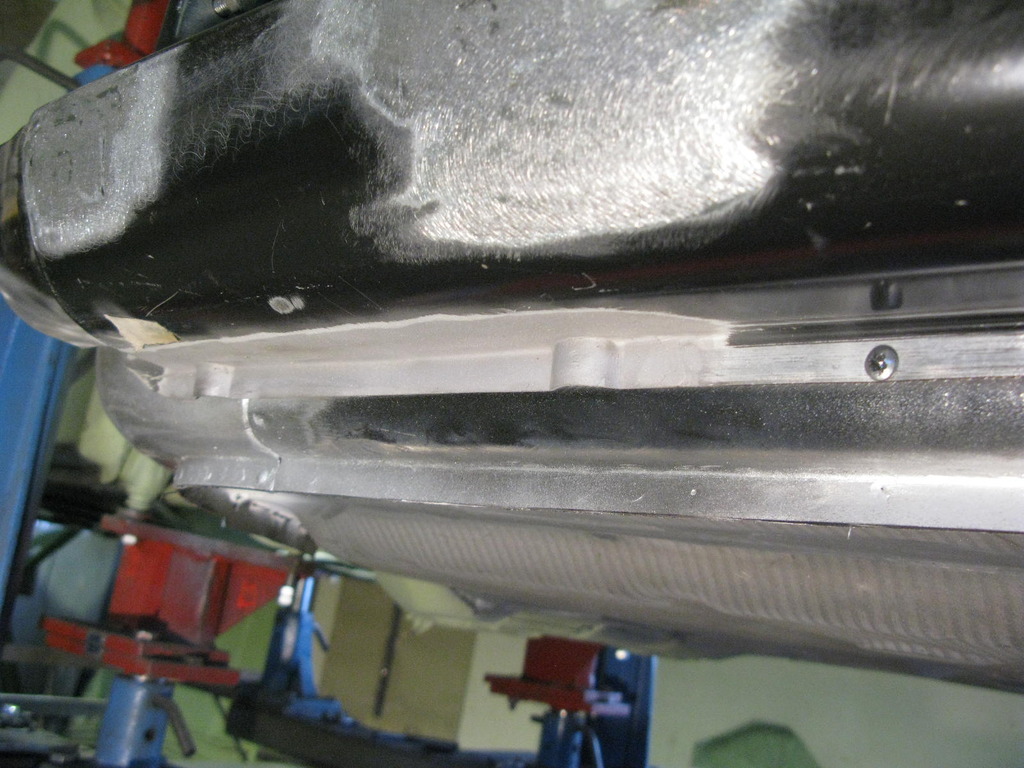
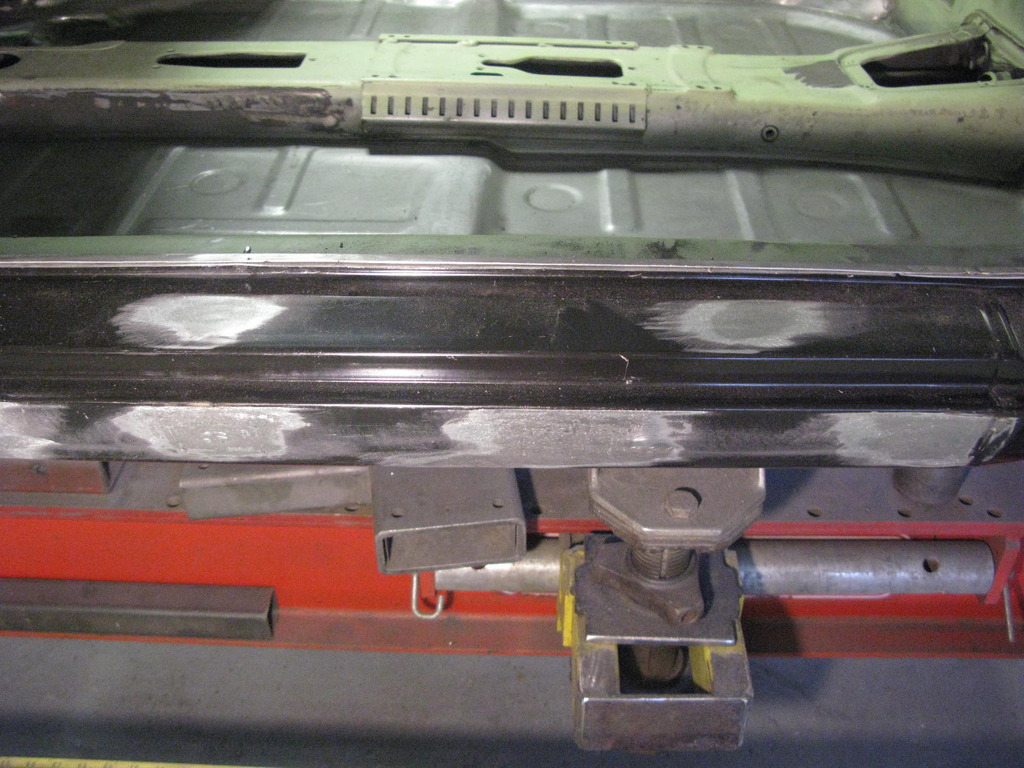
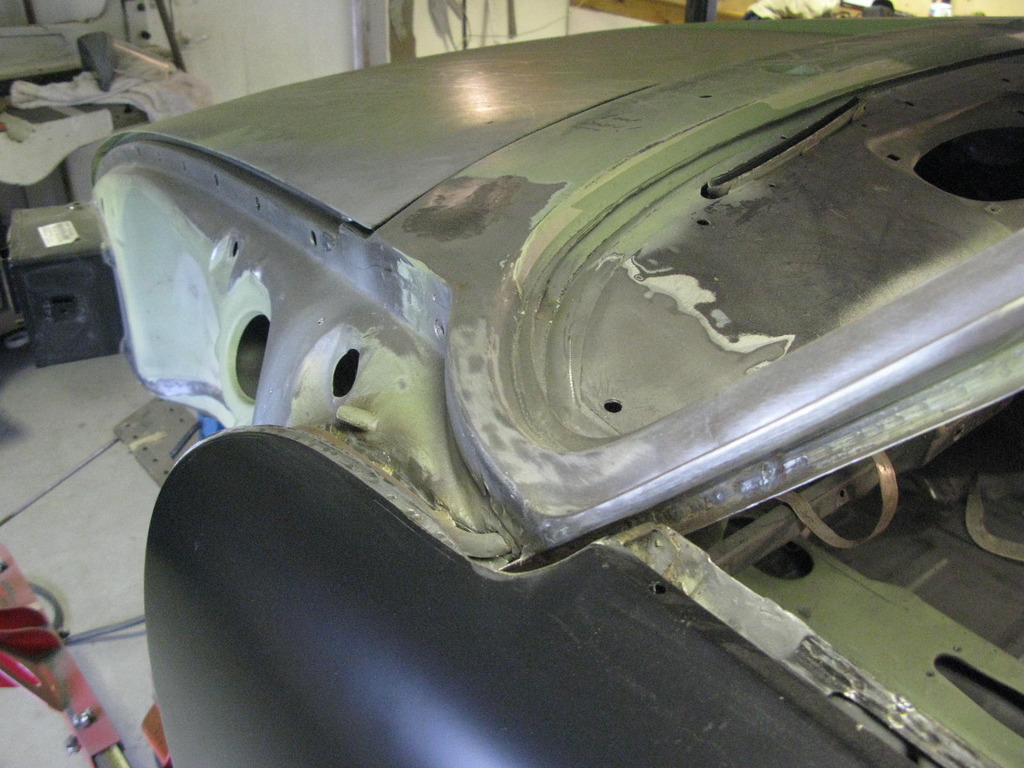
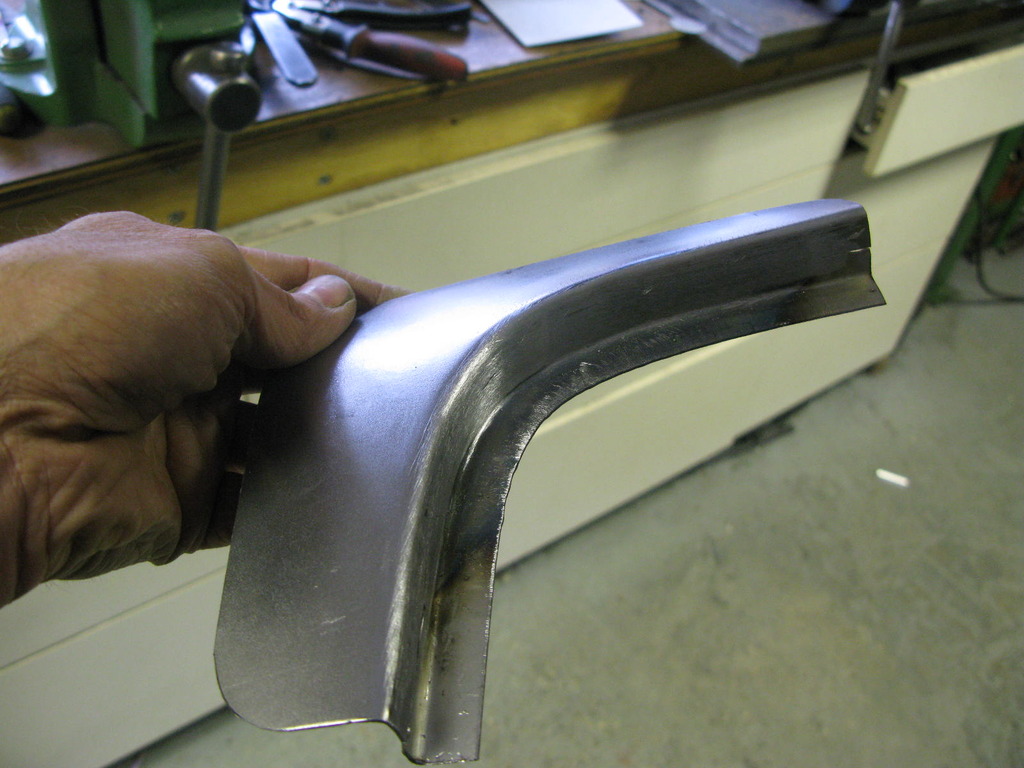
 56. Sill backdate / Dash Holes
Self explanatory - more tidying up by Barry in these areas..so both sills are done and the dash is all nice, straight and correct.

]
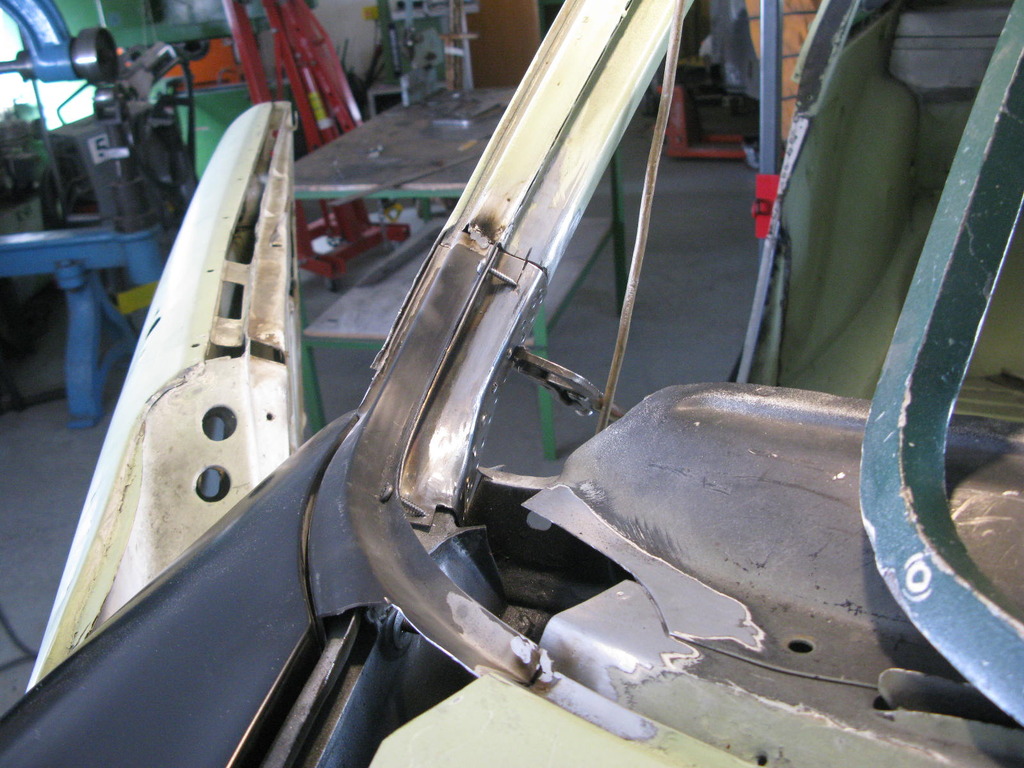
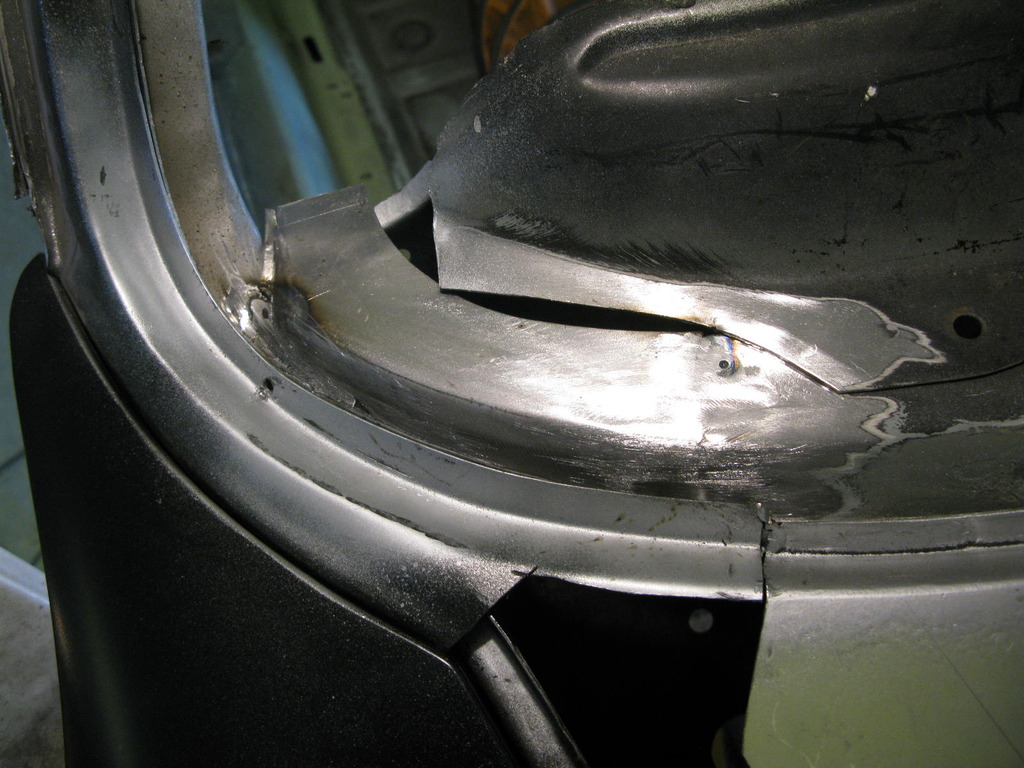
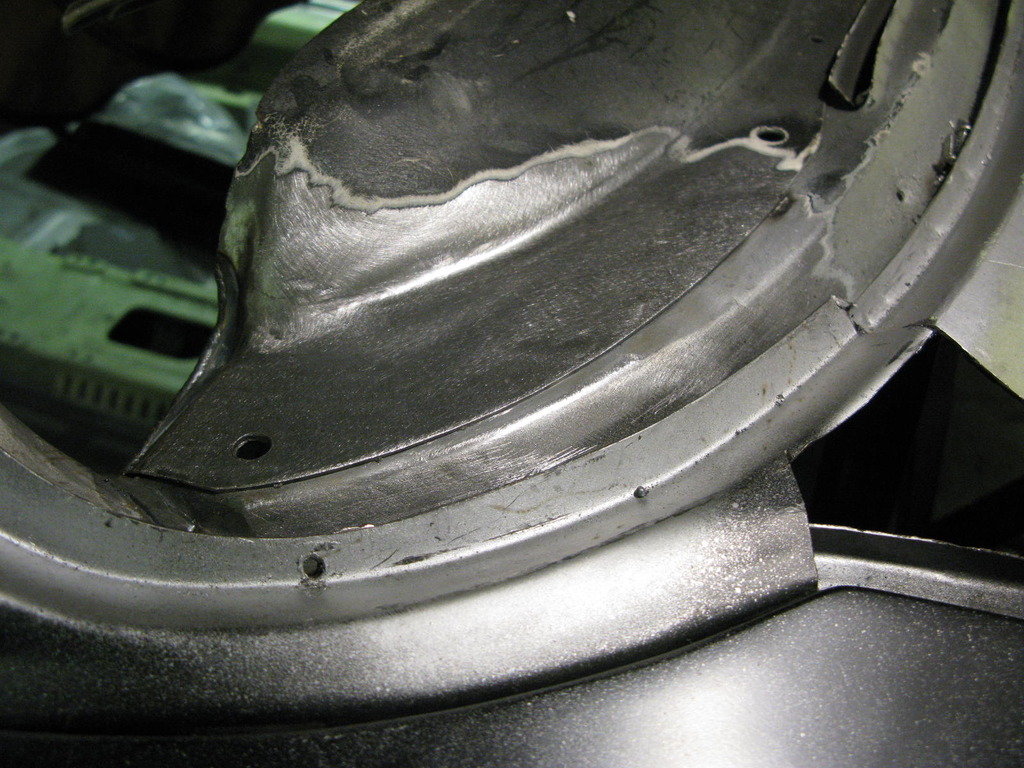
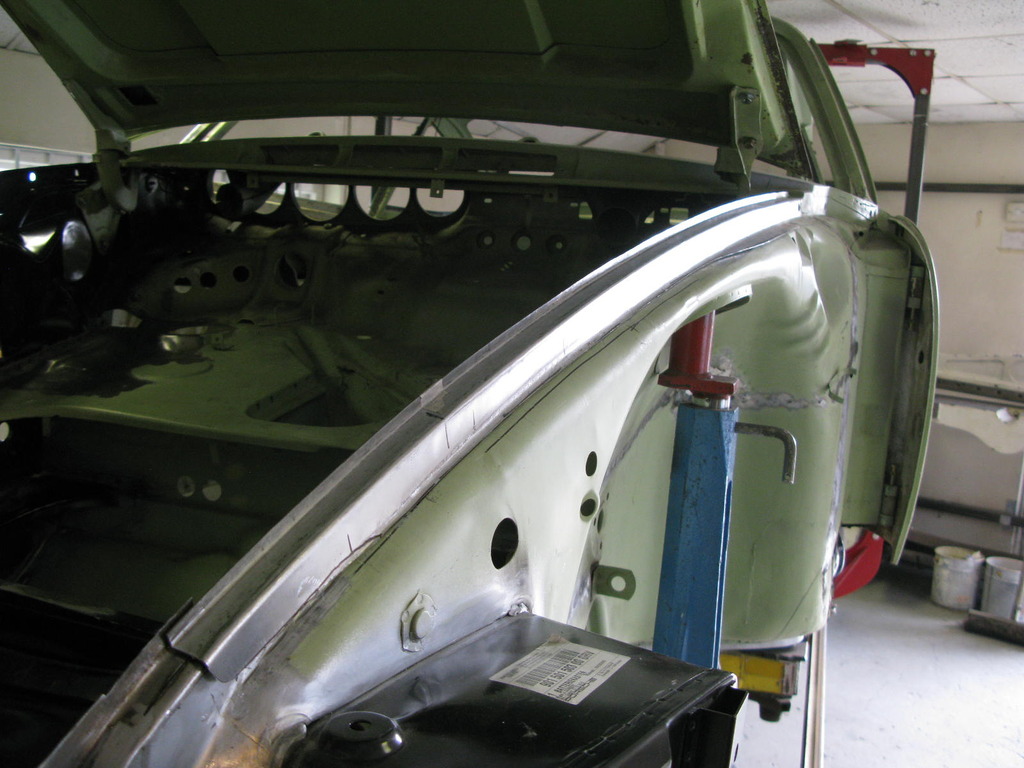
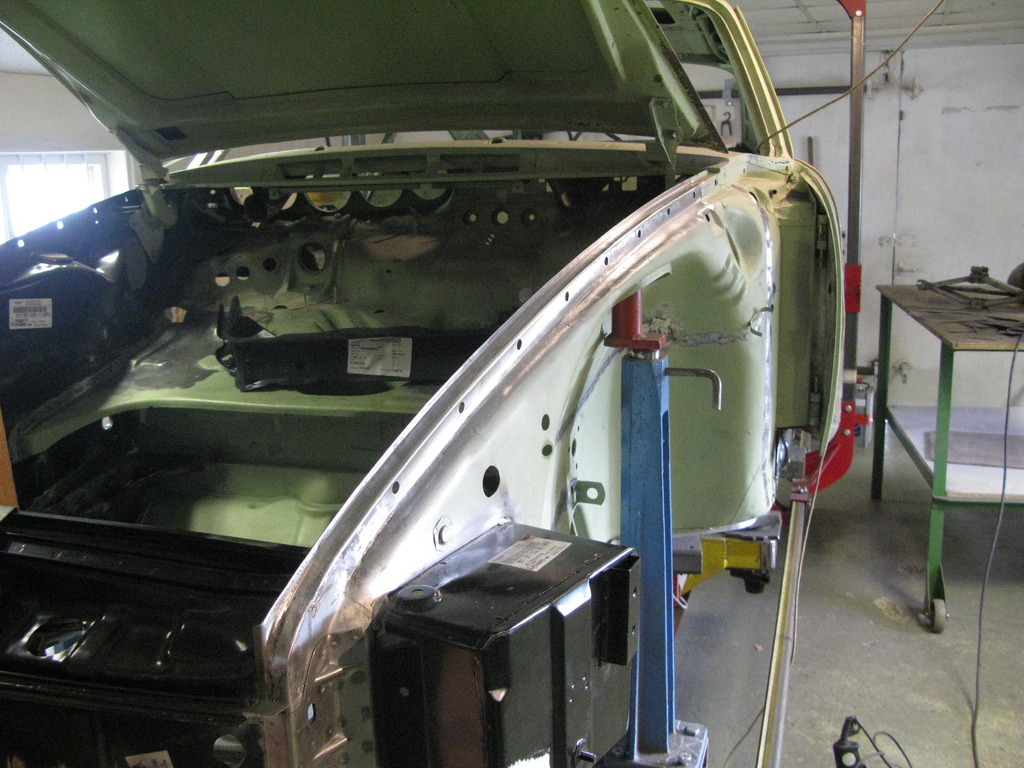
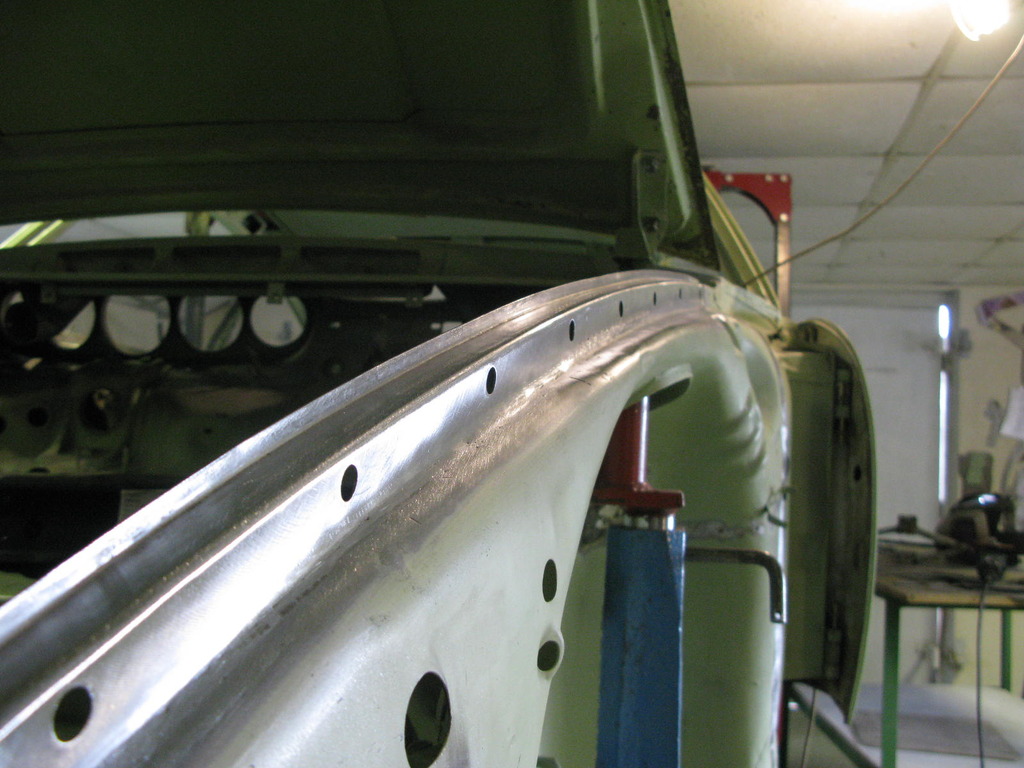
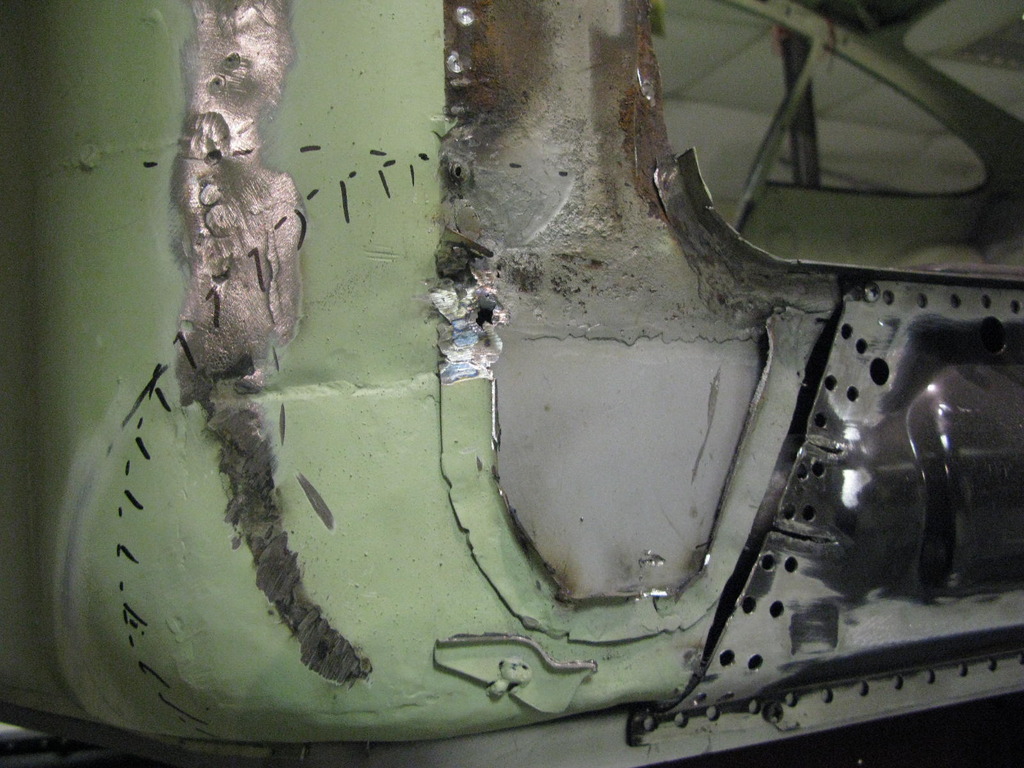
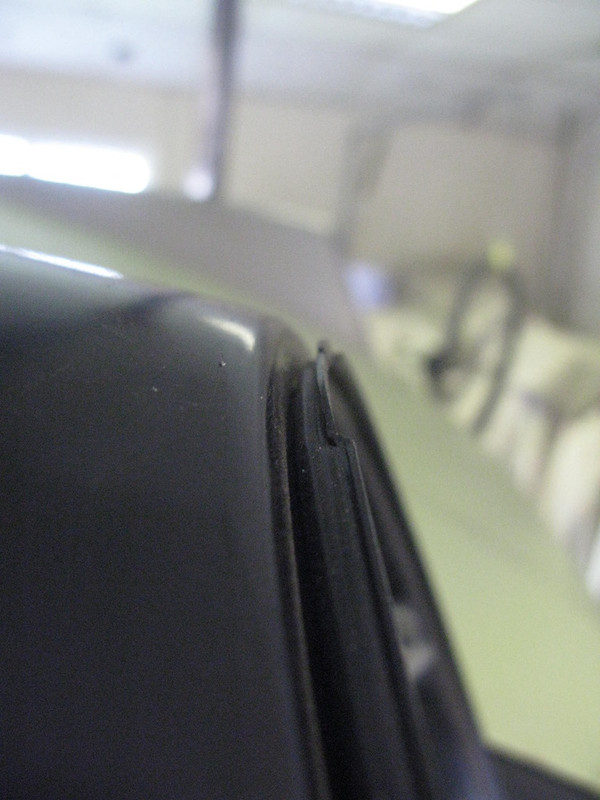
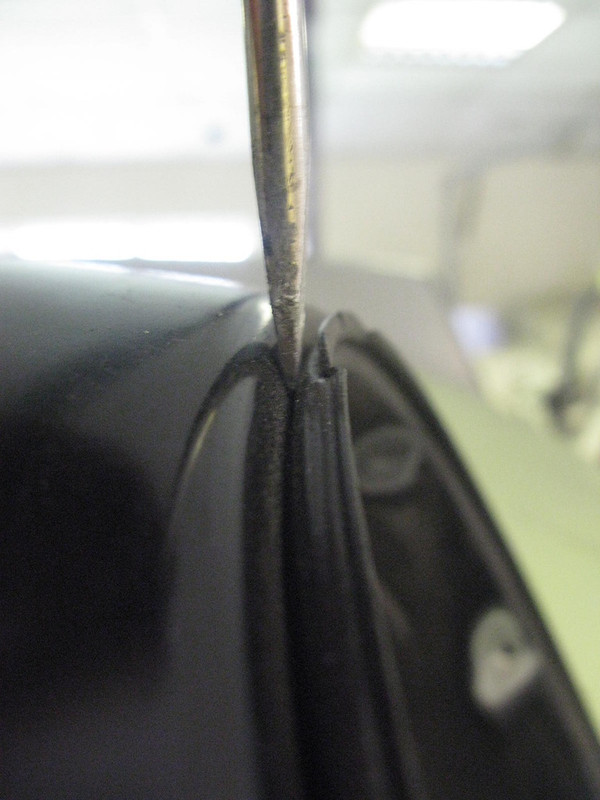
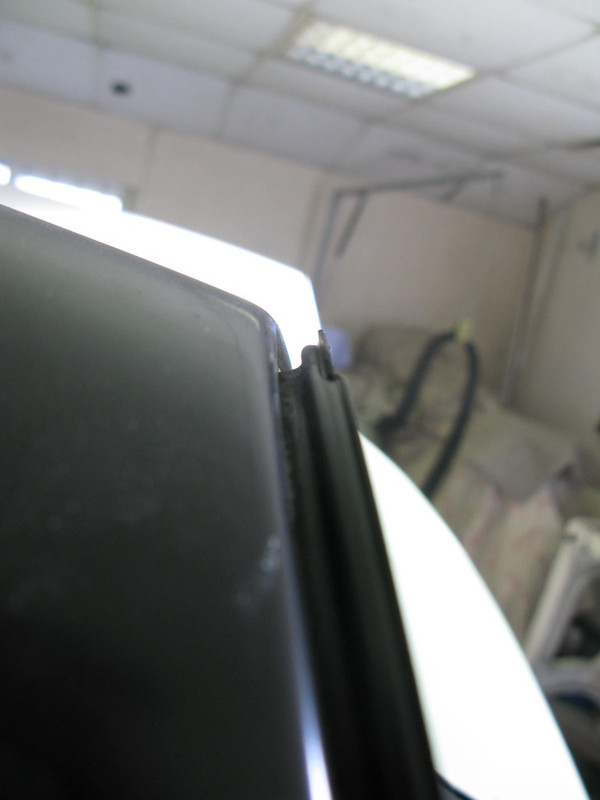
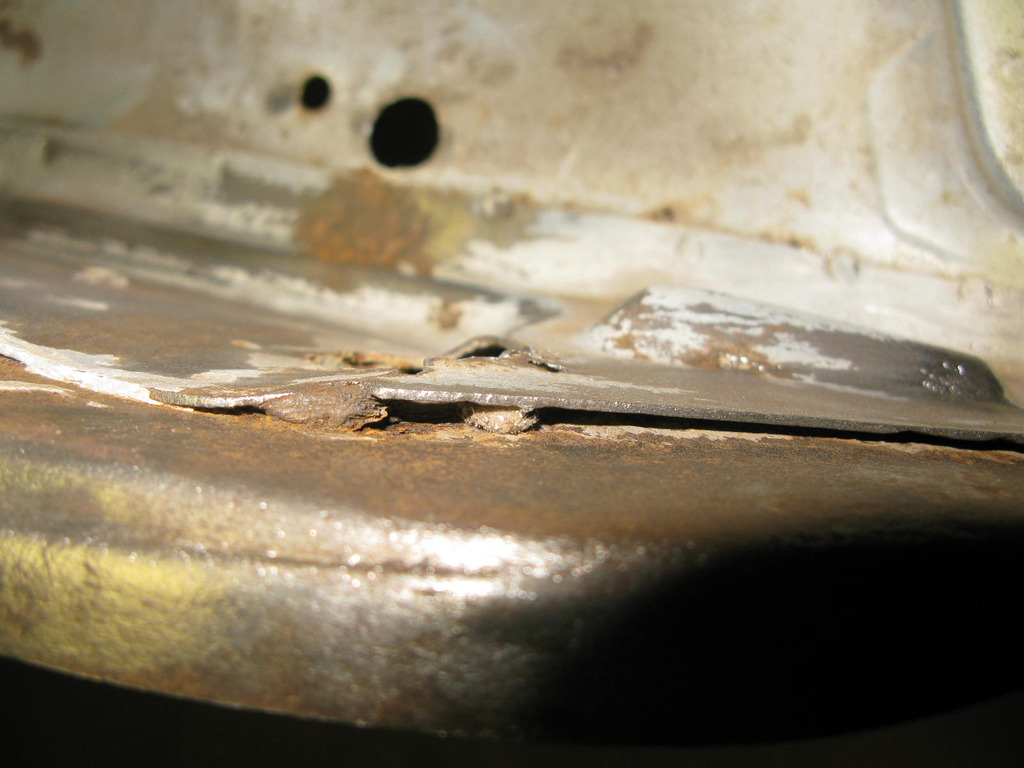
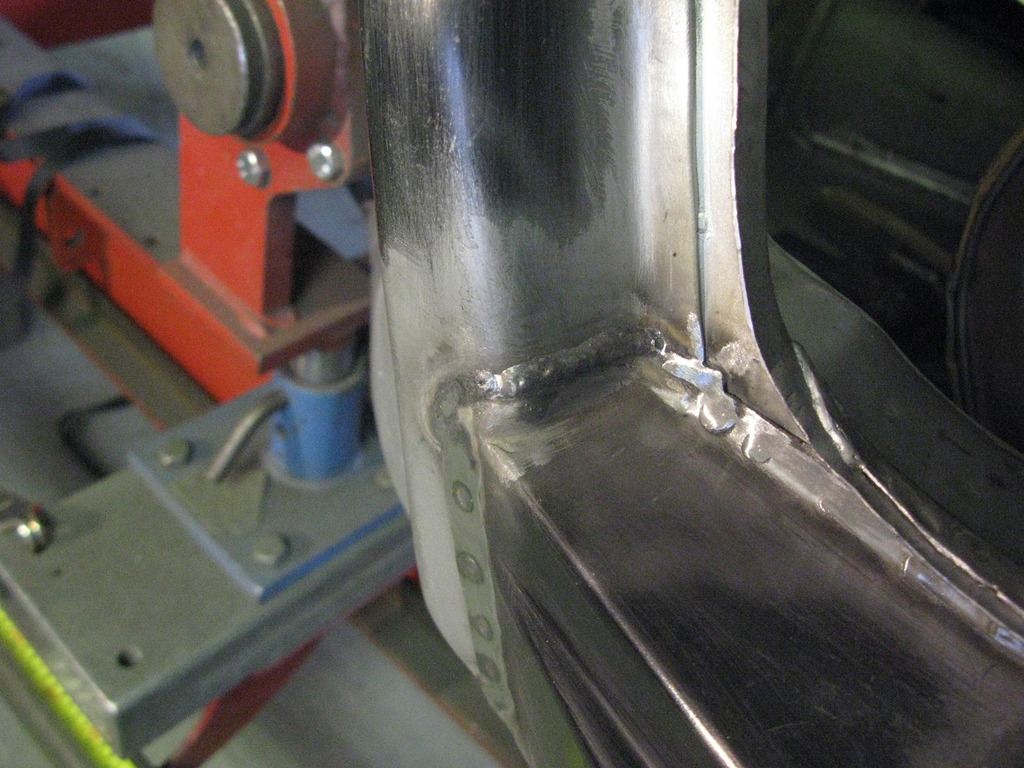
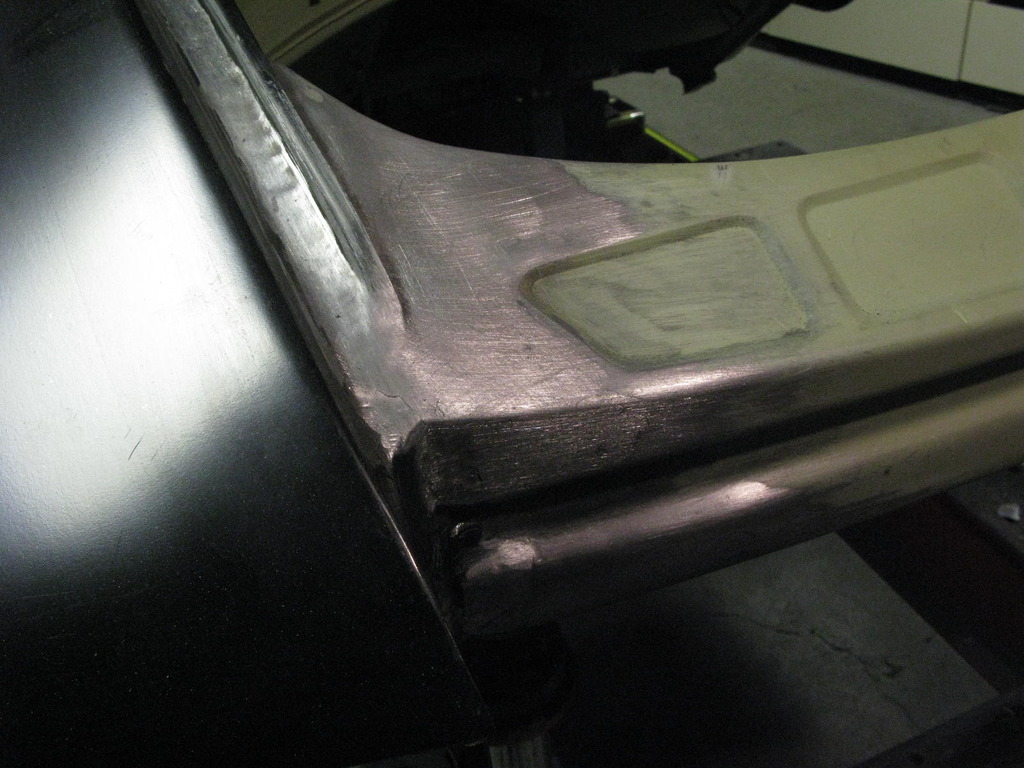
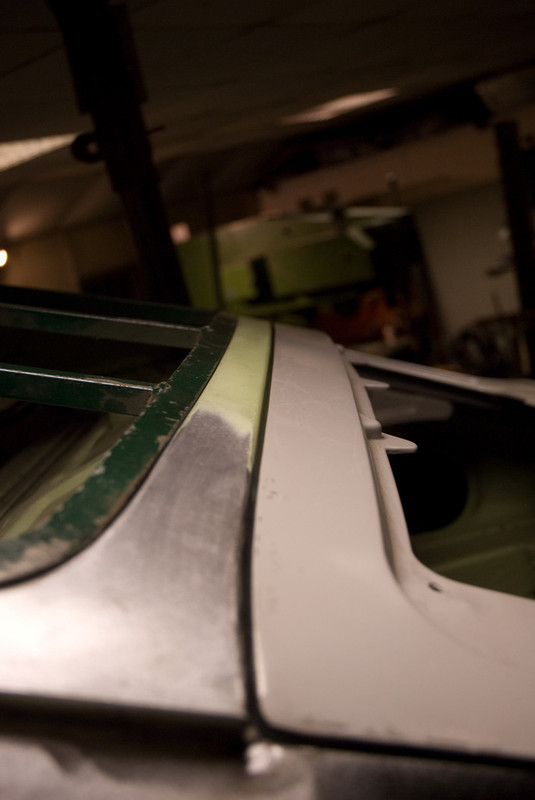
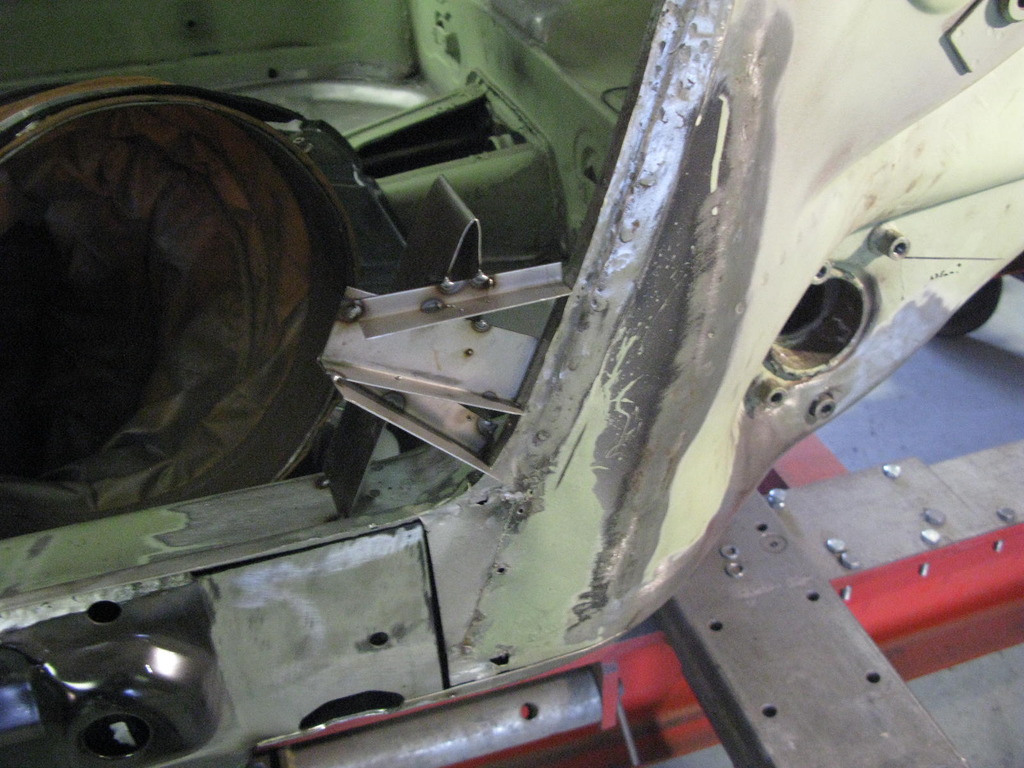
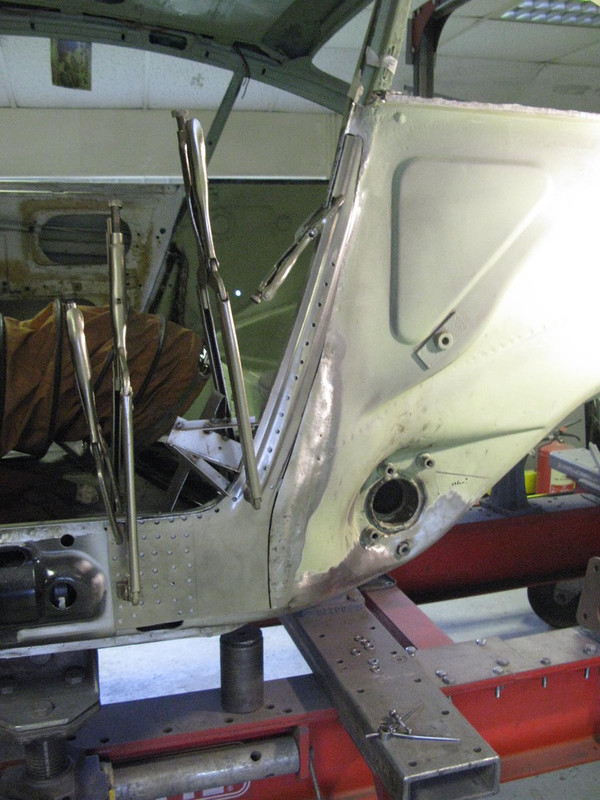
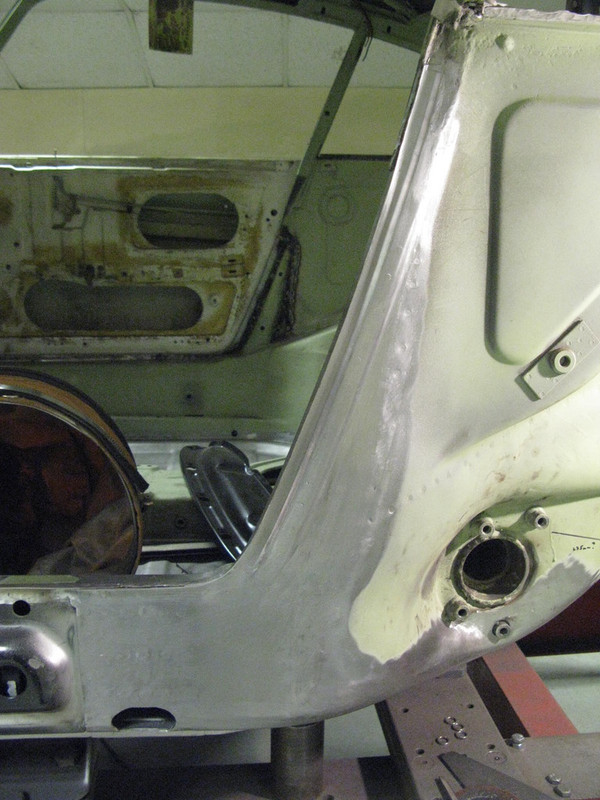
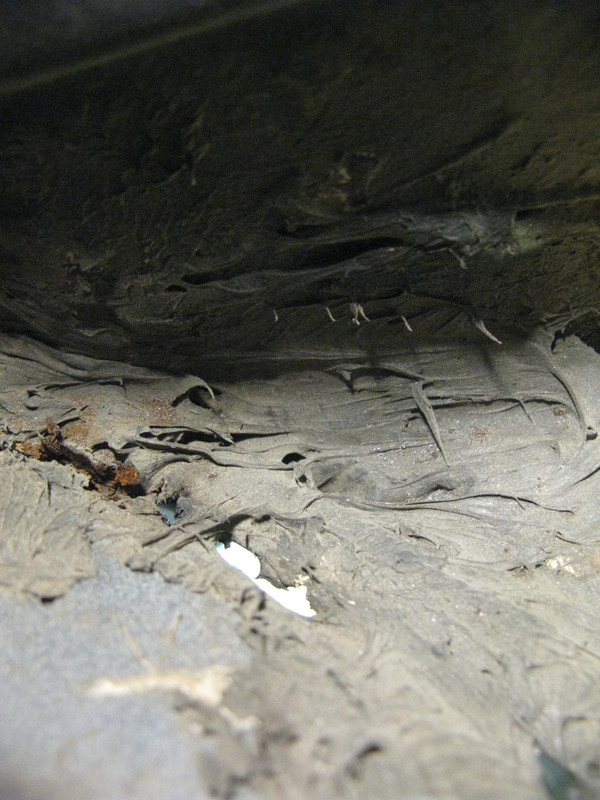
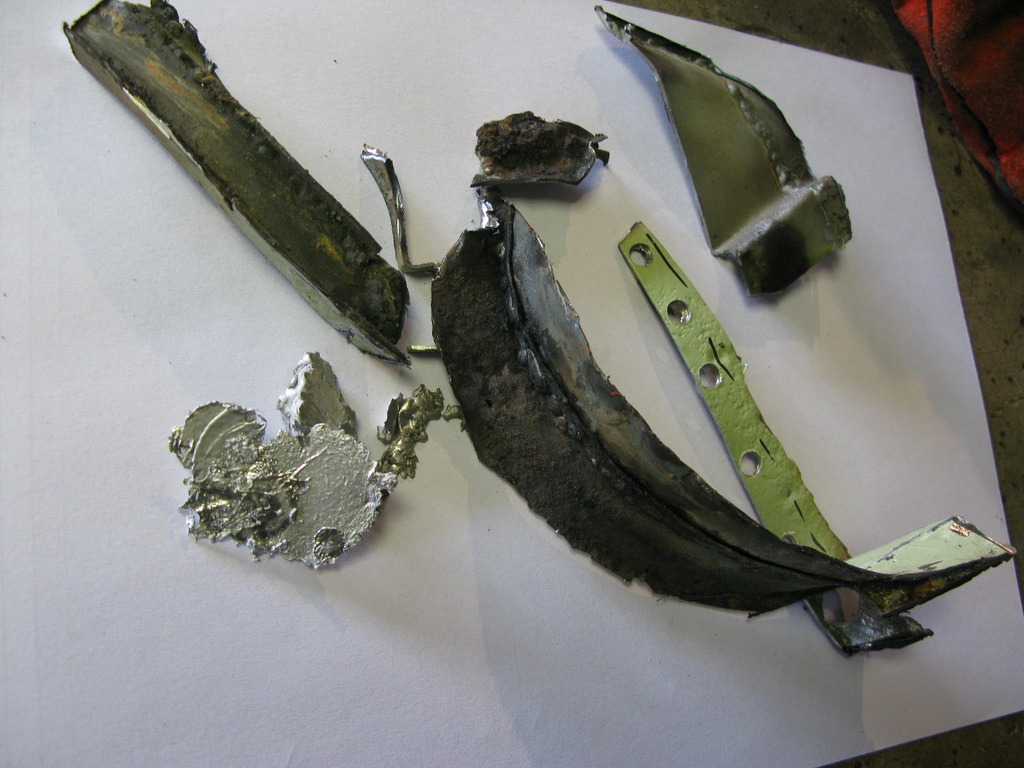
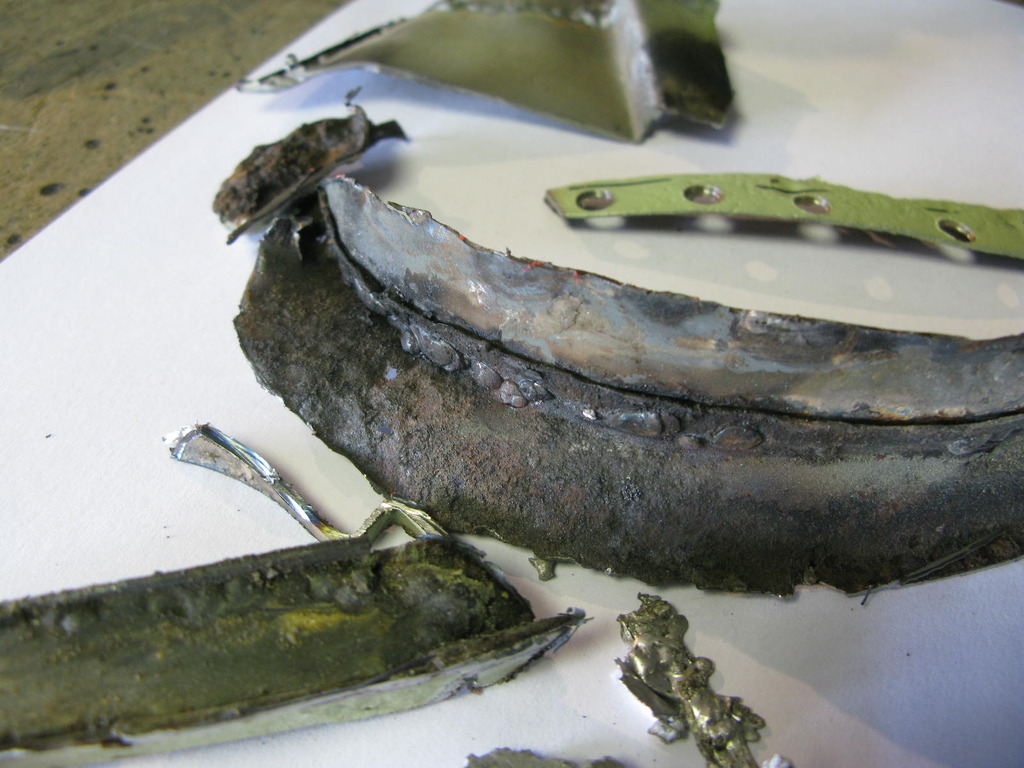
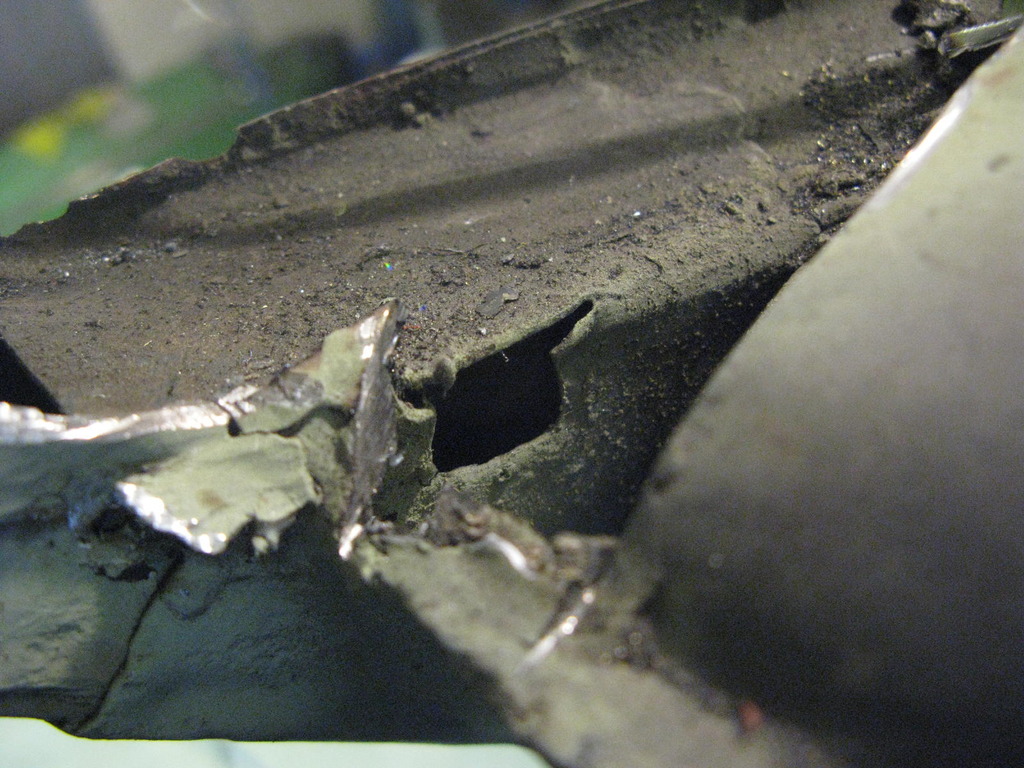
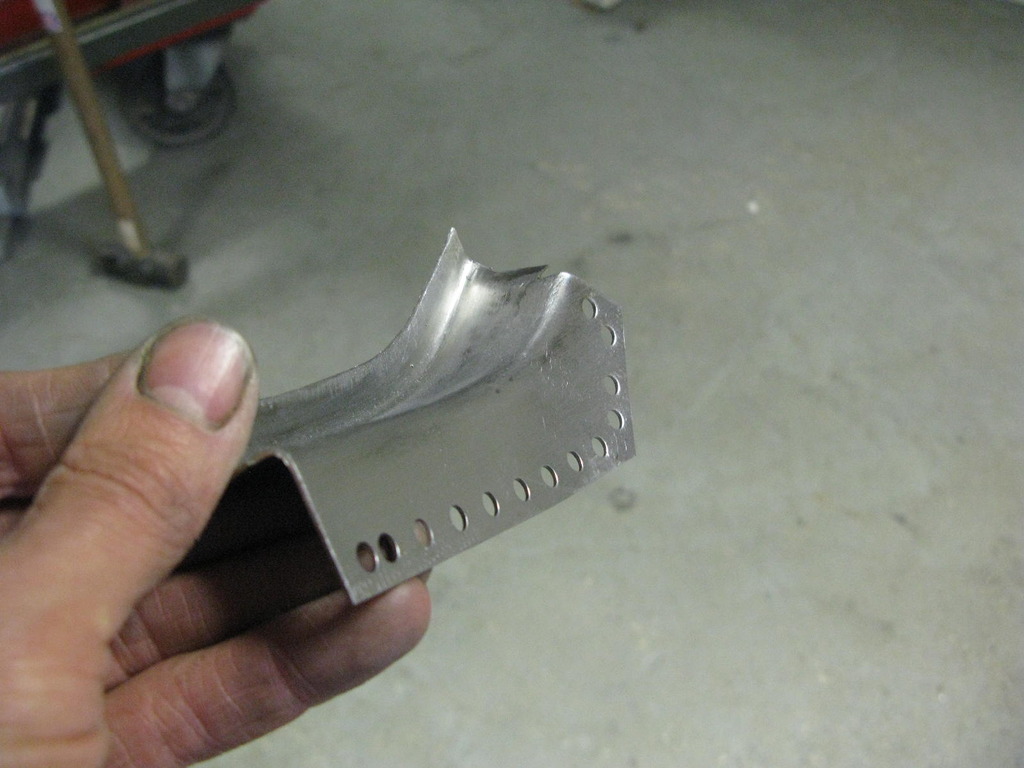
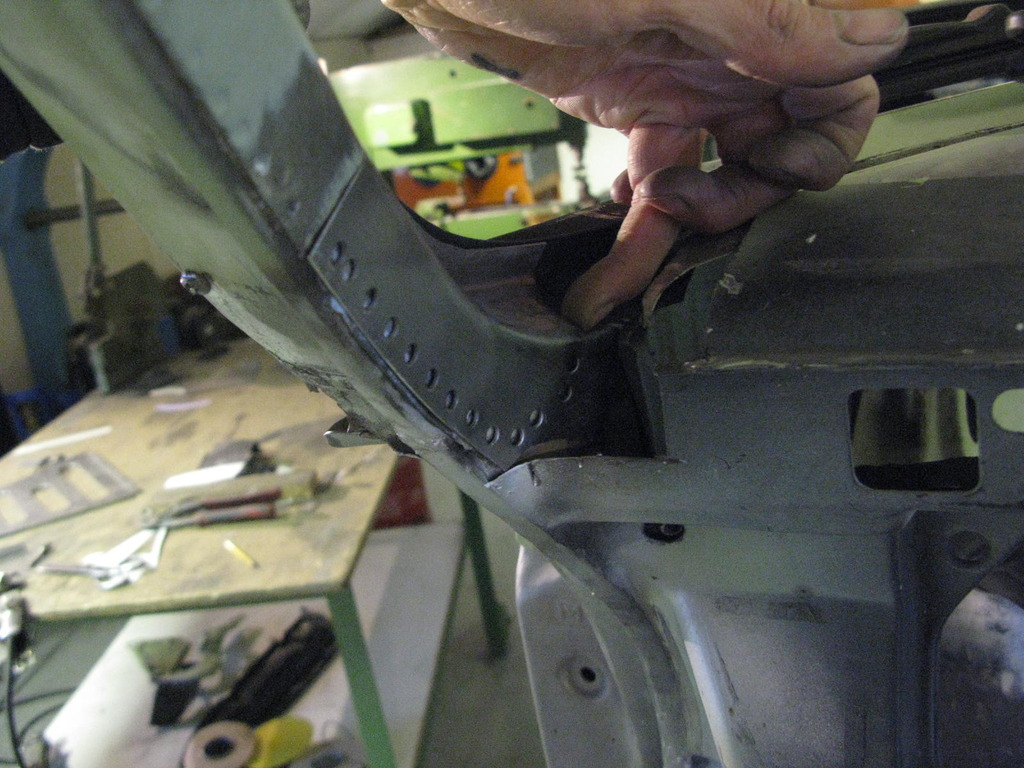
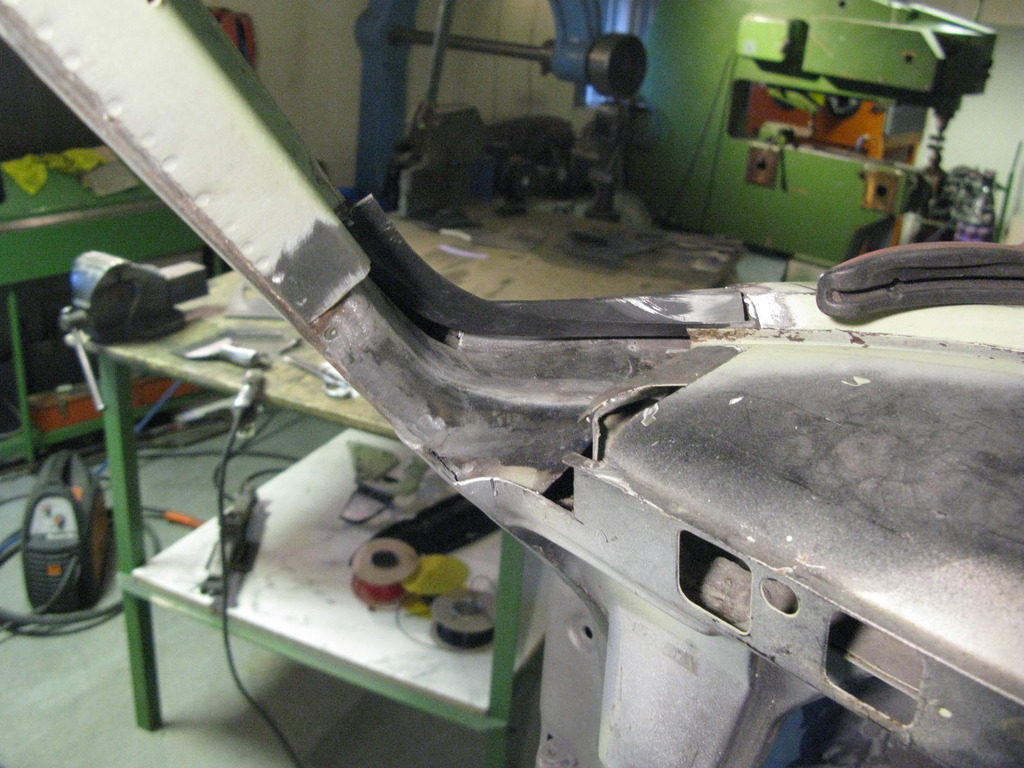
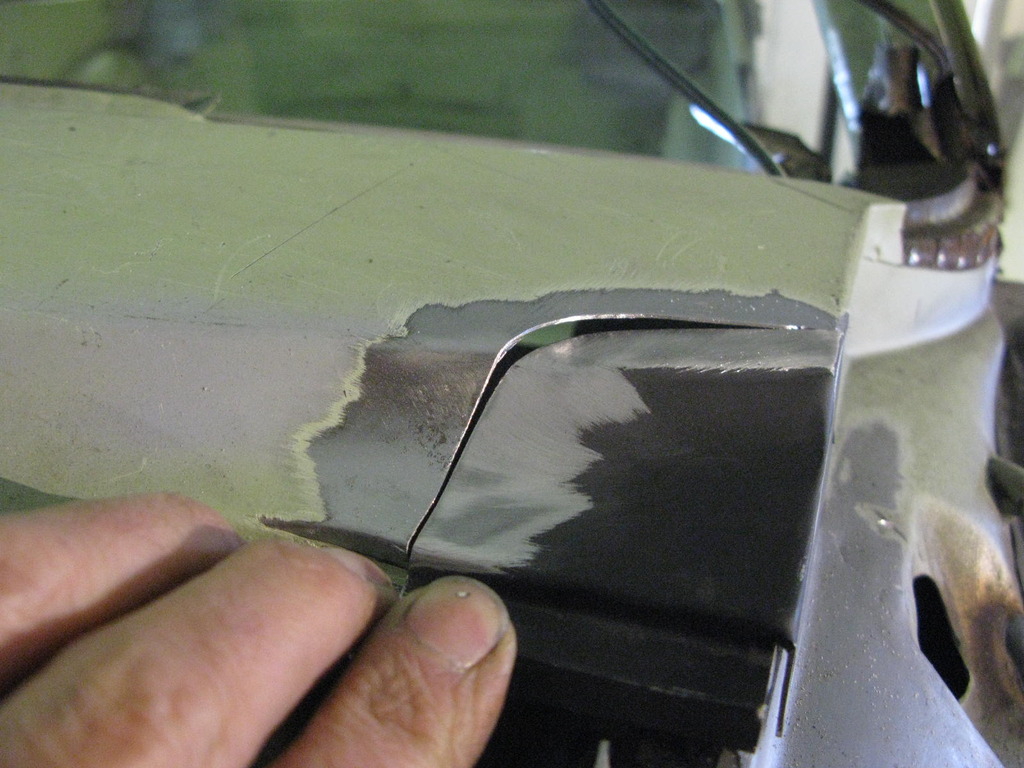
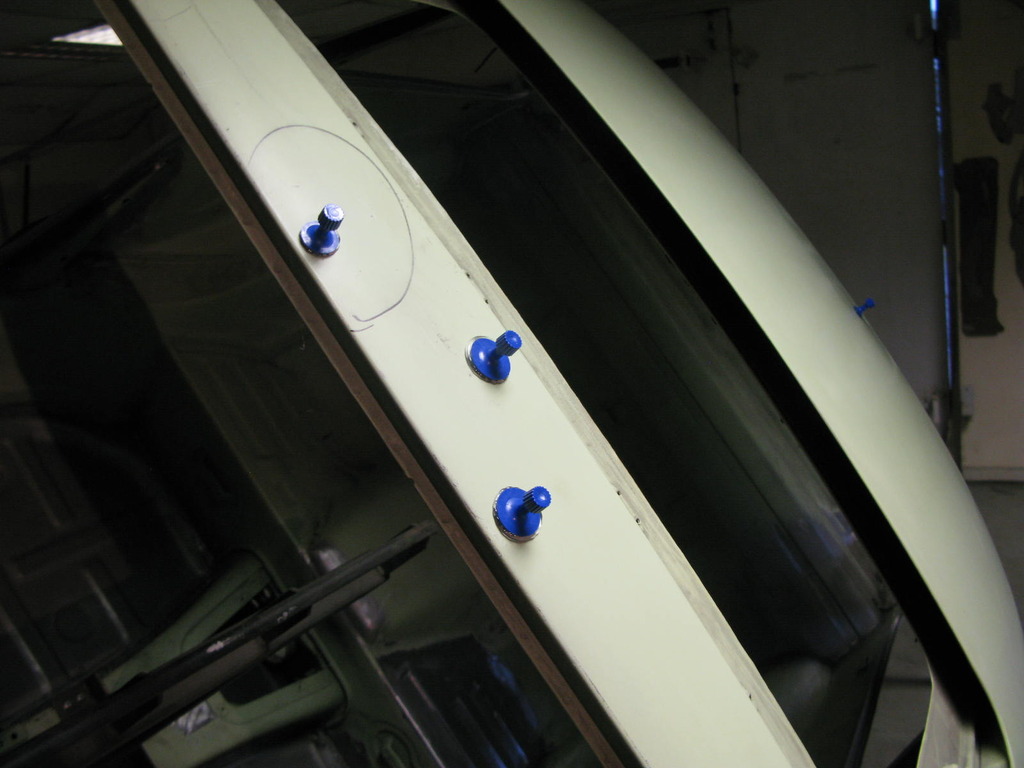
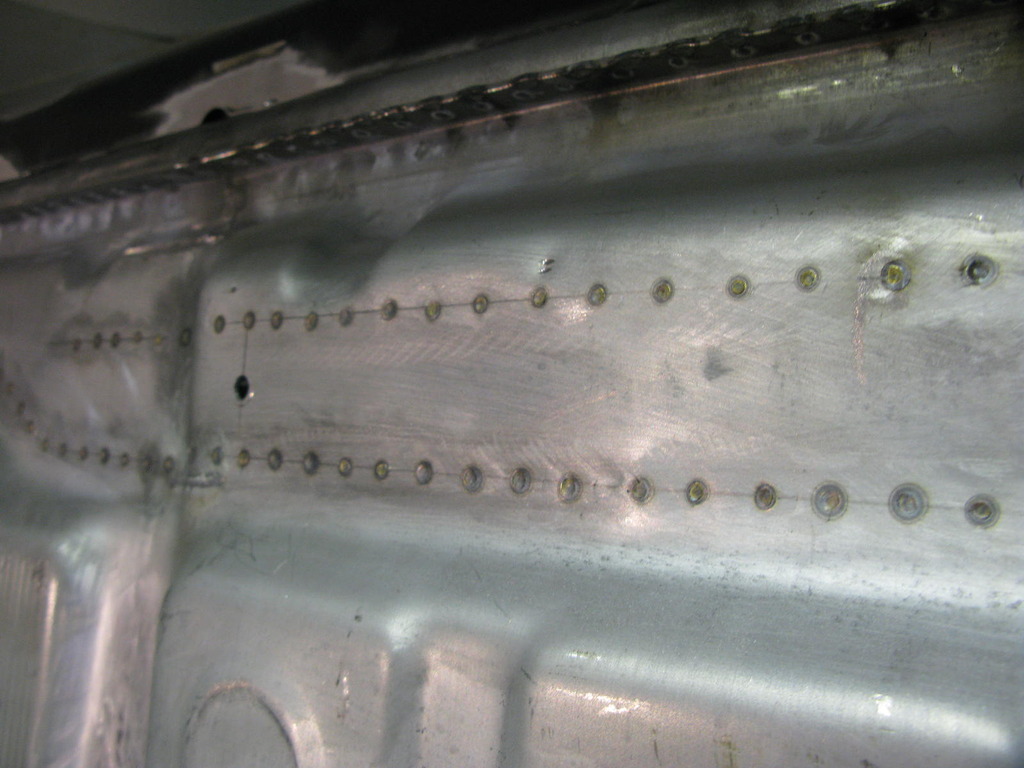
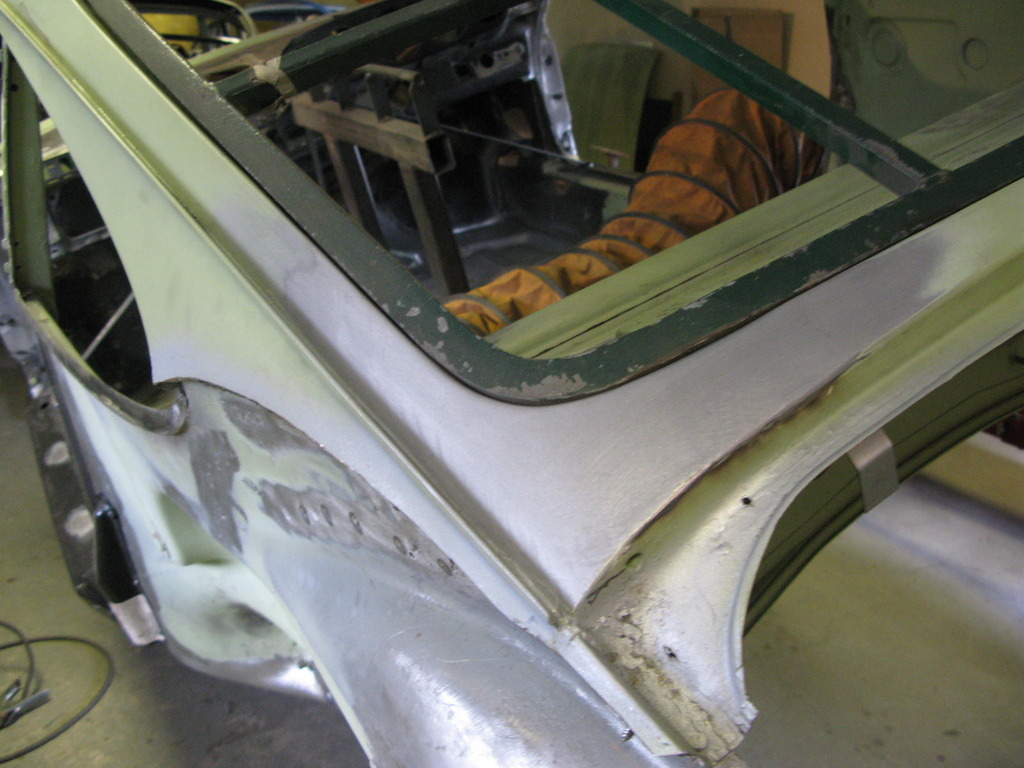
57. NS screen corner - front
Images of pre-repair. As can be seen, the previous repairer didn't join in the main structure to the part of the pillar that ultimately links in to the inner wing. There was still some structure left, but definitely compromised.
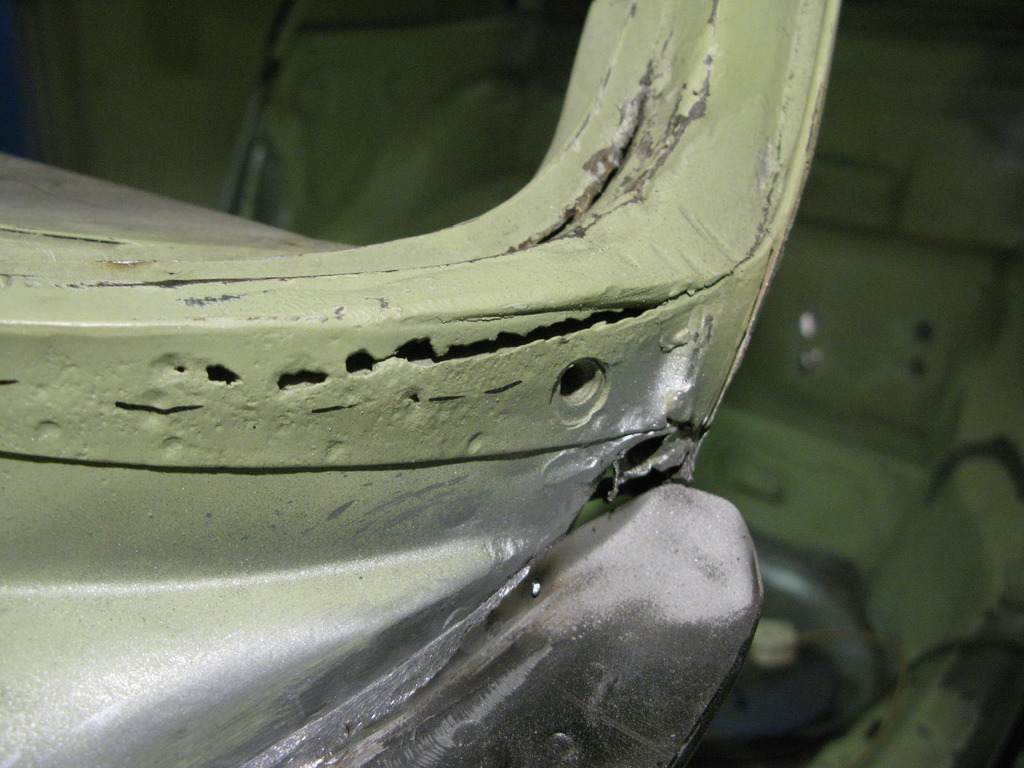


As can be see this was in a bit of state once opened right up. Given it didn't look that bad on the outside this was all rather unwelcome at this stage. One odd thing was the hole in the rear of the A-pillar. Not sure why it had been drilled, but we guess something to do with the sunroof wiring as it had been joined at this point. Either that or they drilled the hole for some other reason, caught the sunroof loom and had to re-join it.
Anyway, Barry removed the outer skin of the pillar, the sunroof drain tube and the wiring. He then repaired the hole to the reverse side, ditto the next skin in. After that the loom was repaired by soldering and using heat-shrink tube two deep. Then a new sunroof drain was fabricated and fitted and the whole area built back up.
As for the rest a new base was fabricated for the pillar, as well as a new dash end and front. Finally the new outer skin was welded on (not shown here).


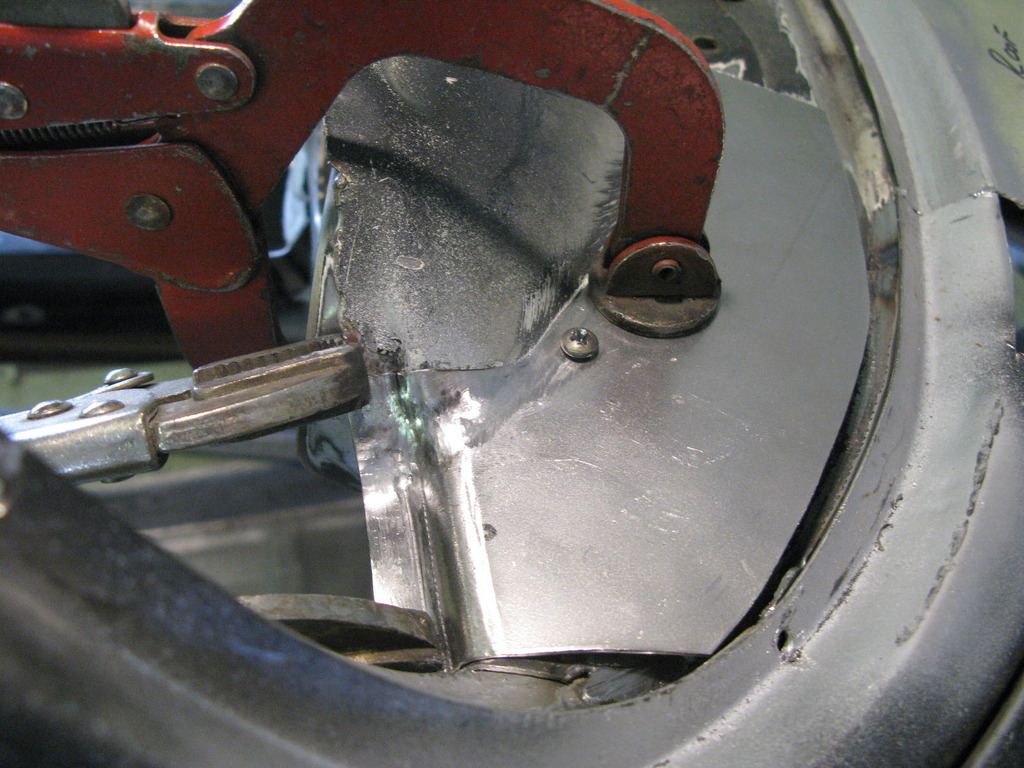
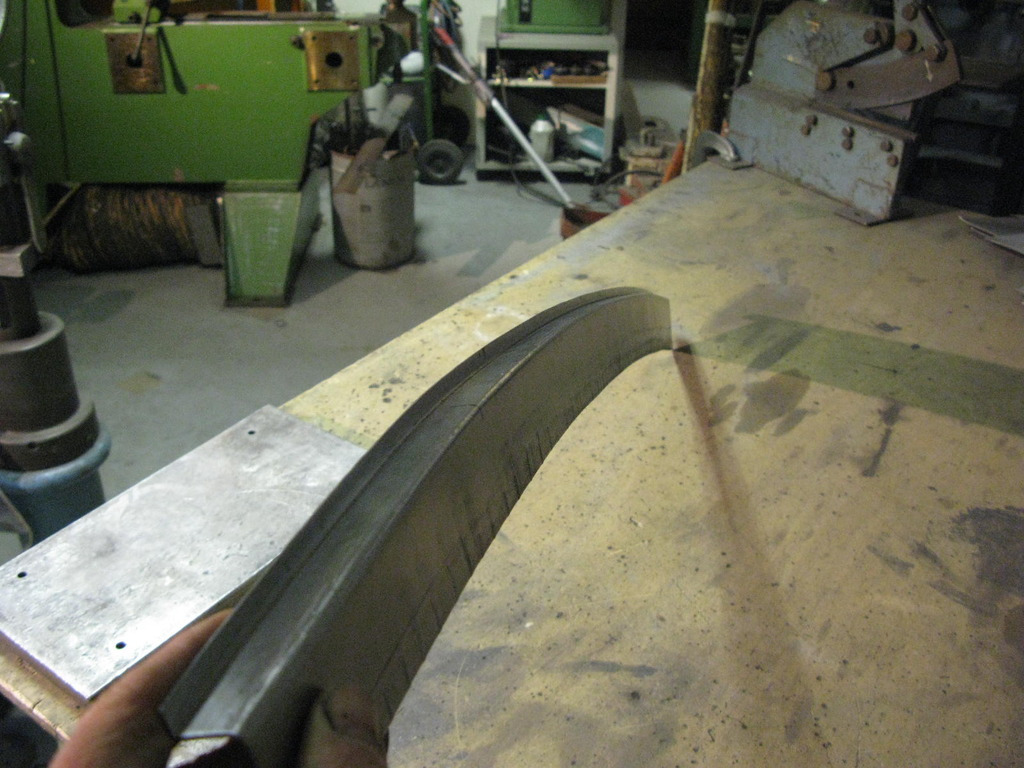
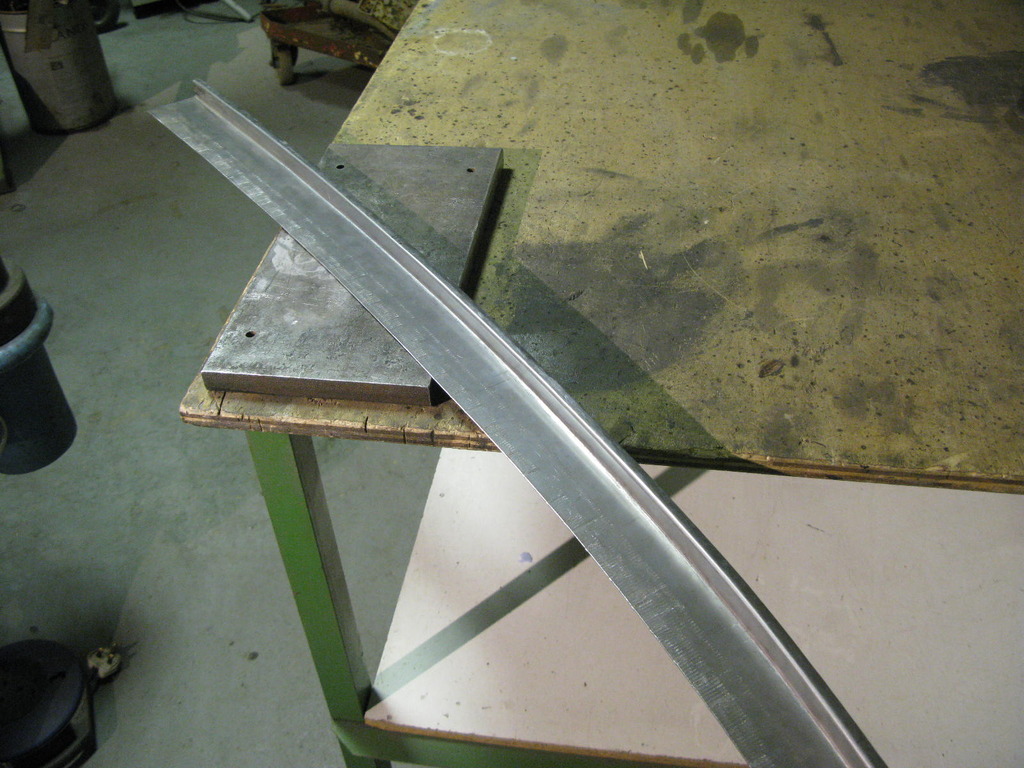
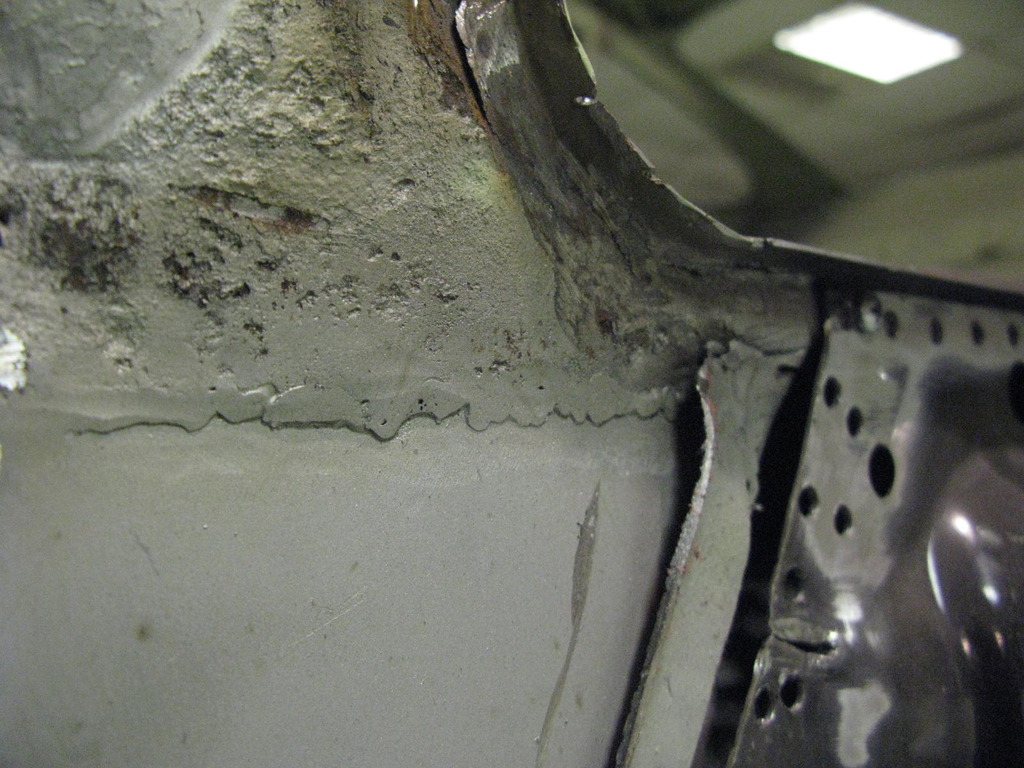
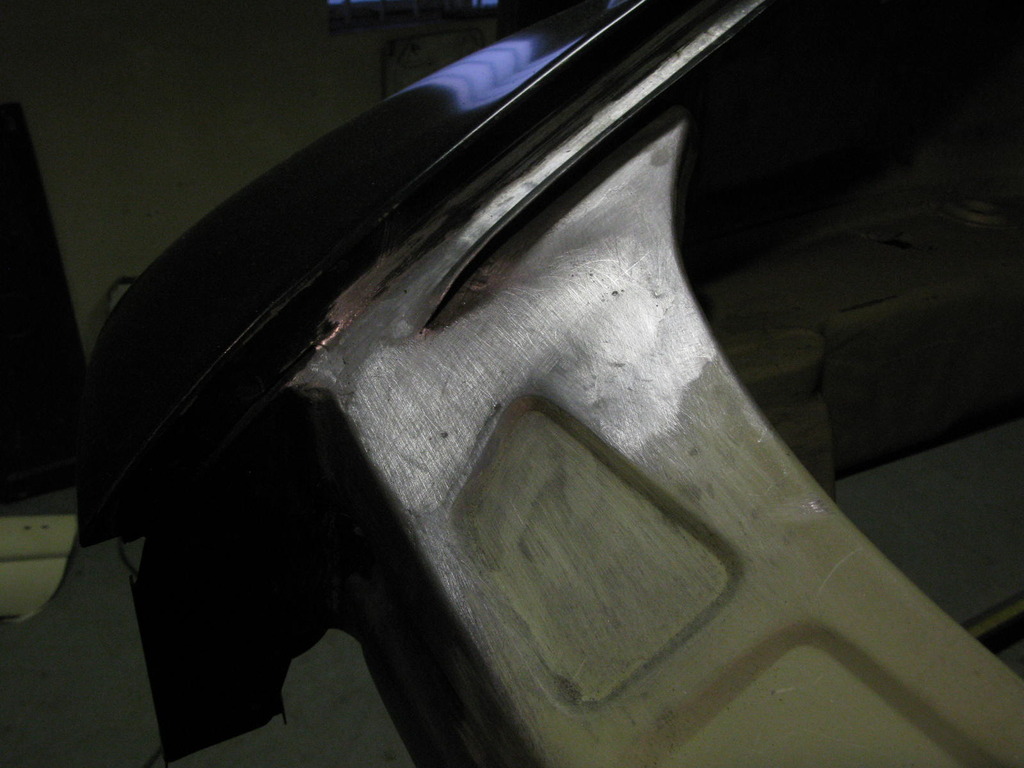
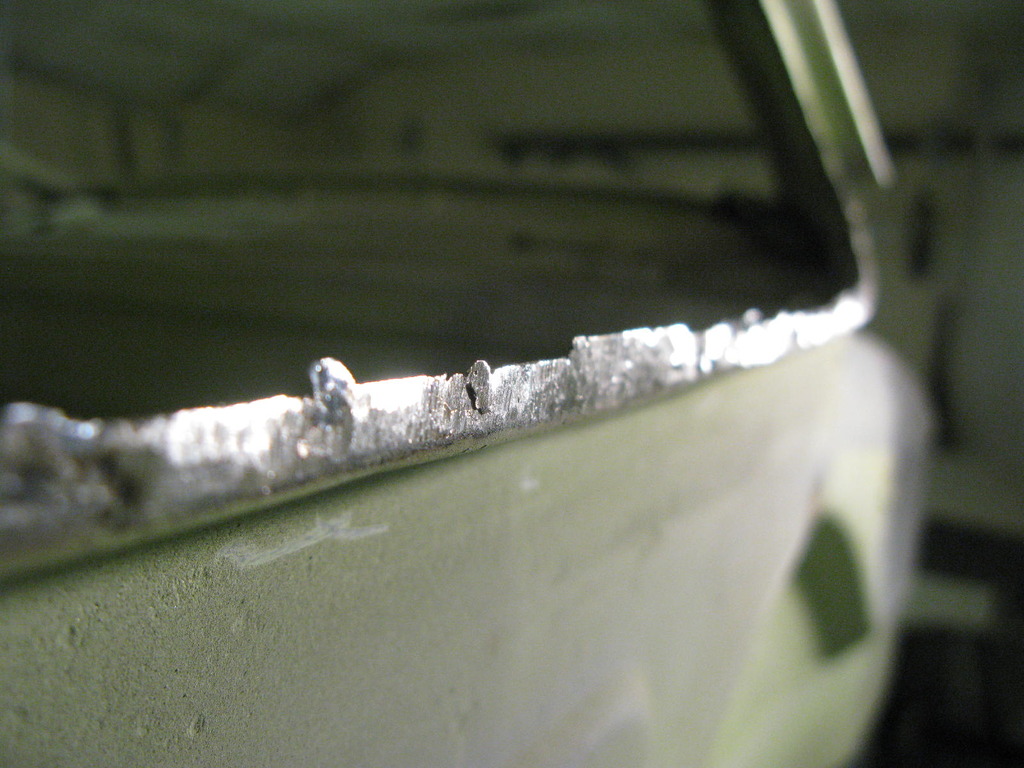
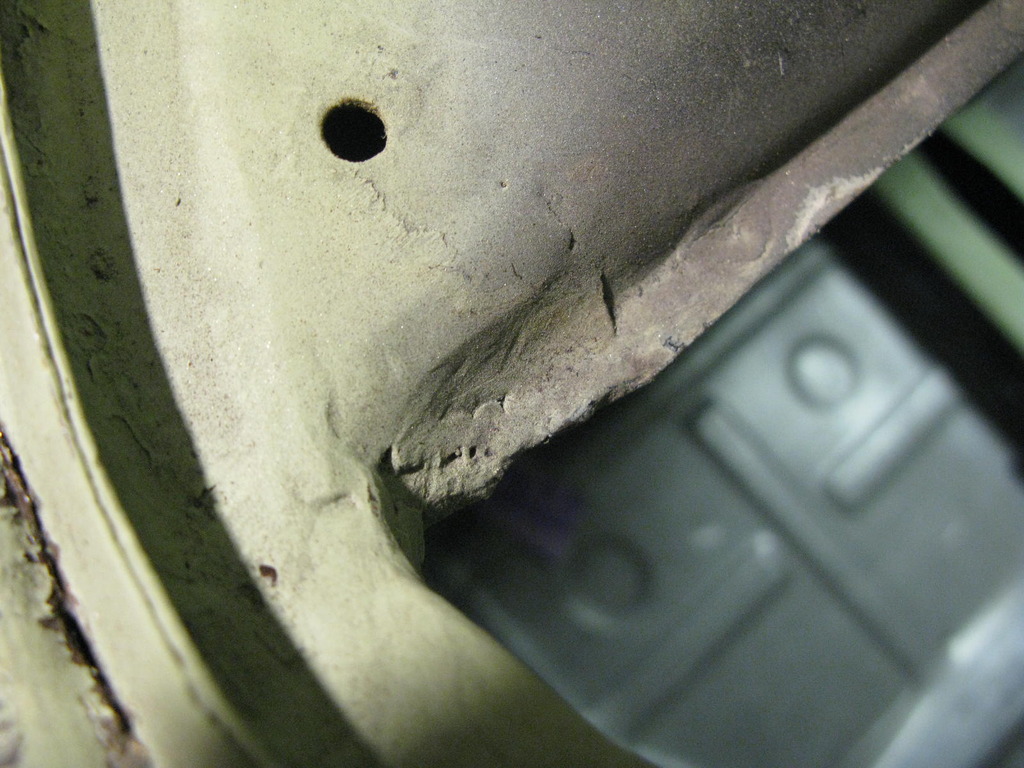
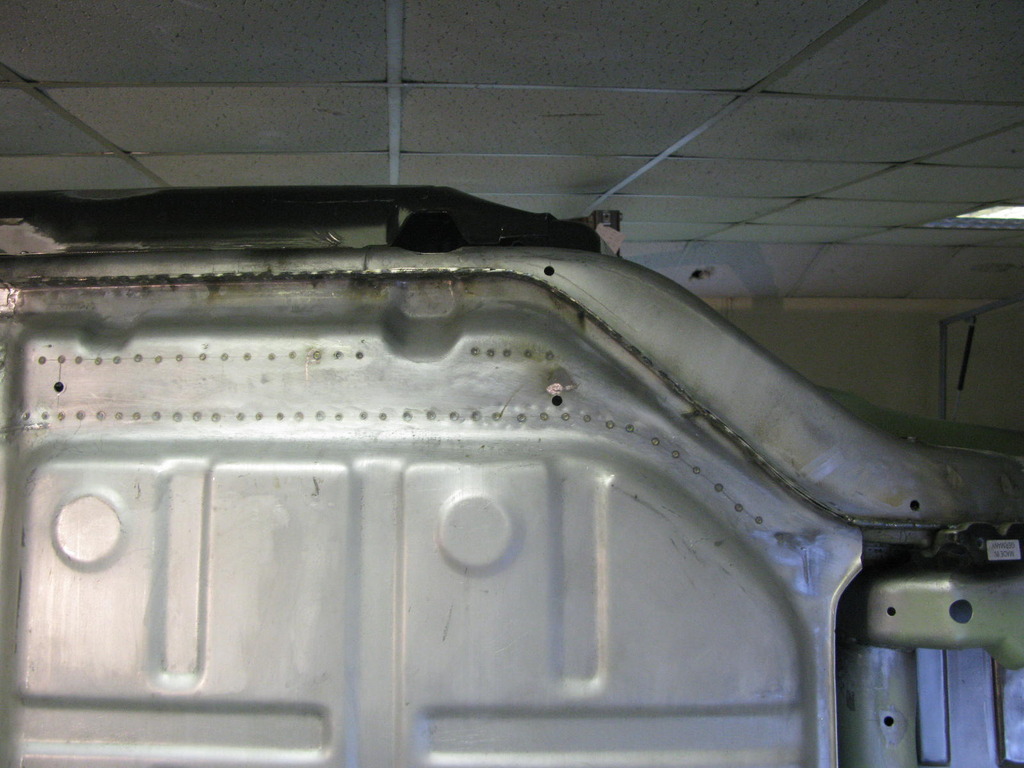
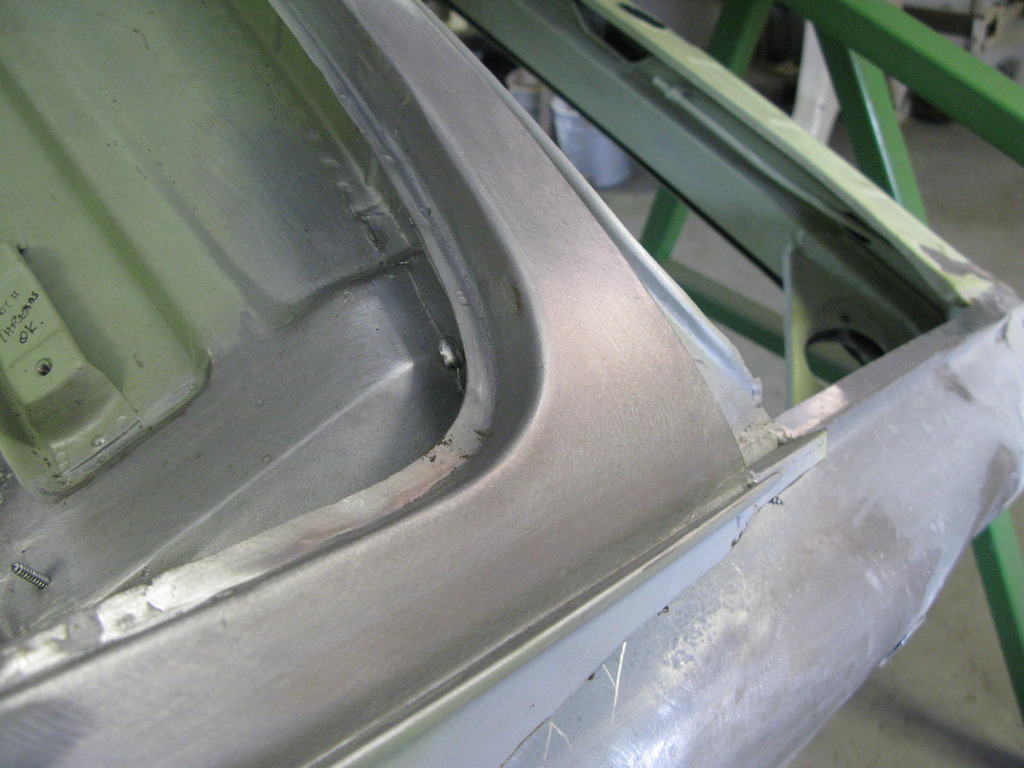
 58. Scuttle end, NS
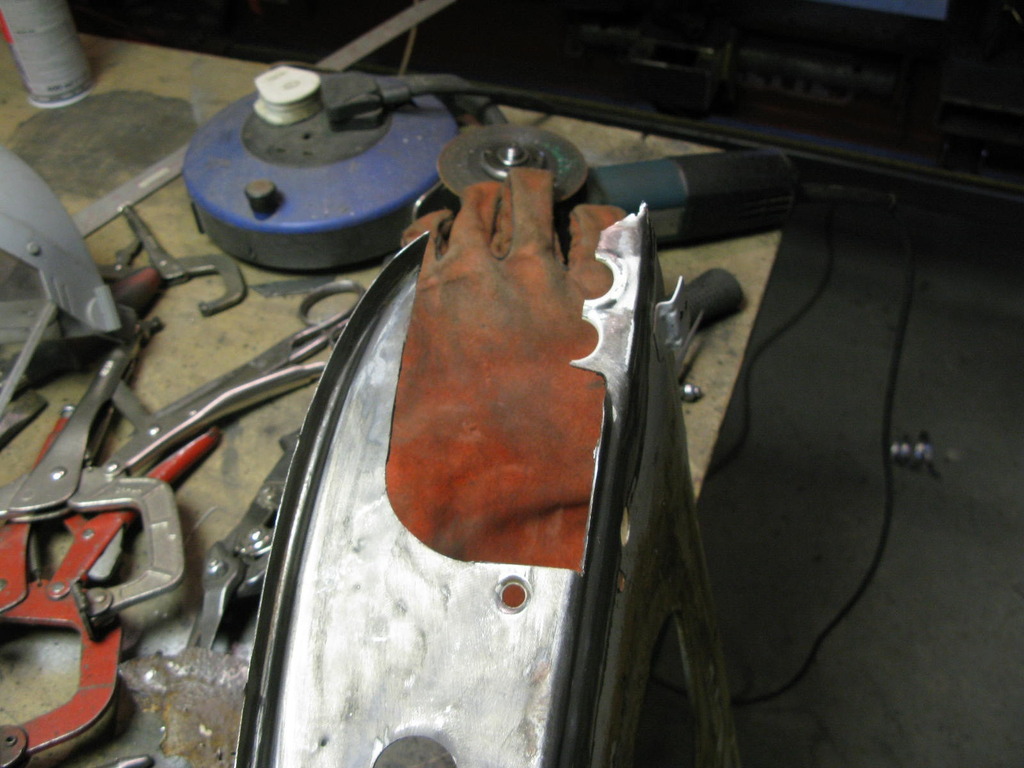
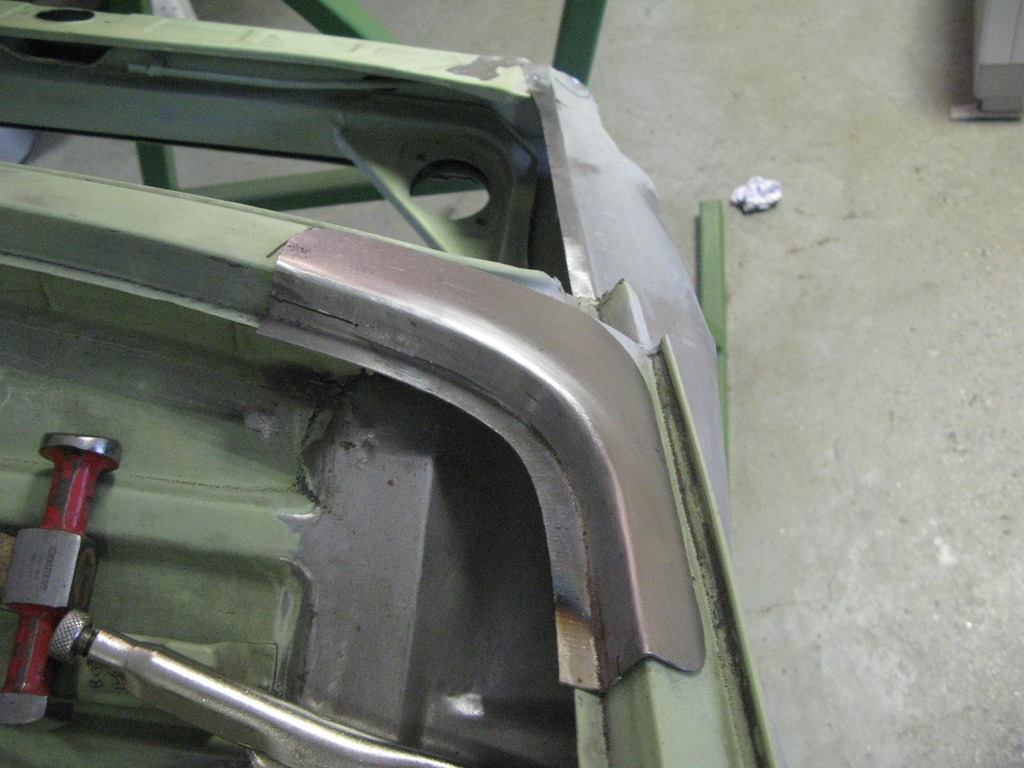
Barry calls this type of repair a 'time bandit', many of which have come thick and fast over the last month. The screen corner from Dansk is a very approximate affair and to get it to fit with any finesse requires major re-working. Even just using this little section means a redesign. By flattening out the gutter area, metal can be moved up into the area needing it and then the gutter re-formed later.
As you can see it ends up quite a nice little repair, but takes much longer than it would with an accurate panel.

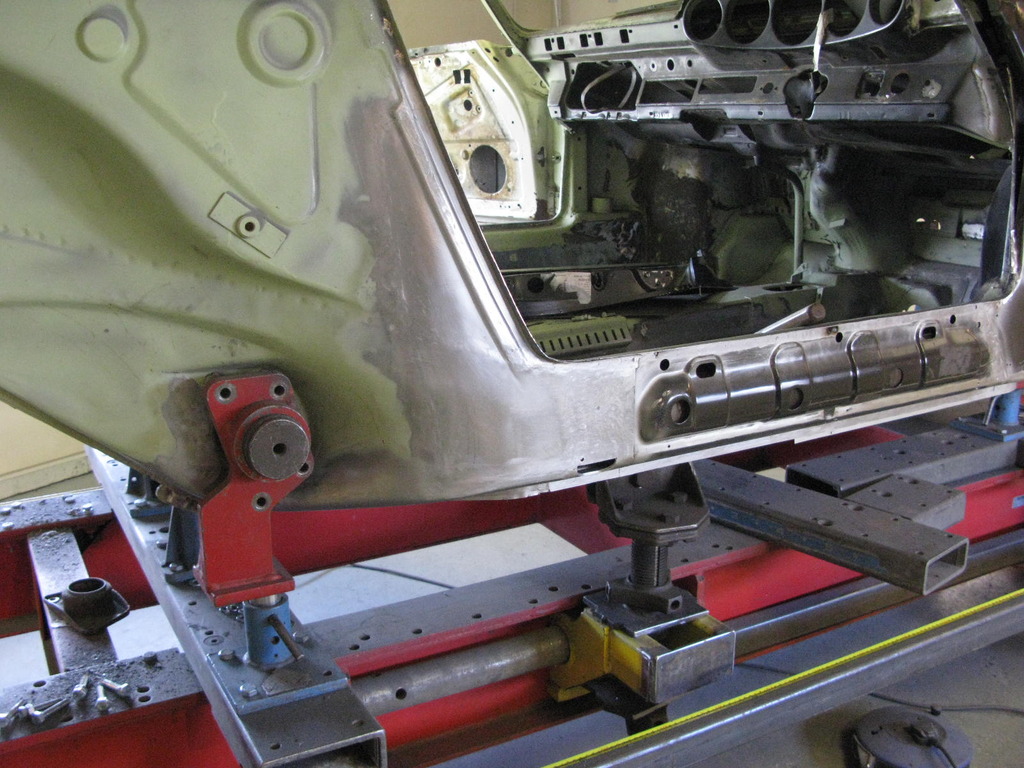
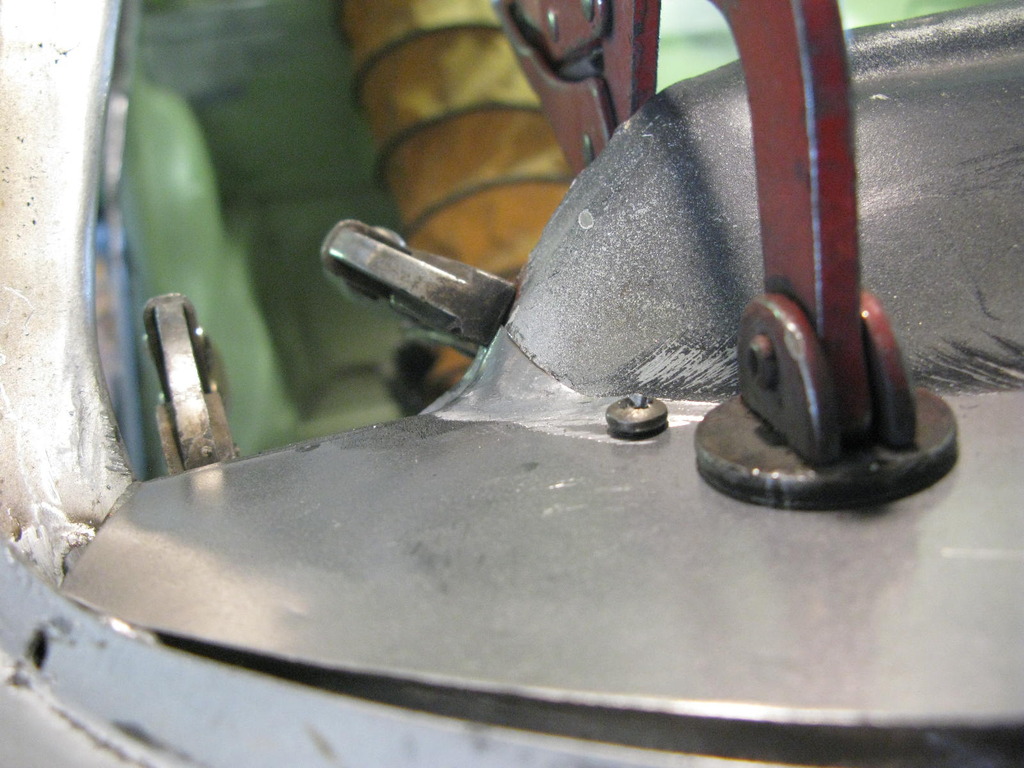
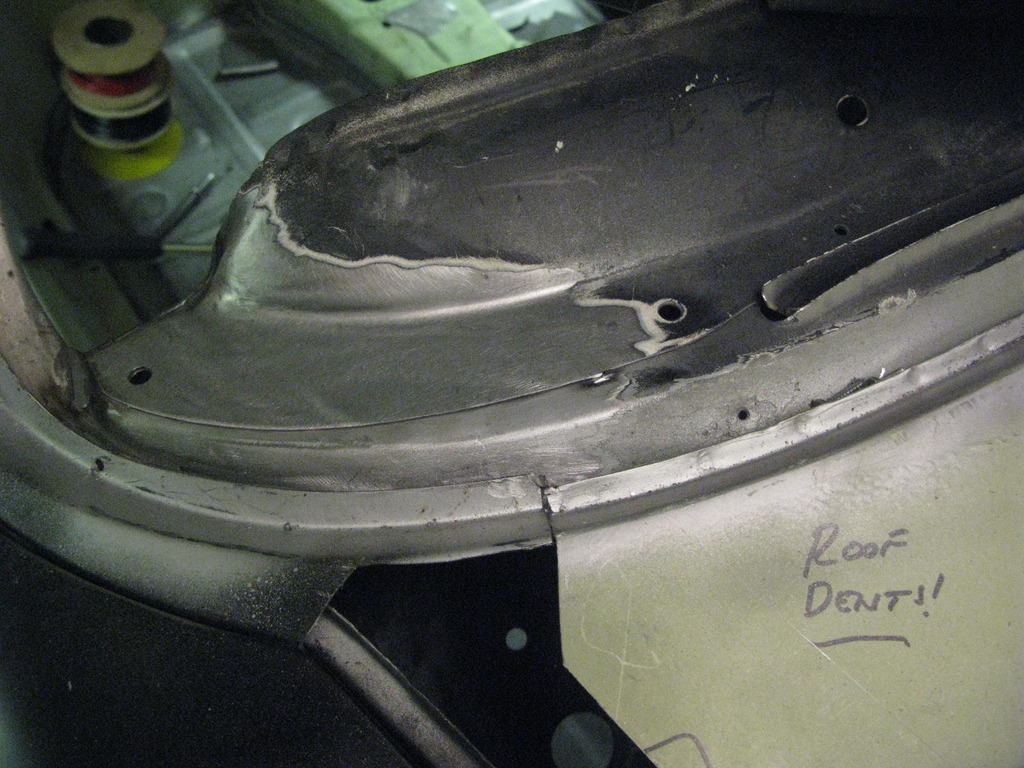
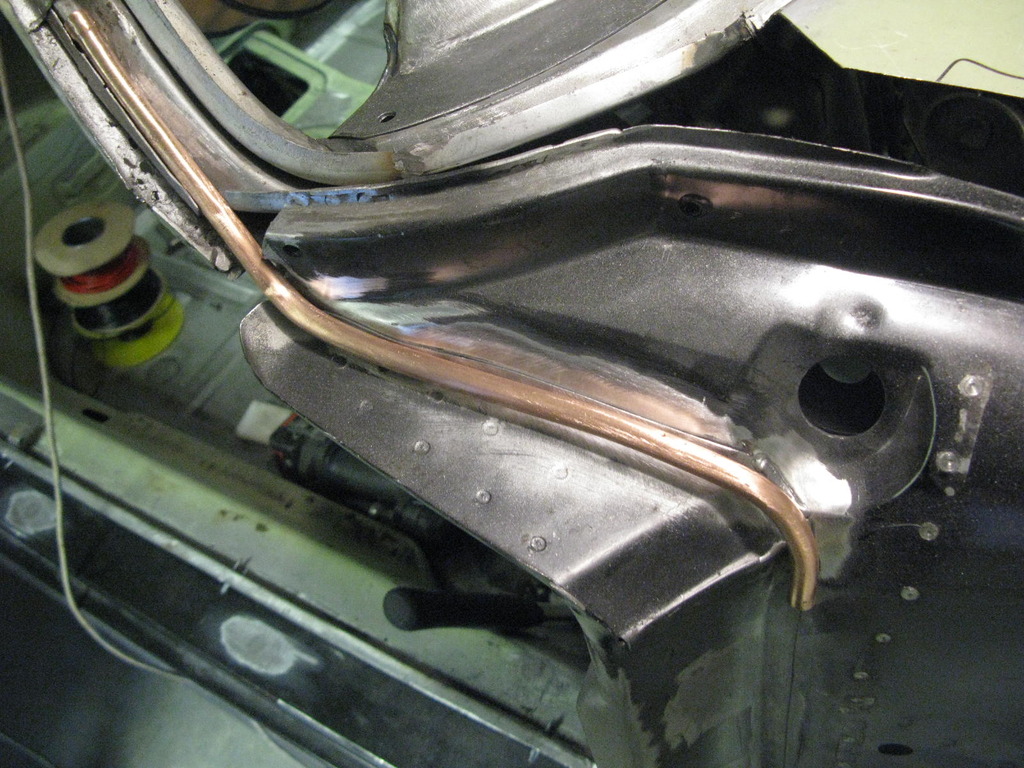
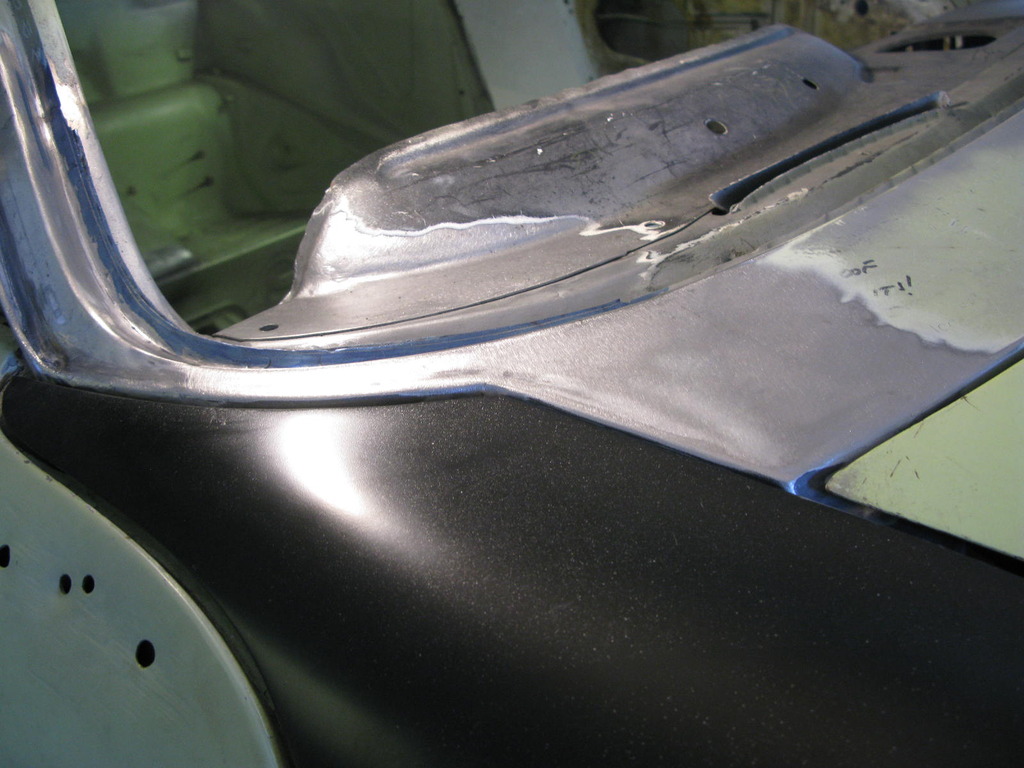
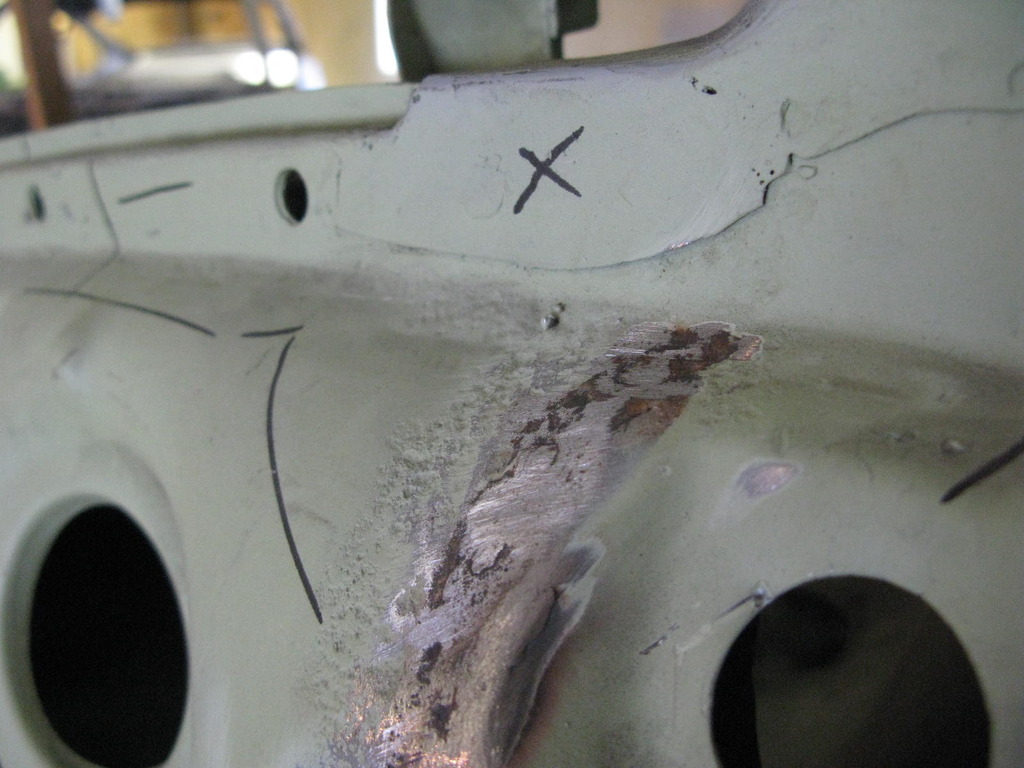
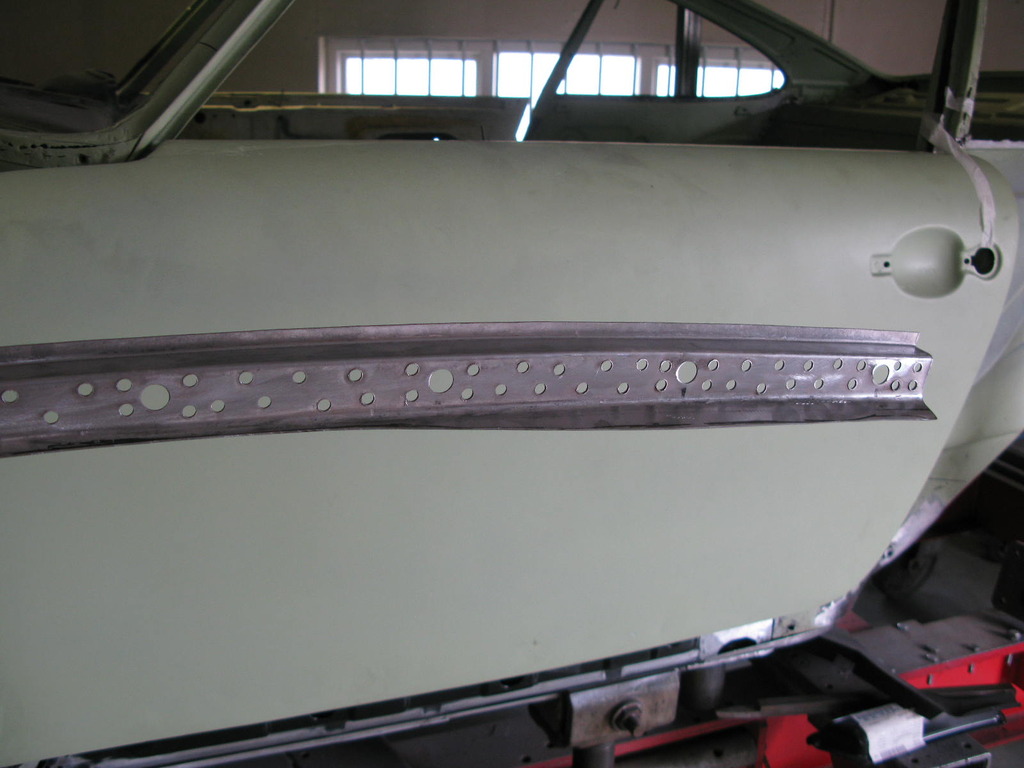
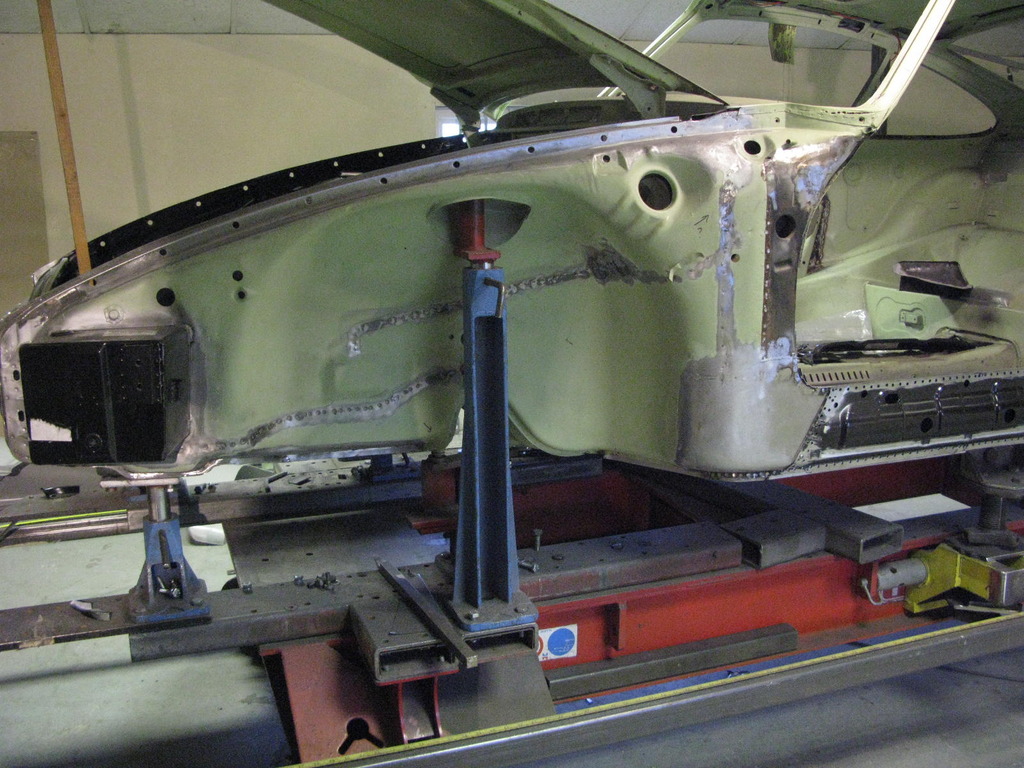
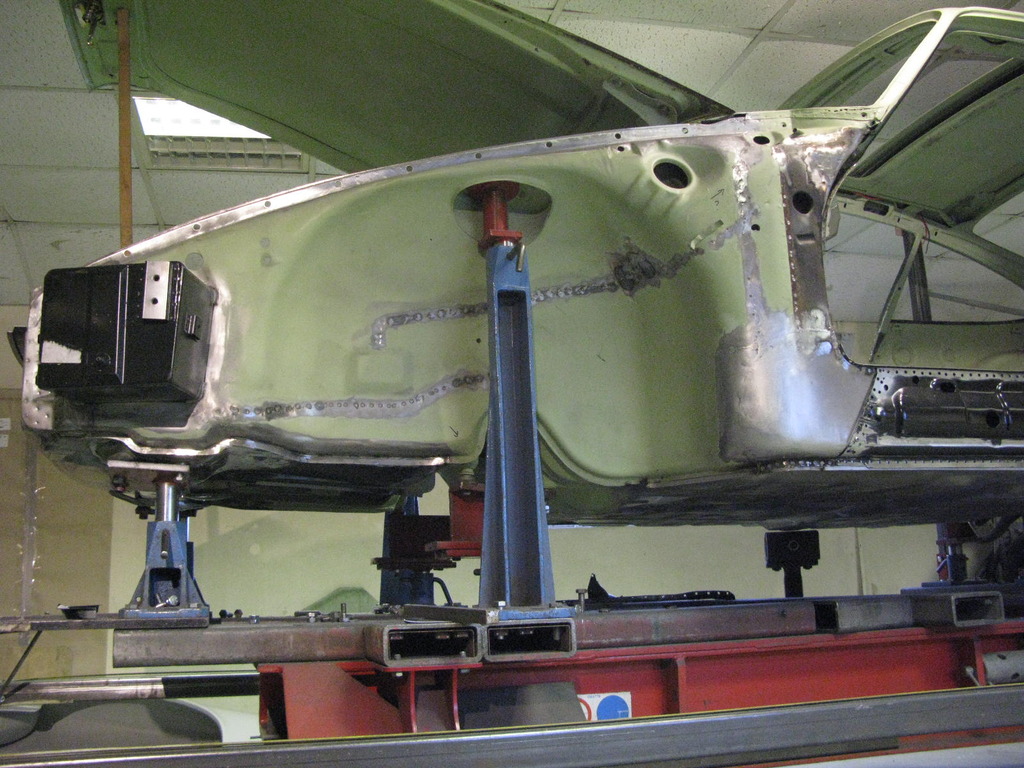
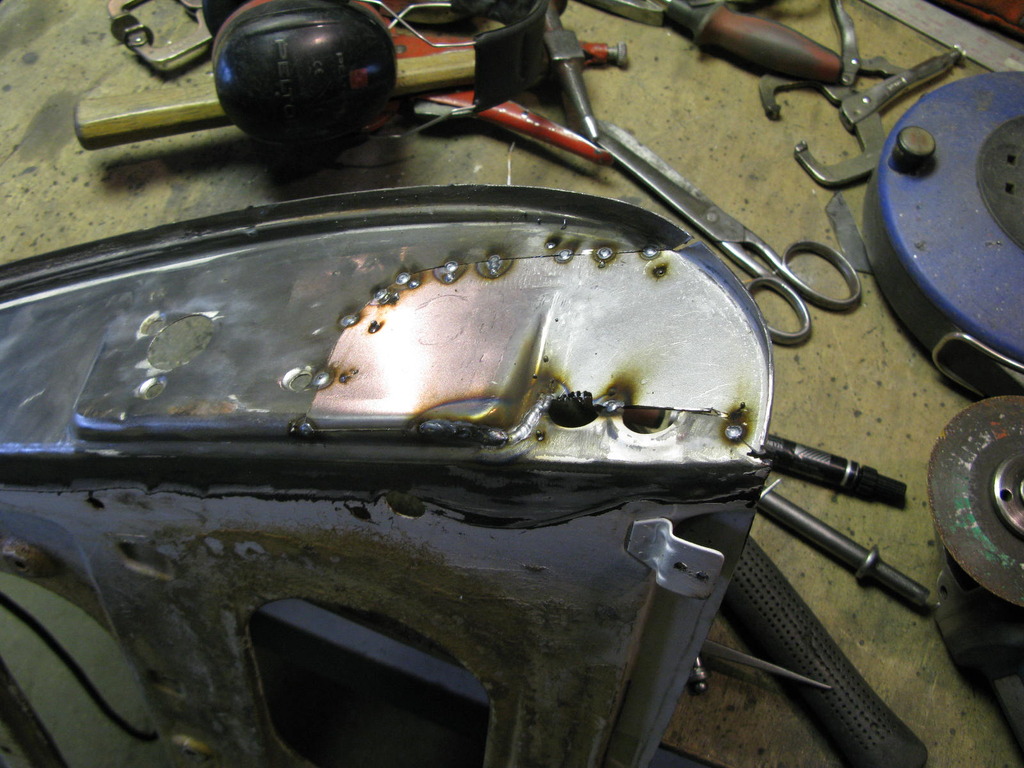
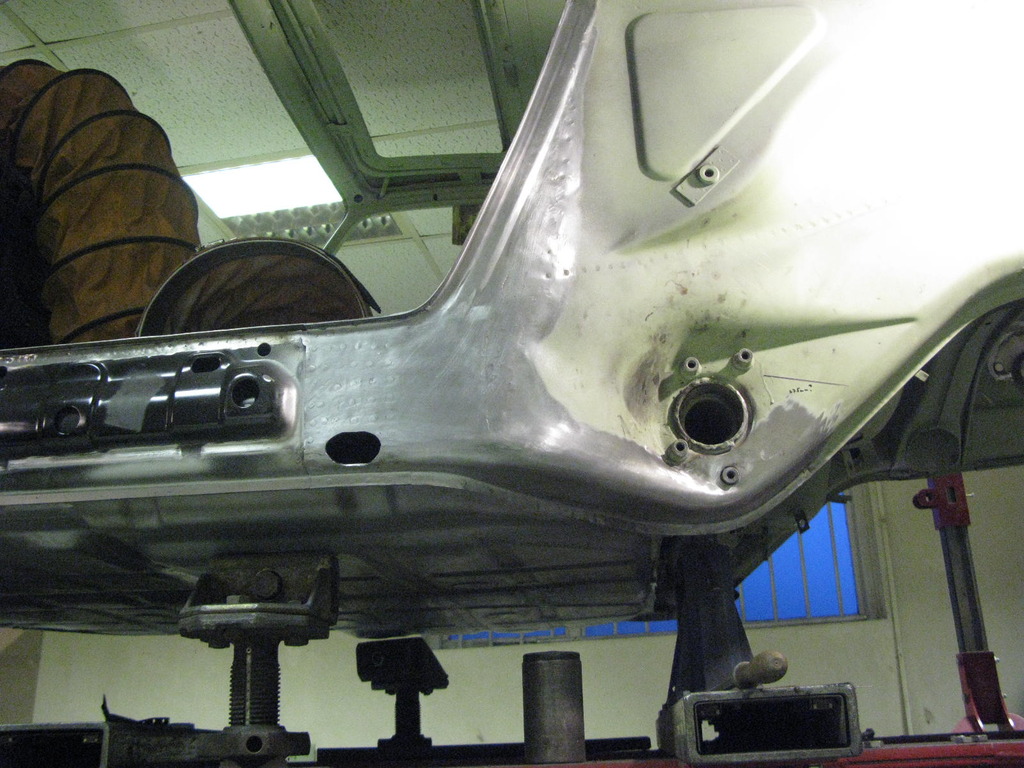
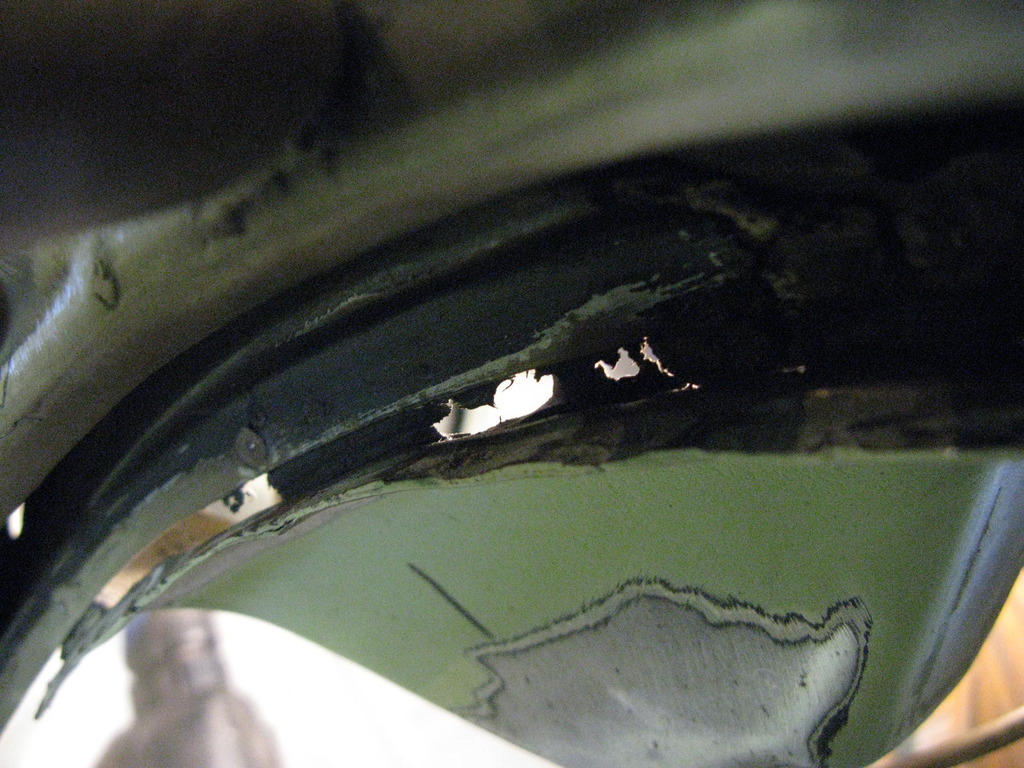
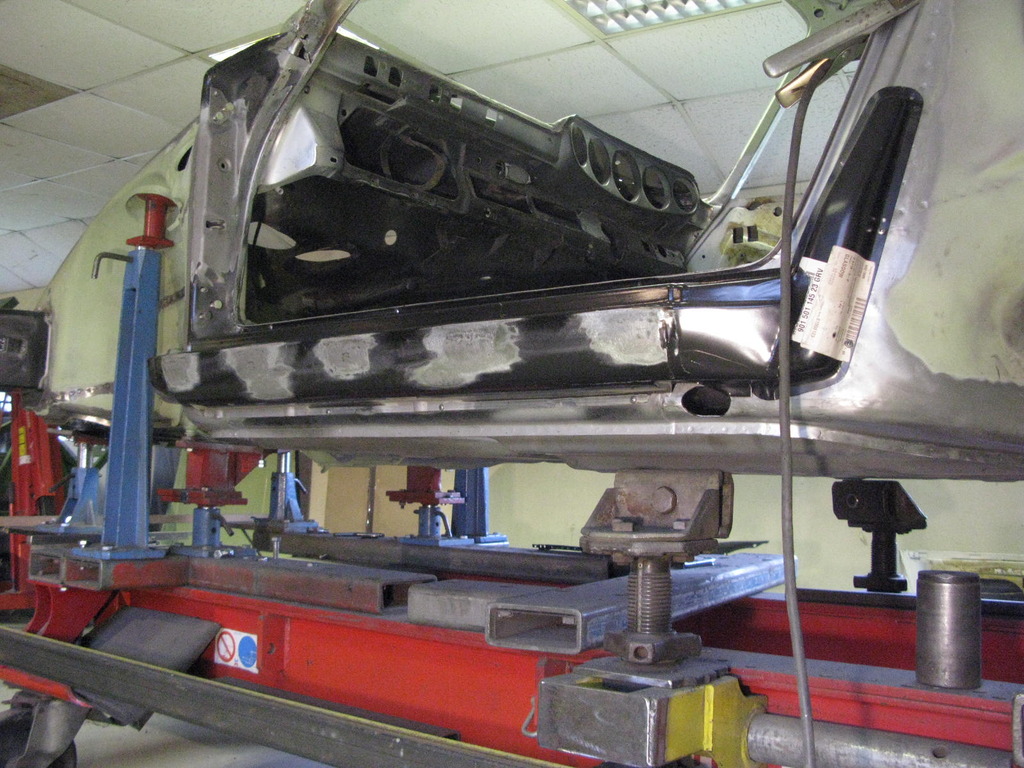
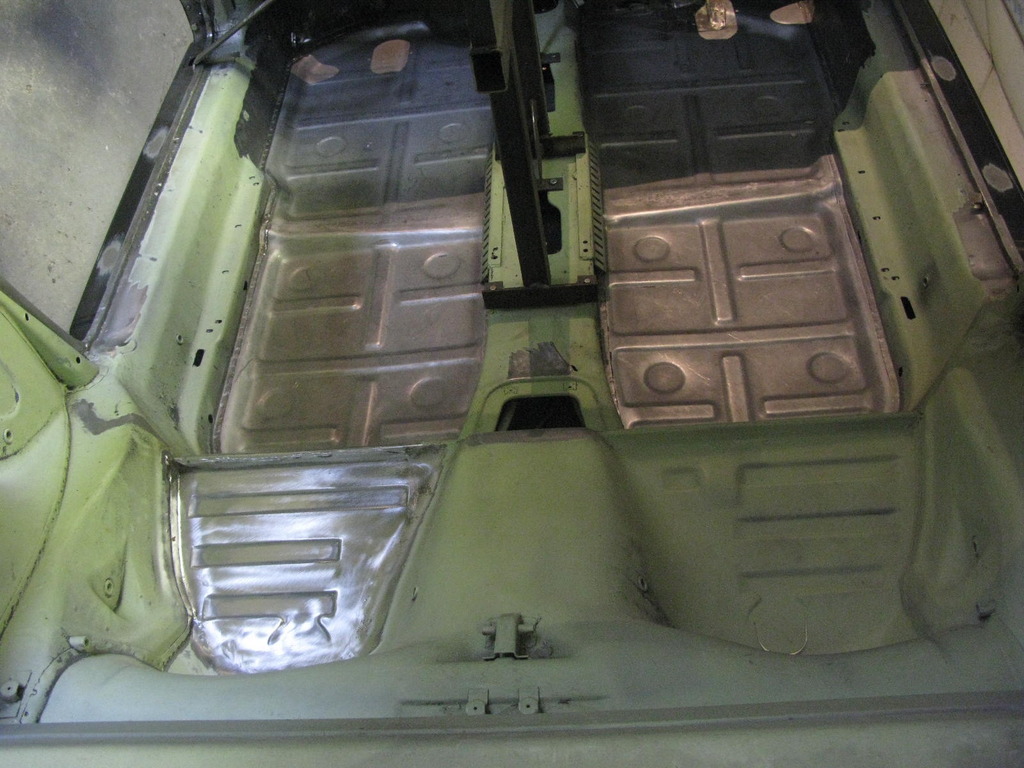
 59. Random repairs
The slightly thinned and holed nearside rear seat base was replaced with one fabricated by Barry. As a new one is somewhere around £280, fifty percent of which would be thrown away, he thought a fabrication would be best. Being ultra critical it's not quite as crisp as a bought-in one would be, but once stonechipped etc it will look quite smart enough.
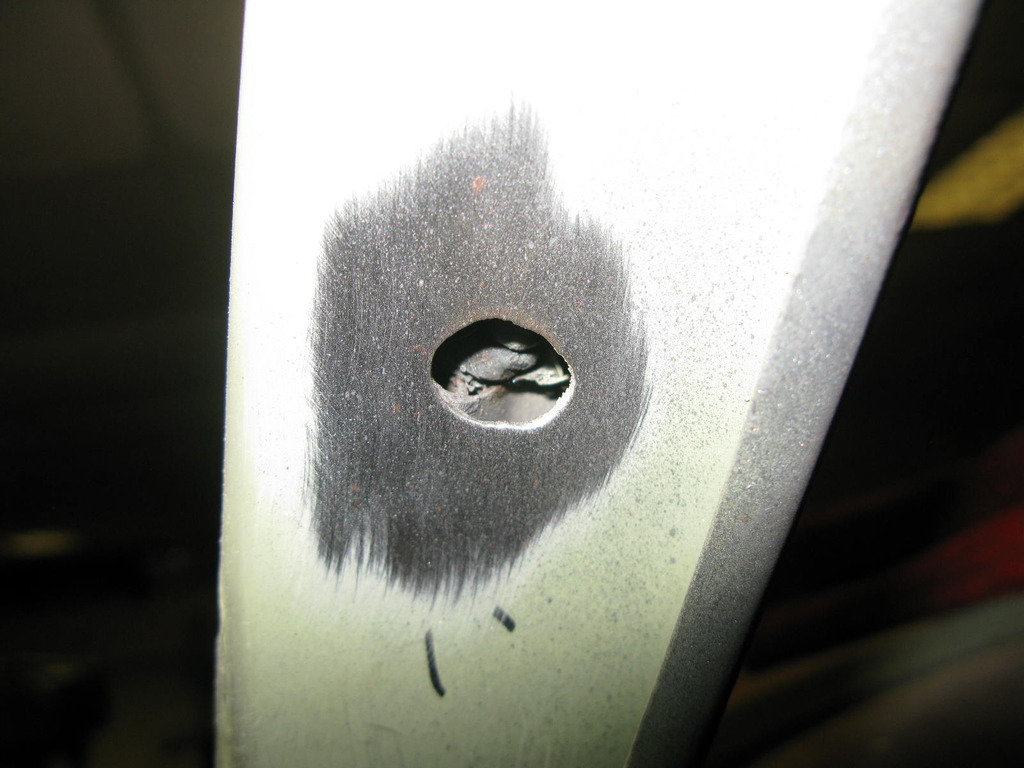
The heater flap box studs have been repaired on both sides.
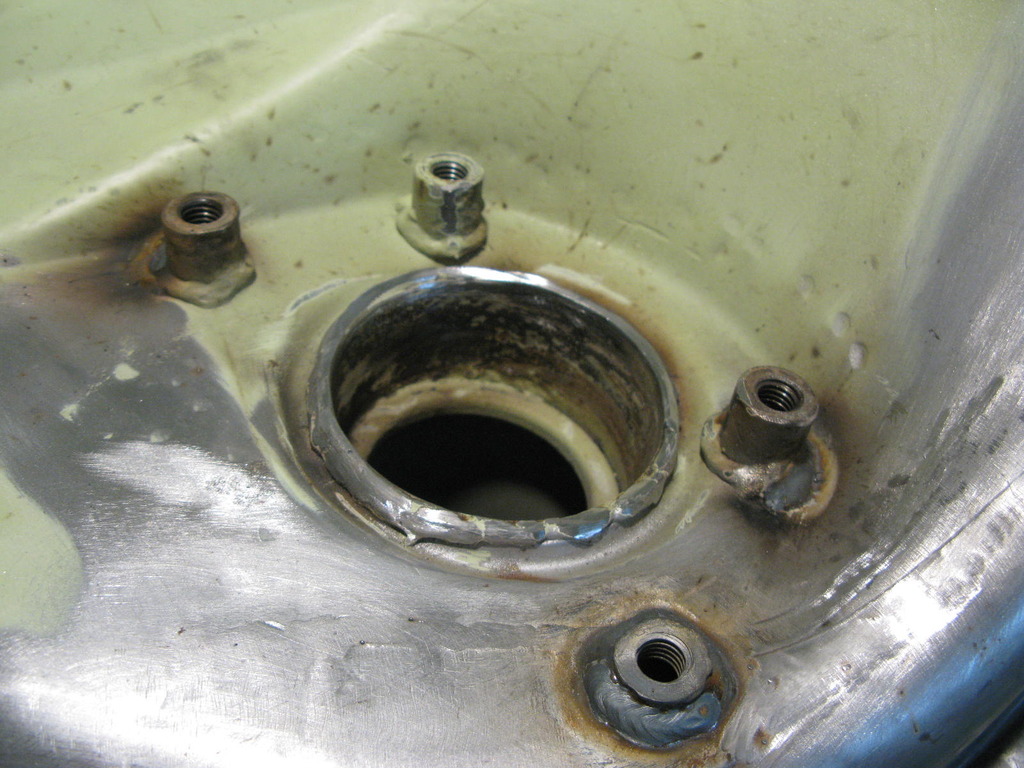
All of the waxing holes have been drilled and photographed ready for Barry's revised waxing guide which is coming soon!
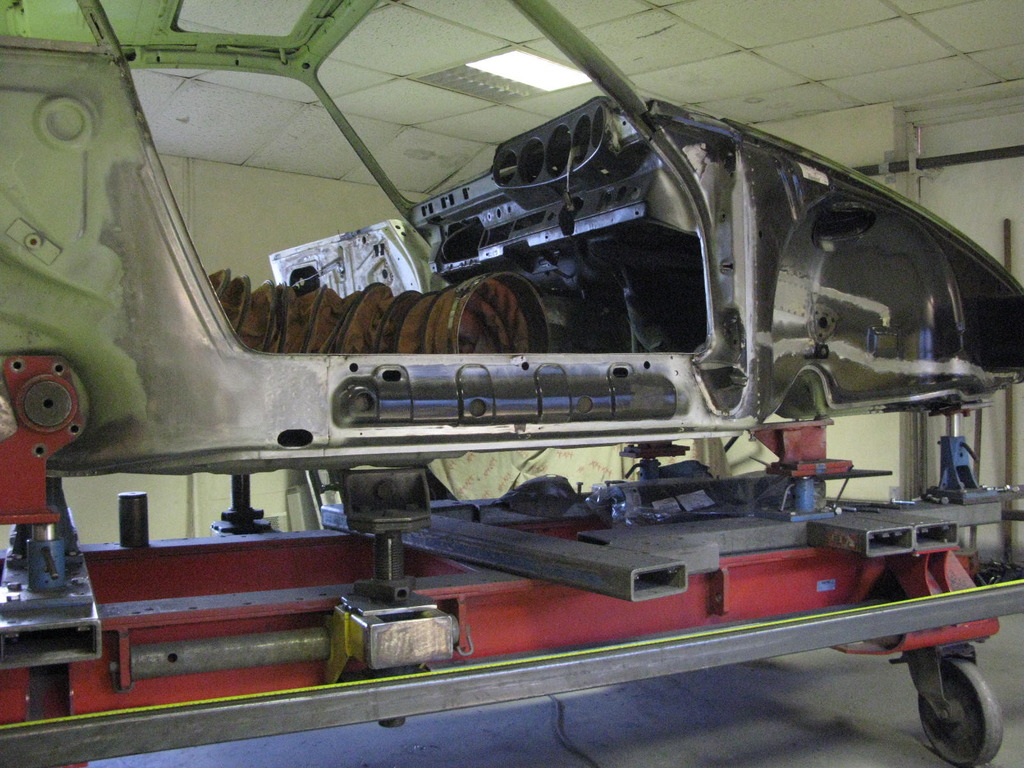
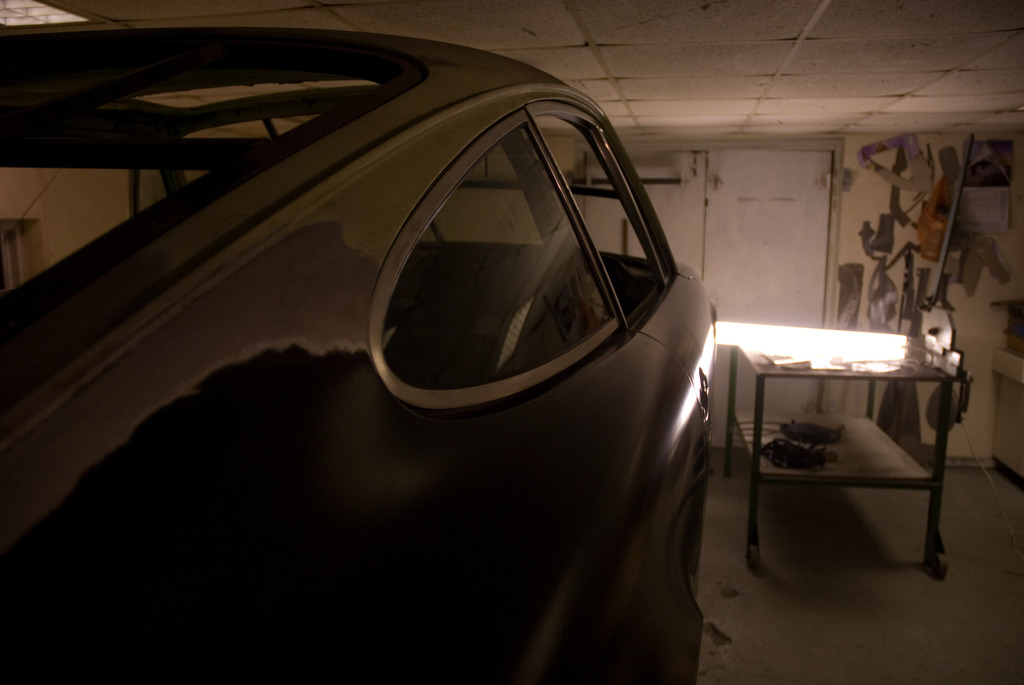
The more general shot is an entirely gratuitous picture of the interior with it's various areas of shiny new metal.
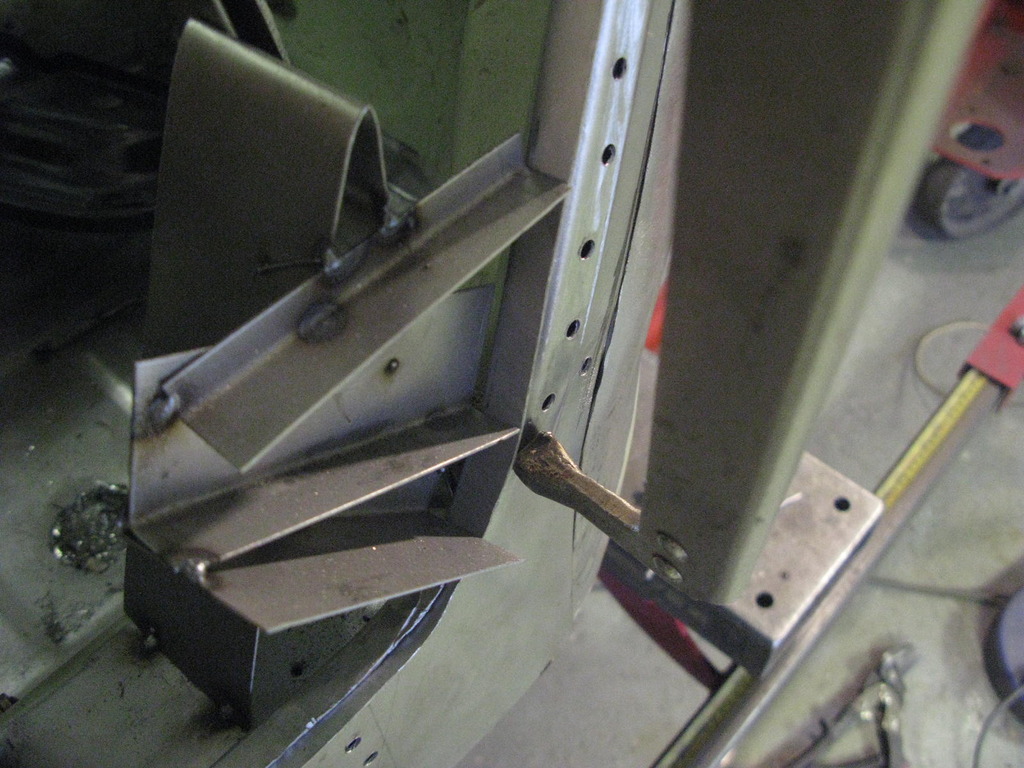
Also, the new anti-roll bar mount has been fitted, and the fuel pump bracket welded back into place.
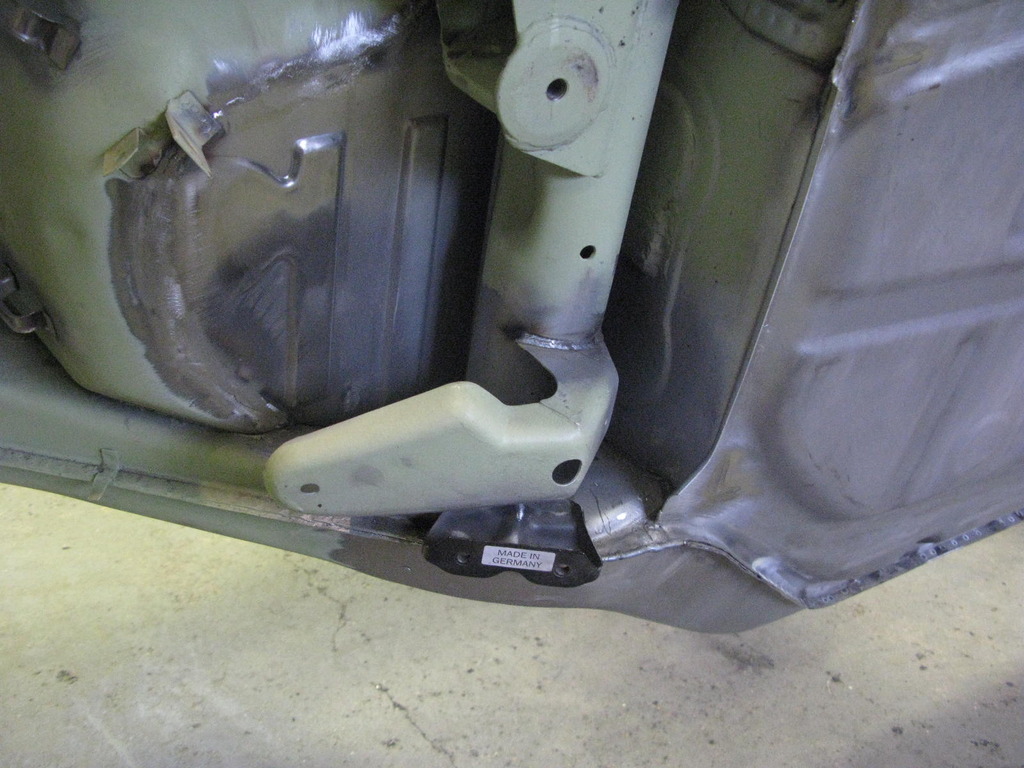
Both torque tube ends have been built up and smoothed ready for Elephant Racing bushes if I go that way, and any stress cracks near the torque tube cover 'nuts' have been ground out and re-welded.
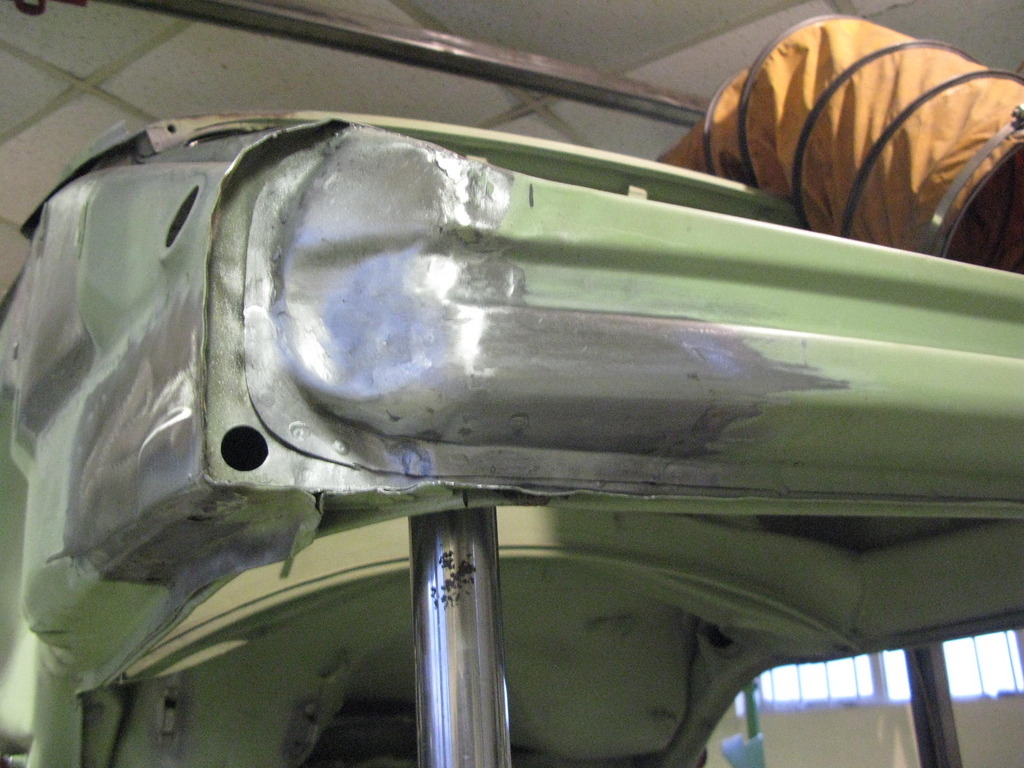
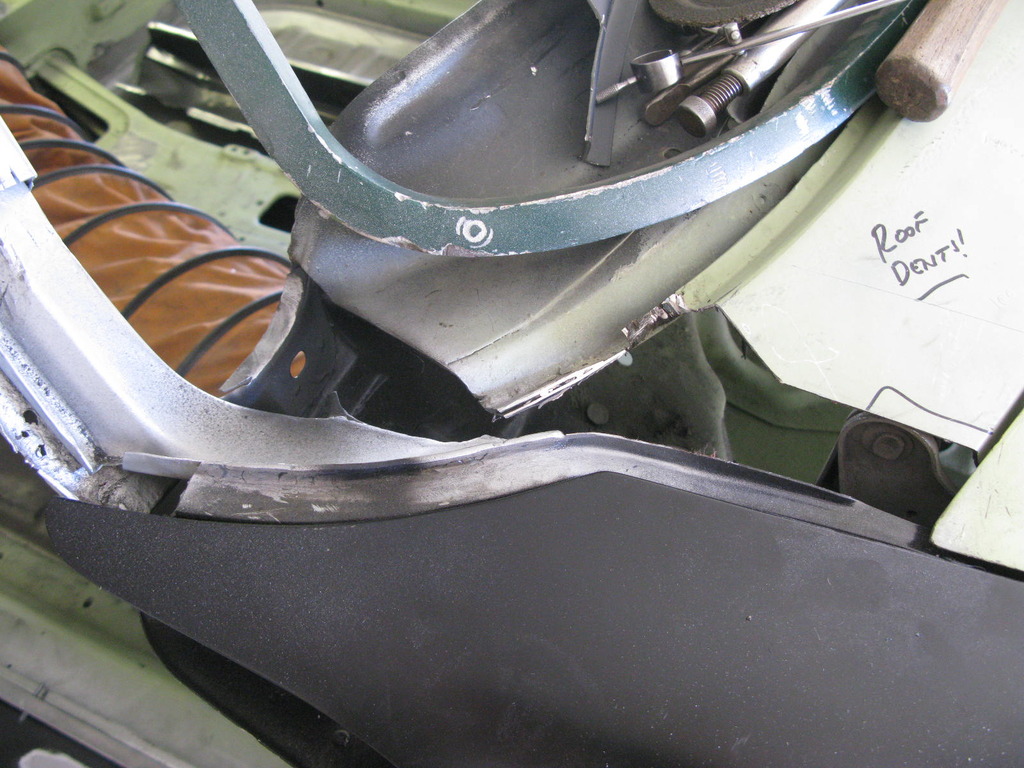
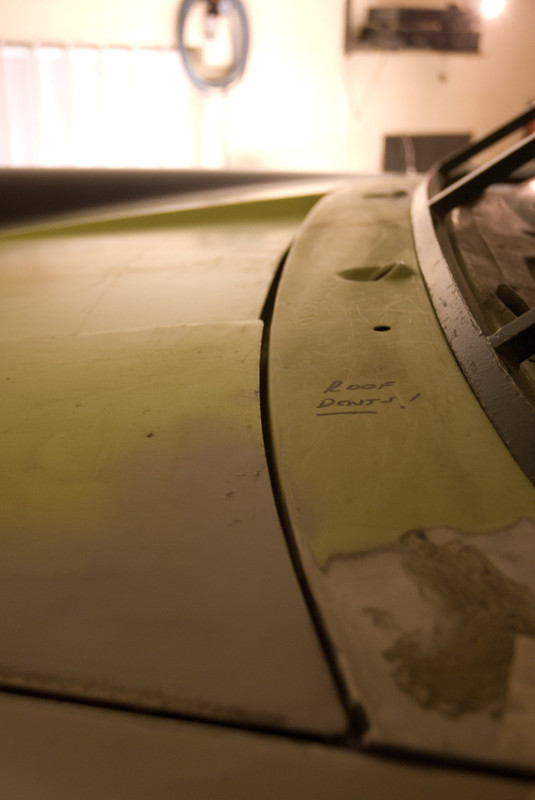
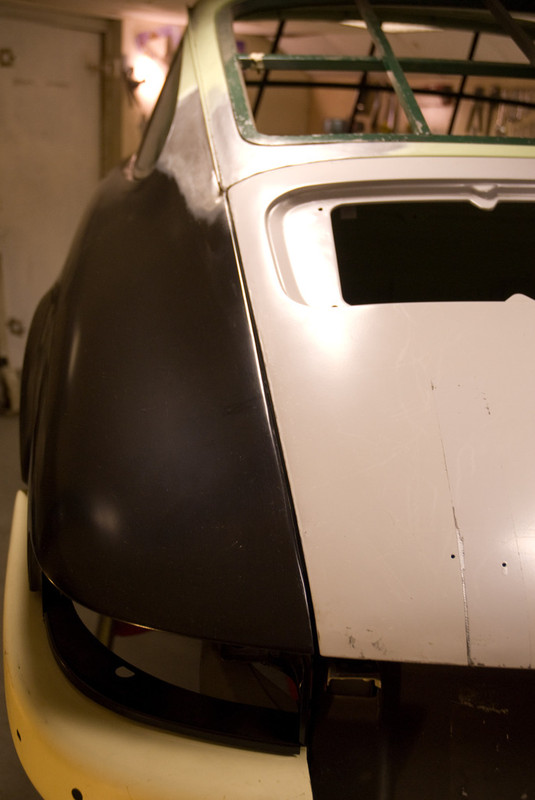
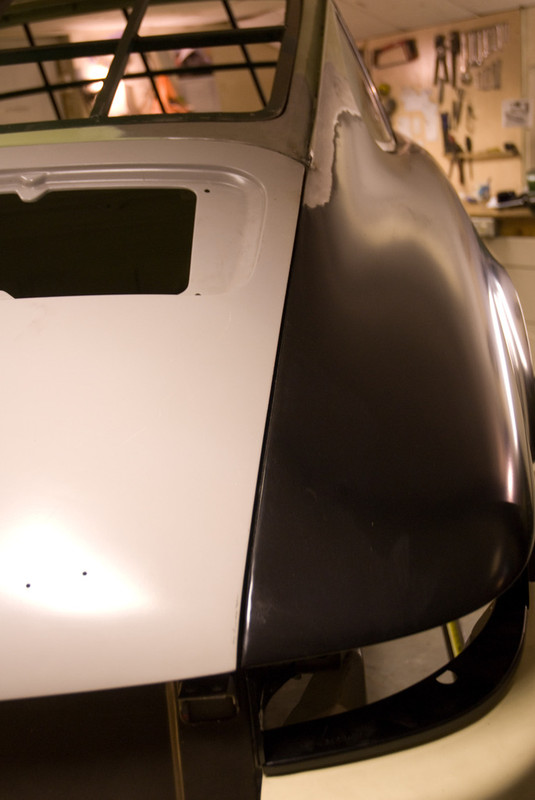
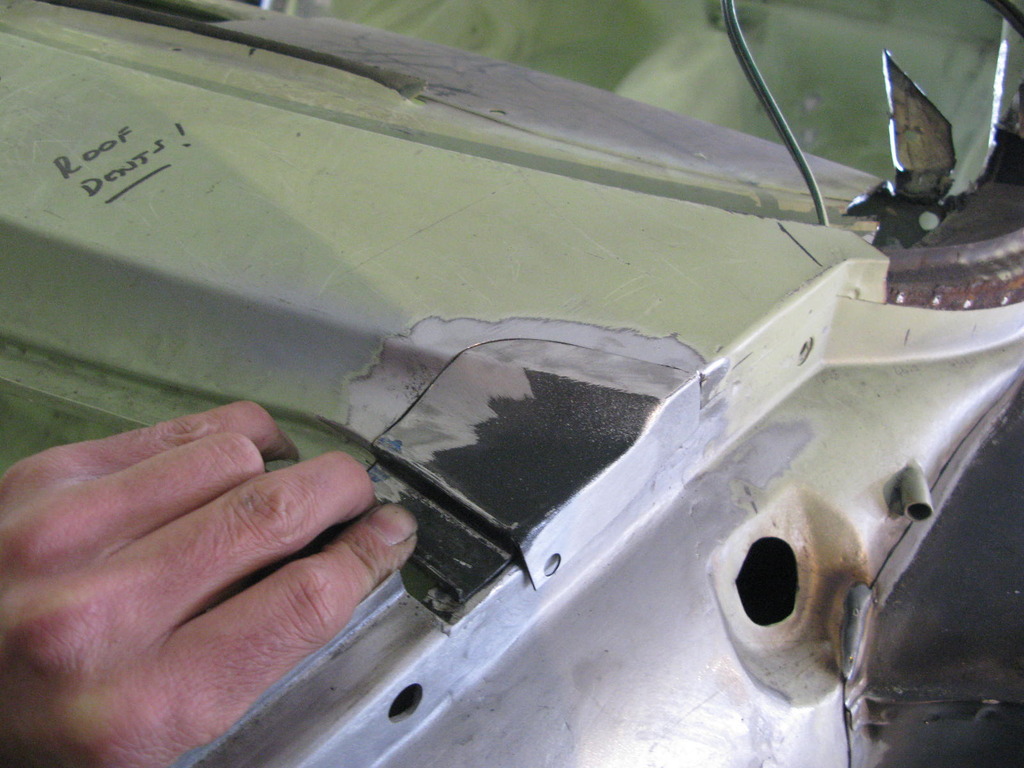
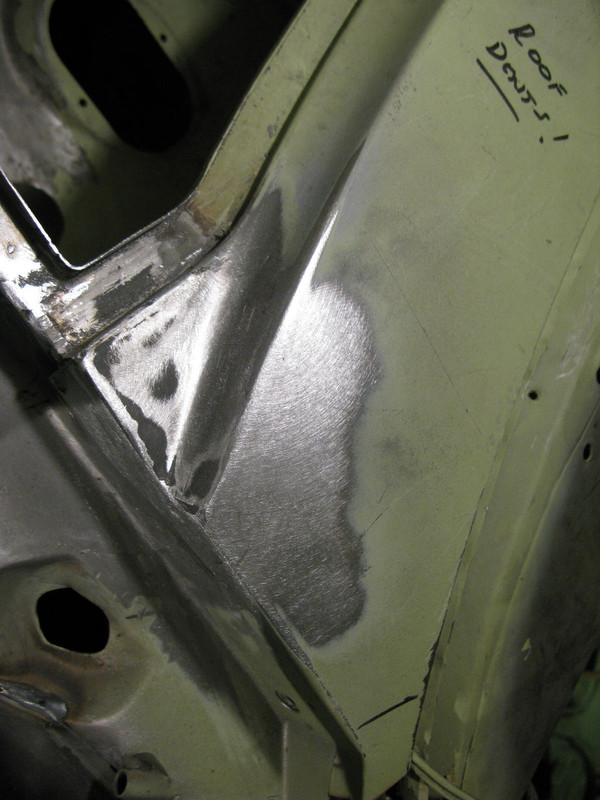
The roof has had the dents removed.
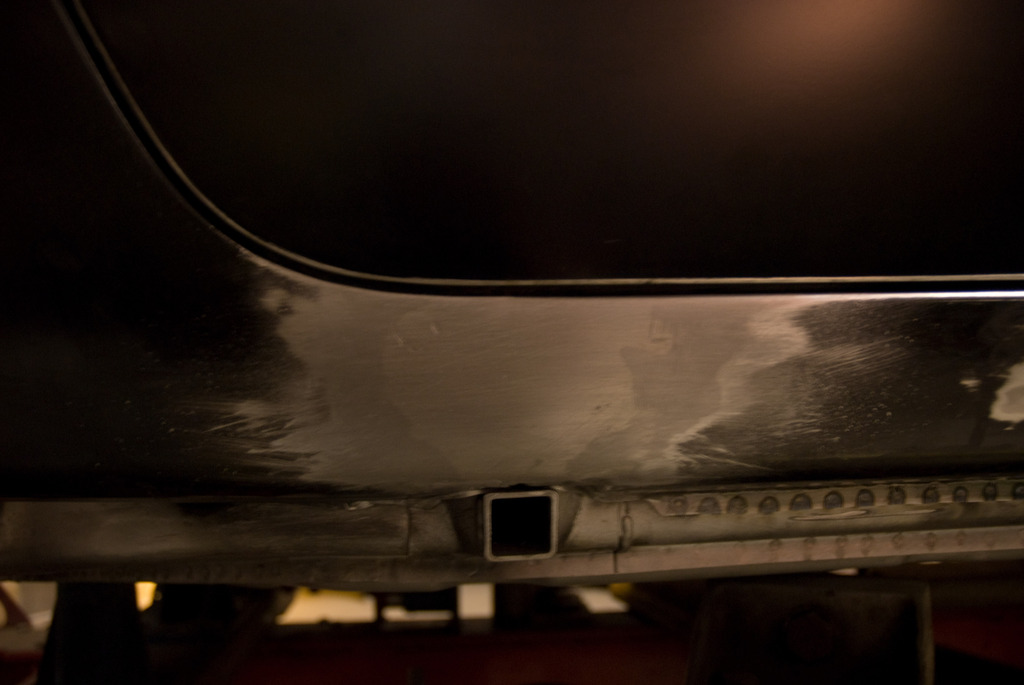
Finally, the cosmetic single side welds have been completed across the whole underside.
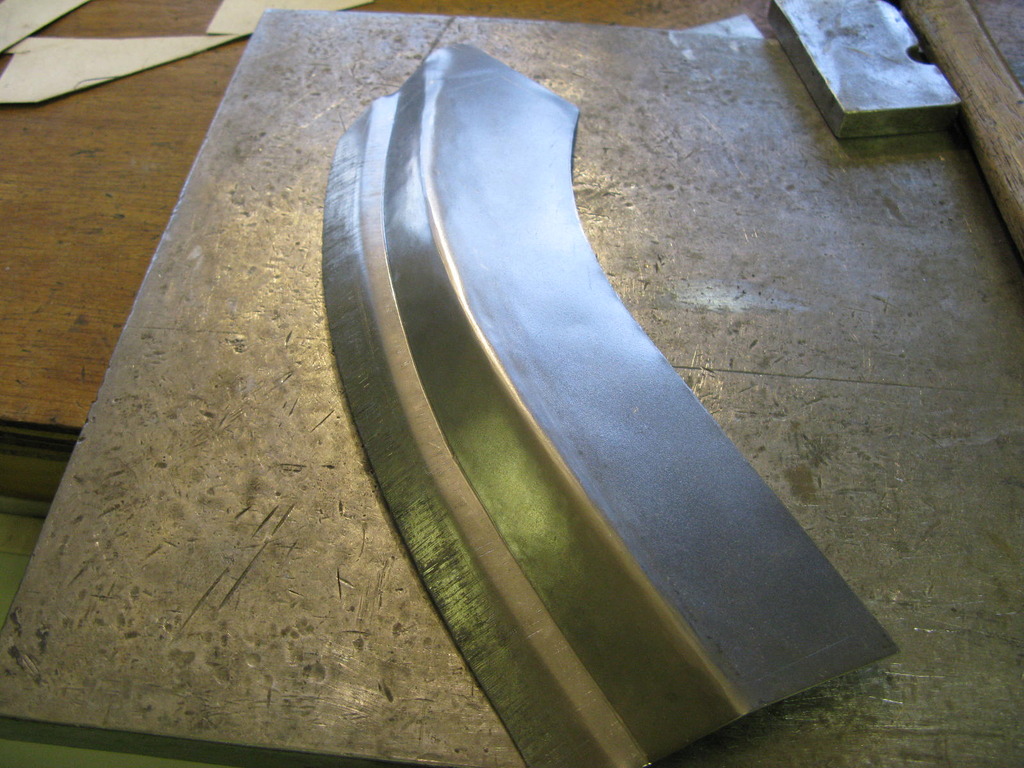
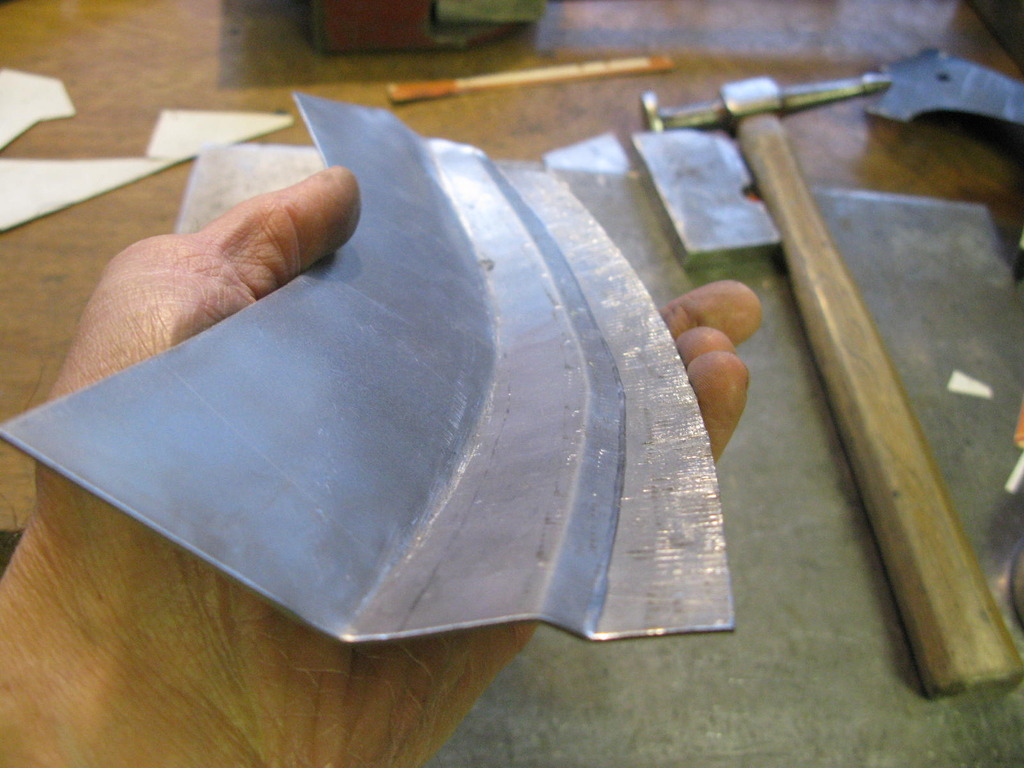
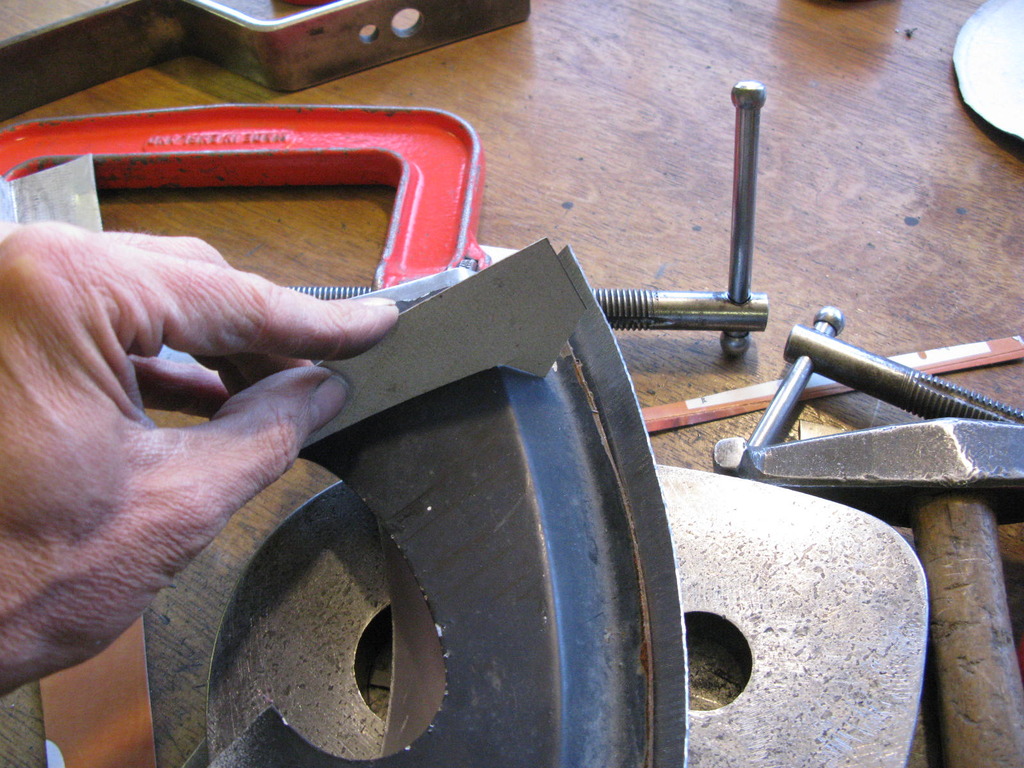
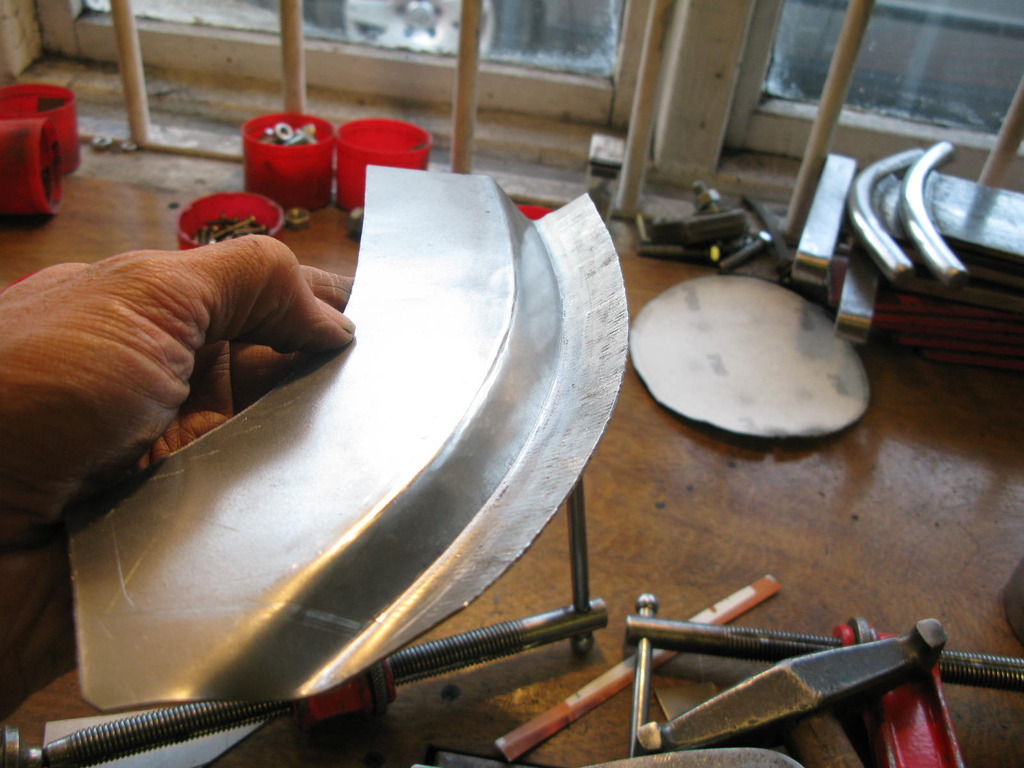
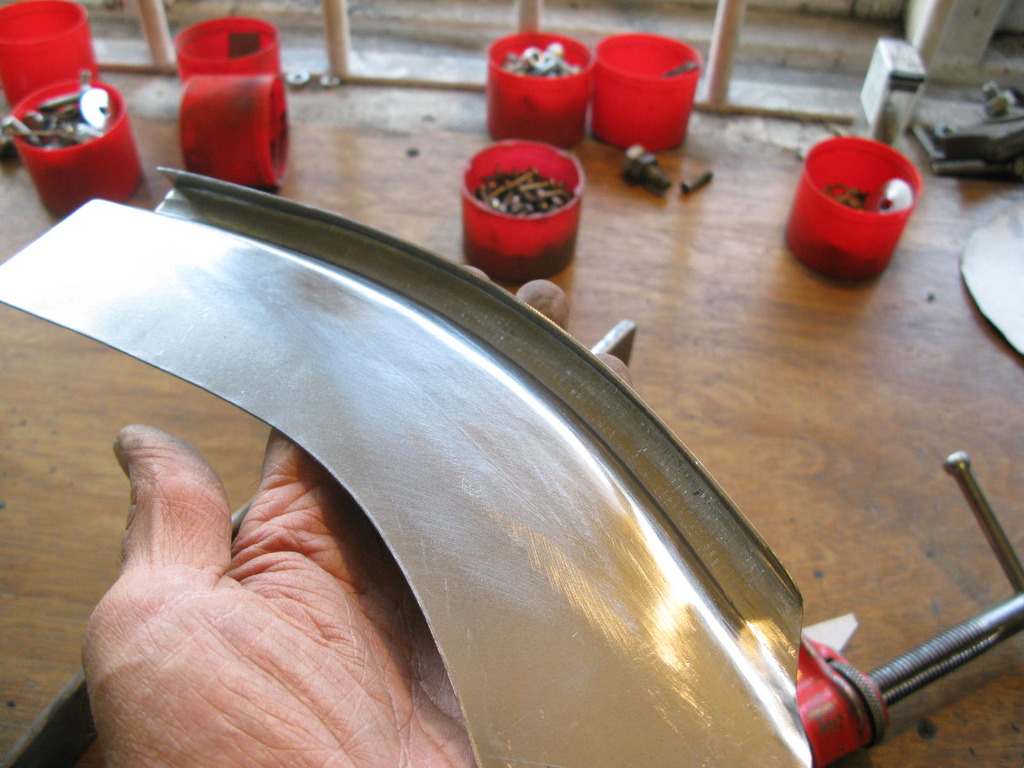
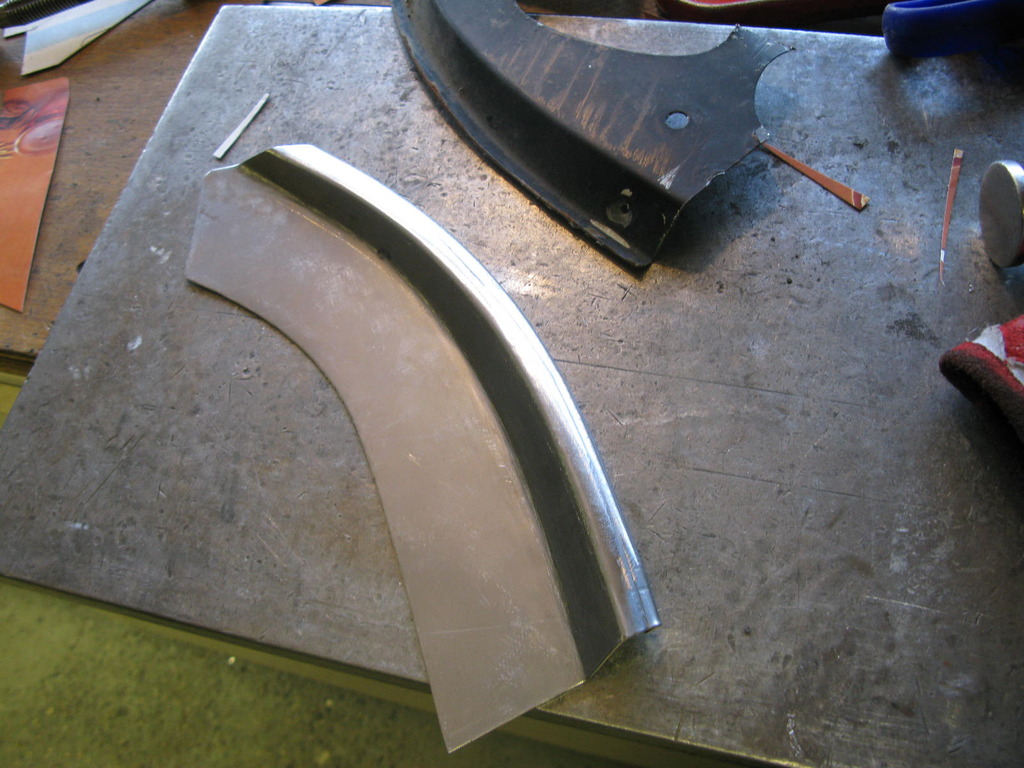
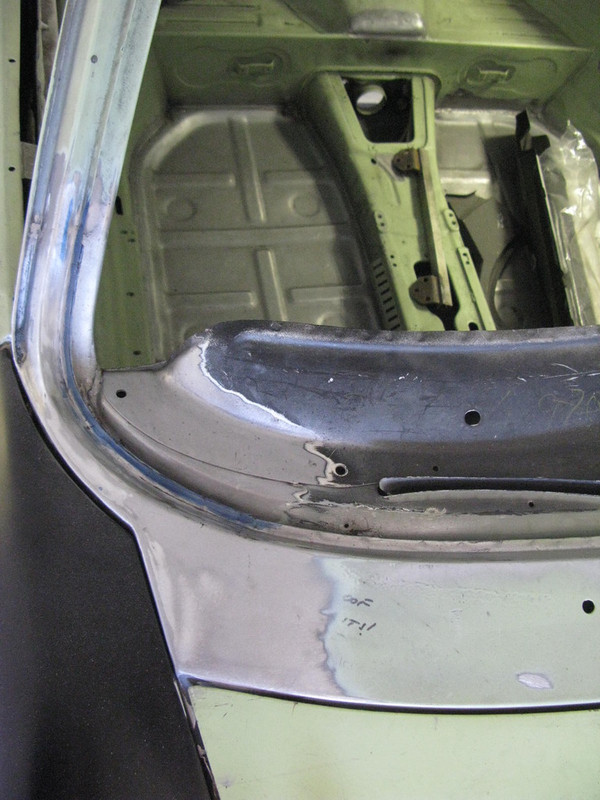
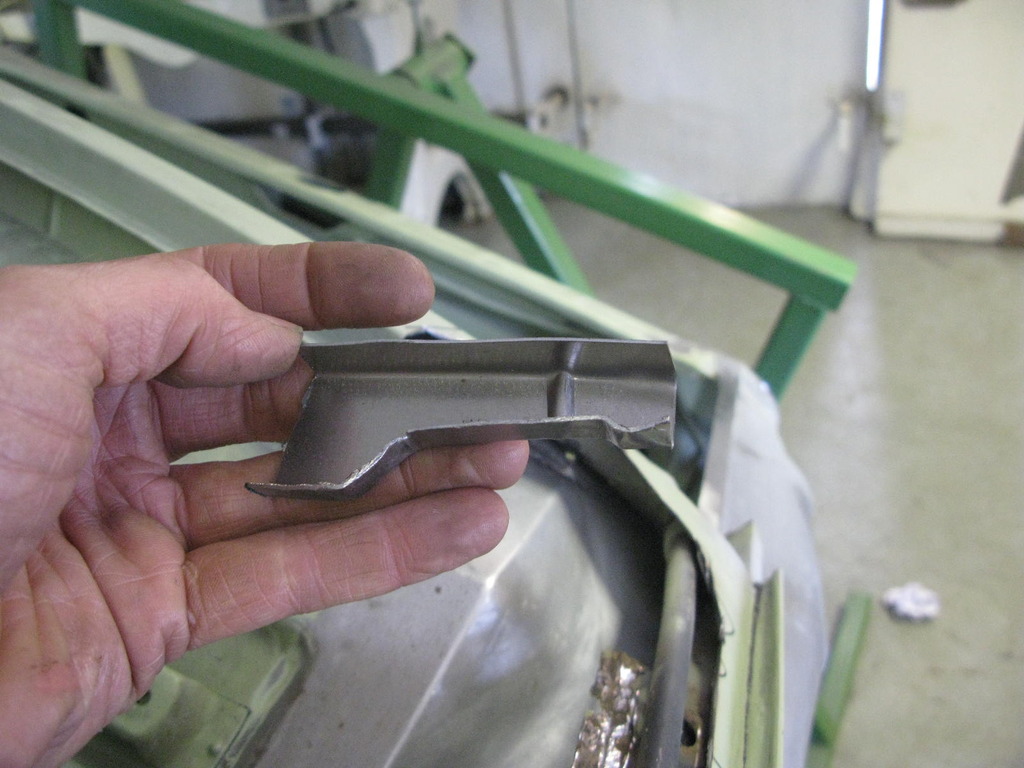
 60. Nearside Rear Screen Corner
Only point of note is that like the front corners you can buy this section. There are two problems though... one is unusually for a repair panel, it's too small so usually doesn't cover enough area, and the other is, of course, that it doesn't fit.
Anyway, they are quite easy to make and Barry can get them pretty accurate using his template. Having said that on the offside he had to put about 2mm of lead on the inner edge to get it to fit the jig perfectly. Nevertheless, they both went quite well and the final images are, as usual, in bare metal.

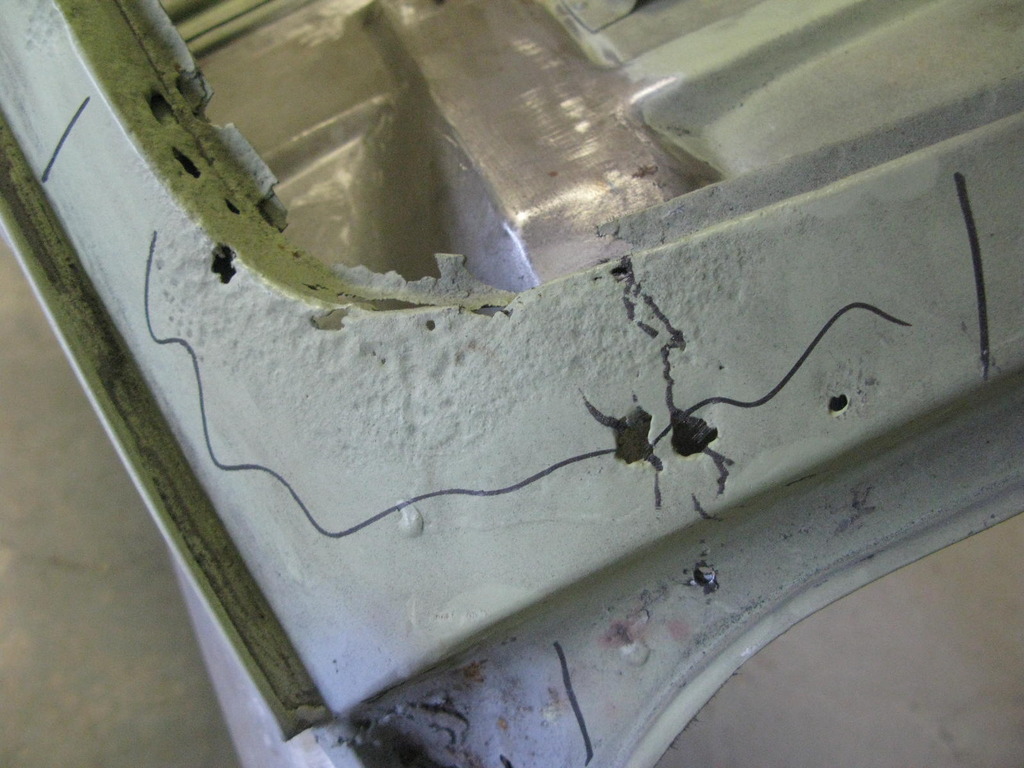
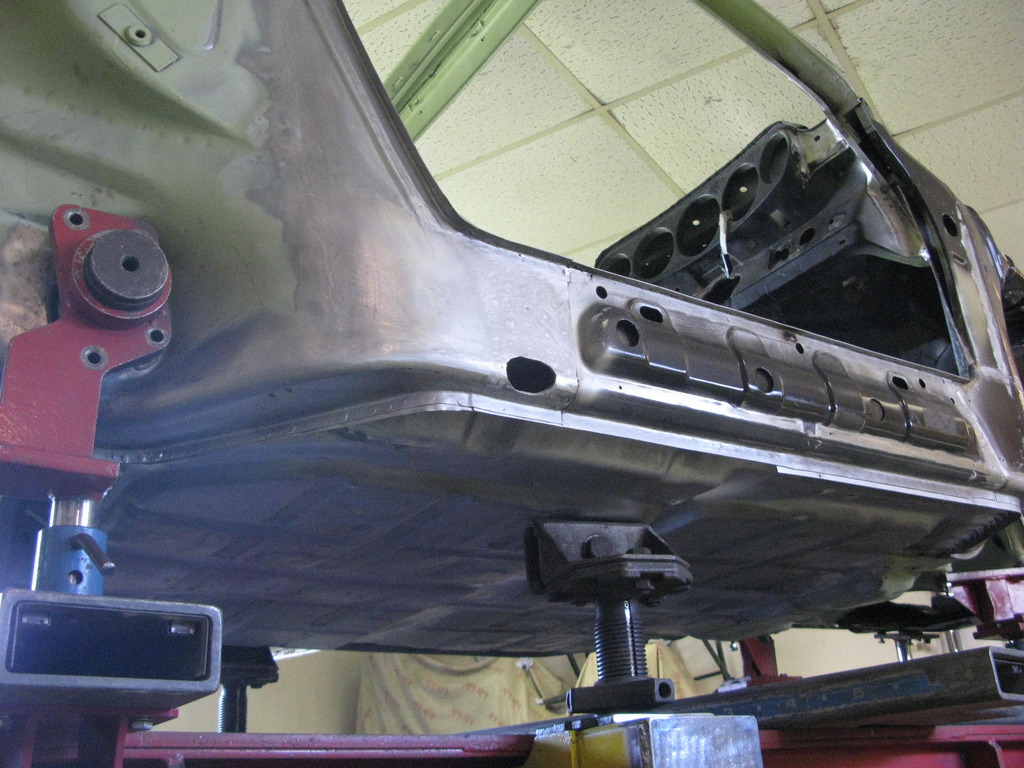
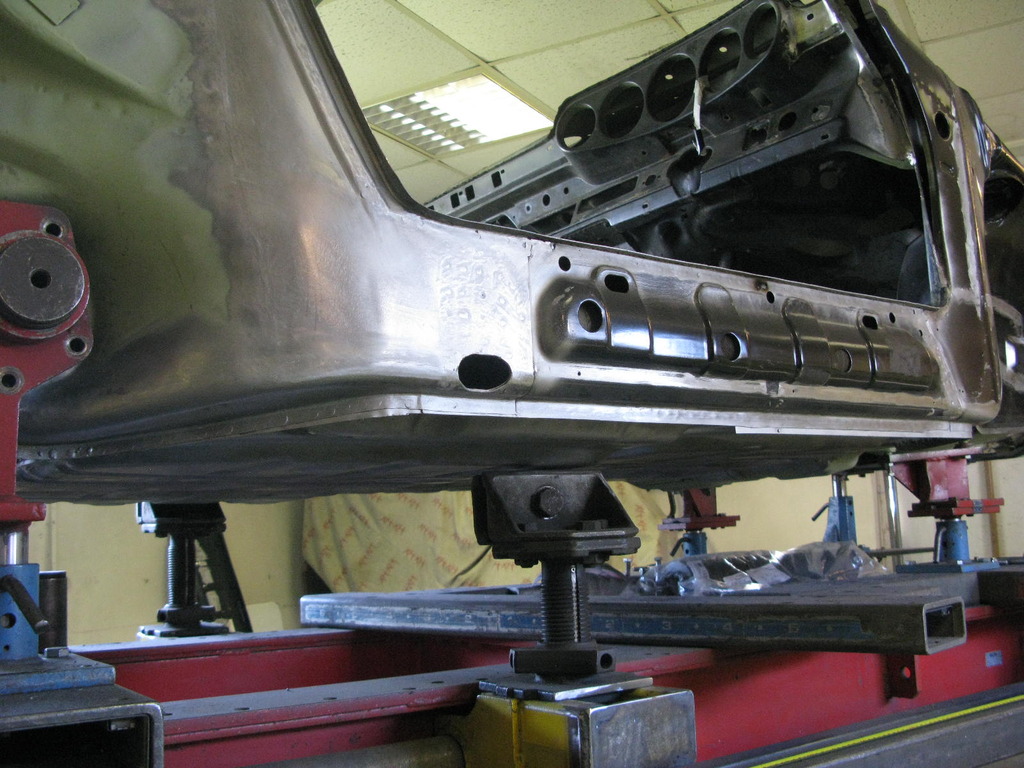
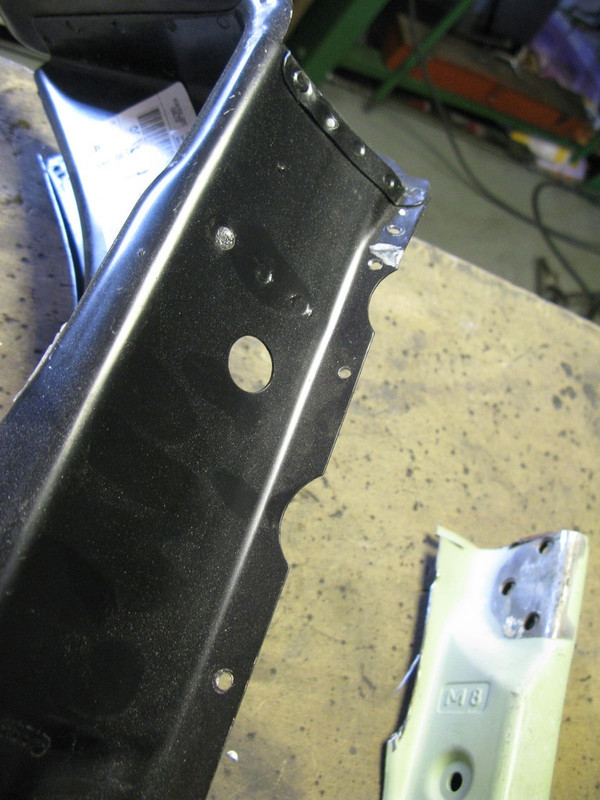
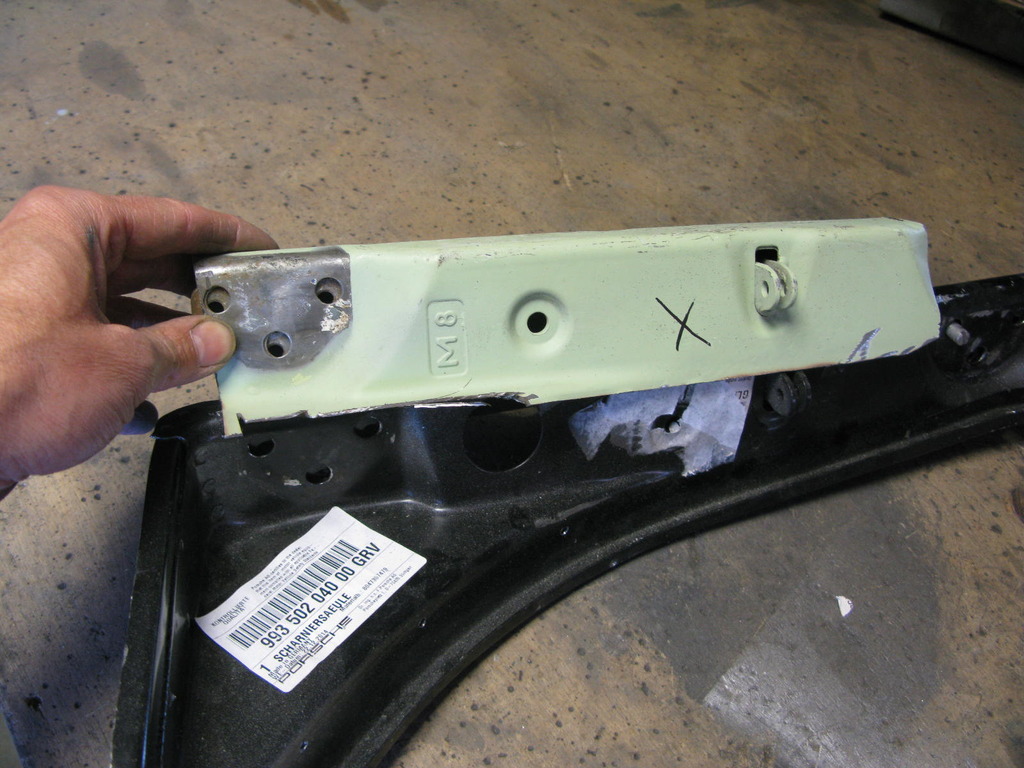
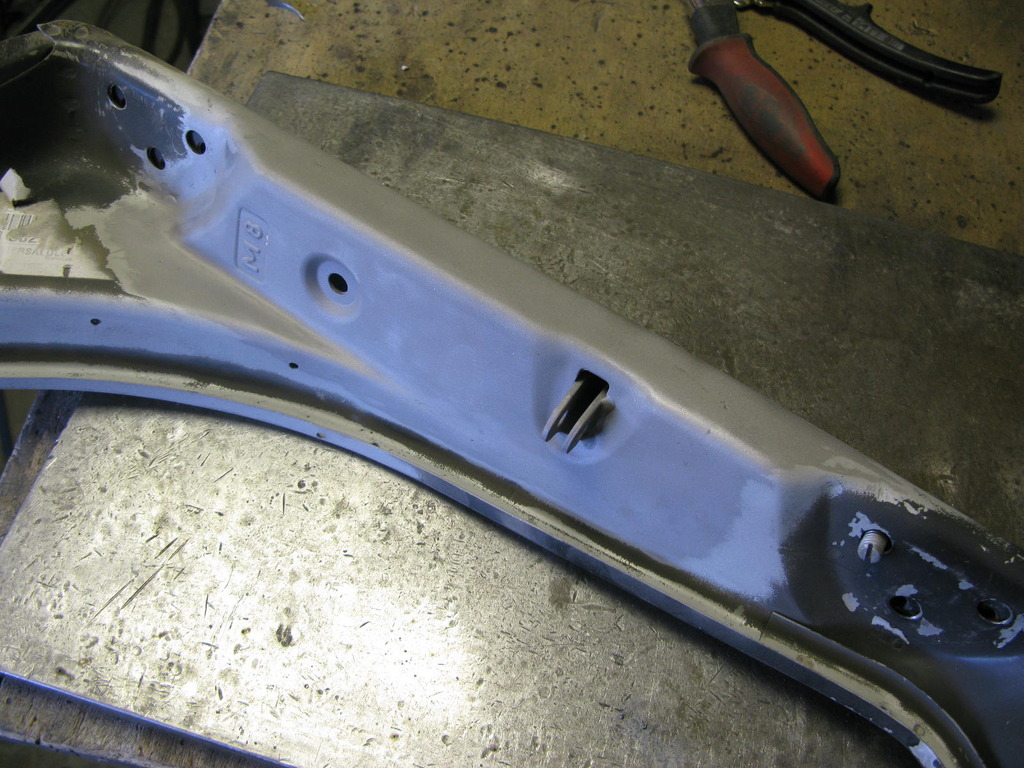
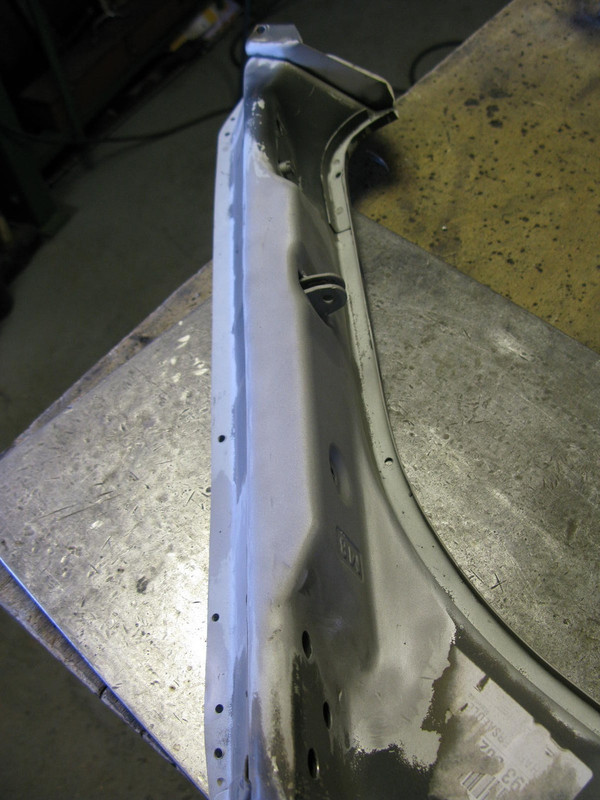
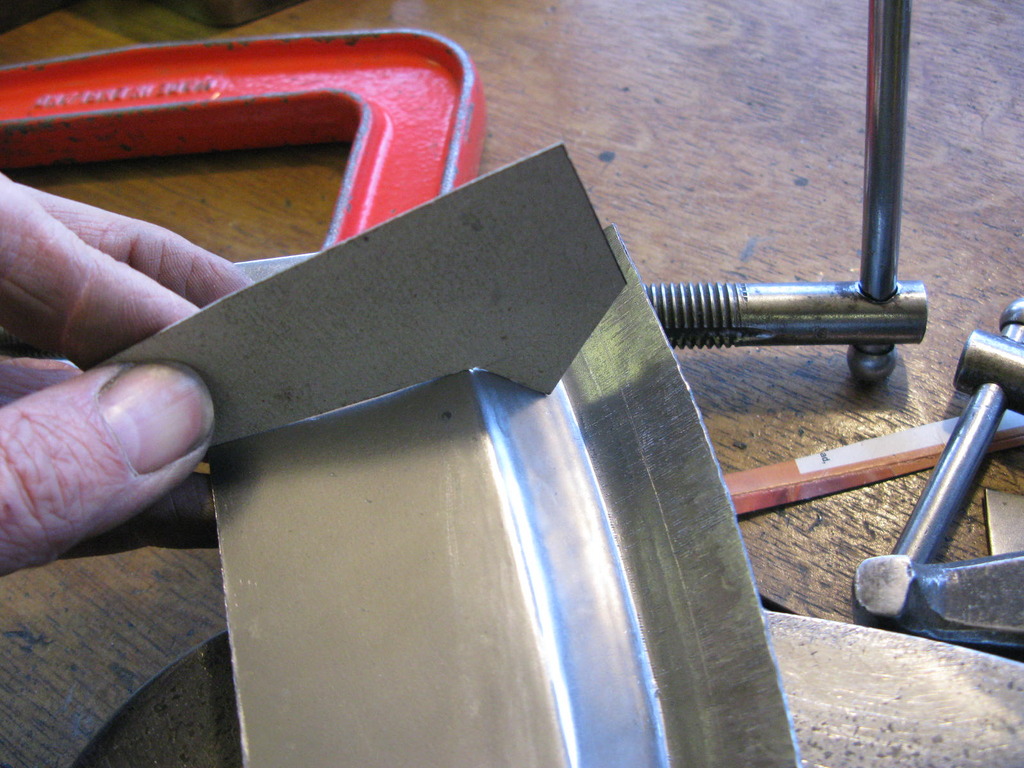
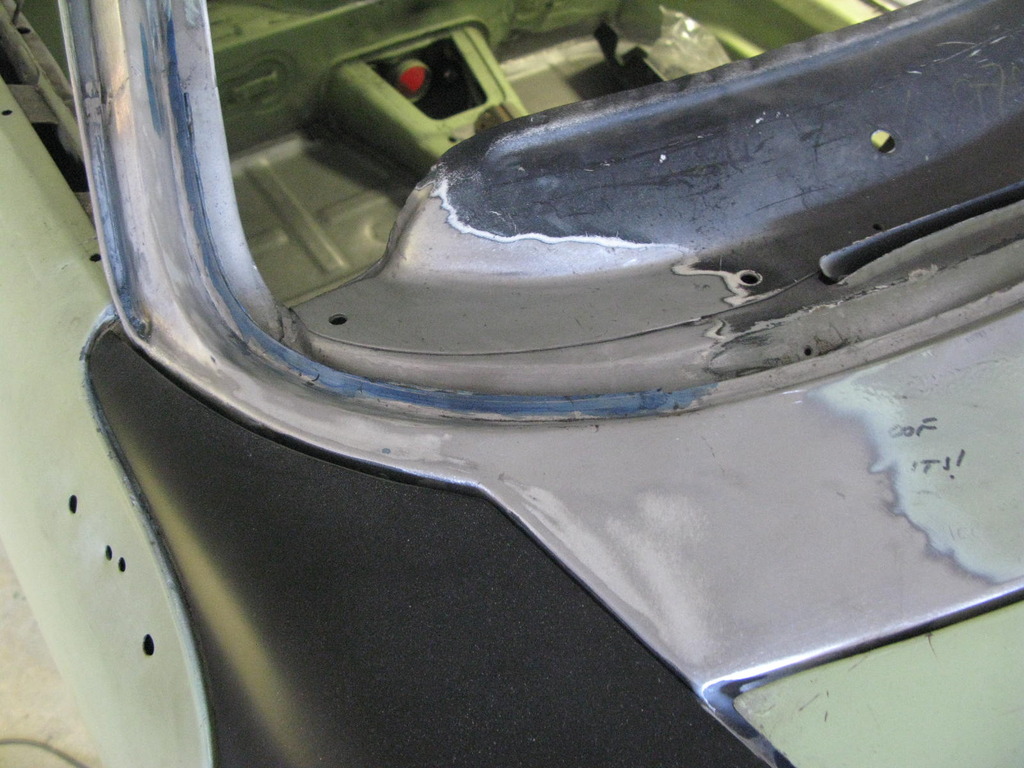
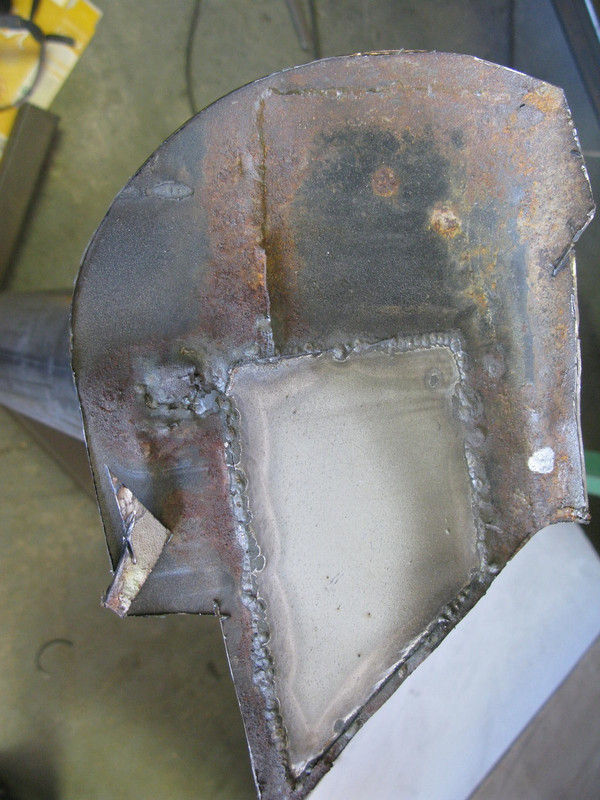
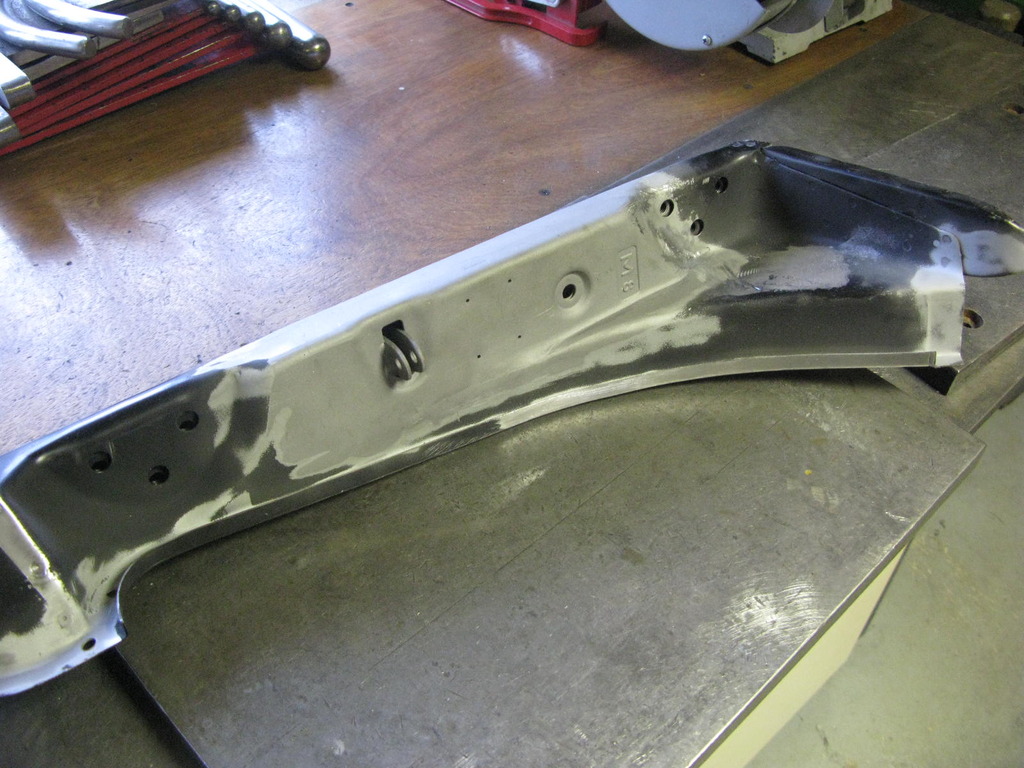
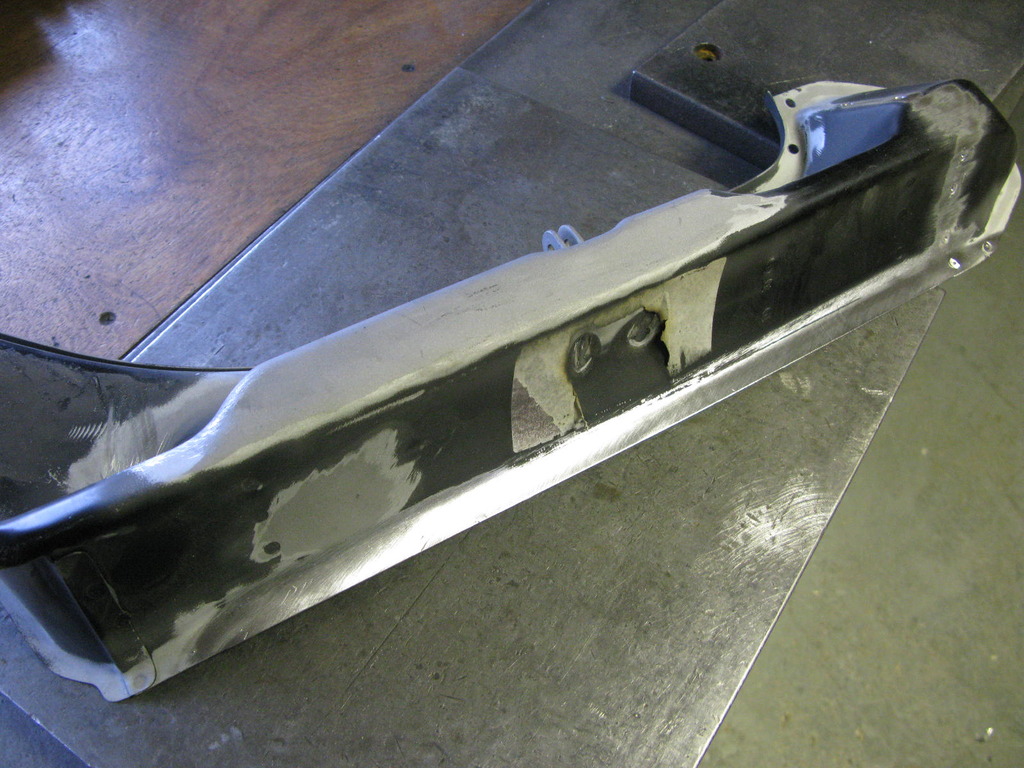
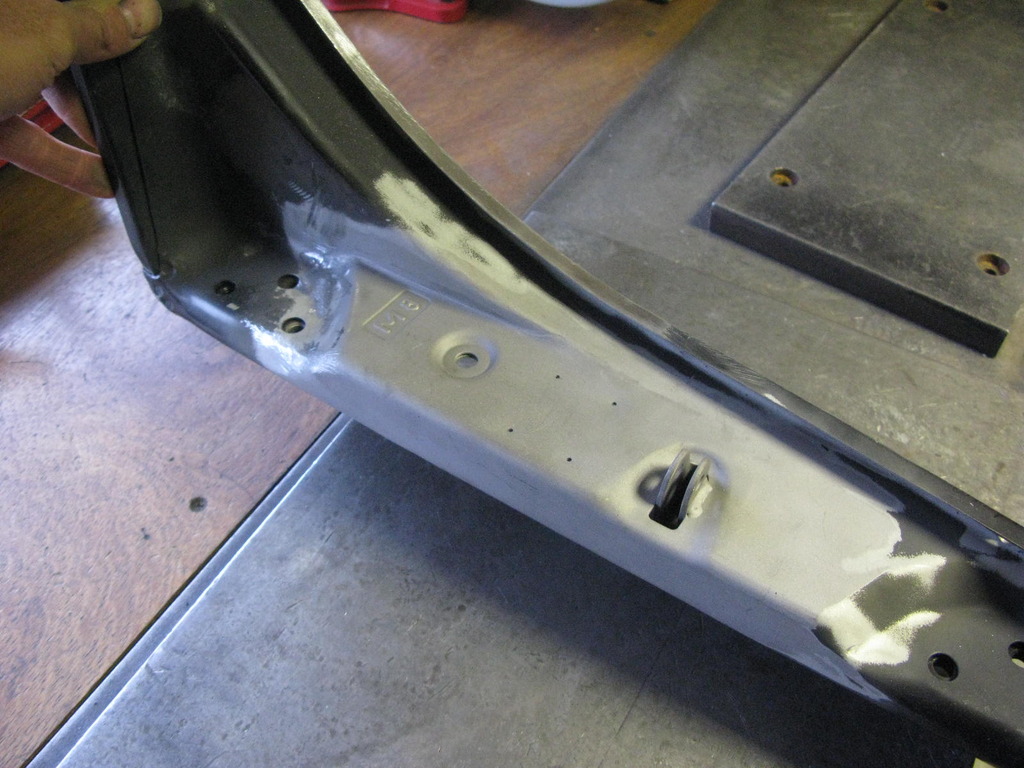
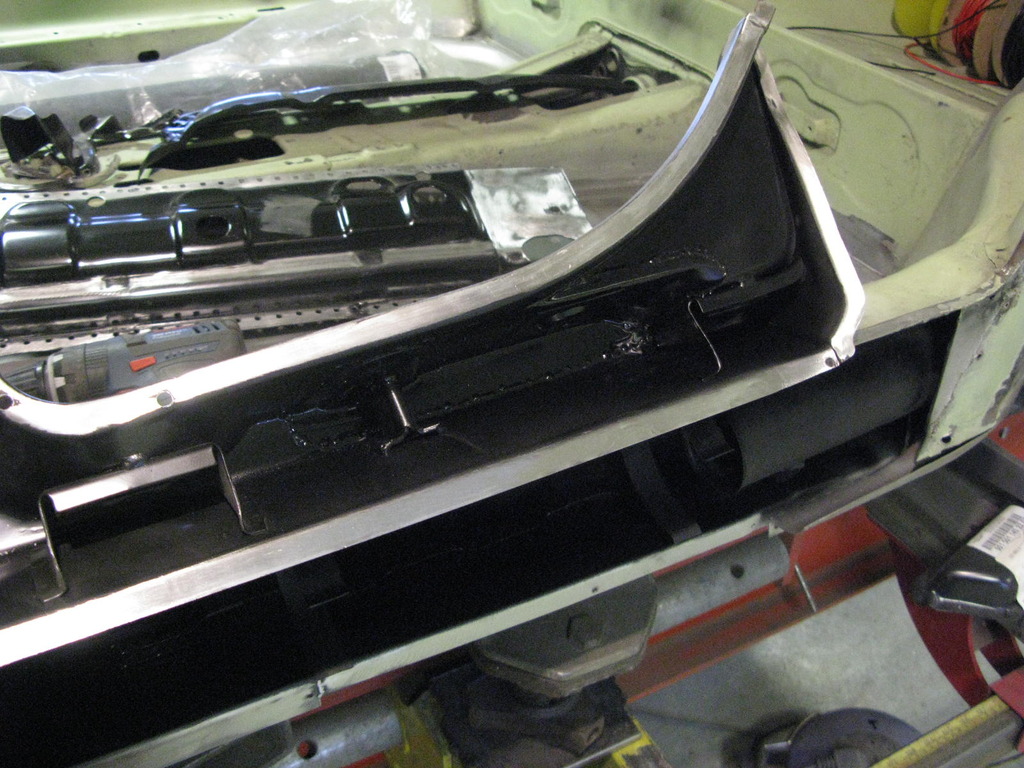
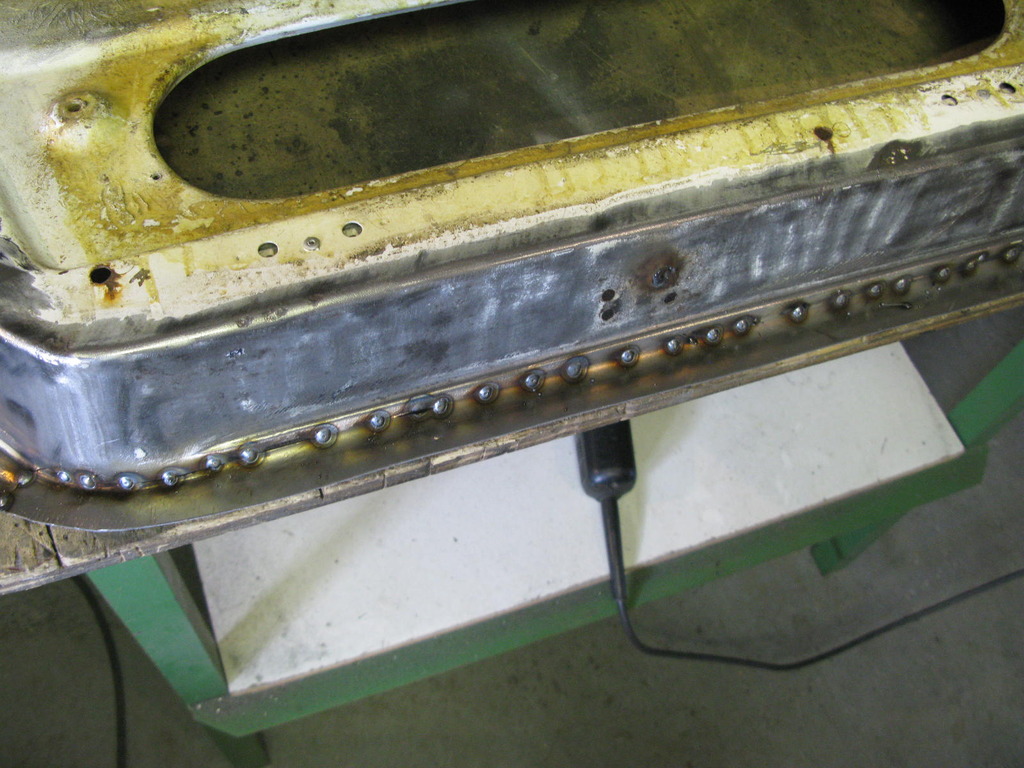
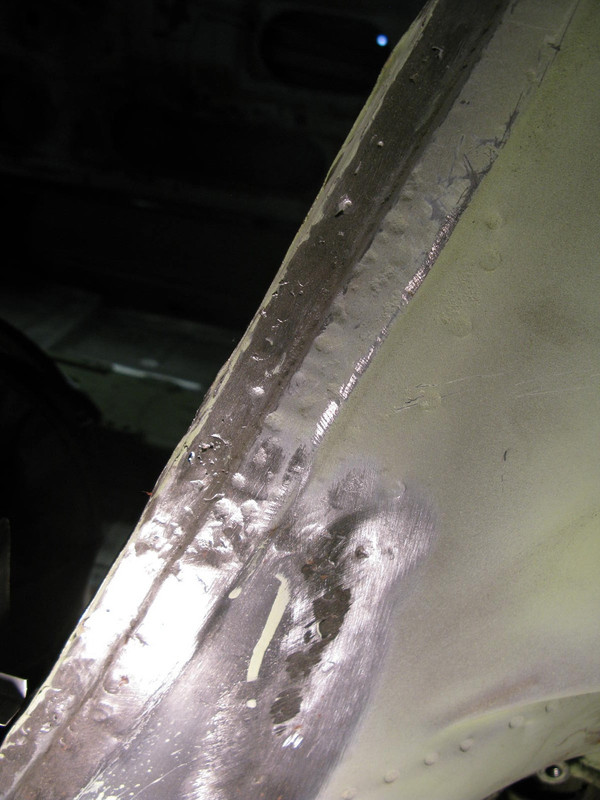
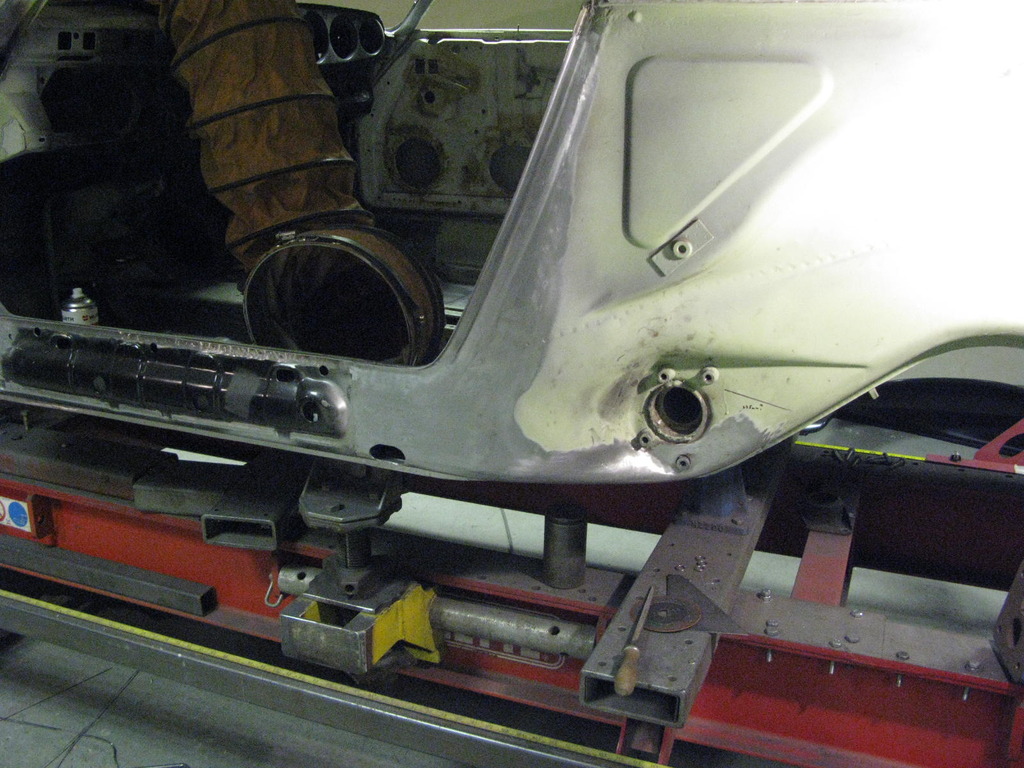
 61. Rear slam panel repair
According to Barry this is a horrible area to repair and he is contemplating some tooling to help in future. He'd be tempted simply to replace with new, but often it's just these areas that go on an otherwise good panel. The replacement comes with the whole inner structure plus engine mounts, and requires quite a bit of back-dating as well. A £320'ish panel and then 5-6 hours to backdate and fit, so definately worth investigating in some tooling.
So we finished up with a good repair which will be well hidden under other panels and is at least strong, as in 18SWG rather than the 20 (if that) of the original.