Part 9
The Metal Meister …part 1
The arrangement with Envirostrip that they deliver the car directly to Barry was also to keep the freshly cleaned shell in his dry workshop, as although he was not be able to start immediately, it was a better environment than my slightly moist newly built garage
The good news was that it fitted through the doors of Barry’s workshop and that Envirostrip didn’t leave any of the panels back at the works…
In terms of what should be done first I left this very much to Barry, as once he had received the bare shell we could develop an understanding of what made sense to tackle first, second and so on
Having firstly restored my 911 and then subsequently the E Type I had already begun to appreciate the difference in car design and how it had developed, refined and arguably been simplified and certainly mechanised from the 1950’s through to the 1970s, as although for example the E Type was launched in March 1961, it’s roots are very much in the 1950’s, as that’s when the car was largely designed.
In the case of the XK we were not only very much in the 1940s way of designing but also very much the way of production and indeed the availability of materials and the skill levels available in England at that time
Cars were totally hand built, steel was rationed but aluminium and plywood and general timber were not, skilled labour shortages are an influence and in the case of Jaguar the ability to draw upon labour pools from the local furniture industry lead to the use of timber frames skinned with aluminium for all opening panels ….more of that later……..
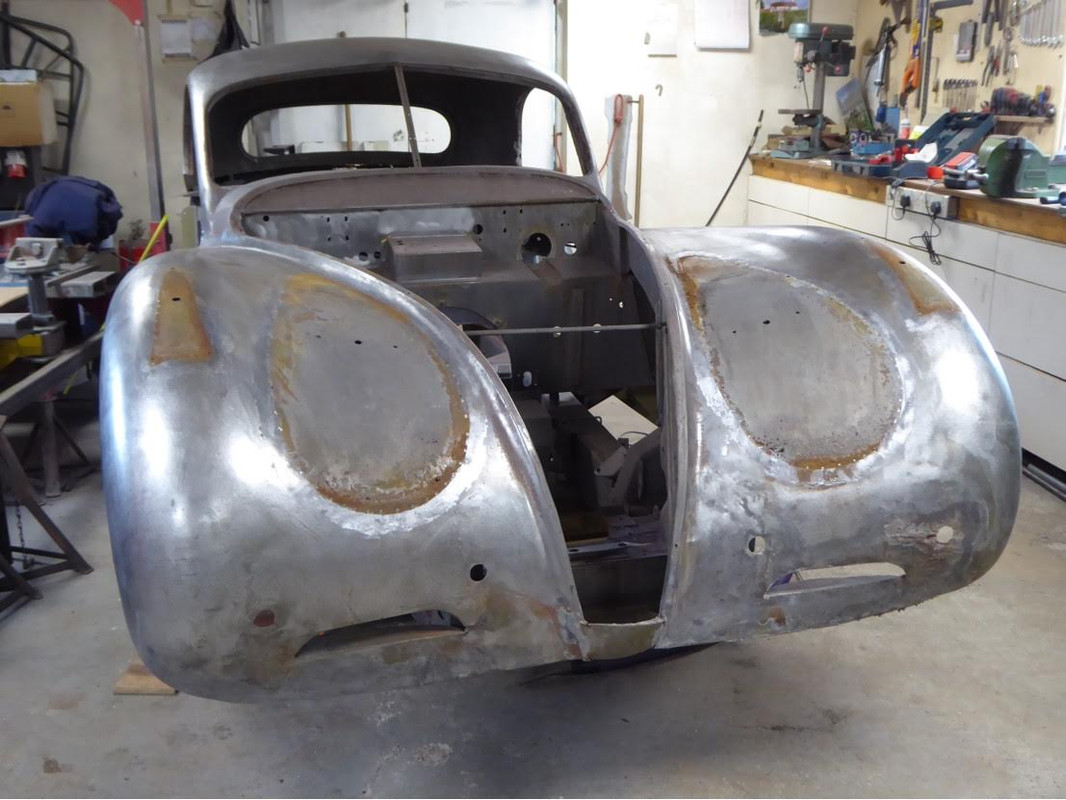
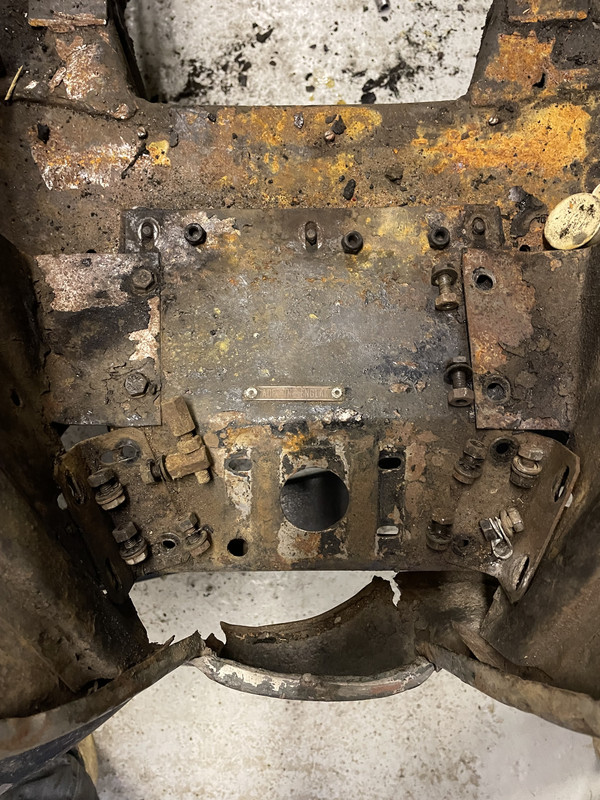
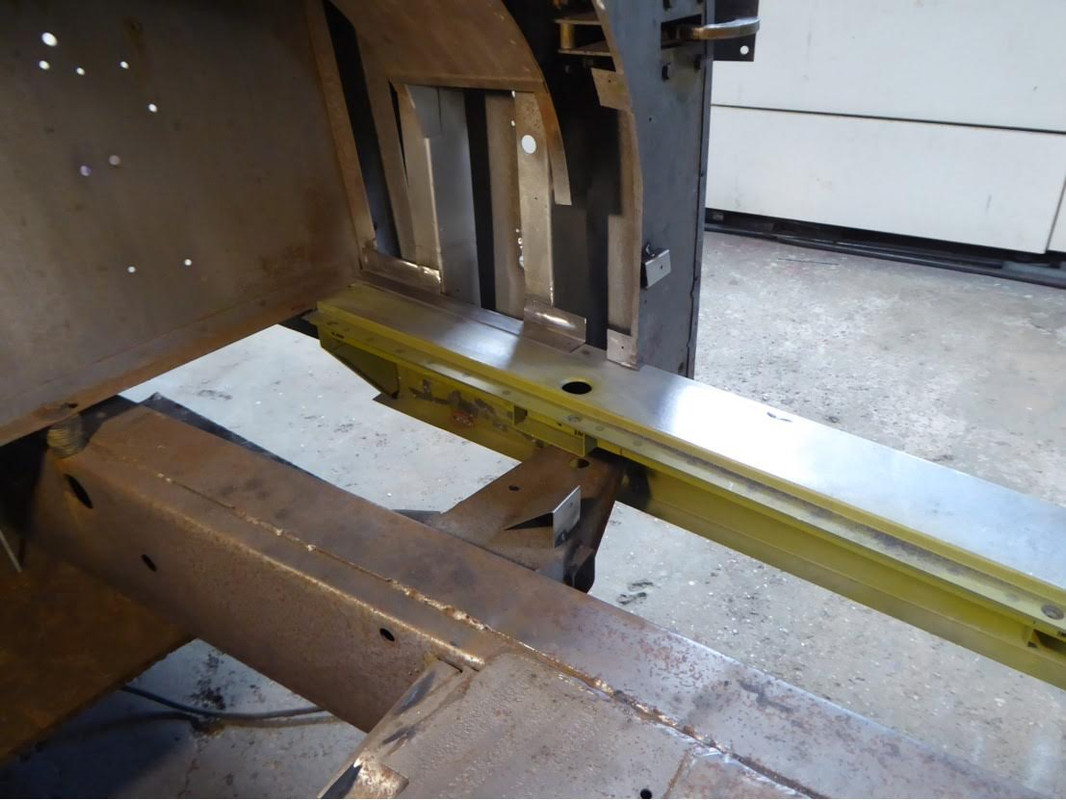
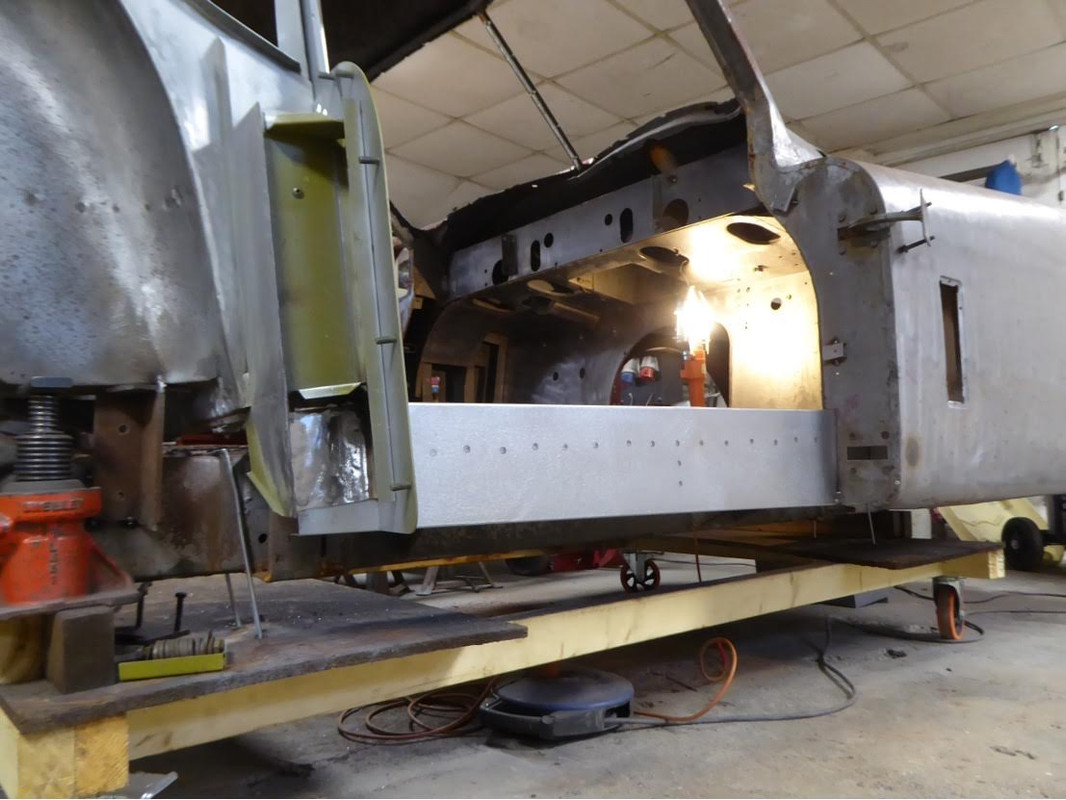
The really good news was the chassis was not only extremely well preserved with no serious rot or rust whatsoever, but that it was perfectly straight and true, so we could take it as a sound basis from which to set out and assemble the bodywork…first task therefore was to make small adjustments to the position of the body relative to the chassis so that we knew we had a reliable base from which to proceed
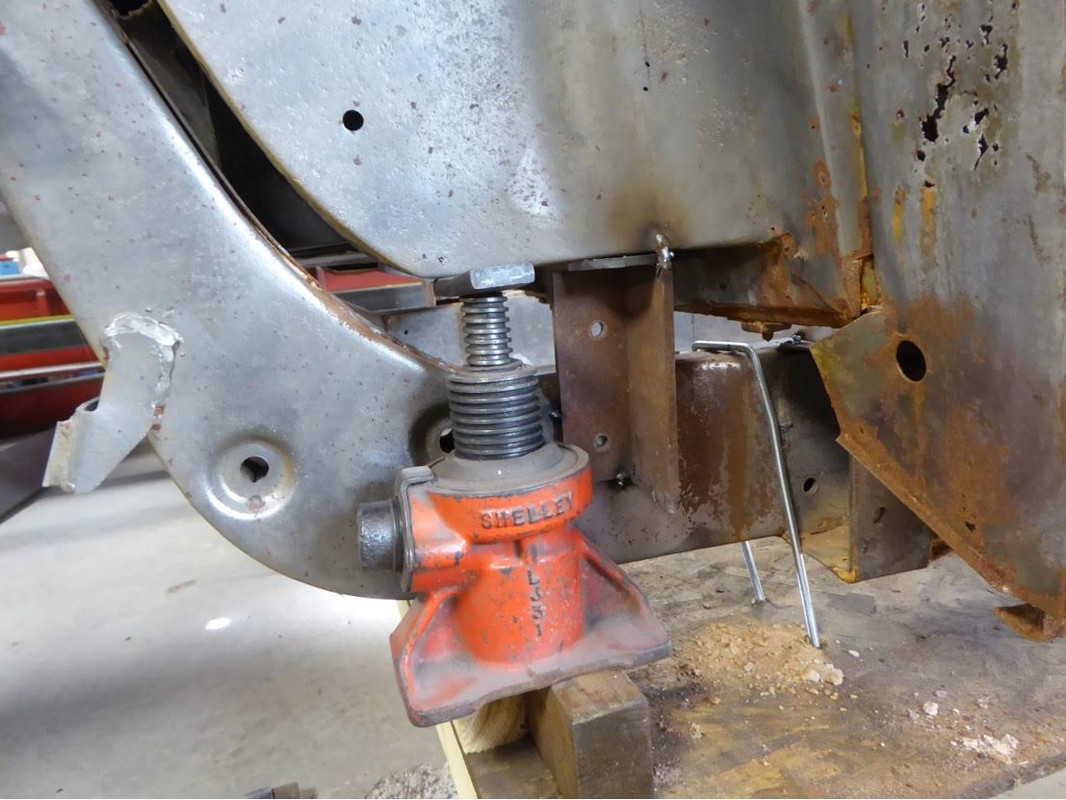
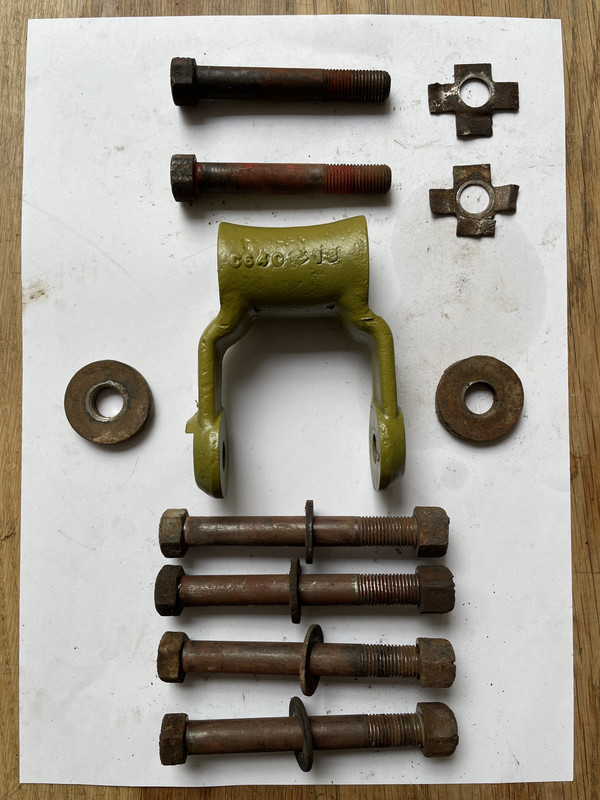
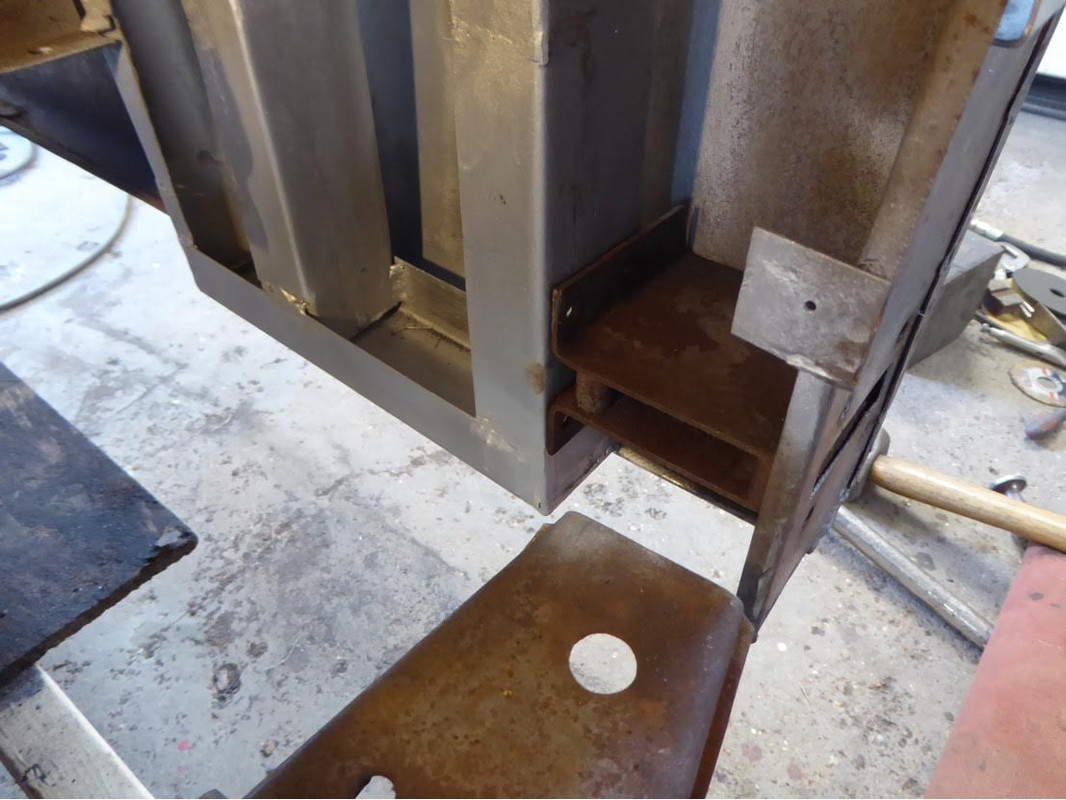
Small brackets were fabricated and with the aid of bottle jacks the shell was adjusted before being firmly bolted and welded to the chassis, which is through 12 no. 7/16” bolts that locate through a series of cast aluminium spacer blocks
- under each front bulkhead panel astride the gearbox tunnel
- front and rear of each cill in line with A and B posts
- high level behind the B post
- behind the C post
- tail end of the rear chassis legs
And is also laterally restrained with fairly flimsy stays at each outer wing and is secured with all manner of agricultural brackets at the front
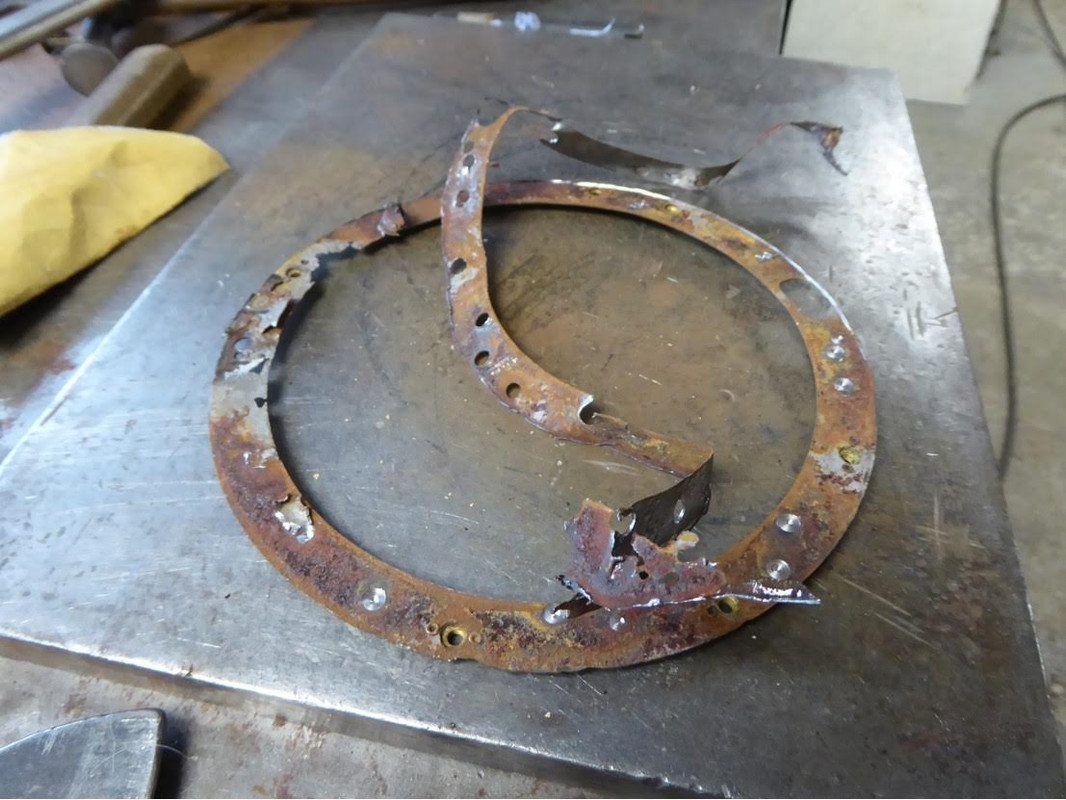
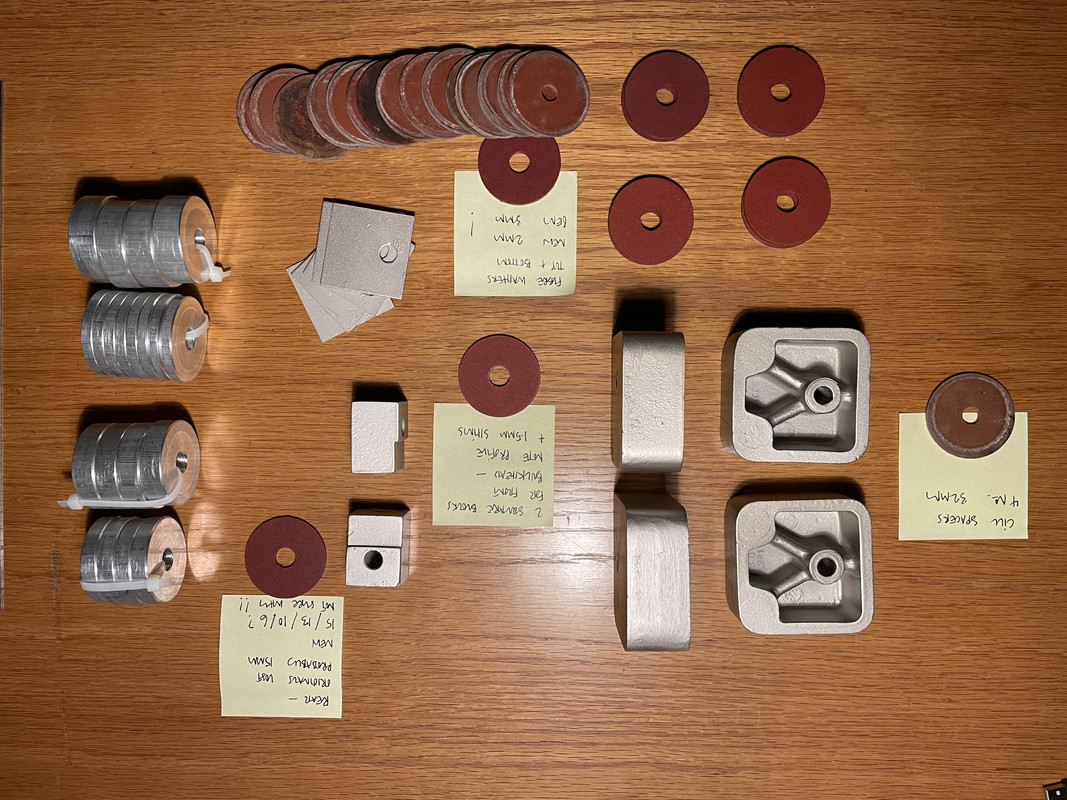
Prior to deliver to Envirostrip I had managed to undo all the brackets within the engine bay, the front bulkhead and all four of the cill bolts…but all of those at the rear were seized solid, meaning I had to resort to angle grinders and reciprocating power saws… and replace the aluminium blocks with stacks of thick steel washers….as they would have dissolved in the chemicals at Envirostrip, resulting in a loose shell relative to the chassis
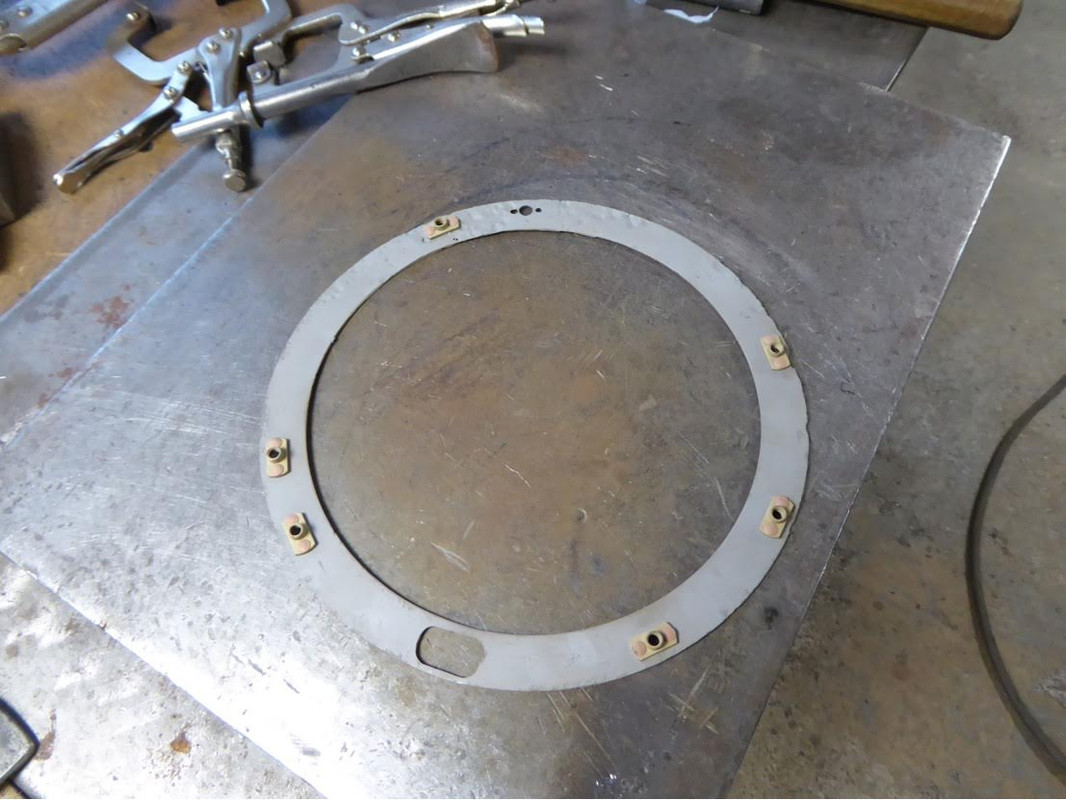
These are the old spacers, refreshed with silver paint after grit blasting…plus new fibre washers..
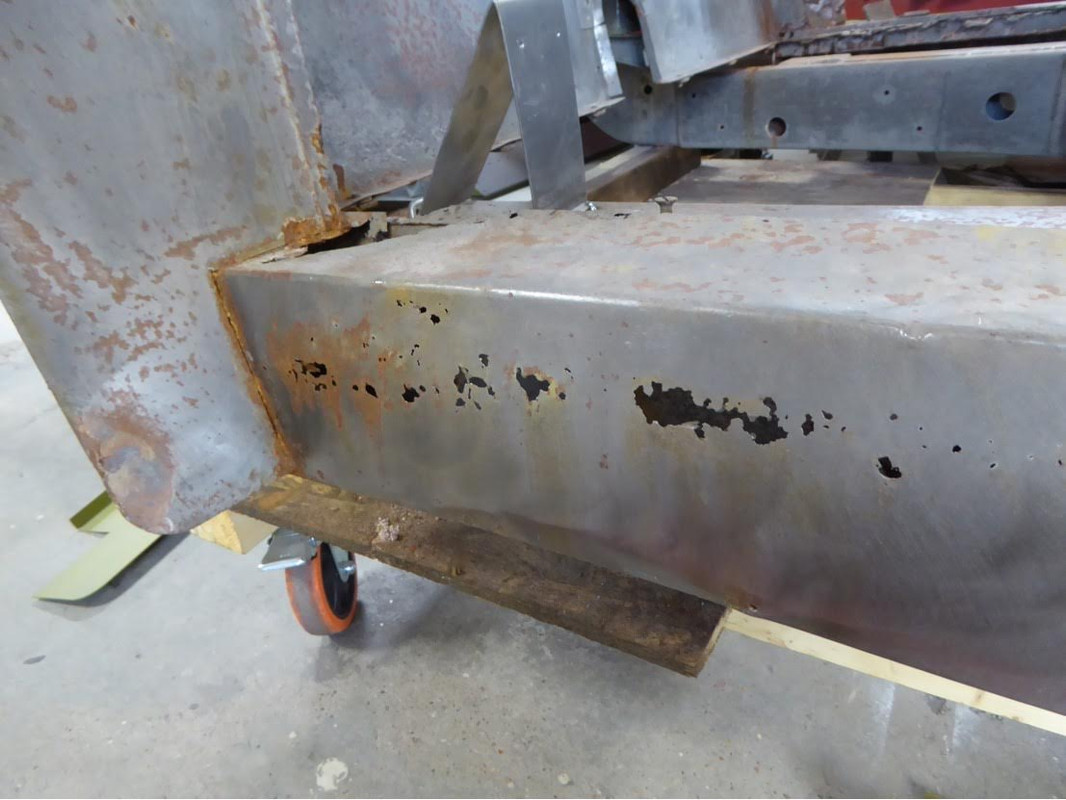
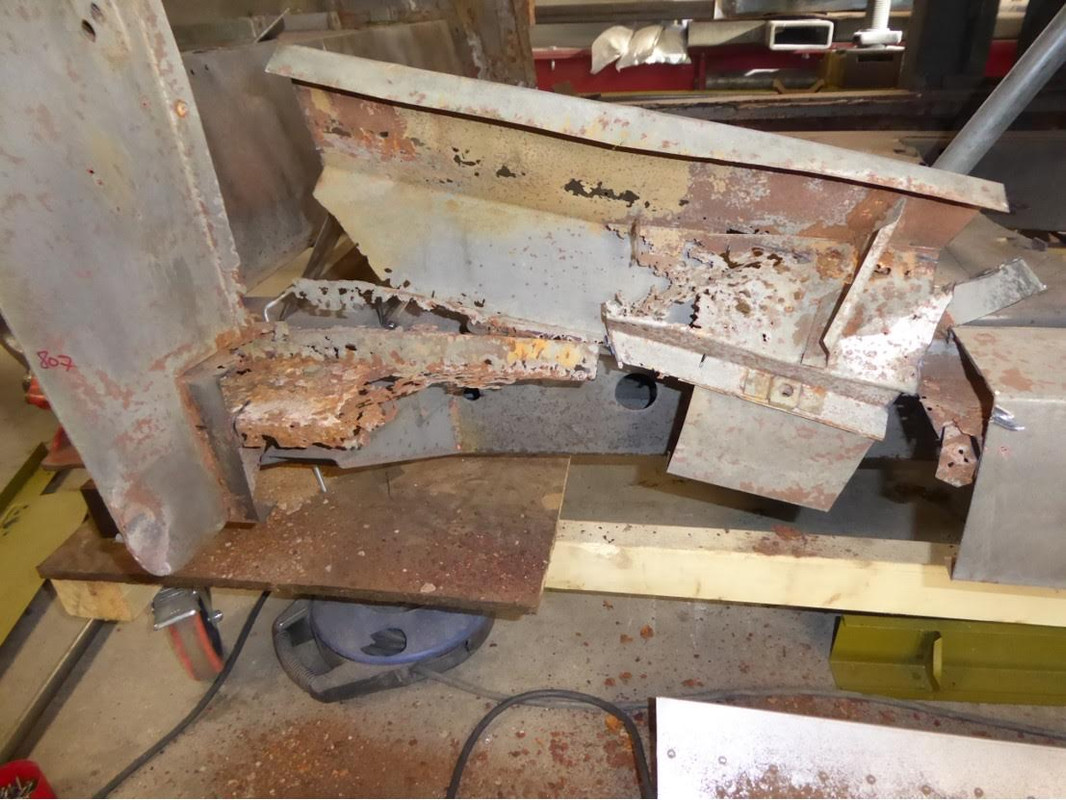
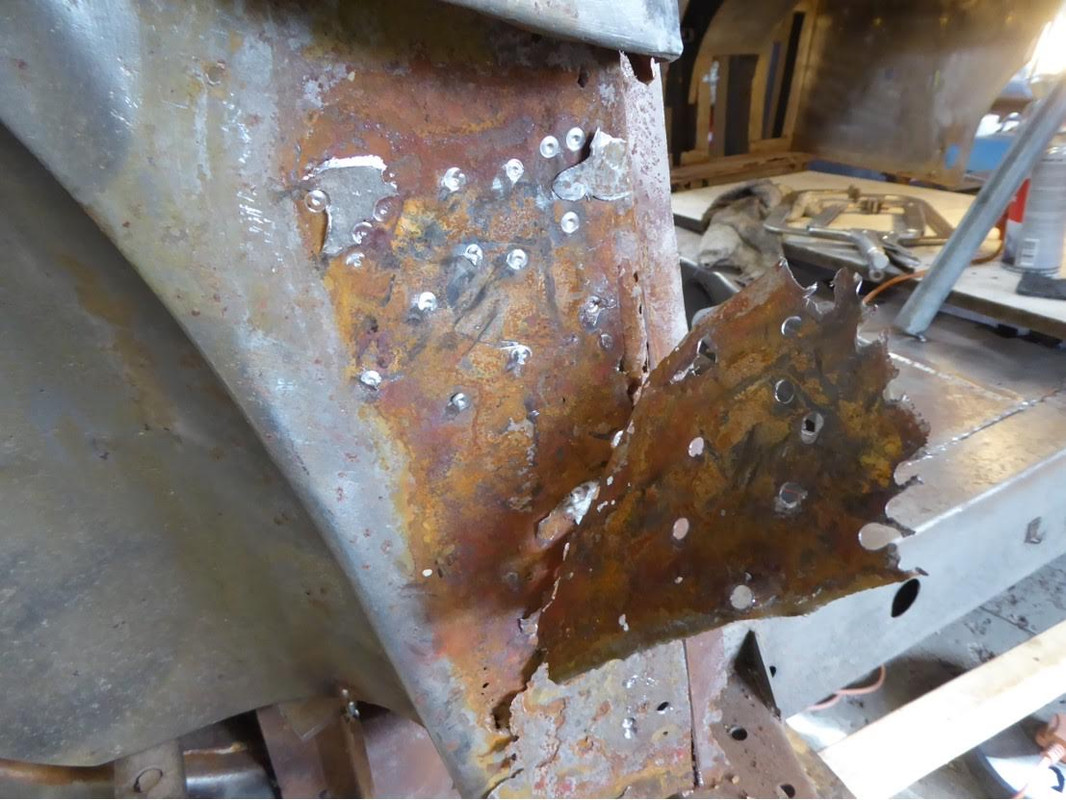
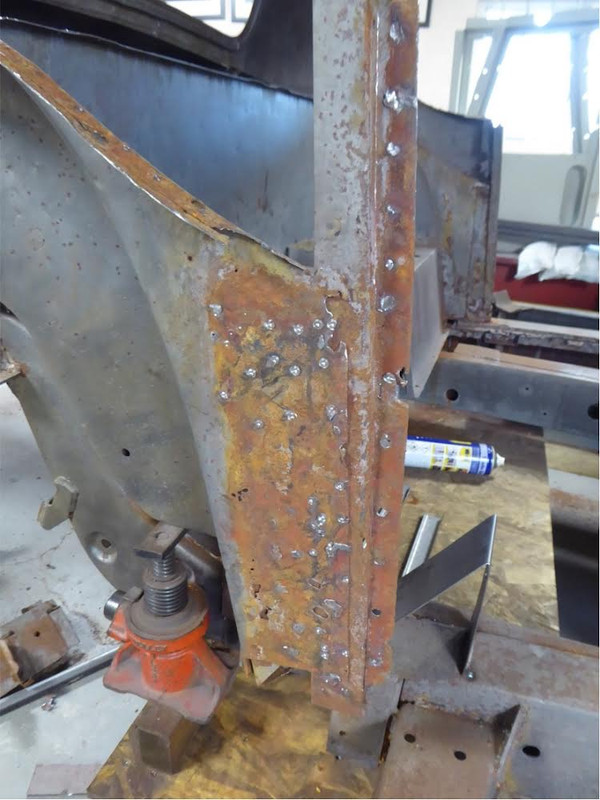
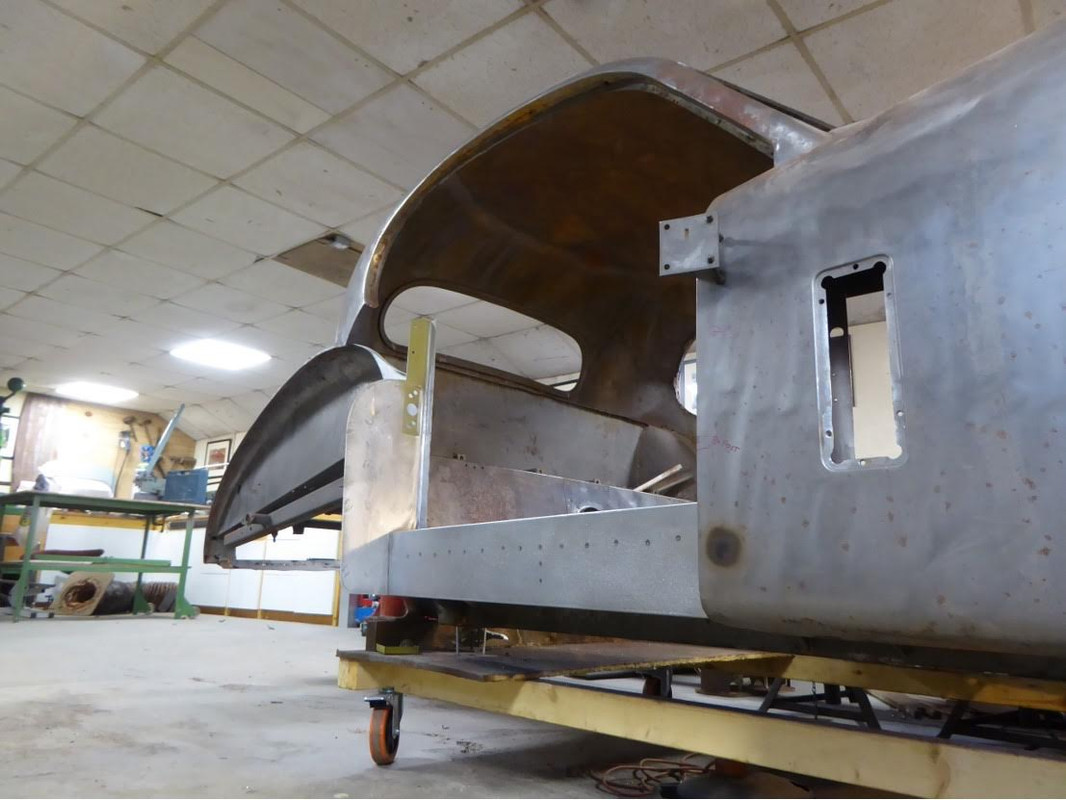
The most sensible thing to do was to cut out and replace all of the rust in the centre of the tub (same as of the 911 the heart of the stiffness is in the cills) once this was done, we knew we had a reliable and accurate enough central core to the body which gave us a lot of confidence as he knew the subsequent elements of work would involve for a lot more chopping out about to deal with the rust issues
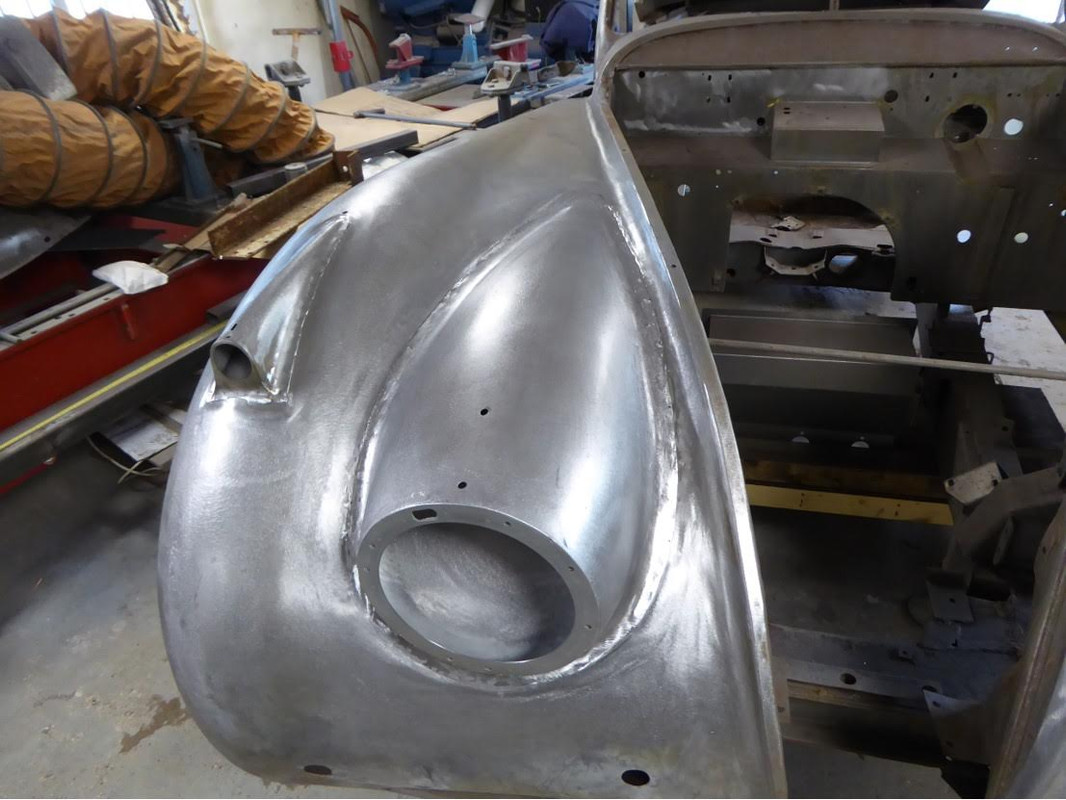
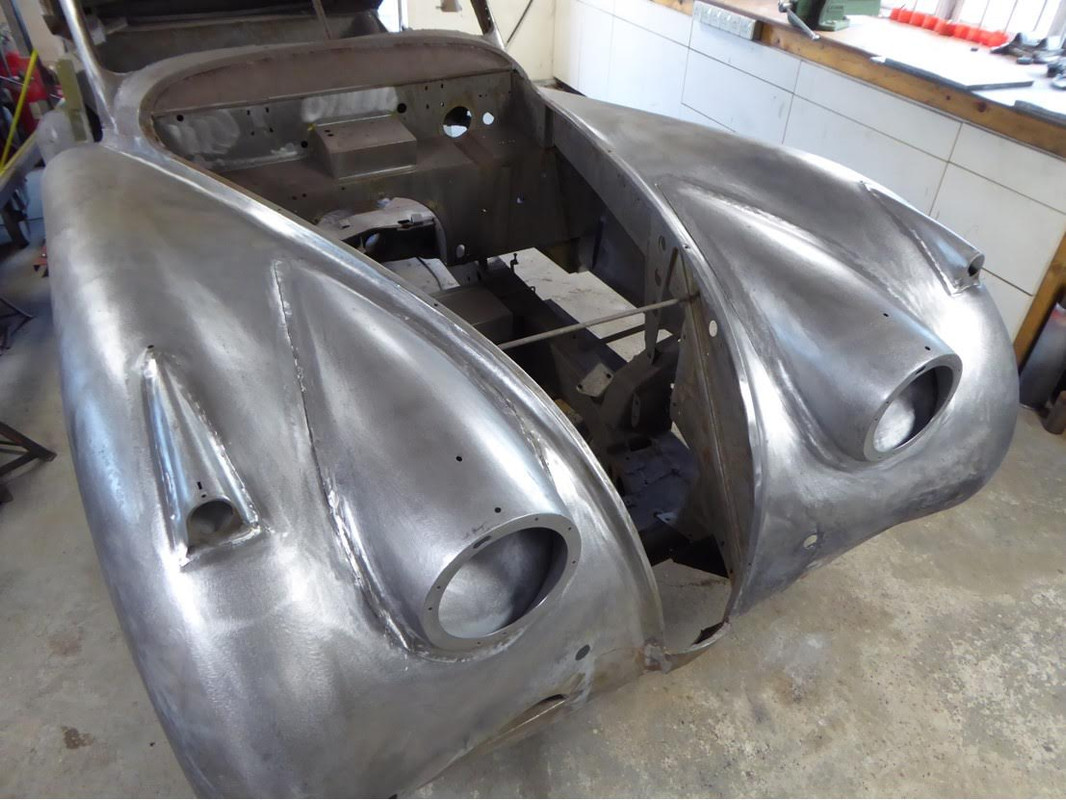
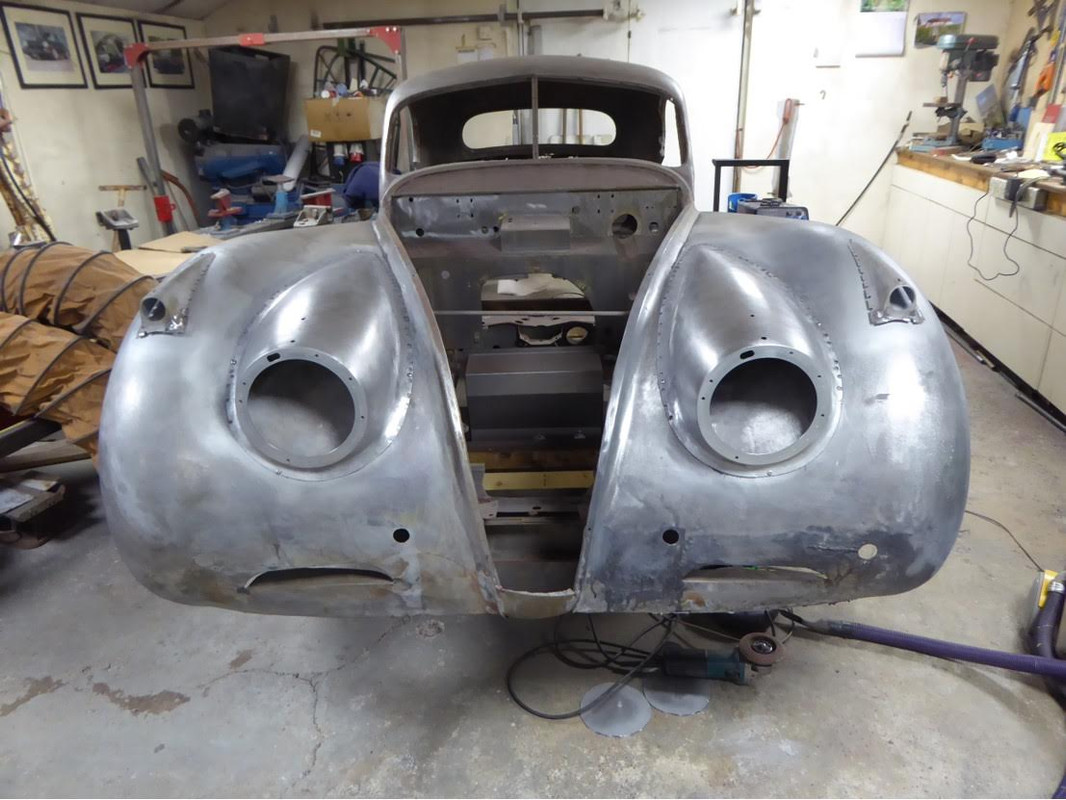
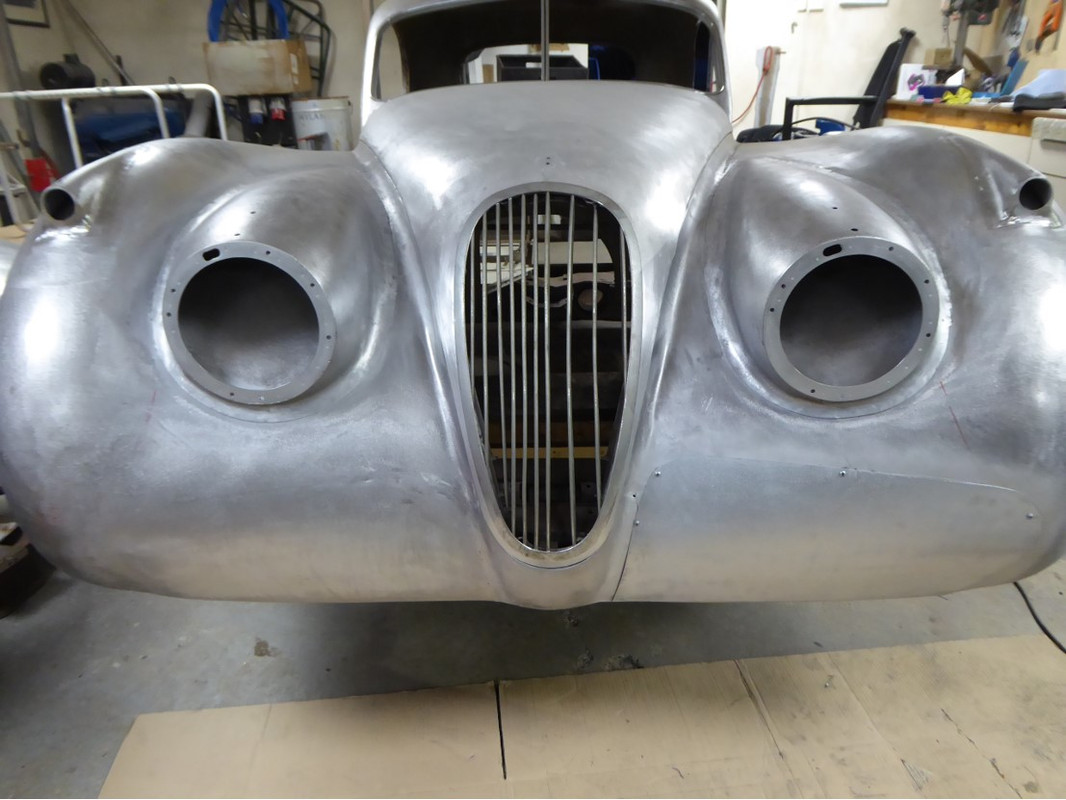
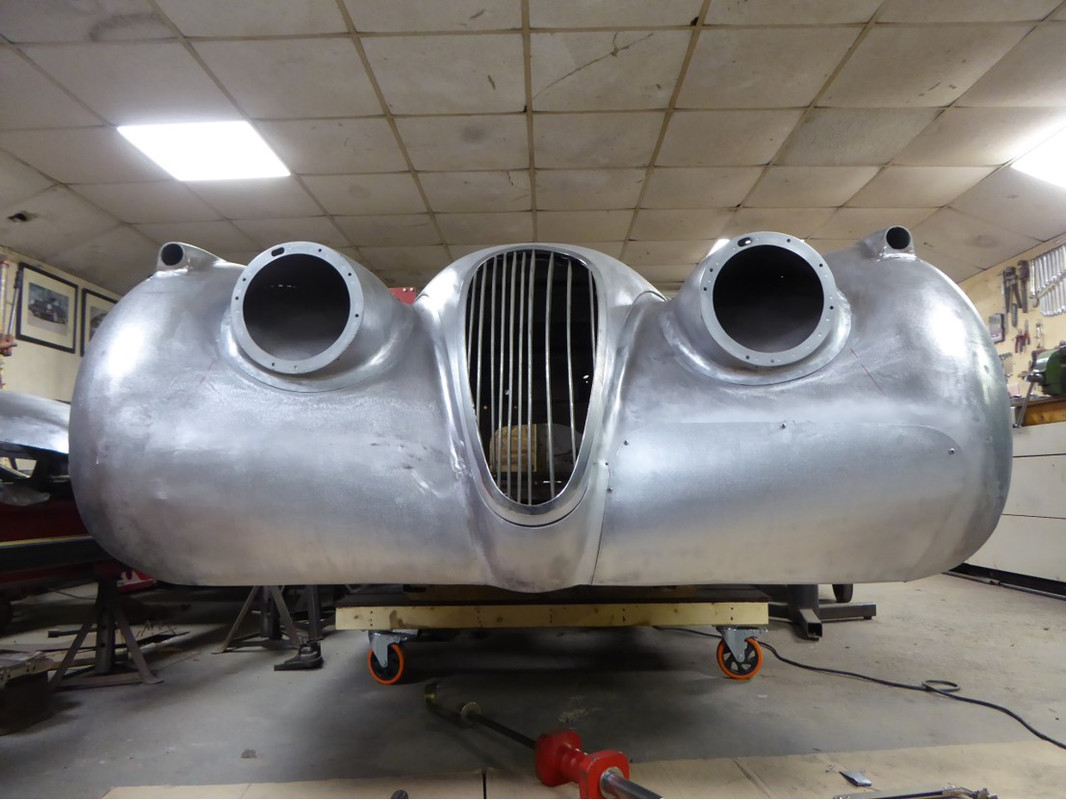
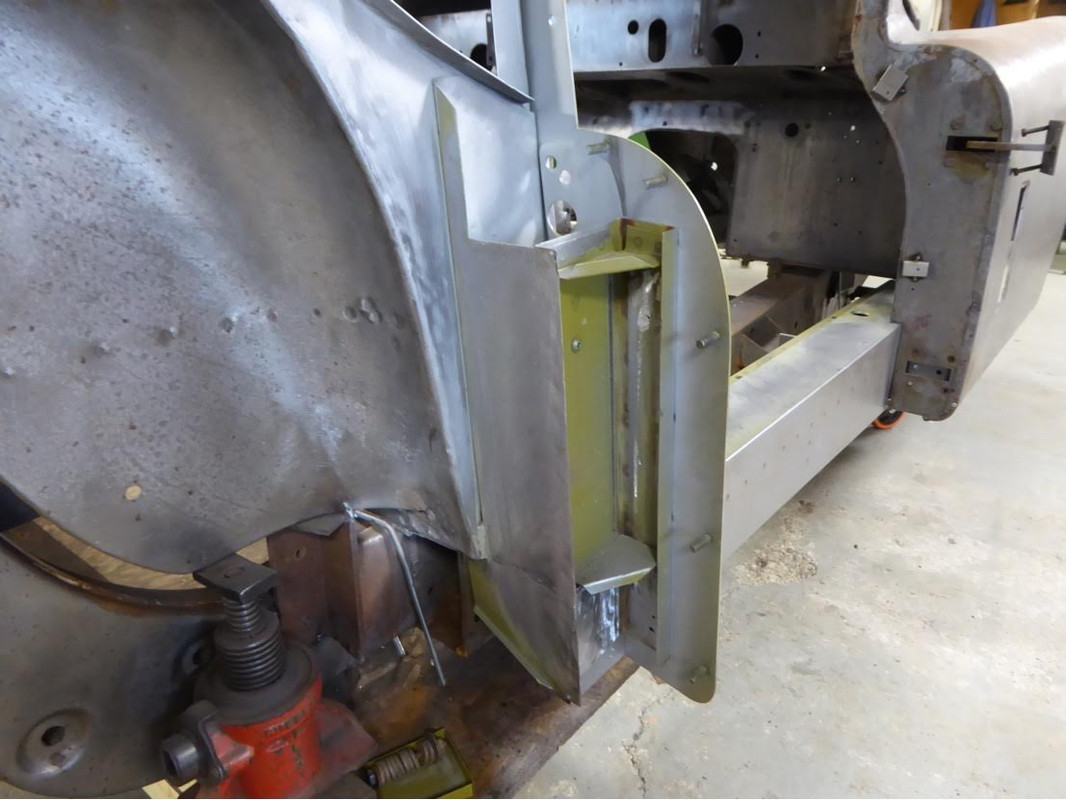
After that attention was to next move to the front of the car and address
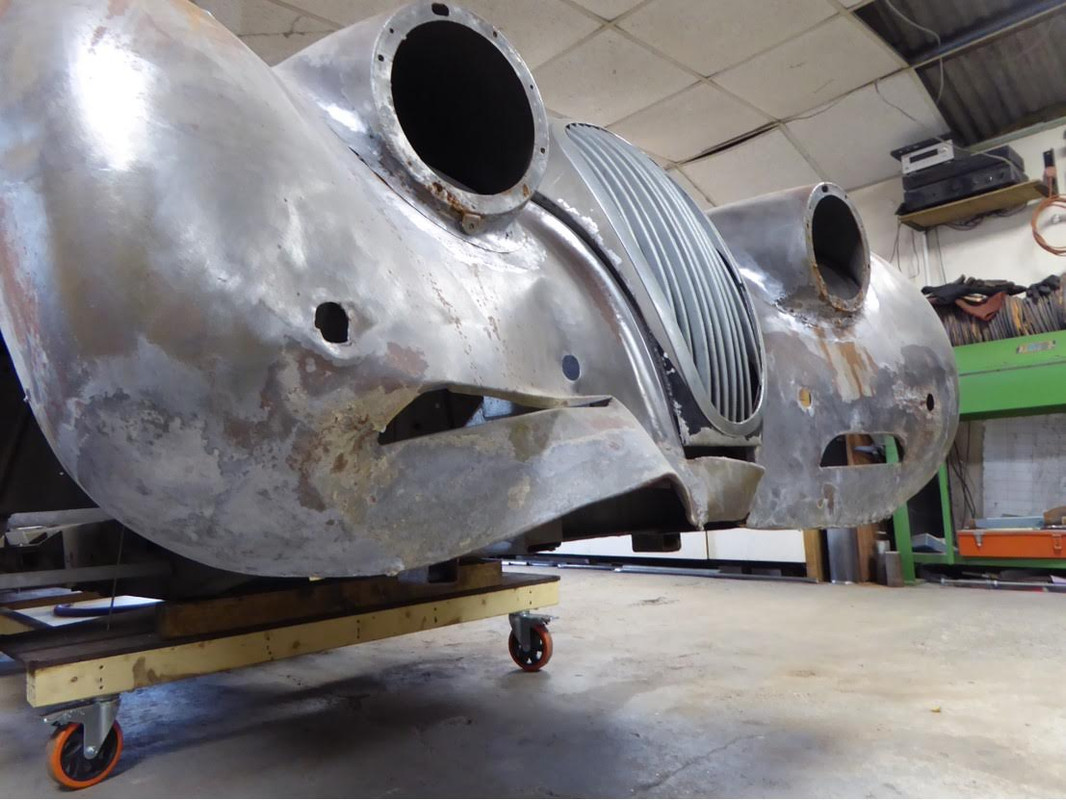
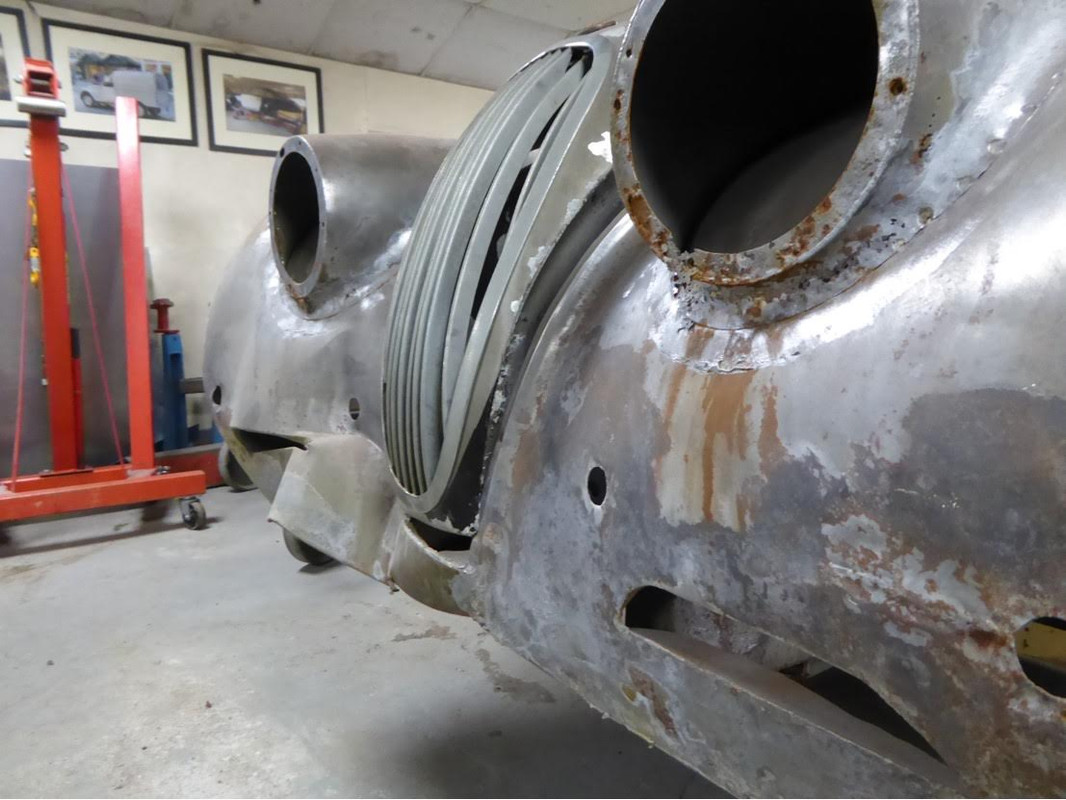
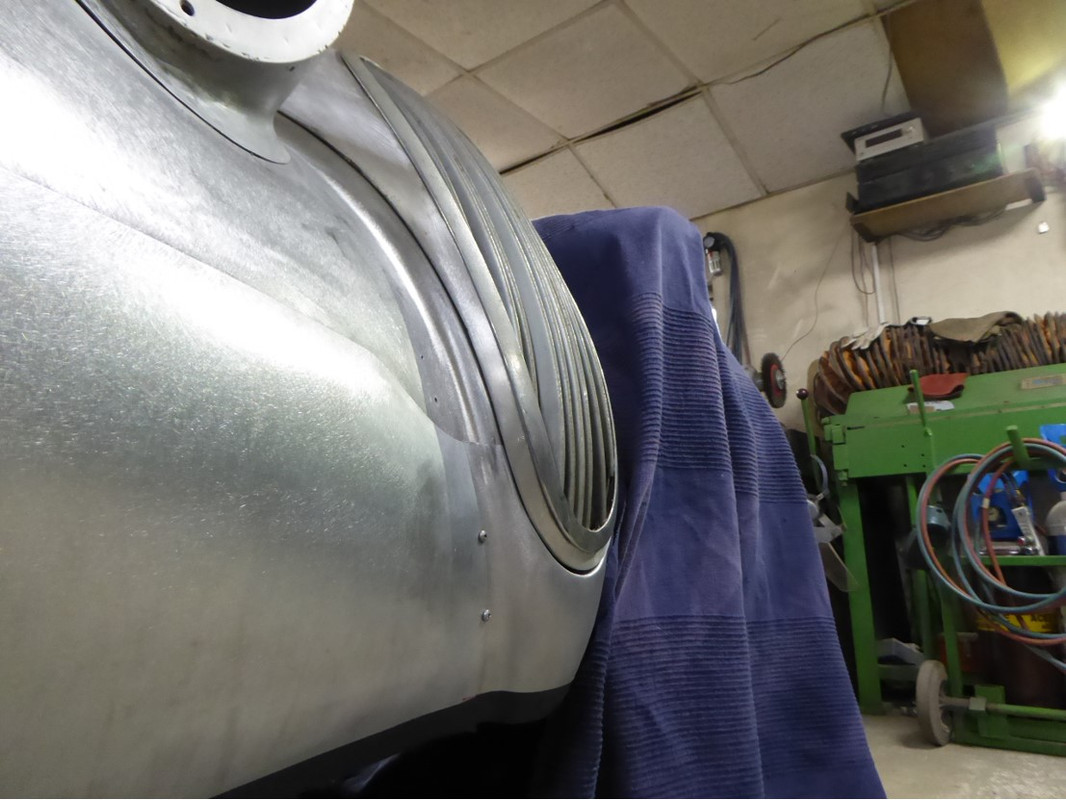
- Visible damage to the offside bumper area
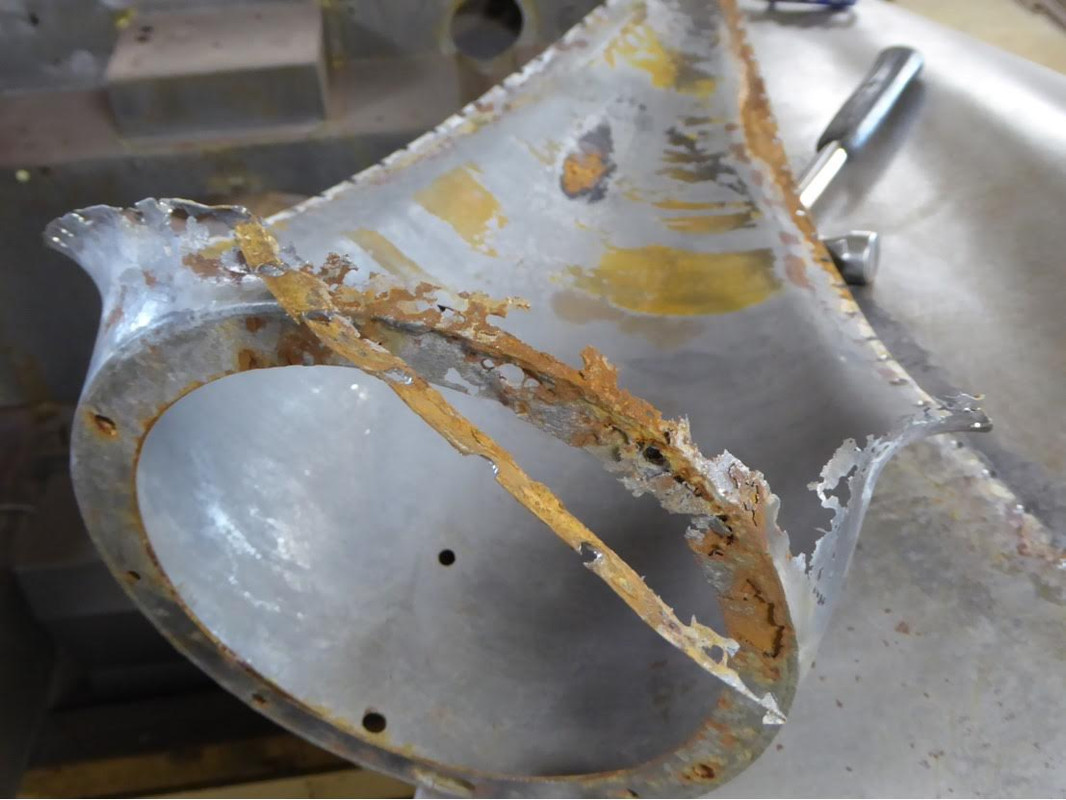
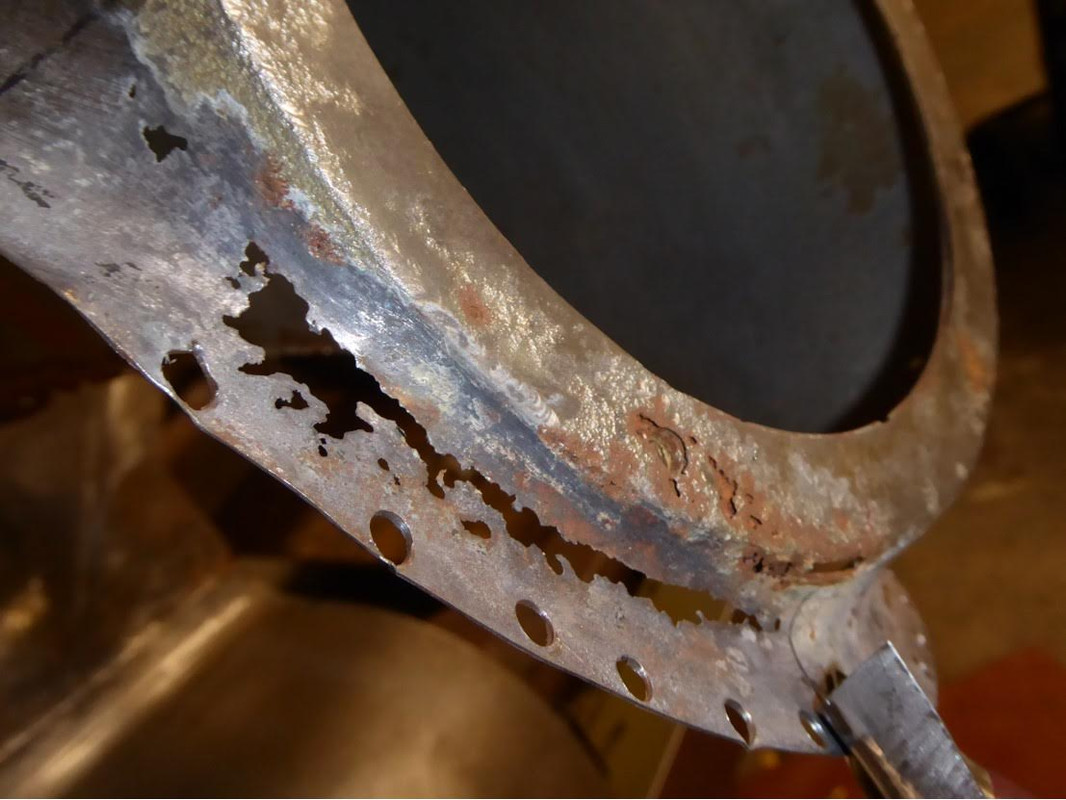
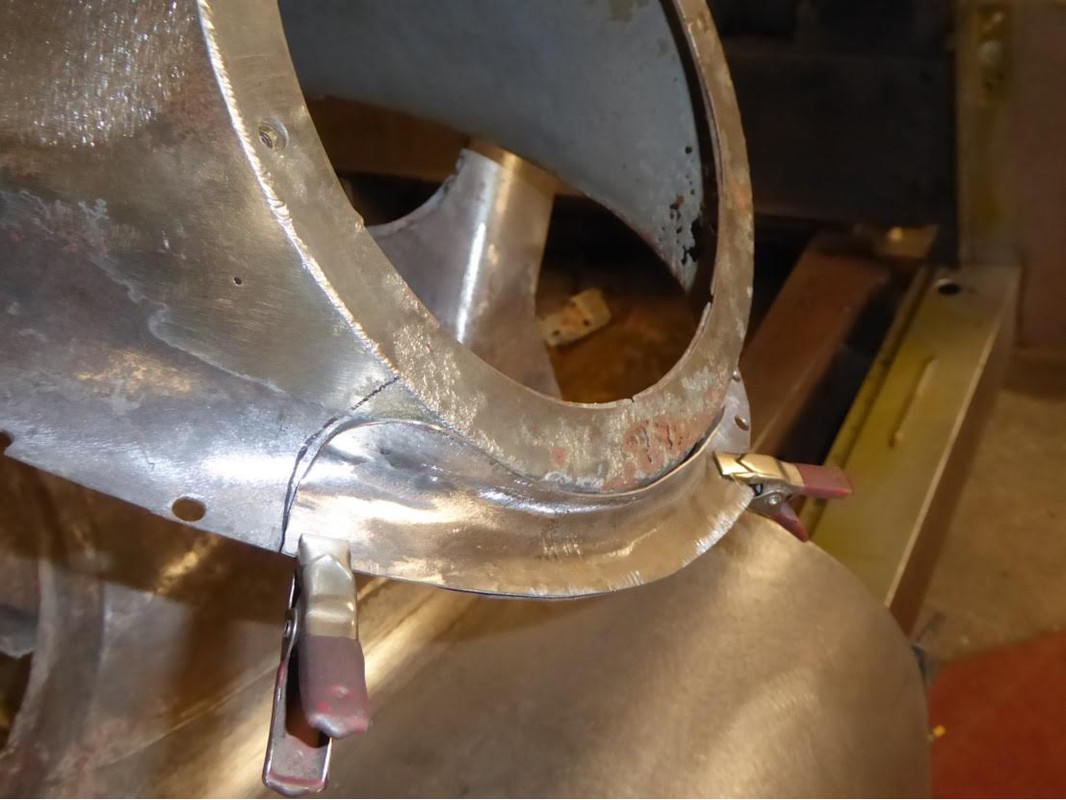
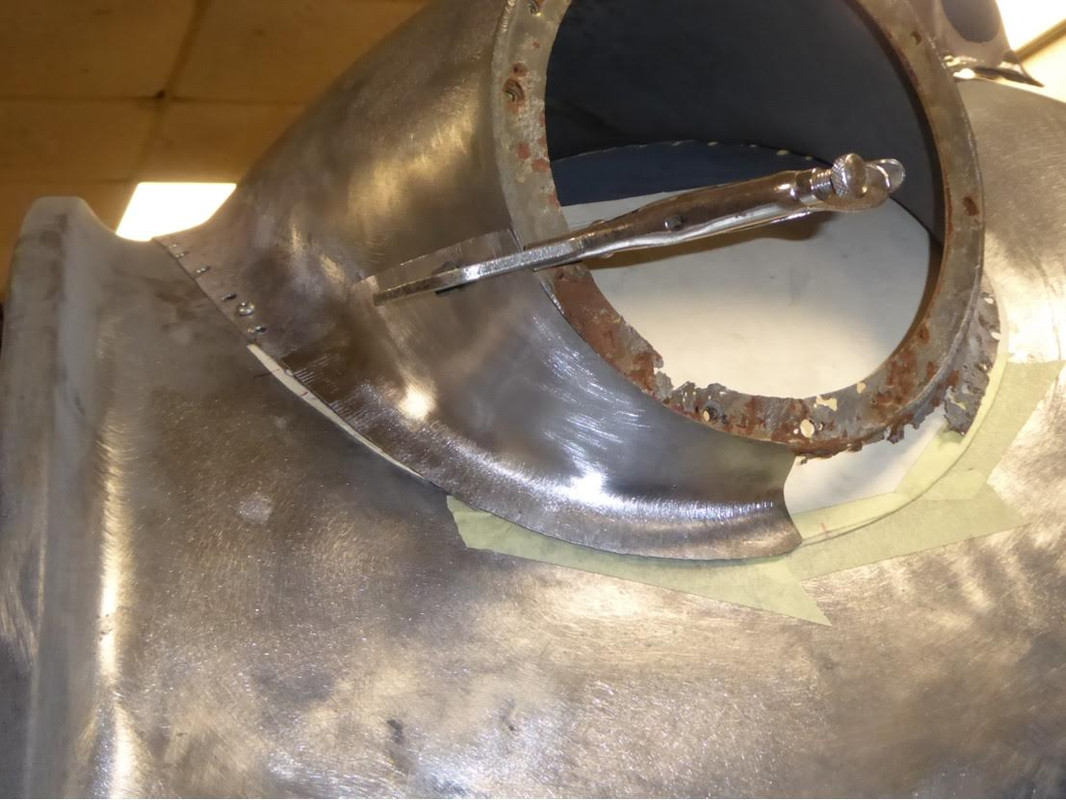
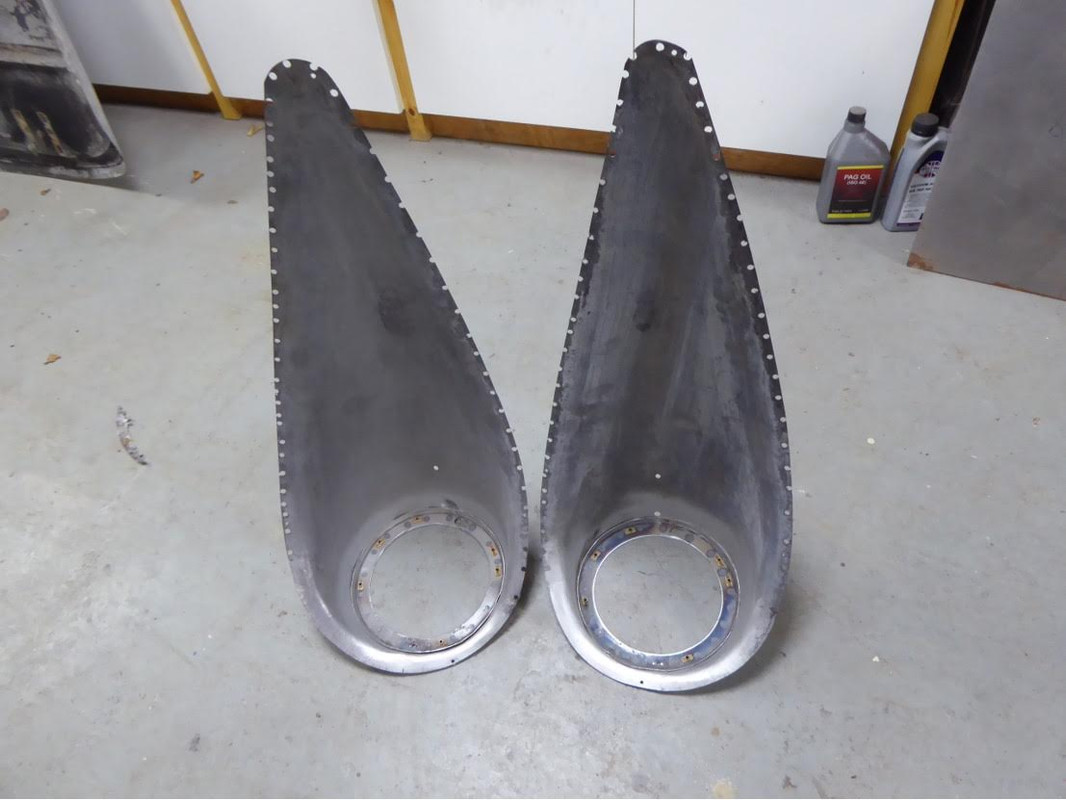
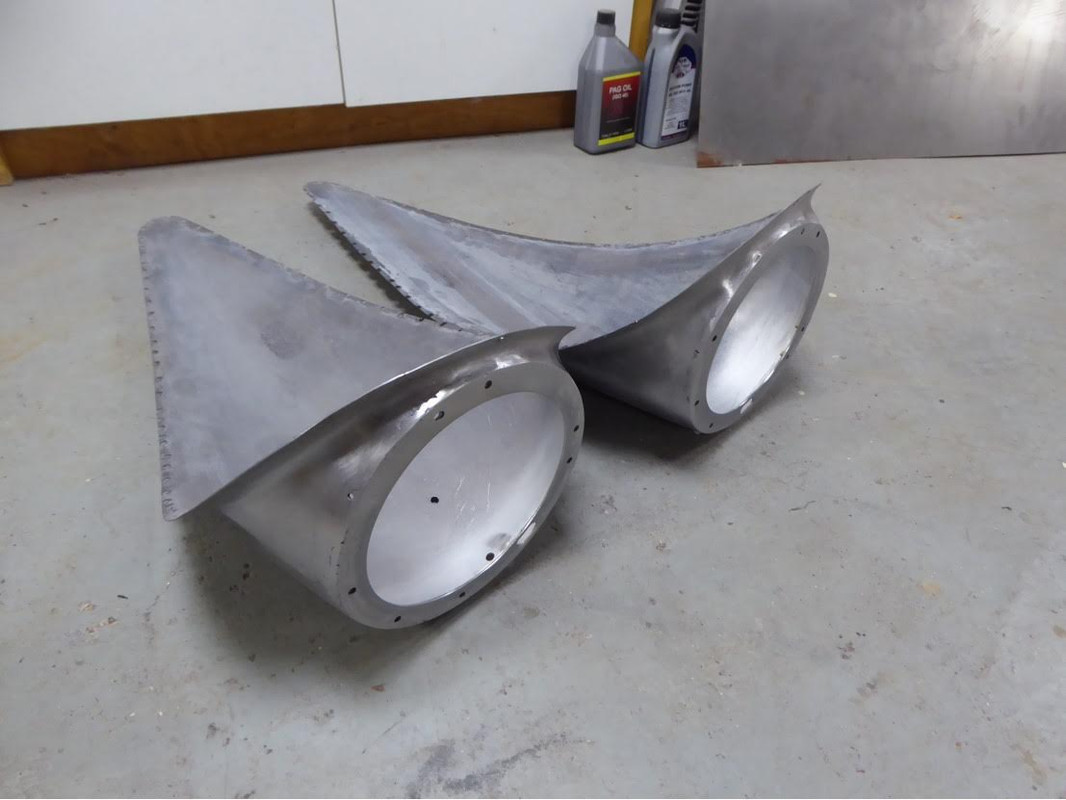
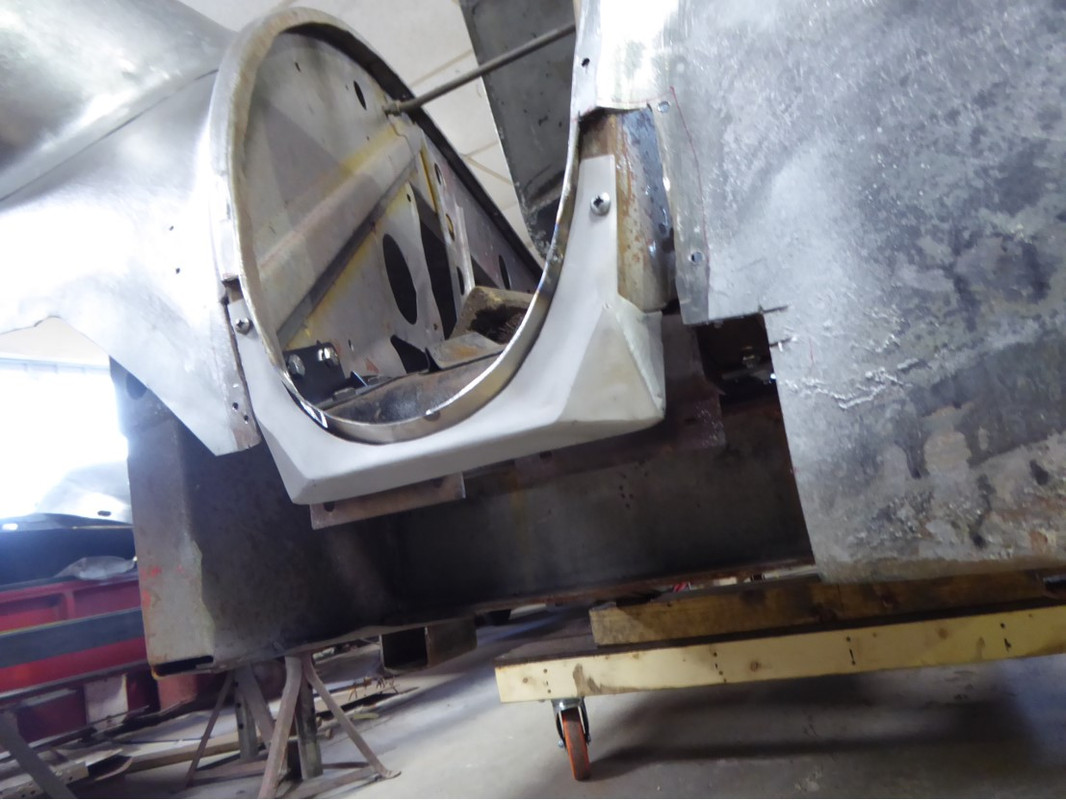
- Remove and repair headlamp and indicator pods
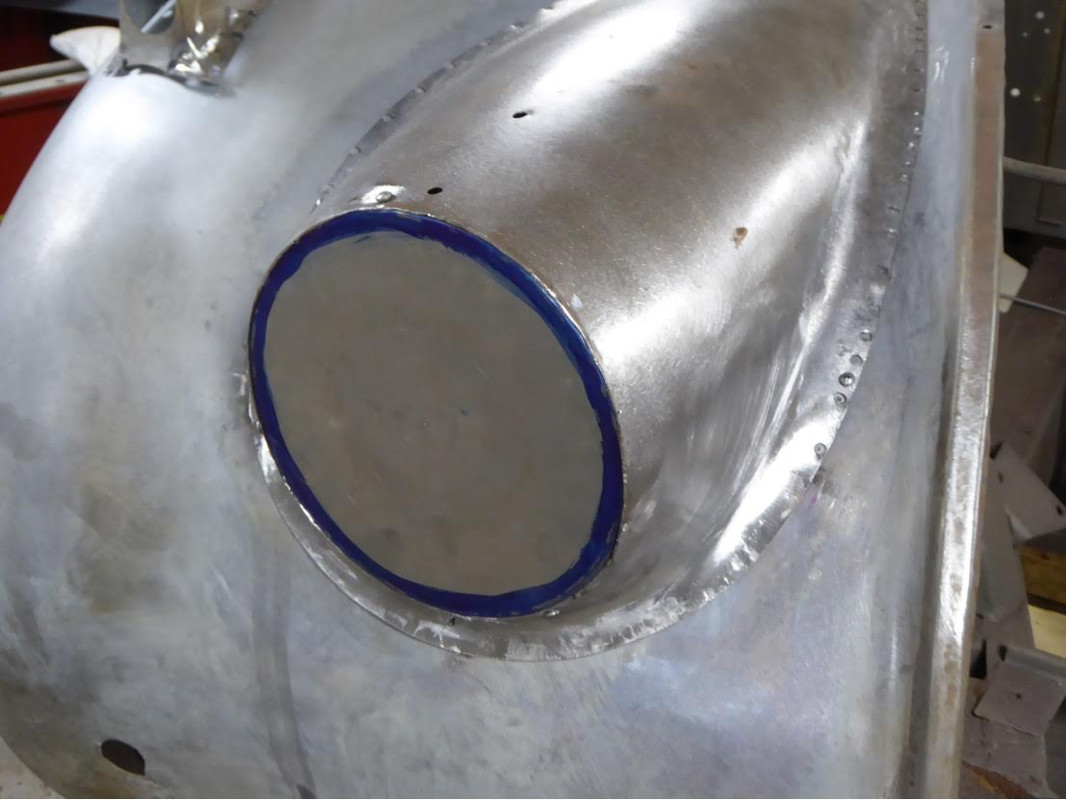
- Bumper delete and brake vent hole delete
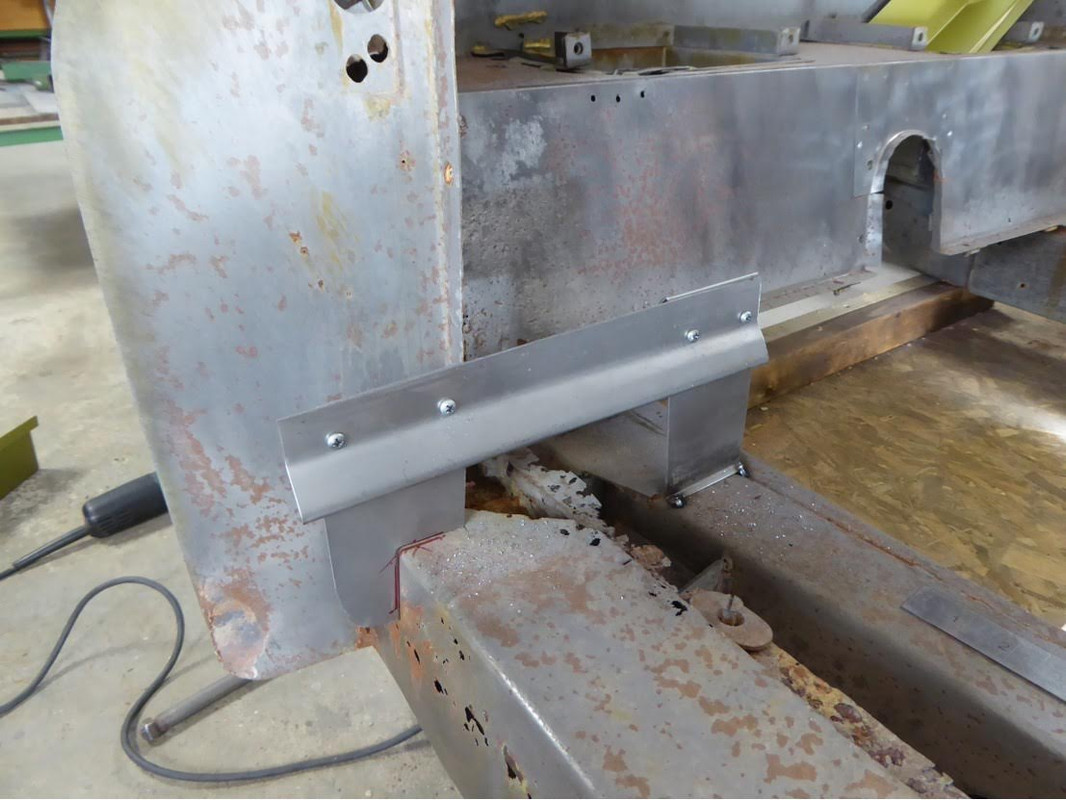
- Strengthen front mounting of the shell to the chassis
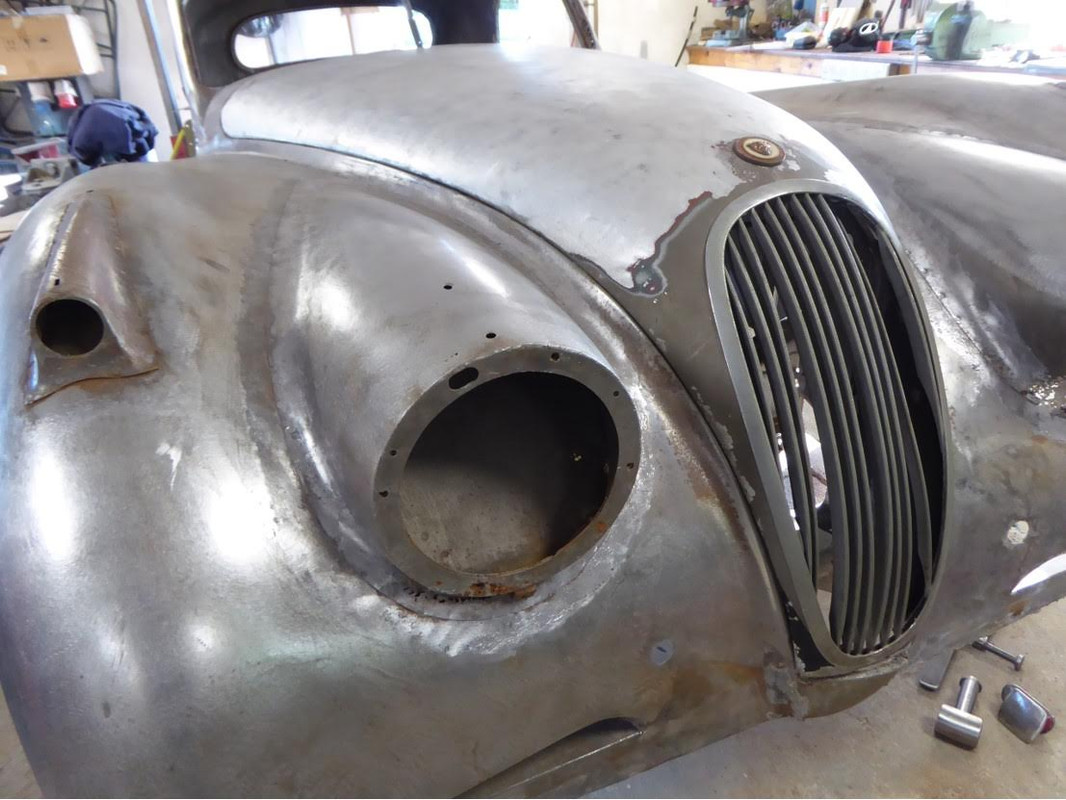
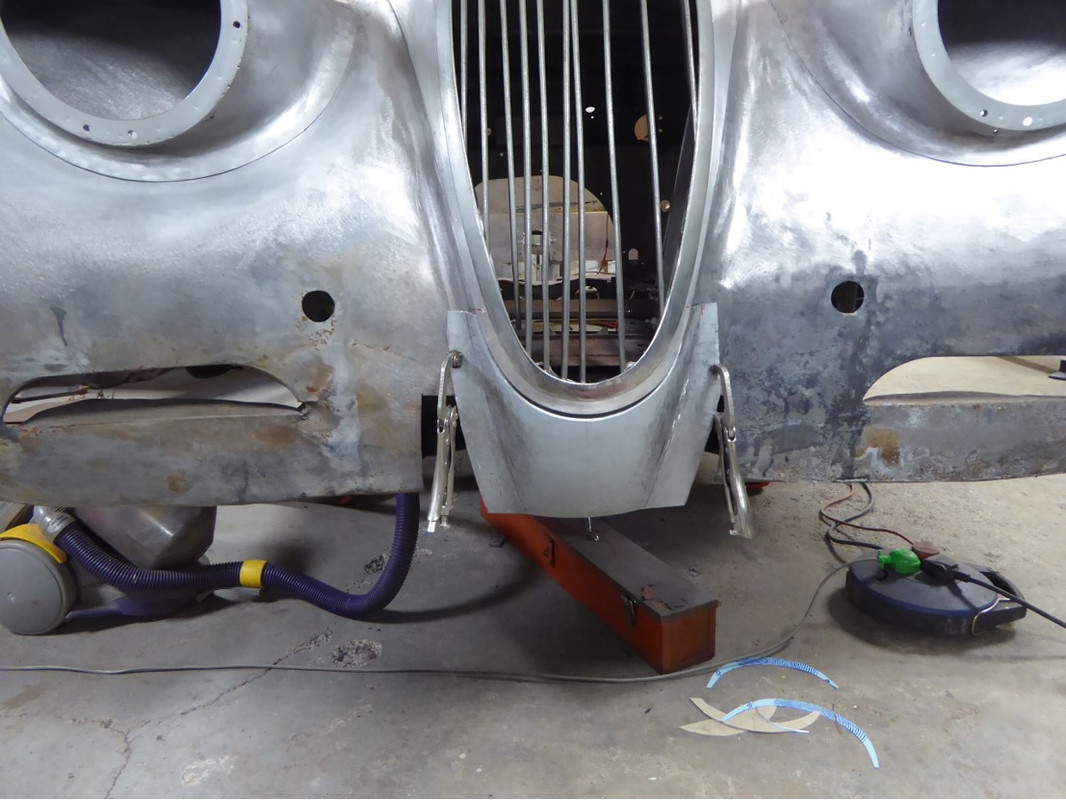
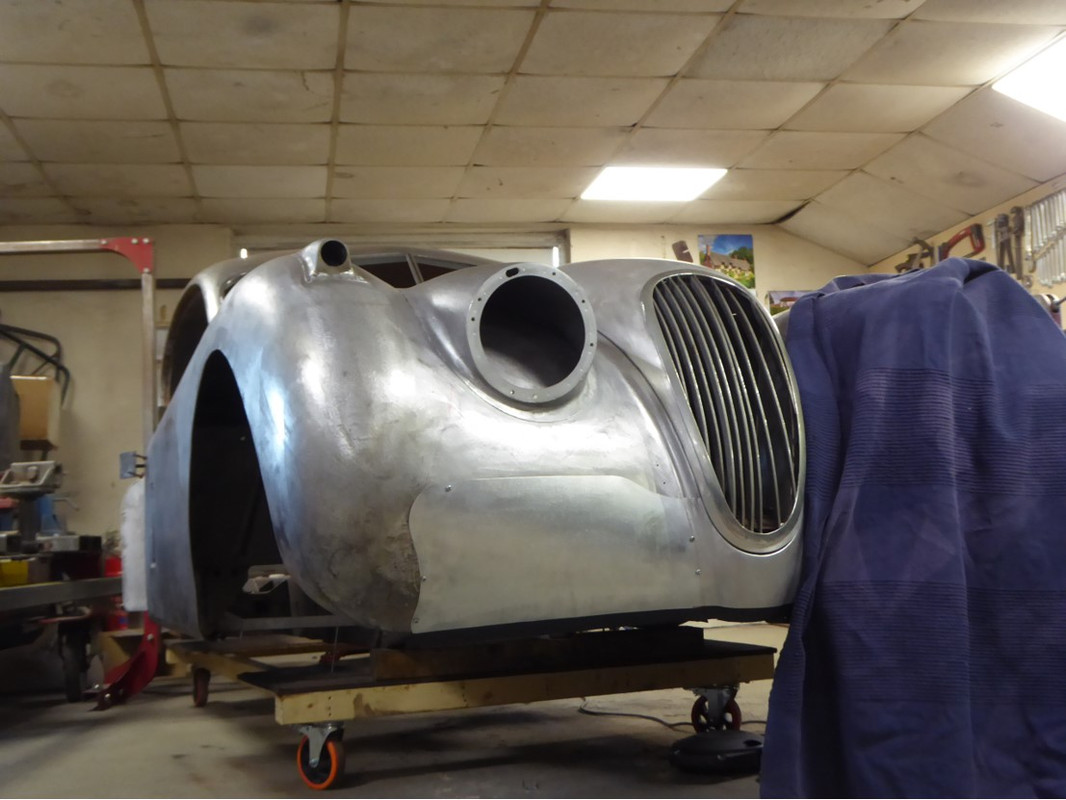
- refine lower bonnet/grille profile
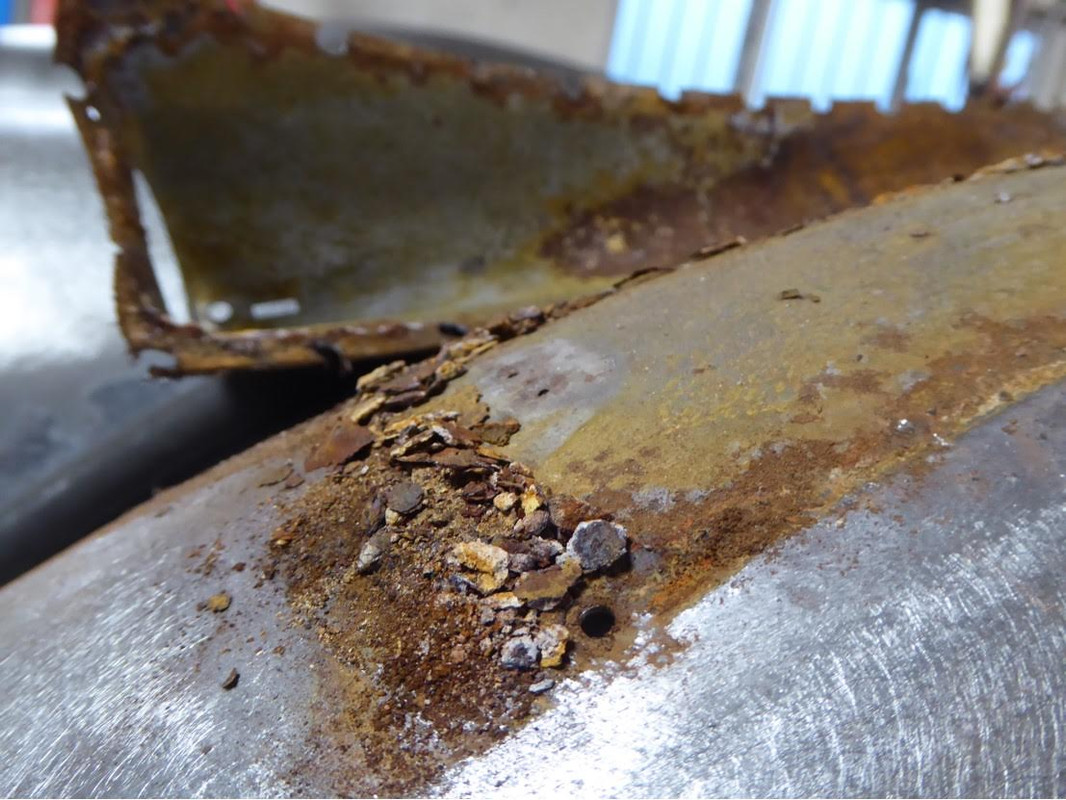
With what I am writing it sounds as though the body was incredibly rusty, which in many respects, it actually wasn’t. It was just that where there was rust it was quite impressive, but the main thing was the car had never been restored before so we were never having to deal with other peoples botched work
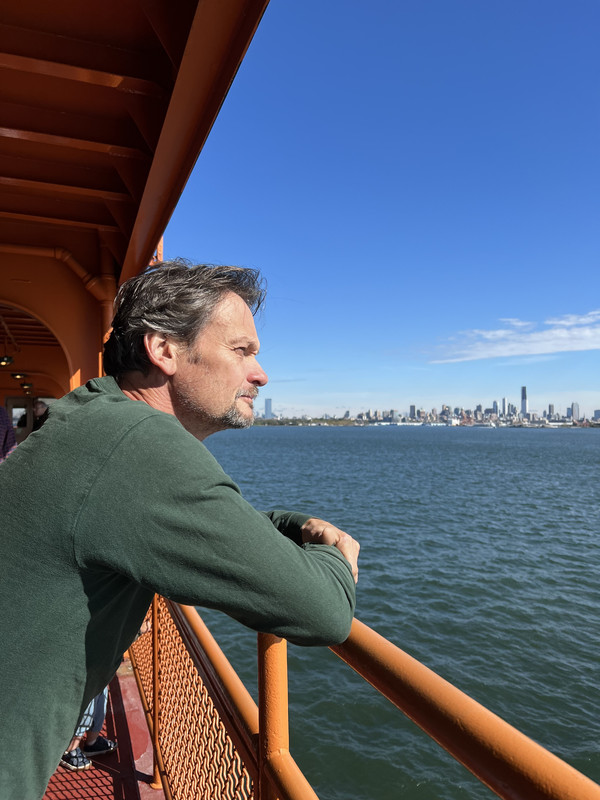
So …it was now November 2022….a perfect time to take my 2 children to New York and celebrate the fact that their old man was now 60….and a damn fine reason to start metalwork…..
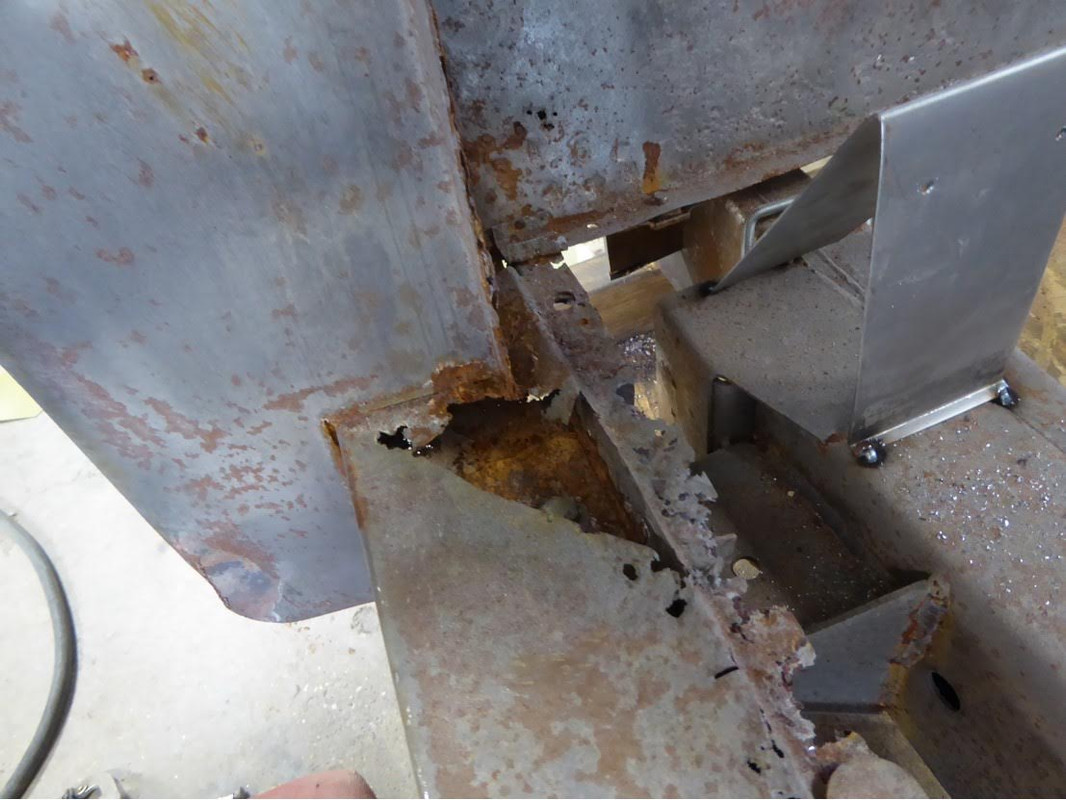
Bottom of A posts…requIring fabricated sections..much better made than originals….naturally…needed to do this to establish a clean and accurate A-Post panel surface to accept….
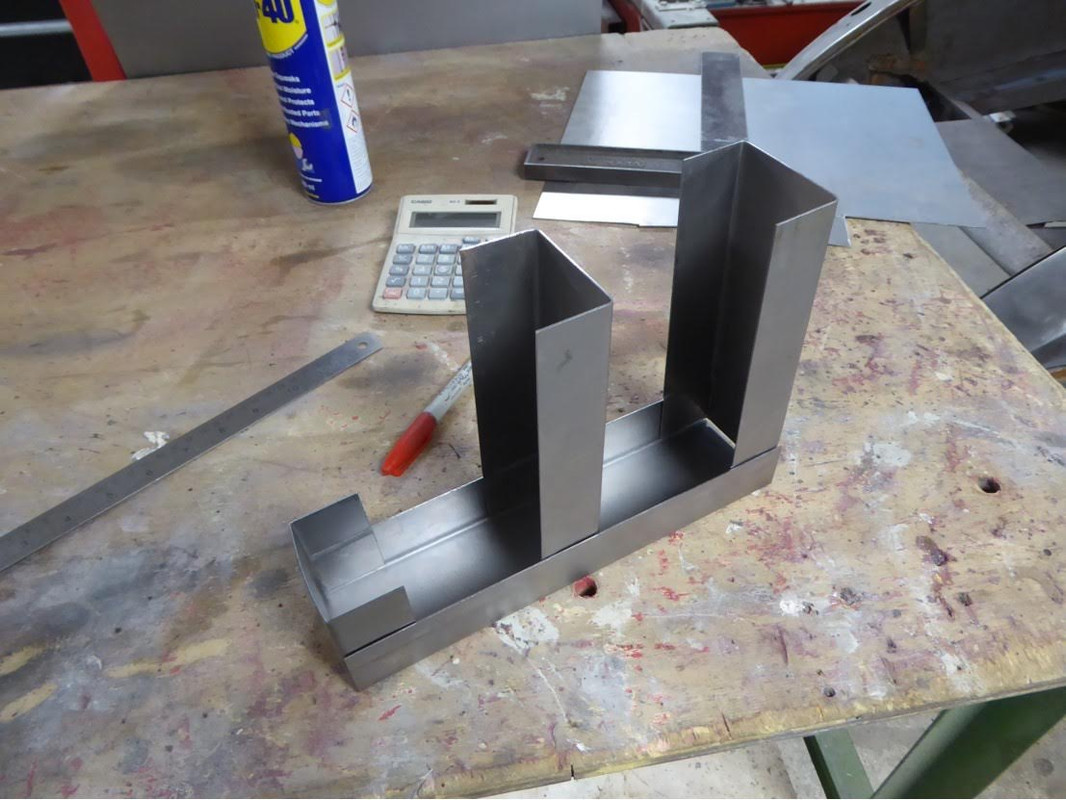
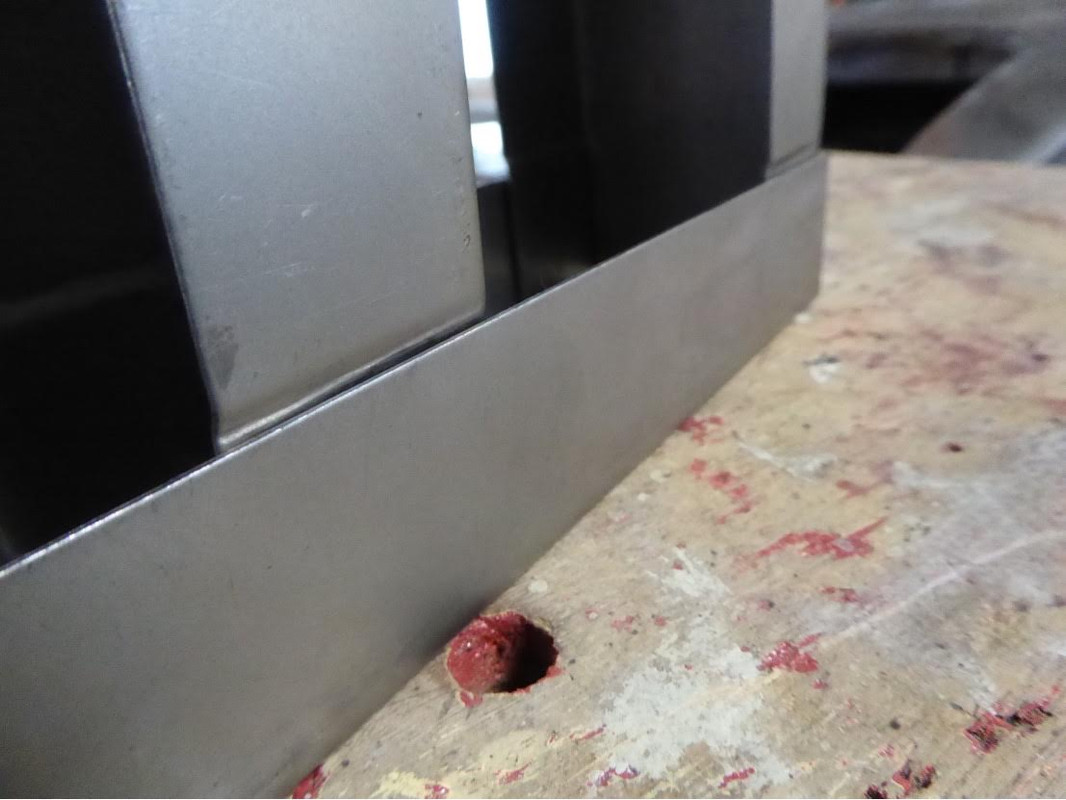
Replacement cills, …except there was a lot to remove before new ones could be added..…absolutely necessary here without any doubt…. leaving an impressive gaping void….
But before they could be installed there was the small matter of


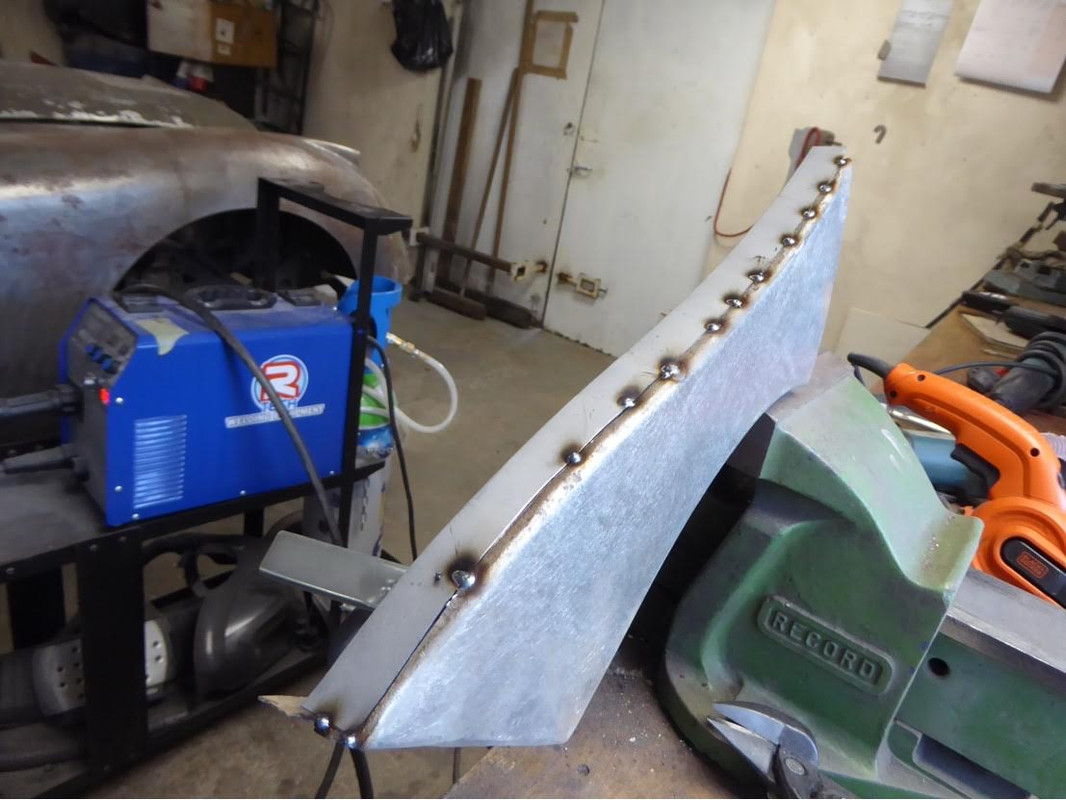
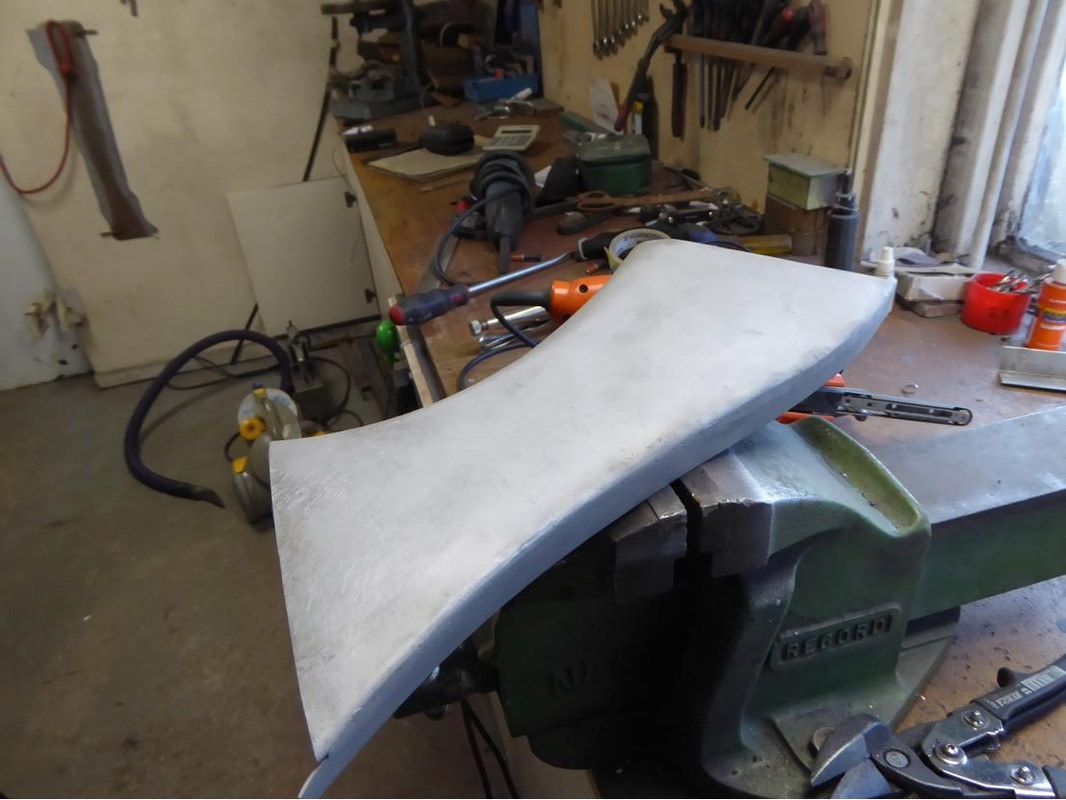
A complete B post fabrication which are made up, (in classic Jaguar fashion) of something like a dozen simply formed, single curvature, if not flat profiles… They can be bought as a pre-assembled item, which is what I did, but it still needed a host of initial surgery to give us something to actually be able to the weld the new B posts to
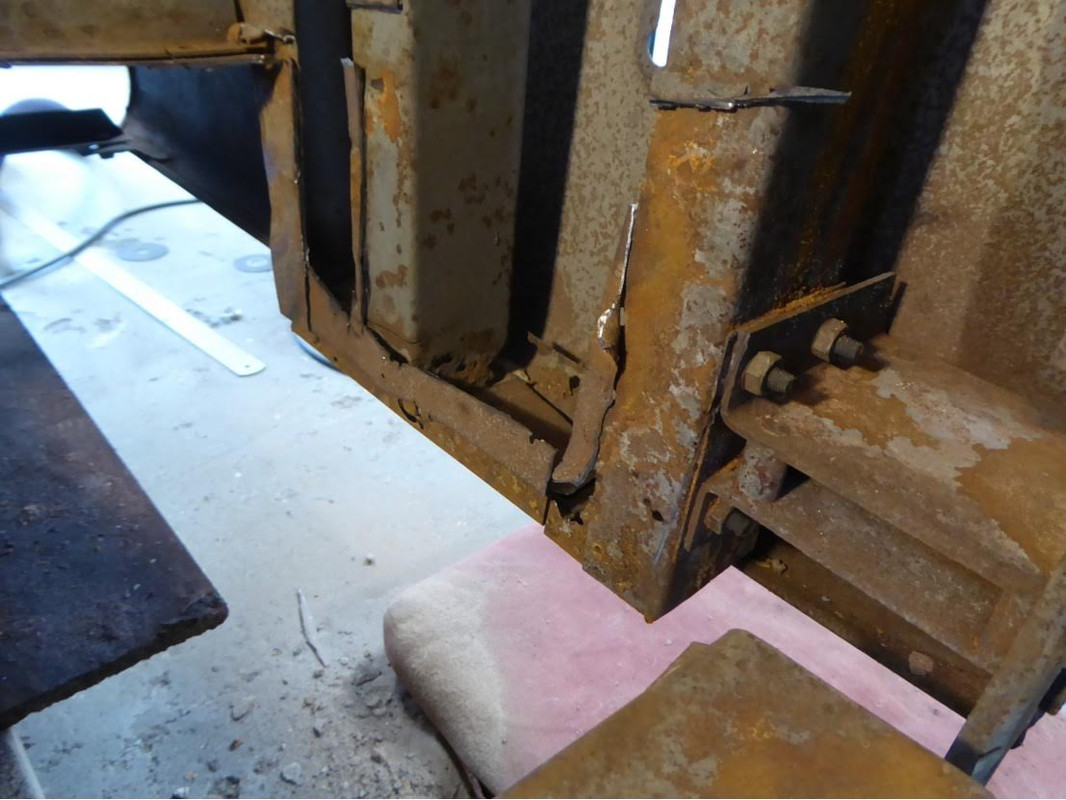
Which then led onto repairs to rear quarter light area….now they were splendidly rusty… as to was the whole of the double curved tops to the doors….and the gutter profile, which was a separate profile normally riveted in place….(soon to change….)

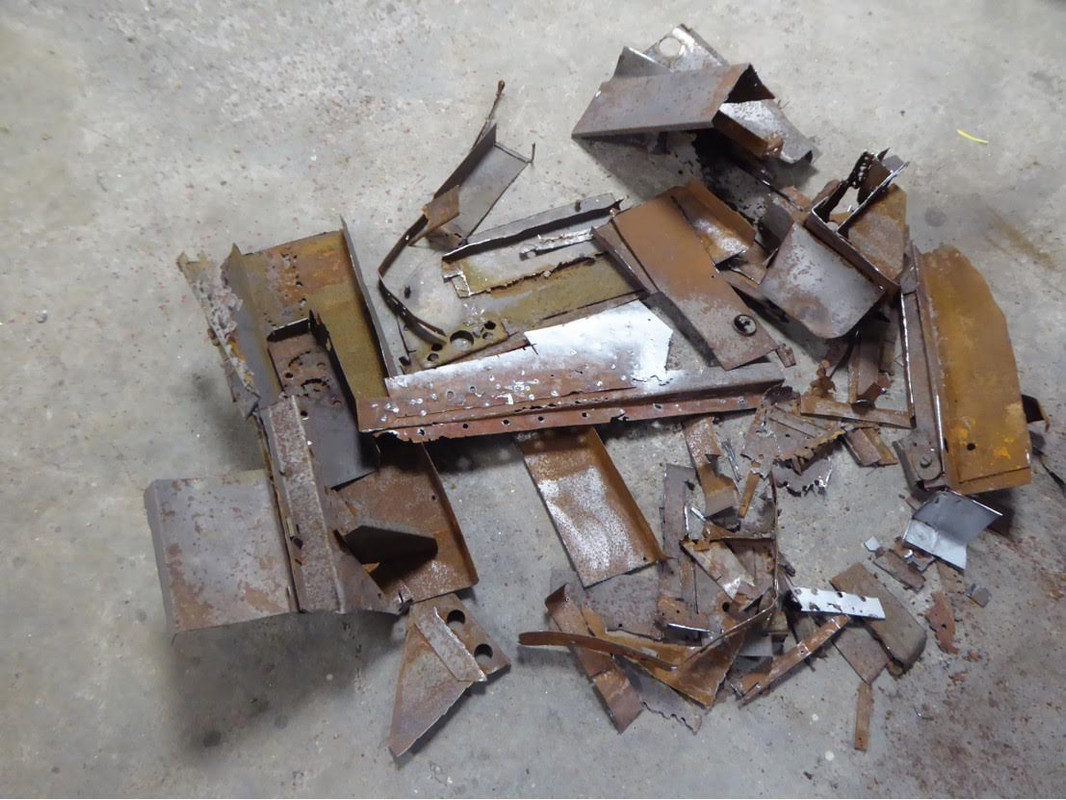
Fridays soon became my favourite evening…an update from Barry …always including the comedy photo of the scrap that was generated …..accompanying a beer at my local
Thanks for reading….