Page 13 of 25
Re: Meet Ralph - 1970 ST project
Posted: Fri Feb 04, 2022 6:50 pm
by matteo68
Yes I think you’re right Richard but I know my S is definitely Tangerine!
My T was originally Tangerine too!

Re: Meet Ralph - 1970 ST project
Posted: Fri Feb 04, 2022 8:53 pm
by IanM
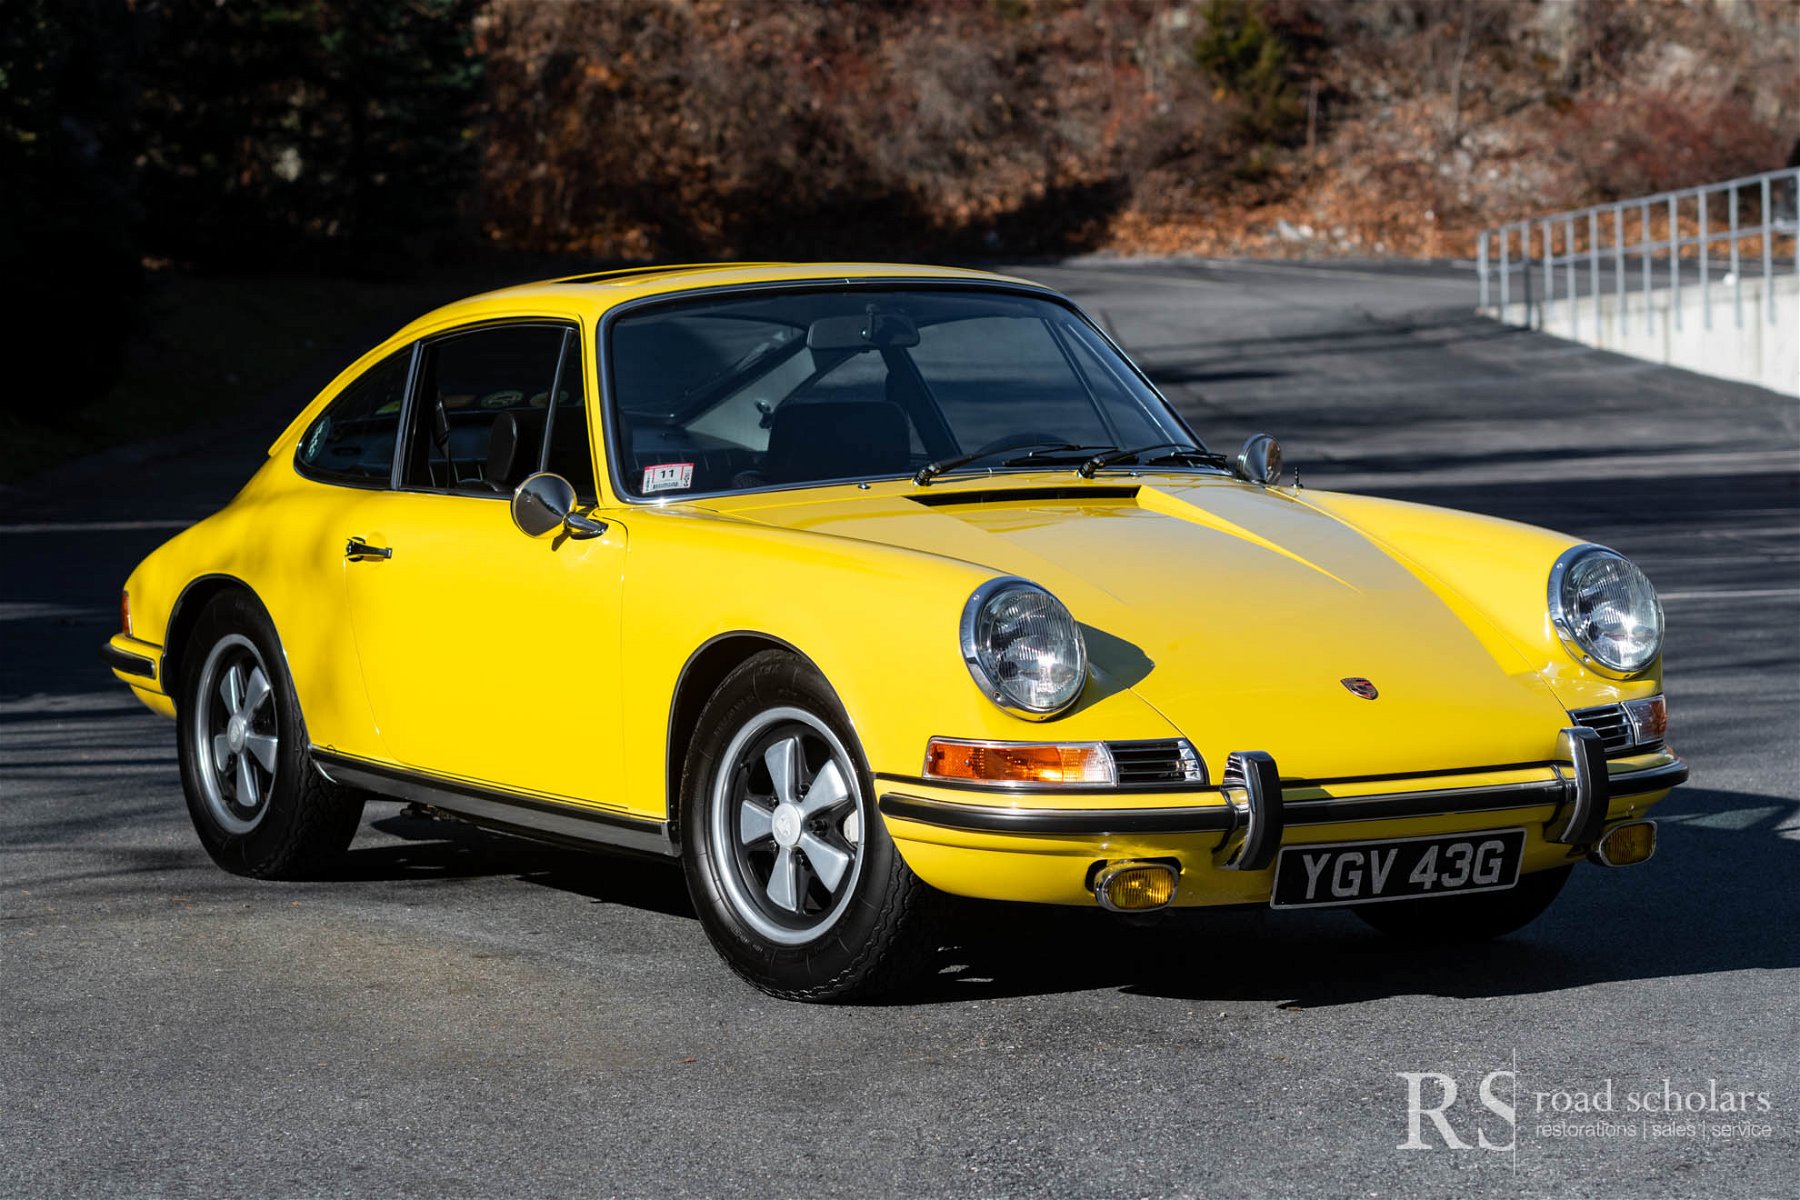
hot66 wrote:my favorite colour on an early 911 is Signal yellow
Signal Yellow is a nice colour and so is Canary Yellow...
Re: Meet Ralph - 1970 ST project
Posted: Wed Feb 09, 2022 9:34 am
by rich73
Didn't realise how popular yellow was!
Bit more progress, now have the engine lid hinge mounts back on. I've started cleaning off the weld through primer with a wire brush as it really seems to help to get a cleaner weld.
 2022-02-09_09-09-50
 by
richard cannings, on Flickr
I've also fitted the engine lid, doors, wings and bonnet to check alignment again. Big relief that all looks pretty good as a starting point.
I really want to get the centre fill done but feel that I've got bits going on all over so think its time to refocus a bit. I've decided that the plan is;
Complete all the welding.
Finish any grinding.
Media blasting.
Strip any remaining Paint.
Panel Gaps/ Hammer and dolly work.
Epoxy Prime.
I'm going to stick with that as far as possible but there will be some deviation, such as epoxy straight after media blasting.
Rich
Re: Meet Ralph - 1970 ST project
Posted: Wed Feb 09, 2022 11:28 am
by RobFrost
rich73 wrote:I've started cleaning off the weld through primer with a wire brush as it really seems to help to get a cleaner weld.
I discovered that some supposed weld-through primer doesn't weld through very well at all. After seeing a review recommending it for welding through, I found this works better than some others I used:
https://www.amazon.co.uk/Plasti-kote-10 ... 000TROMXK/
Re: Meet Ralph - 1970 ST project
Posted: Wed Feb 09, 2022 12:06 pm
by Gary71
Totally agree about cleaning off the weld through around the plugs. I’ve tried various and they all spit.
It burns off locally anyway so you aren’t losing any protection.
Re: Meet Ralph - 1970 ST project
Posted: Wed Feb 09, 2022 2:46 pm
by rich73
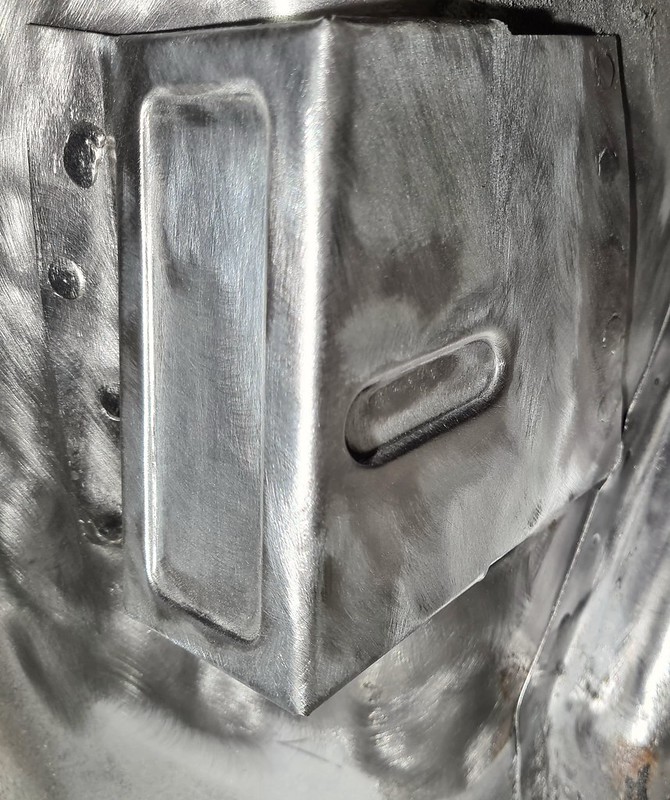
Finally got round to making the centre harness mounts and fitting them this morning, would have been much easier if I'd done it when the floor was out.
 2022-02-09_02-32-33
 by
richard cannings, on Flickr
 2022-02-09_02-28-11
 by
richard cannings, on Flickr
They were welded to a backing plate before fitting.
Also got the dead pedal in, really quite a nice little thing.
 2022-02-09_02-29-43
 by
richard cannings, on Flickr
Re: Meet Ralph - 1970 ST project
Posted: Wed Feb 09, 2022 4:08 pm
by Cortina
Hmm .................. centre mount "design" , not the way I would have done it , but a bit late to change now (this is where you tell me it's been done that way for years .... but I still don't like it !!)
I prefer to see lots of metal having to be torn out of the way for the mount to move - rather than pure load on a weld. (I'll keep quiet now)
Re: Meet Ralph - 1970 ST project
Posted: Wed Feb 09, 2022 9:05 pm
by IanM
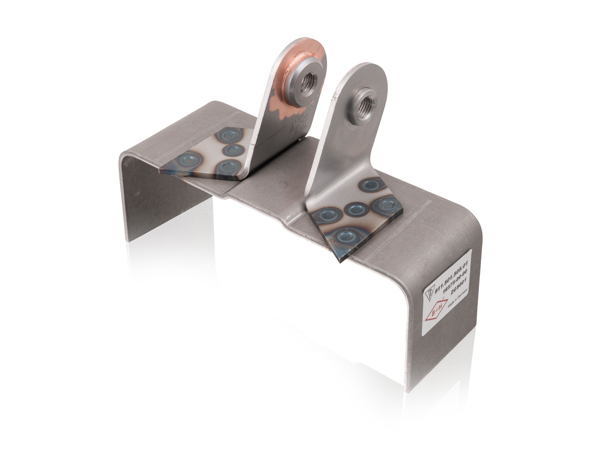
The part pictured below is listed in the Porsche PET catalogue for 1965 to '73:
898-30: Seat belt, Installation set, with, Automatic, for subsequent installation
 subsequent
/ˈsʌbsɪkw(ə)nt/
adjective
coming after something in time; following.
Re: Meet Ralph - 1970 ST project
Posted: Wed Feb 09, 2022 10:18 pm
by 911hillclimber
My German spec 911T (built in Feb 73) had nothing for the belts at the end of the tunnel, but I'm with Cortina, a big spread of loading better than weld line under sudden load.
Re: Meet Ralph - 1970 ST project
Posted: Wed Feb 09, 2022 10:56 pm
by rich73
Hi There,
Would welcome other suggestions as its easy enough to change?
The design is basically the Porsche the one that Ian Posted. The vertical plates with the captive nuts each form a 'T' Joint to a spreader plate welded on both sides . The visible weld in the image is between the tunnel itself and the vertical plates. The spreader plate is then plug welded to the tunnel.
There's quite a bit going on in the tunnel so that's why the Porsche design seemed preferable mounting to the sides of the tunnel.
Thanks
Richard
Re: Meet Ralph - 1970 ST project
Posted: Wed Feb 09, 2022 11:01 pm
by RobFrost
rich73 wrote:Hi There,
Would welcome other suggestions as its easy enough to change?
The design is basically the Porsche the one that Ian Posted. The vertical plates with the captive nuts each form a 'T' Joint to a spreader plate welded on both sides . The visible weld in the image is between the tunnel itself and the vertical plates. The spreader plate is then plug welded to the tunnel.
There's quite a bit going on in the tunnel so that's why the Porsche design seemed preferable mounting to the sides of the tunnel.
Thanks
Richard
I like the way you've done it. You've inserted them from underneath, right? With 3mm plate on the underside of the 1.2mm tunnel metal, contiguous with the brackets. They're probably stronger than the temporary solution I've used.
Sent from my SM-G988B using Tapatalk
Re: Meet Ralph - 1970 ST project
Posted: Thu Feb 10, 2022 6:50 am
by Gary71
If you’ve copied the Porsche design then it should be ok.
If you manage to generate enough seat belt load to pull that bracket through the tunnel, or pull up the tunnel itself, then you’ve got bigger issues of the fuel tank being wrapped around your feet and the column in your lap

Re: Meet Ralph - 1970 ST project
Posted: Thu Feb 10, 2022 9:28 am
by Cortina
If your spreader plate is big enough (not clear from photo obviously) and thick enough (? 2.5mm ) - then as is could be ok. Only "sensible" alternative is eye in from side , with spreader plate inside tunnel , up near right angle bend , keeping the size and thickness of spreader plate as originally supplied. Tricky to do now, and as Gary or someone says - tunnel is kind of busy in there ! (stating the obvious - you want the threads in shear, NOT tension ............... as you have done already)
Re: Meet Ralph - 1970 ST project
Posted: Fri Feb 11, 2022 3:39 pm
by rich73
Thanks for the input everyone,
I've deemed the design review to be a pass and keep the current design, mostly based on Garrys point that if I manage to pull the spreader plate through the tunnel I've probably bigger problems to worry about......and I should really go out in the Volvo if I'm going to crash.
Managing to stick to the plan of getting all the welding bits done, its actually more rewarding than I expected. Car looking much better which helps.
 2022-02-11_03-21-38
 by
richard cannings, on Flickr
Cant decide if I should fill the holes from the engine lid catch. Would look cleaner but less authentic.
 2022-02-11_03-22-02
 by
richard cannings, on Flickr
Re: Meet Ralph - 1970 ST project
Posted: Fri Feb 11, 2022 6:28 pm
by Cortina
You could at least spell Gary's name right ! ( sorry .................)
