Thanks for the comments.
Must admit that I would like another 1275GT but prices seem keep to rising. Think I'm more likely to buy one with a VTEC engine already installed, fit a Clubman front end and paint it orange.
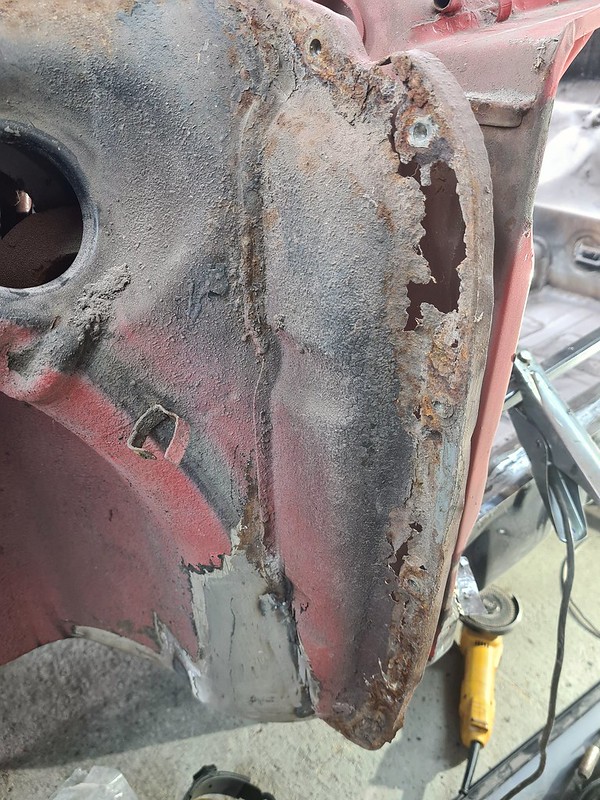
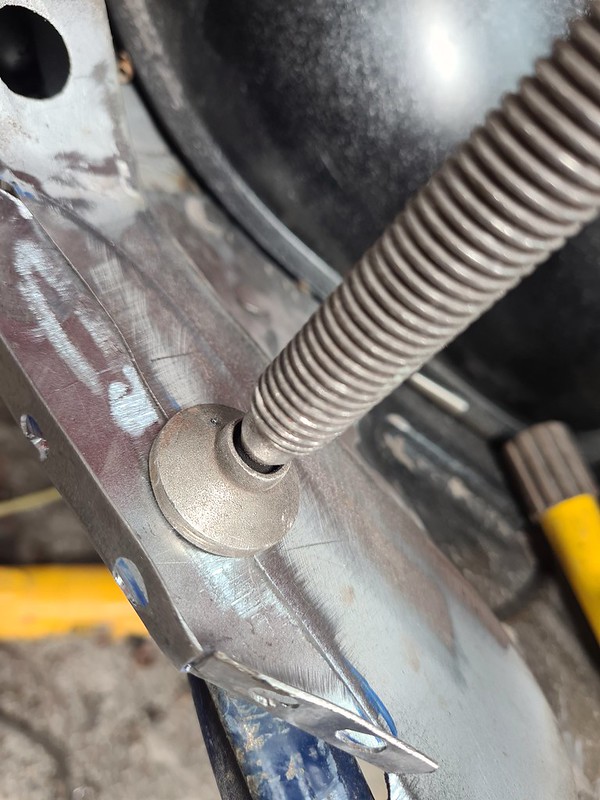
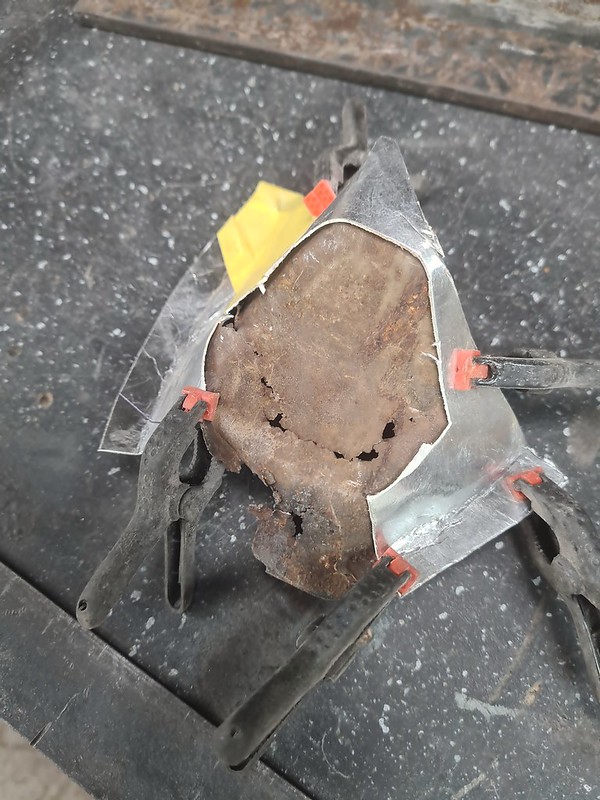
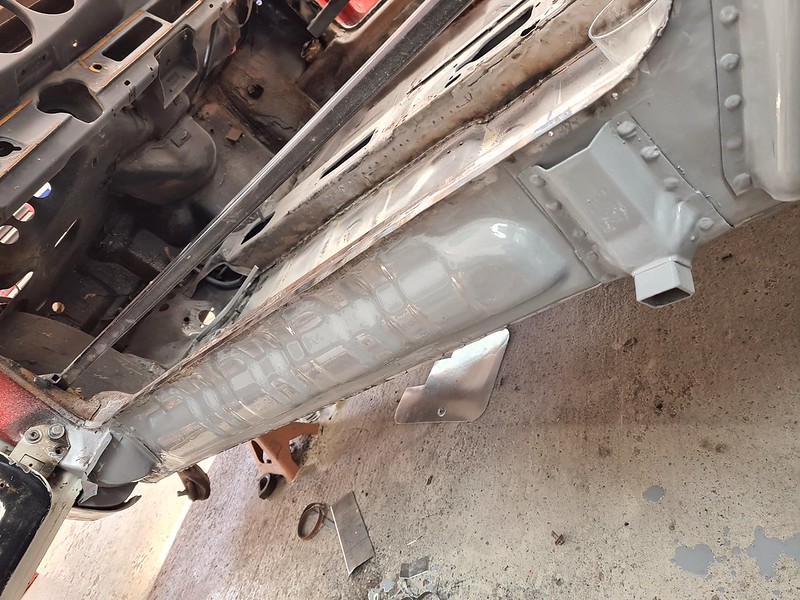
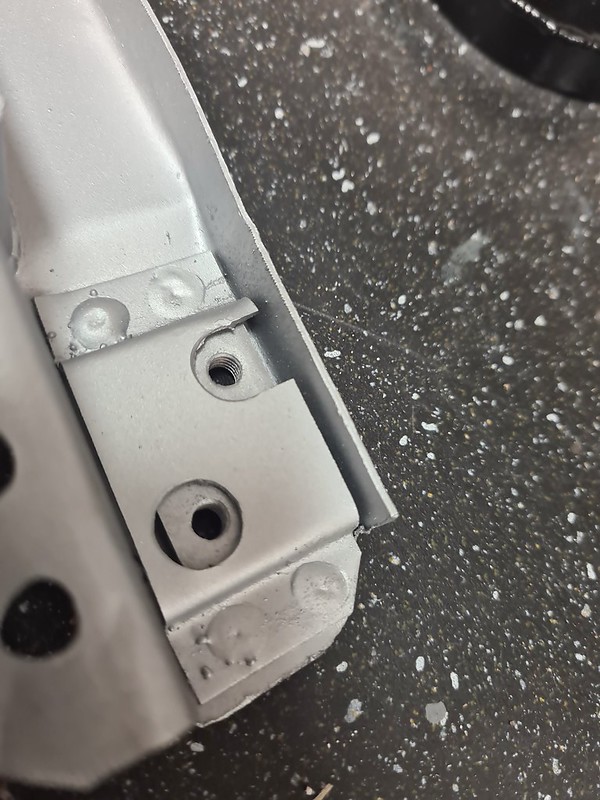
Had a few days off but back on it today. Inner seat rail support was looking a bit sorry for itself and price of a new one was £270.
Took a while but pleased with the result.
 2021-04-07_01-18-08
 by
richard cannings, on Flickr
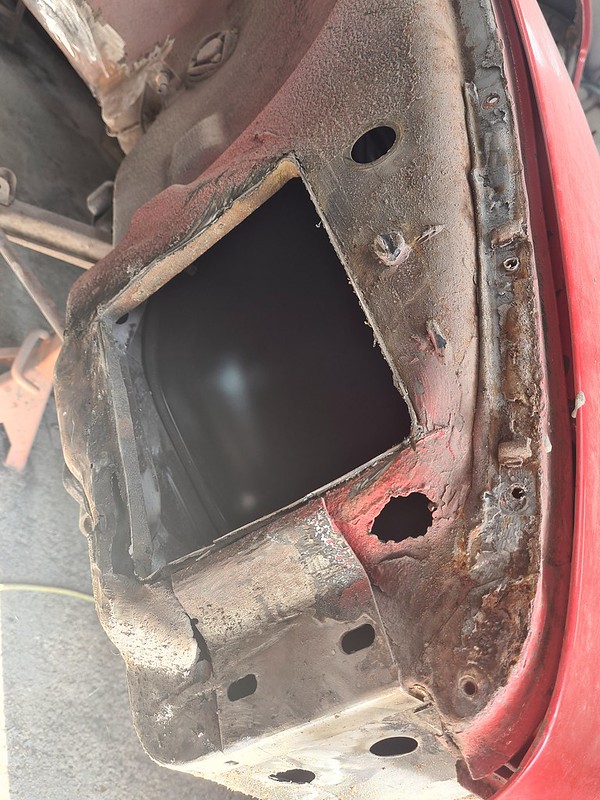
 2021-04-07_01-18-20
 by
richard cannings, on Flickr
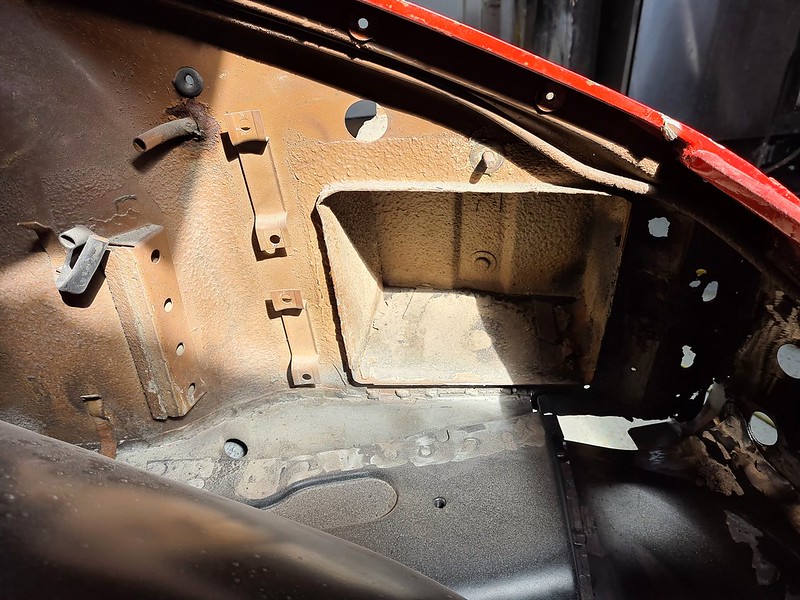
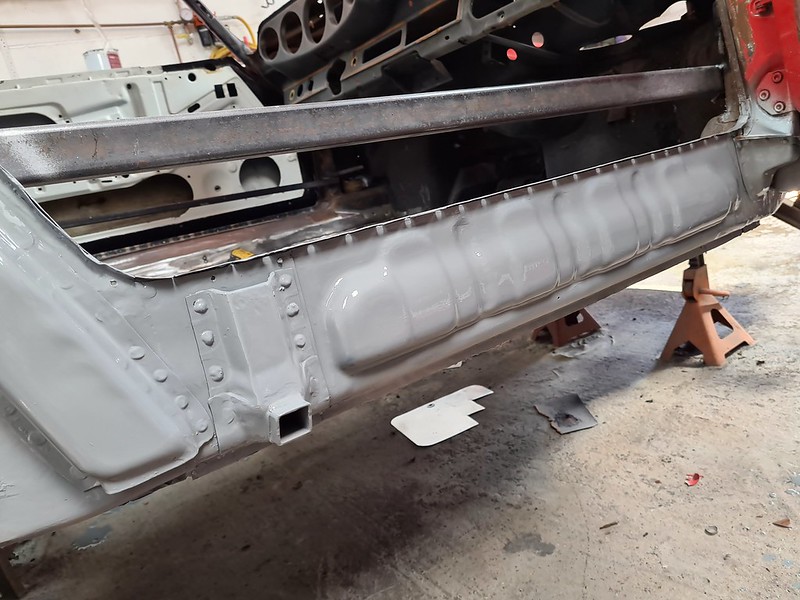
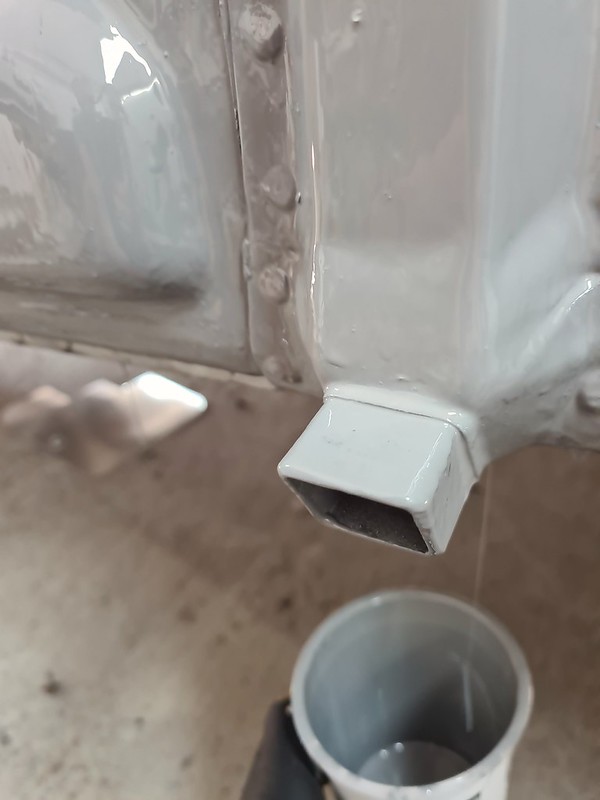
Just finished welding it in along with the jacking point and harness mount so hoping to get the inner sill fitted tomorrow.
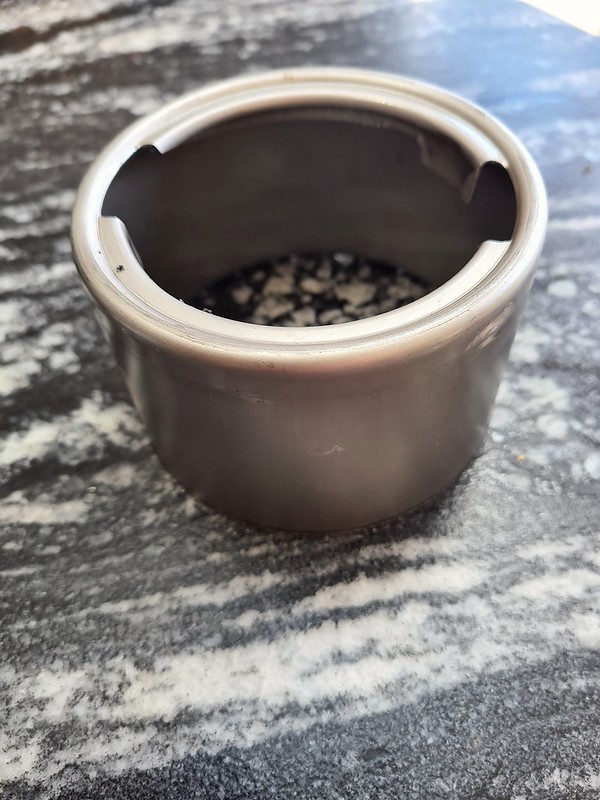
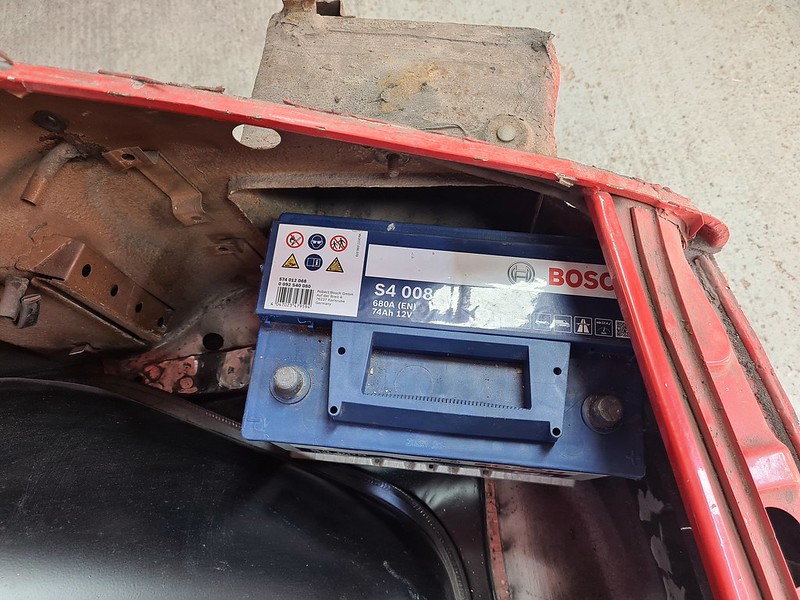
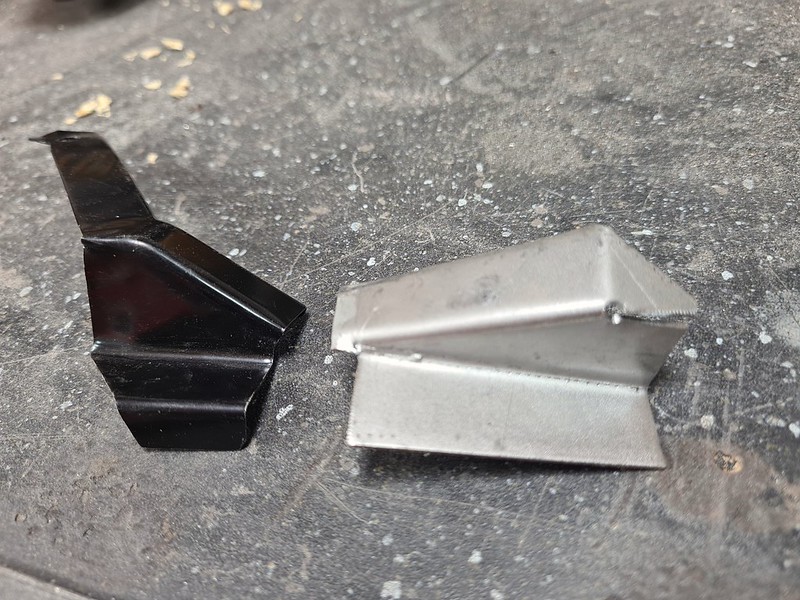
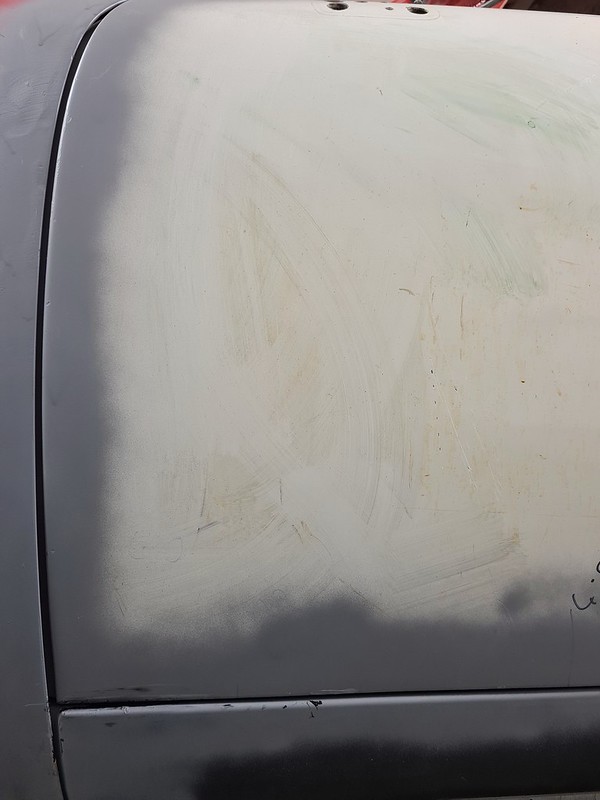
Some shiny bits arrived today.
 2021-04-07_01-18-51
 by
richard cannings, on Flickr
Plan it to make my own ST type shelf mounts.
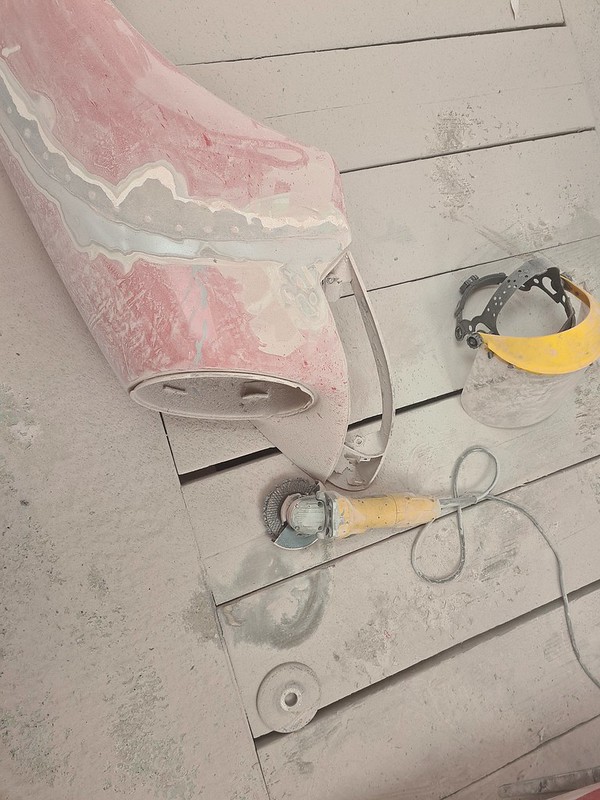
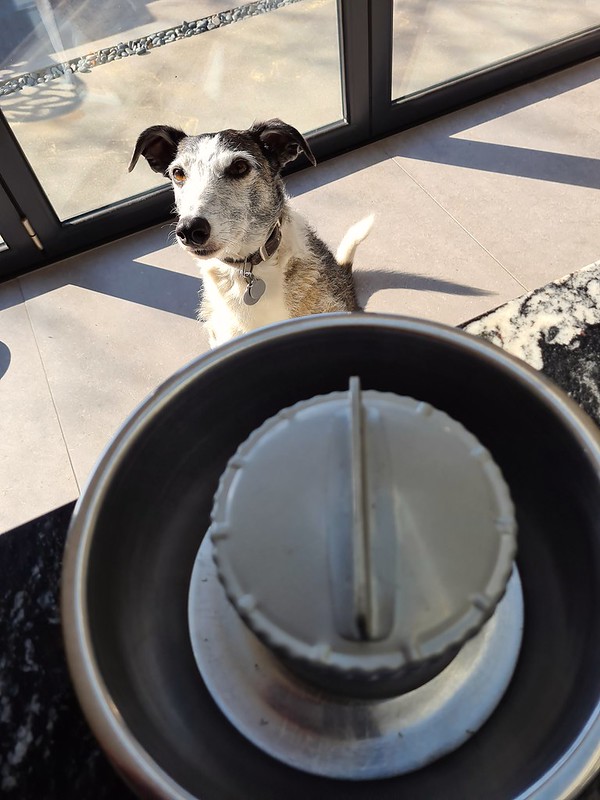
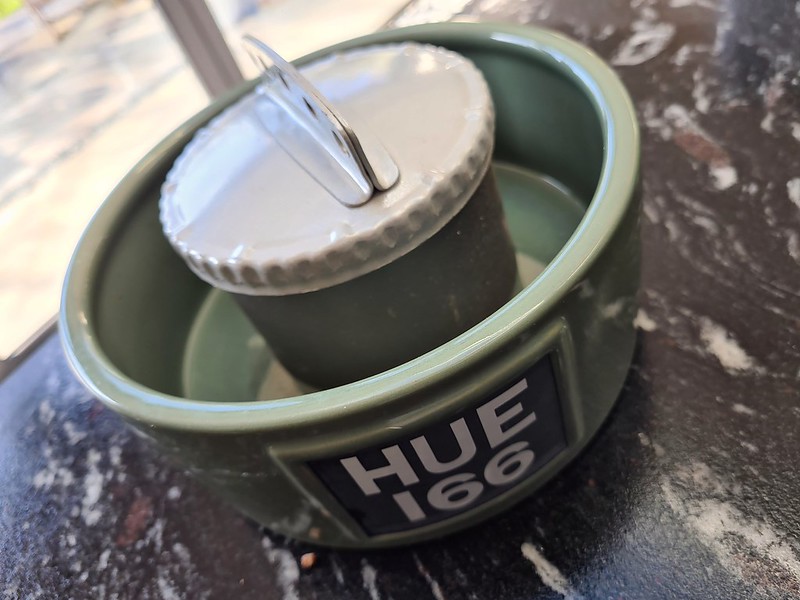
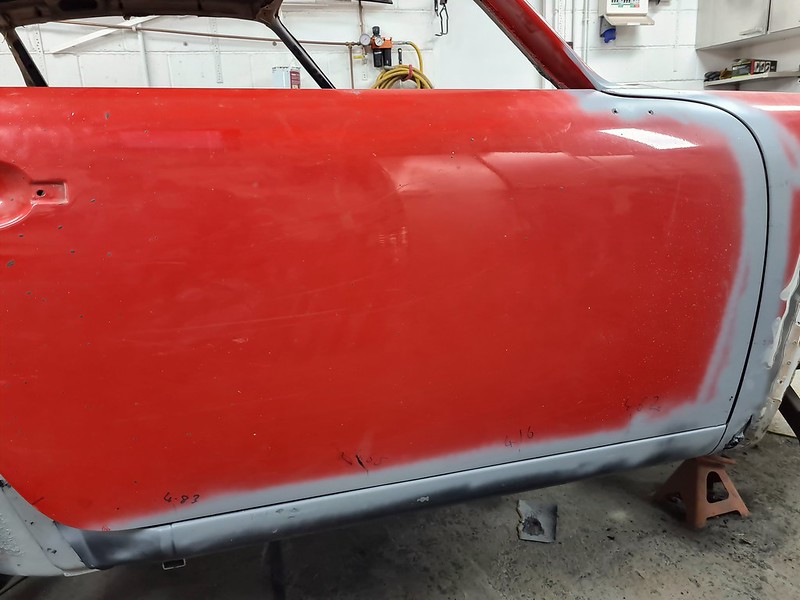
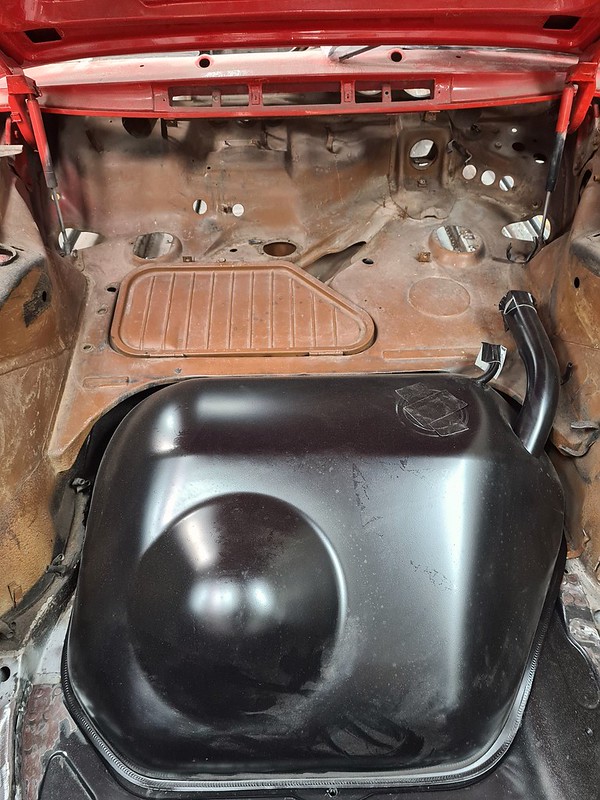
Correct tank arrived too, no problems with D911 exchanging it and it was less than £530 which is the best price I've seen them for.
 2021-04-07_05-57-27
 by
richard cannings, on Flickr
I managed to get an ST filler cap a while ago but still need the neck. Does anyone have a source for the neck without buying a kit? I can get the kit for £172 but was hoping that the neck is the same as a classic bus or something and can be had for £20 but haven't found one yet.
Rich