Meet Ralph - 1970 ST project

Ongoing and archived Porsche (and other marques) restoration threads from DDK members

Moderator: Bootsy

rich73
Married to the DDK
Posts: 256
Joined: Wed Feb 18, 2015 10:37 pm

Re: Meet Ralph - 1970 ST project

Post by rich73 »

Few days off and back to it, made a start on the Left side. Looks worse than the right but don't think it will take that much longer, just slightly bigger panels.
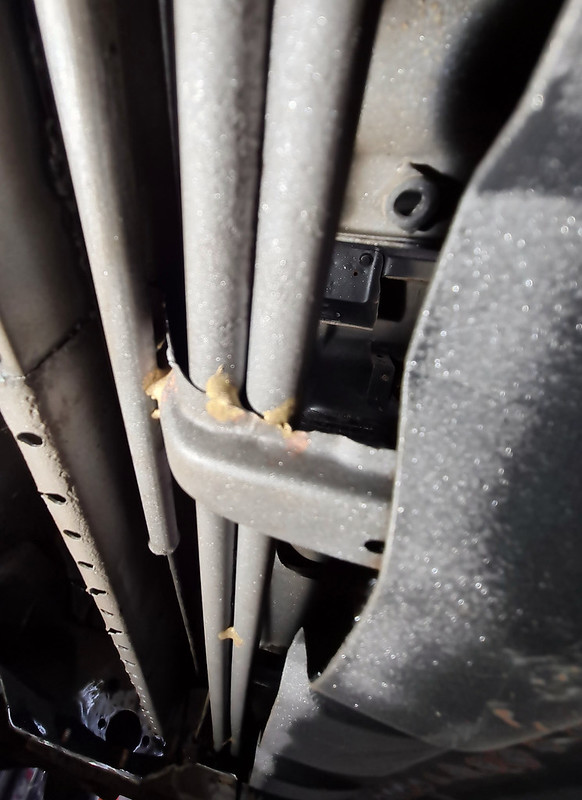
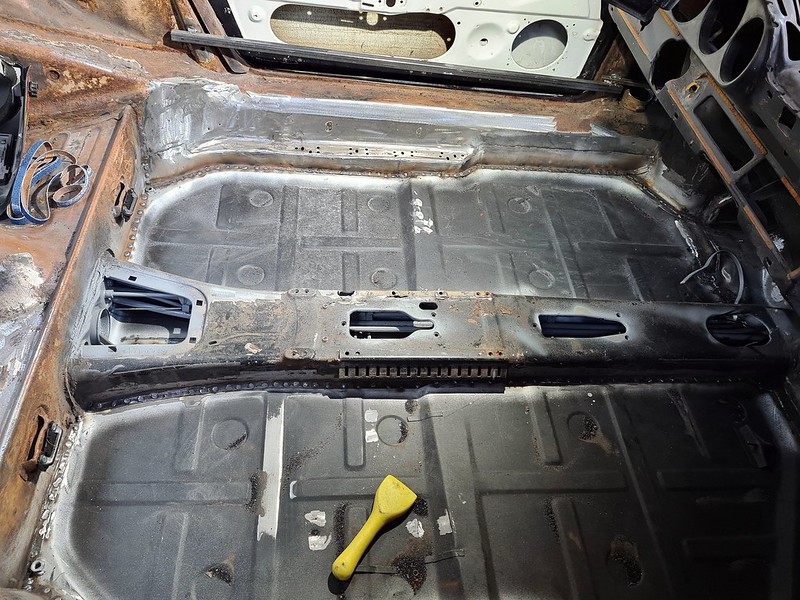
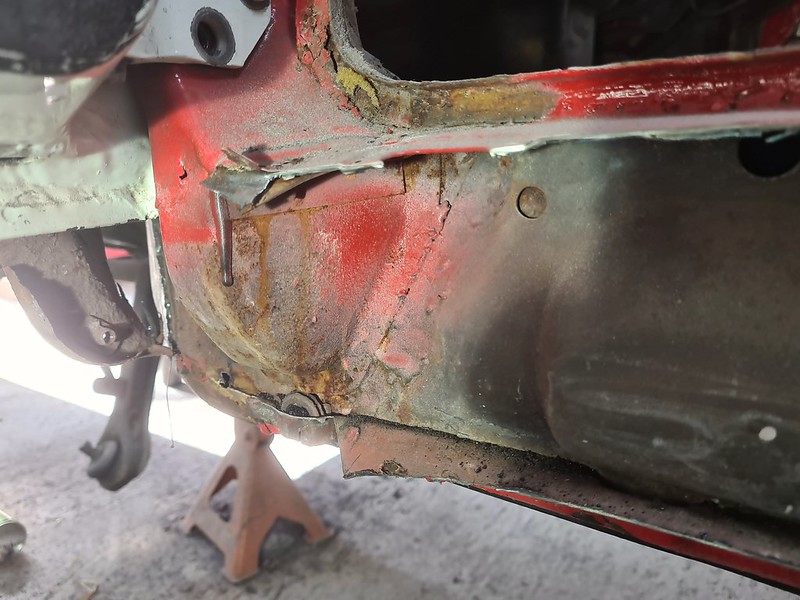
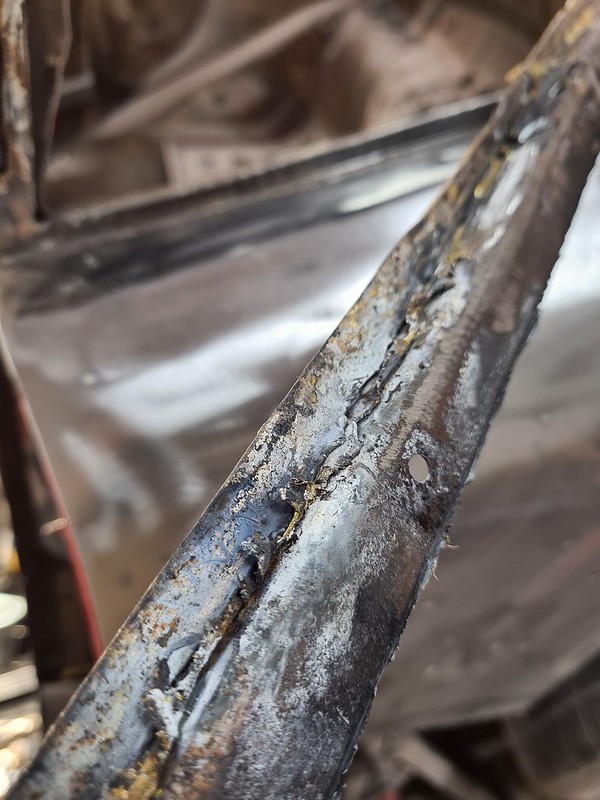
Plasma to get the floor out.

ImageB by richard cannings, on Flickr

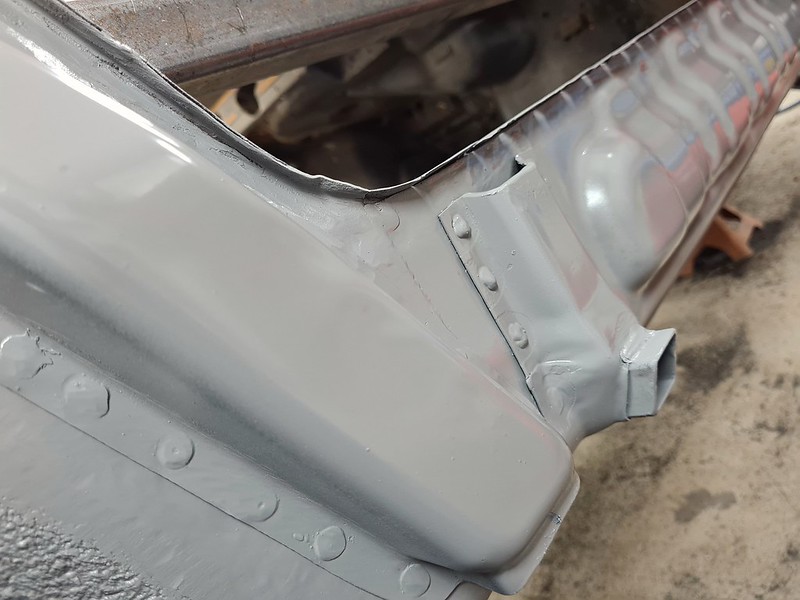
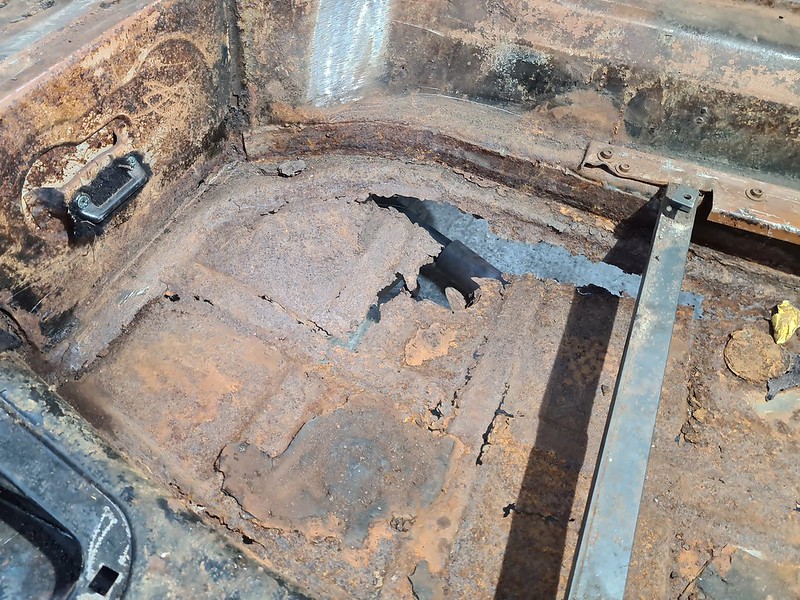
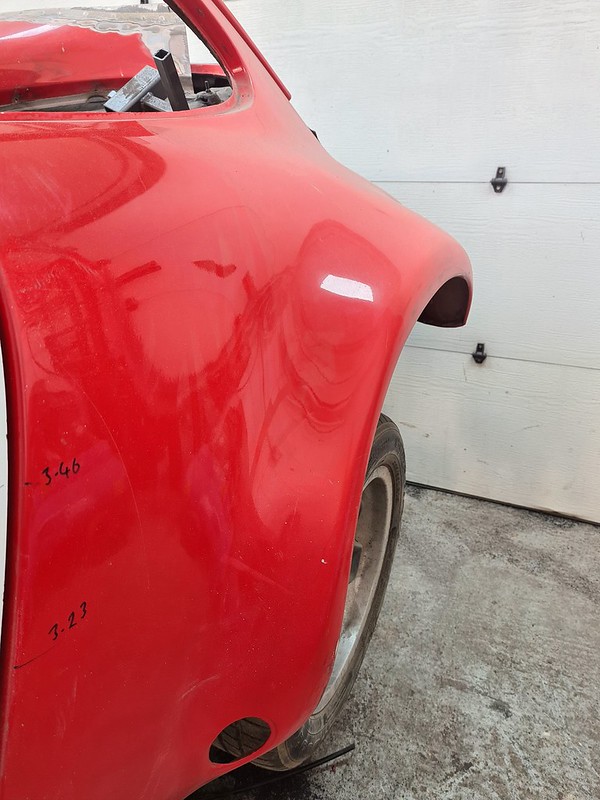
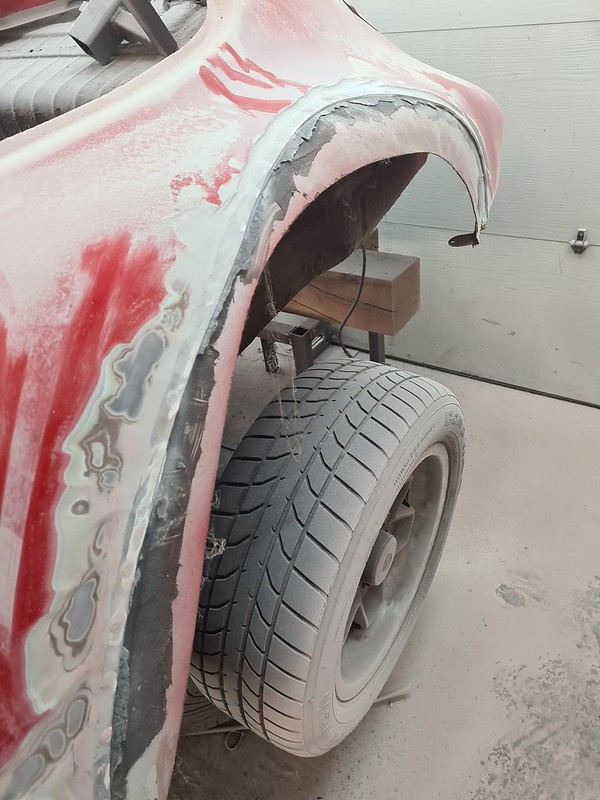
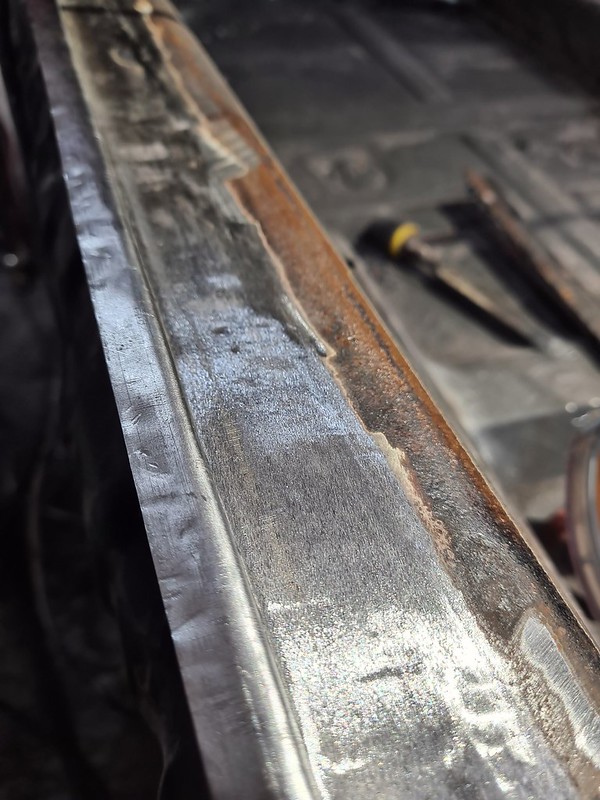
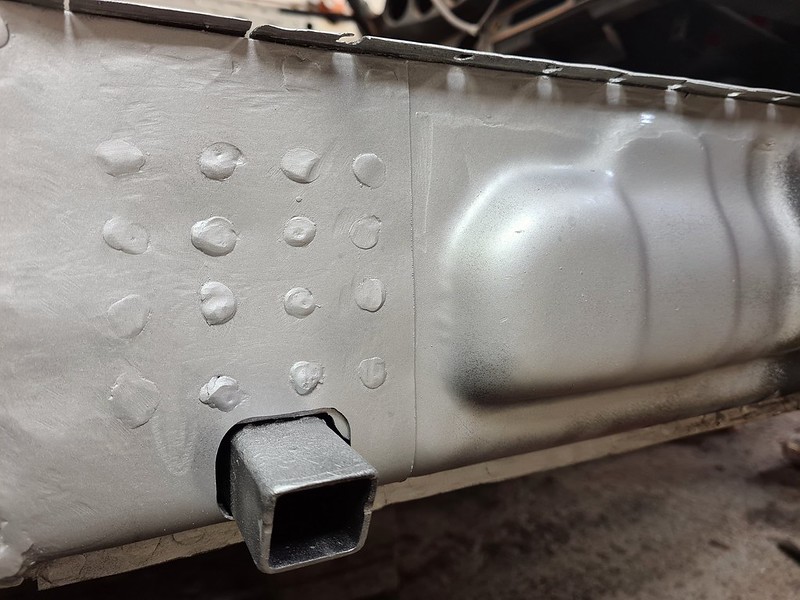
Looks a bit grim but having done the other side first was feeling confident.

ImageH by richard cannings, on Flickr

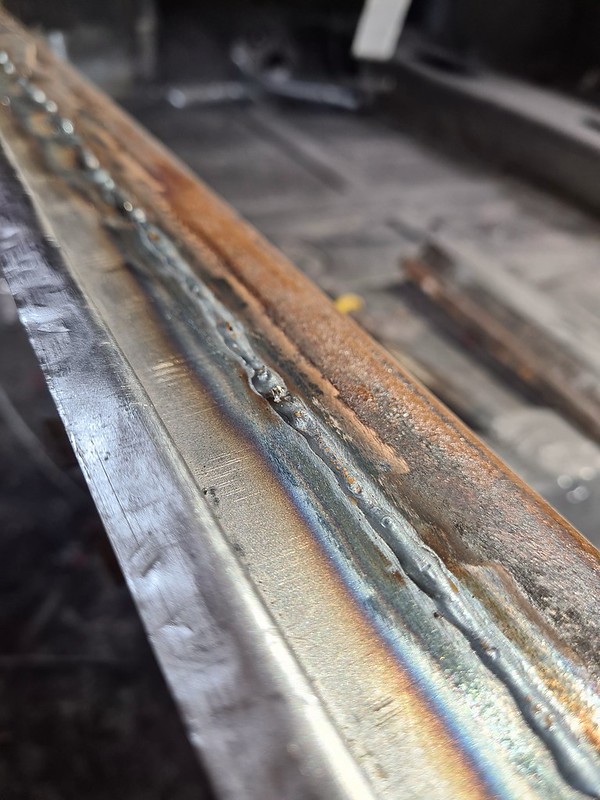
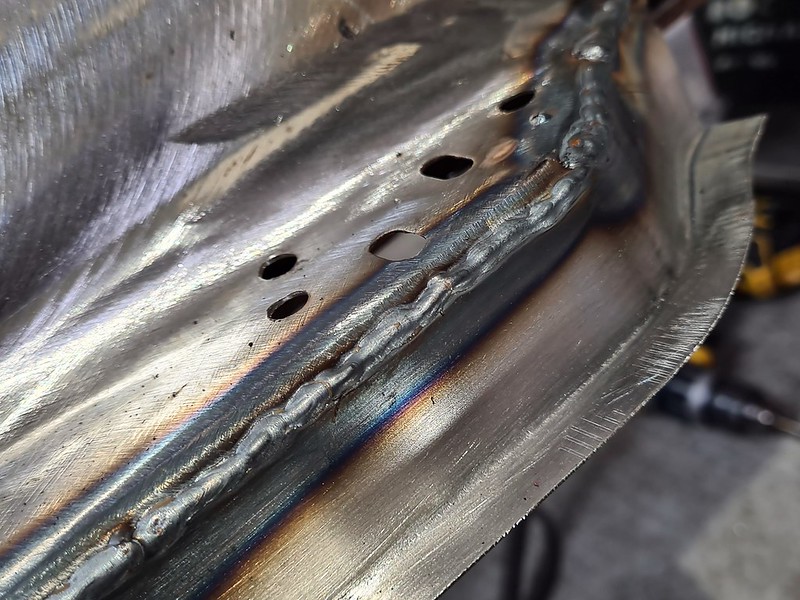
Forgot just how quick the MIG is.

ImageV by richard cannings, on Flickr


ImageH by richard cannings, on Flickr


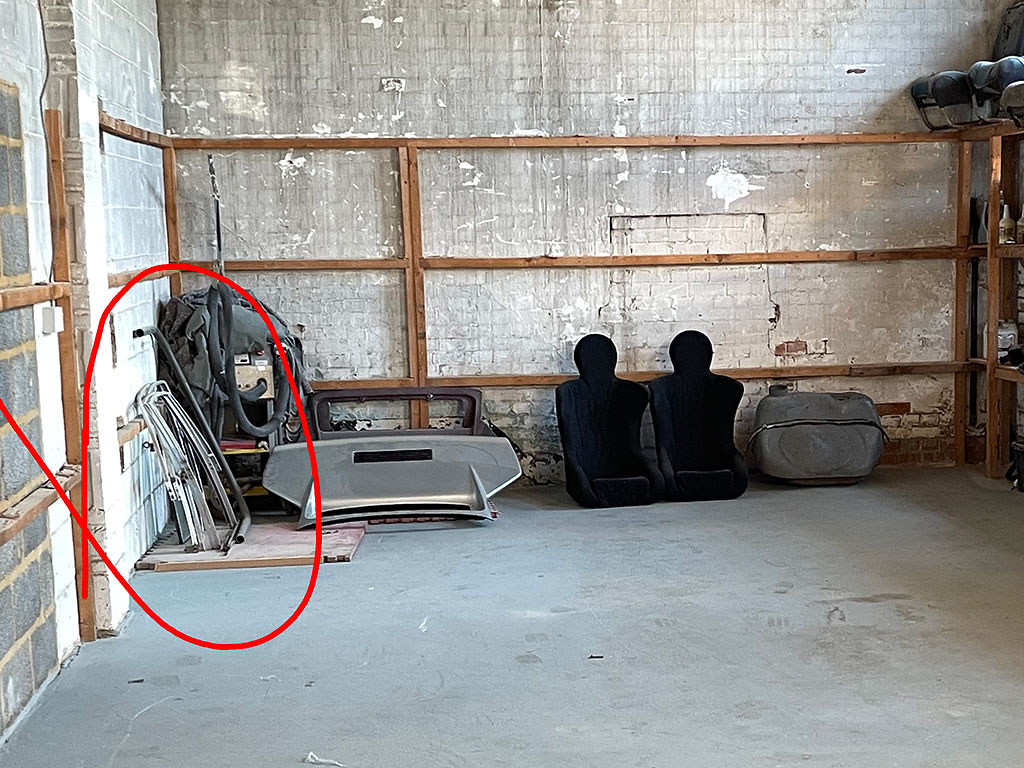
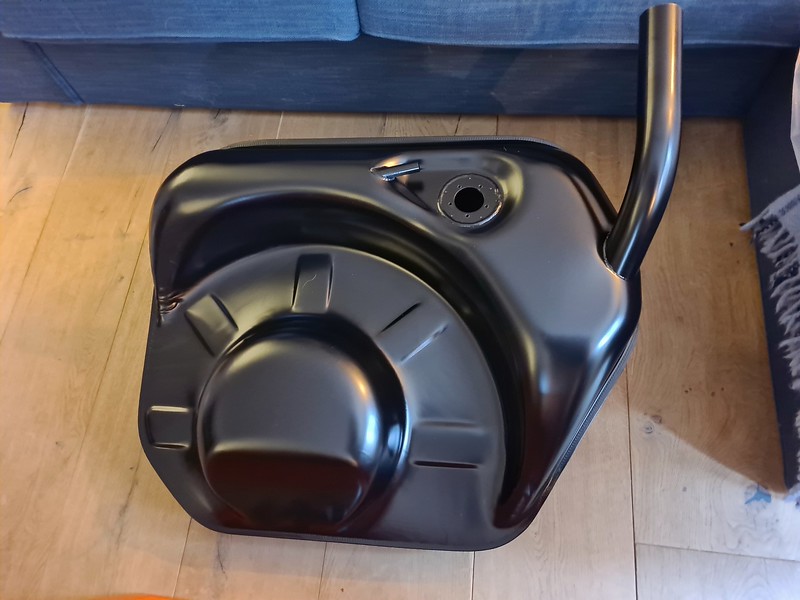
Also started to get hold of parts for the next stage. Managed to get a 100l fuel tank at a sensible price, looking on eBay prices seem to be going up so glad to get hold of that. Really pleased to get a strut brace on ebay for £80 delivered, looks like the CarPoint one that someone didn't get round to fitting.

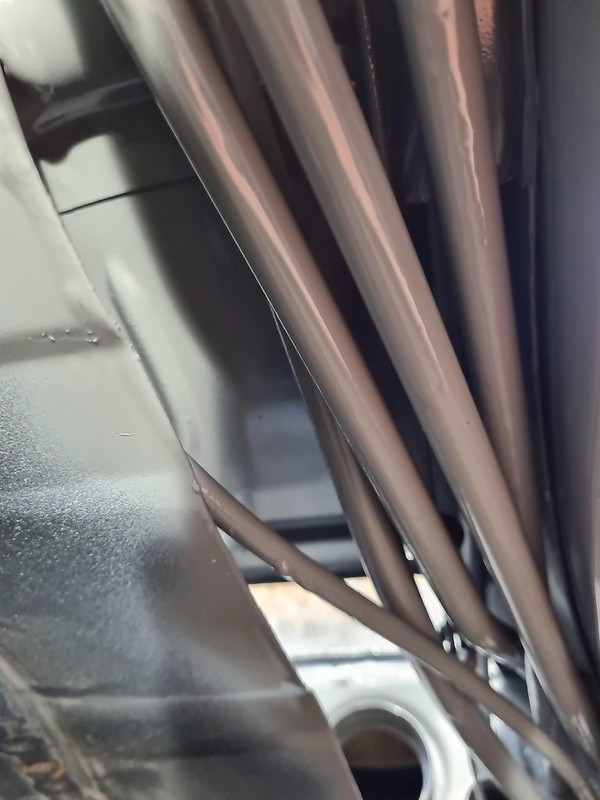
Also starting to think about the roll bar, I've been looking at the CarPoint one but been putting off buying as at seemed a bit expensive for what it was by the time it was shipped. Looked at it again the other day and they've stopped shipping to the UK. Decision made there then, started to think about getting the tubes bent and making my own.
From what I've found online the centreline bend for the main hoop should be about 270mm, this seems to be the main issue. Place on ebay can do max 150mm and will deliver all the tubing and do the bends for around £150 which sounds reasonable. Manged to find a place in Woking that can do the correct radius but want £250 +vat supply only for a bent tube!
Anyone used one of these?

https://www.frost.co.uk/metal-fabricati ... ng-roller/

Hoping to start welding the floor panel in tomorrow.
User avatar
Darren65
Nurse, I think I need some assistance
Posts: 7868
Joined: Mon Dec 13, 2010 10:55 pm
Location: North Wiltshire
Contact:

Re: Meet Ralph - 1970 ST project

Post by Darren65 »

If it helps I have a spare main tube section already bent in the correct 40mm tubing. You would still need the rear legs, feet and cross section although easy work for a man with your talents.

Yours for a donation to the DDK charity, collection from Swindon.

Image

Cheers,
rich73
Married to the DDK
Posts: 256
Joined: Wed Feb 18, 2015 10:37 pm

Re: Meet Ralph - 1970 ST project

Post by rich73 »

Hi Garry,
Wow, thanks very much for the offer. I may take you up on that , need to confirm but may be passing Swindon in the next few weeks so could be ideal.

Media blasting of the tunnel yesterday, not my favourite job but no horrors found.

ImageHh by richard cannings, on Flickr

Then gave a blast of this for good measure.

ImageH by richard cannings, on Flickr

Plan is to epoxy prime from underneath while I've got access, then from above with the floor fitted.

Was thinking I'd replace the brake line but if anyone can recommend any other jobs to in the tunnel do while I've got access then please let me know now!!!

Probably wait until Monday to weld to floor in just in case I've missed anything.
sladey
Nurse, I think I need some assistance
Posts: 8729
Joined: Sat Apr 23, 2005 9:08 pm
Location: Nottingham, UK

Re: Meet Ralph - 1970 ST project

Post by sladey »

Who's Garry?
The simple things you see are all complicated
I look pretty young but I'm just backdated yeah
rich73
Married to the DDK
Posts: 256
Joined: Wed Feb 18, 2015 10:37 pm

Re: Meet Ralph - 1970 ST project

Post by rich73 »

He's probably the result of a multitasking crossover error.....Or I was thinking about Carrie Fisher's dog.
Sorry, Thanks Darren!
Last edited by rich73 on Fri Mar 26, 2021 5:07 pm, edited 1 time in total.
rich73
Married to the DDK
Posts: 256
Joined: Wed Feb 18, 2015 10:37 pm

Re: Meet Ralph - 1970 ST project

Post by rich73 »

Sladey,
I can recommend Ron Covell on Youtube, he's basically the Rob Ross of metalworking.
Rich
rich73
Married to the DDK
Posts: 256
Joined: Wed Feb 18, 2015 10:37 pm

Re: Meet Ralph - 1970 ST project

Post by rich73 »

Only spent an hour on the car over the weekend but great to get some epoxy on the car and see something clean and shiny at last. Even if something isn't rusty Sepia Brown makes it look rusty.

ImageJj by richard cannings, on Flickr

ImageN by richard cannings, on Flickr

Hours of fun looking at colours that aren't Sepia Brown on here....

https://www.rennbow.org/
rich73
Married to the DDK
Posts: 256
Joined: Wed Feb 18, 2015 10:37 pm

Re: Meet Ralph - 1970 ST project

Post by rich73 »

100l tank arrived from D911.... :roll:

ImageH by richard cannings, on Flickr

Maybe the other 38l will arrive tomorrow.

On a more positive note we now have floor, long day but pleased with the result.

ImageFloor by richard cannings, on Flickr

Can't resist a before shot.

ImageBefore by richard cannings, on Flickr
rich73
Married to the DDK
Posts: 256
Joined: Wed Feb 18, 2015 10:37 pm

Re: Meet Ralph - 1970 ST project

Post by rich73 »

Last RSR arch shot(attached to the car).

Image2021-03-31_03-53-06 by richard cannings, on Flickr

and gone!

Image2021-03-31_03-53-19 by richard cannings, on Flickr

I was worried that there wouldn't be enough original arch left to attach the ST arches to but there seems to be plenty.

Some areas look better than the other side and some worse, big relief that there were no real horrors though.

Image2021-03-31_03-53-36 by richard cannings, on Flickr

Image2021-03-31_04-04-51 by richard cannings, on Flickr

I was hoping to keep the top lip of the inner sill but it was was slightly pitted on the inside, decision was made to replace when I removed the centre sill that was brazed. Thought heating with oxy would remove cleanly., it didn't.

Image2021-03-31_03-56-57 by richard cannings, on Flickr

New lip fitted and things starting to look better.

Image2021-03-31_03-54-19 by richard cannings, on Flickr

Image2021-03-31_04-09-46 by richard cannings, on Flickr

Image2021-03-31_03-54-52 by richard cannings, on Flickr

End cap for the heater tube not looking happy, cue overengineered part of the day.

ImageHgc by richard cannings, on Flickr

Image2021-03-31_03-52-34 by richard cannings, on Flickr

Big thanks to everyone's detailed restoration threads, they've been an amazing reference for the sill work.

Rich
User avatar
yoda
I need to get out more!
Posts: 3136
Joined: Fri Apr 14, 2006 6:01 am
Location: London

Re: Meet Ralph - 1970 ST project

Post by yoda »

Good skills, very impressive work.
The force is strong in this one ......
User avatar
Bootsy
Site admin and the Boss
Posts: 23904
Joined: Sat Nov 08, 2003 6:09 pm
Location: Norwich
Contact:

Re: Meet Ralph - 1970 ST project

Post by Bootsy »

You're not messing about!
1972 911T | 1994 993 Carrera | 1999 986 Boxster | 1990 T25 Camper

Vintage Heuer, Omega, Zenith and other vintage watches - http://www.heuerheritage.co.uk
jtparr
DDK 1st, 2nd and 3rd for me!
Posts: 2237
Joined: Mon May 24, 2004 10:54 pm
Location: london/surrey

Re: Meet Ralph - 1970 ST project

Post by jtparr »

Excellent stuff...love the process
1974 2.7 Carrera
(full restoration. now as an RS Touring)
1963 3.8 E Type
( 11 years in the making…………………….)
1952. XK120…the next one ……….……..)
deano
I luv DDK!
Posts: 756
Joined: Wed Jul 22, 2020 11:34 am

Re: Meet Ralph - 1970 ST project

Post by deano »

Great skills !

Am I correct in thinking that you cut out the sheet metal under the jack reinforcement, including the end part of the inner sill that goes behind it?

I am just stripping my car for new sills, kidney and jack tube/support. Have removed all of the inner sill except the section that goes behind the metal that the jack reinforcement sits on. I see spot welds just to the left of where the jack reinforcement was, but no other spots visible? Any chance you might be able to tell from the back of the bit you cut off where else that underlapping end of the sill is welded?? Maybe the factory spot welded the jack reinforcement and the inner sill end sections together - its very hard to tell from the outside!

All the best! :cheers:
Dean
1973T Targa MFI 334 met blu- under restoration https://www.ddk-online.com/phpBB2/viewt ... 28&t=67060
1980 924 Turbo, blu/grn tartan - restored
rich73
Married to the DDK
Posts: 256
Joined: Wed Feb 18, 2015 10:37 pm

Re: Meet Ralph - 1970 ST project

Post by rich73 »

Hi Dean,
Yes I removed all the inner sill including anything behind/in front near the jacking point reinforcement. To be honest my sills had been repaired before so I couldn't tell how things were originally. It may be that yours can be done differently if things aren't as far gone as mine but someone else will have to advise on this.

I used images from restoration threats on here for reference and they all seemed consistent in that the inner sill is fitted first, then an extension is made to steel that goes under the kidney bowl to overlap the inner sill by about 10cm. I drilled holes in the overlap and plug welded.

ImageH by richard cannings, on Flickr

Jack reinforcement went over the top of this.

Image2021-04-01_02-10-52 by richard cannings, on Flickr

If any of this is incorrect then please correct me, its the first time I've done this.

I'll probably have the weekend off but can take pictures as I do the other side next week.

Rich
deano
I luv DDK!
Posts: 756
Joined: Wed Jul 22, 2020 11:34 am

Re: Meet Ralph - 1970 ST project

Post by deano »

Thanks Rich. Yours looks good and consistent with other replacements that I have seen. I dont have any prior experience but I think, if the jacking points line up to the associated cutouts on the inner and outer sills, and the angle of the jack receiver and height position of its reinforcement are correct, and it protrudes by about the right amount (I measured 40 mm from tip of jack socket to surface of inner sill), then happy days. I think the bottom flanges, where the inner sill underlaps, should have 3 layers joined together: the floor panel flange, the under-lapping inner sill flange and the flange for sheet metal that goes behind the kidney panel and jack reinforcement (not sure what to call that - inner rear quarter panel?).

I was assuming that I should leave the sheet metal that goes behind the kidney and reinforcement intact if it was good, which it is, but perhaps that's not the best thing to do after all and I need to cut it out and put a new piece back in like you did, to get rid of that under-lapping end of the inner sill !

I'll keep plodding along! :P

:cheers:
Dean
1973T Targa MFI 334 met blu- under restoration https://www.ddk-online.com/phpBB2/viewt ... 28&t=67060
1980 924 Turbo, blu/grn tartan - restored
Post Reply