964 C2 - Rolling Resto

Ongoing and archived Porsche (and other marques) restoration threads from DDK members

Moderator: Bootsy

Trantorman
DDK Newbie
Posts: 17
Joined: Sun Nov 25, 2018 5:12 pm
Location: the frozen north

Re: 964 C2 - Rolling Resto

Post by Trantorman »

rhd racer wrote:Here is the link, states Manchester!

https://www.ebay.co.uk/itm/8X-LAMP-3X7- ... 2921170028

Hope that helps

Brilliant thanks and keep up the good fight with the 964, we all enjoy your updates.
rhd racer
DDK 1st, 2nd and 3rd for me!
Posts: 2043
Joined: Wed Jun 23, 2004 9:47 pm
Location: Nottinghamshire

Re: 964 C2 - Rolling Resto

Post by rhd racer »

Thanks.

After a week out due to a Covid outbreak in the house, I was feeling 'normal' this morning and headed straight outside, after a week of planning in my head what I was going to do, namely;

1. Strip the interior
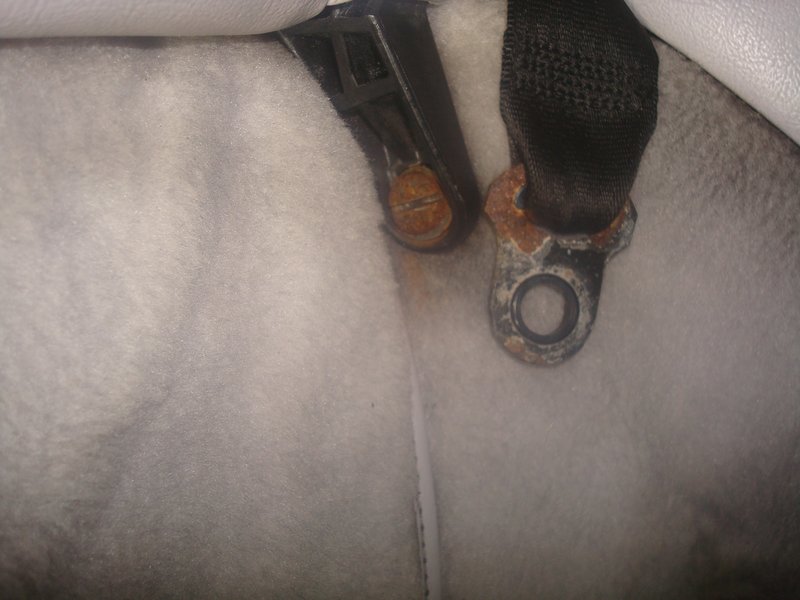
2. Repair the seat mount
3. Repair the loom

Well, I got number 1 completed, but as is often the case I was side-tracked by 'vanity projects' so we will call this update 'scope creep'

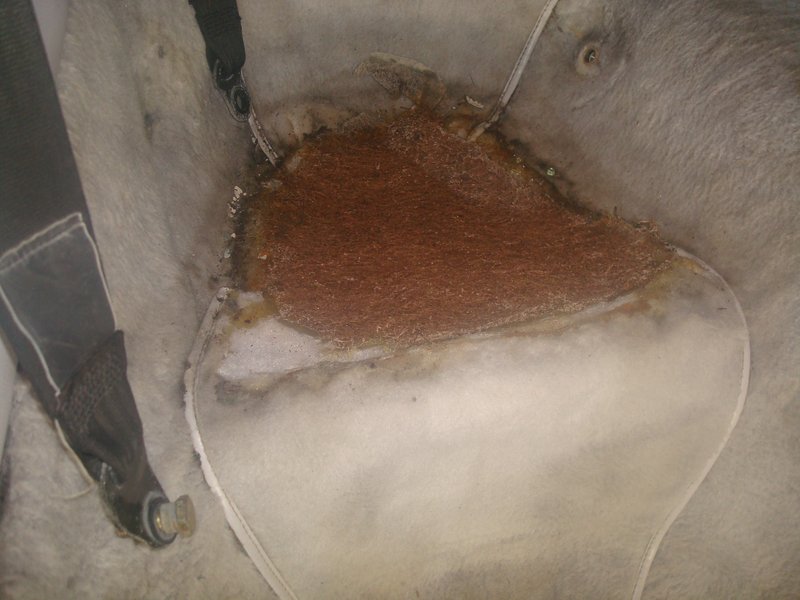
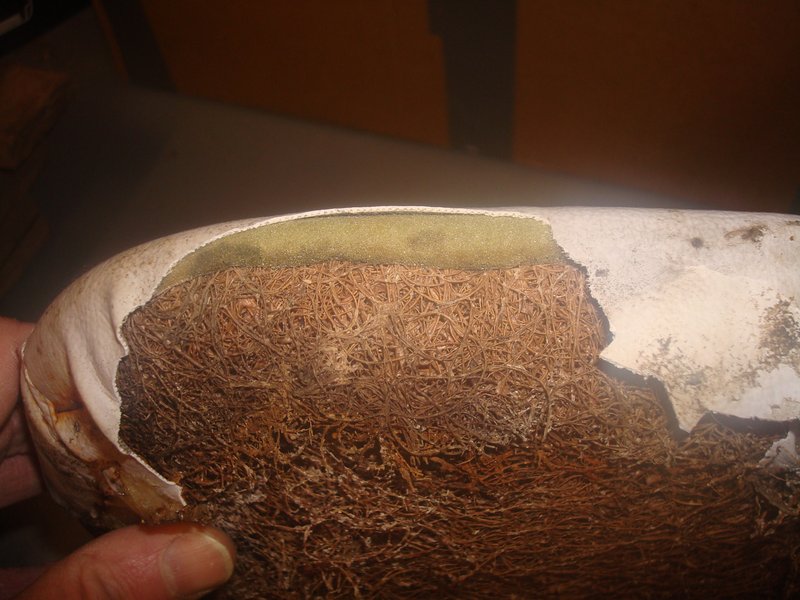
I was looking forward to doing the seat squabs having never done it before. Others spoke so highly of this job that I knew it was the sort of thing that would be enjoyable and almost do itself :lol:

WTActuaF!!!

Each job I do on the car seems to be worse than the last, and this just added to the tally. There are a few things to consider here;

1. Remember the advert from the 70s/80s with a bloke hanging off a board below a helicopter, his overalls being glued to it beforehand? That glue is like what my girls use at school for paper compared to Porsche glue!
2. The seat squabs in a 911 could frankly get away with being attached by gravity alone, what were they thinking? Are the carpets and squabs structural?!!

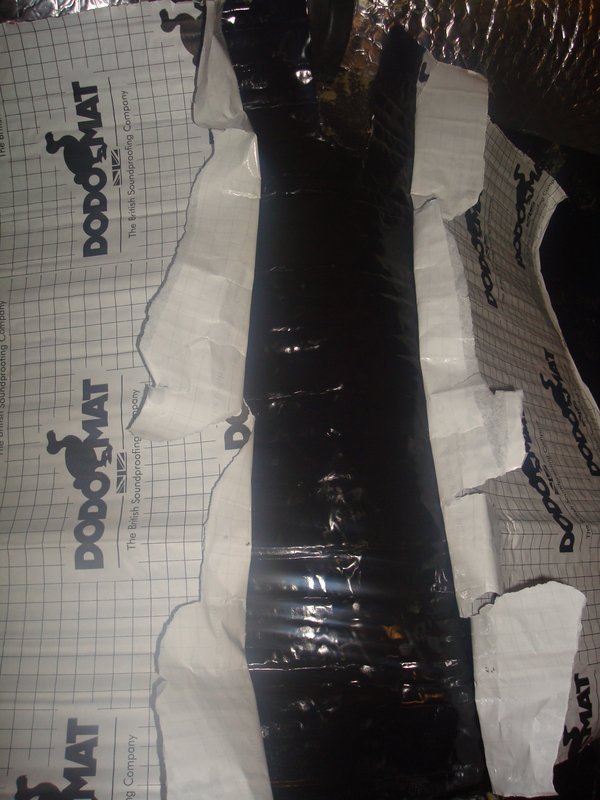
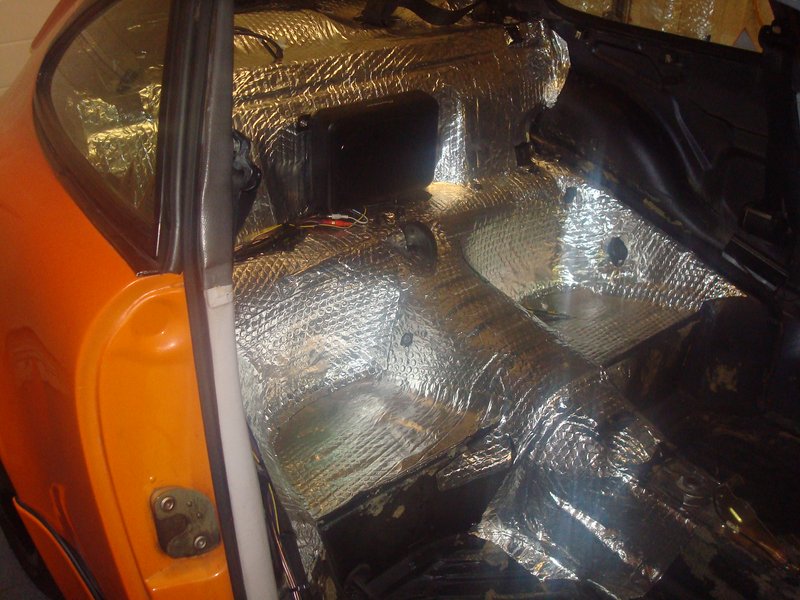
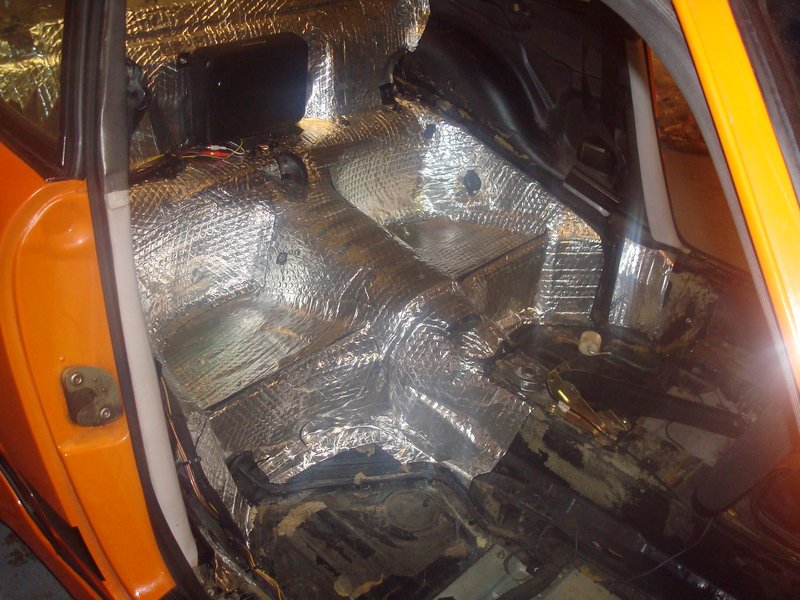
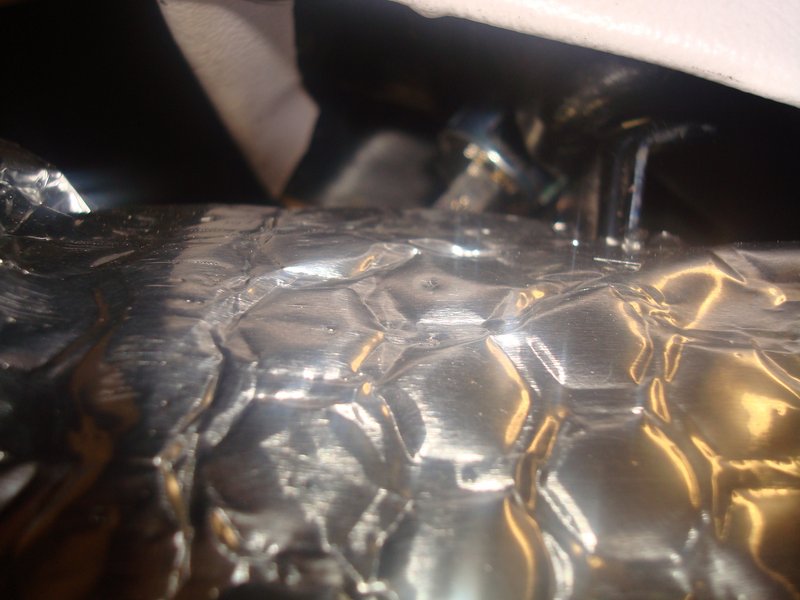
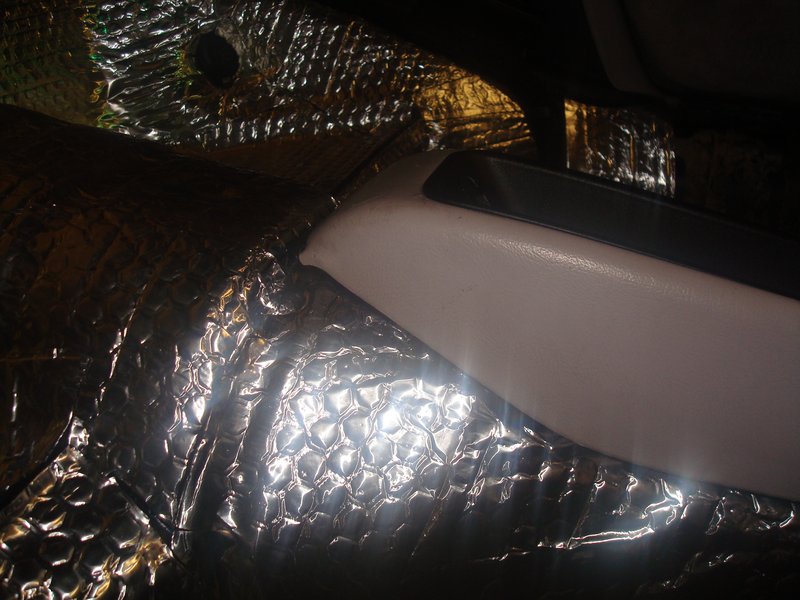
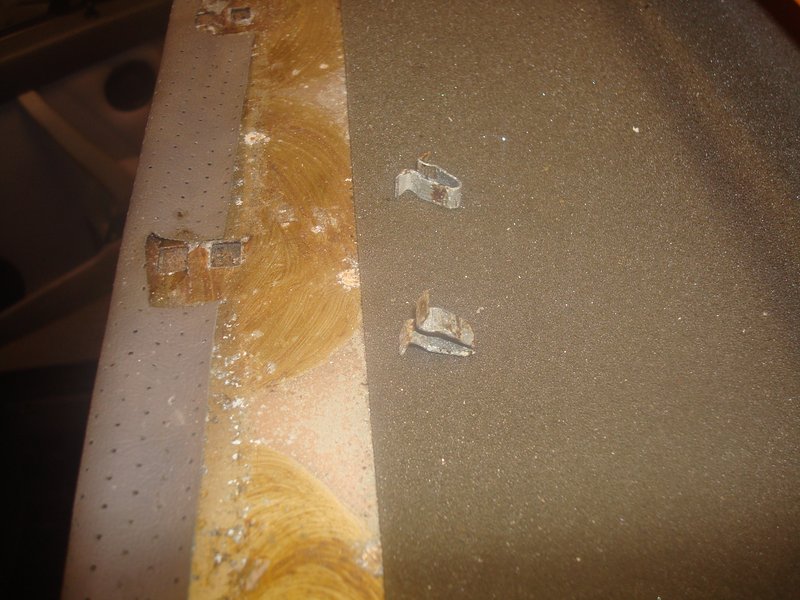
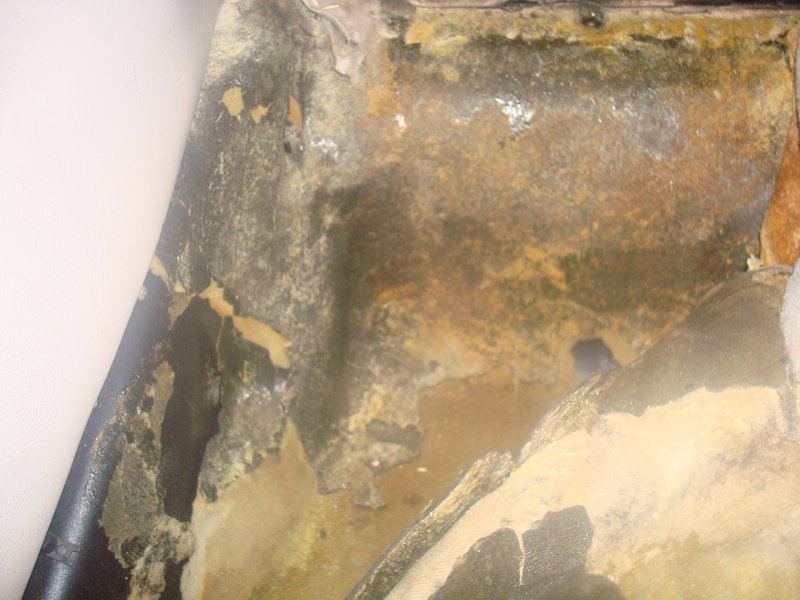
Anyway, my plans to remove the carpet in sections and use as templates for the new set soon turned to dust as they came out in one big fat gluey mess. They pulled the sound deadening with them. This was wet - despite 2 years in the dry. No wonder the car steams up.

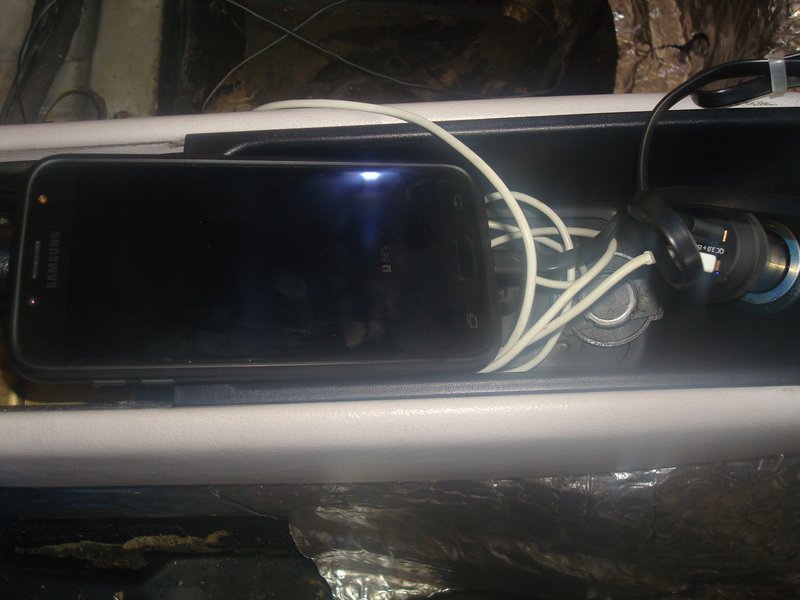
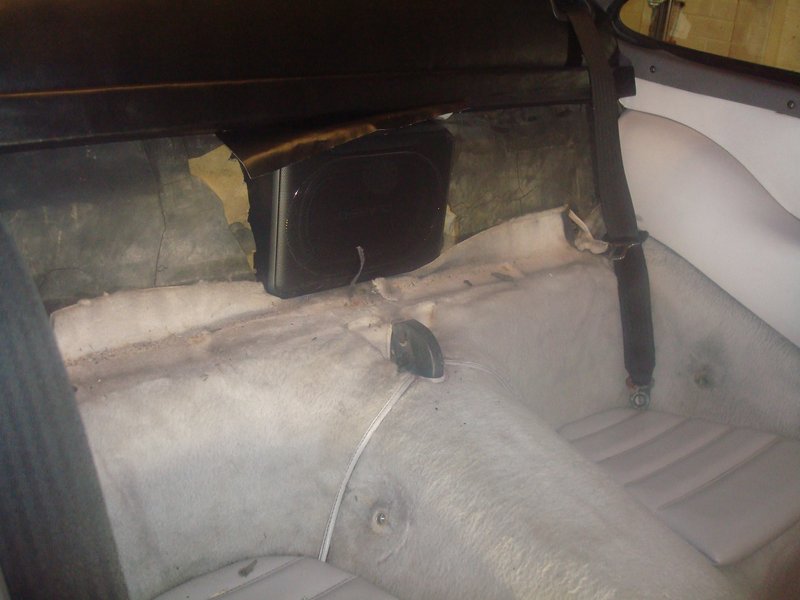
Sorry, getting ahead of myself. Before I did that I needed to remove the rear seats. A simple screw in affair...

Image

Image

Yes, that's an impact driver. After half an hour of smashing it with a hammer I was wondering if I was well enough to be in the garage. So I pressed on with the carpets.

Image

Image

Image

This one tore the leather, which is hard like plastic. I might just get away with it

Image

Some time later

Image

Image

Image

Image

Image

Image

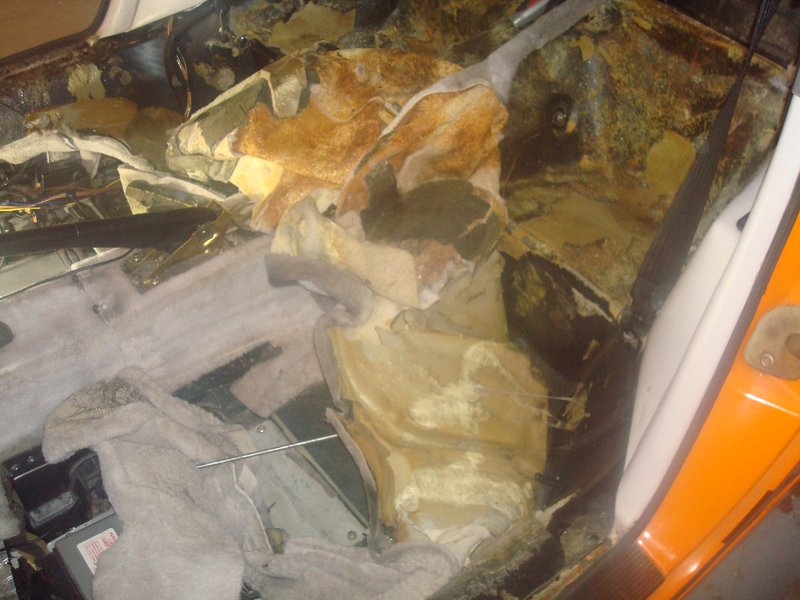
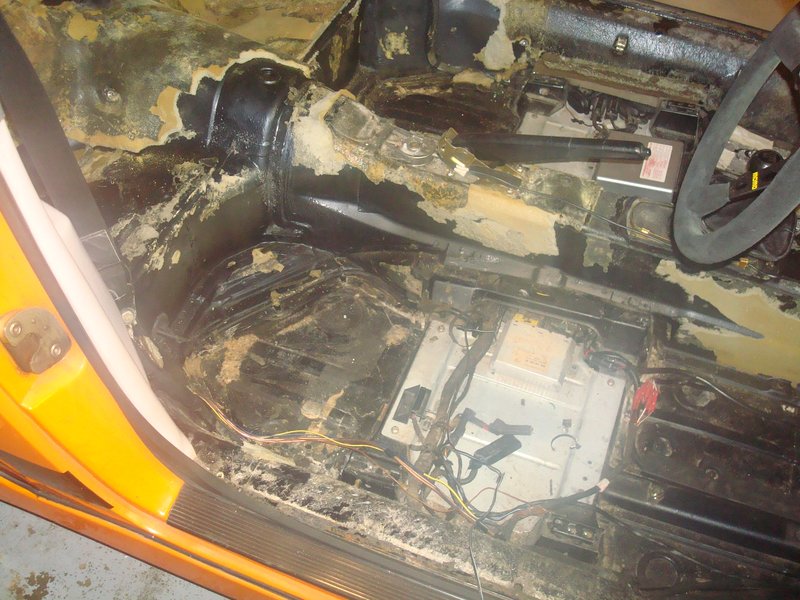
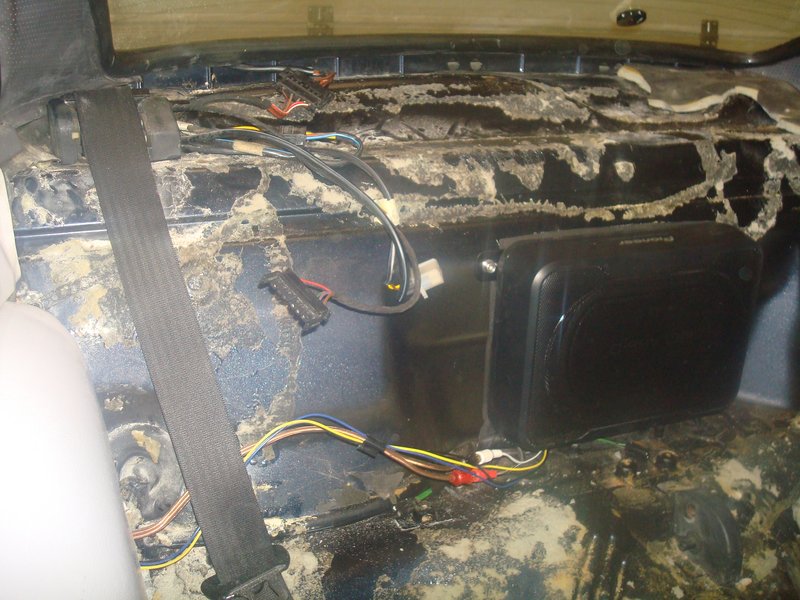
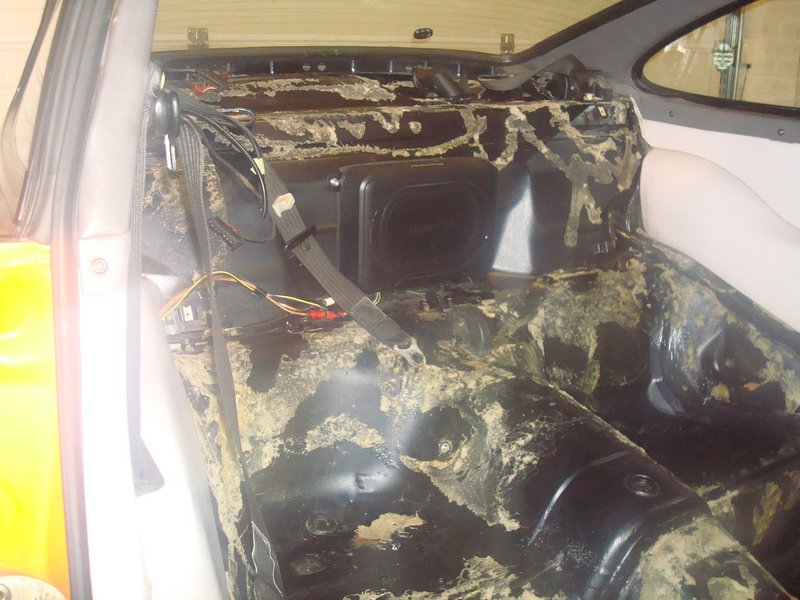
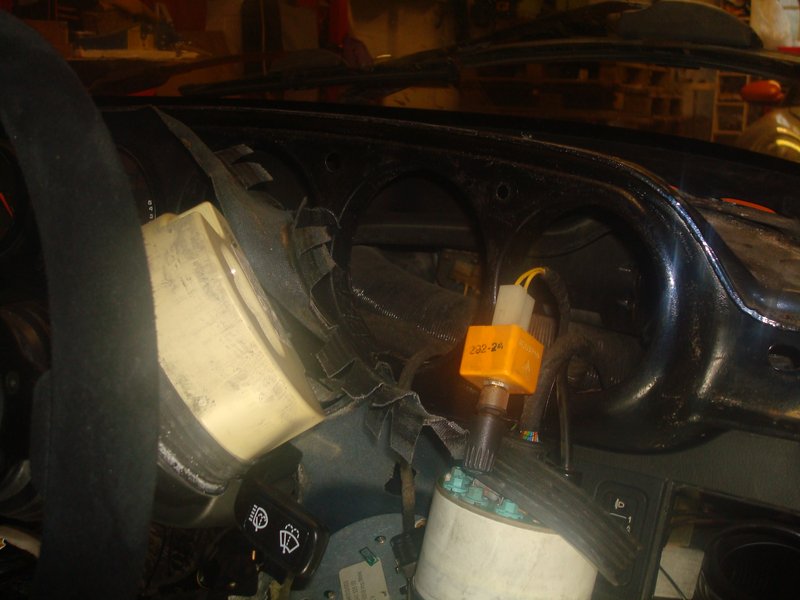
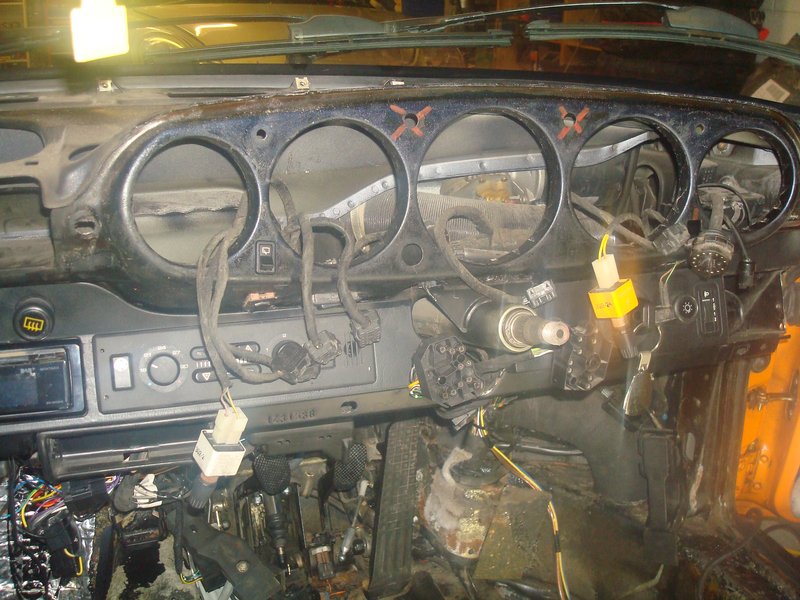
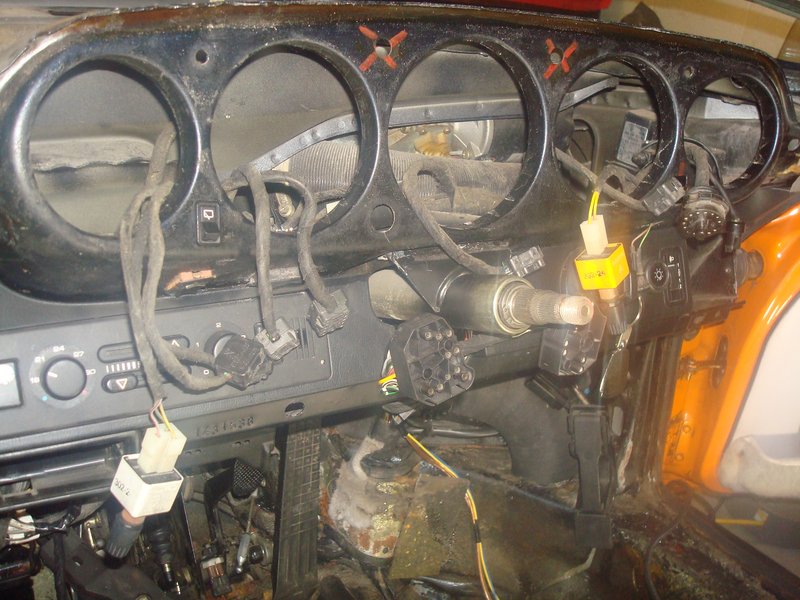
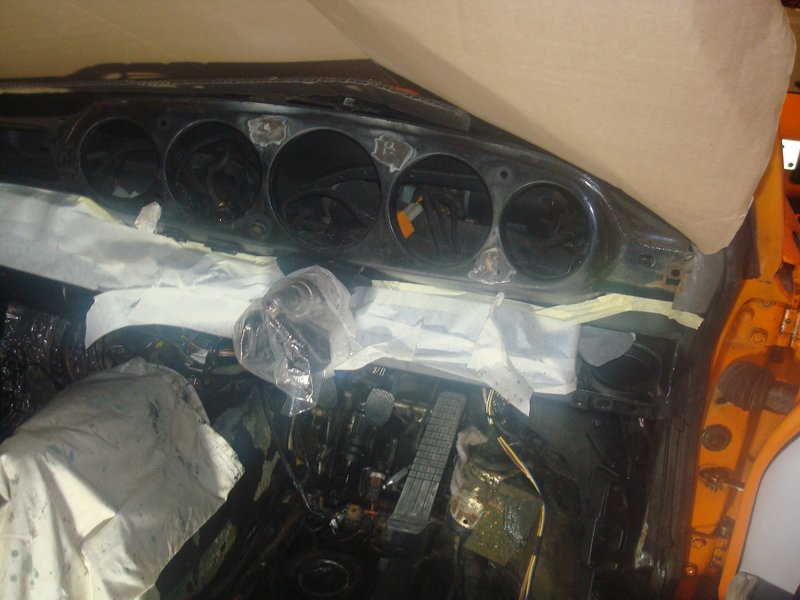
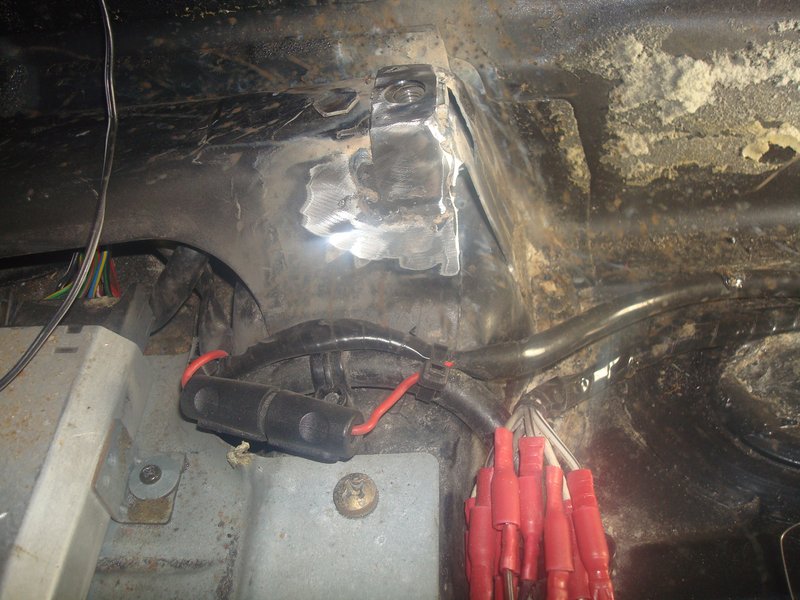
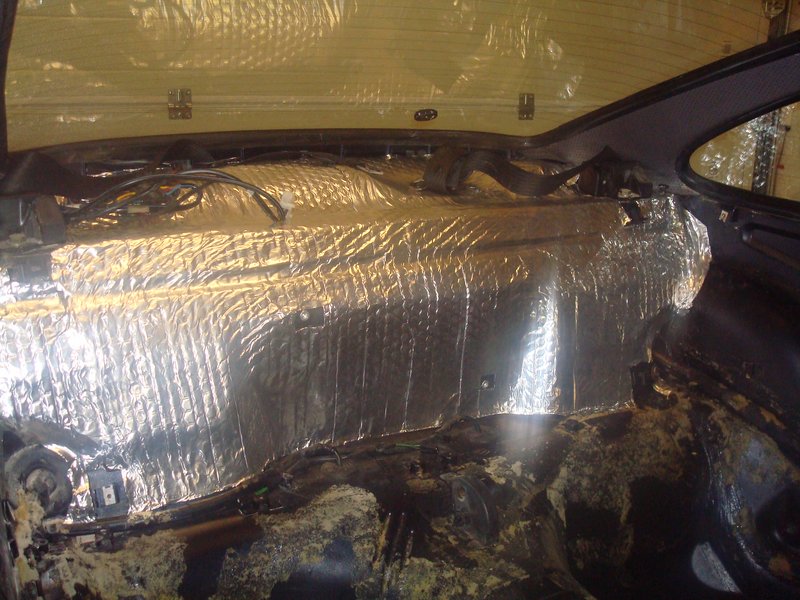
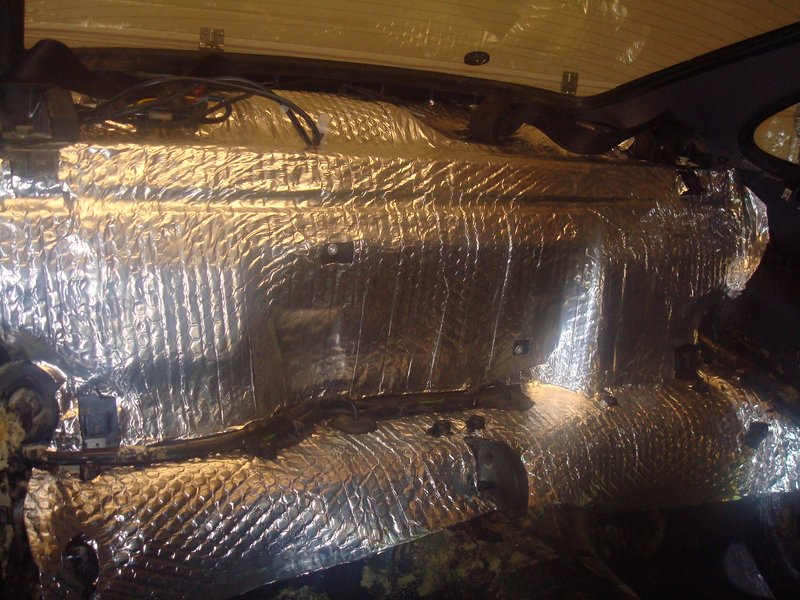
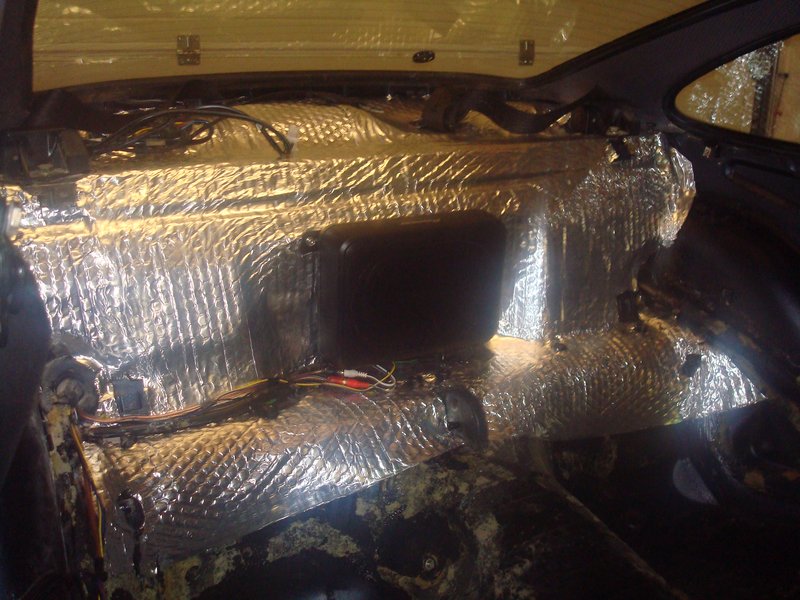
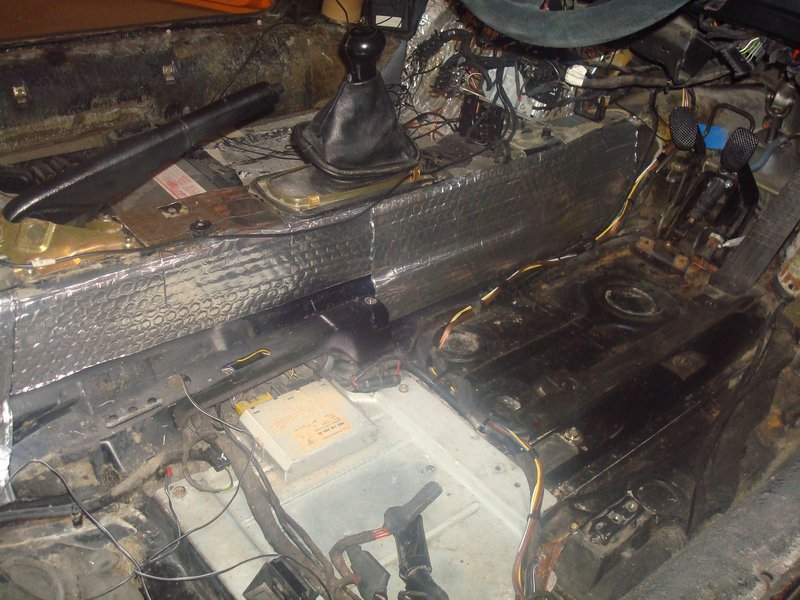
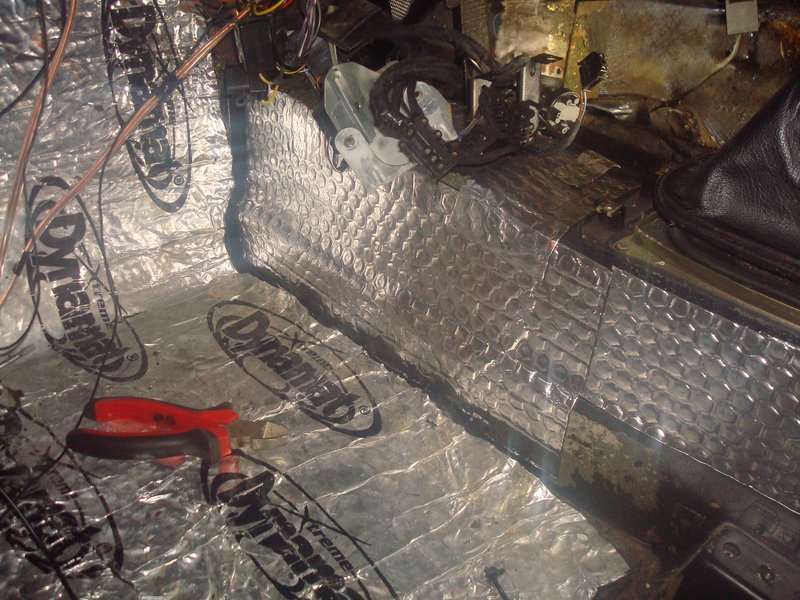
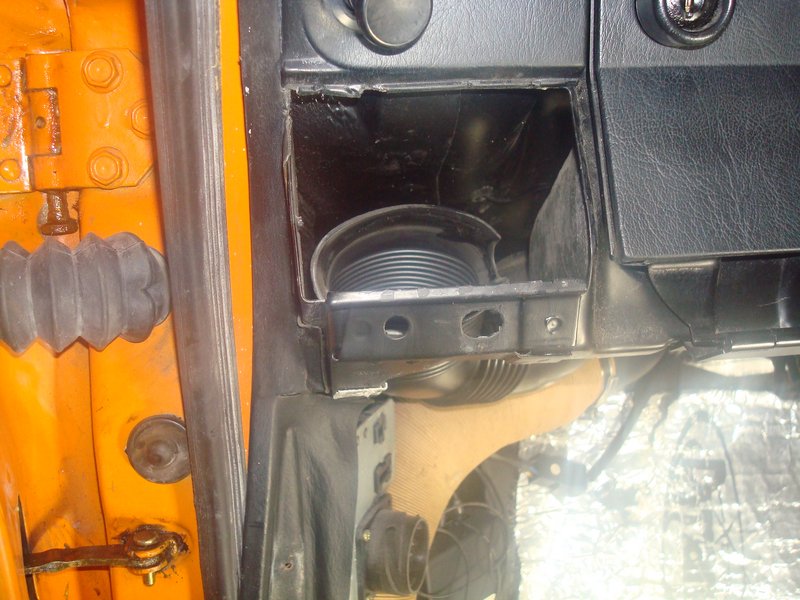
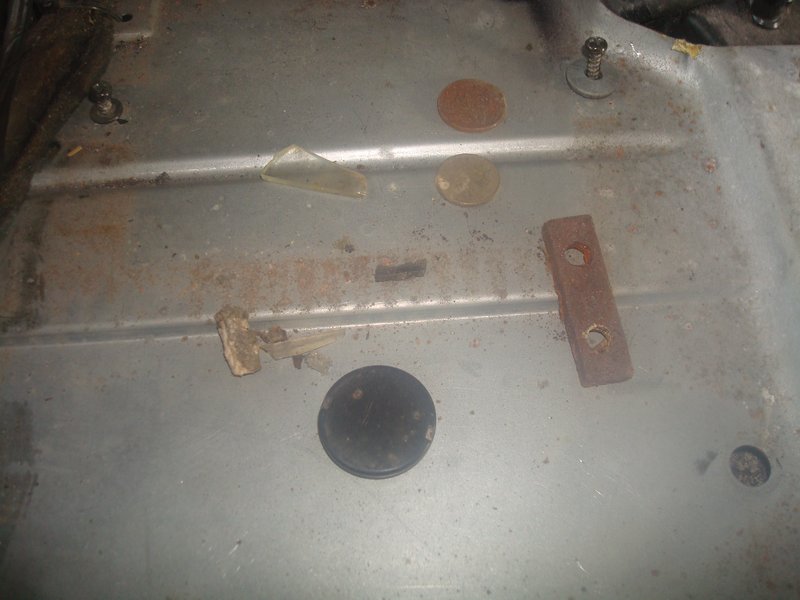
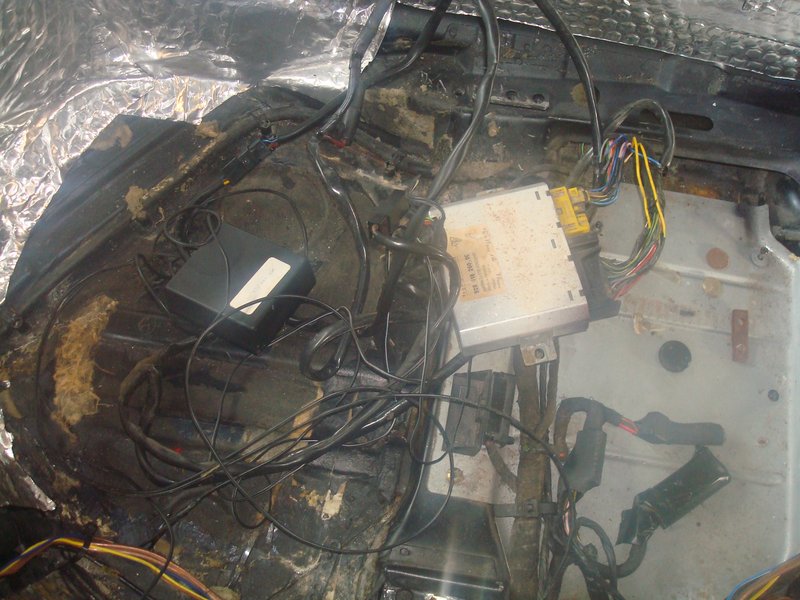
In case you are wondering, you have unwittingly stumbled into a 'spot the difference' competition. I took the above pics because they are all relevant to various stages, but from thumbnails frankly I cant tell the difference, so over to you to do the hard work! Ultimately, 3-4 hours separates them, and in my winter overalls pulling so hard on them I really couldnt tell if I had a fever. I found glass from previous break-ins that I thought I had cleared earlier on. The centre tunnel was a particular highlight - removing the pressing that the electrical connections mount on and then pulling like hell from the pedals back up the car. It really was fun.

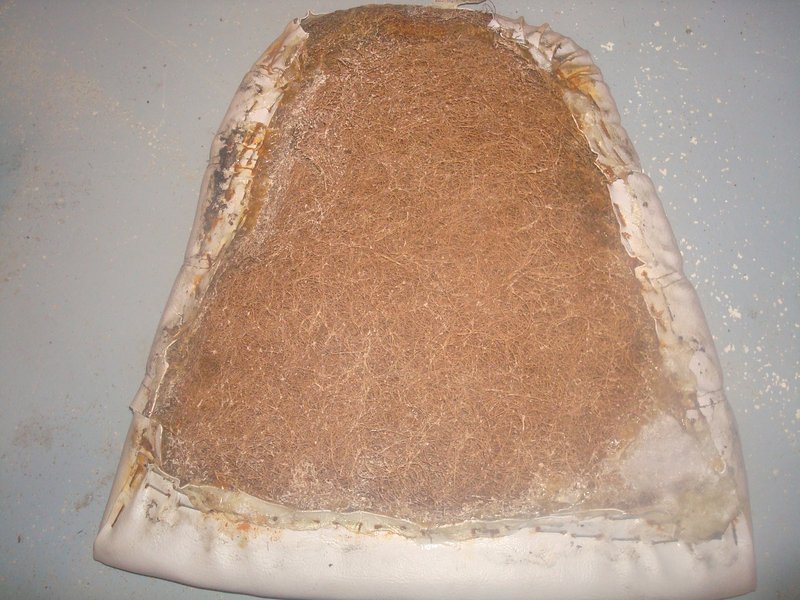
And then I was left with a gluey mess. WD40 removes sticky stuff apparently. So does vinegar. So does soapy water. All these methods work on sticky things, but none of them work on Porsche glue. I planned a bonfire.

I settled on a plastic scraper, removed the worst of the sponge and called it a day on that job, grateful I have an industrial hoover.

Image

The good thing is, the shell is spotless. Despite being sat in a water-bath for the last 2/3/who-knows how many years, it is mint. No creases, no rust, nothing.

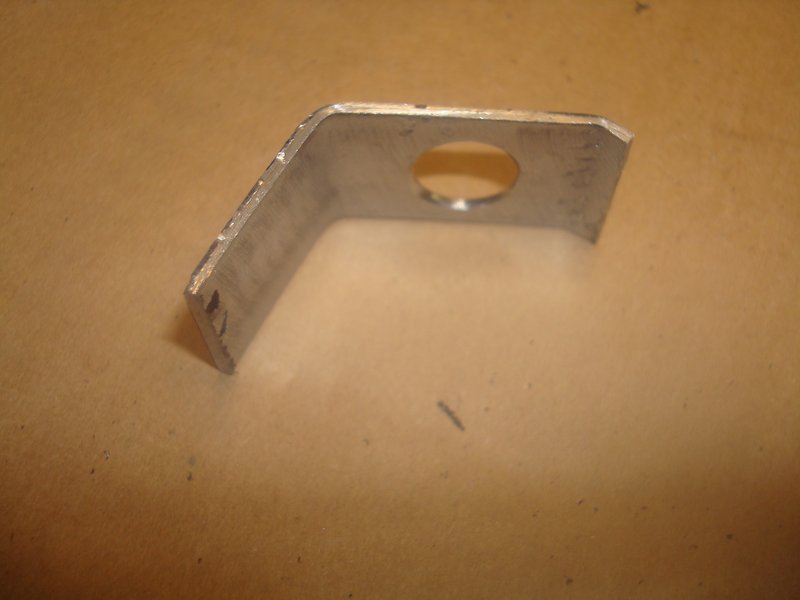
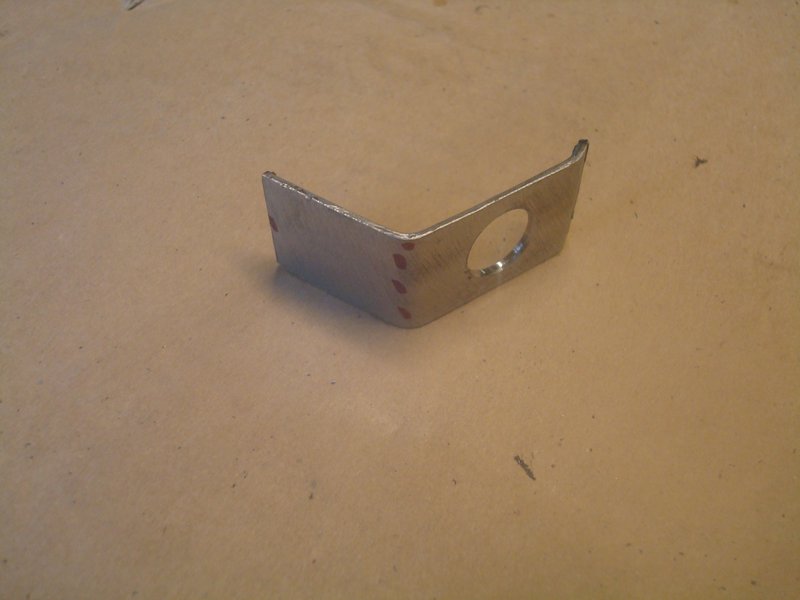
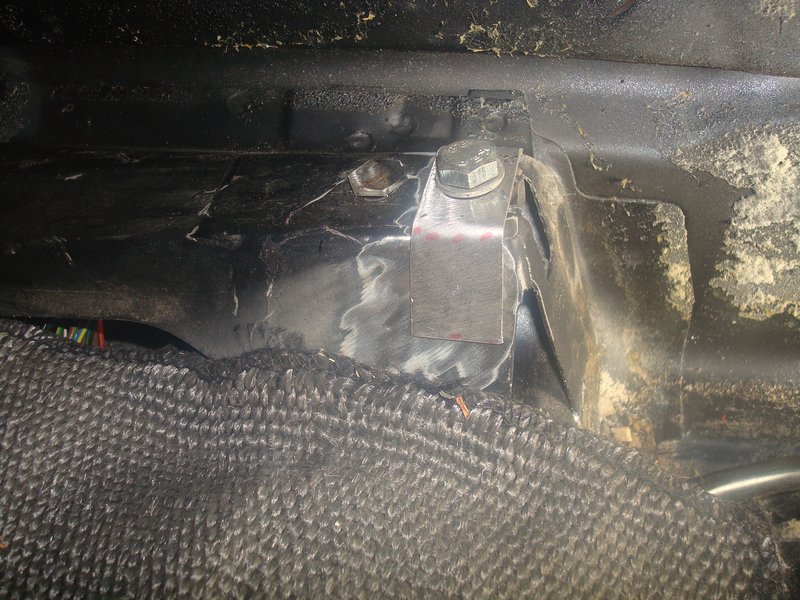
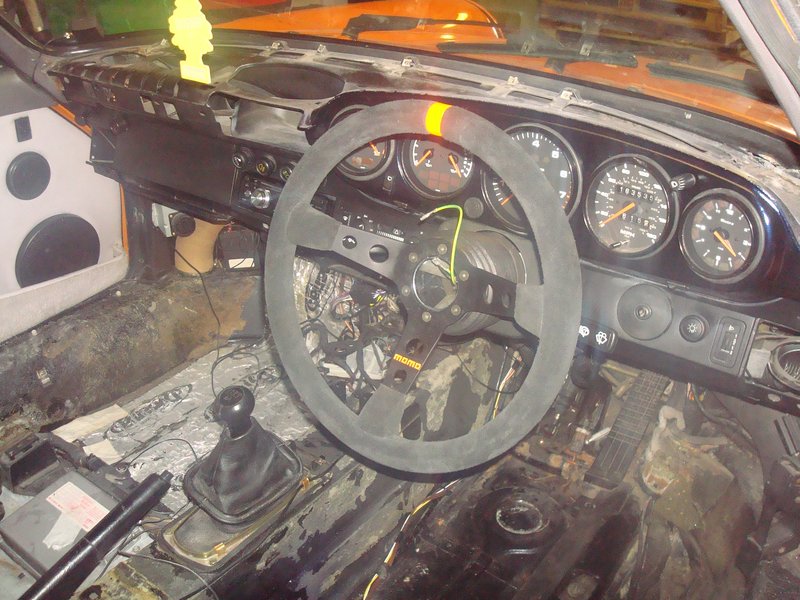
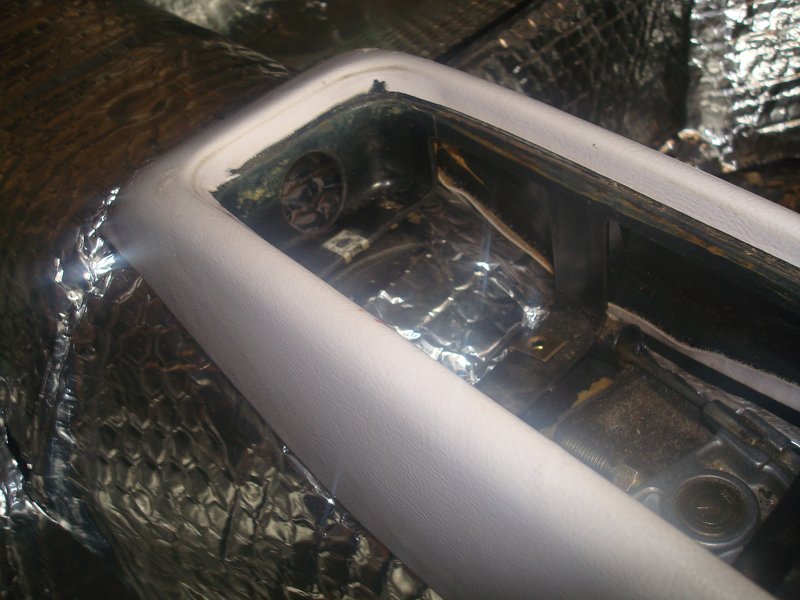
At this point, I should have started on the seat mounts, given all the flammable materials are out of the way, but instead I worked on a little upgrade I will share later. Then, I started working on a 'vanity project'......
93 964 C2
99 Boxster 2.5 > 2.7 hill climber

71 914/6 3.0 - gone

'You see Paul, hill climbing is like making love to a beautiful woman. You get your motor running, check your fluids, hang on tight and WHOA..30 seconds later it's all over!' Swiss Tony
rhd racer
DDK 1st, 2nd and 3rd for me!
Posts: 2043
Joined: Wed Jun 23, 2004 9:47 pm
Location: Nottinghamshire

Re: 964 C2 - Rolling Resto

Post by rhd racer »

This....

Image


Sent from my iPhone using Tapatalk
93 964 C2
99 Boxster 2.5 > 2.7 hill climber

71 914/6 3.0 - gone

'You see Paul, hill climbing is like making love to a beautiful woman. You get your motor running, check your fluids, hang on tight and WHOA..30 seconds later it's all over!' Swiss Tony
rhd racer
DDK 1st, 2nd and 3rd for me!
Posts: 2043
Joined: Wed Jun 23, 2004 9:47 pm
Location: Nottinghamshire

Re: 964 C2 - Rolling Resto

Post by rhd racer »

No, I know that colour doesn't match, but I like it :)

I found this while searching around for an idea I had about painting the dash. On my 914, I painted the 3 dial dash in Gulf Blue and loved it, because it lifted the dash and set the clocks nicely. I wanted to do the same in the 911.

As a job, it looks like a bit of a pain. It needs a proper strip down, and I have just put it all together...but I wanted to do it. So I googled imaged and found a thread about it, then found a German supplier and before I knew it I had a quite or a fibreglass cover. Only issue was that it is £450 with double duty paid (thanks Brexit), despite being only 100 euros when posted a few years ago. So I was struggling to justify it.

Of course the benefit is that it is reversible, and can be changed in-situ. So for now orange, for the future, midnight blue...

But it was not meant to be, and I know that I can do it in a non-reversible way for £0. So that is what I did.

The strip out was a pain, I did not know how the light switches and dials come apart so it was trial and error but got there in the end, The vinyl would not come away in one piece, so we are no longer reversible!!

Image

I also found some additional holes that are not used on my car, marked by the red pen, that need deleting, which was a job I was not expecting...

Image

Image

So these needed welding up, and I ended the night here. I hate welding cars which are sort of together, getting paranoid about sparks etc so a quick spot or two was good enough. I hope to fill and start prepping tomorrow....

Image
93 964 C2
99 Boxster 2.5 > 2.7 hill climber

71 914/6 3.0 - gone

'You see Paul, hill climbing is like making love to a beautiful woman. You get your motor running, check your fluids, hang on tight and WHOA..30 seconds later it's all over!' Swiss Tony
rhd racer
DDK 1st, 2nd and 3rd for me!
Posts: 2043
Joined: Wed Jun 23, 2004 9:47 pm
Location: Nottinghamshire

Re: 964 C2 - Rolling Resto

Post by rhd racer »

On with some filler this morning - one hit did it, apart from the redundant square hole by the clock where I had a high point from a weld and had to grind it back and refill

Image

Whilst it was drying, I got on with what I should have been doing - repairing the seat mounting. You might remember that the studded bar inside the chassis was missing when I got the car, so I had to make it. Further, the PO (or their garage) had put a nut on the front bolt which required so much manoevring to get a spanner on it that I think it cracked the mount. This is the damage....

Image

The small bolt is holding the threaded bar in place, because the section it sits on had also failed, in particular a spot weld. So short of cutting the mount in half, fixing the lower section, then welding the top back on, I needed another solution. This would be the right way to do it, but I thought it was overkill, and then in the event of an accident you are relying on the welds rather than a pressed panel. So I formed a little repair panel

Image

Image

Prepped it, put a bolt and washer in to a) keep the repair panel tight to the mount and b) protect the thread

Image

Before welding it in

Image

Then, back to the dash. I tested WD40s claims about removing sticky stuff and it worked to some degree, but wasn't really cutting it. So out with the panel thinners and that was just the job, so sticky residue from the vinyl glue removed, and I could wet and dry the panel and prime it

Image

Image

Image

It is worth mentioning that it was cold today, definately too cold for painting, but it is only a small job. So I put the cans in the airing cupboard, and gently warmed the dash with the heat gun before spraying each coat. This got me through ok...

These are pre-lacquer, but I lacquered this evening and it has come up lovely. I gave the seat subframe repair the same treatment.

Image

Image

Had I have gone the fibreglass over panel route, I would have done Lava Orange for now, then removed and painted Midnight Blue when I get the car repainted in a year or two. Given the amount of strip down required, I thought it better to do a once and done job. I actually love the blue, and aim to have orange accents even when painted, so am cool with the blue dash and orange outside.

In any event, the Planning Department would describe it as 'respecting the vernacular of the history of the vehicle, providing a link between old an new'. Or something like that
93 964 C2
99 Boxster 2.5 > 2.7 hill climber

71 914/6 3.0 - gone

'You see Paul, hill climbing is like making love to a beautiful woman. You get your motor running, check your fluids, hang on tight and WHOA..30 seconds later it's all over!' Swiss Tony
User avatar
hot66
Moderator
Posts: 18264
Joined: Tue Nov 11, 2003 4:17 pm
Location: North Yorkshire

Re: 964 C2 - Rolling Resto

Post by hot66 »

Looks great 8)
James

1973 911 2.4S
1993 964 C2
2010 987 Spyder
1973 MGB Roadster

Its not how fast you go, but how you go fast ;)
User avatar
Bootsy
Site admin and the Boss
Posts: 23904
Joined: Sat Nov 08, 2003 6:09 pm
Location: Norwich
Contact:

Re: 964 C2 - Rolling Resto

Post by Bootsy »

Love this thread - just getting stuck in and doing what you want. Going to be a unique car
1972 911T | 1994 993 Carrera | 1999 986 Boxster | 1990 T25 Camper

Vintage Heuer, Omega, Zenith and other vintage watches - http://www.heuerheritage.co.uk
rhd racer
DDK 1st, 2nd and 3rd for me!
Posts: 2043
Joined: Wed Jun 23, 2004 9:47 pm
Location: Nottinghamshire

Re: 964 C2 - Rolling Resto

Post by rhd racer »

Thanks gents

Obviously had to have the Christmas morning moment and take off the masking before work!!! Very pleased with how it turned out

ImageImage

And the seat mount repair

Image


Sent from my iPhone using Tapatalk
93 964 C2
99 Boxster 2.5 > 2.7 hill climber

71 914/6 3.0 - gone

'You see Paul, hill climbing is like making love to a beautiful woman. You get your motor running, check your fluids, hang on tight and WHOA..30 seconds later it's all over!' Swiss Tony
rhd racer
DDK 1st, 2nd and 3rd for me!
Posts: 2043
Joined: Wed Jun 23, 2004 9:47 pm
Location: Nottinghamshire

Re: 964 C2 - Rolling Resto

Post by rhd racer »

I started the fit out tonight. The first thing was that the gauges were loose in the recesses because the vinyl made up the gap with the original set up. I tried several options, but a small bit of self adhesive foam was all it needed to secure them

Image

I then cleaned up the old rubbers with some Autoglym rubber cleaner which made a huge difference

Image

One rubber has no lip, so needs replacing, but other than that they look bob-on...

Image

Image
.
Image


Sent from my iPhone using Tapatalk
93 964 C2
99 Boxster 2.5 > 2.7 hill climber

71 914/6 3.0 - gone

'You see Paul, hill climbing is like making love to a beautiful woman. You get your motor running, check your fluids, hang on tight and WHOA..30 seconds later it's all over!' Swiss Tony
rhd racer
DDK 1st, 2nd and 3rd for me!
Posts: 2043
Joined: Wed Jun 23, 2004 9:47 pm
Location: Nottinghamshire

Re: 964 C2 - Rolling Resto

Post by rhd racer »

A couple of very cold hours in the garage this evening - I must be mad, but need to do the boring stuff to get to the good stuff!

I finally sorted the wiring. Despite the random colours and huge gauge, it turned out to be the speaker wire loom! It is a little odd that it goes back to the middle of the car only to go forward to the front speakers, but there we go. Connectors all removed and joints soldered, and at the same time I moved the sub loom and ran it alongside it, which also tidied the under dash.

Image


Sent from my iPhone using Tapatalk
93 964 C2
99 Boxster 2.5 > 2.7 hill climber

71 914/6 3.0 - gone

'You see Paul, hill climbing is like making love to a beautiful woman. You get your motor running, check your fluids, hang on tight and WHOA..30 seconds later it's all over!' Swiss Tony
rhd racer
DDK 1st, 2nd and 3rd for me!
Posts: 2043
Joined: Wed Jun 23, 2004 9:47 pm
Location: Nottinghamshire

Re: 964 C2 - Rolling Resto

Post by rhd racer »

It was a bit parky in the garage today, but I have been doing something this week in the warm which I wanted to fit....

There was a danger it might look a bit twee, but I like little details which tie a theme together, and was not a huge fan of the yellow leather stripe on the Prototipo. I have seen them with red too, but never orange....so I put that right. A small pot of leather dye from Amazon (unbelievably called Lava Orange!) and I built it up over several coats with a small brush. This then highlighted the yellow MoMo script on the wheel, so I found some orange paint in the garage (caliper paint as it happens) and found a tiny art brush from the girl's art box and put that right too. I am pretty pleased with the result. I have ordered a silver horn button too....

Image

Image

Image

Then onto the next job - sound deadening. Having stripped out the old, damp, smelly foam I keep sticking to the car in my overalls due to the remnants of the factory glue, so was keen to get it fixed. I bought the Dodo mat ages ago, and am really impressed by how easy it is to form and to cut. I have been mulling this job over for ages and bit torn over whether to do it;

- It is pretty heavy, and not very RS like
- The flip side is that one of the things I have most enjoyed about the car is how refined it is compared to the competition cars I am used to. Even the exhaust, which is pretty noisy, is barely audible in the car

On the balance of overall enjoyment of the car, and not turning business trips and long journeys into ear-plug events, I have decided to press on and fit it. I made some templates for the rear shelf, and then after that cut in situ with a craft knife. I am pretty pleased with how it has turned out, and not knowing if I have a leak now or all the dampness was a legacy of the past, at least the new material will not hold water. It should also help me trace the leak pretty easily too - a job for the hose tomorrow maybe.

The only downside of the job was pressing the edges down, I gave my self a series of cuts on my fingers like paper cuts, and lots of blood was spilt. So much so, I had to give up with only a couple of panels to do!

The technique I find easiest is to remove a bit of the backing in the middle of the panel and fold back, and then work side to side from there.

Image

Image

Image

Image

Image

Image

Image
93 964 C2
99 Boxster 2.5 > 2.7 hill climber

71 914/6 3.0 - gone

'You see Paul, hill climbing is like making love to a beautiful woman. You get your motor running, check your fluids, hang on tight and WHOA..30 seconds later it's all over!' Swiss Tony
rhd racer
DDK 1st, 2nd and 3rd for me!
Posts: 2043
Joined: Wed Jun 23, 2004 9:47 pm
Location: Nottinghamshire

Re: 964 C2 - Rolling Resto

Post by rhd racer »

Yesterday managed to finish up the sound deadening on the tunnel

Image

Whilst my head was n the footwell, I was distracted by the stereo wiring loom being routed the wrong way around the main loom, so I took the stereo out and re-routed it all. Obviously sorting all the other wiring is making me a bit OCD now....

Then I spotted another issue. The wire to the DAB aerial runs under the glovebox and then runs up the door rubber channel before popping out ontop of the dash - this leaves to short sections that you can see to and from the seal. So in an attempt to to avoid something more important, and burn another hour doing a job of no real value I set about it! The bulkhead runs behind the glovebox so there is no way throough from under to over dash, so I had to drill one. I elected to do this to the left of the glovebox, above the passenger face vent trunking. I picked a spot where I could reach to fit a grommet.....

Image

Image

Image

With that much better, it was back to task. Another totally discretionary job, but about making the car more practical for day to day and occassional business use (if I am ever allowed to the office or client's premises again!) The plan was to fit another cigarette lighter to the centre console storage tray, so that I can fit a USB socket to it and charge my phones / iPod etc. I will also fit an Aux cable for the latter.

I knew it was going to be tight, but I didnt realise quite how tight. I started by drilling the access hole in the console itself, and then fitted the storage try and marked the hole in that, so I could centre and drill out

Image

Image

Image

Image

Then the collar just bolts through

Image

Image

and then the body of the lighter just pushes in.

Image

I then got to see how tight it was, the issue being the depth of the unit which you can't easily measure due to the angle. I supppose I could have made a card template, but I don't roll like that...Luckily I was all of 2mm in the clear

Image

One issue it has raised is the gap between the new slimline sound proofing compared to the old - the carpet is not going to make up the gap, so I will have to use some foam over the tunnel before carpeting, just to take this up

Image

I have now made the little loom for it, and got the orientation right to ensure it is clear in every direction, and applied a couple of small sections of self adhesive high density foam to the floor and the mounting bracket to isolate it from anything metal. This is not needed, as the live has a 90 degree connector on it to provide loads of clearance, but it is a belt and braces approach
93 964 C2
99 Boxster 2.5 > 2.7 hill climber

71 914/6 3.0 - gone

'You see Paul, hill climbing is like making love to a beautiful woman. You get your motor running, check your fluids, hang on tight and WHOA..30 seconds later it's all over!' Swiss Tony
rhd racer
DDK 1st, 2nd and 3rd for me!
Posts: 2043
Joined: Wed Jun 23, 2004 9:47 pm
Location: Nottinghamshire

Re: 964 C2 - Rolling Resto

Post by rhd racer »

Better pic of the steering wheel / instruments - now with silver horn button which arrive today
Image


Sent from my iPhone using Tapatalk
93 964 C2
99 Boxster 2.5 > 2.7 hill climber

71 914/6 3.0 - gone

'You see Paul, hill climbing is like making love to a beautiful woman. You get your motor running, check your fluids, hang on tight and WHOA..30 seconds later it's all over!' Swiss Tony
rhd racer
DDK 1st, 2nd and 3rd for me!
Posts: 2043
Joined: Wed Jun 23, 2004 9:47 pm
Location: Nottinghamshire

Re: 964 C2 - Rolling Resto

Post by rhd racer »

First job on Saturday morning was to finish wiring the lighter socket. Well actually, rewire it. I forgot that my amp feed was permanent live, and I wanted this to be switched live, so needed to find a new feed plus a patch up job and re-route. Job done, all works as intended

Image

Next up was to remove as much of the old alarm as possible. Removing the old alarm control unit revealed some treasures - an old 5p piece, more broken glass and the lost threaded seat mount that I had to make last year. To be fair, it looks like it has been sat in water so worse for wear anyway....

Image

I was left with this mix of OE and aftermarket gubbins. It gave me a change to do some further loom tidying, ready for carpet refit. I am just waiting for the alarm company to confirm a date, but this lot connected to the central locking and ignition circuit at least helps them identify all the right wires! They have agreed to remove the old stuff as part of the install, so should be super reliable instad of a patch it job like most cars of this age

Image

I then stripped off the carpet from the hard panels are the interior; kick panels and central console. All fairly straight forward, and unlike the floors removed in one go so I can identify the new ones from them as templates

Image
93 964 C2
99 Boxster 2.5 > 2.7 hill climber

71 914/6 3.0 - gone

'You see Paul, hill climbing is like making love to a beautiful woman. You get your motor running, check your fluids, hang on tight and WHOA..30 seconds later it's all over!' Swiss Tony
rhd racer
DDK 1st, 2nd and 3rd for me!
Posts: 2043
Joined: Wed Jun 23, 2004 9:47 pm
Location: Nottinghamshire

Re: 964 C2 - Rolling Resto

Post by rhd racer »

If I named these updates there would be a theme; most jobs are worse than the last, and become my new 'least favourite'. The next job was no exception.....

One of the jobs that has been longest in the queue whilst I skillfully avoid it and find something less boring instead (anyone remember Why Don't You?), was to replace the sunroof seal. A job requiring patience and a gentle touch, it was never going to fit my natural skill-set....And so a frustrating weekend of cock-ups, mess, phones that no longer recognise my glued thumb print etc ensued....

A reminder of the starting point

Image

Removing the headliner panel comes first - not as easy as it looks

Image

Slide it back, and this then reveals the mounting bolts, 10mm at the front, 7mm at the rear. A couple of locating clips pop out of guides at the rear, and the front guides just come away

Image

Image

Image

Image

It didn't move a mm, they are pretty tight in there (I suppose anything other than this and they would leak!) so a good shove from under the front and then slide forward to release it.

Image

All the headliner clips had popped out, so these were all refitted

Image

On the bench, the state of the old one was evident

Image

Luckily my filing system of new parts did not let me down - have had this seal for at least a year

Image

And then, after finding the centre point, I made a couple of marks so I could line it up once glued

Image

Then it all turned to rat poo....
93 964 C2
99 Boxster 2.5 > 2.7 hill climber

71 914/6 3.0 - gone

'You see Paul, hill climbing is like making love to a beautiful woman. You get your motor running, check your fluids, hang on tight and WHOA..30 seconds later it's all over!' Swiss Tony
Post Reply