964 C2 - Rolling Resto

Ongoing and archived Porsche (and other marques) restoration threads from DDK members

Moderator: Bootsy

rhd racer
DDK 1st, 2nd and 3rd for me!
Posts: 2044
Joined: Wed Jun 23, 2004 9:47 pm
Location: Nottinghamshire

Re: 964 C2 - Rolling Resto

Post by rhd racer »

So I'd call this update 'Don't believe everything you read on the internet'

Given I had absolutely no Scooby-Doo what I was doing with this one, and electric sunroofs are like a black art which I never learned, I was following a guide from Rennlist. All very helpful, I absolutely can't knock it, but one of the comments in the thread stated 'I did that, but instead of using the 3m adhesive, I used Gorilla Glue because it is a little easier to work with. So when I had bought the seal, I got some gorilla glue, though with no tie crunch I could have just as easily got the proper stuff.

I have used it a couple of times for the odd job in that year or so, and it was fine, so I had no reason to doubt that it would be just fine. I quickly learned that doing a 3-4 inch section (as guided) and waiting for it to go off would result in me growing a beard and / or wetting myself whilst waiting :lol: There was no 'impact' to it, so there I am in a locked down UK late on a Saturday afternoon with the wrong glue...

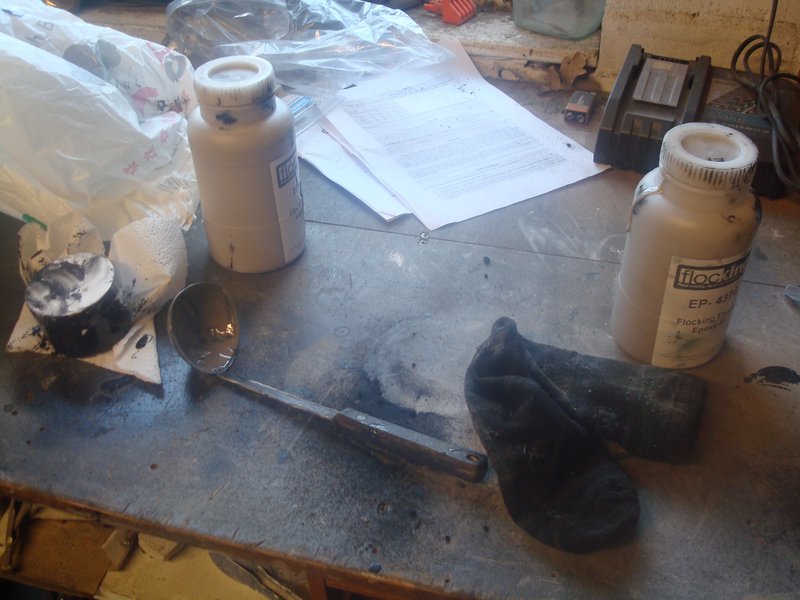
So, after doing my best to clean the glue off with copious quantities of white spirit I was good to go, but with what glue? Luckily I had been careful not to get any glue on the top of the felt channel, so from the outside all would be good. What I needed was a high impact adhesive, and the only one I could think of within my possession was the carpet glue, which as I have learned sticks wotsit to a blanket, and is still sticking my overalls to the inner sills every time I get in the car to work on it.....

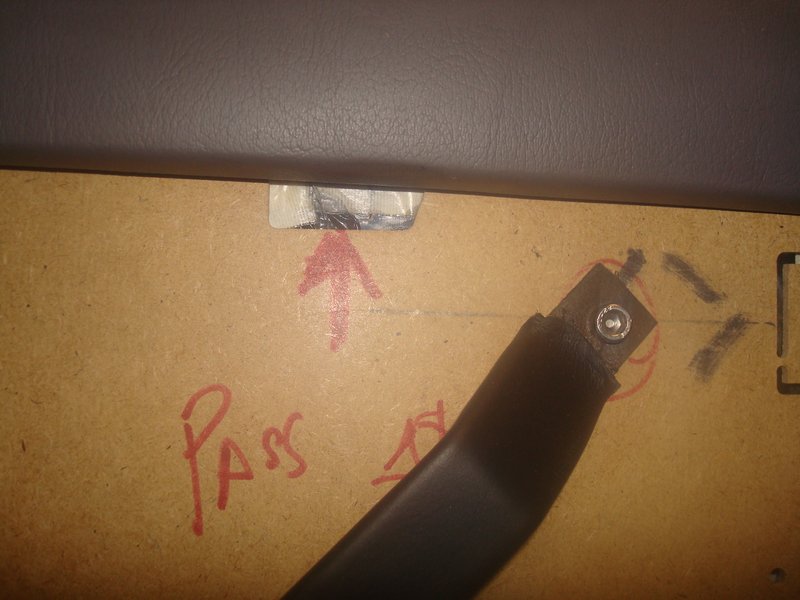
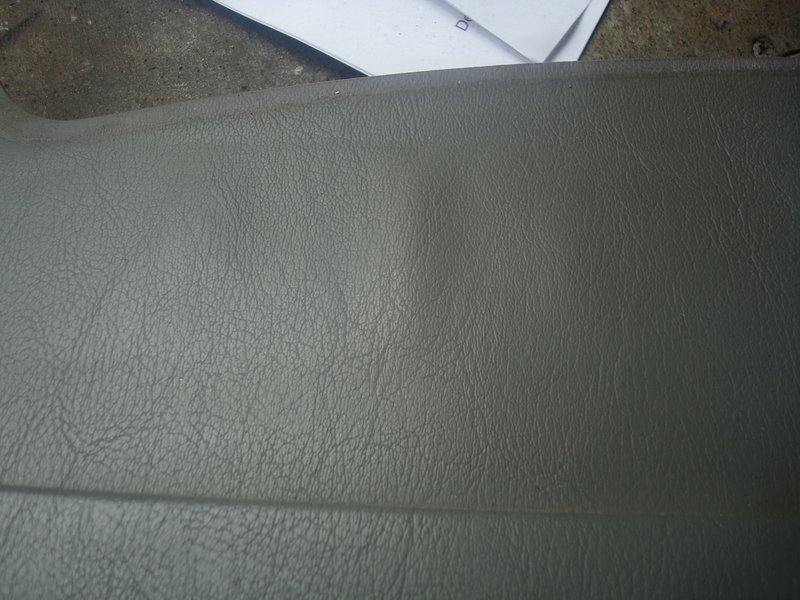
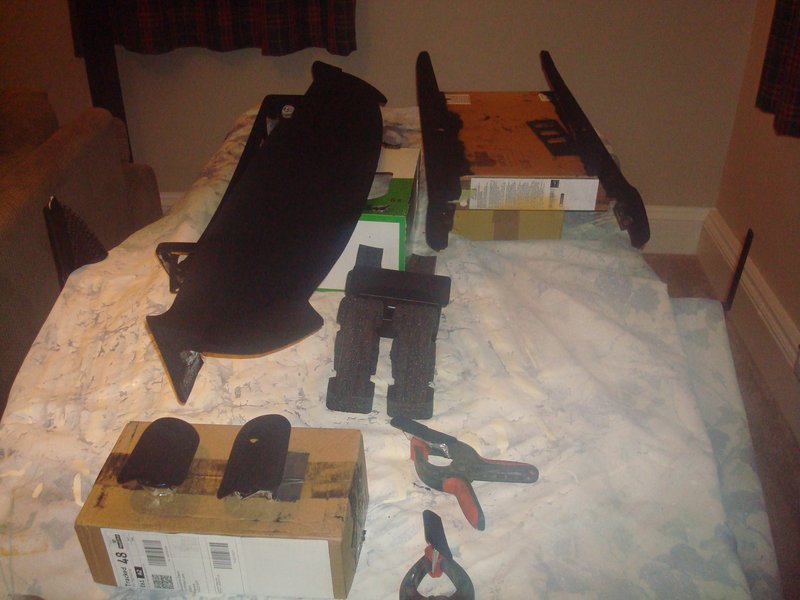
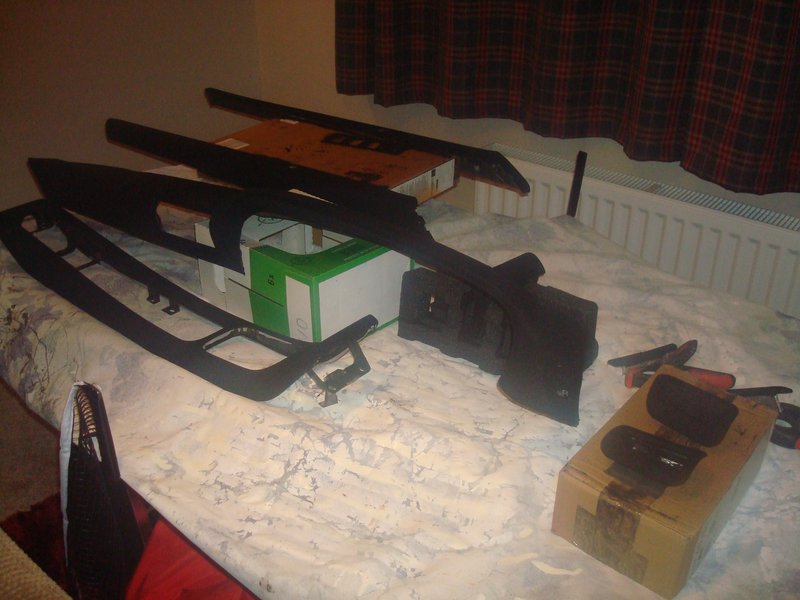
So, have previously not felt the need to mask the sunroof (I thought the guide thread was totally OTT, but then again my paint is not exactly mint, or a keeper), I thought I better had at the prospect of spray glue...

Image

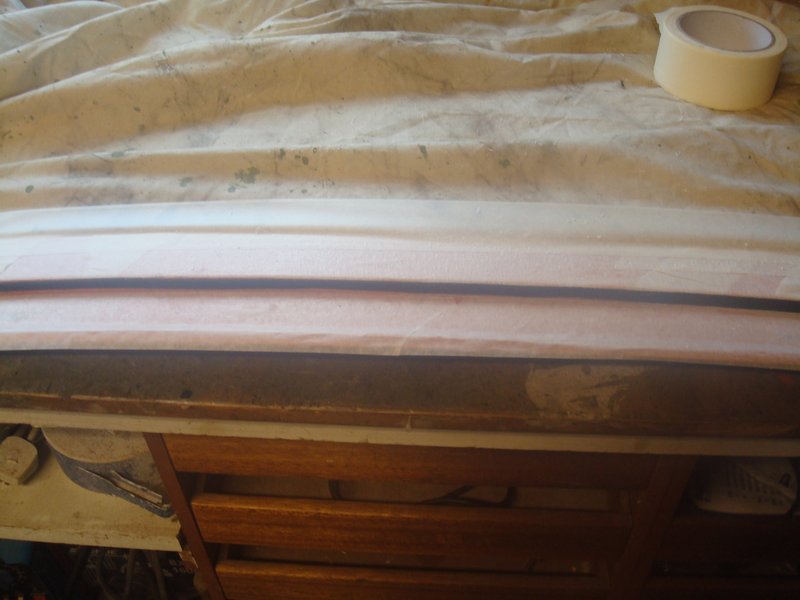
With the top of the channel masked, I sprayed both sides although I must admit, the thought of contaminating the felt with this horrid glue stopped me really going for it on the seal itself. It did have the desired effect though, and I then taped it up to hold it in place whilst I pressed on tight

Image

Image

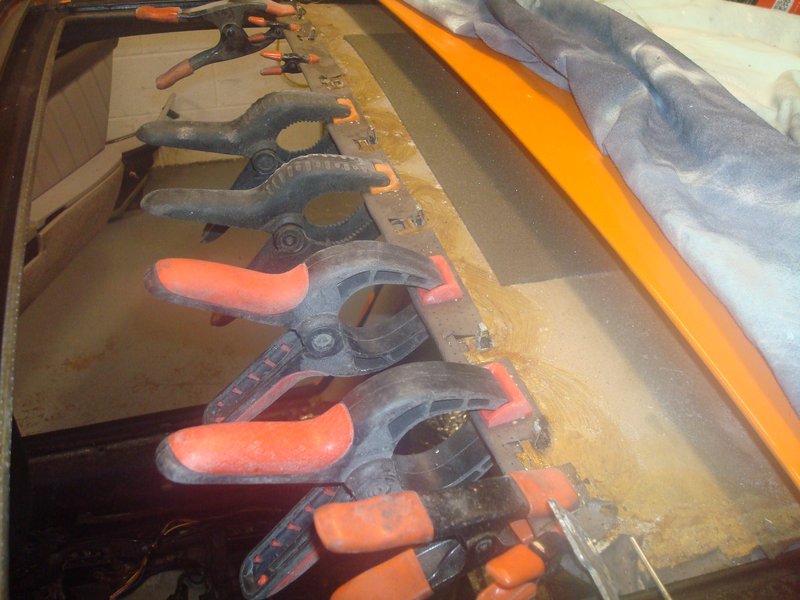
And then I refixed the headlining to the sunroof cover panel, as it had all come away. Easy peazy. I don't have as many clamps as Jonny Miller!

Image

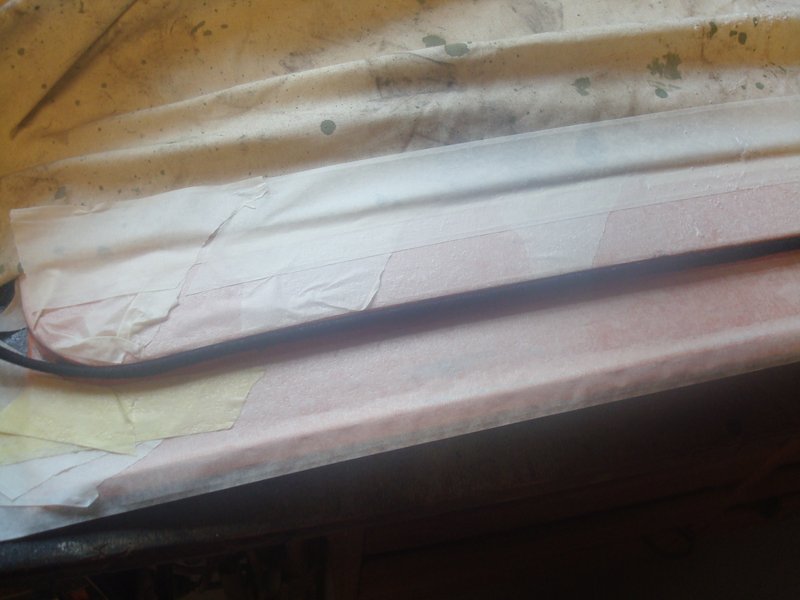
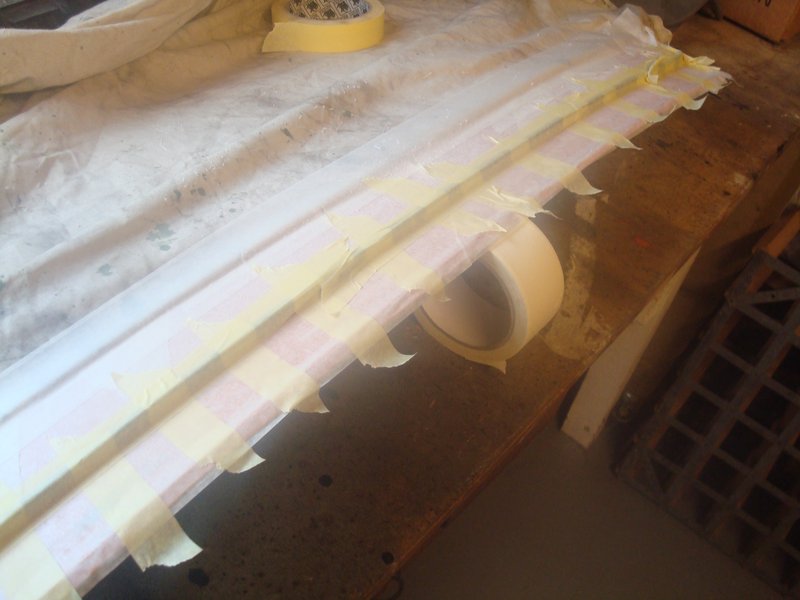
With the tape removed from the new seal, I had two sections where my glue application was too liberal on the seal, so I had to fix these. With no prospect of spraying glue in there, I decided to use the Gorilla glue. All done, taped and setting, off I went for tea

Image

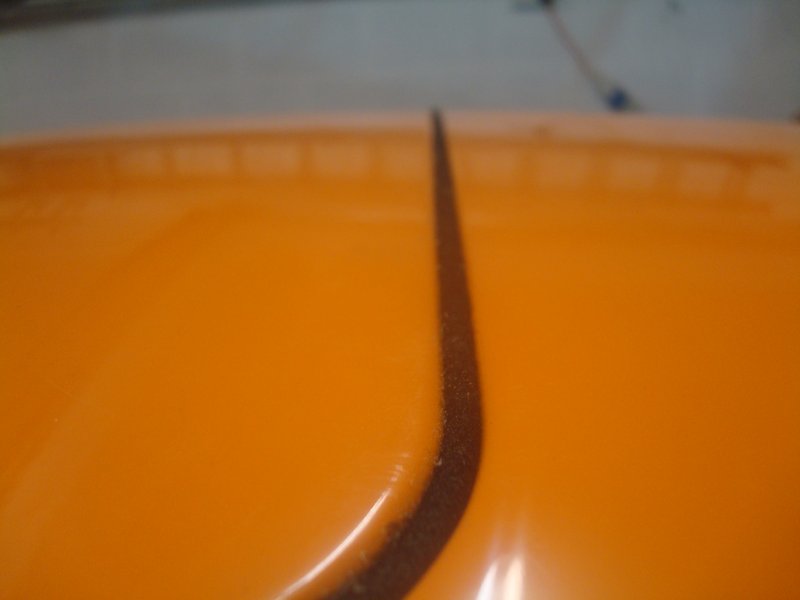
Next morning I discovered that one of the qualities of Gorilla Glue (which you spray on side with a little water to start the curing process) is expansion. Not quite expanding foam, but expansion nonetheless. I had a mix of glue, stuck masking tape all over the new seal....

Image

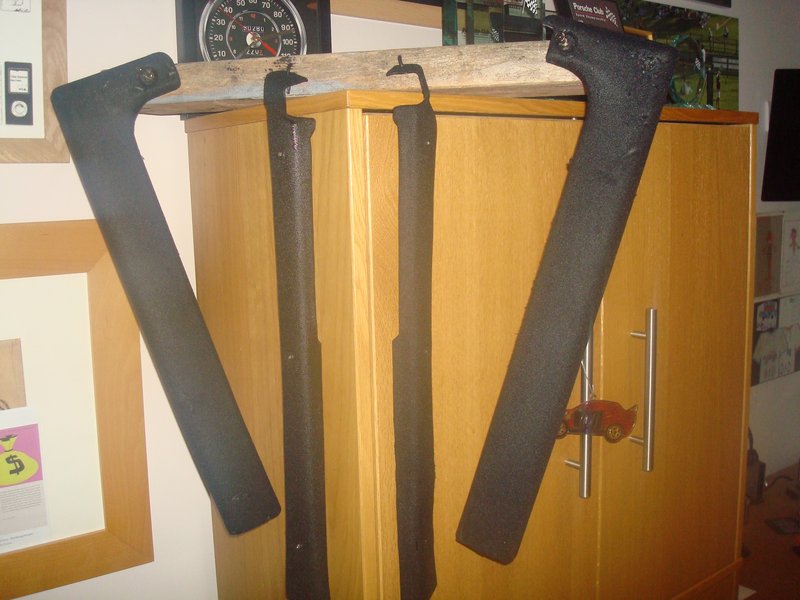
I then spent a couple of hours very carefully slicing the tape and excess glue off, then using a scraper to try and clean up the felt seal. Semi successful at best. Now I have the front seal, which I could have cut down and used, but to be honest given this is not the final build, and will be painted, I have settled to a sub-standard finish and moved on....

Image

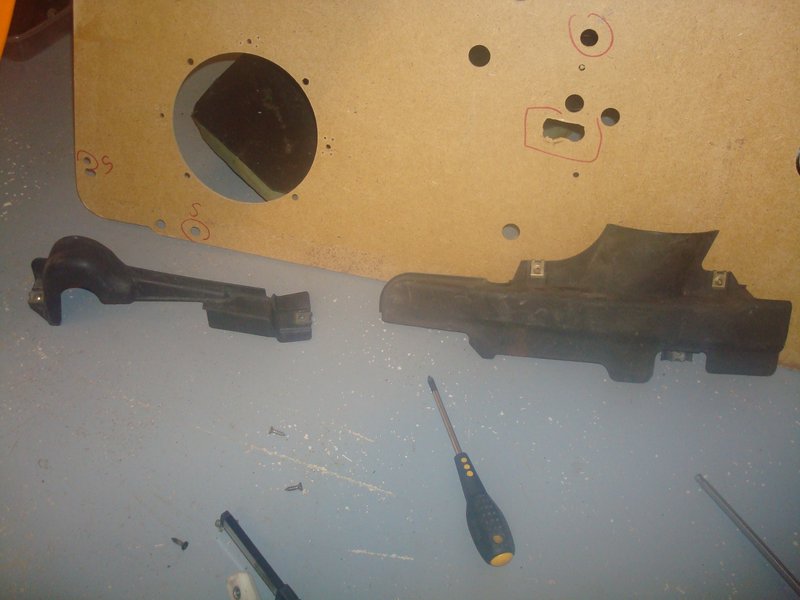
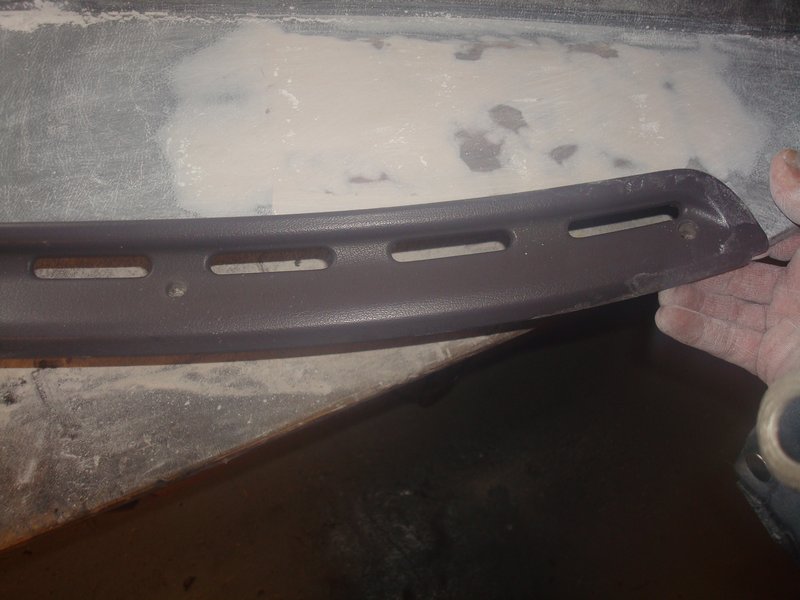
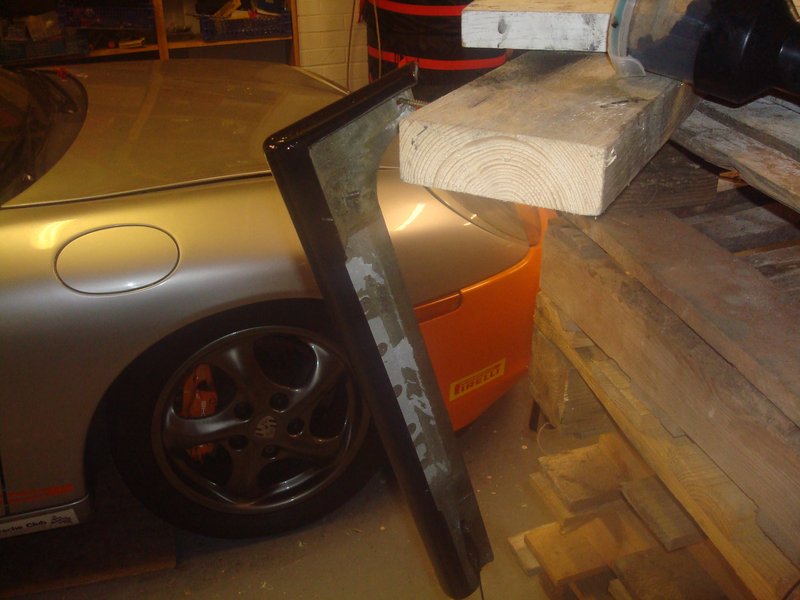
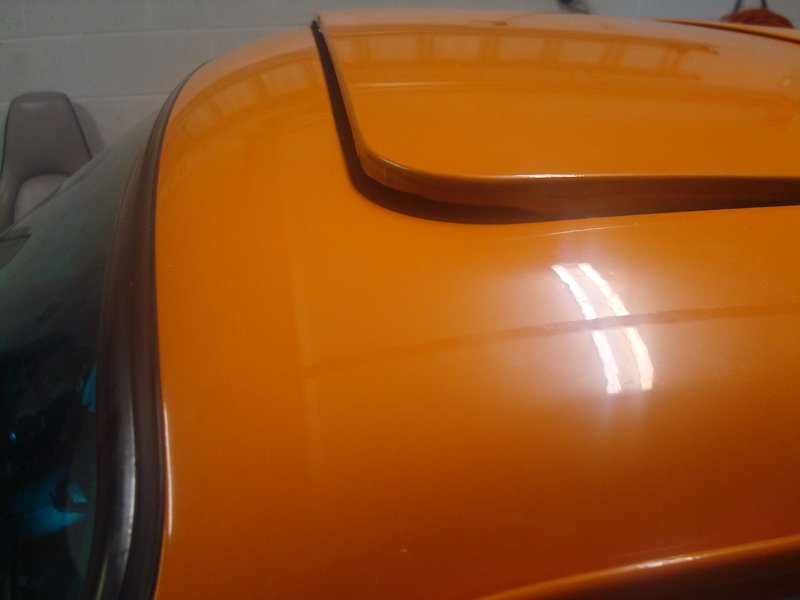
before dropping into the roof for a trial fit

Image

I had some challenges lining up the rear mounts, and found the best way was to secure them loosely with the nose of the panel out of the apperture, and then pull it back and tap with my palm into the recess.

Image

Image

Image

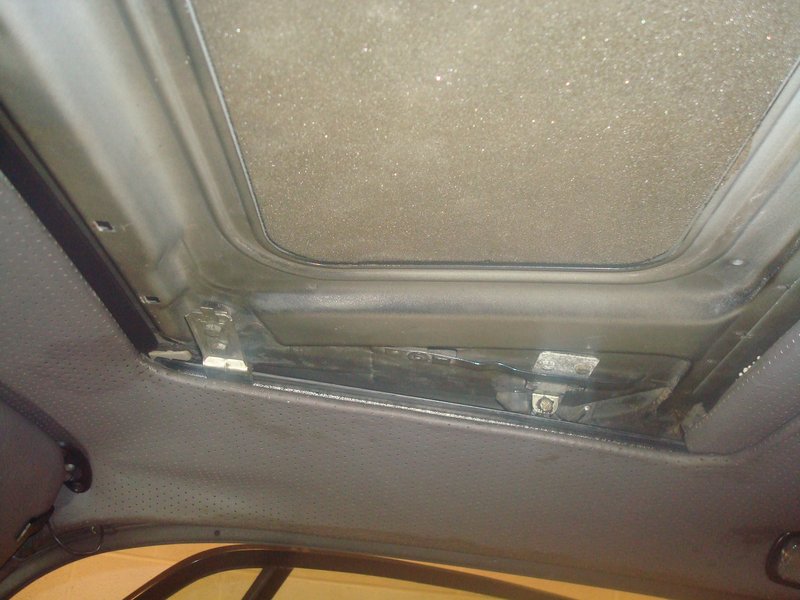
With everything loose, I could then tighten in position and adjust the height. The first install, the headliner panel wedged itself and seized everything whilst I was trying to pull it forward into position to do the clips. So I took the whole lot out and started again. Second time around, I held the panel and operated the sunroof to the half open position, and could then peer into the void and press the clips home. Job done, that's the badger...

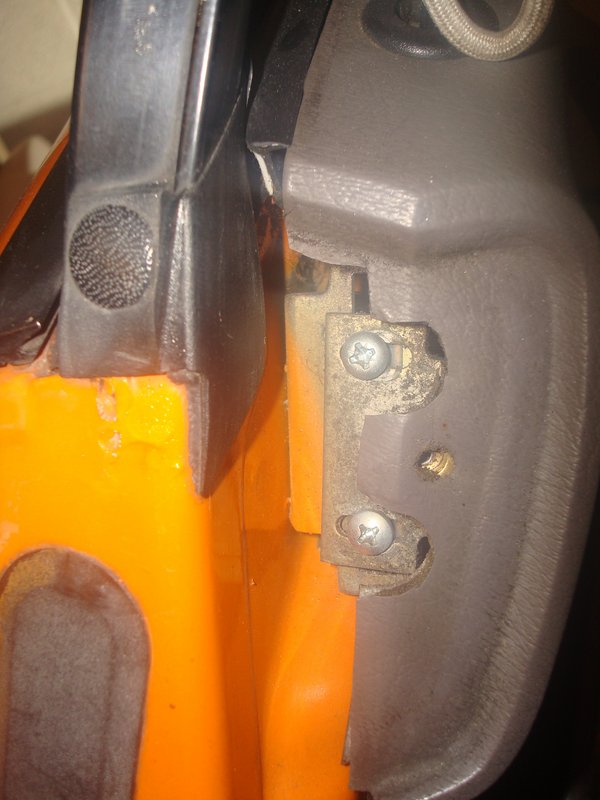
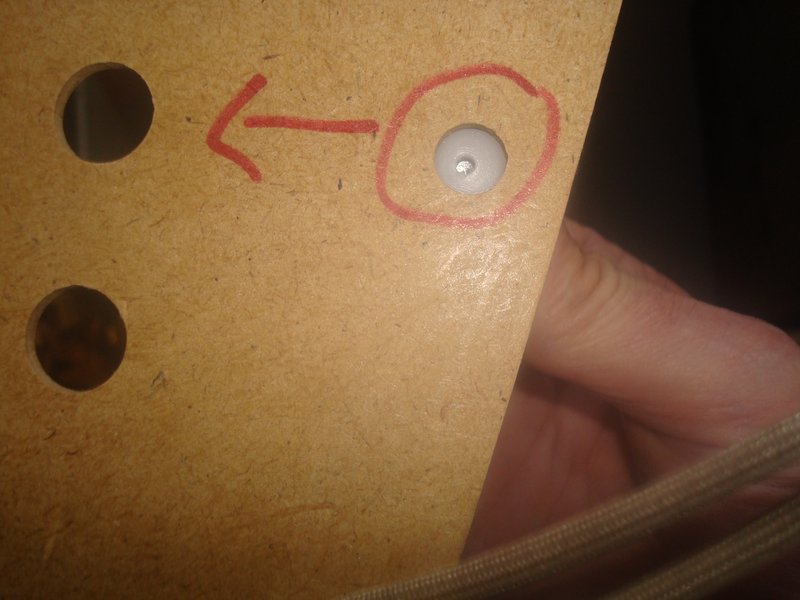
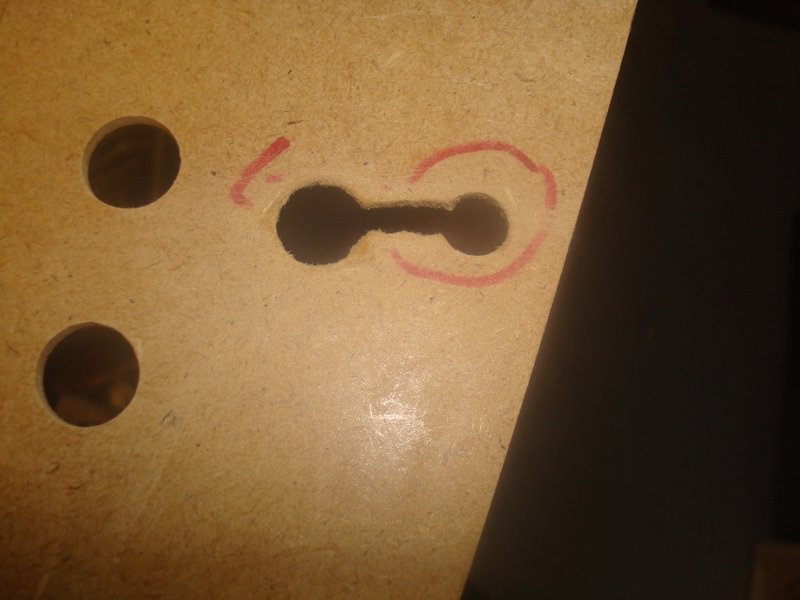
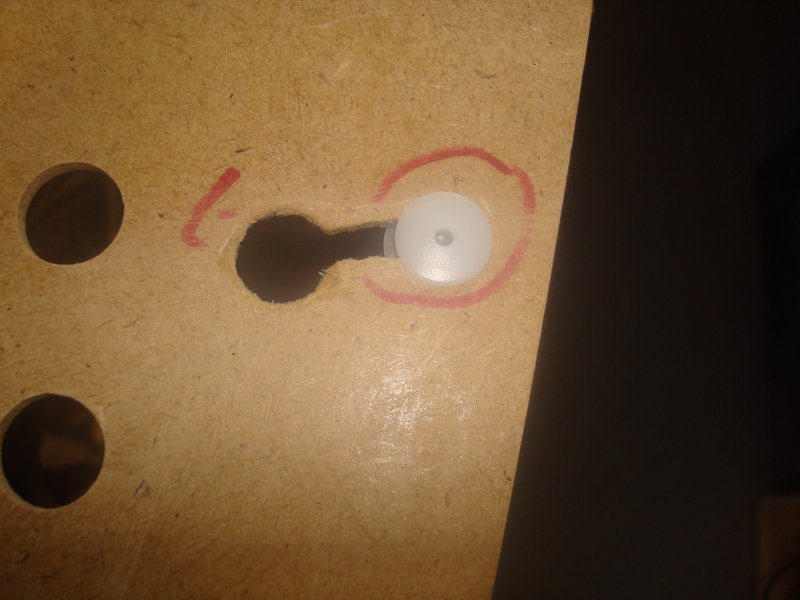
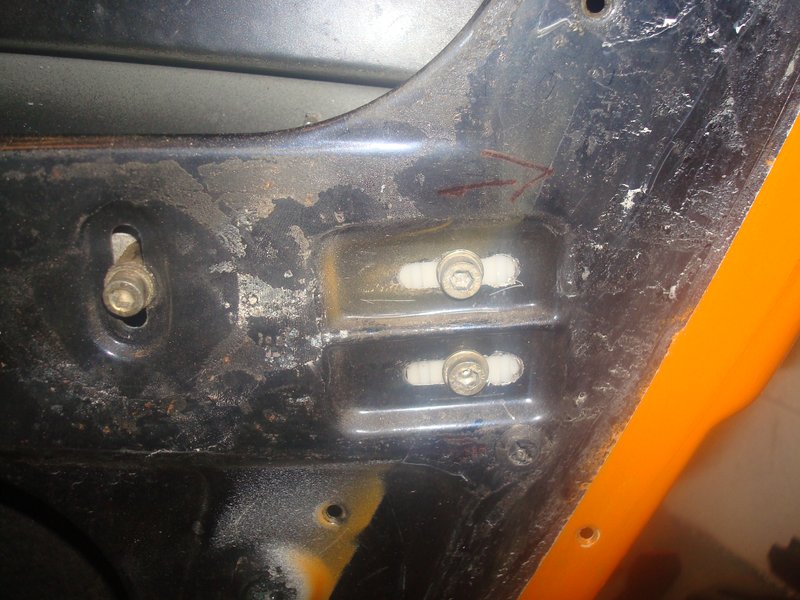
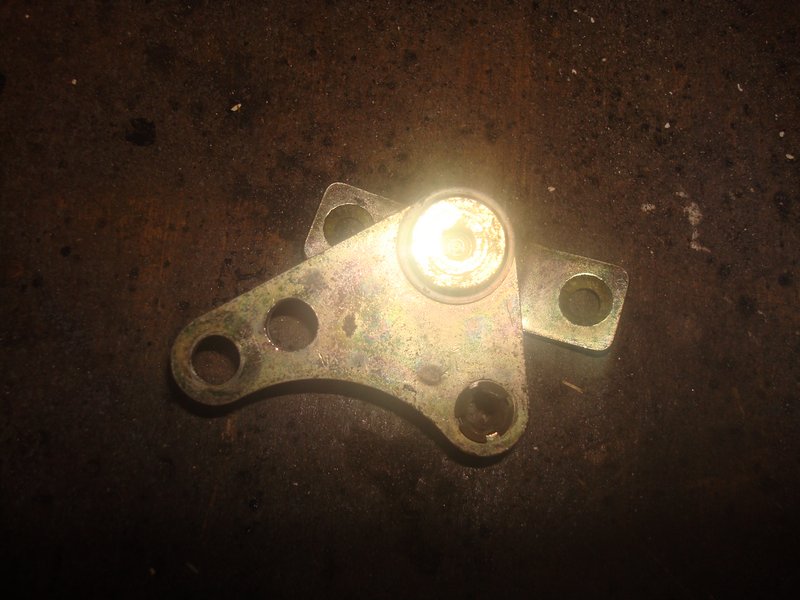
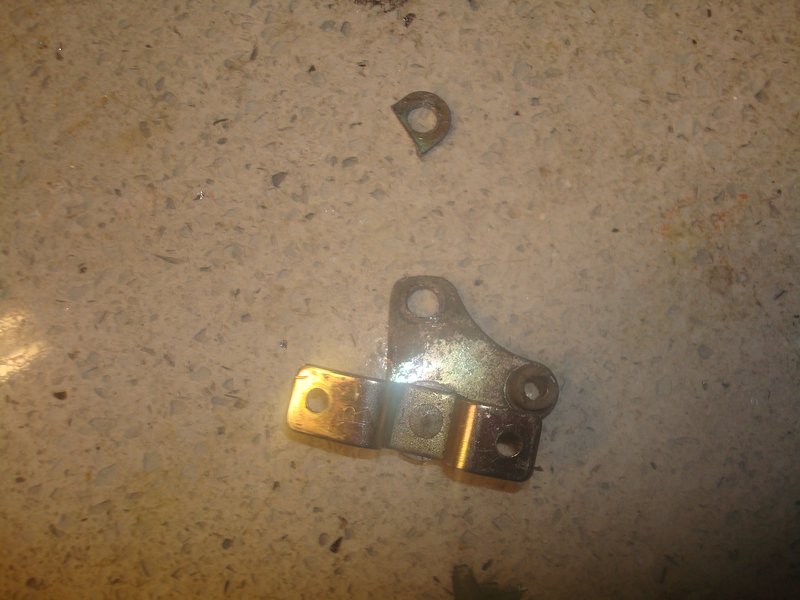
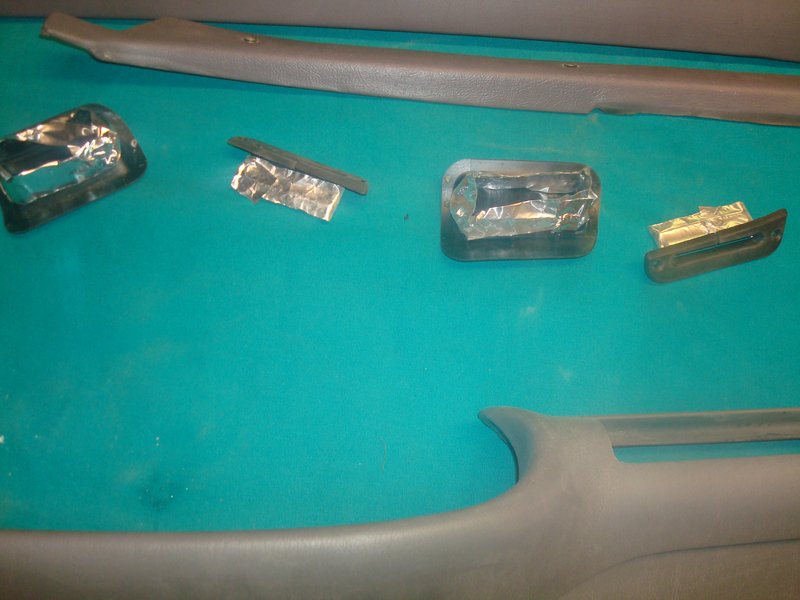
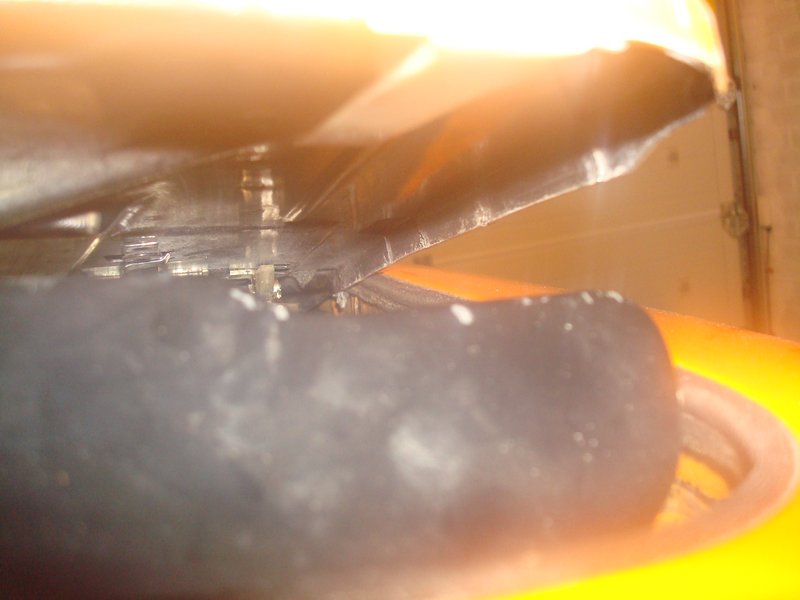
Except it wasn't - One of the guide clips for the wind deflector was on the bench

Image

There was no way of fitting it in situ, so out with the lining again and I managed to get it in by just undoing the front mounts and lifting it up. Virtually impossible to photograph
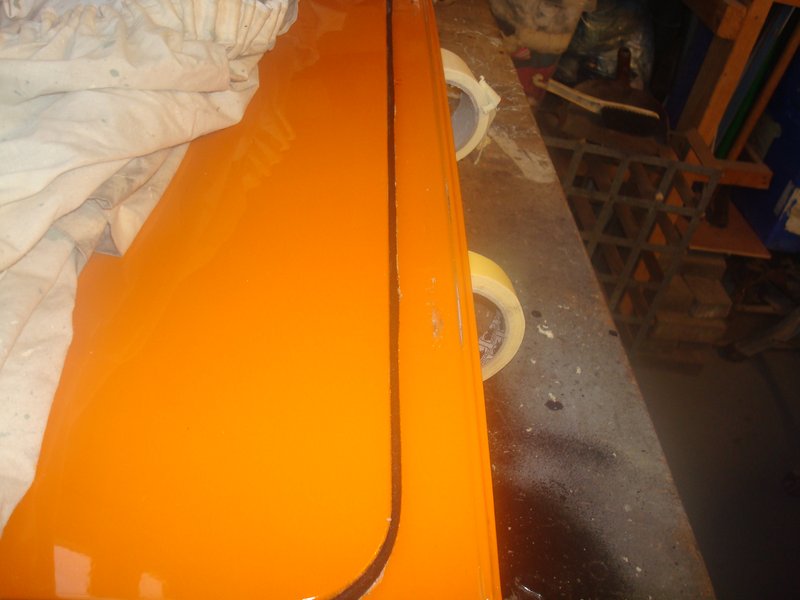
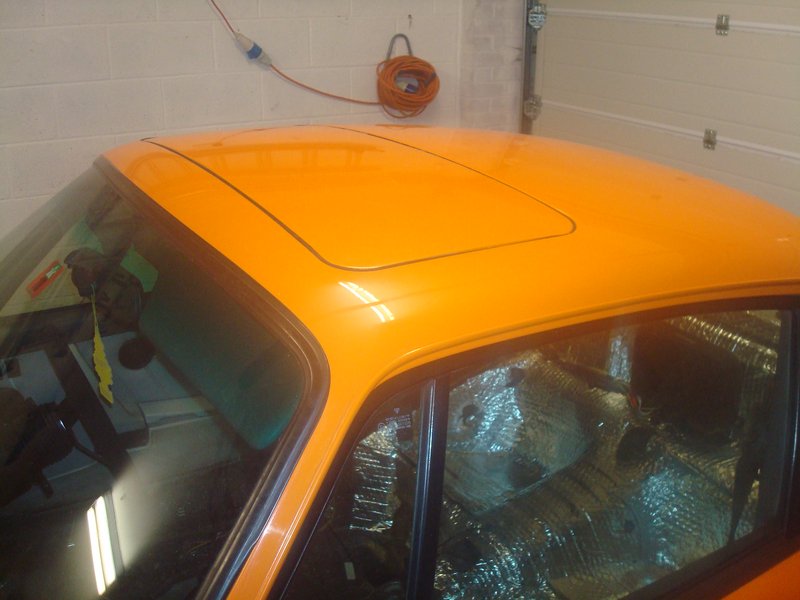
Image

Finally, all done

Image

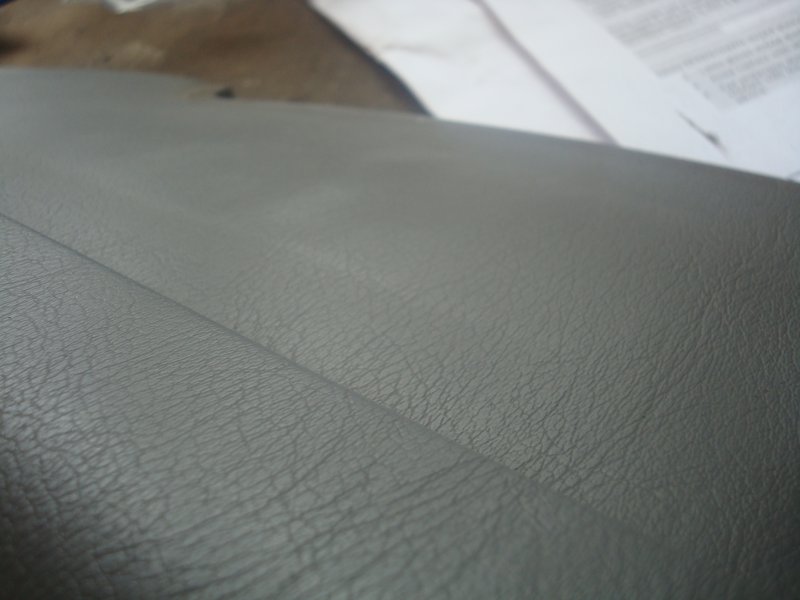
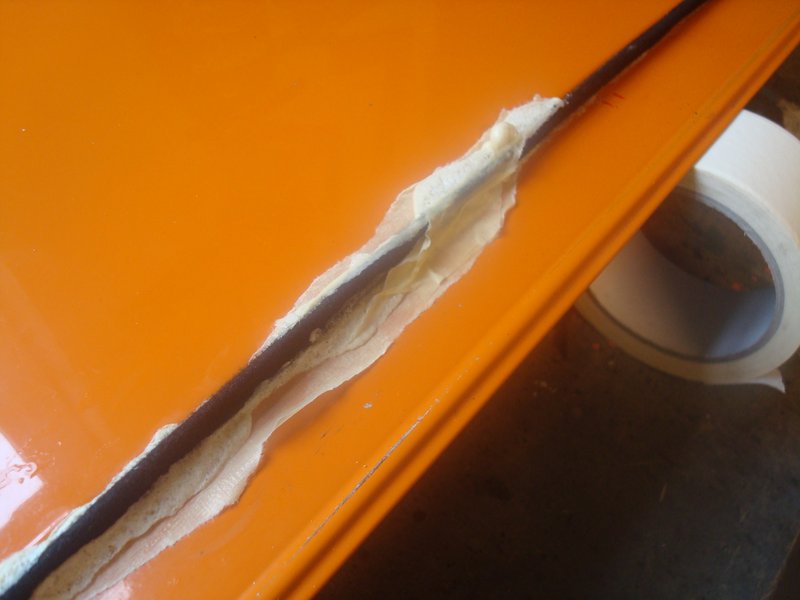
Definitely not my finest work, and there is some white coloured glue staining to the felt in a couple of sections, so I might dye this when I do the interior to try and make good. Hopefully it doesn't leak, otherwise it will be a double wammy of looking crap and leaking!!!
93 964 C2
99 Boxster 2.5 > 2.7 hill climber

71 914/6 3.0 - gone

'You see Paul, hill climbing is like making love to a beautiful woman. You get your motor running, check your fluids, hang on tight and WHOA..30 seconds later it's all over!' Swiss Tony
User avatar
PeterK
DDK rules my life!
Posts: 1069
Joined: Mon Sep 01, 2014 3:04 pm
Location: GU51 - Fleet, Hampshire, UK

Re: 964 C2 - Rolling Resto

Post by PeterK »

There are some days in this resto malarky when you just wish you’d stayed in bed. I feel your pain, working all day and not being totally happy with the results.
No one else will notice, but you know it’s there.
'79 Targa - restoration now mainly complete & being driven
viewtopic.php?f=28&t=59756
User avatar
Darren65
Nurse, I think I need some assistance
Posts: 7868
Joined: Mon Dec 13, 2010 10:55 pm
Location: North Wiltshire
Contact:

Re: 964 C2 - Rolling Resto

Post by Darren65 »

A tough task and looks a pretty decent job to me.

Well done :thumbright:
rhd racer
DDK 1st, 2nd and 3rd for me!
Posts: 2044
Joined: Wed Jun 23, 2004 9:47 pm
Location: Nottinghamshire

Re: 964 C2 - Rolling Resto

Post by rhd racer »

Thanks chaps

I have chalked it up as a trial run before the car is painted, as it will all need doing again then. It is good to practice on the old girl now without having the stress of fresh paint! You are right Darren, it def looks better than it did before!

Am progressing with another ‘practice job’ and hope to crack on with the interior in earnest at the end of the week...

Cheers
93 964 C2
99 Boxster 2.5 > 2.7 hill climber

71 914/6 3.0 - gone

'You see Paul, hill climbing is like making love to a beautiful woman. You get your motor running, check your fluids, hang on tight and WHOA..30 seconds later it's all over!' Swiss Tony
User avatar
hot66
Moderator
Posts: 18264
Joined: Tue Nov 11, 2003 4:17 pm
Location: North Yorkshire

Re: 964 C2 - Rolling Resto

Post by hot66 »

Sounds like a sunroof delete would be easier :lol:
James

1973 911 2.4S
1993 964 C2
2010 987 Spyder
1973 MGB Roadster

Its not how fast you go, but how you go fast ;)
rhd racer
DDK 1st, 2nd and 3rd for me!
Posts: 2044
Joined: Wed Jun 23, 2004 9:47 pm
Location: Nottinghamshire

Re: 964 C2 - Rolling Resto

Post by rhd racer »

I’ll add it to the list James!

Meanwhile, I have made a bit of progress on the door cards and associated fettling. However, today is the 2 year anniversary of taking ownership so I thought it would be fun to reflect on progress.

The project started as a car with numerous issues but an MOT, so the plan was to drive and improve as I went. By virtue of being a bit of a perfectionist, lockdown meaning there were huge swathes of thinking time / garage time / not driving time means the project suffered scope creep and became more axle stand resto than rolling!

Anyhow, the original PDI read like this;


I can’t fix the paint until a repaint, and the mirror glass and wipers work perfectly well so can not justify changing. Moving on...

Image


Just the gauges refurb to go, although I have fixed all the warning lights except the fan belt light, which I believe to be an issue with the gauge itself.

Image

Of course the engine rebuild took care of those. I have done a lot of other bits that weren’t on the list, inc RS suspension and body bits, most of the way through the interior recolour and refresh, fixed all the electrics and heating / ventilation, rebuilt the ABS pump and a lot more besides. Hopefully I am just a few weeks away from it being ready to put some serious miles on and save up for the repaint. Target is well before the Bicester Scramble in April which is booked.

Thanks for all the help and words of encouragement over the last 2 years!


Sent from my iPhone using Tapatalk
93 964 C2
99 Boxster 2.5 > 2.7 hill climber

71 914/6 3.0 - gone

'You see Paul, hill climbing is like making love to a beautiful woman. You get your motor running, check your fluids, hang on tight and WHOA..30 seconds later it's all over!' Swiss Tony
rhd racer
DDK 1st, 2nd and 3rd for me!
Posts: 2044
Joined: Wed Jun 23, 2004 9:47 pm
Location: Nottinghamshire

Re: 964 C2 - Rolling Resto

Post by rhd racer »

Here is the missing first page of the report

Image


Sent from my iPhone using Tapatalk
93 964 C2
99 Boxster 2.5 > 2.7 hill climber

71 914/6 3.0 - gone

'You see Paul, hill climbing is like making love to a beautiful woman. You get your motor running, check your fluids, hang on tight and WHOA..30 seconds later it's all over!' Swiss Tony
Trantorman
DDK Newbie
Posts: 17
Joined: Sun Nov 25, 2018 5:12 pm
Location: the frozen north

Re: 964 C2 - Rolling Resto

Post by Trantorman »

Now hopefully you get out and use it and enjoy it, knowing all the known issues are fixed, thanks for sharing the journey.
rhd racer
DDK 1st, 2nd and 3rd for me!
Posts: 2044
Joined: Wed Jun 23, 2004 9:47 pm
Location: Nottinghamshire

Re: 964 C2 - Rolling Resto

Post by rhd racer »

Thanks Les - yes, hope so, I did about 600 miles last year, and now, interior permitting can rev up to 4k and start to get it on song....

It has been a slow week - lots of time, but little progress. Or rather, less than I hoped.

It is project RS door cards time at long last, and like many jobs on this car, have never been near a 911 door card before of any vintage so a bit of a learning curve which saps time. For those not in the know, removal is view a few strategic points, some obvious, some less so

Pop the centre cap (a common part with 928s as many are) for the locking button and undo the screw. The surround unscrews - the clue is in the split flat screw recess, which reminded me of a VW beetle dash switch, and hey presto!

Image

The door cappings have an end cap that buts with a similar one at the end of the dash. Mine are very second hand and I have new ones ready to fit

Image

These reveal another couple of screws

Image

Then one final screw under a plastic grommet at the handle end


and the door capping lifts off (after undoing a couple of electrical connectors)

Image

There are 3 screws at the bottom of the doorcard outside the storage bin, and one inside, plus 4 push connectors (2 either side) that secure the sides of the panels to the door. That leaves the pull handle, which is obviously the most securely fixed. The top of the handle

Image

And then the middle by the door release, which has a short lever which unclips, and then a hidden allen screw

Image

Then your very tired, grubby, 180k and 27 year old door card comes off. But dont throw it in the bin as there are bits to reuse!
93 964 C2
99 Boxster 2.5 > 2.7 hill climber

71 914/6 3.0 - gone

'You see Paul, hill climbing is like making love to a beautiful woman. You get your motor running, check your fluids, hang on tight and WHOA..30 seconds later it's all over!' Swiss Tony
rhd racer
DDK 1st, 2nd and 3rd for me!
Posts: 2044
Joined: Wed Jun 23, 2004 9:47 pm
Location: Nottinghamshire

Re: 964 C2 - Rolling Resto

Post by rhd racer »

First go at lining up the new door cards. These were a bit of a chance find on ebay, as I had been researching RS door cards for ages, and I have to admit struggling with £600 or so for a full set including pulls and handles. As a result of my general perversion towards orange details, I found a supplier of cord pulls in a multitude of colours, orange included. I have these on my Boxster, but made them myself which meant piercing a piece of webbing in the middle to provide enough fabric structure to operate the door. These were more robust, and have a rivet pressed into them offset, to align to the mechanism.

Well anyway, on the ad it also states that they would supply door card blanks and handles too, so after a couple of messages the deal was done for less than 1/3 of the cost of a covered set. £10 of foam, and £20 of vinyl later, even my wife would be on-board with the fact I had just saved £400....That's one race tyre paid for :shock:

They took a little longer than expected to arrive, but to be fair to the seller who was great throughout, he is UK based and they are cut in Europe and of course I order in December so not great timing on my part. But it all turned out well and I wouldn't hesitate that anyone else with a bit of problem solving interest and some time to do the same. If interested, the link is here

https://www.ebay.co.uk/itm/Porsche-911- ... 1438.l2649

Anyhow, what did I have? Well, frankly a blank card that could equally be used for RS purposes or as a full OE replacement, with blanks to press out sections as required. Speaker delete, no problem etc etc

Image

There are a number of options for handle placement, so one of the panels was marked with the options, but these are a guide only rather than places to set to with the drill. I looked at a number of pics on the internet, and one of the options is to set them on a diagonal, but from the pics I was not keen. Plan A, was to fit per an RS with a horizontal handle

Image

Now it would have been helpful to have seats in, but with a bum on the floorpan mock up this felt too far back and might possibly be annoying in terms of elbow room. I have no way of telling, but not prepared to wait, I decided to look at other options.

So plan B was to use the existing handle mount in the middle of the door card, and choose my angle of dangle to determine the top position. I had it all worked out, so fitted the panel, used the existing mount and fitted the handle. The angle of preference gave me a good surface to drill the door and fit a rivnut for the top mount (so the handle would pull the door, not just the panel) All good

Image

Fortuitously, I parked that thought there and got on with the pull cord There is a short level protruding from a little cam, which popped out, as did the nylon guide it sits in, leaving a 6.5mm hole. So, an M6 bolt with a nyloc nut would secure the door pull

Image

Image

I then did a mock up, but something wasn't right....

Image

The finishing grommets would basically overlap, and given the pull can't move, the handle had to. Phew..close shave. So, to move the handle to more like the position with the pencil marks originally supplied then :lol:

Image

So I found two flat sections of door frame so I could fit the rivnuts to secure the handle. Done.

Image

Trial fit the card

Image

I tried the window to make sure everything still worked, with no catching of the rivnuts on the window mechanism (I had checked as best as I could before, but you never quite know!), and all was clear. One tip is to refit the driver's door switches first or the passenger side wont work....

The next thing to work out is the 4 clips per card. In a random act of bad planning, I didn't have any replacement ones but did have some Boxster clips. The issue is getting the clip securely in the card, where the head is bigger than the hole

Image

Image

My dastardly plan, as depicted by the arrows, was to drill a bigger hole in board, and a small slot to fit the clip and slide into position such that it cannot easily move anywhere, like this

Image

Image

Which worked! So after another trial fit to confirm all was well and everything lines up left to right, I fitted the grommet for the pull and all was done. Incidentally, I marked everything on the front for ease of working, and then copied onto the rear so that when they are covered I can see where I need to make a hole etc...

Image

There was one small indescretion, which is a legacy of the door card having dual uses. The cut out at the top is for the original handle and is not needed with an RS card, so I will foam and cover over this section.

Image

Passenger side therefore done and ready to cover
93 964 C2
99 Boxster 2.5 > 2.7 hill climber

71 914/6 3.0 - gone

'You see Paul, hill climbing is like making love to a beautiful woman. You get your motor running, check your fluids, hang on tight and WHOA..30 seconds later it's all over!' Swiss Tony
rhd racer
DDK 1st, 2nd and 3rd for me!
Posts: 2044
Joined: Wed Jun 23, 2004 9:47 pm
Location: Nottinghamshire

Re: 964 C2 - Rolling Resto

Post by rhd racer »

You would think that the driver's side is a simple repeat of the passenger side, but it wasn't, and for reasons I cannot explain. Everything was the same up until my complete test when I noticed that lowering the window caused a click. The window mech was for some reason touching the cam which the door pull attaches to. It looked the same, albeit it did look as if the cam was rotating further and moving into the contact zone. This sent me down a rabbit hole...

The cable is fixed length, with formed ends. It has a bike cable outer in the middle, secured at each end and a spring release at the lock end. To get near it, and understand what is going on, there are two plastic covers inside the door secured by small screws

Image

There is adjustment at the handle end of the door, and it did change how much the cam rotated, so I thought that the spring might have worn, and therefore needed more tension, to create more slack at the cam end, less rotation = less clicky clicky.

So my plan was to extend the slots, tension the spring, less rotation, no clicky clicky

Image

This didn't work. The door didn't open :lol:

At this point I started to question why I was in a freezing cold garage, trying to fix a slight bind/ clicky-clicky noise that would do no damage but that I knew would do no harm to either component. Hey-ho

My next plan was to modify the mounting point of the cam, which would change the leverage point but only a little, to create the clearance

Image

Hilariously, this then hit the mount, so I needed to find a few mm by grinding down the bolt head and using a shallower washer

Image

This shows how tight it was, and I clearanced this slightly too, but it bent by hand in the vice

Image

Before cutting off the offending overhang

Image

No more clicky clicky. Driver's side done.

Image

So, just in time for a Friday Rioja which is going down very nicely, the foundations are laid for some much less dull jobs; cover the panels, colour the dash, door caps etc and start on the carpets....
93 964 C2
99 Boxster 2.5 > 2.7 hill climber

71 914/6 3.0 - gone

'You see Paul, hill climbing is like making love to a beautiful woman. You get your motor running, check your fluids, hang on tight and WHOA..30 seconds later it's all over!' Swiss Tony
rhd racer
DDK 1st, 2nd and 3rd for me!
Posts: 2044
Joined: Wed Jun 23, 2004 9:47 pm
Location: Nottinghamshire

Re: 964 C2 - Rolling Resto

Post by rhd racer »

After a bit more of the dash refit in the race car, I got into the 964 dash. The original plan was to dye it black when I did the seats, but having lots of time to think and plot have sent me off in a different direction.

Interiors can be pretty devisive, and this might not be for everyone, but the 964 interior is a bit dull (well, unless you are rocking a colour like James' car, an RS with tri-colour stripes, or tartan like Jonny's. The light grey on mine was too impractical, too old fashioned and IMHO not great with the orange, nor the blue I am going to revert to at some point. So black was the plan, but DIY for purely financial considerations as it is fair to say I have gone a bit deeper and sooner than I originally planned for the car....

But, all black might be a bit too safe too, I thought. Having seen lots of interior pics where people had used their imagination a bit (the blue dial surround came from just such a trawl) I thought a compromise might work; keep it black but try different materials to give it a different, modded but classy feel. Well that's was the idea, and then a look at the damage on the dash pad consolidated that idea

Image

Image

Basically, the car has been damp forever, and this has caused a bit of rust in the dash panel, but also for the foam to lift / expand and stretch the vinyl covering. A black makeover might hide it a bit, but a shiny finish would always show it. And then I am thinking why go to all the effort of taking the dash out, and put it back in a damaged / warped state?

So that set me thinking and I bought a flocking machine. I flocked the dash in the 914, but it was a race car and I had made the dash out of fibreglass and it looked tricky to trim. Even spraying it with carpet glue and shaking flocking material over it turned out pretty well. Imagine the results I could get with the proper gear? So I bought a proper kit, that positively charges the flock, and the earth is through the iterm you are covering, and Bob is your favourite Uncle. A quick go on the Boxster dash last week proved that I could make it work, taught me some lessons, and gave me some ideas.

So without making it look hairy like a bad taste limo, or too race-car like, I thought of a fairly low key way of creating a cohesive theme; dash top, following through to the door caps, rear door caps and a couple of little bits like seat belt guides to break up big vinyl panels, and the centre console, which would have all the plastic insets to break up the flock. The new black carpet set provides another decent contrast.

Therefore, I could repair the dash with vigour....
93 964 C2
99 Boxster 2.5 > 2.7 hill climber

71 914/6 3.0 - gone

'You see Paul, hill climbing is like making love to a beautiful woman. You get your motor running, check your fluids, hang on tight and WHOA..30 seconds later it's all over!' Swiss Tony
rhd racer
DDK 1st, 2nd and 3rd for me!
Posts: 2044
Joined: Wed Jun 23, 2004 9:47 pm
Location: Nottinghamshire

Re: 964 C2 - Rolling Resto

Post by rhd racer »

I thought the best approach was to cut out the rippled area with a craft knife

Image

Still not flat enough

Image

Image

So I ground down the warped material with a flap disk on a grinder and covered myself in tiny fibres. Nice

Image

I did however achieve flatness, if that's a thing

Image

With so much of the structure of the pad gone, I was worried that it might distort again in the future, so I used chop strand fibreglass to repair the area, and then spread the leftovers underneath in a waste not, want not kind of way

Image

Image

A quick roughing up / levelling off with the flap disc

Image

And then a skim of filler, followed by a quick fill of a couple of holes

Image

And blocking off. No need to wet and dry as it doesnt need to be scratch free

Image

Image

and check the vent still fits ok

Image

Image


I then needed to rough up all the panels to be flocked, using scotch pads so the adhesive keys. The door caps needed the connections stipping for the alarm lights etc, but the only connection that had me really stumped was the electric mirror adjustor. I tried all my connection removal tools etc and could not remove it, so left it there and planned to paint the adhesive carefully around it. Basically, the flock will only stick to adhesive, so if careful with it, I could leave the switch in place

Image

Image

Image

I then ran a dye around the captive bolt in the dash so it goes back in as easy as poss (it will also need to come out again to repair the rust on the windscreen surround) and rust treated any exposed bits of steel on the dash
93 964 C2
99 Boxster 2.5 > 2.7 hill climber

71 914/6 3.0 - gone

'You see Paul, hill climbing is like making love to a beautiful woman. You get your motor running, check your fluids, hang on tight and WHOA..30 seconds later it's all over!' Swiss Tony
rhd racer
DDK 1st, 2nd and 3rd for me!
Posts: 2044
Joined: Wed Jun 23, 2004 9:47 pm
Location: Nottinghamshire

Re: 964 C2 - Rolling Resto

Post by rhd racer »

Whilst setting up the flocking gear I also removed the mesh grills from the tweeters, as they were looking rusty and horrid, so primed and painted them satin black

Image

So, the flocking adhesive is a 2 part affair. It only goes off above 8 degrees, and therefore is very workable below that, but many complain that it goes off very quickly in warm weather, giving you a very short working time. Last weekend I did in ambient temperature, at about 12 degrees, and the adhesive lasted a couple of hours without going off, albeit I had thinned it a bit with acetate because my intention was to spray it. But it was too cold, and despite thinning, it just gummed up the gun, so thinking it was about to go off I quickly brushed it and all was fine (you can roller it too).

If doing a colour change, you add pigment to the adhesive to mask the original colour of what you are flocking.

Image

Image

Once I got started, there arent many pics because a) the glue is a nightmare, and sticks wotsit to wotsit b) you have to use latex gloves when going near the brush, but you have to take them off before picking up the charged flocking head otherwise you could give yourself a jolt c) it is all a bit time-sensitive once you have started d) if using a phone, there is every chance it wont recognise your thumb for a week after you get glue on it :lol:

You have to set everything up so you can get all around it, underneath, ontop etc. and wear a mask and goggles because the stuff gets everywhere....but the result are very satisfying

Image

Image

Kneepads were a nightmare as they need about 230 degree coverage, so needed hanging up, where I had an absolute disaster and knocked them, damaging the finish in several places. I did a patch up job, but might need to redo these (these shots show the adhesive and pigment only)

Image

Image

They are now hanging in my office, and I waiting to see how they turn out....

Image

However everything else turned out ok, and despite a frown from my wife and a 'this room stinks' it is all happily curing on the table tennis table in the lounge (which was a brilliant Christmas present idea for the girls as it turns out, serving multiple purposes!!). Certainly for the next couple of days, it is looking after my interior...

Image

Image
93 964 C2
99 Boxster 2.5 > 2.7 hill climber

71 914/6 3.0 - gone

'You see Paul, hill climbing is like making love to a beautiful woman. You get your motor running, check your fluids, hang on tight and WHOA..30 seconds later it's all over!' Swiss Tony
Boydyrs
DDK forever
Posts: 642
Joined: Sat May 26, 2007 8:26 am
Location: Stirling, Scotland

Re: 964 C2 - Rolling Resto

Post by Boydyrs »

Love it Wayne. I did this in my hotrod. Point to note is do not fit dash pad until you have done everything else as it looks great but flock in not very hard wearing so any rubbing/mods required after can damage flock. I have a small area thin on top of my dash as we had to do some other work last minute and depth of flock now different and noticeable especially in bright light.
Might have to send dash tip to you for refinish....LOL. It will look great.
Post Reply