
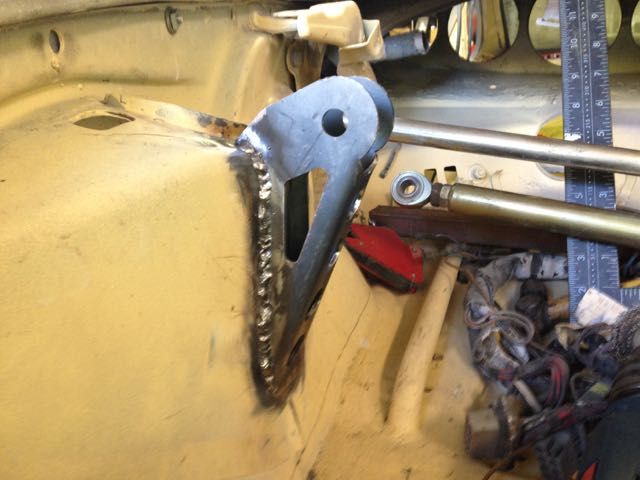
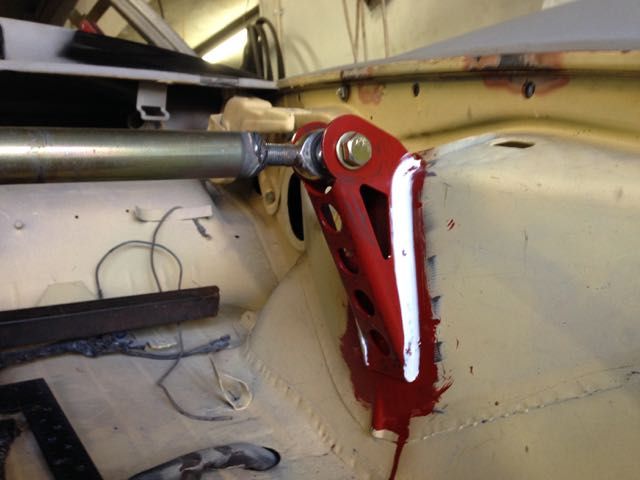
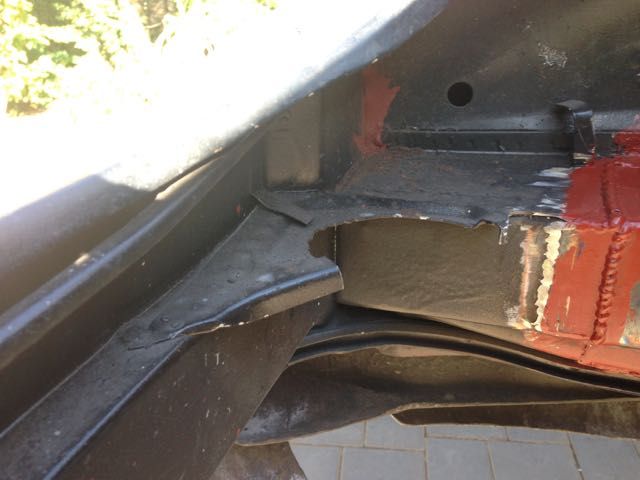
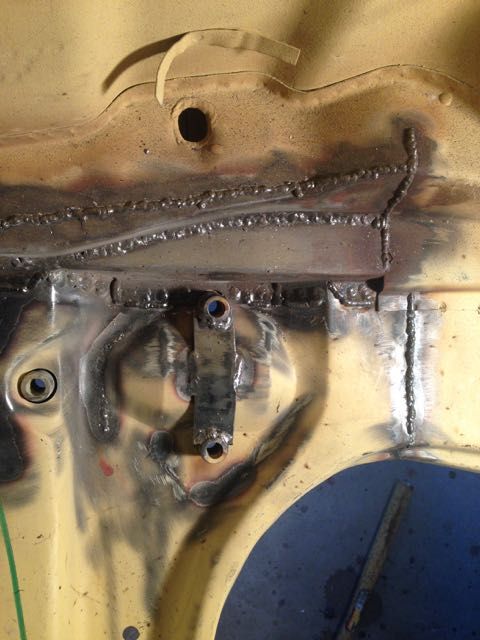
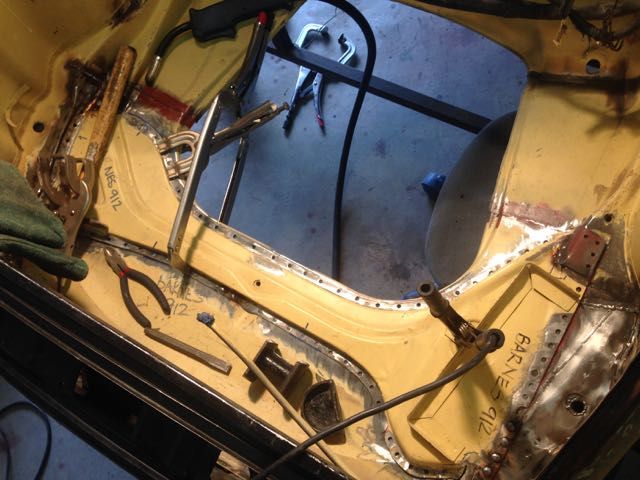
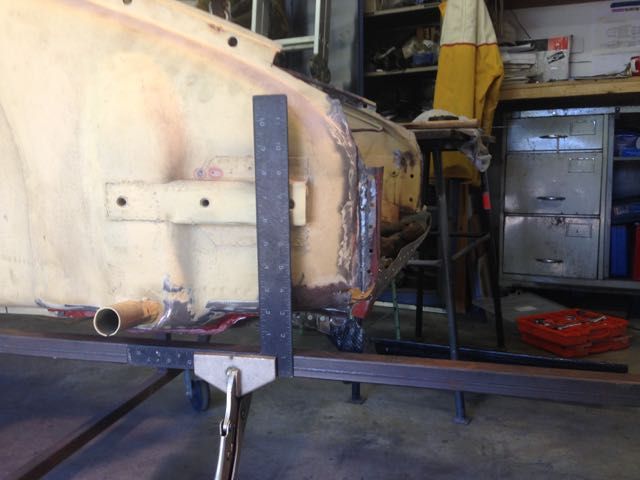
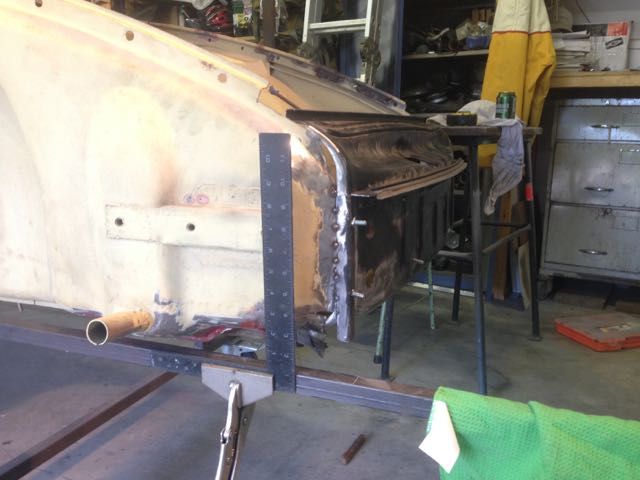
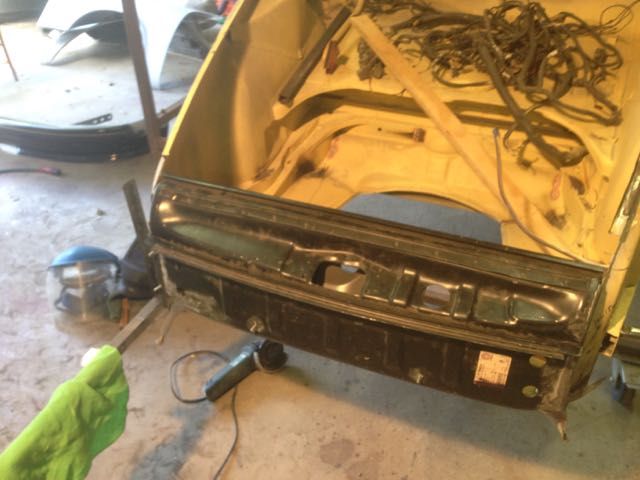
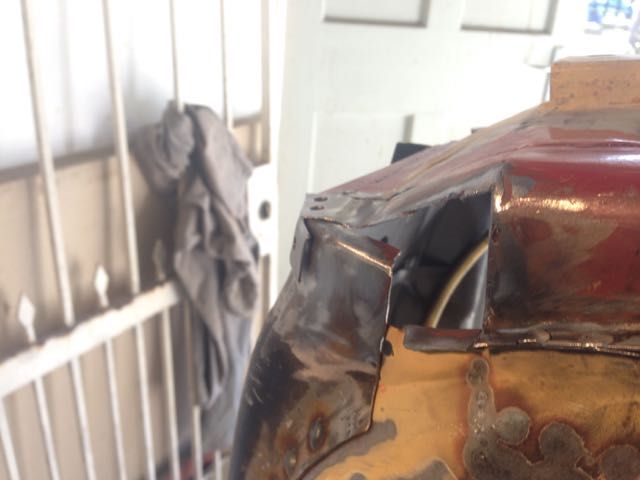
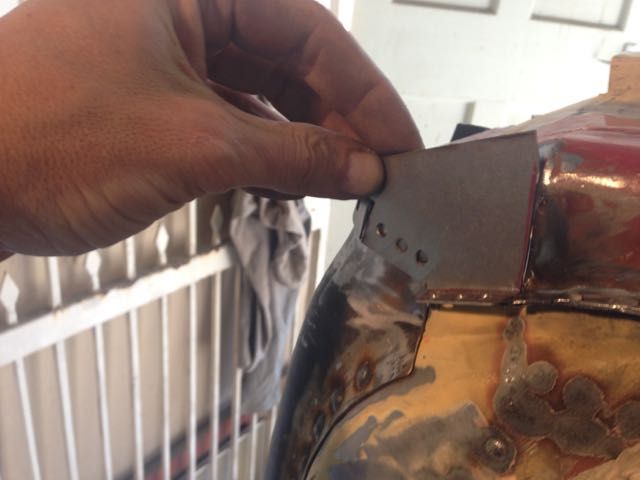
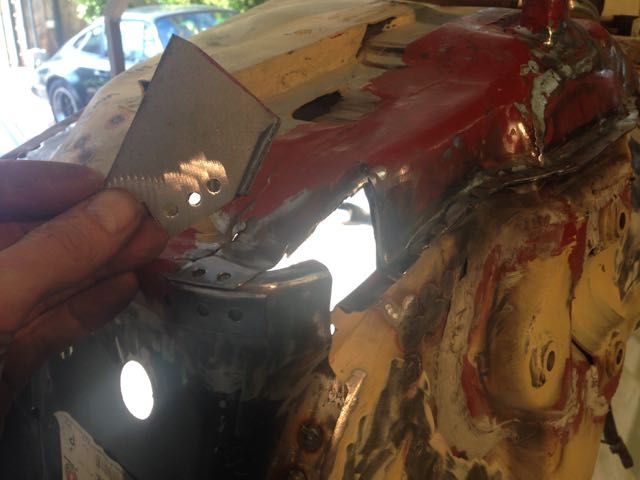
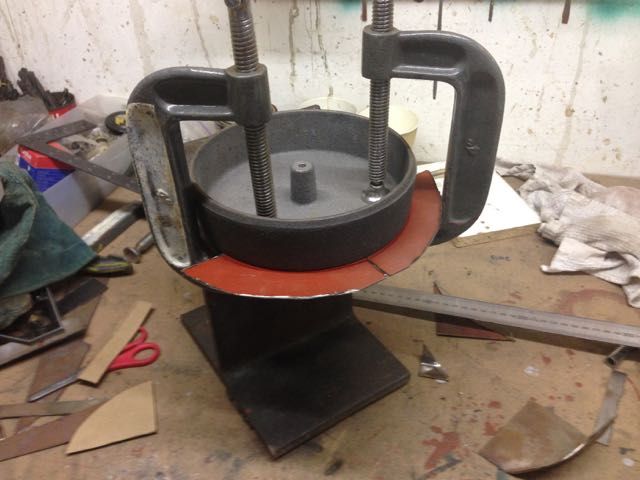
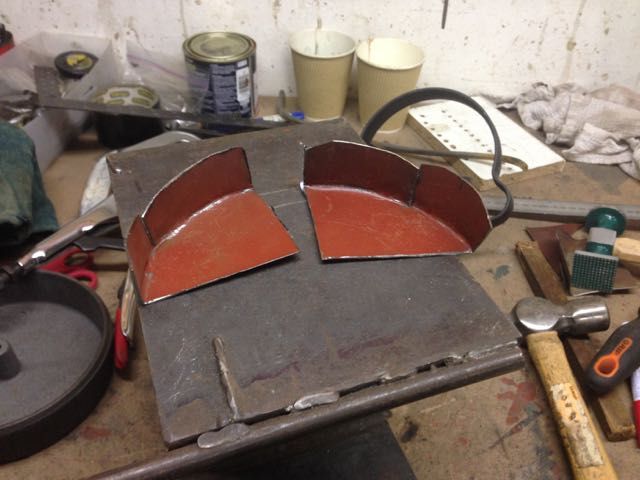
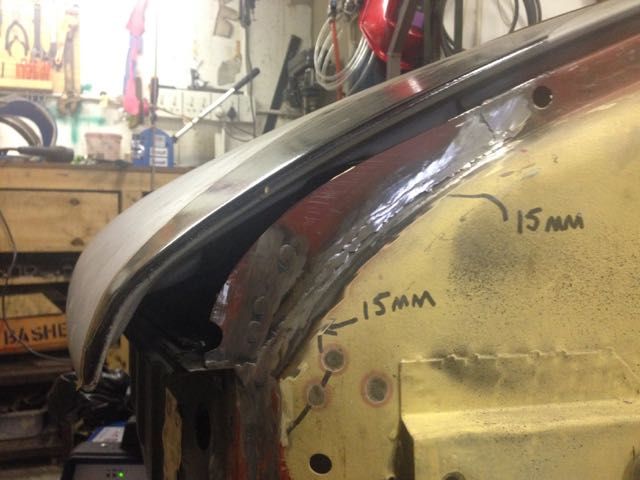
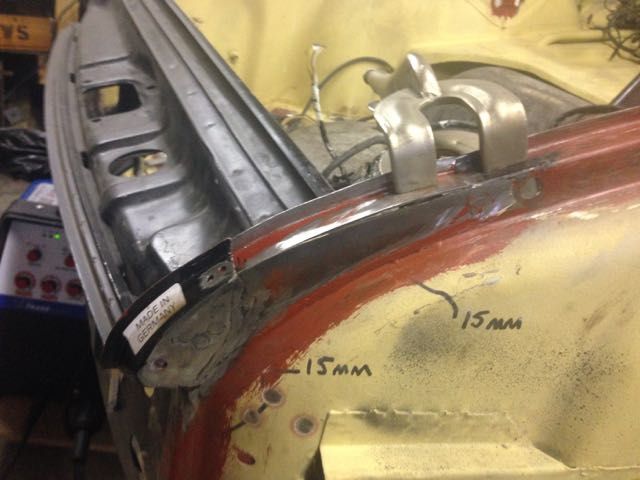
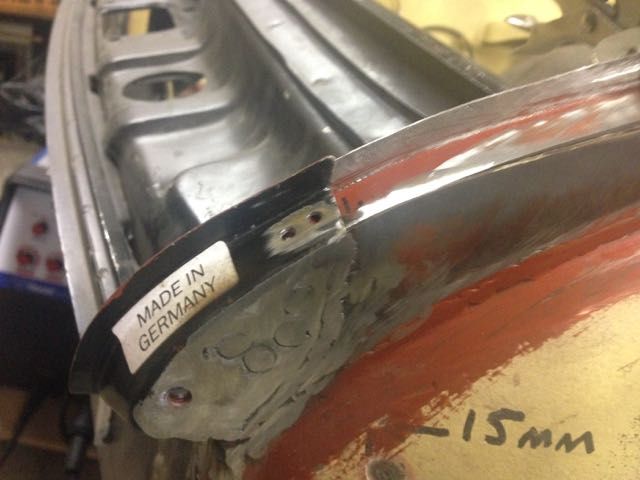
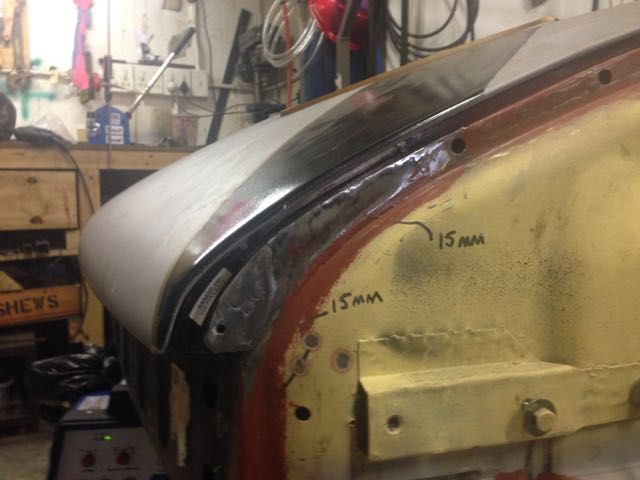
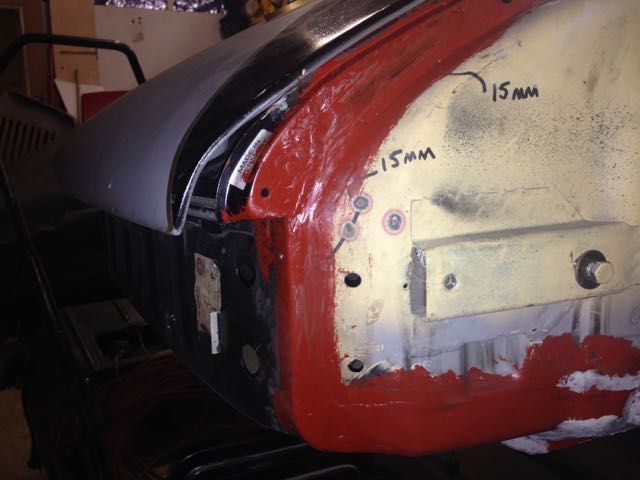
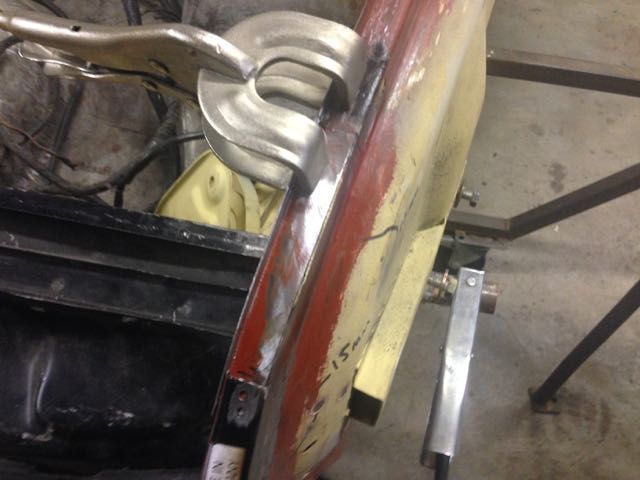
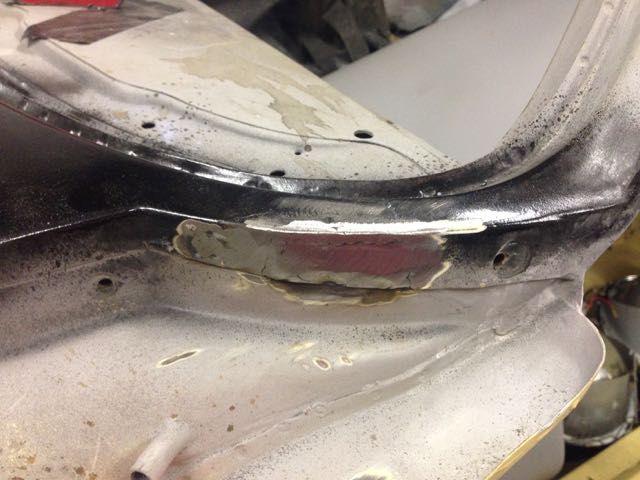
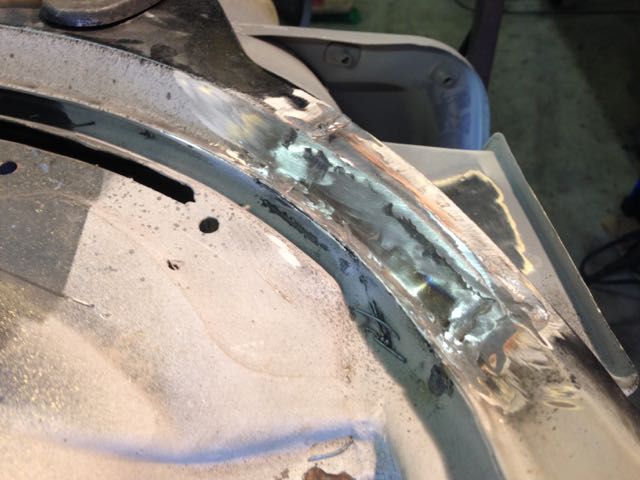
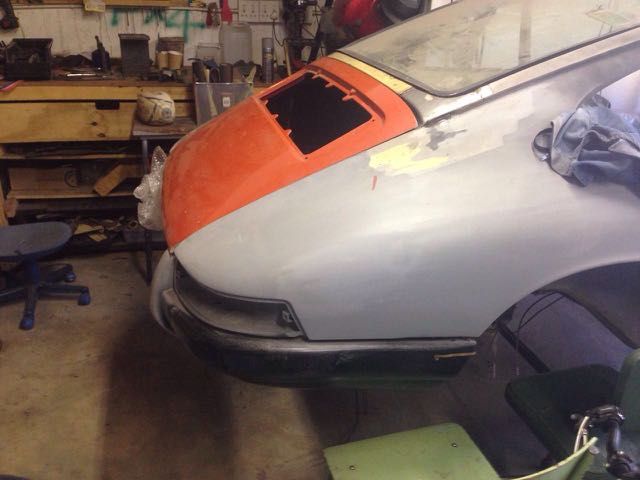
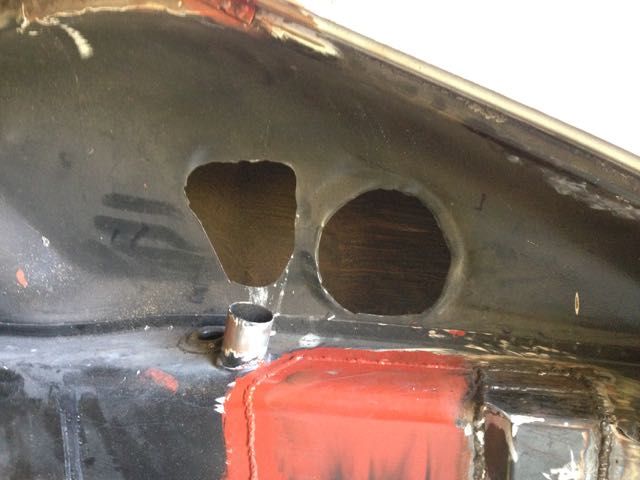
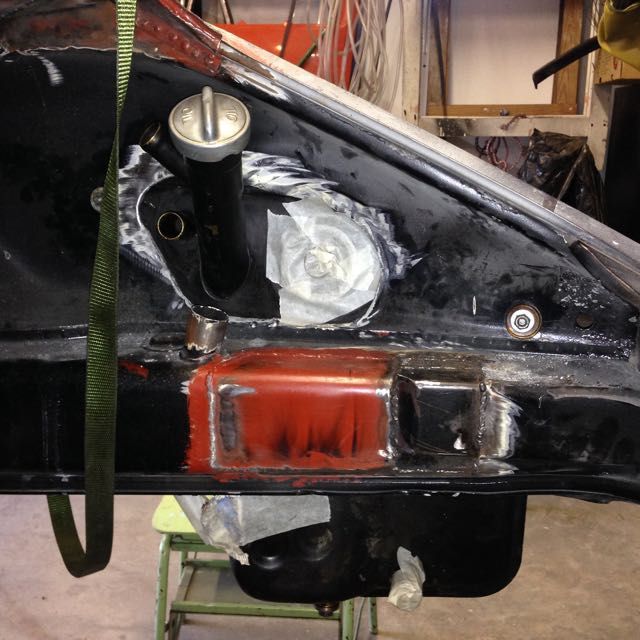
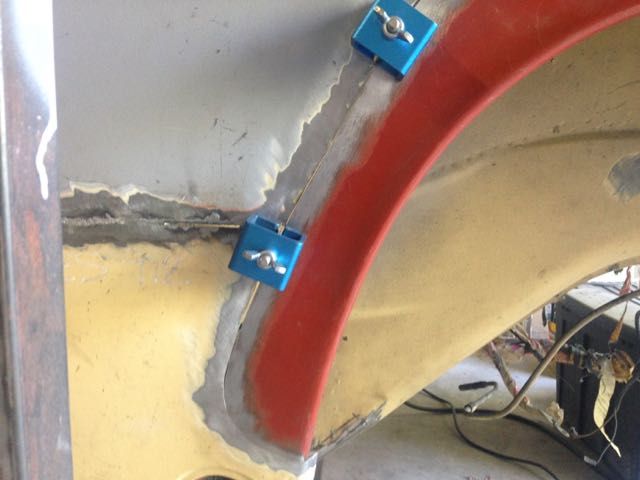
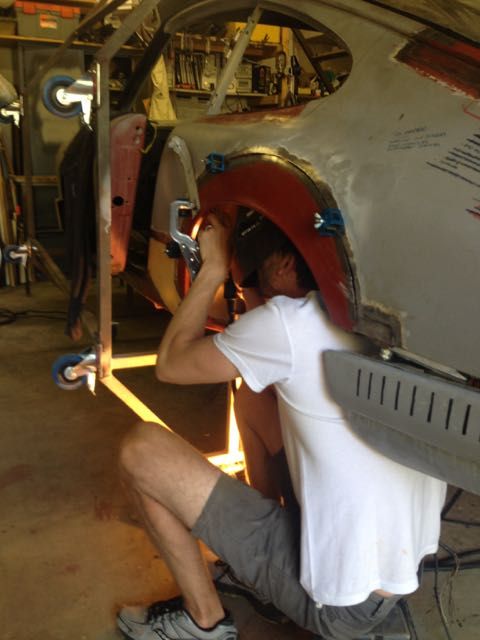
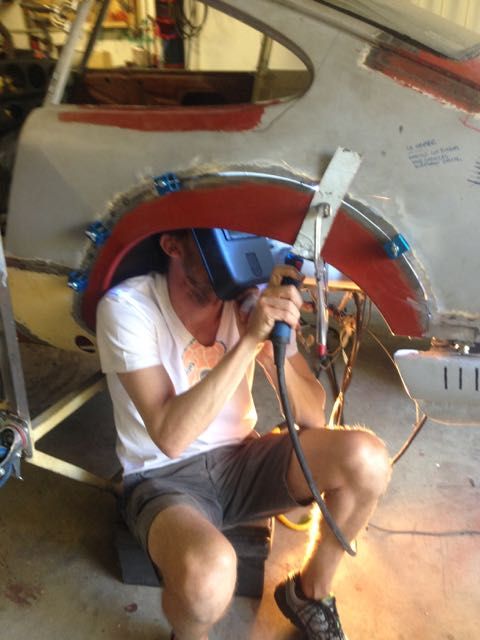
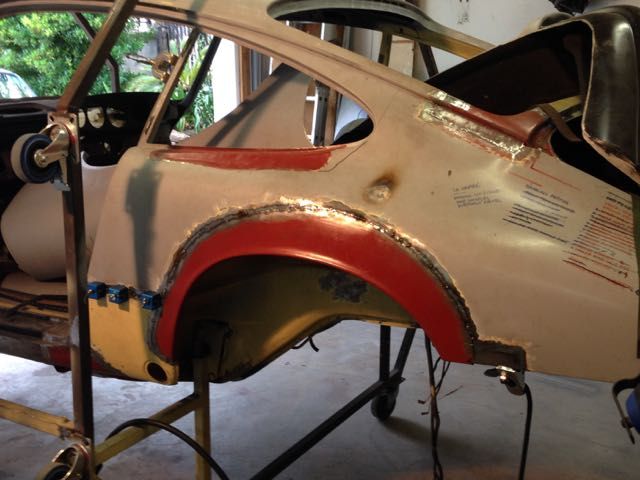
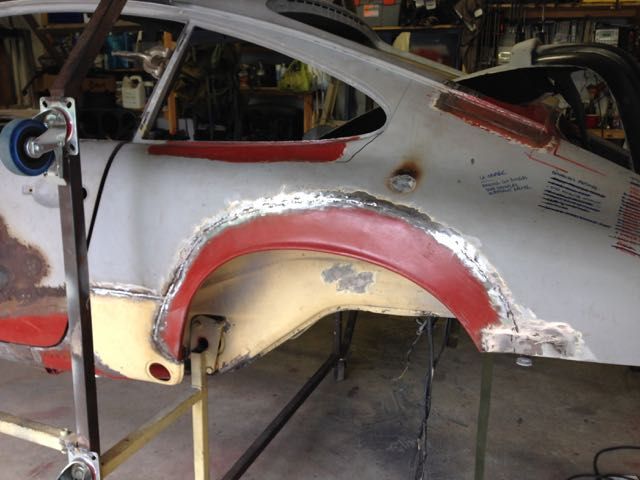
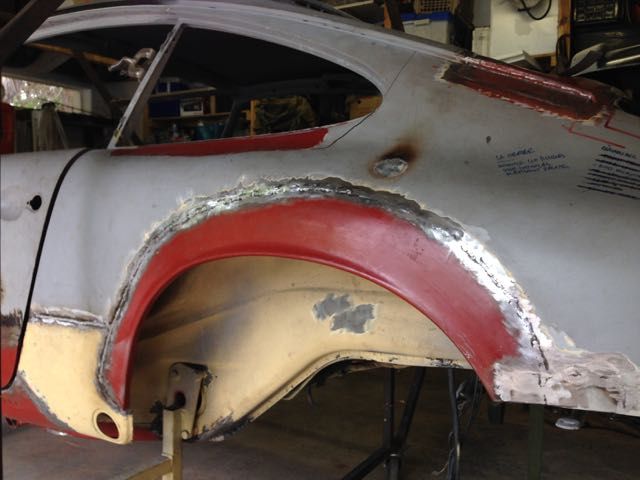
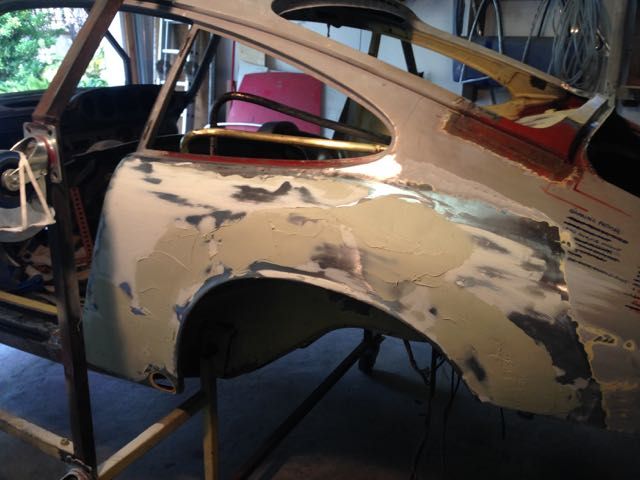
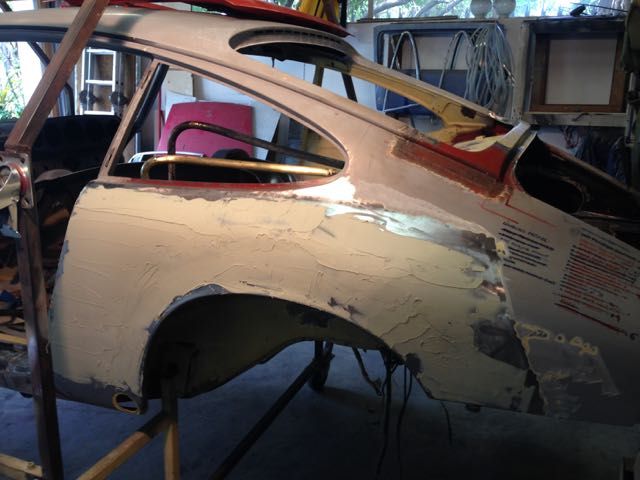
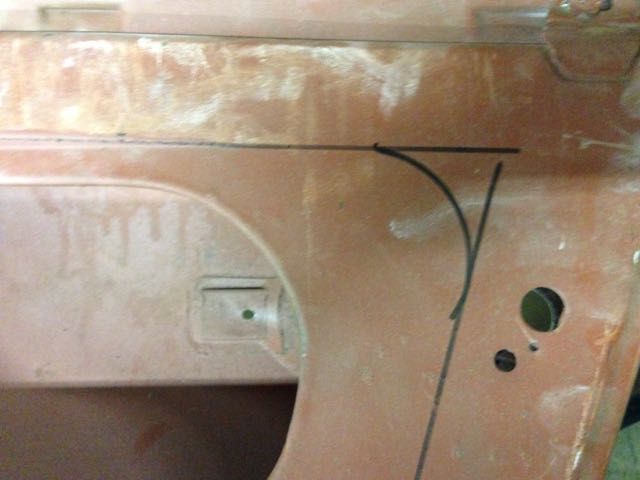
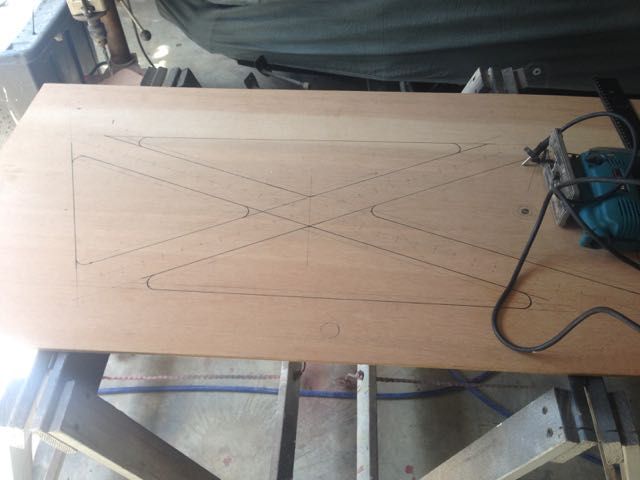
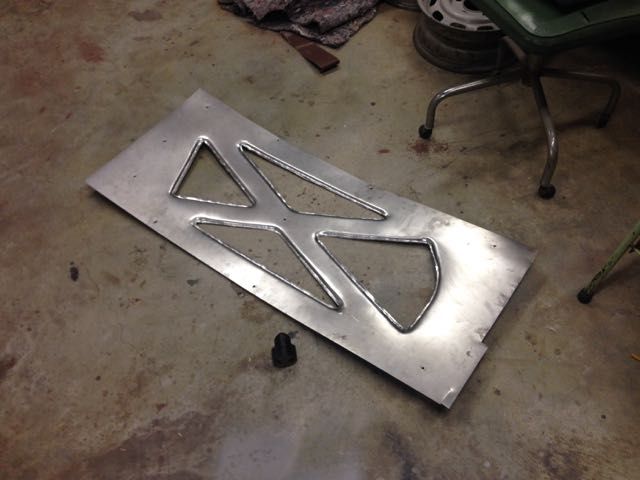
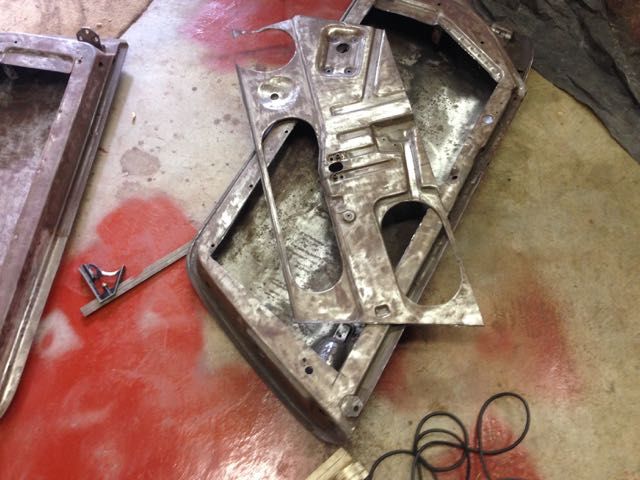
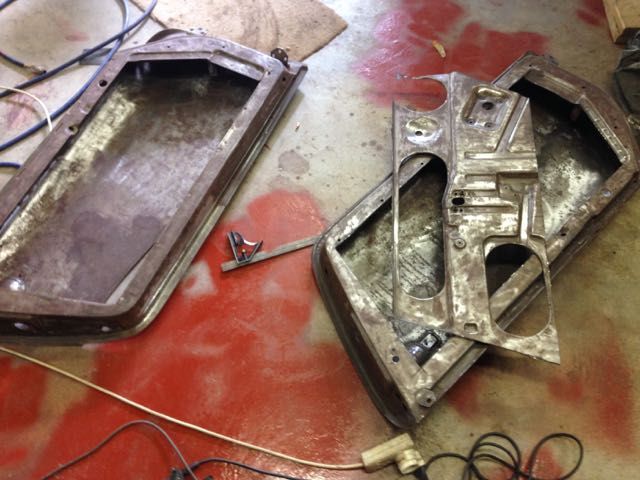
Getting them aligned was an interesting exercise.
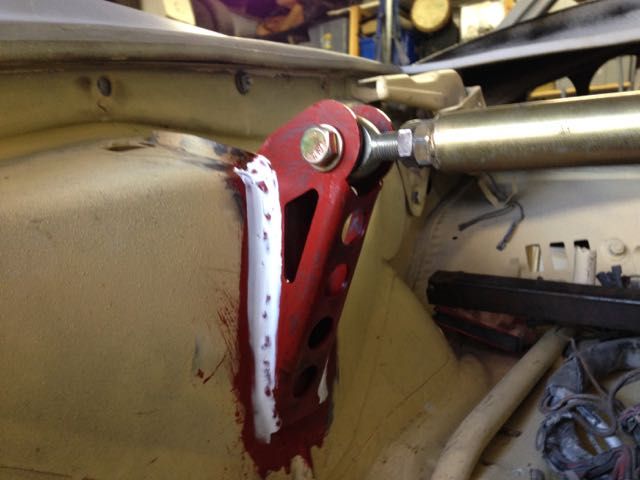
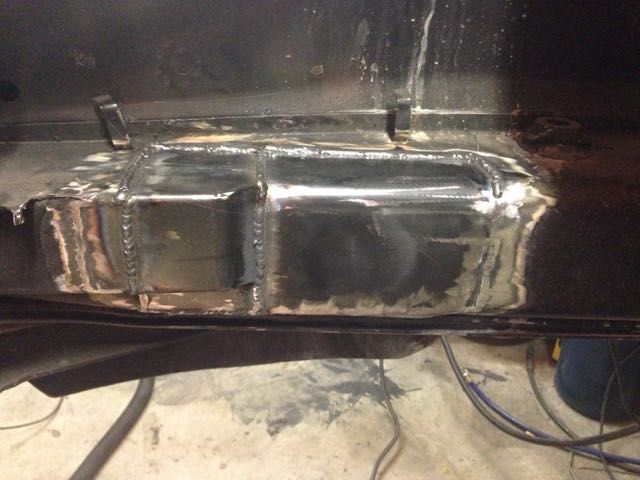
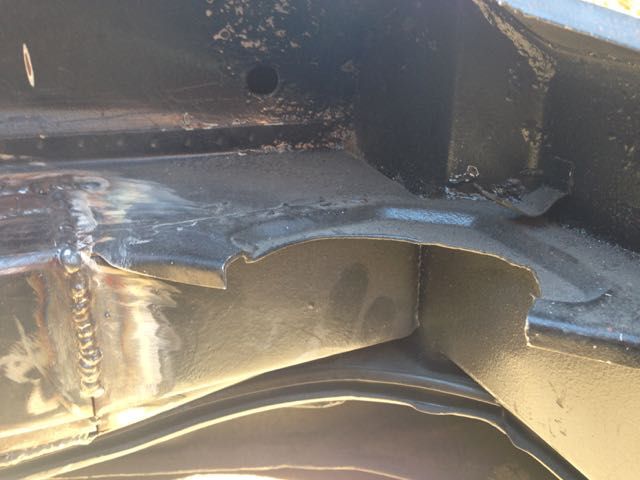
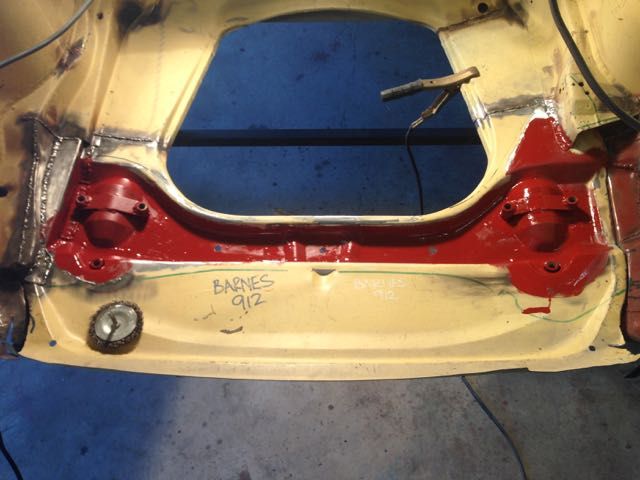
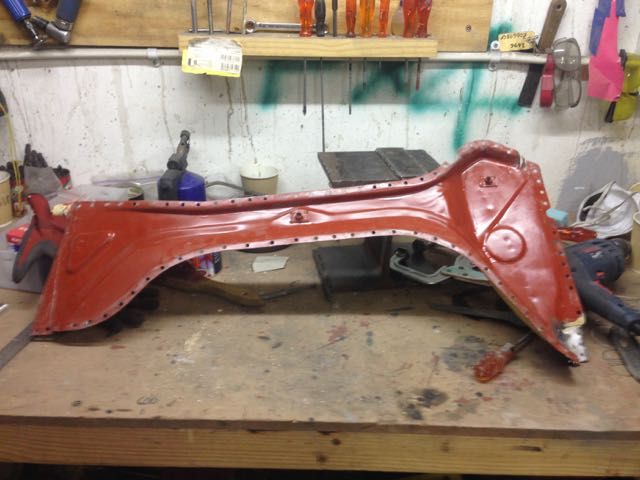
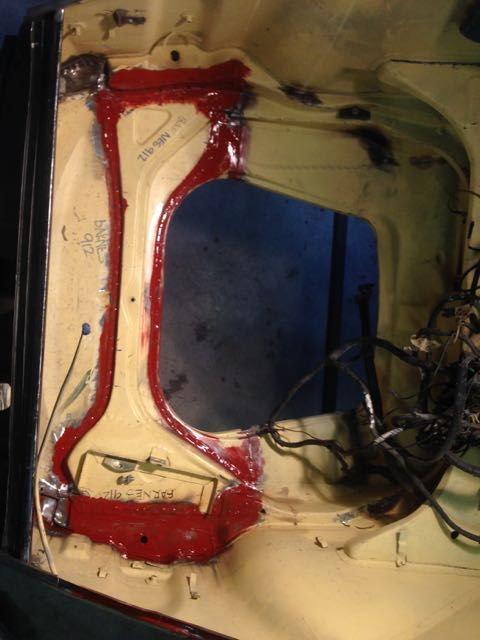
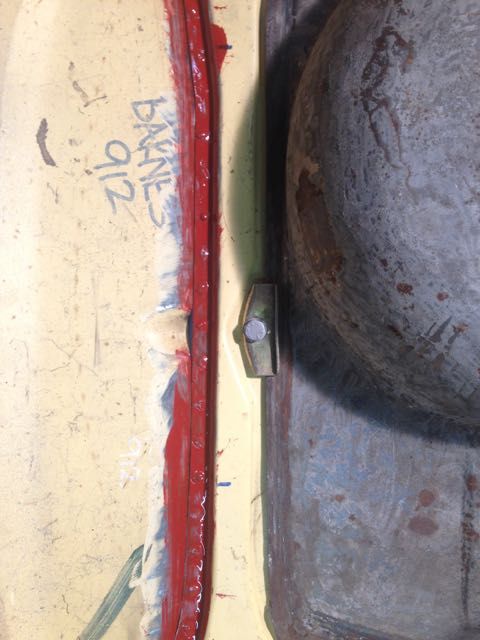
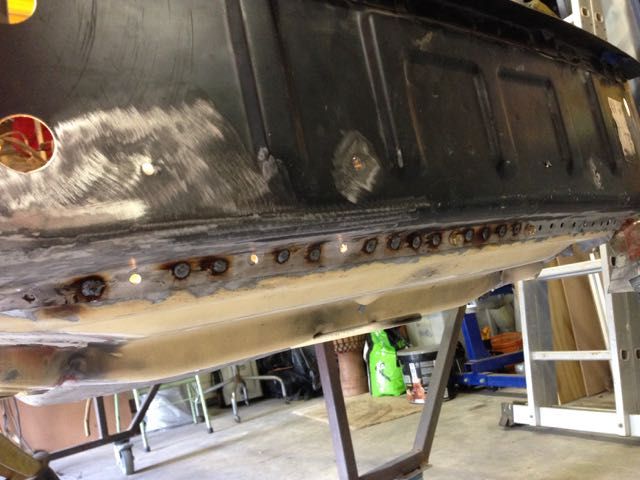
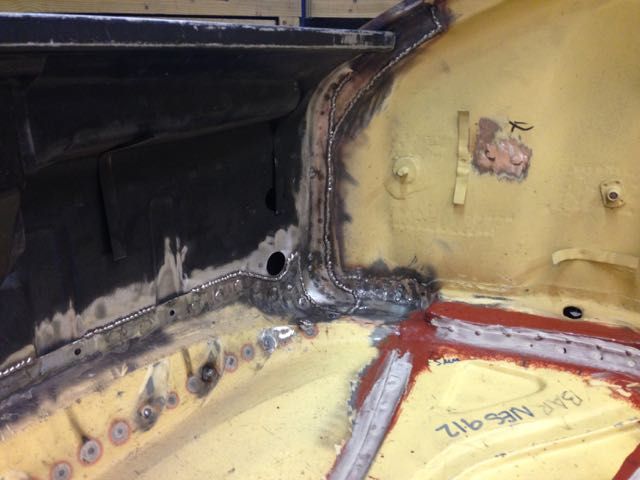
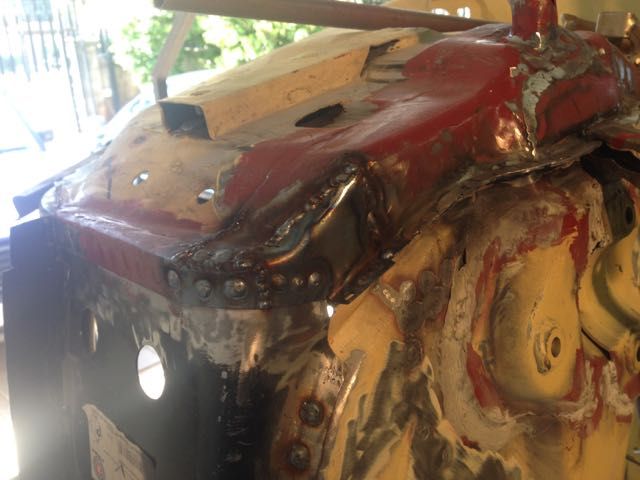
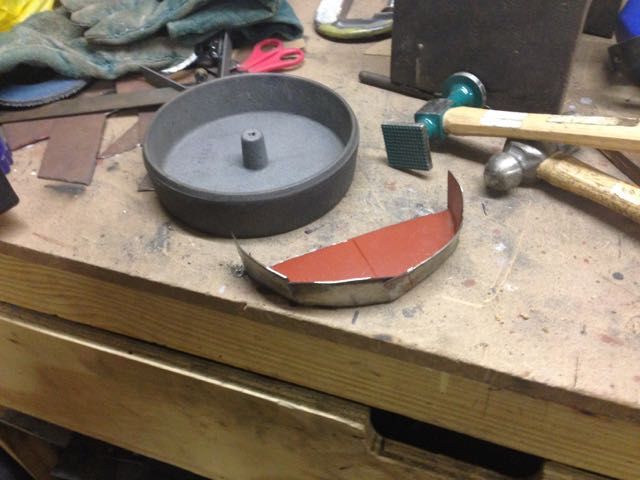
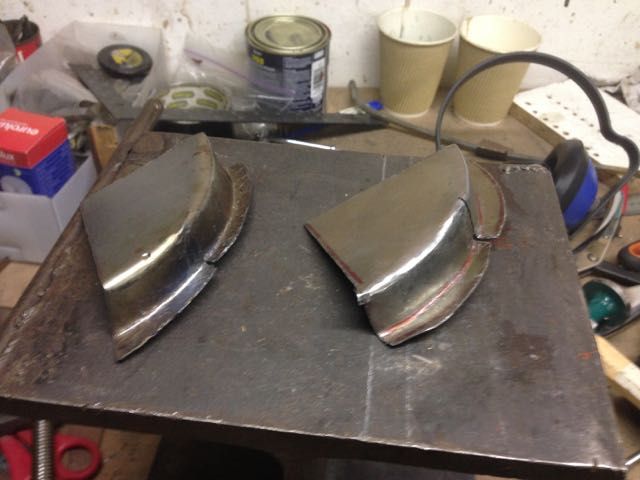
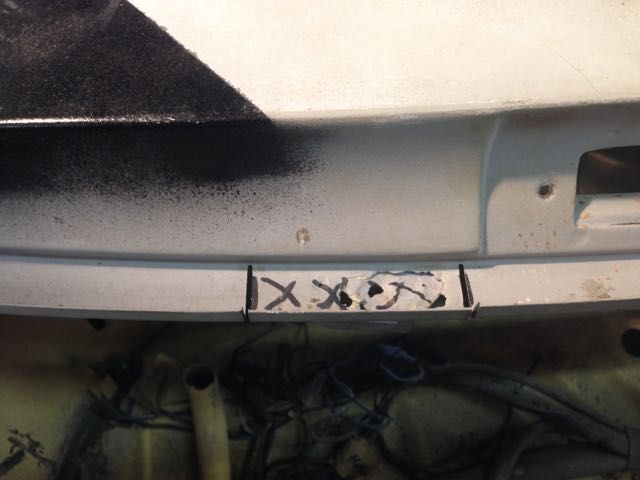
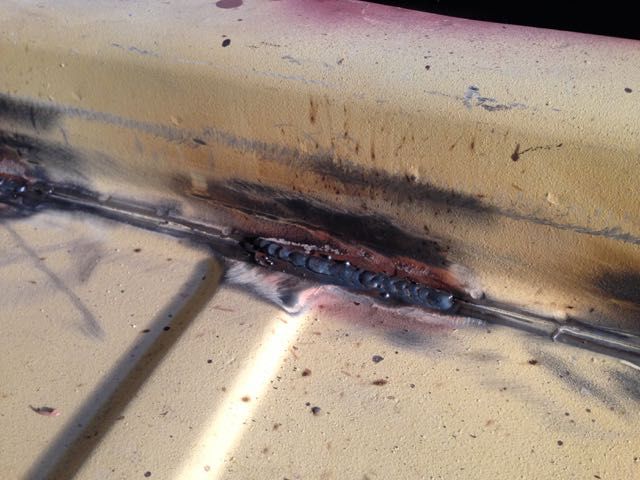
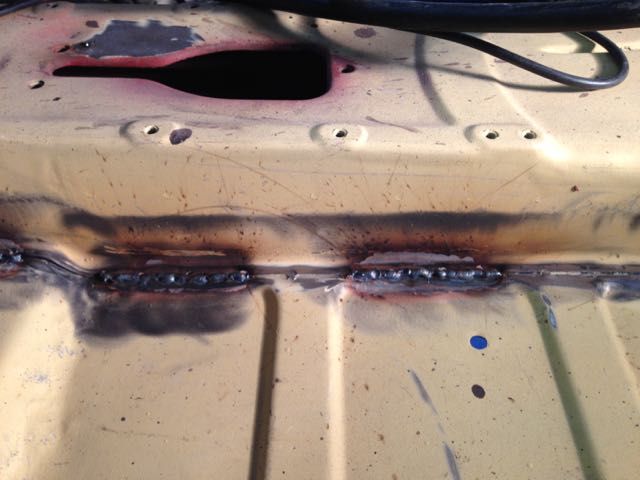
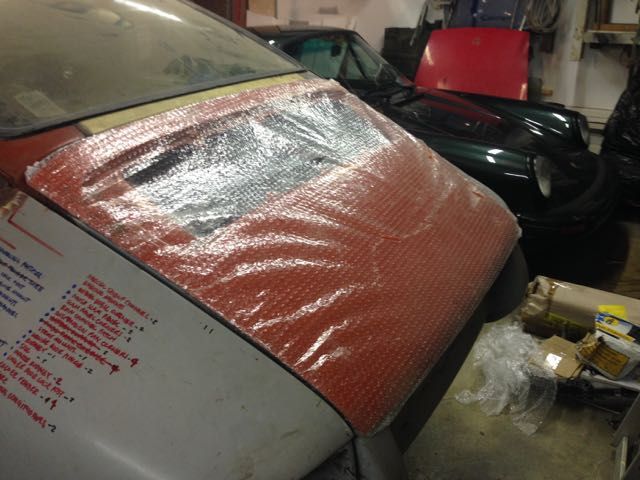
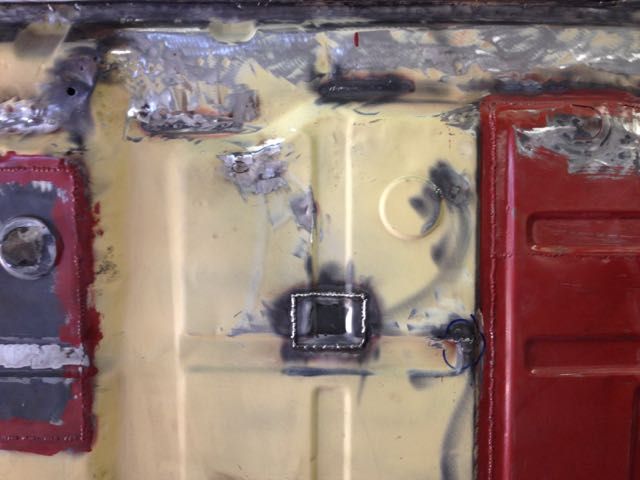
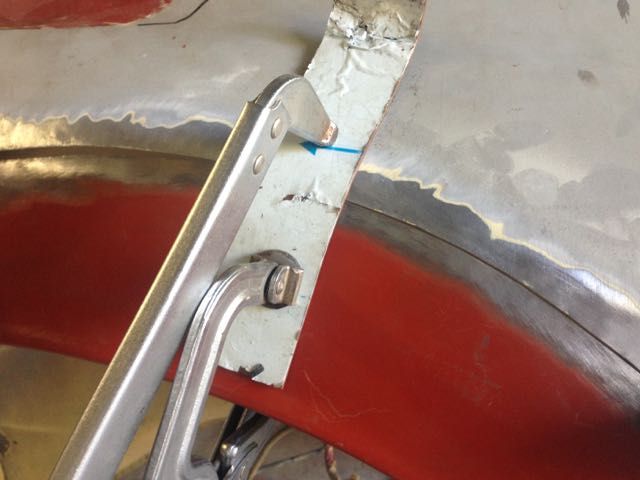
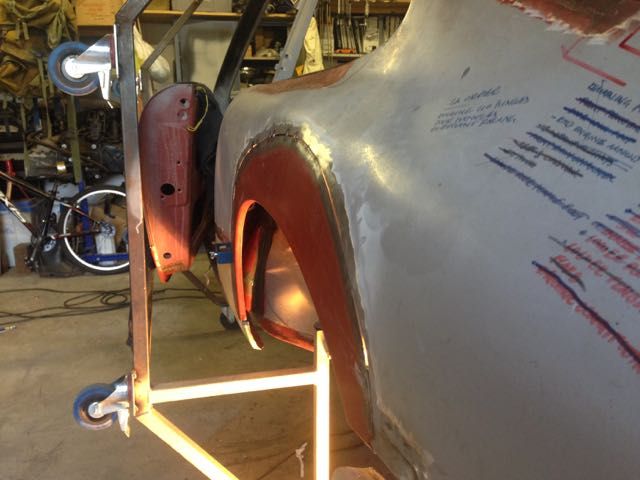
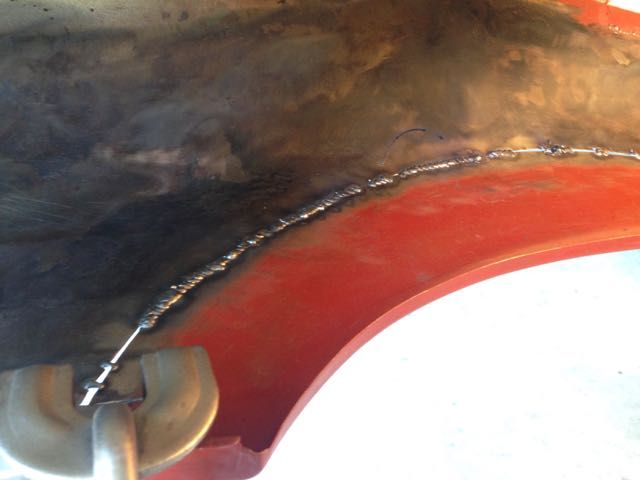
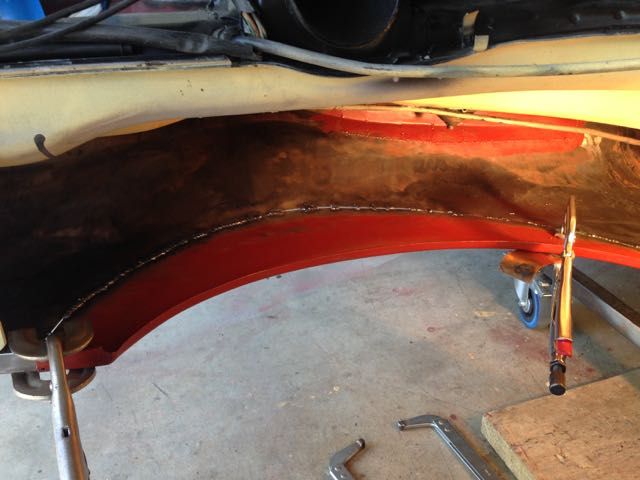
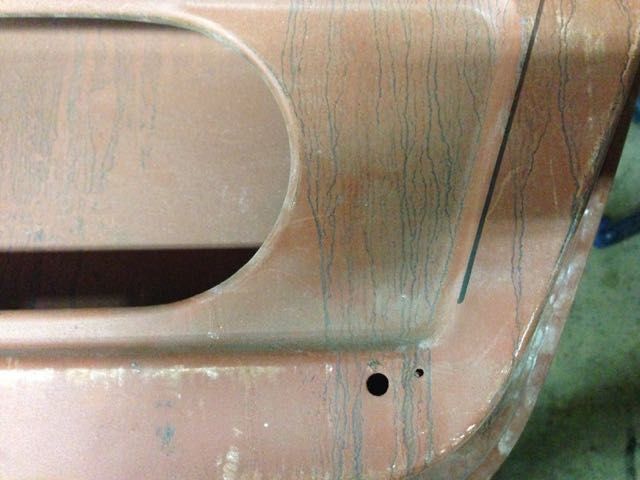
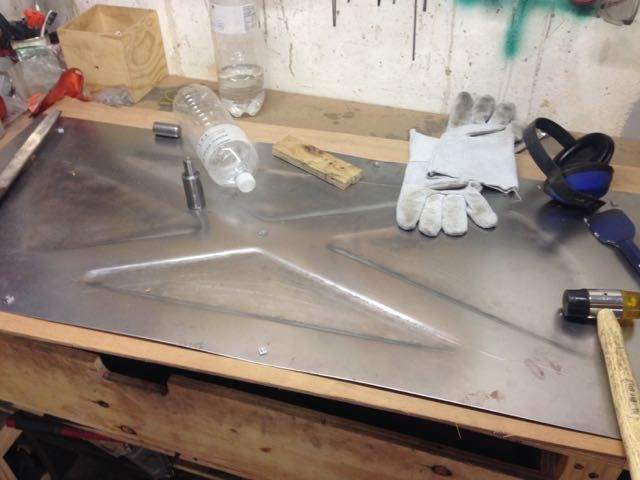
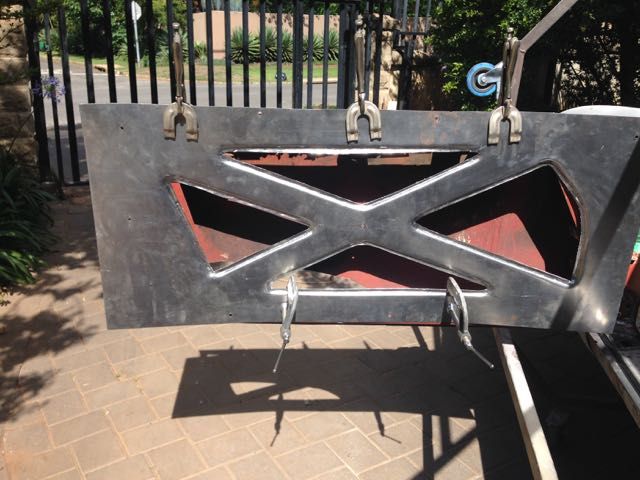
All sealed and ready for paint.

The 'Maverick' Classic Porsche Forum and Classic Porsche Club for Porsche 356, Aircooled Porsche 911, Porsche 912, Porsche 914 & Porsche Replicas
Moderator: Bootsy


Thanks very much for the wisdom.arminius wrote:really nice job
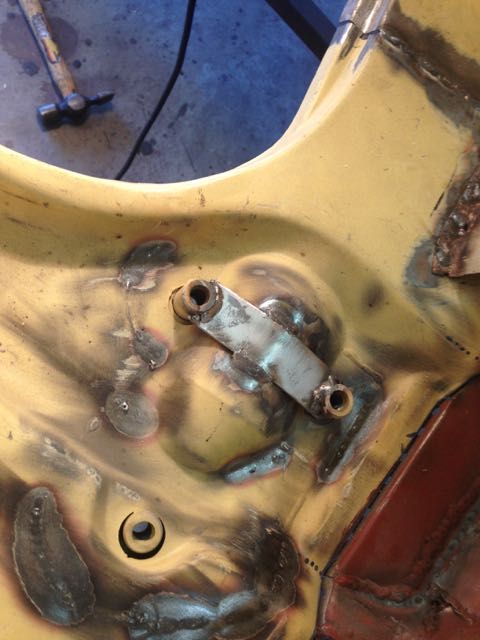
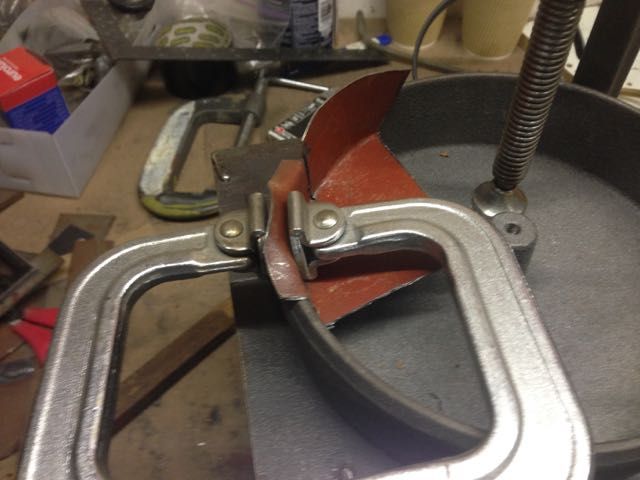
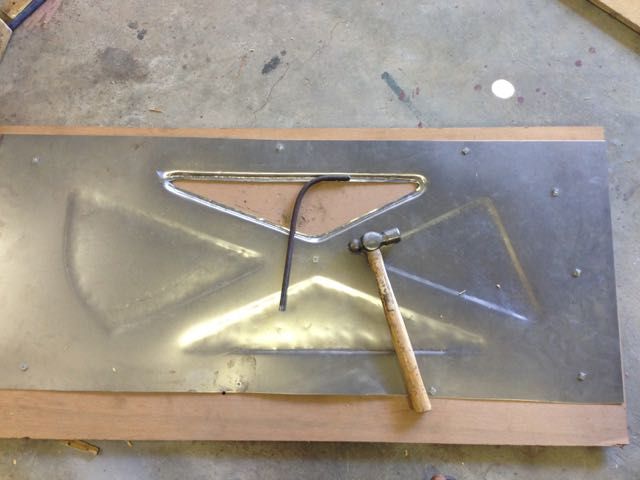
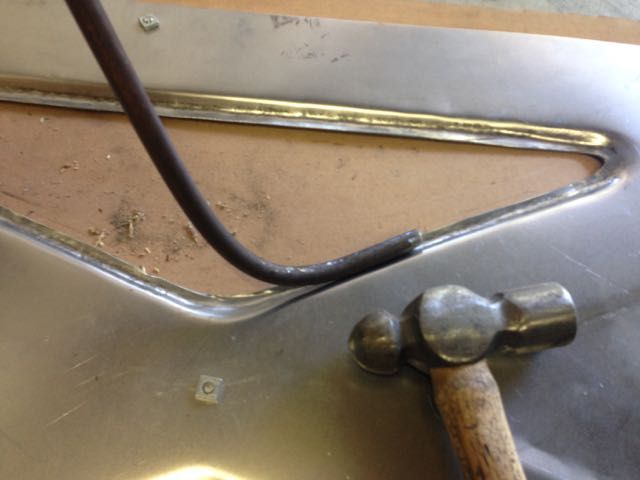
you would have got there with the hammer form for the bonnet edge, the key being
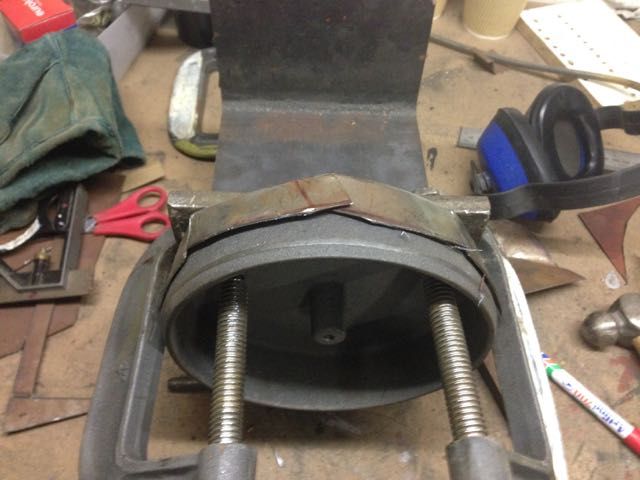
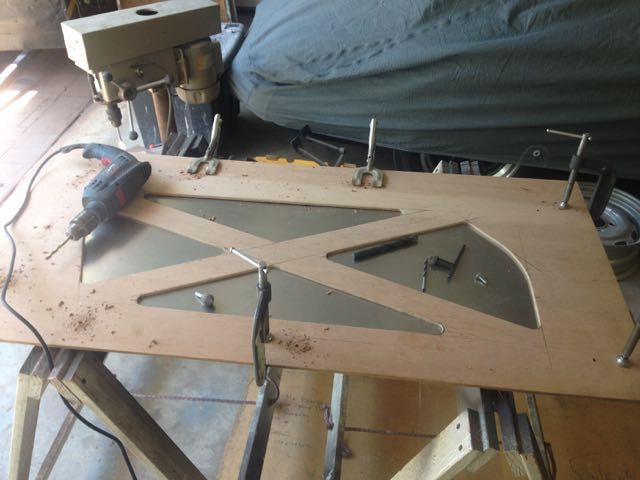
a) clamp plate needed to be same diameter as the piece you are forming over, with so much shrink the metal moves up and 'inside' the fold line
b the form block, the piece you are forming over, needs to be at least as deep as the flange you are trying to form, there is a lot of shrink in that piece
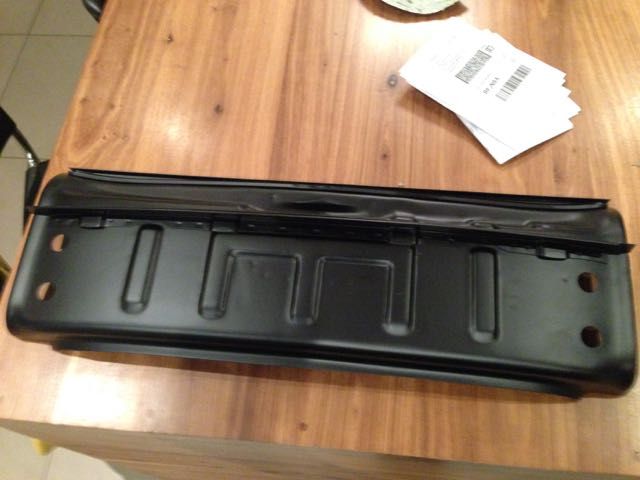
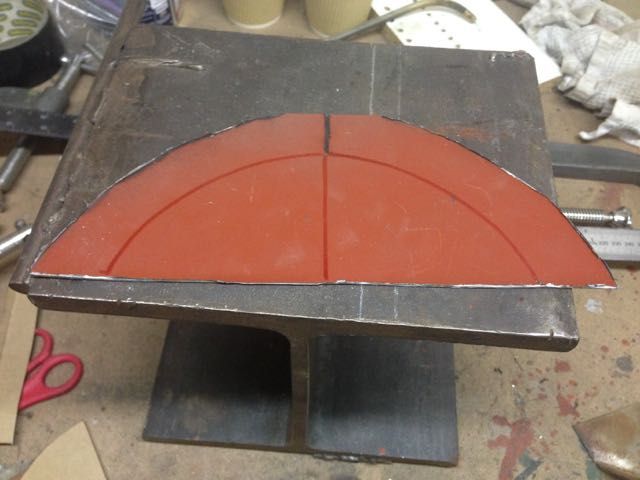
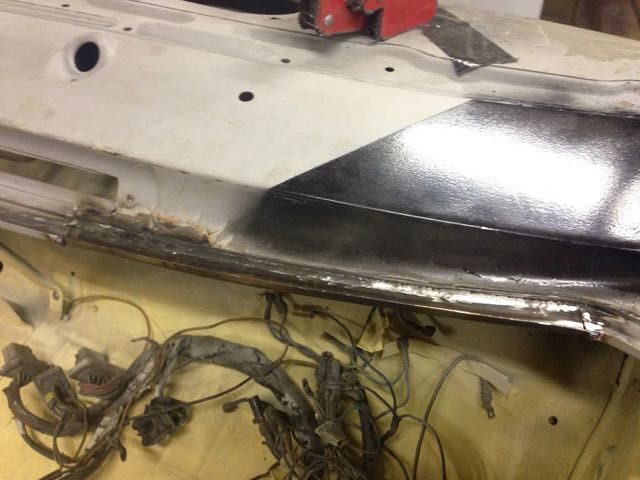
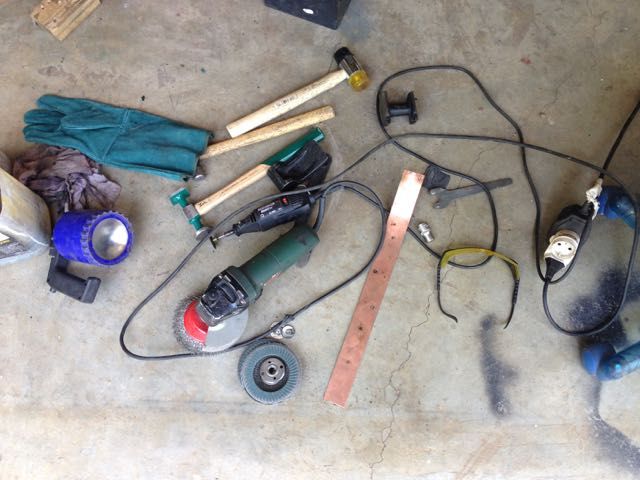
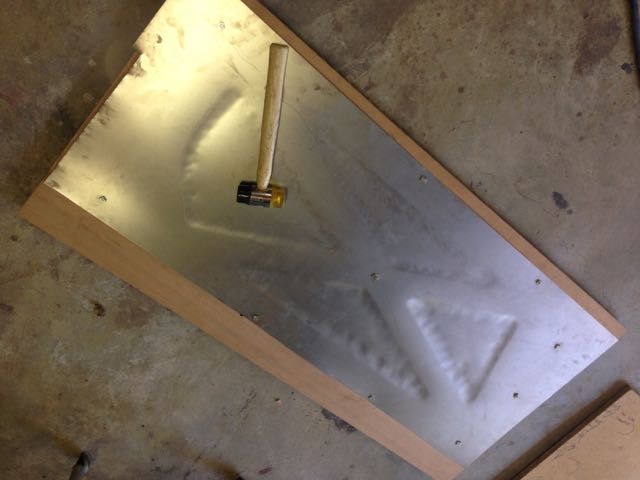
with your ali, best is wood to form if you can run to a cheap 4x rivet gun and machine up a soft insert you will be flying (air chisel won't work as well), anything hard and it stretches to buggery. that steel door form will be a really nice piece, to get the last 10% if you find a piece of polypropelene, or acetal, linish it on the belt sander or with a sanding disc on the grinder to a v profile, its hard enough to move the material but won't leave a divot in the sheet.
Cheers Sladey. Will do my best!sladey wrote:Good stuff - keep it coming
Learning a huge amount as I go.DustyM wrote:Nice, very satisfying when that type of work comes out well.