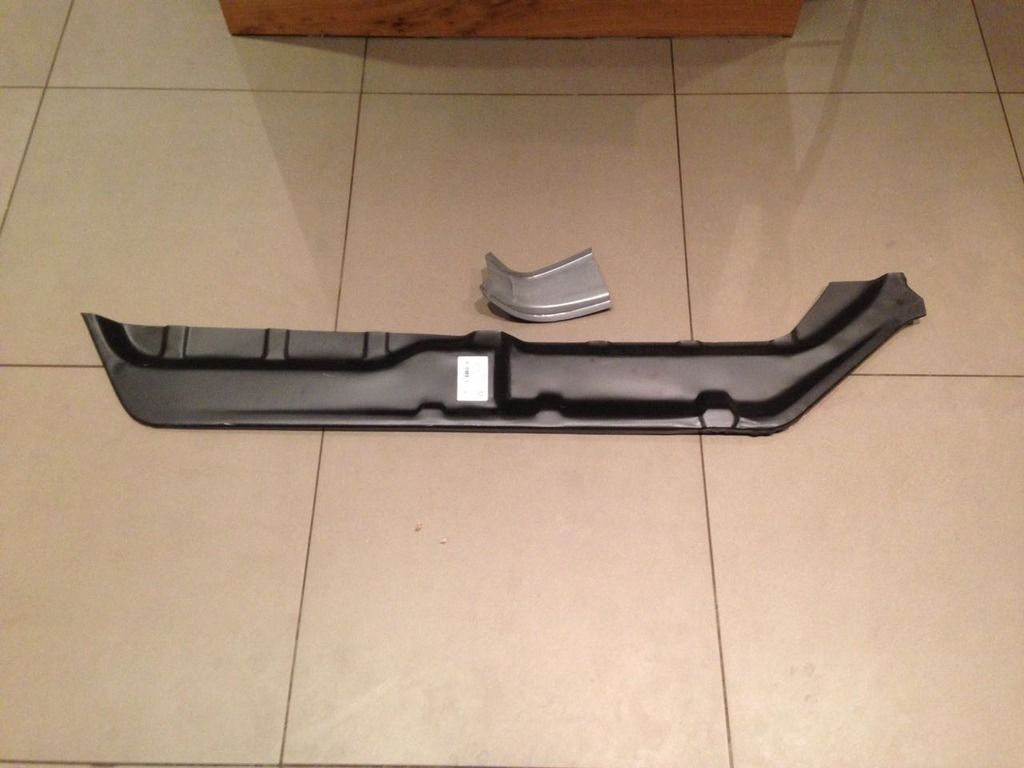
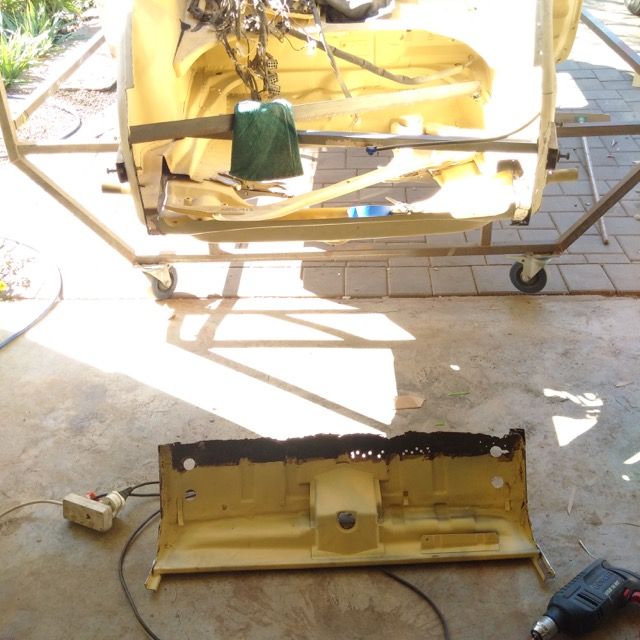
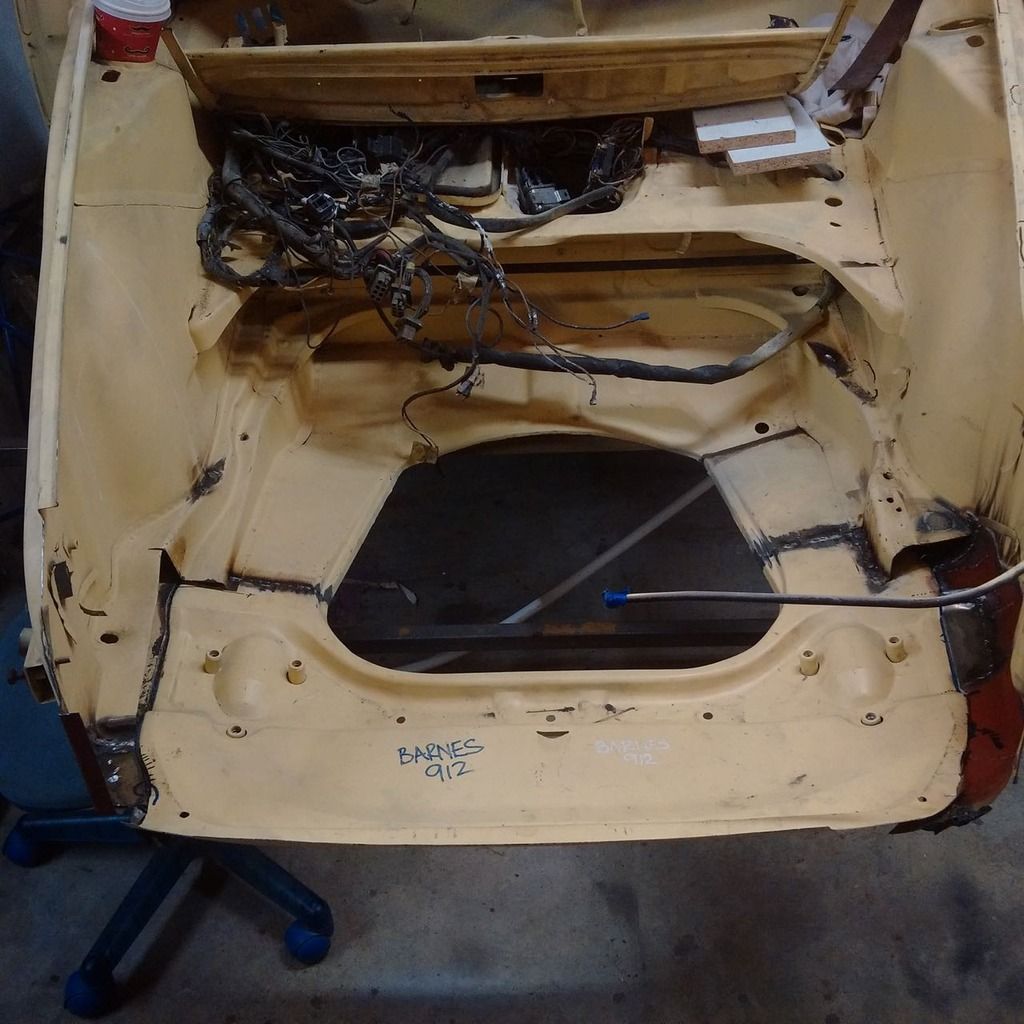
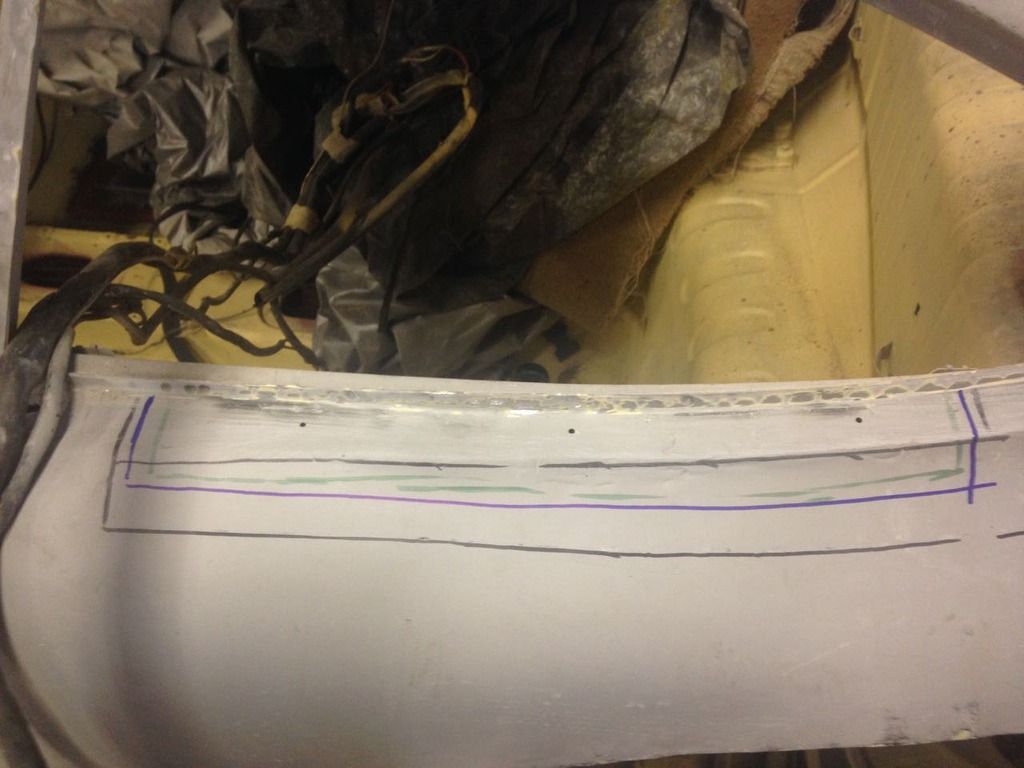
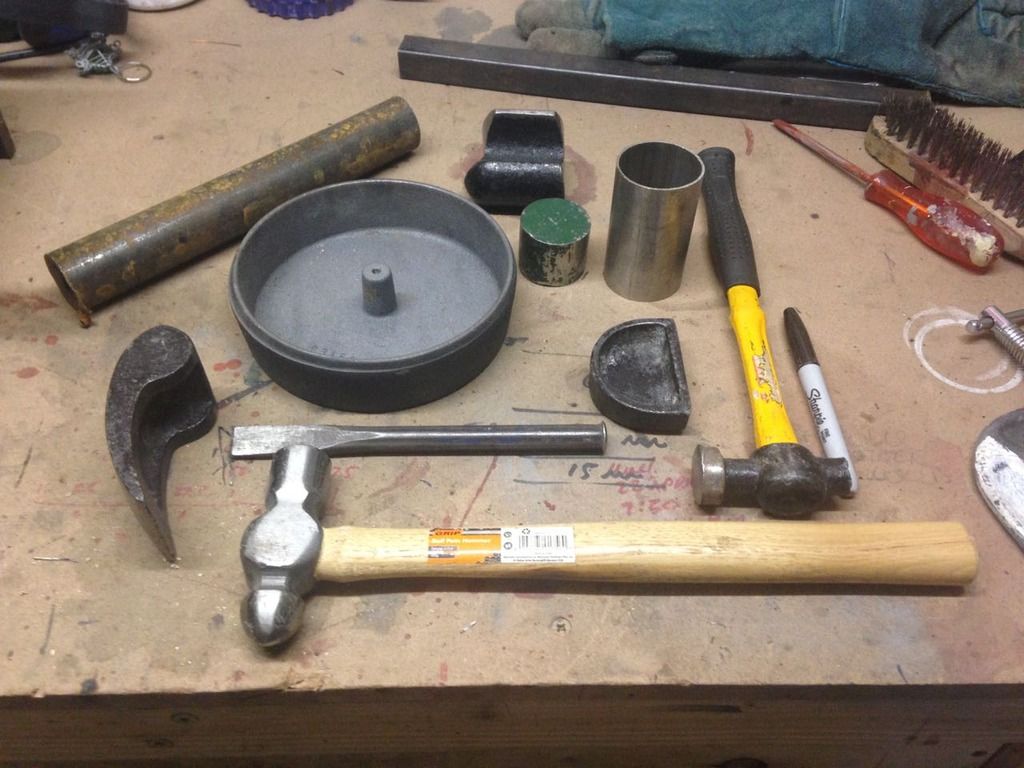
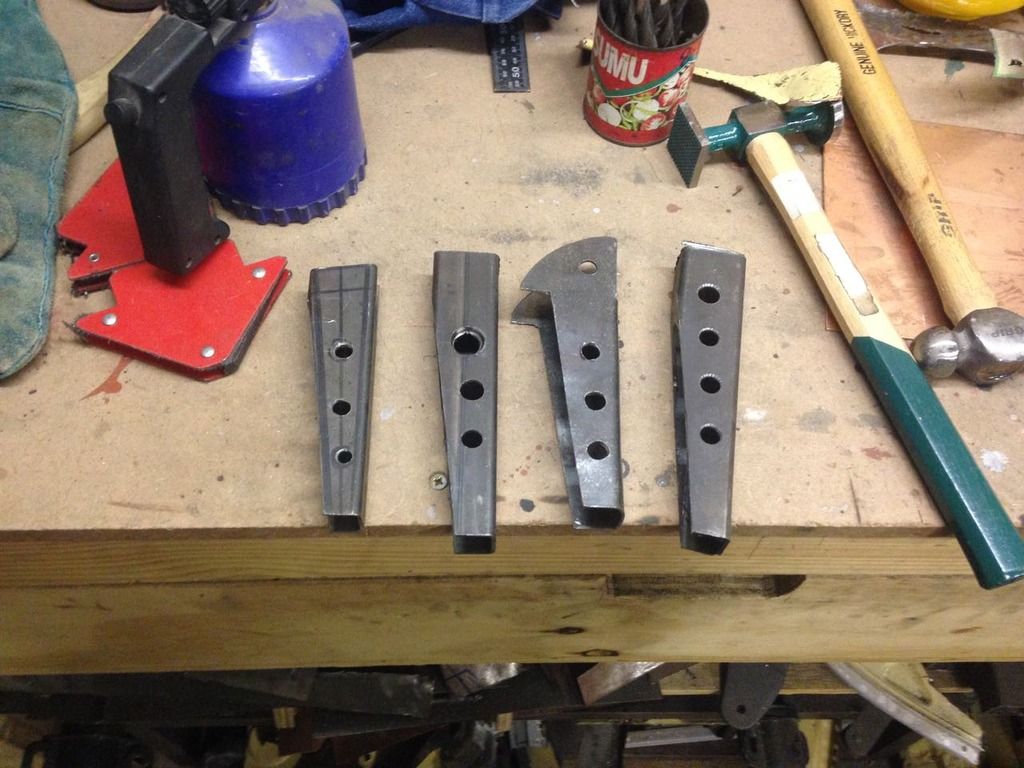
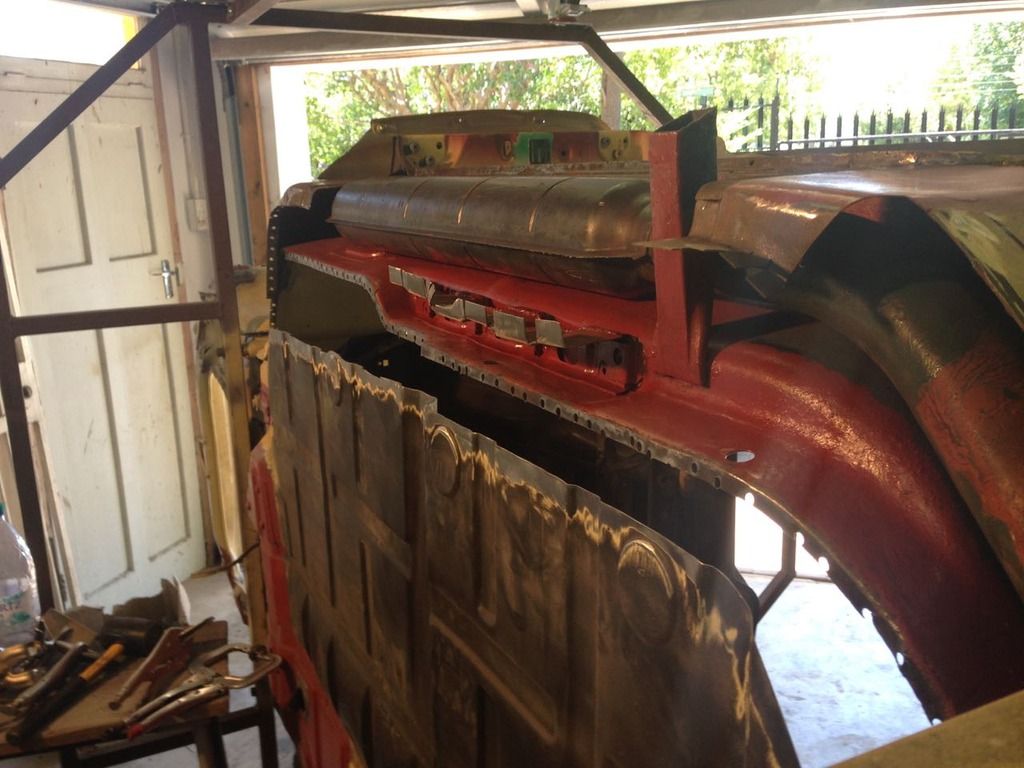
In the midst of the floorpan surgery I fixed some other bits.
Every time I opened up a channel blast medium came trickling out.
And this after I've attacked this thing with a compressor and a vacuum for days.
Amazing how much crap stays in there, everywhere.
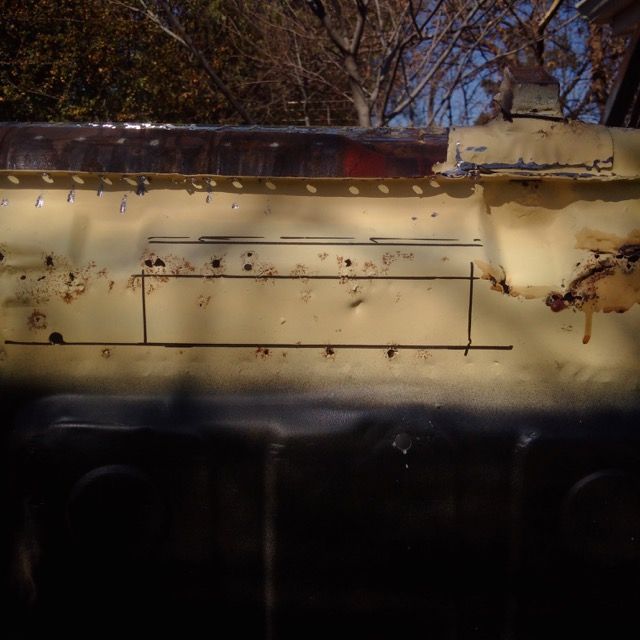
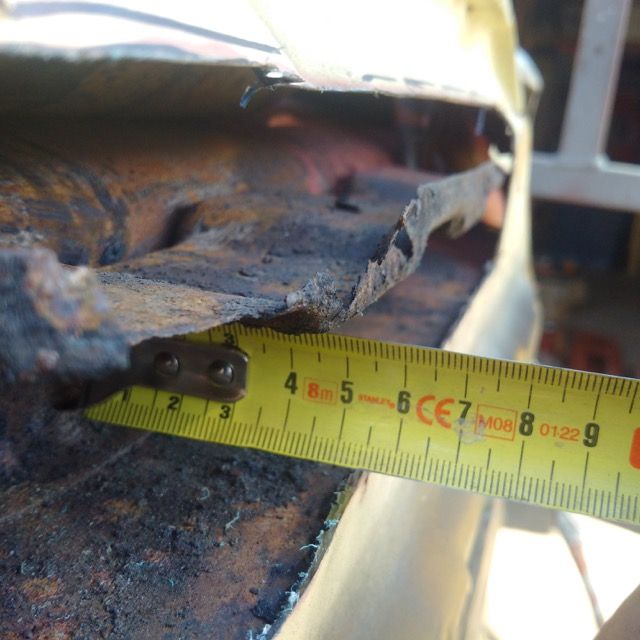
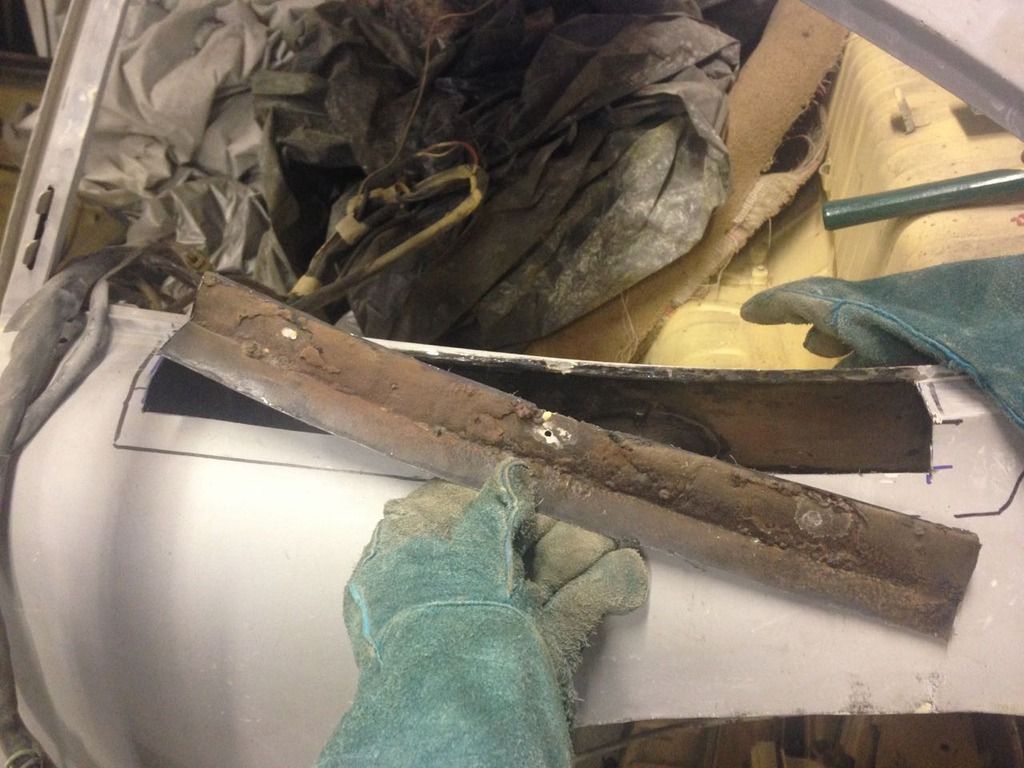
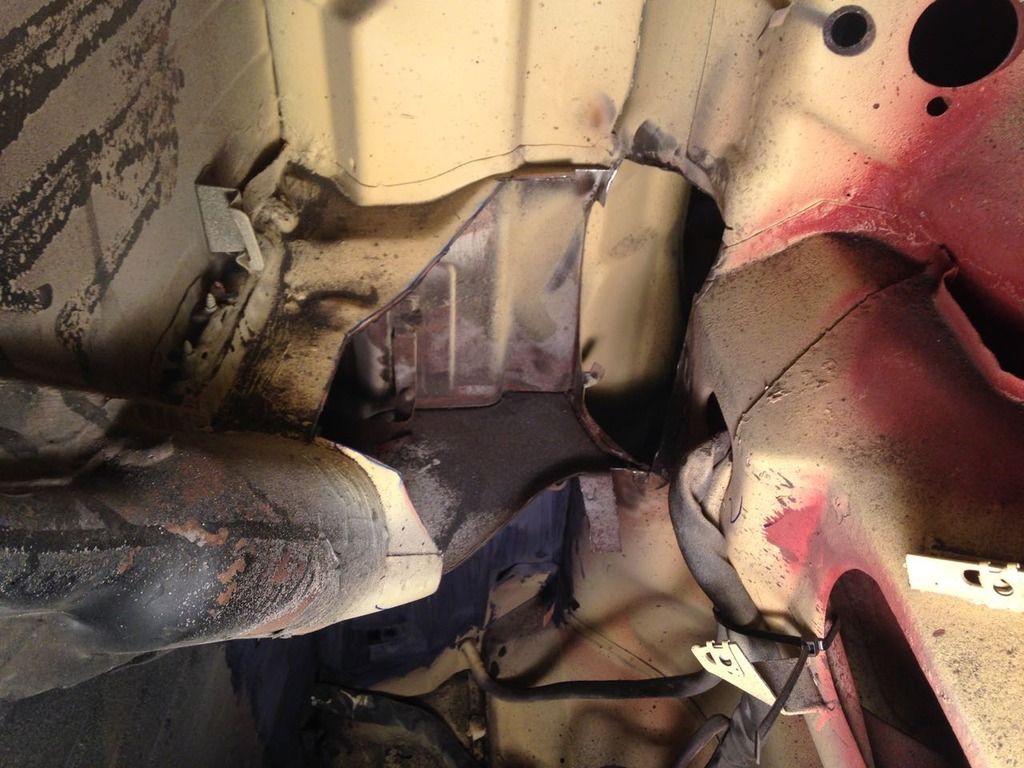
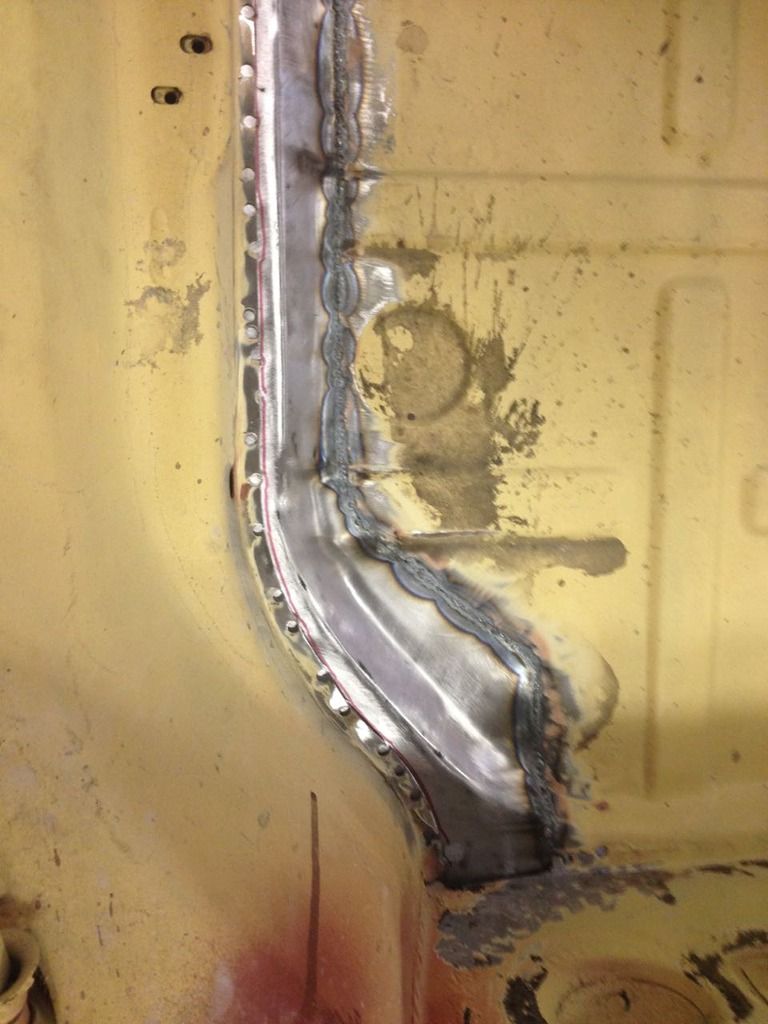
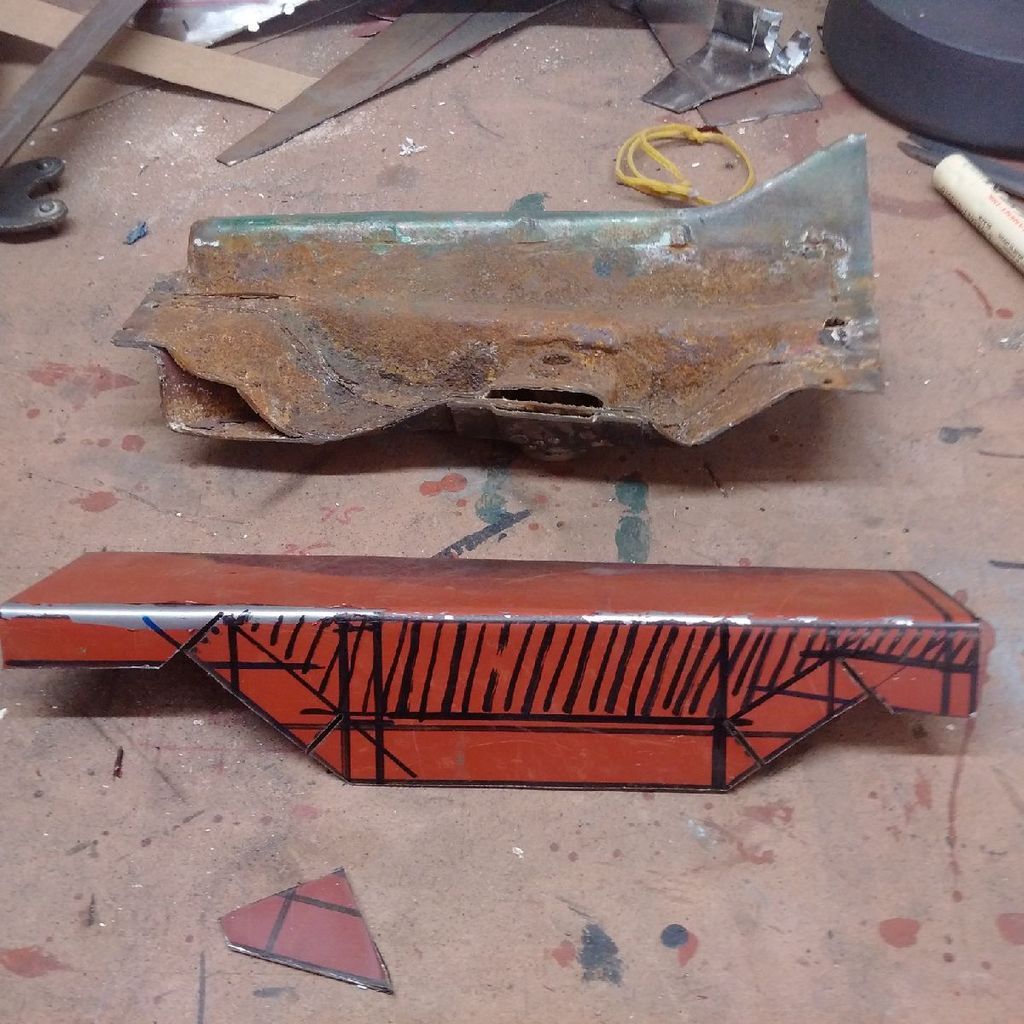
The LHD rain channel in the boot was a mess.
And yet the RHD side was perfect.
Maybe it was parked half under a tree?
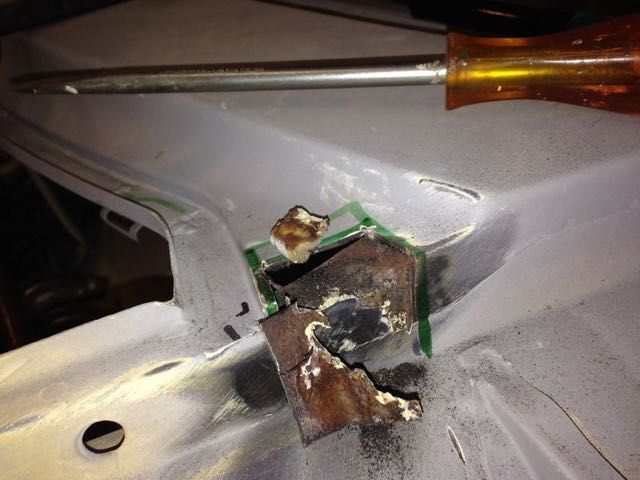
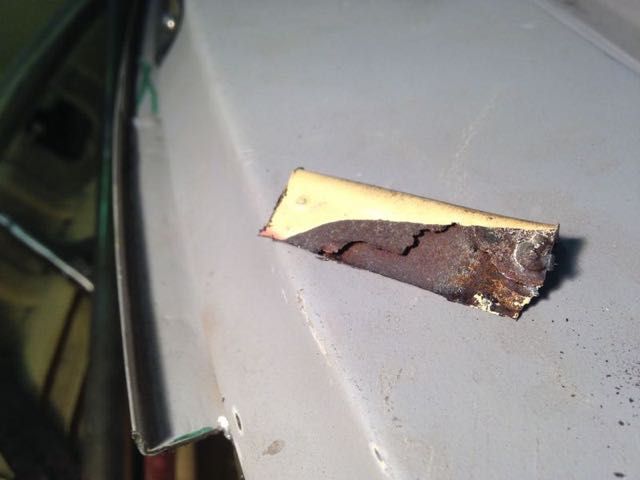
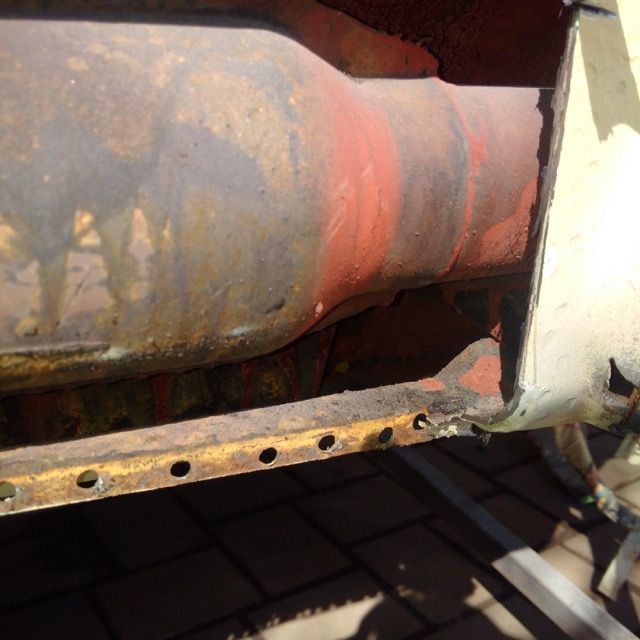
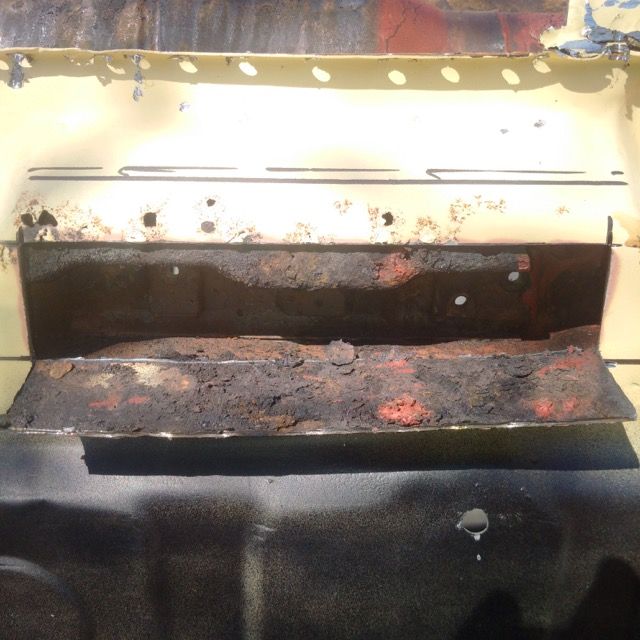
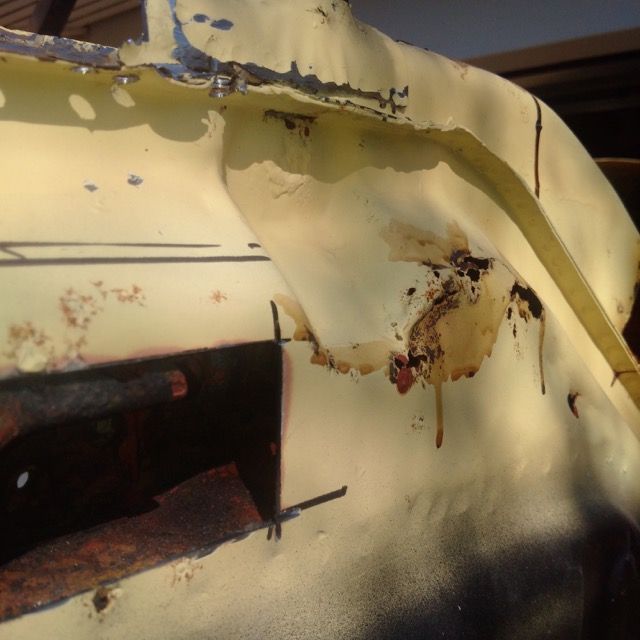
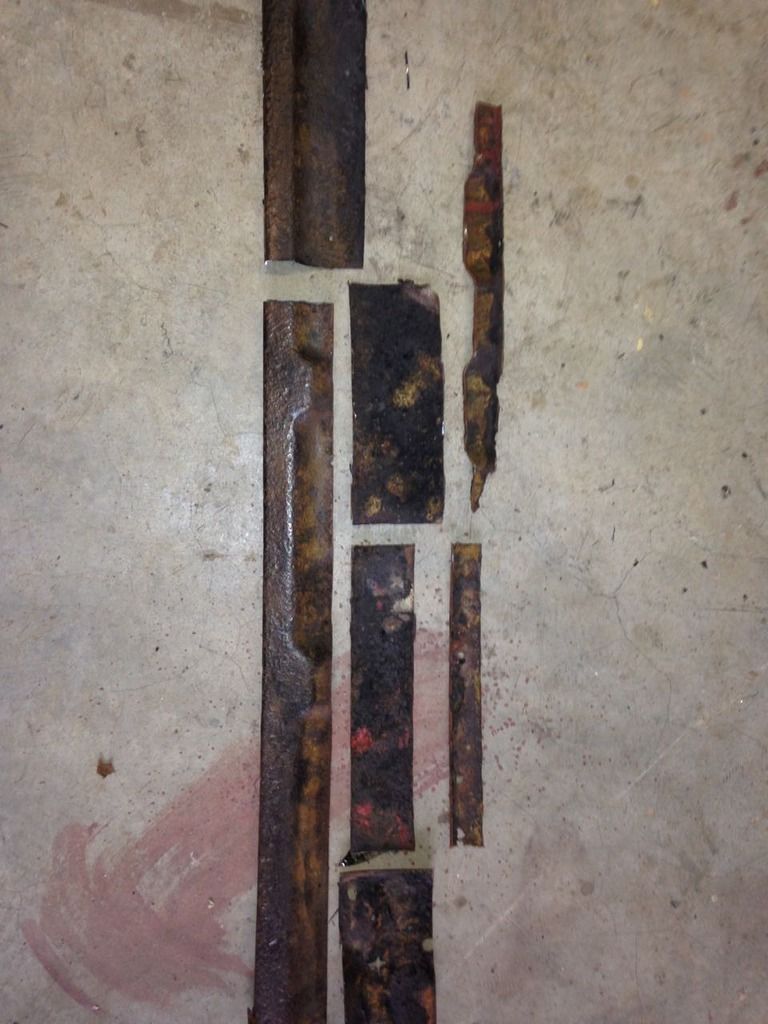
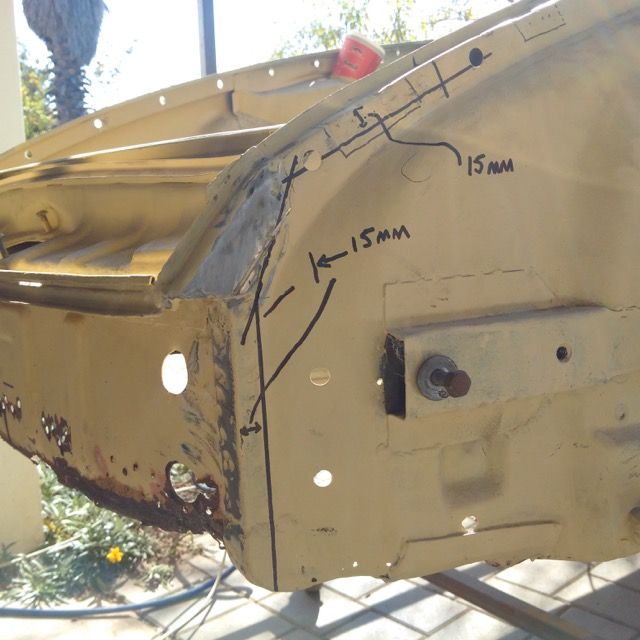
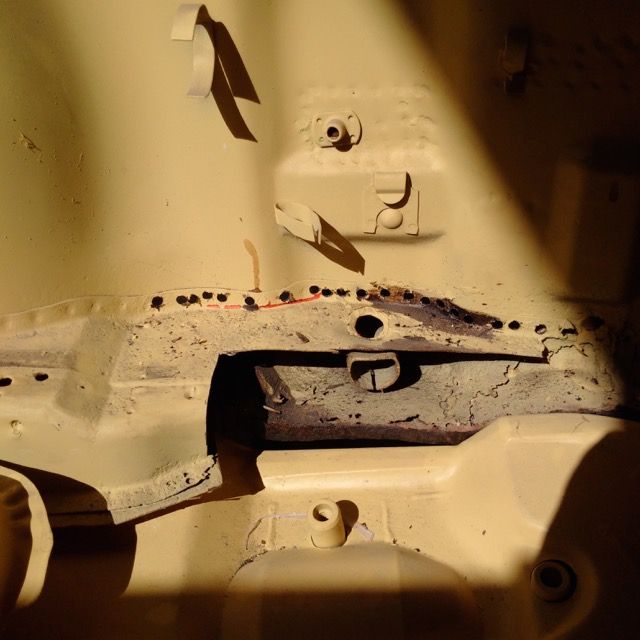
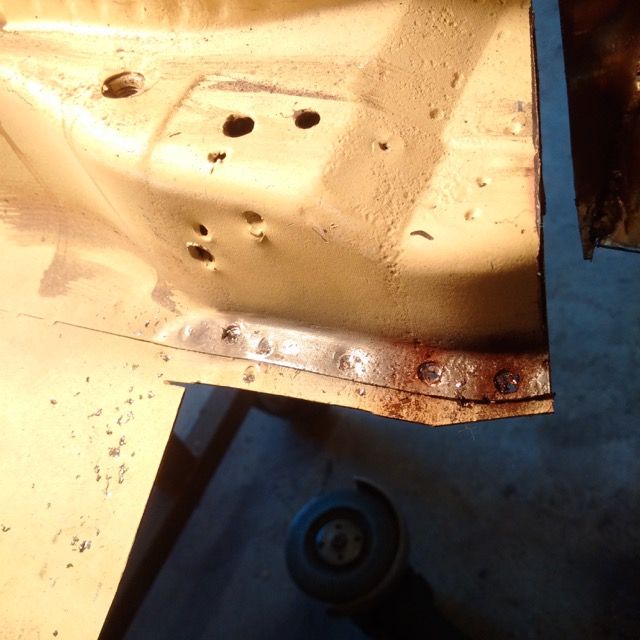
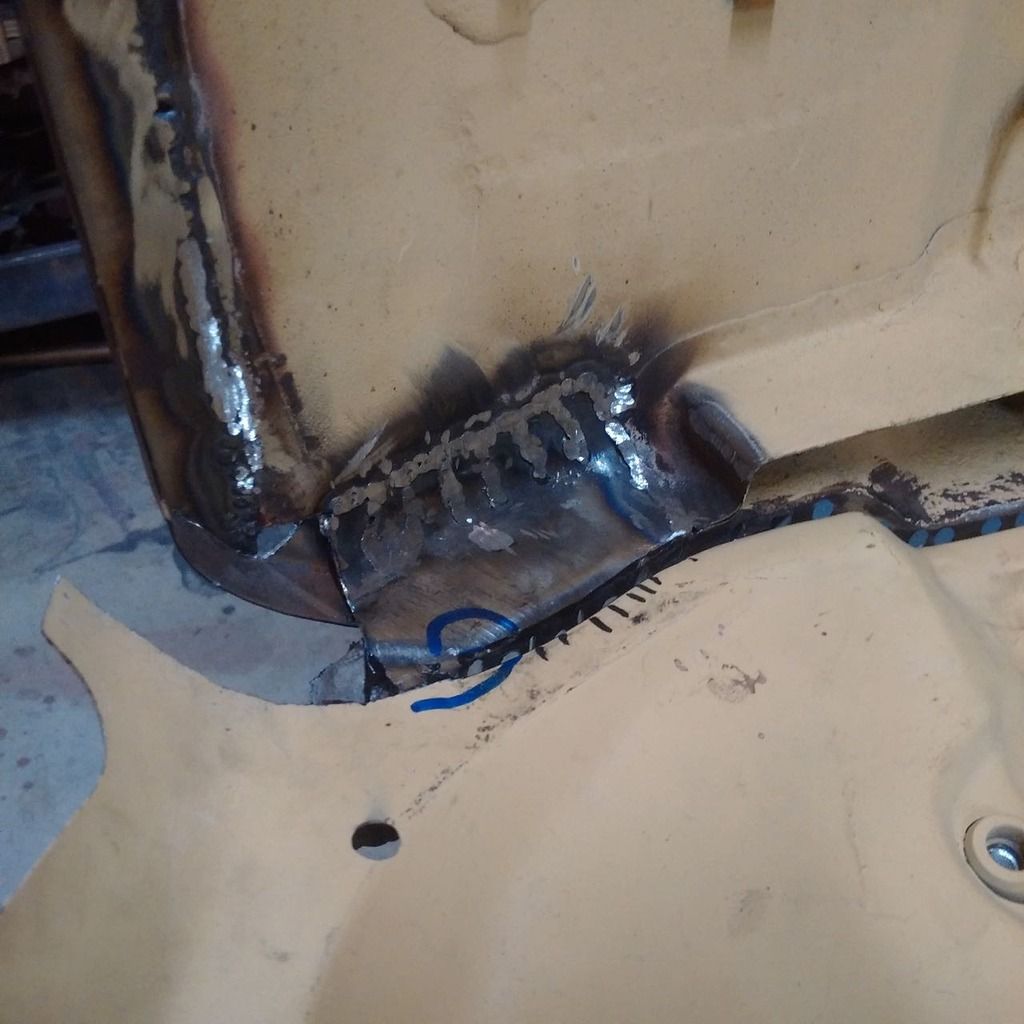
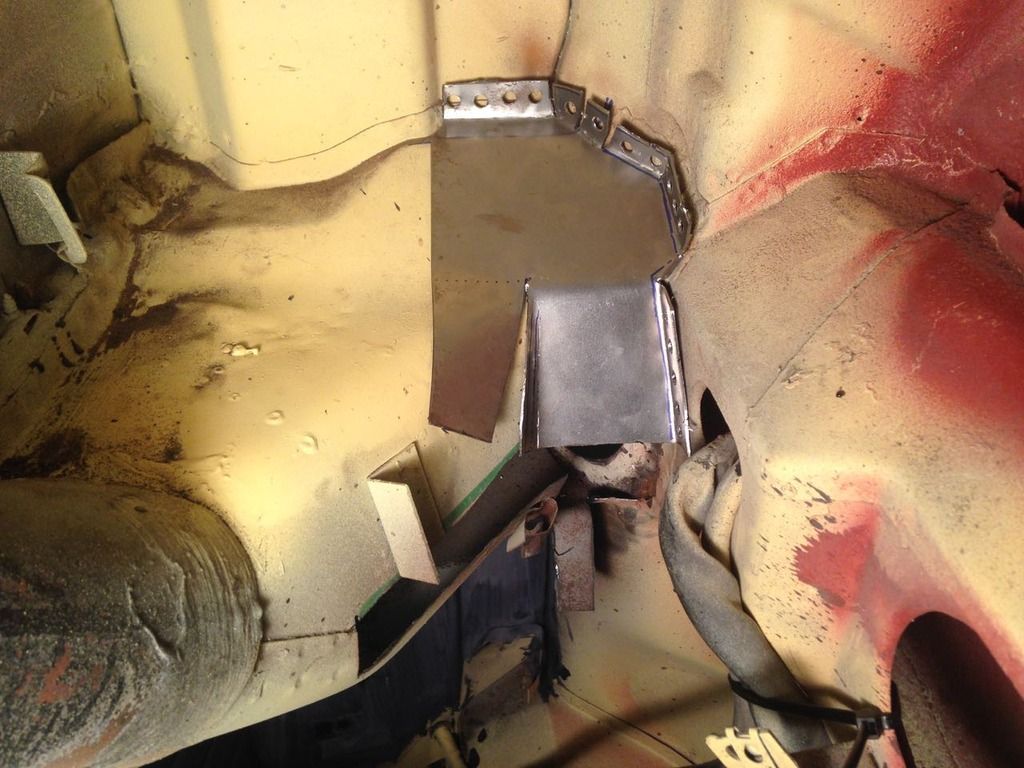
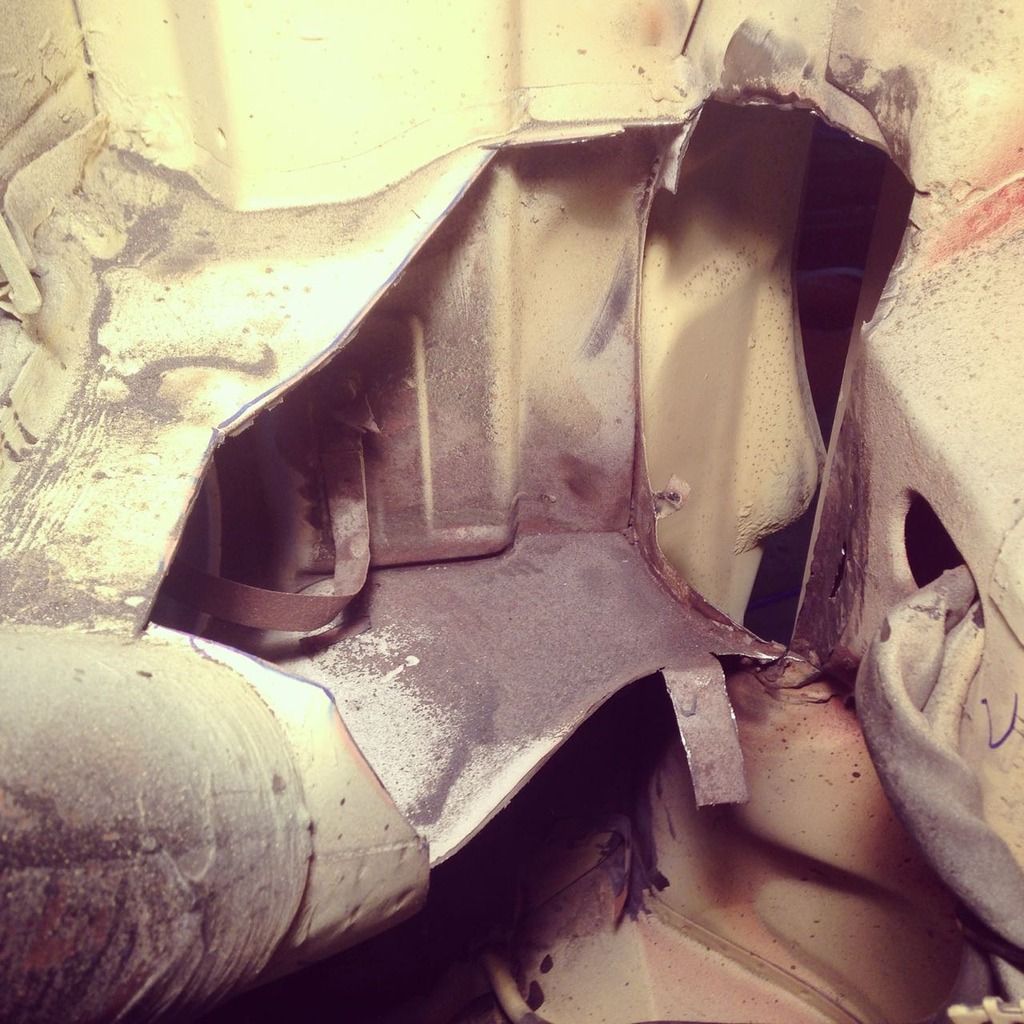
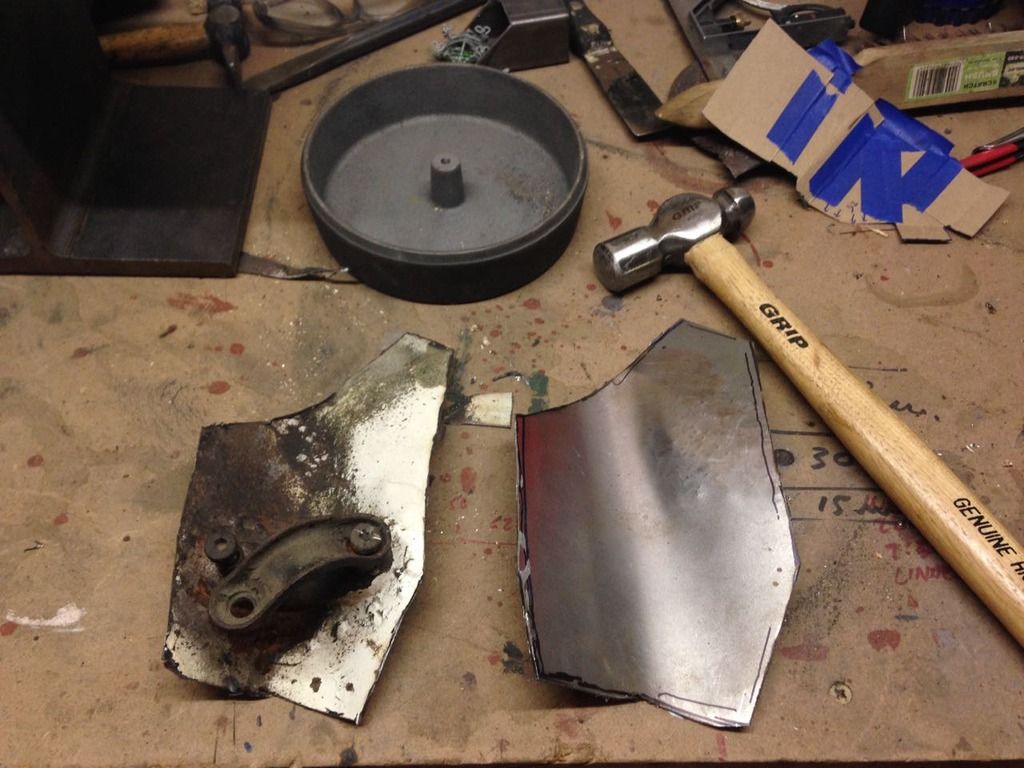
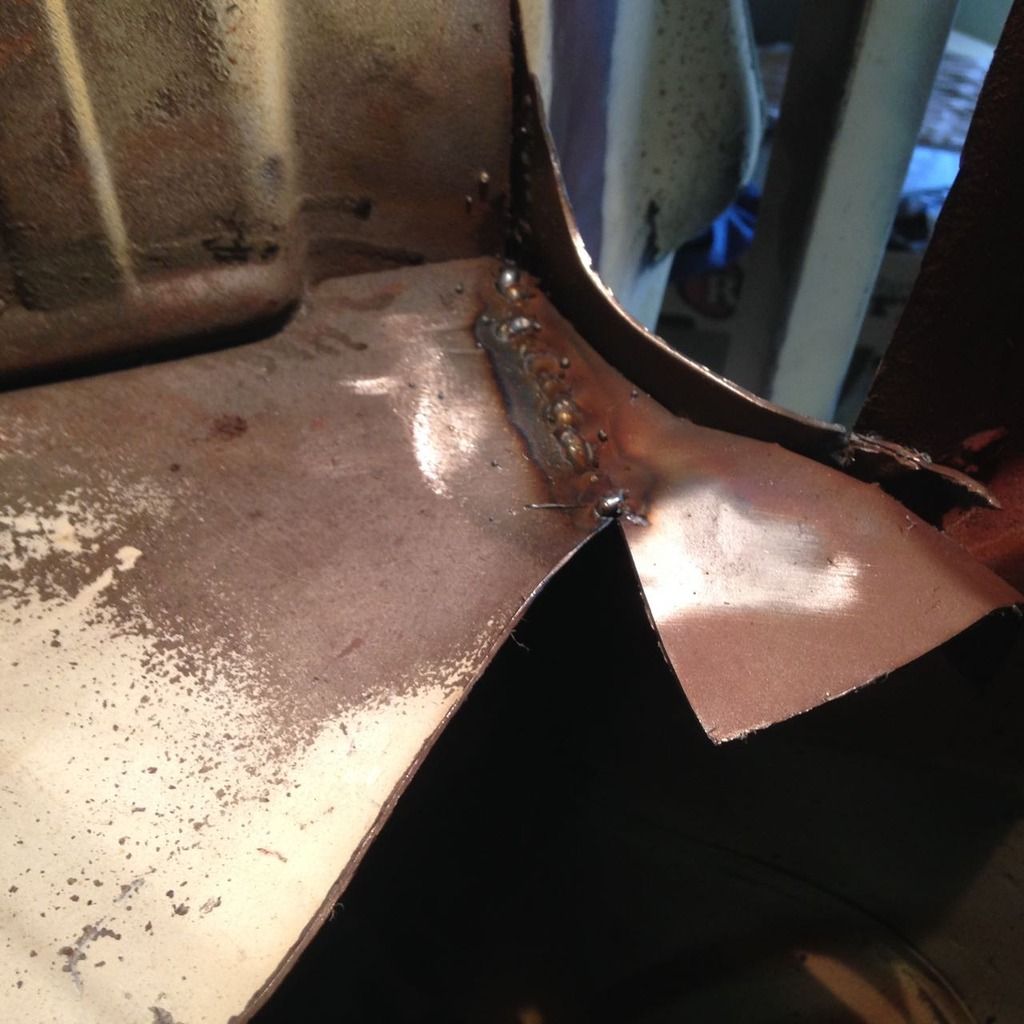
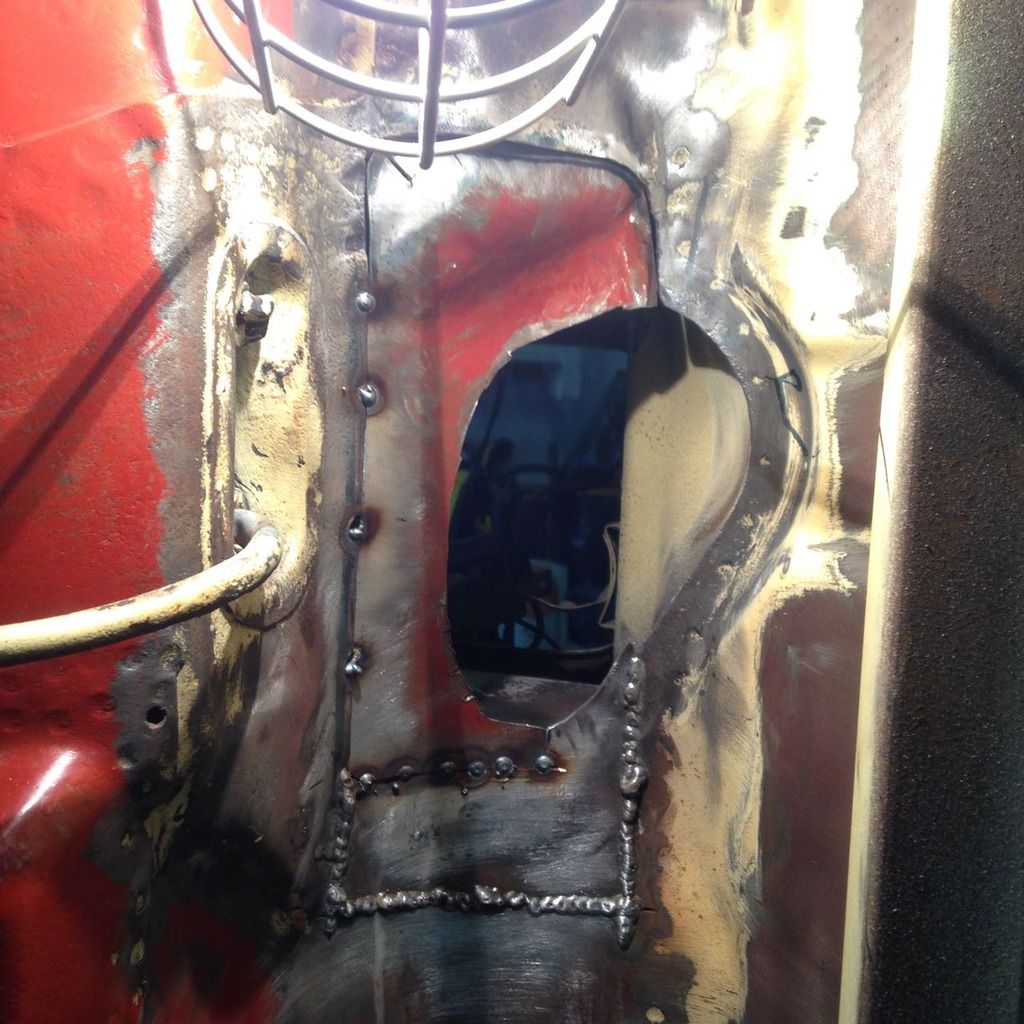
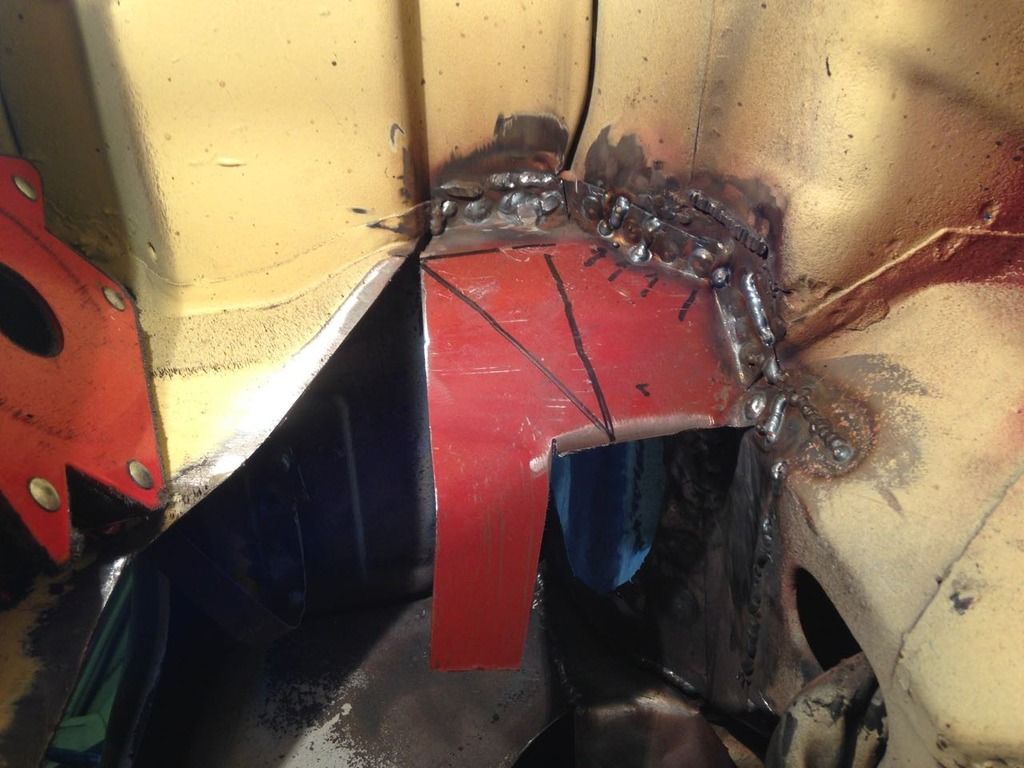
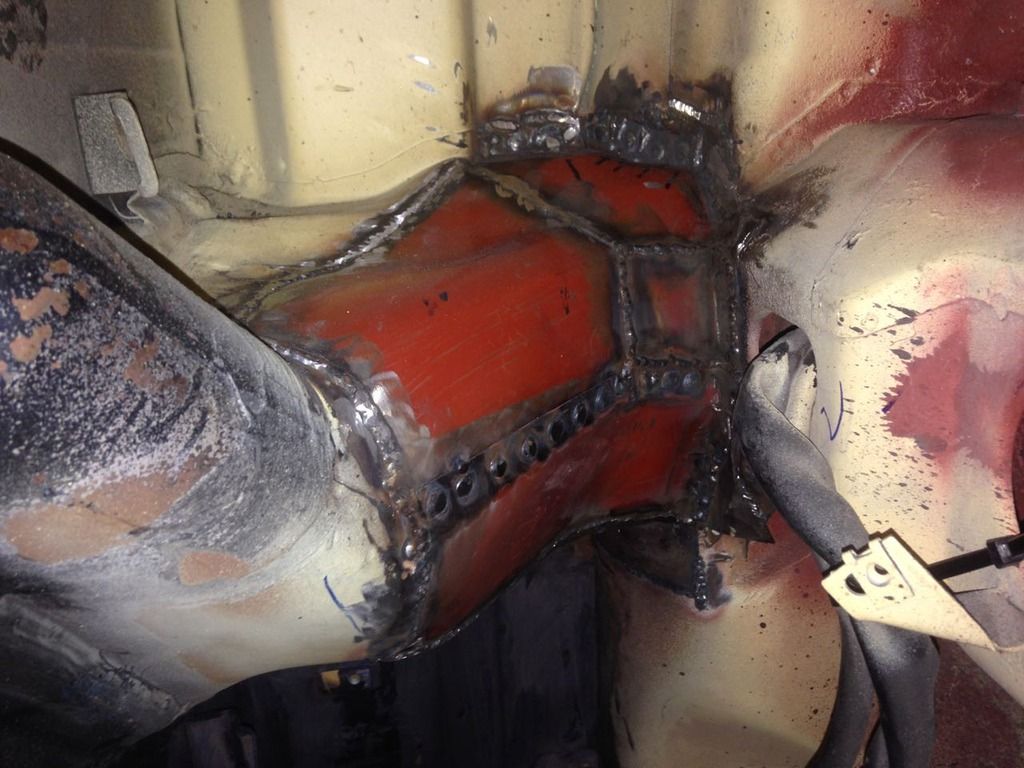
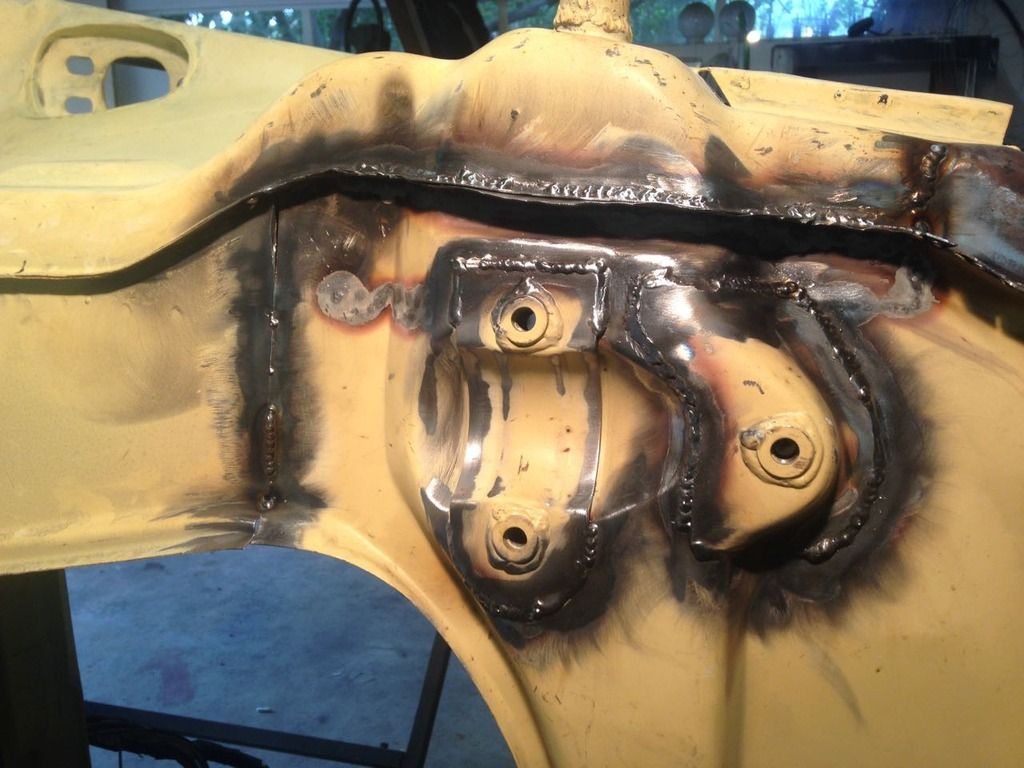
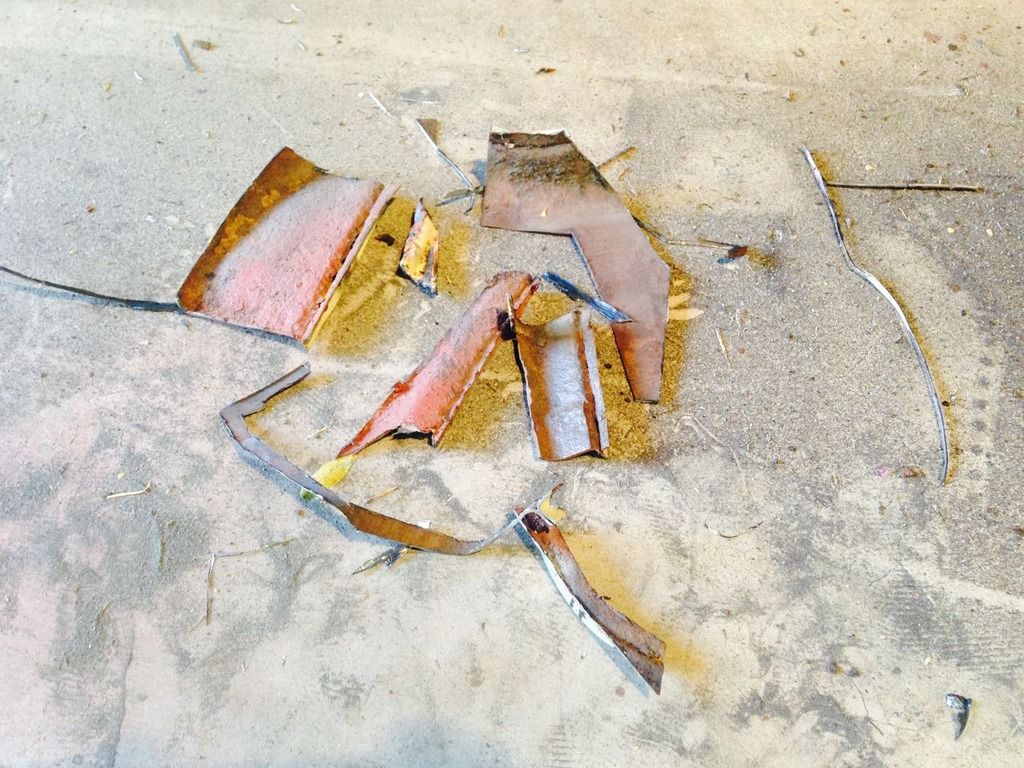
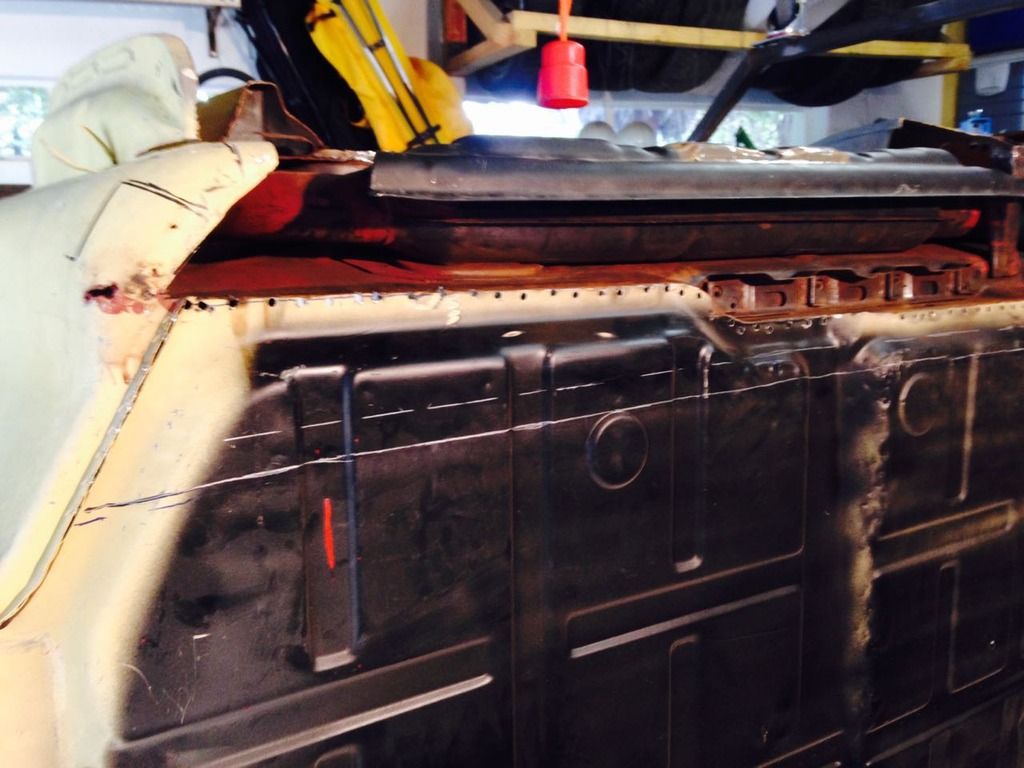
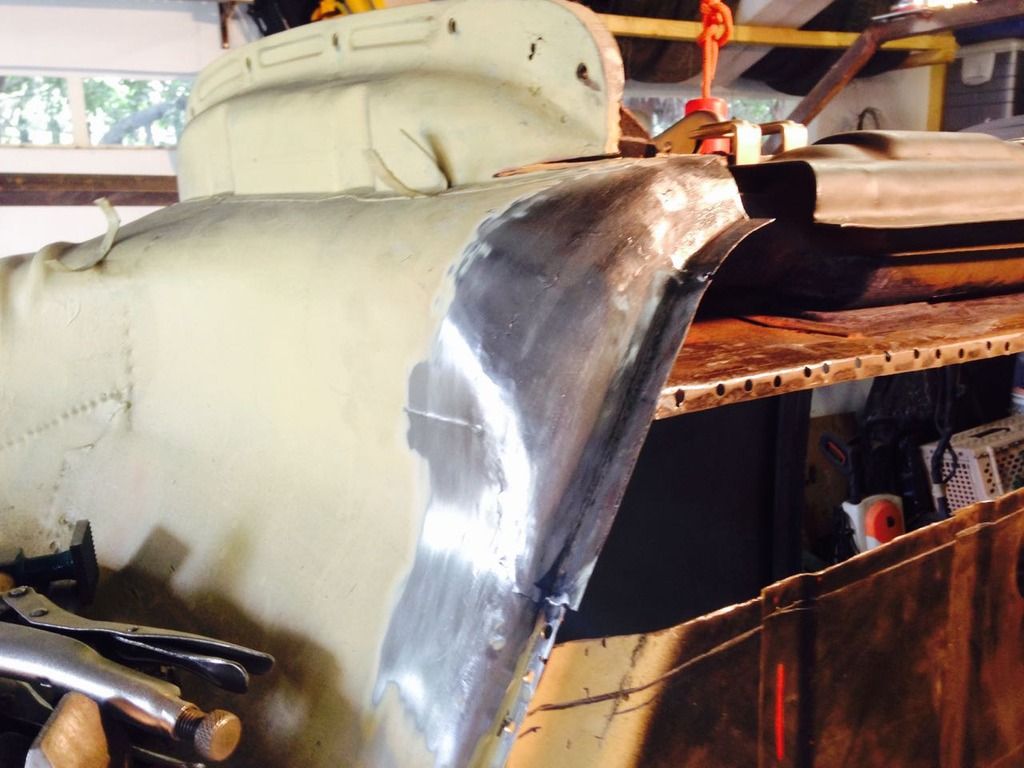
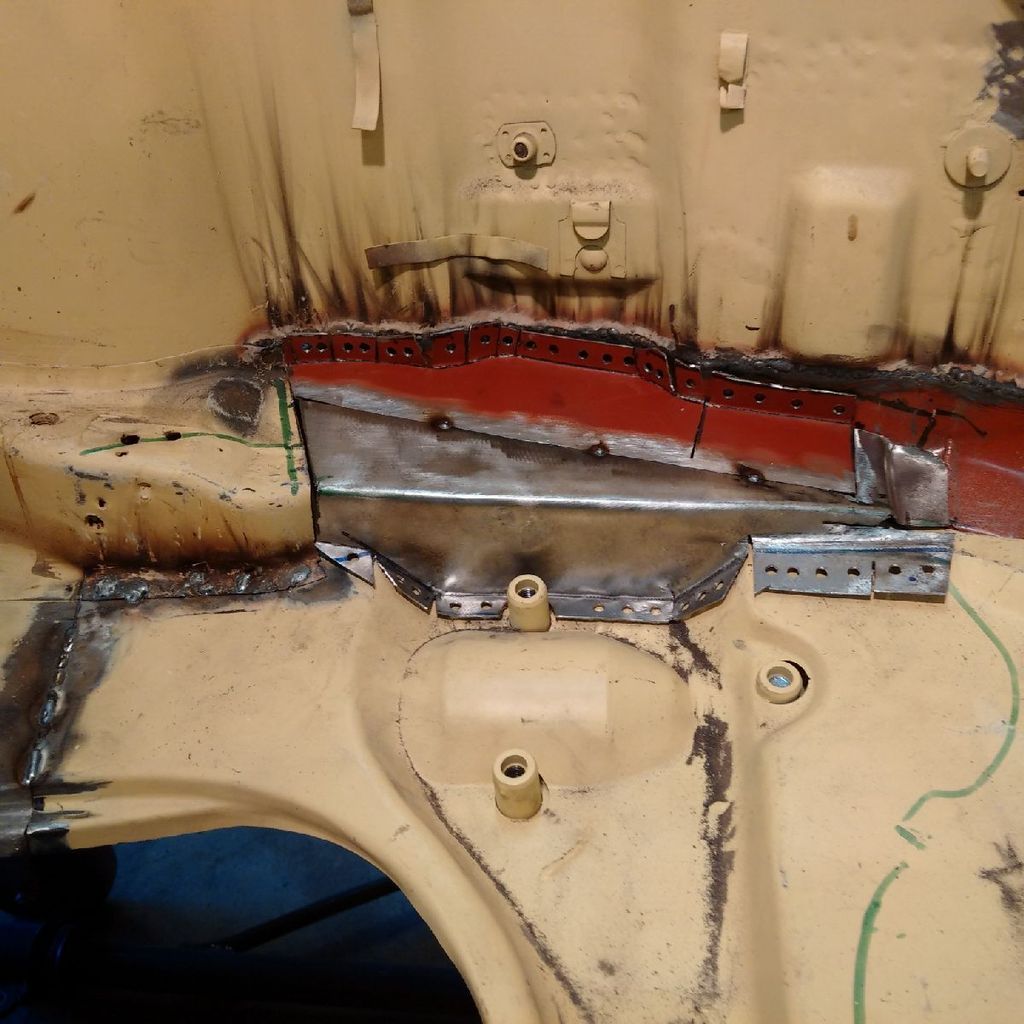
This pretty much sums up the state of the car.
You can see the original, rotten steel under the patch.
Whoever did the work in the past went to a lot of effort to do a crap job.
They exposed the rust, cut patches and welded them in before covering the work with bondo. They managed to do all this badly. Deserves an award of some kind.
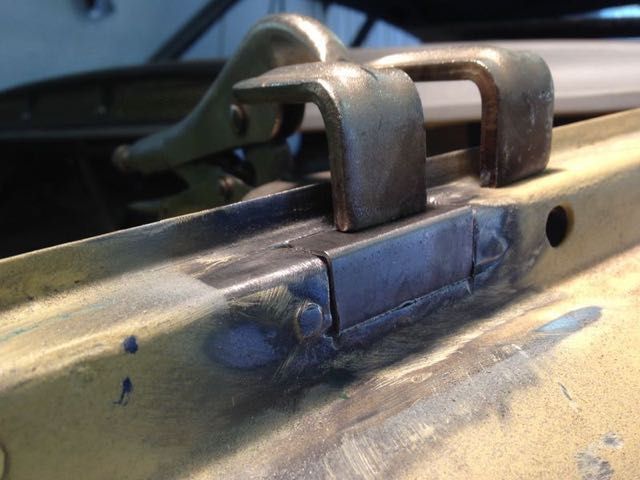
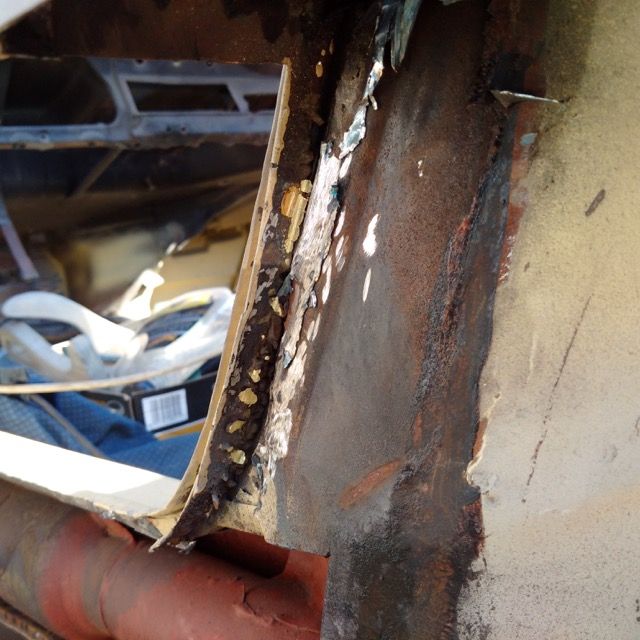
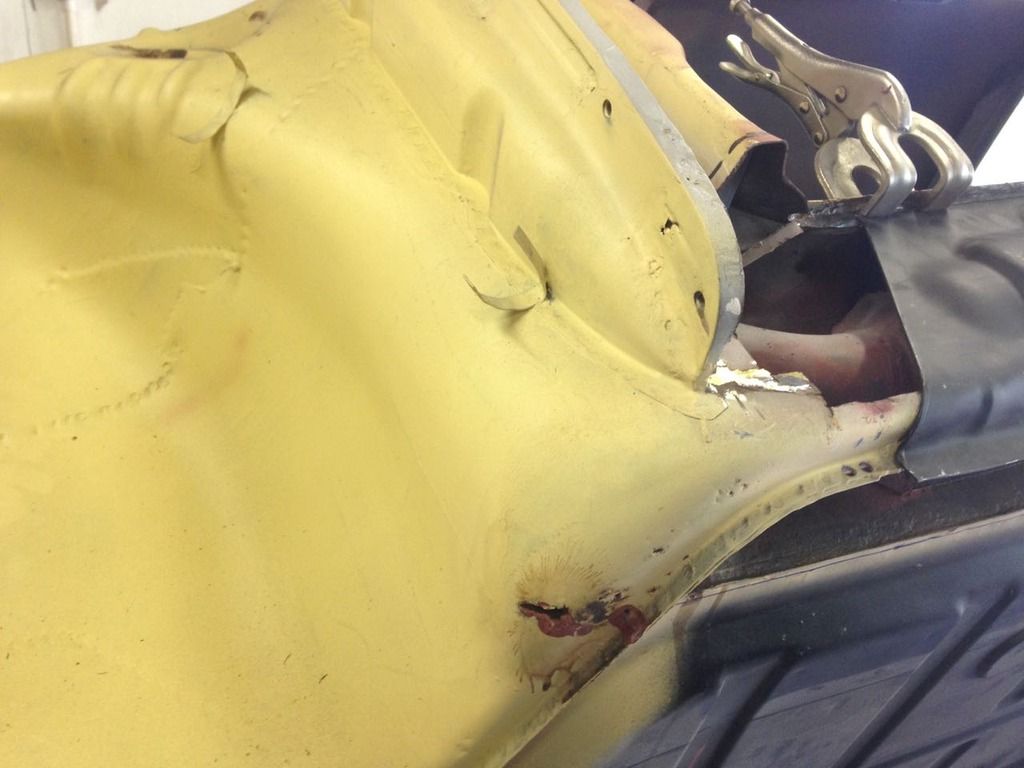
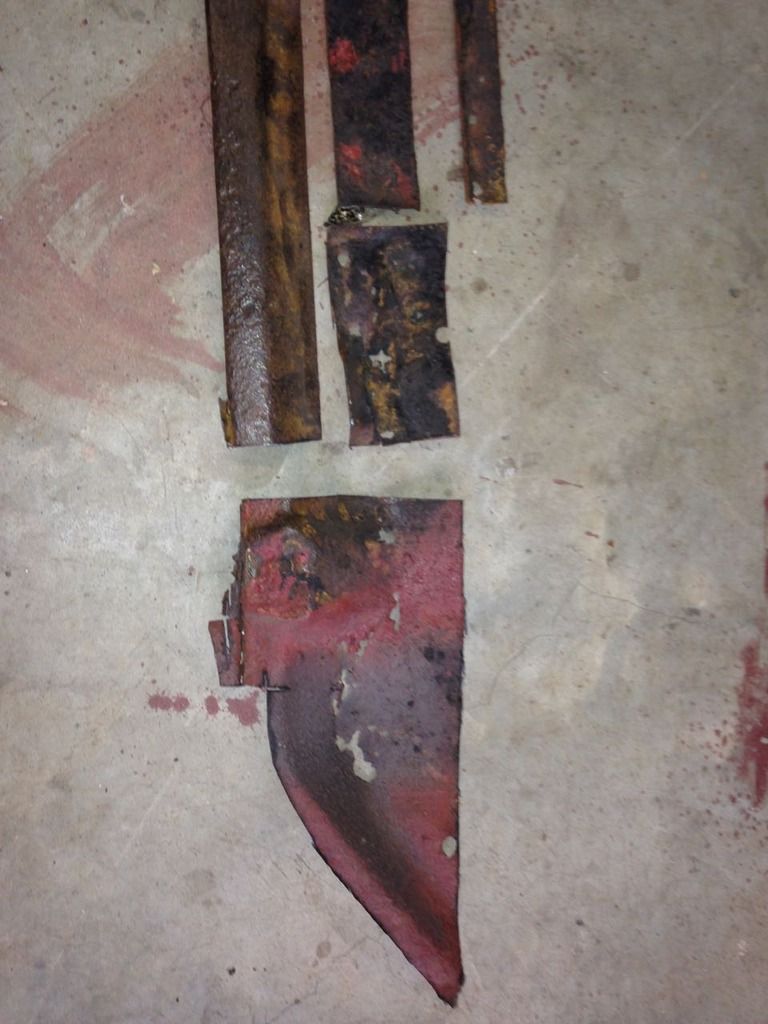
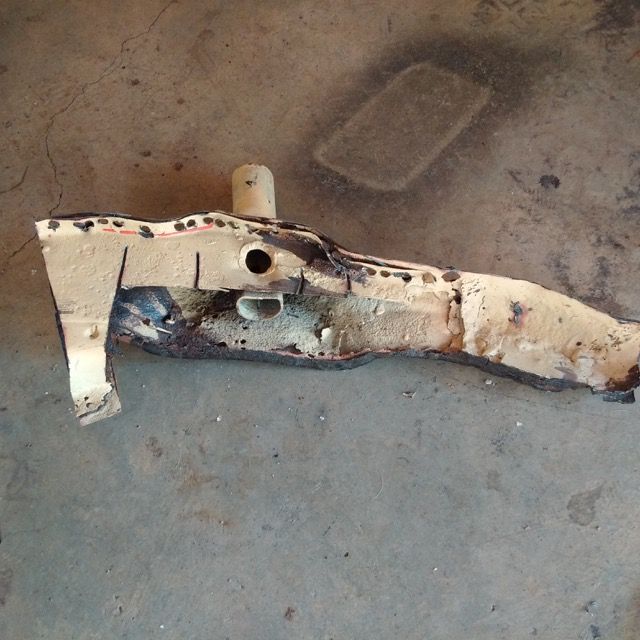
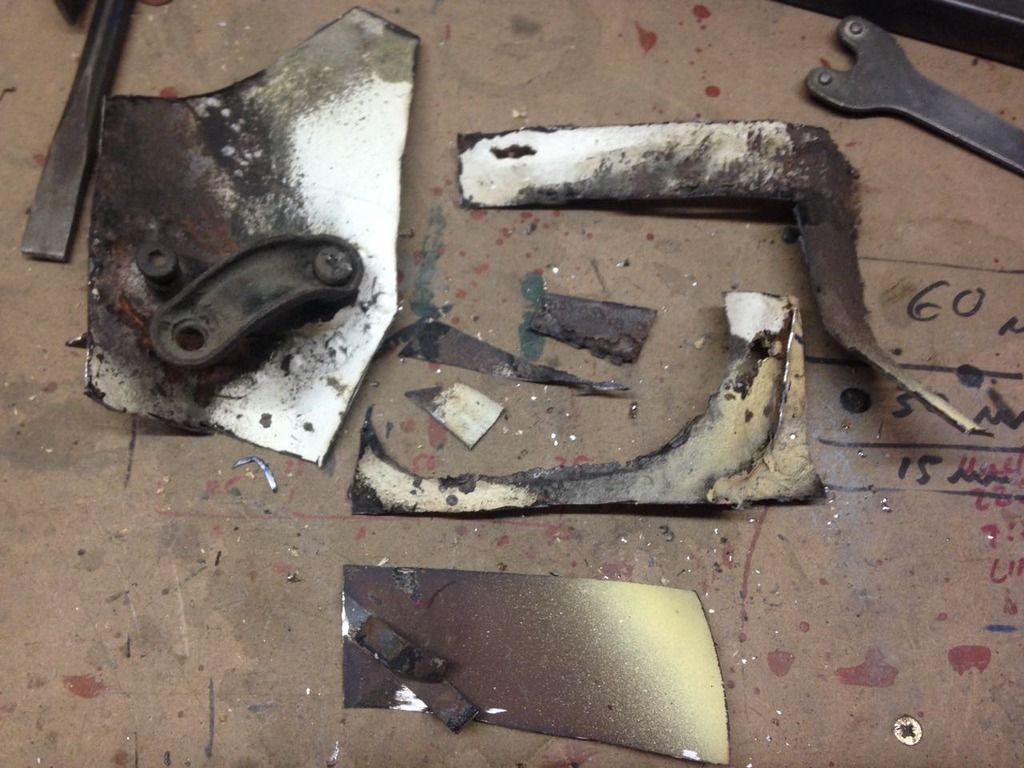
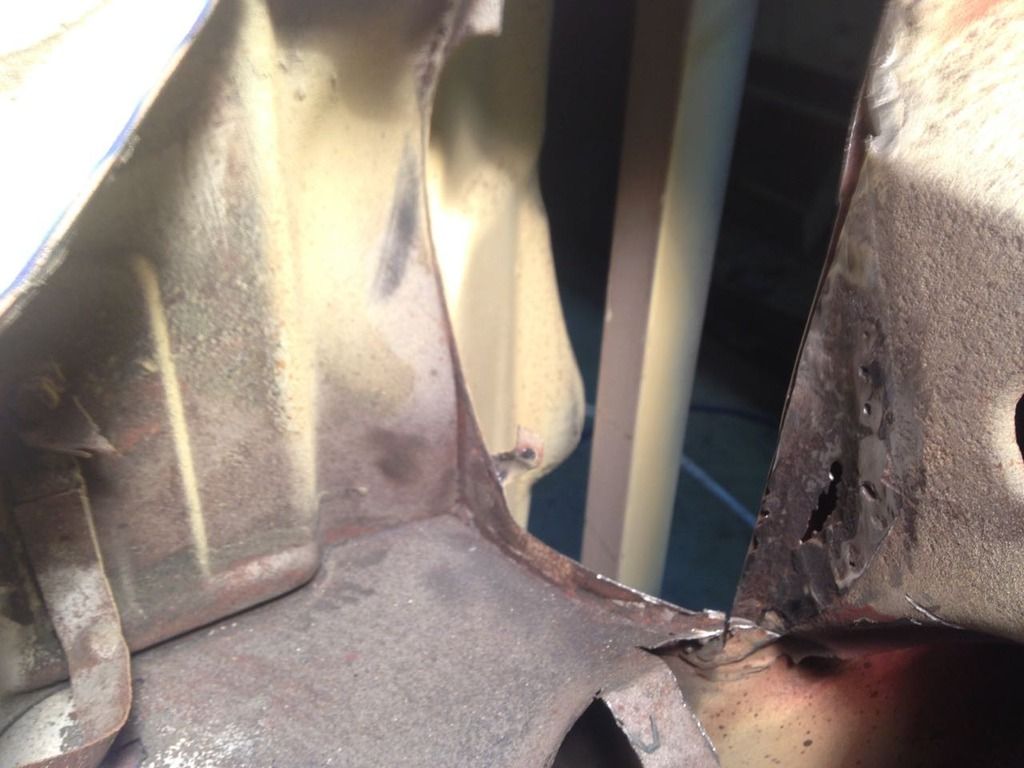
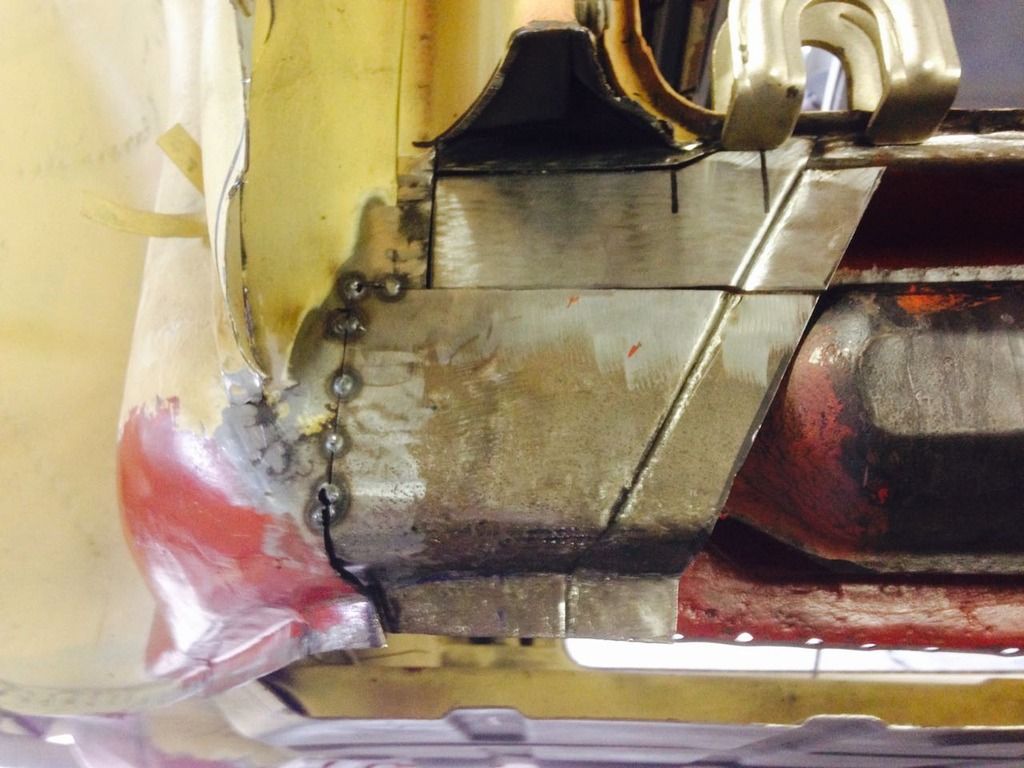
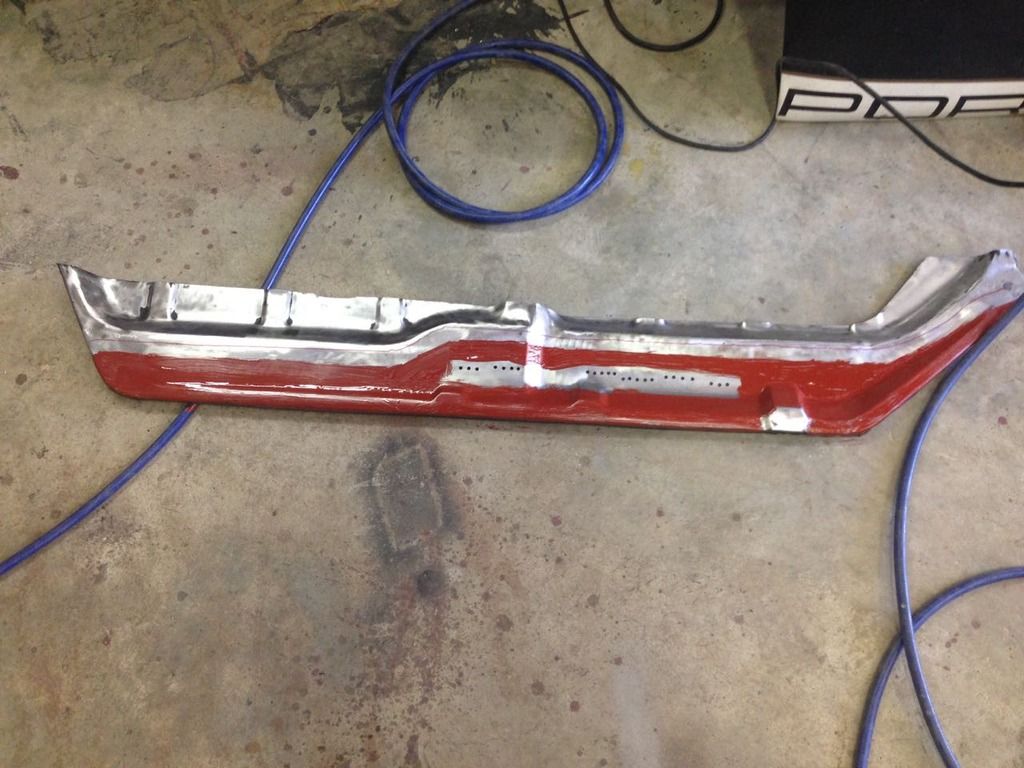
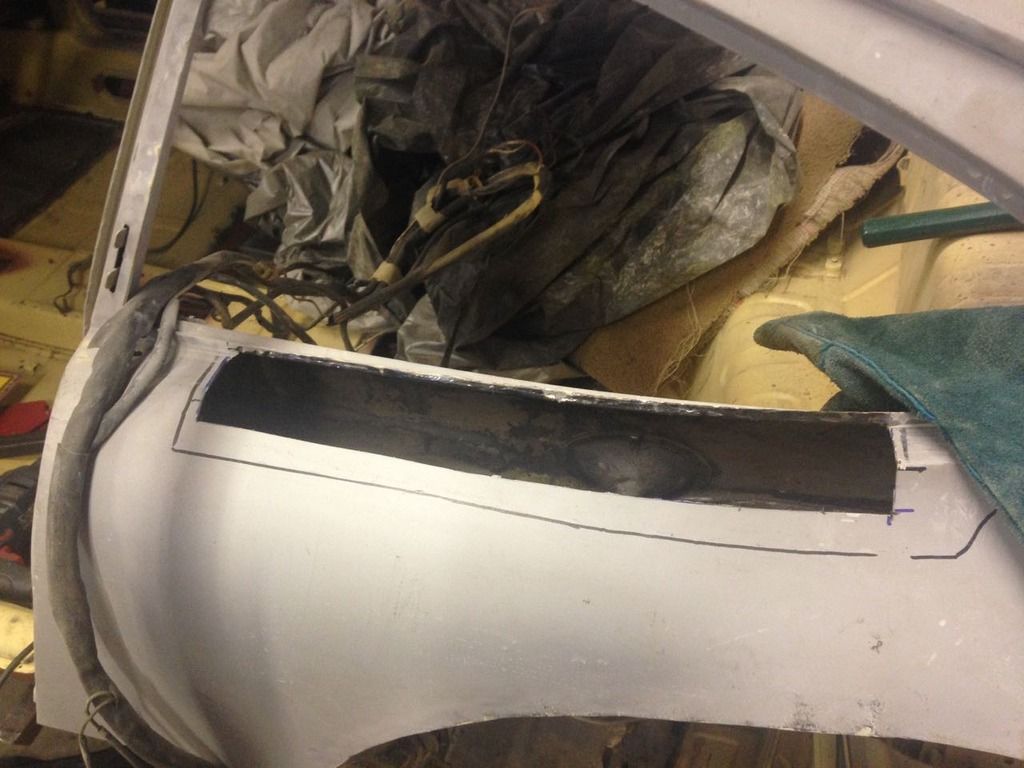
This bit was all original.
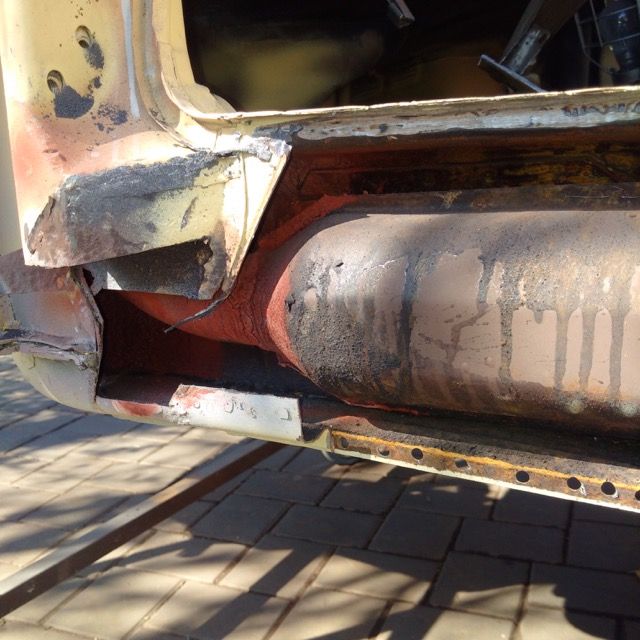
A soggy driver's carpet, fed by a buggered door seal and encouraged by leaks at the bottom of the windscreen corners.
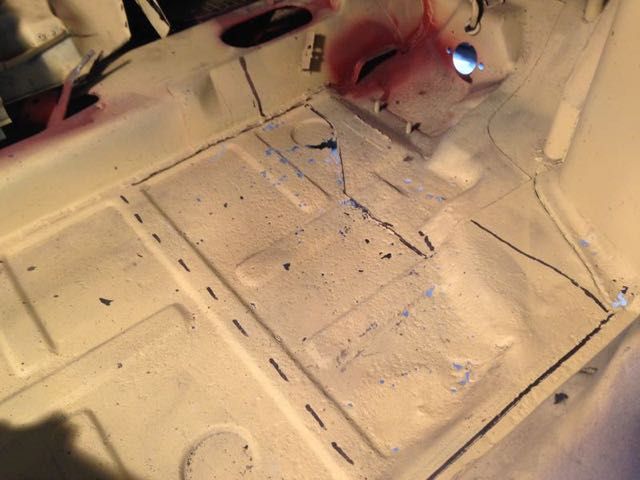
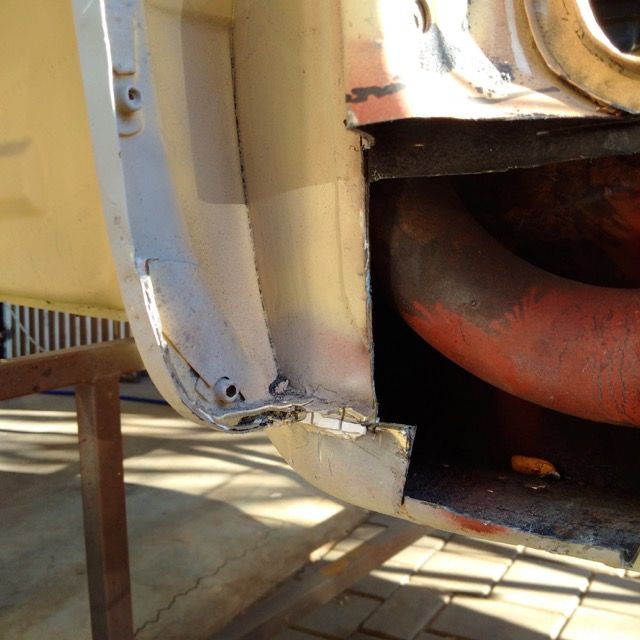
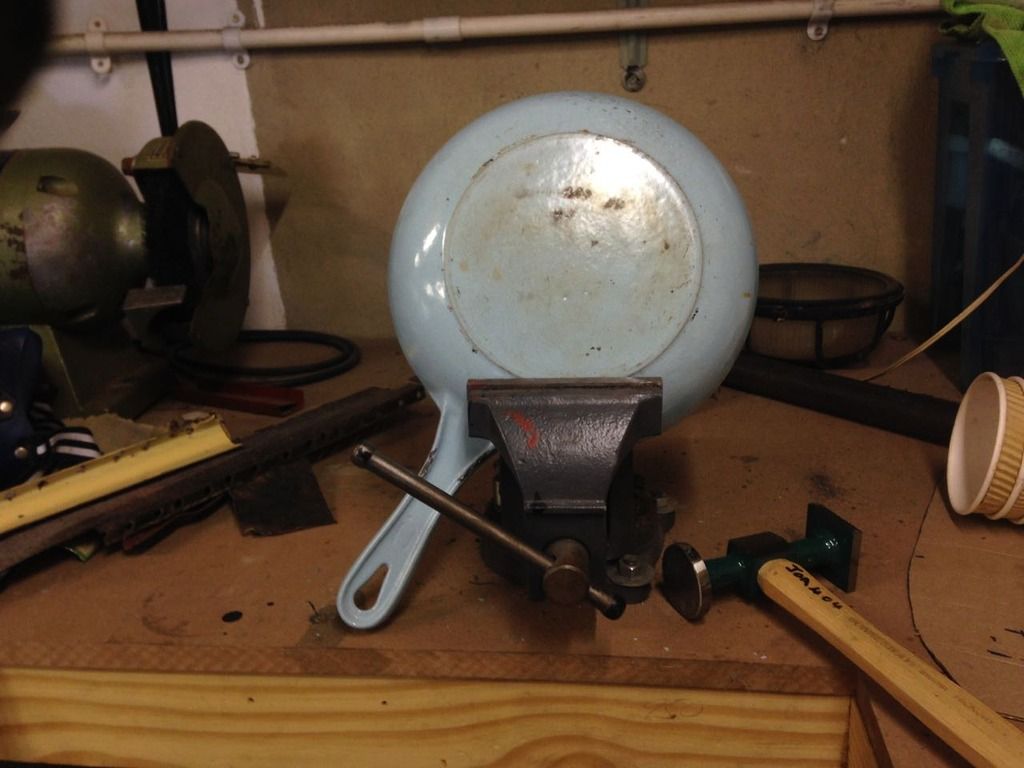
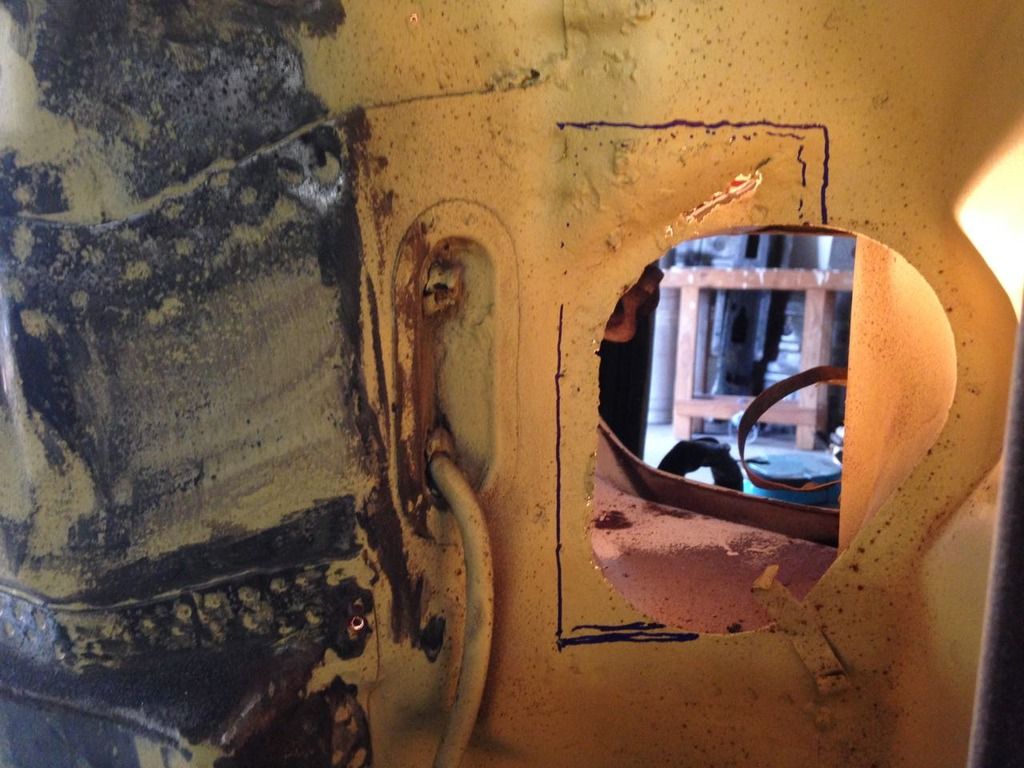
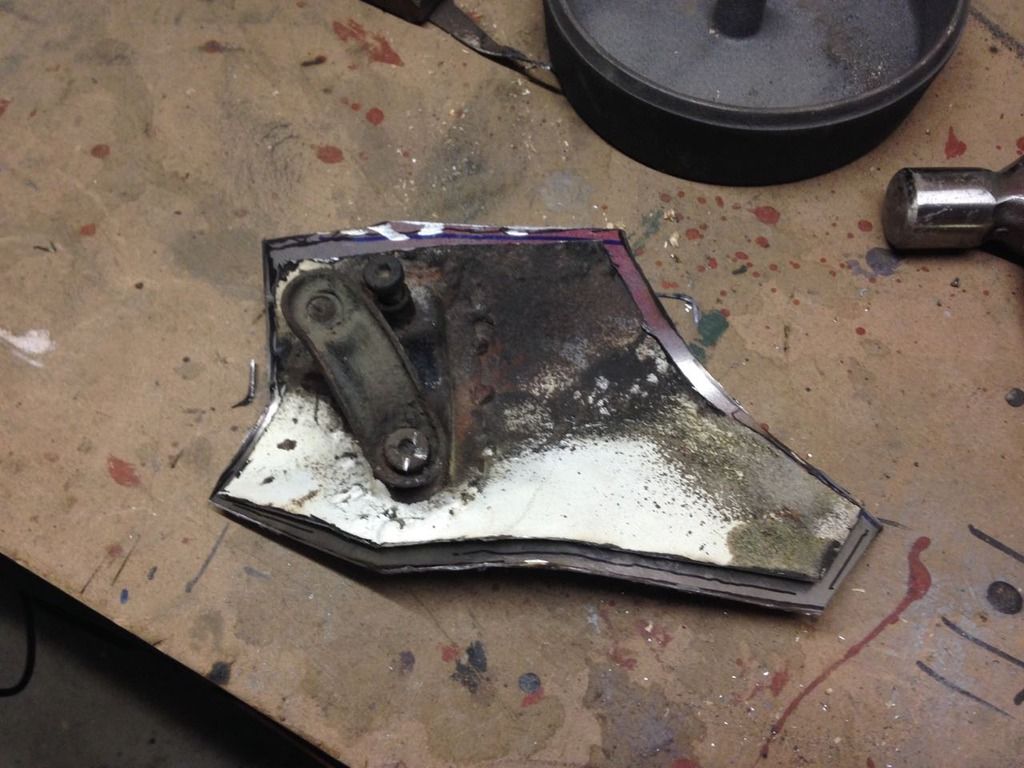
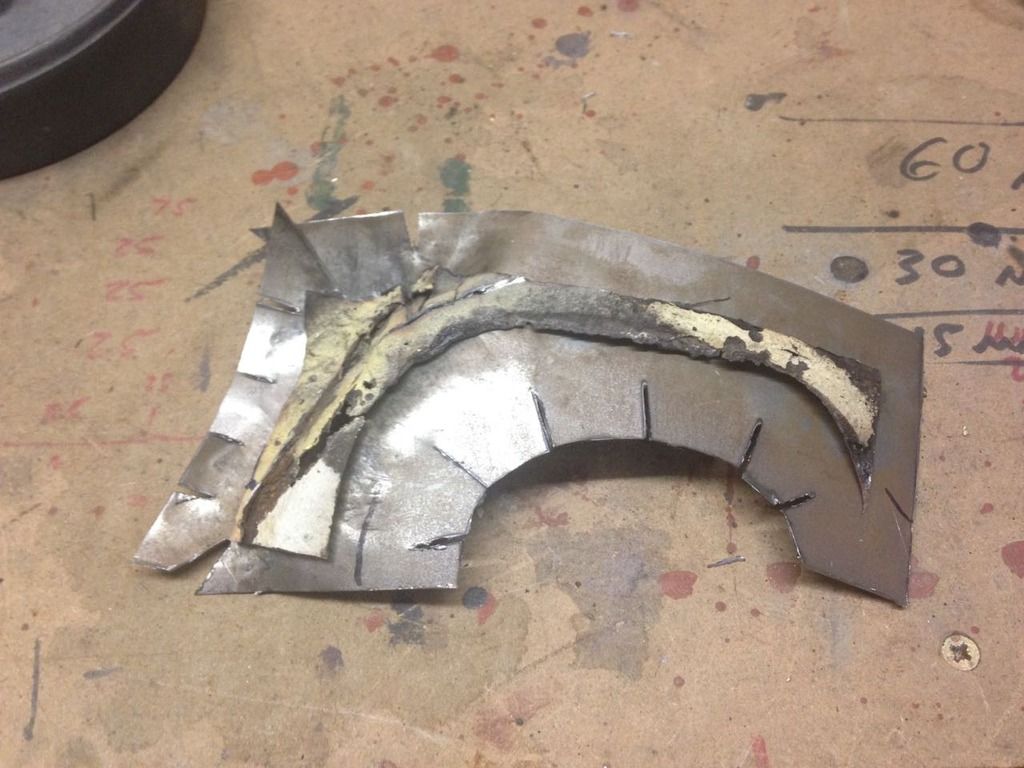
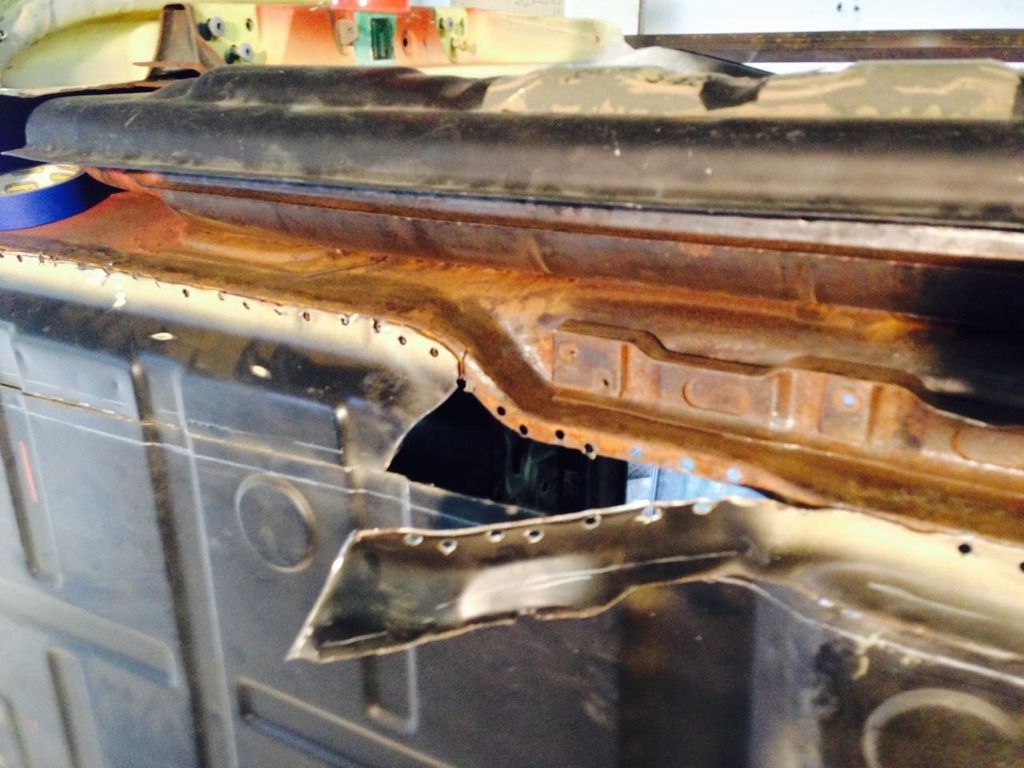
Looks like something Hester would do with Bolivian Parmesan.
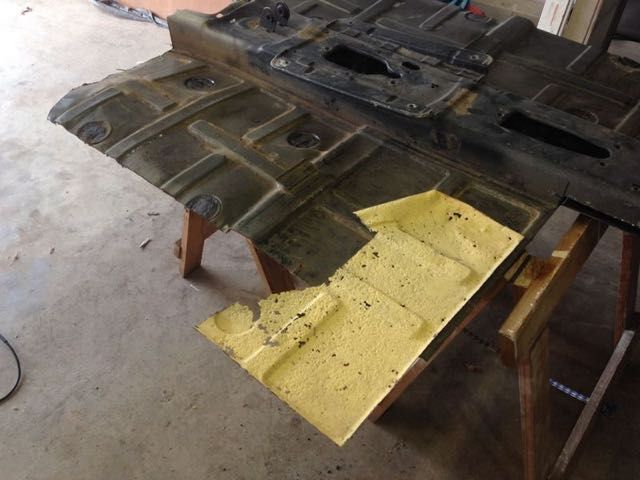
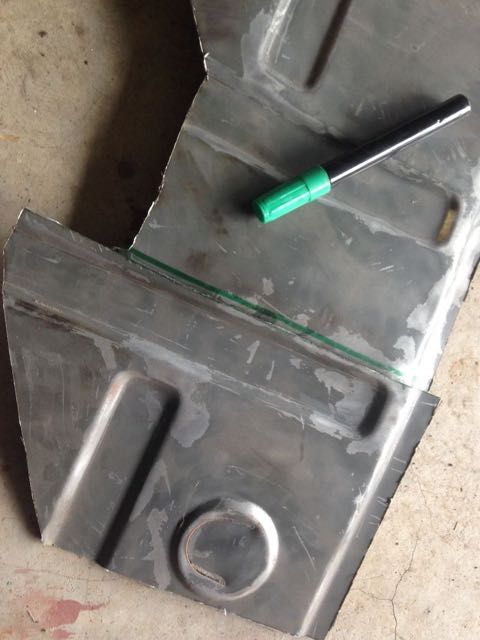
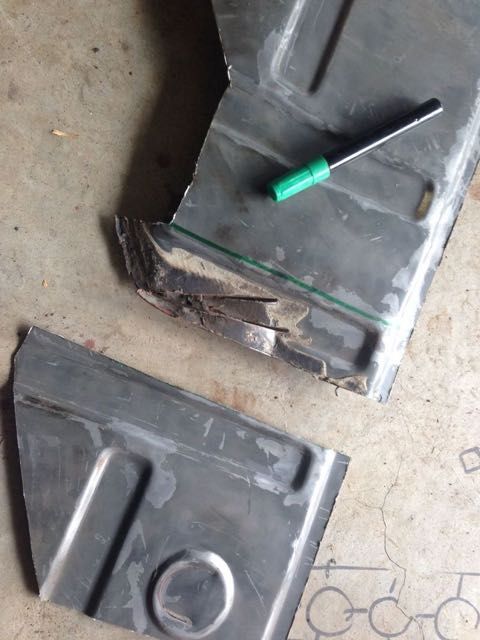
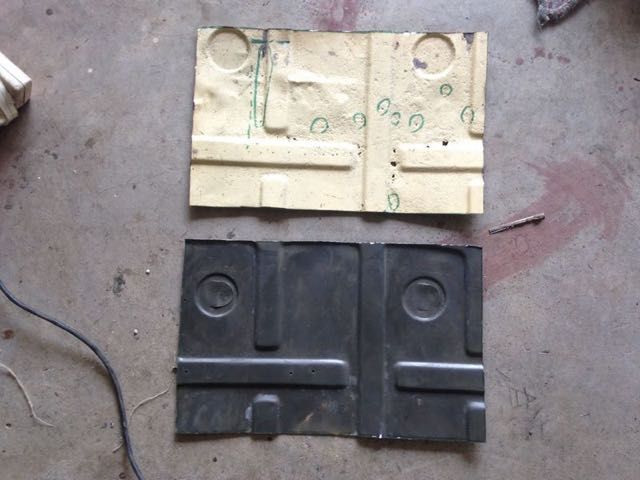
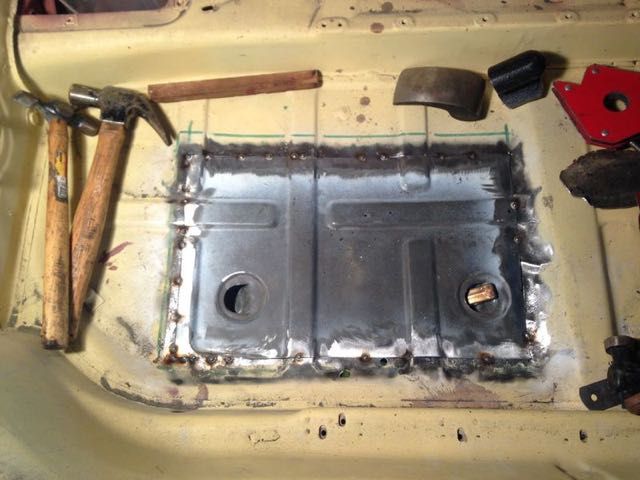
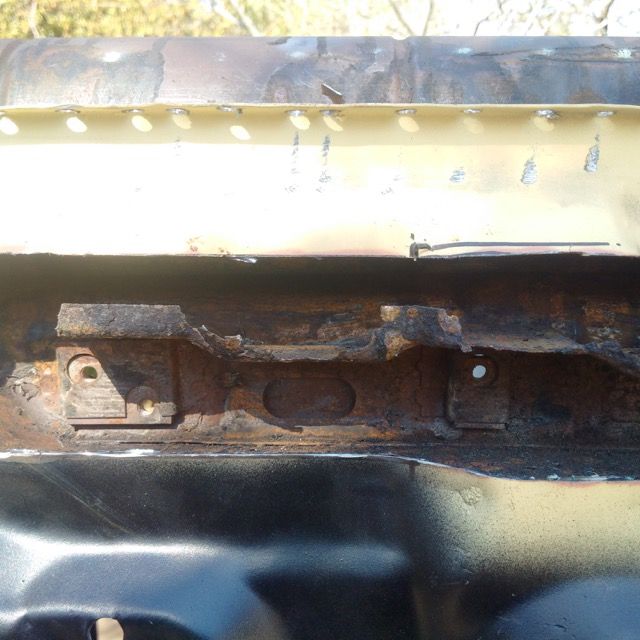
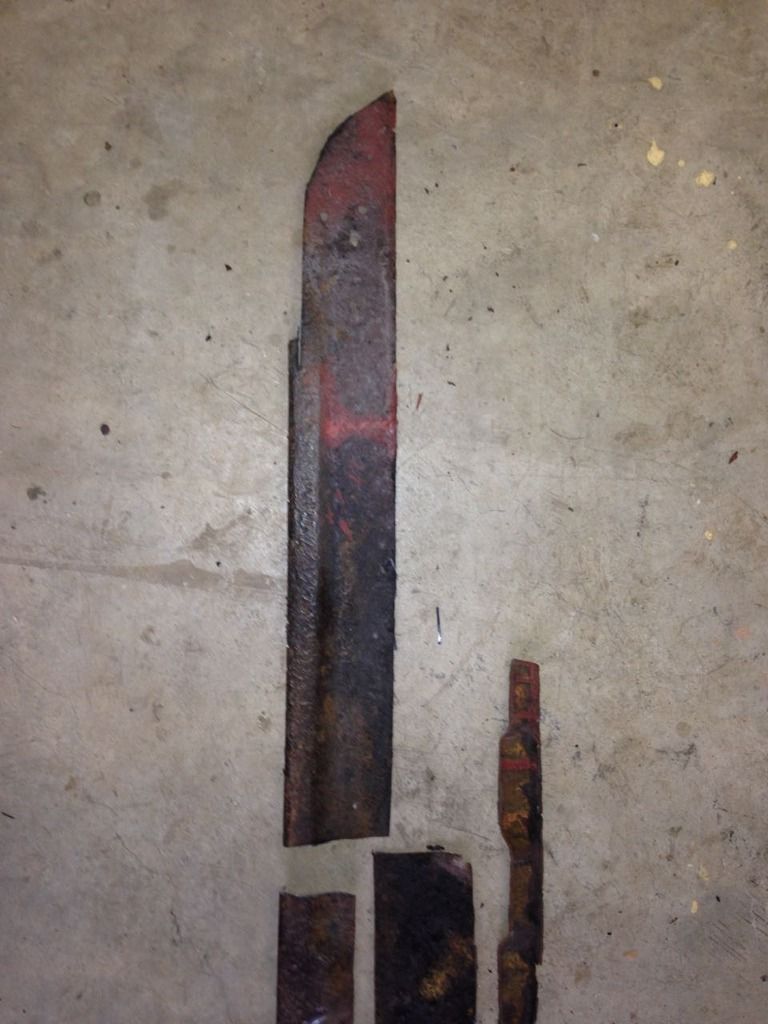
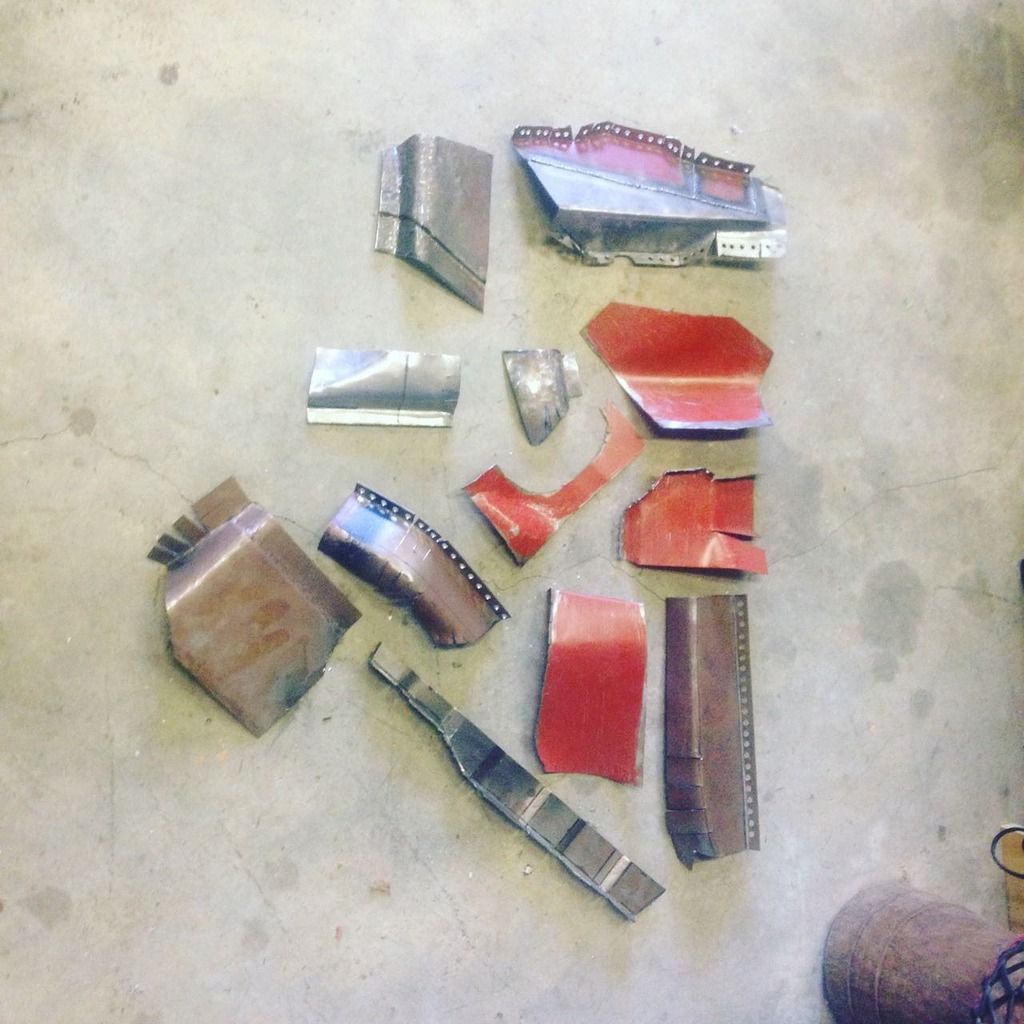
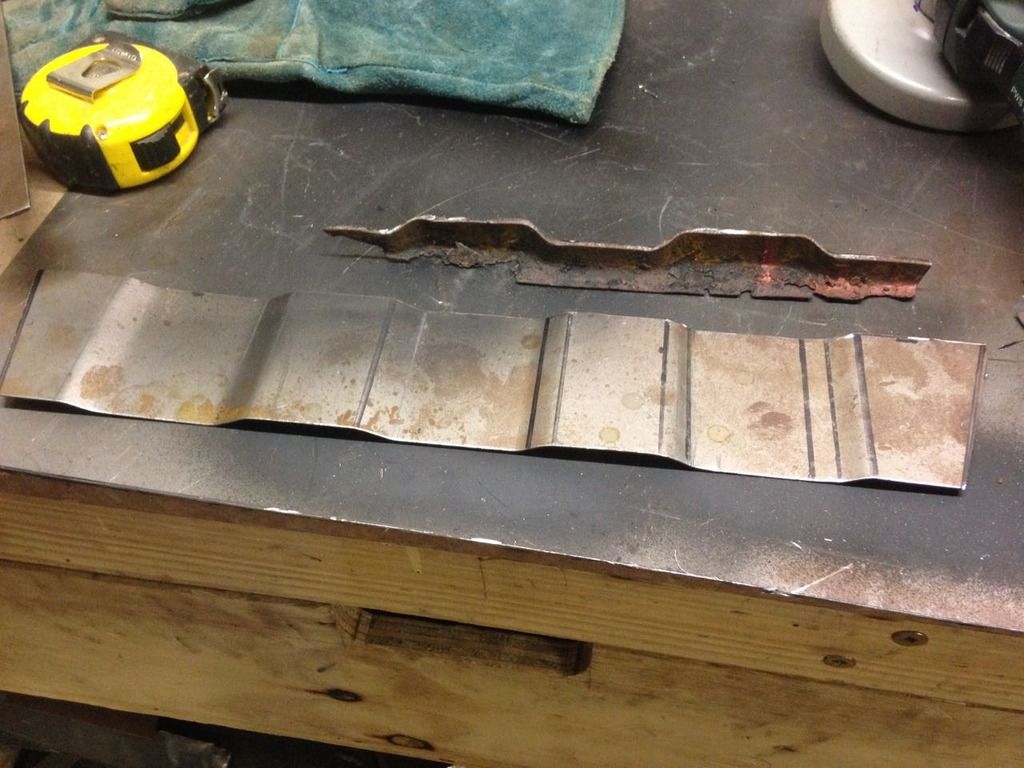
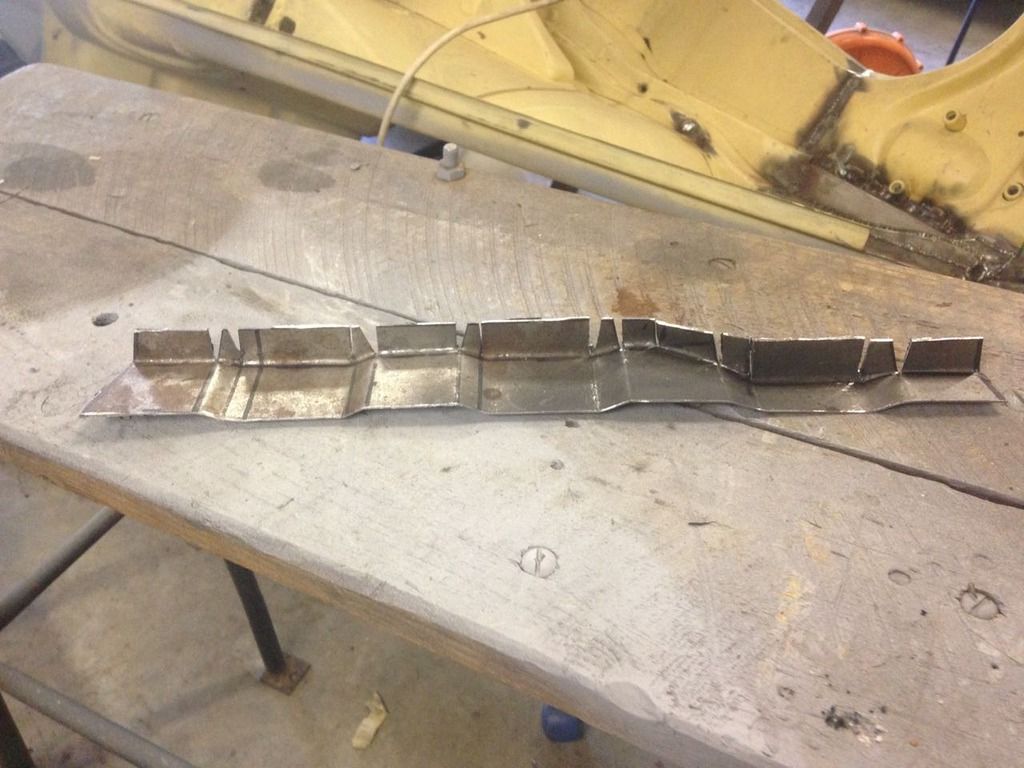
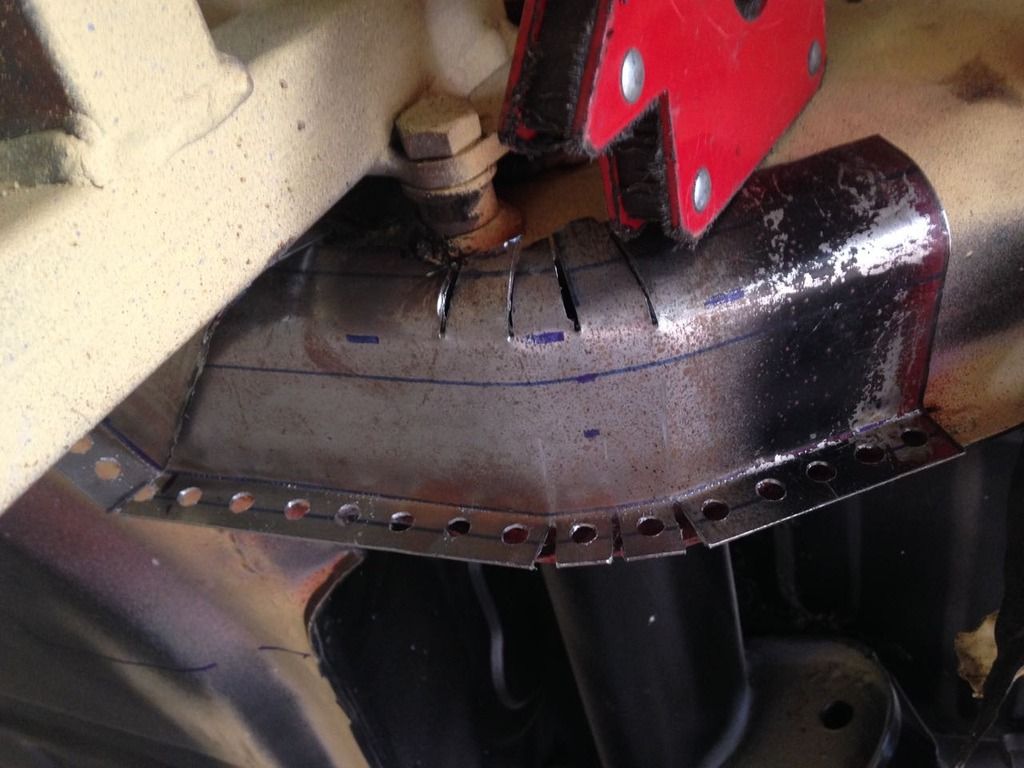
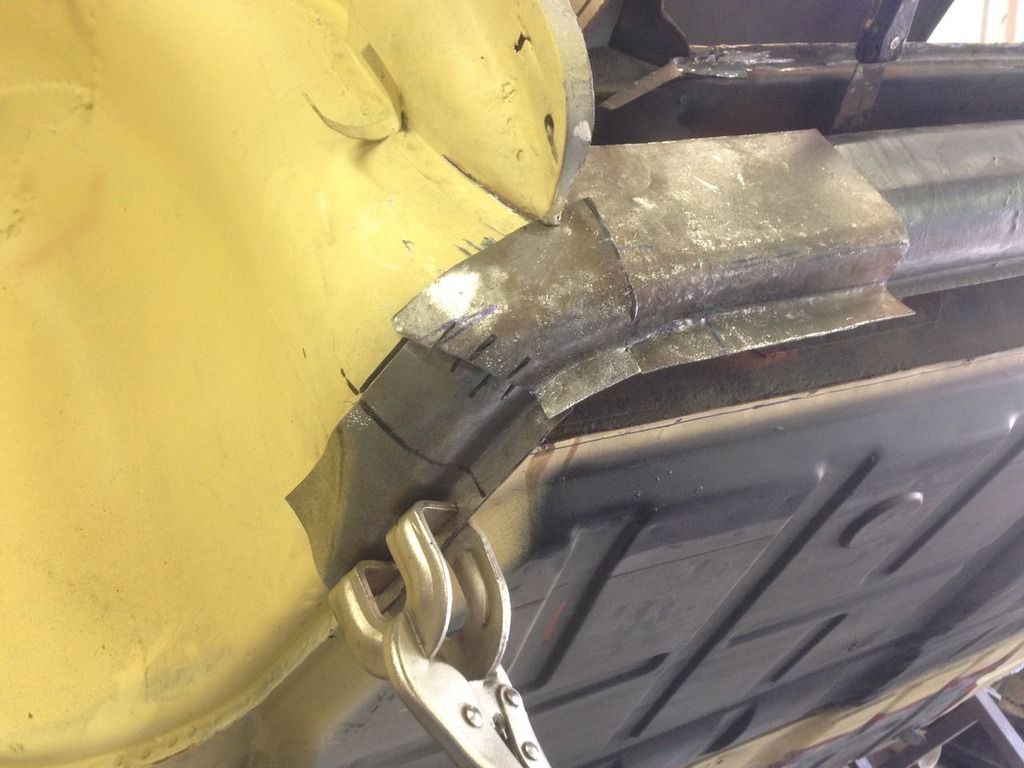
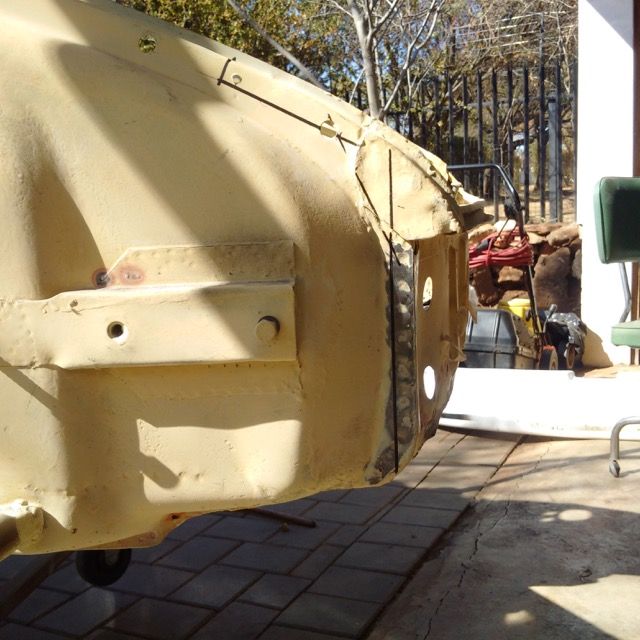
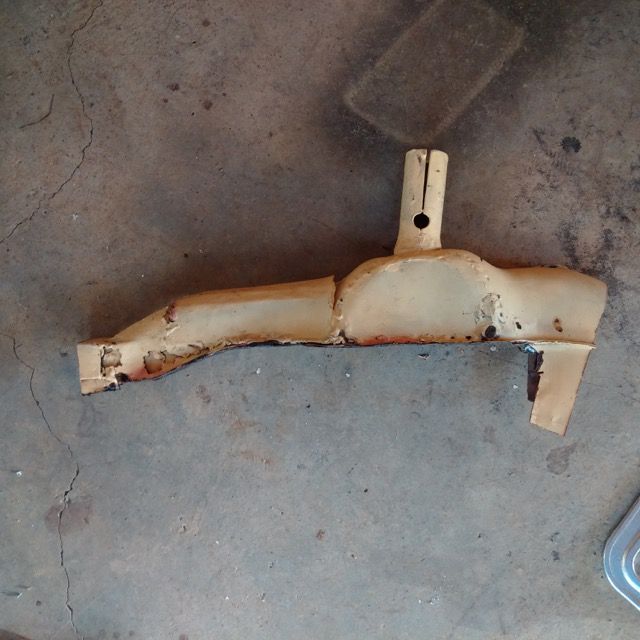
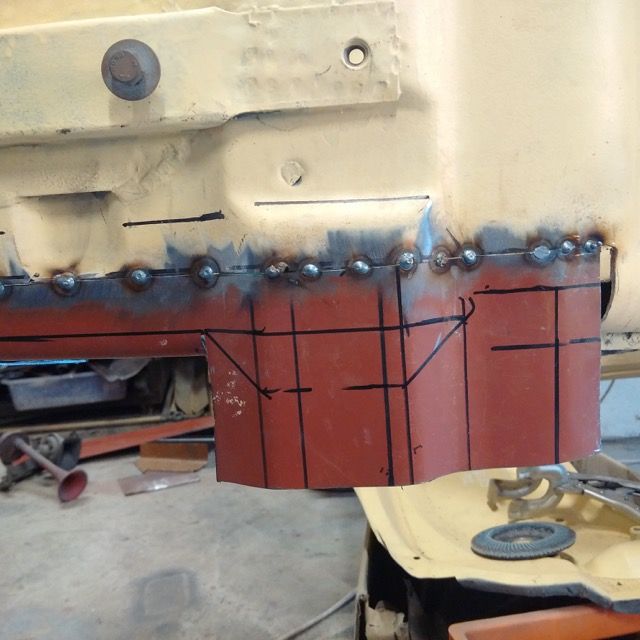
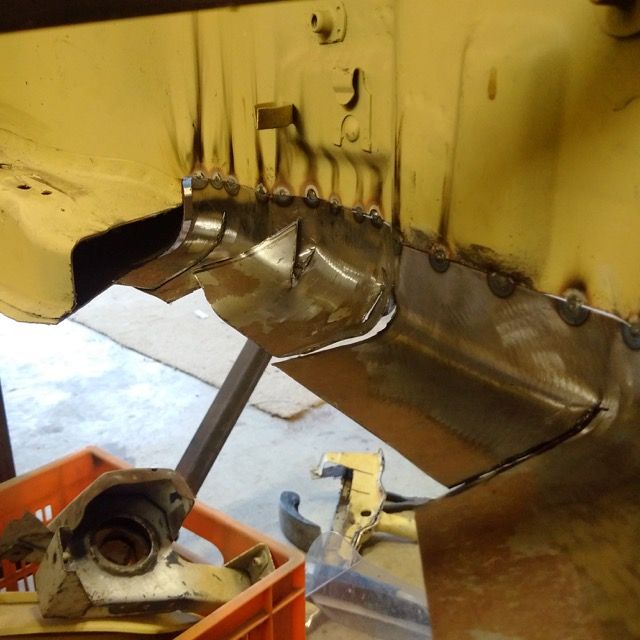
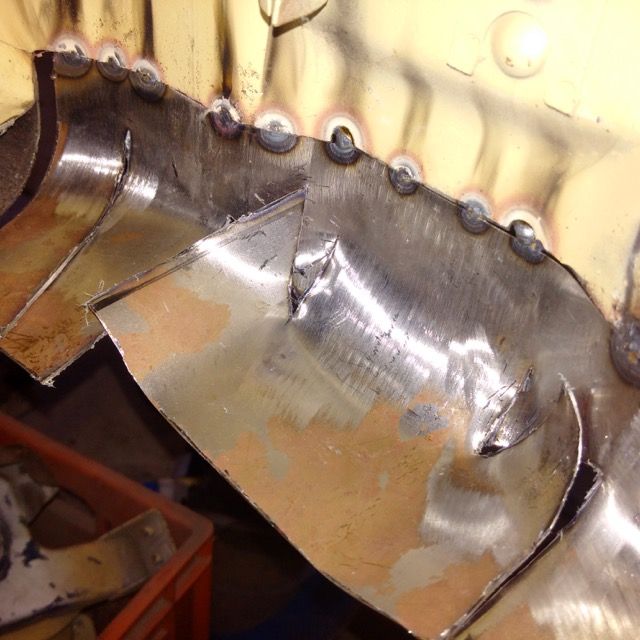
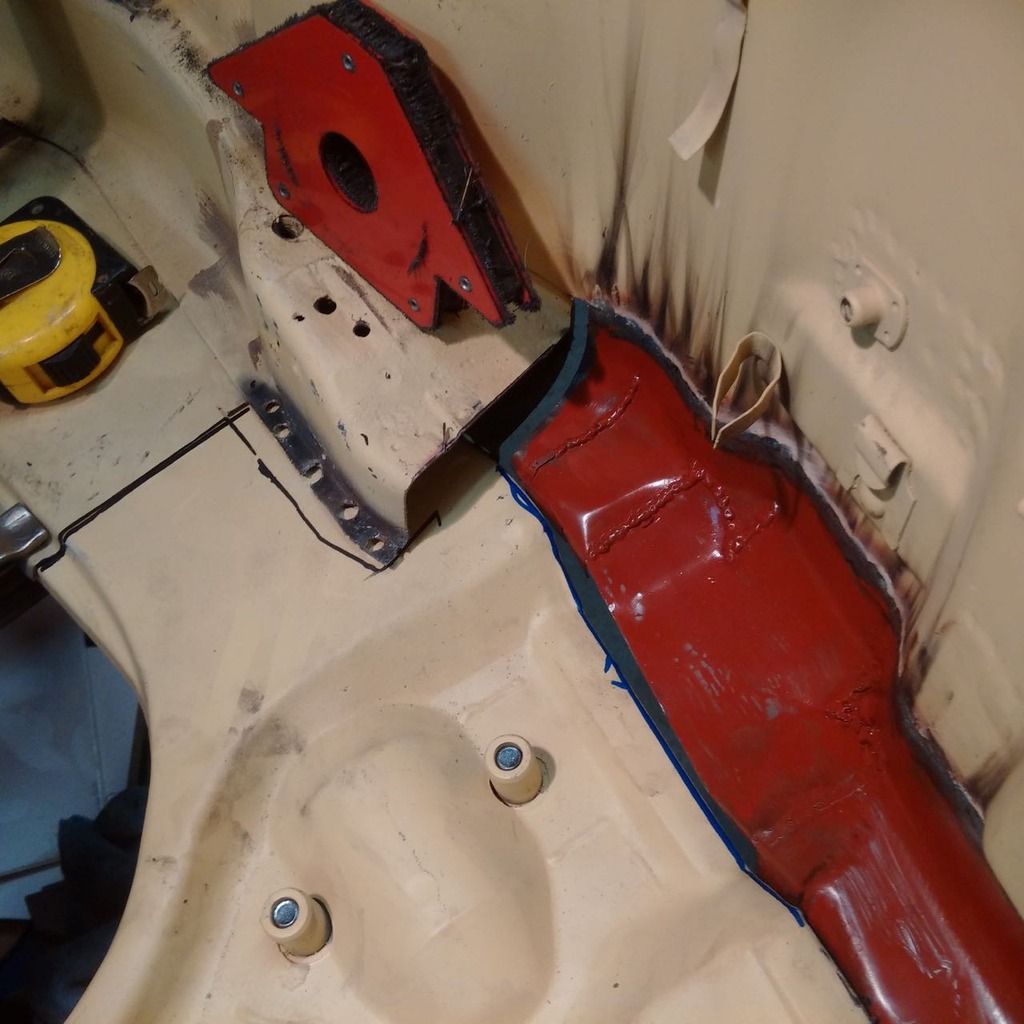
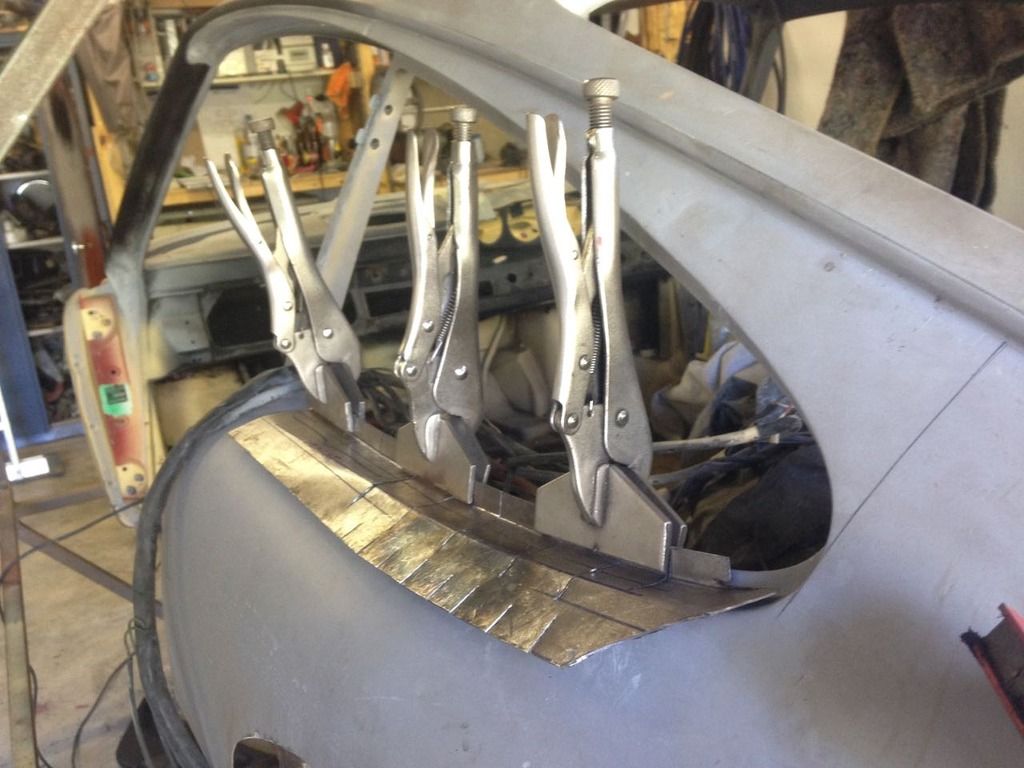
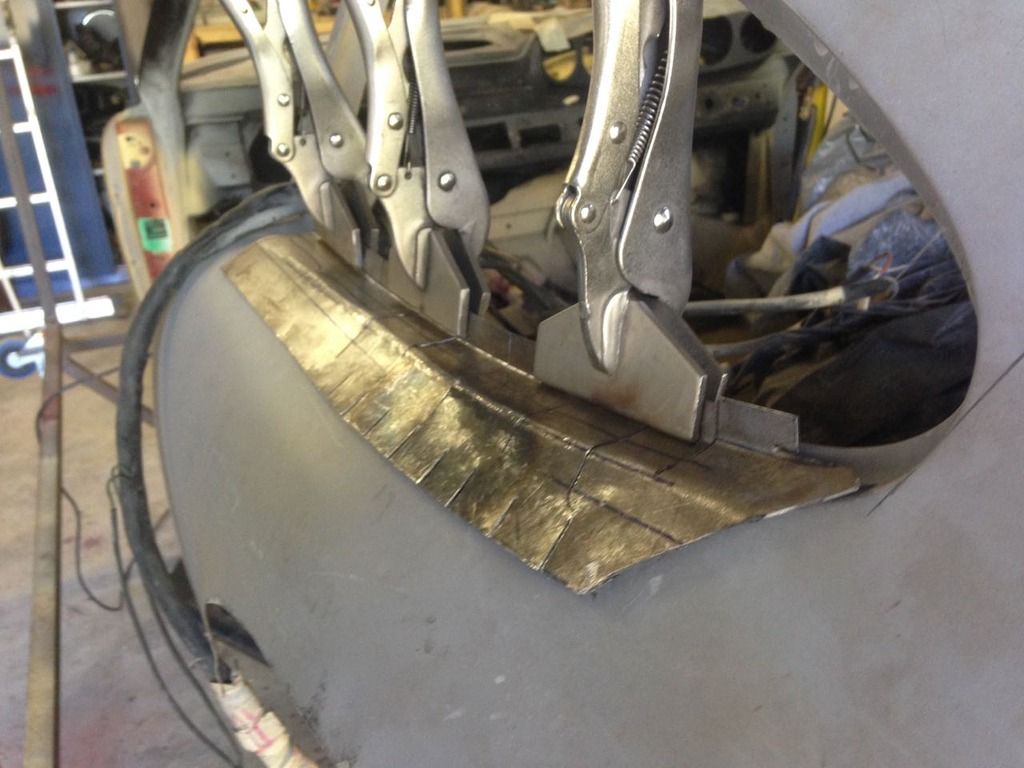
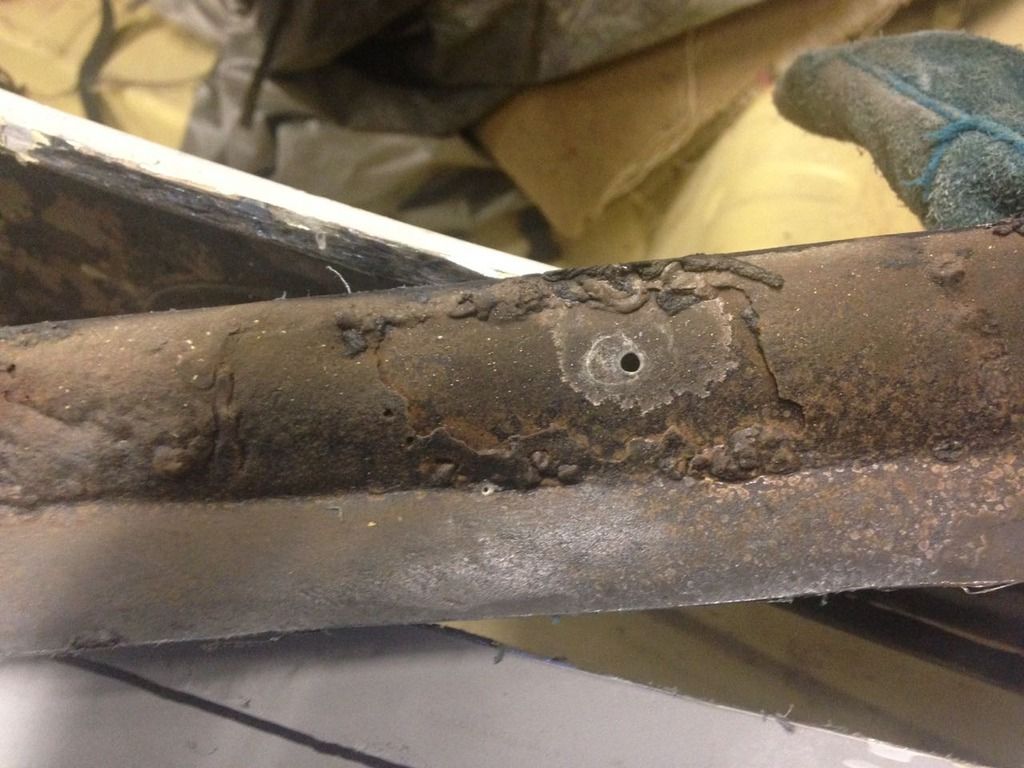
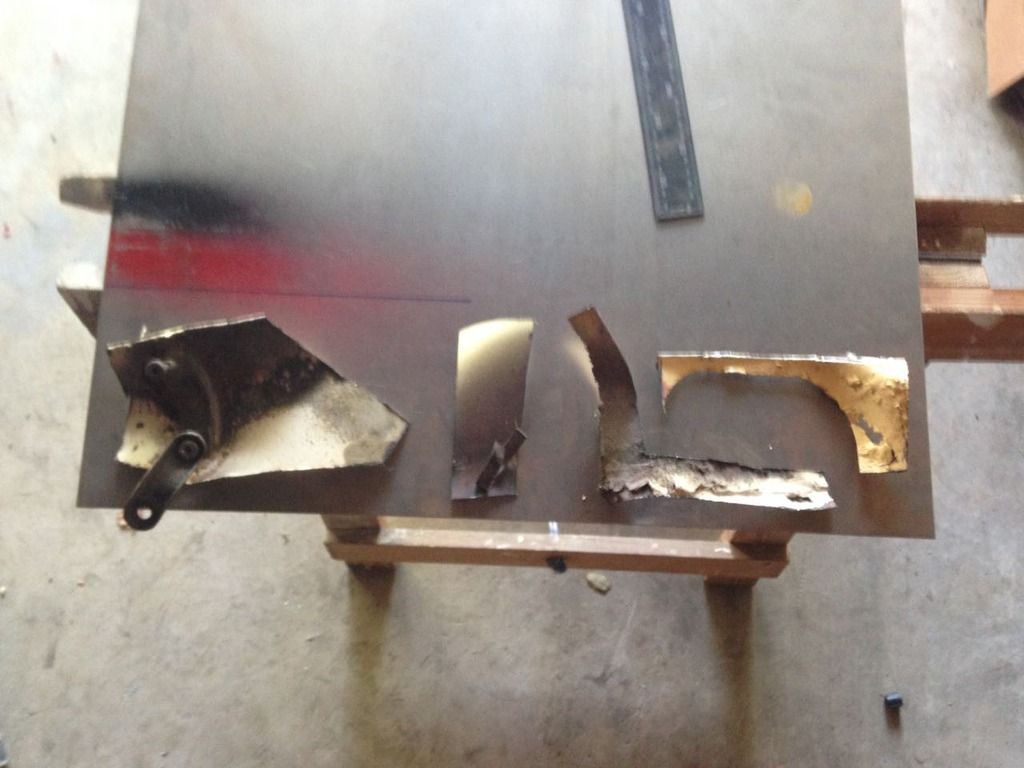
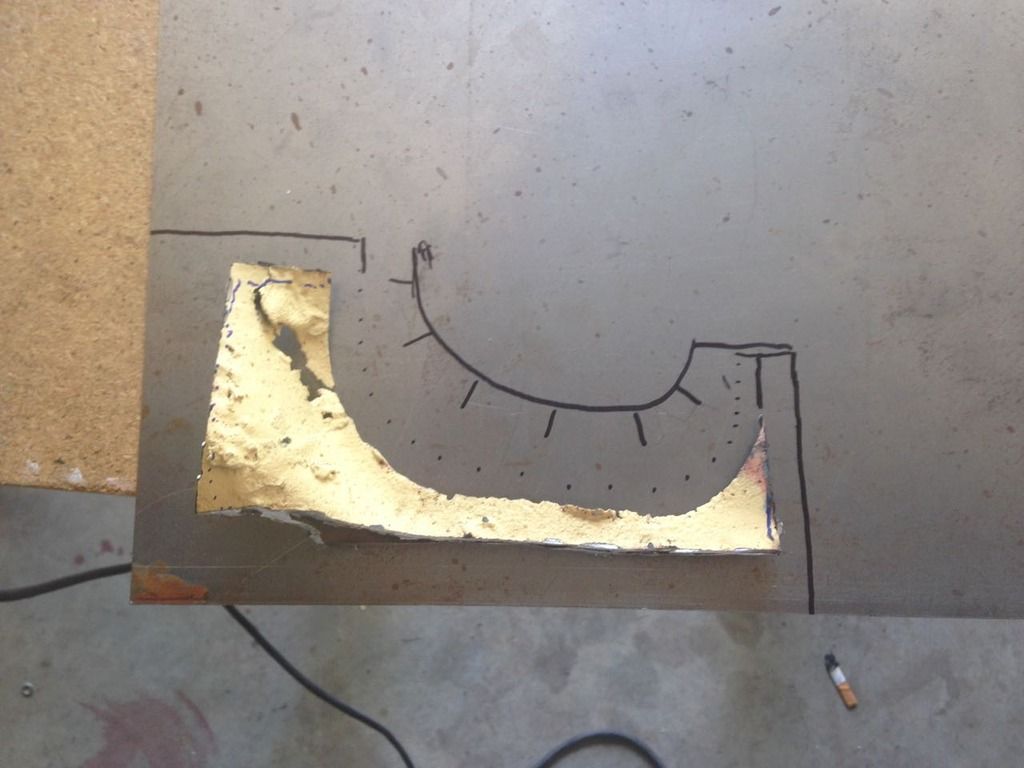
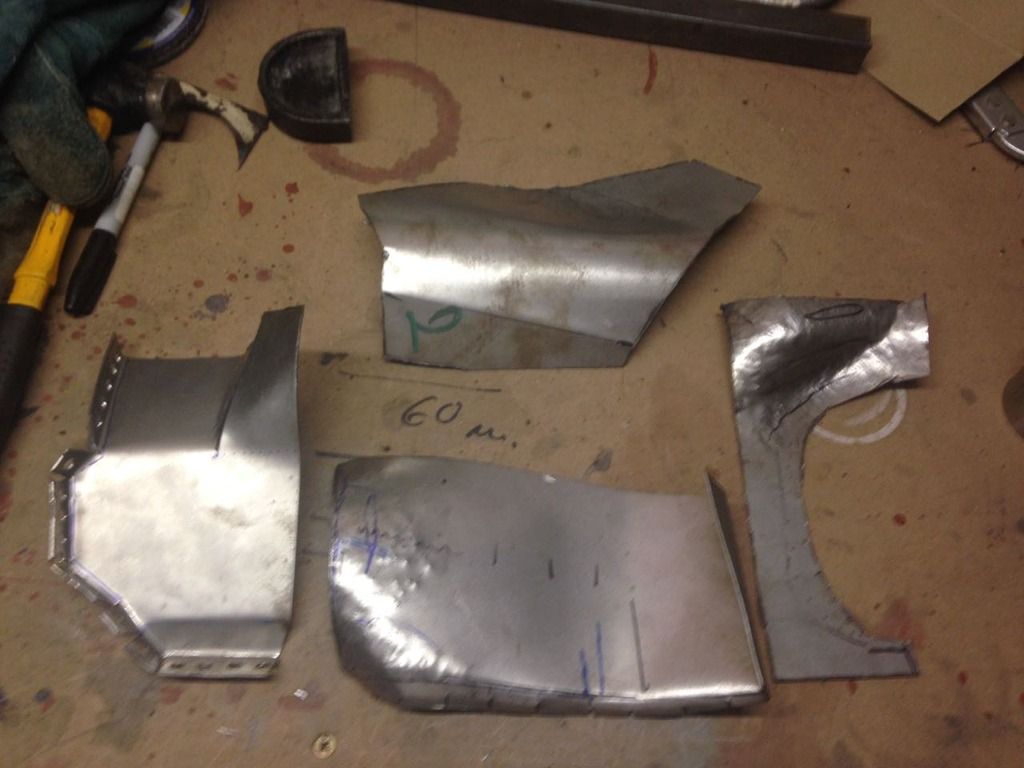
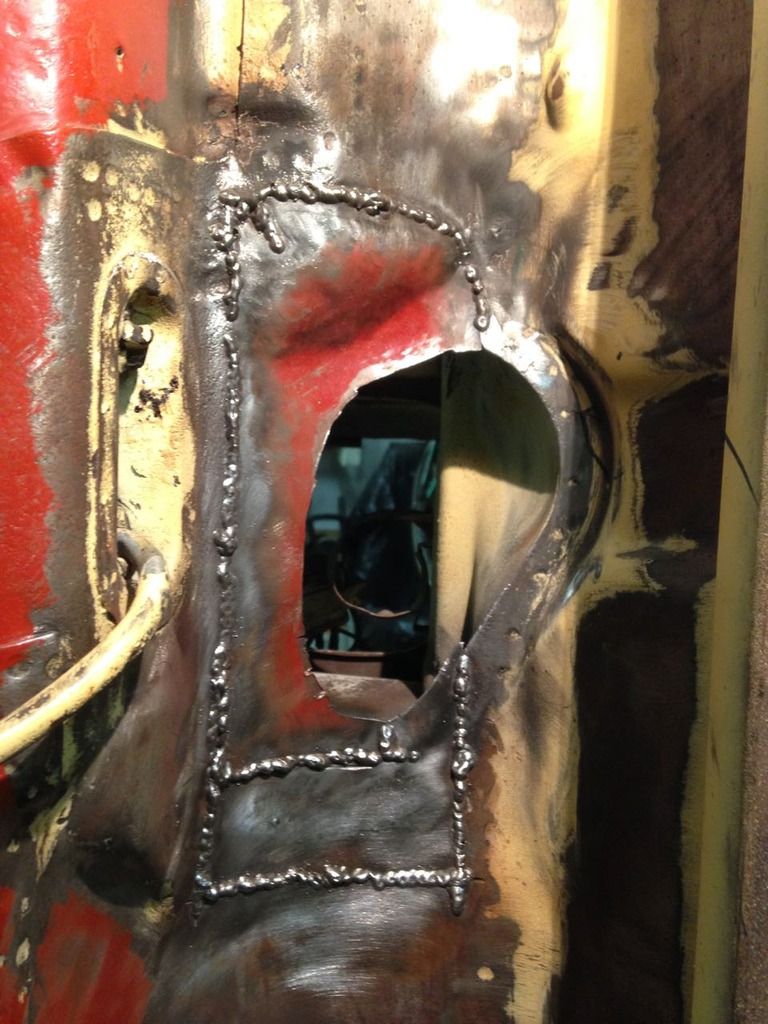
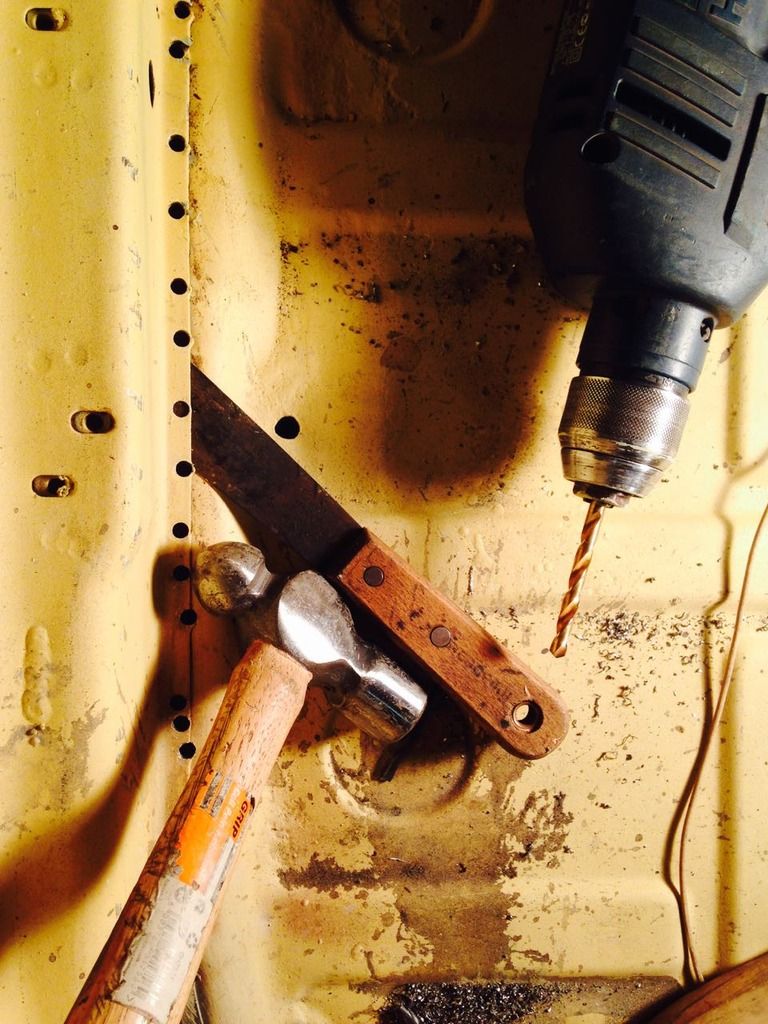
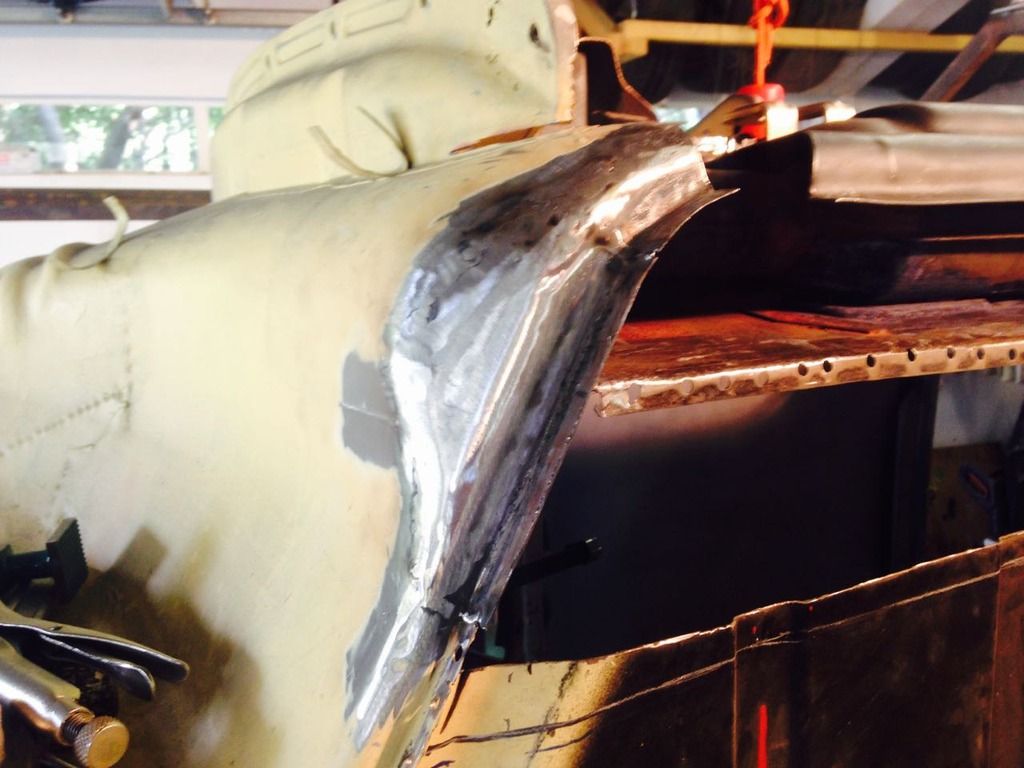
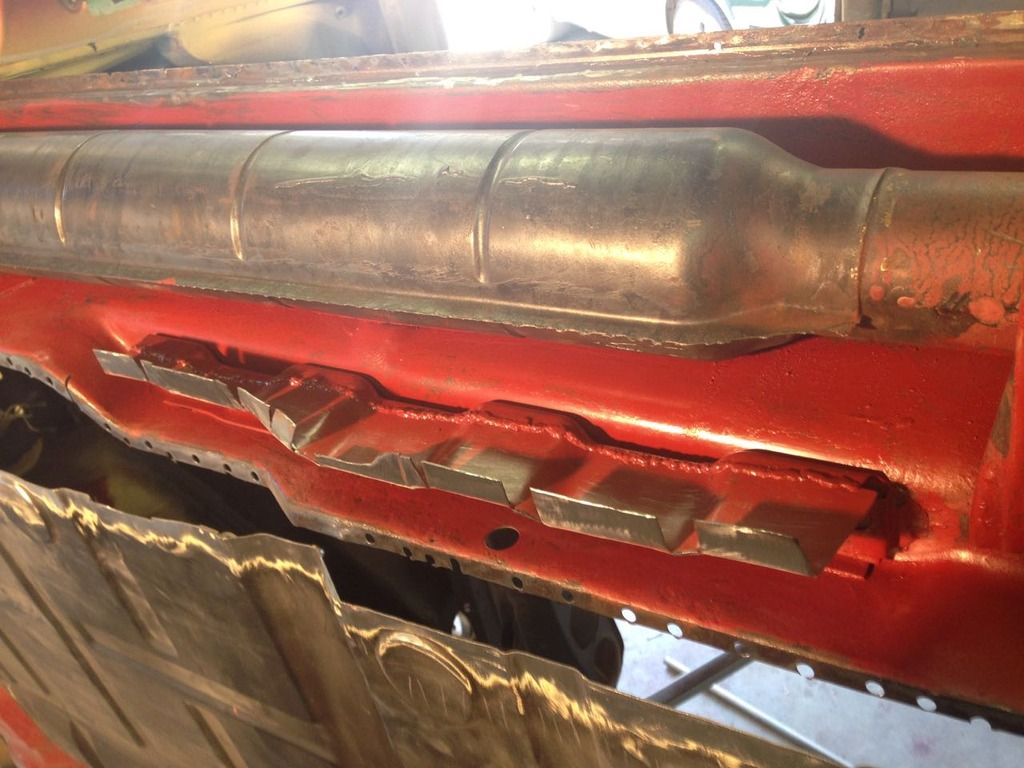
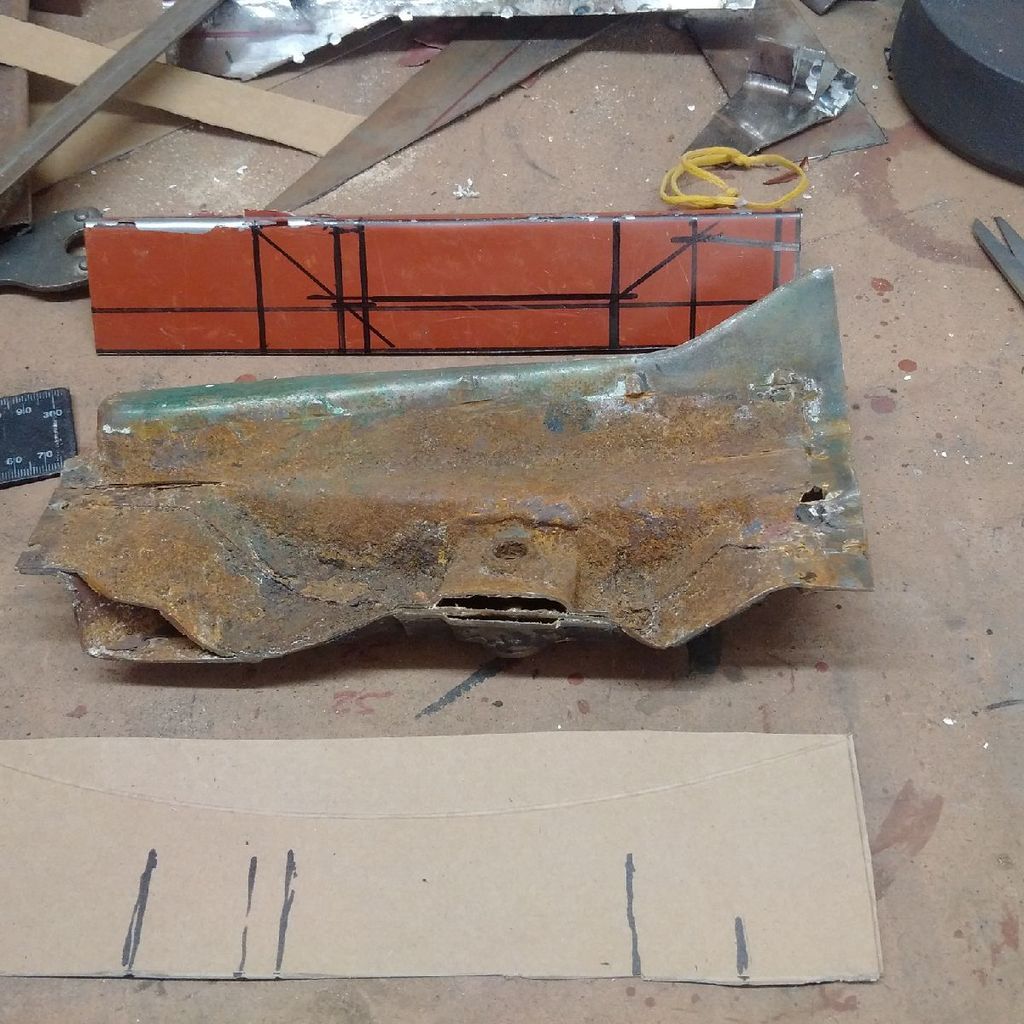
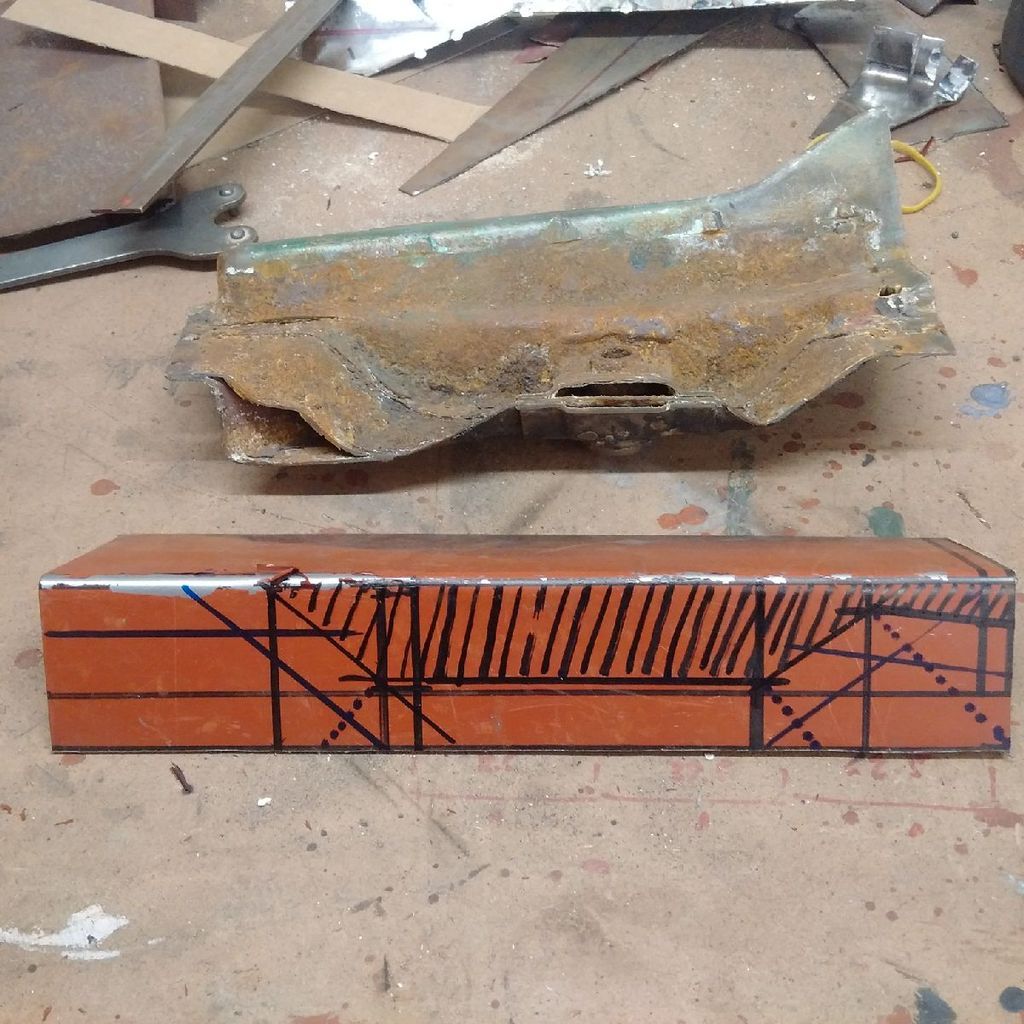
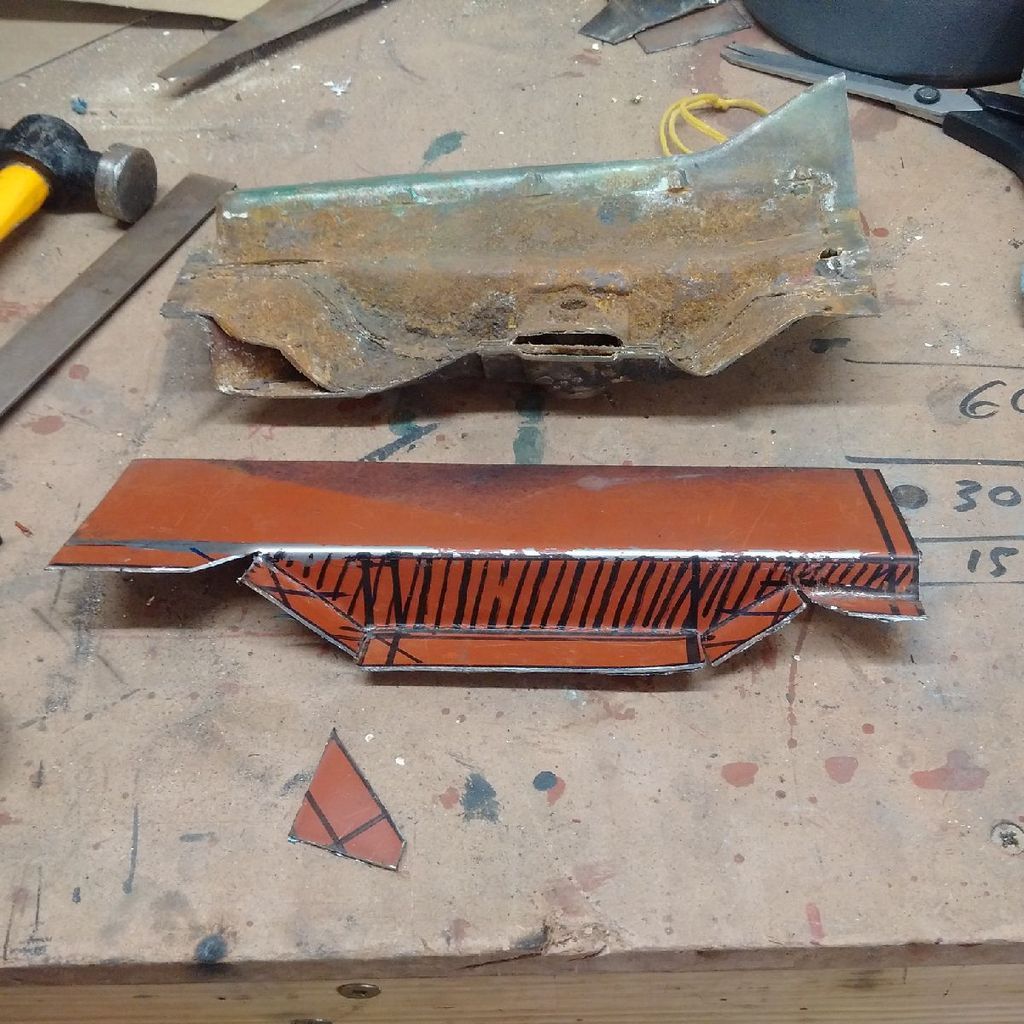
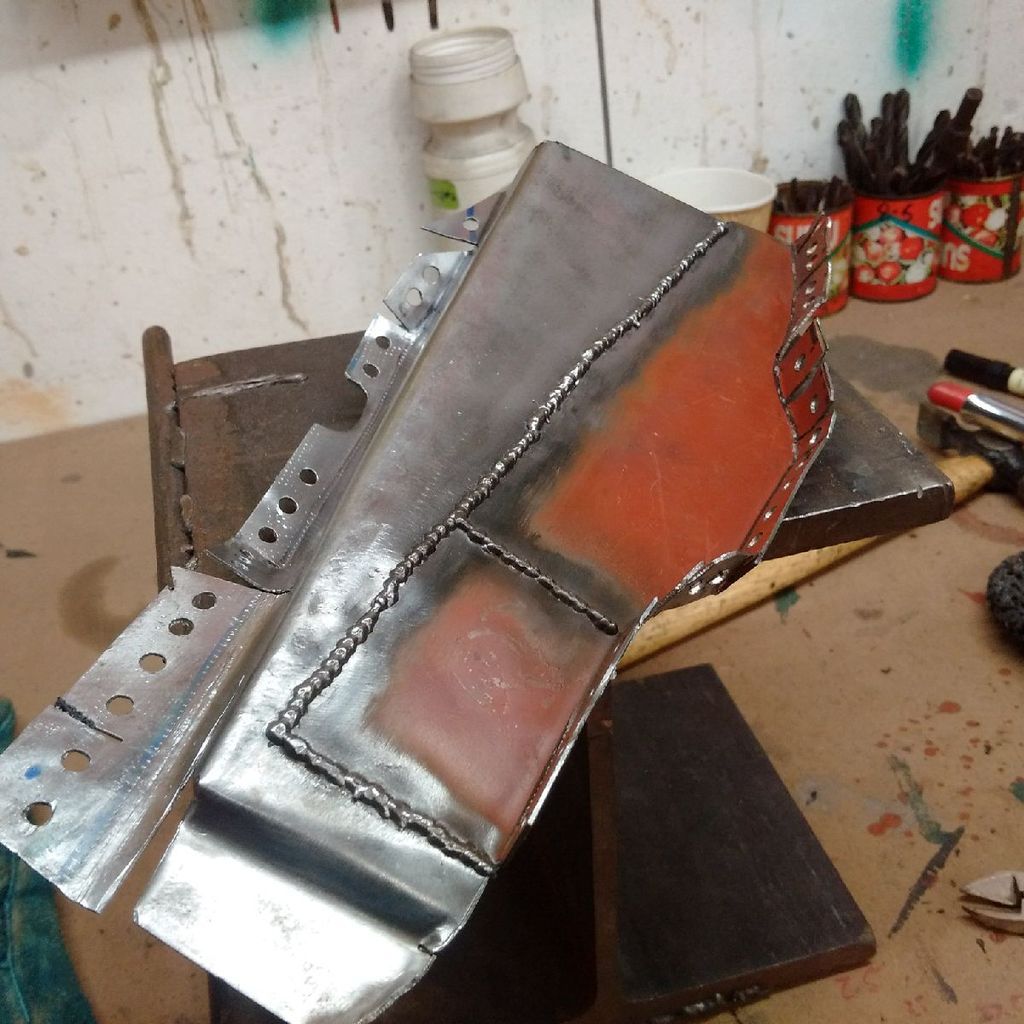
The floor clip is from a toasted Targa. Let's just say the chaps who generously gave it to me where not interested in drilling spot welds. You can see the cutting disk scars on the outer edge. Not to look a gift horse in the mouth, I was very happy to have it. Served me well.
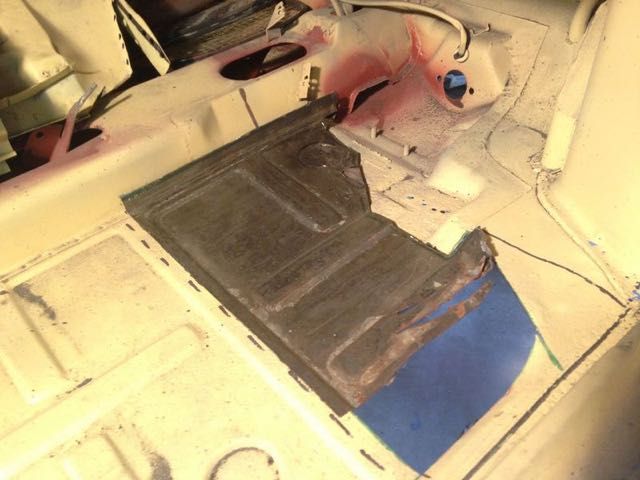
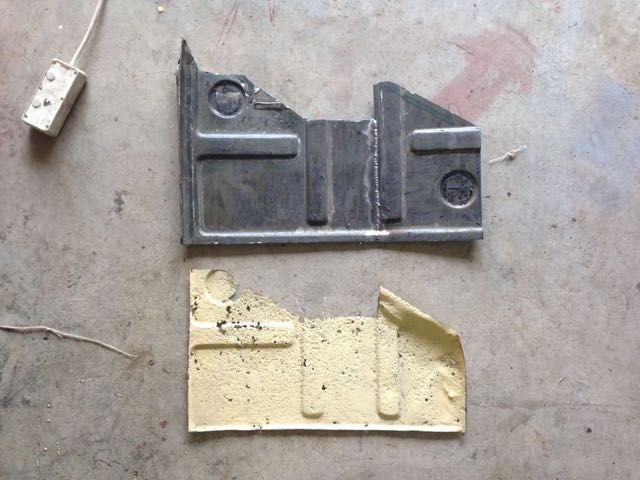
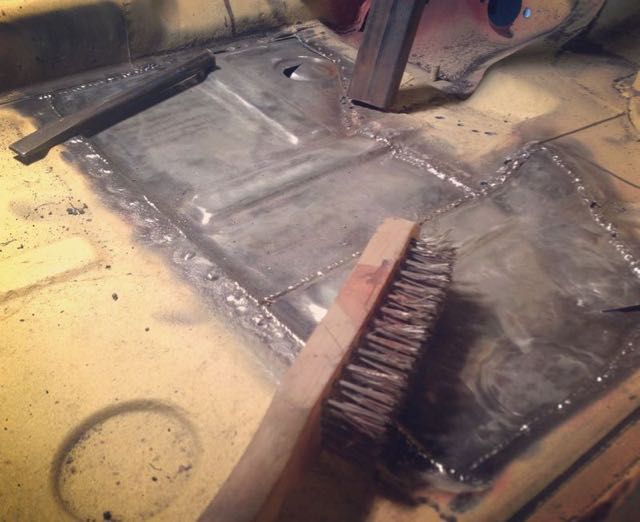
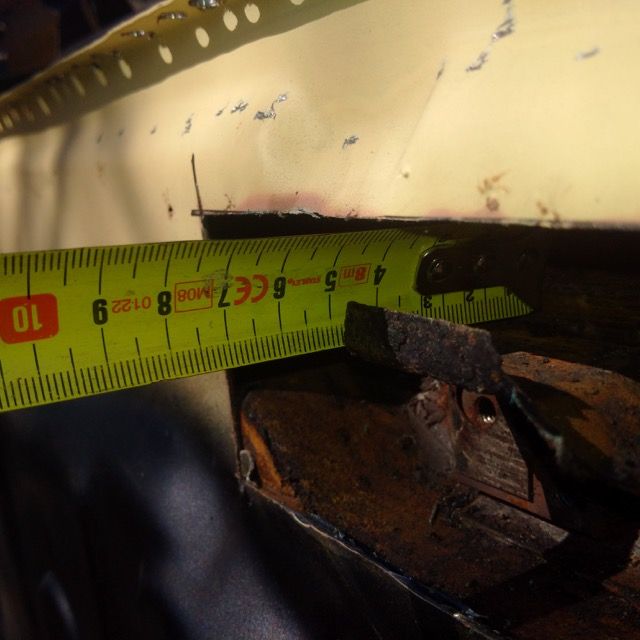
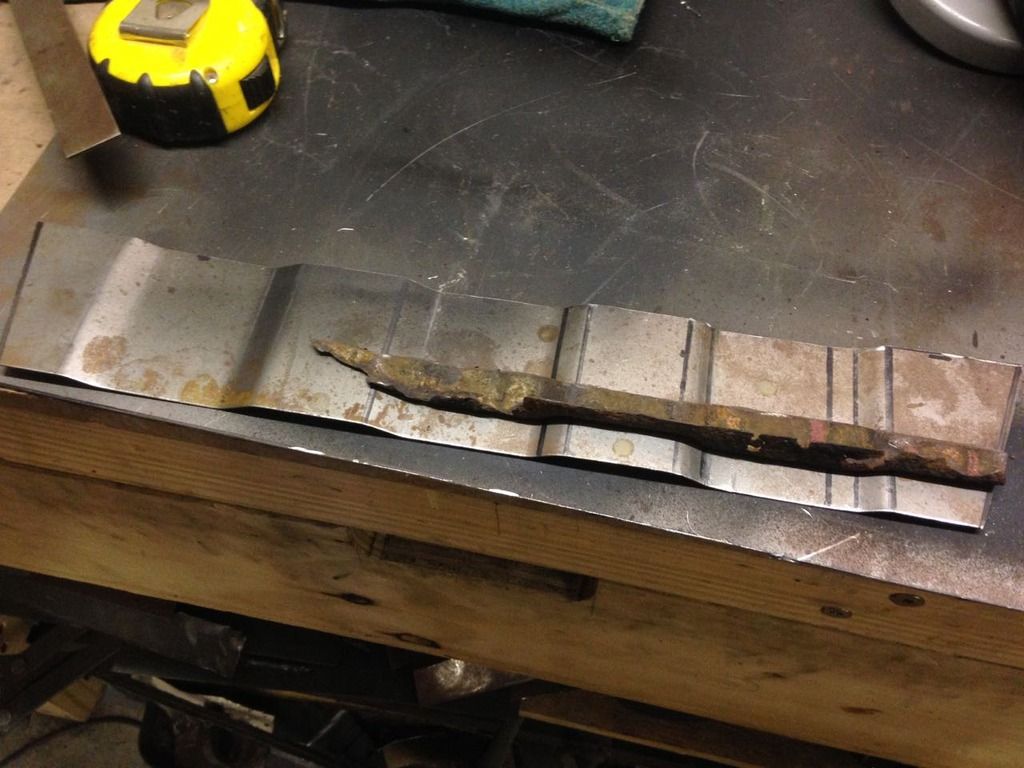
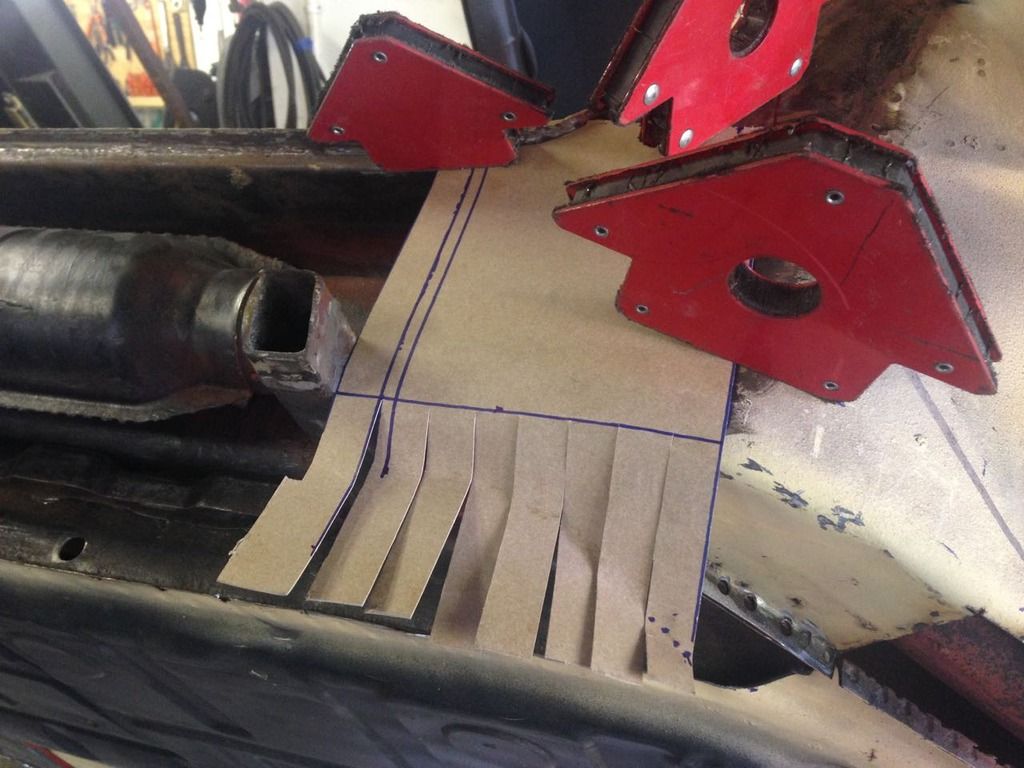
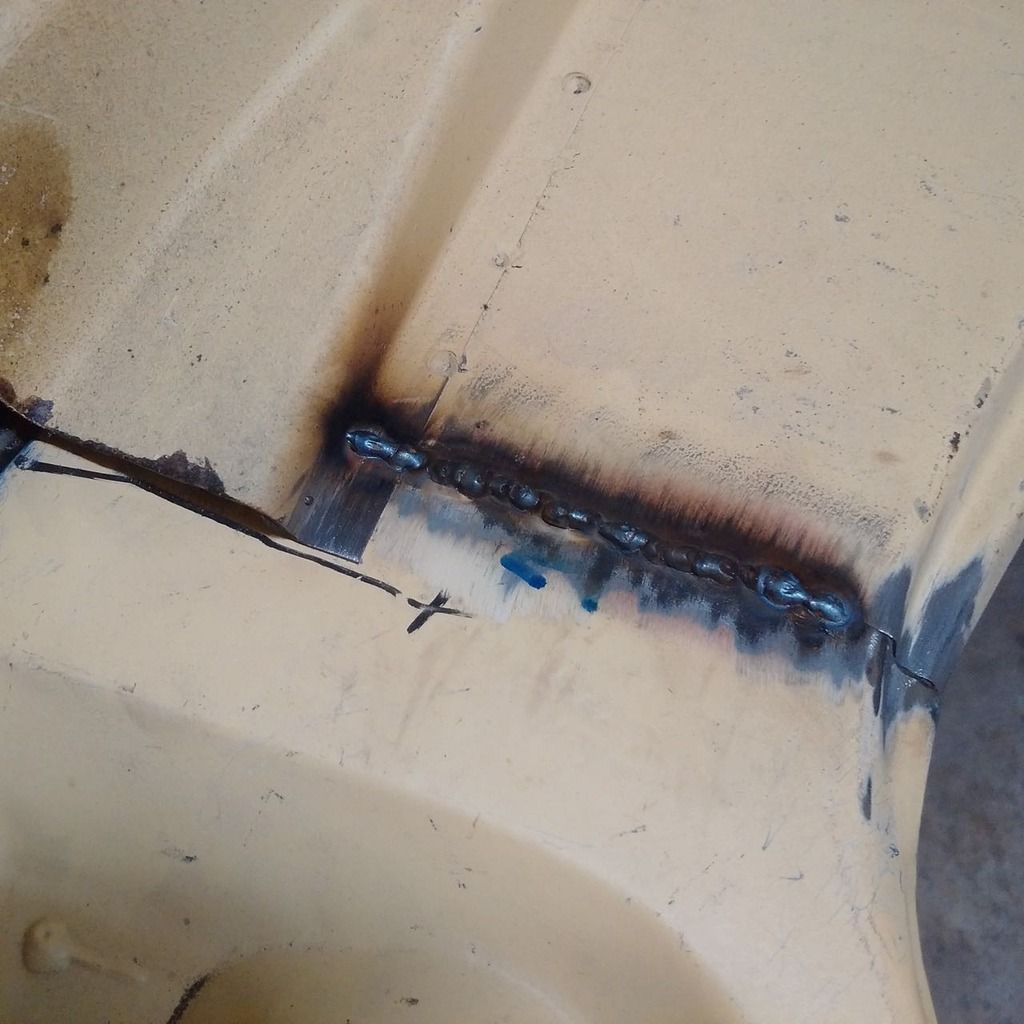
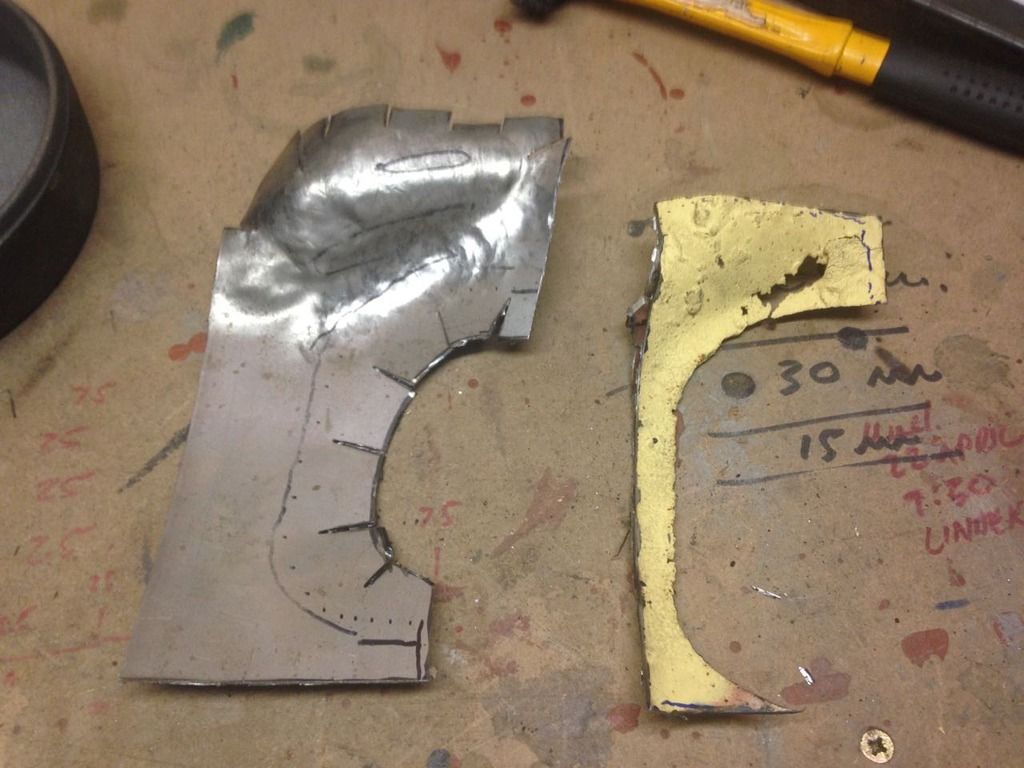
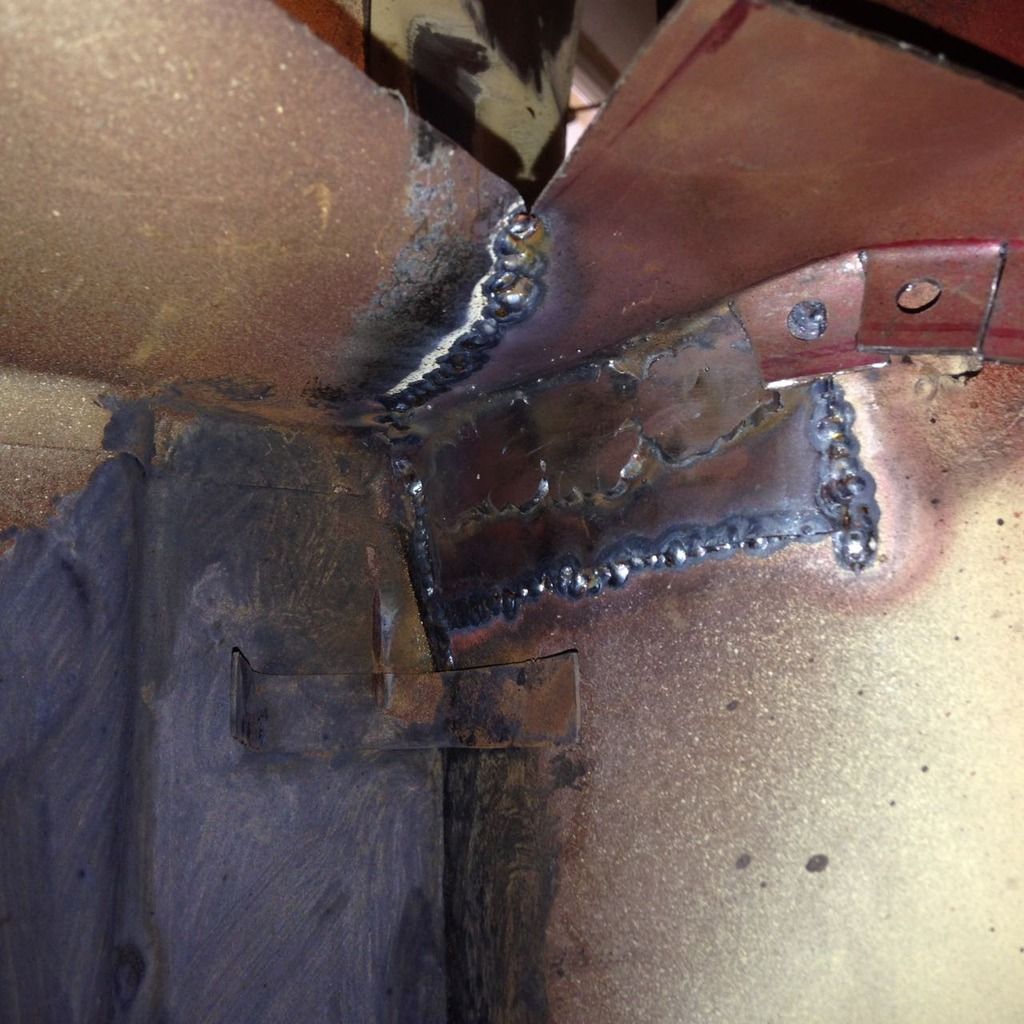
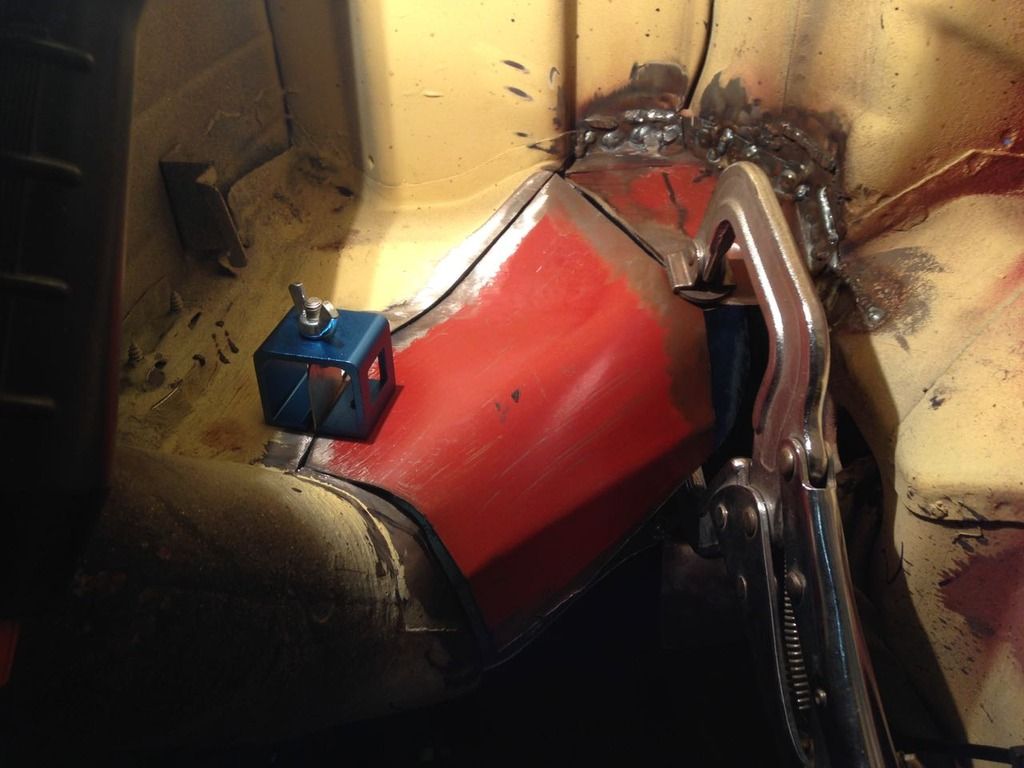
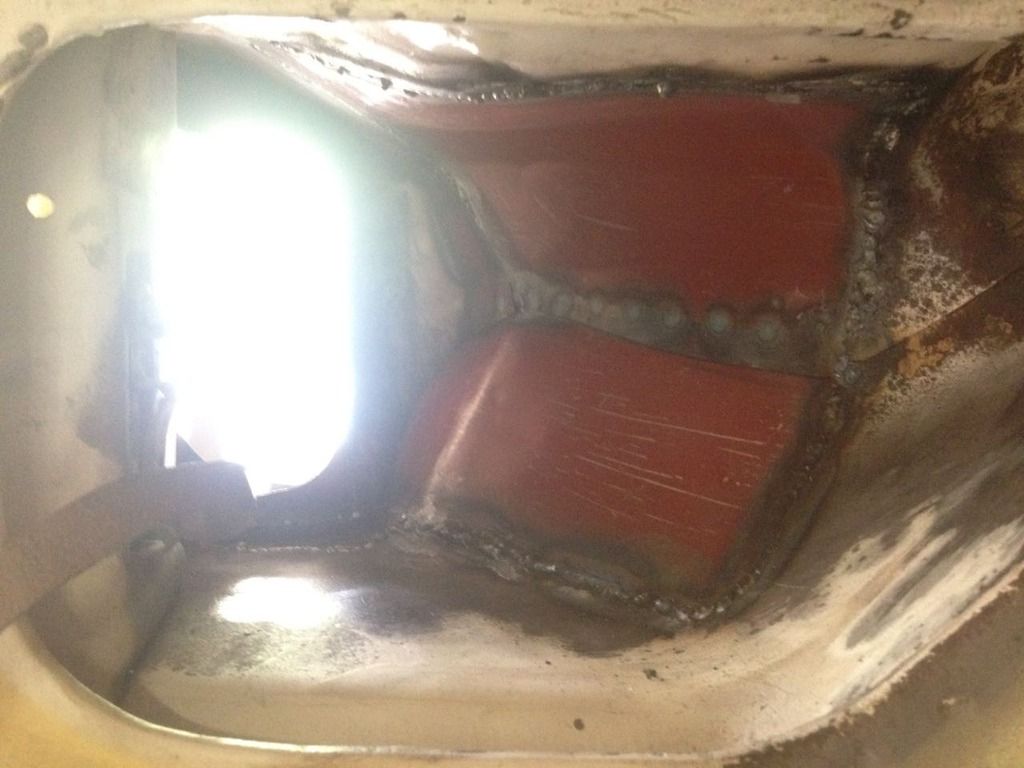
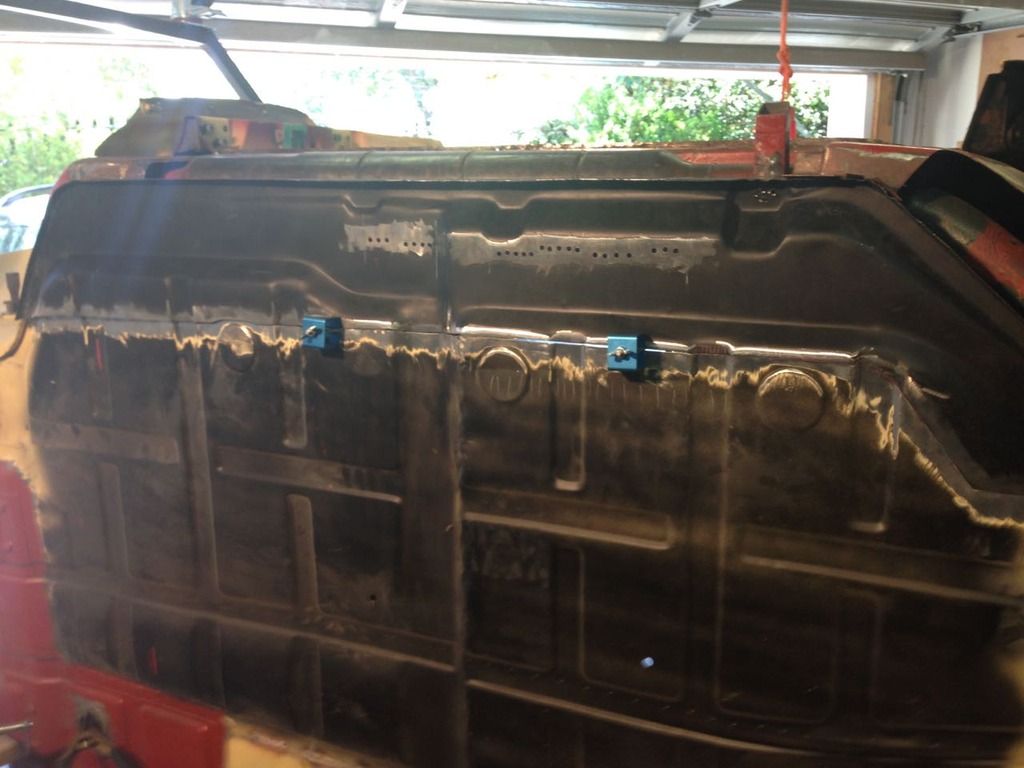
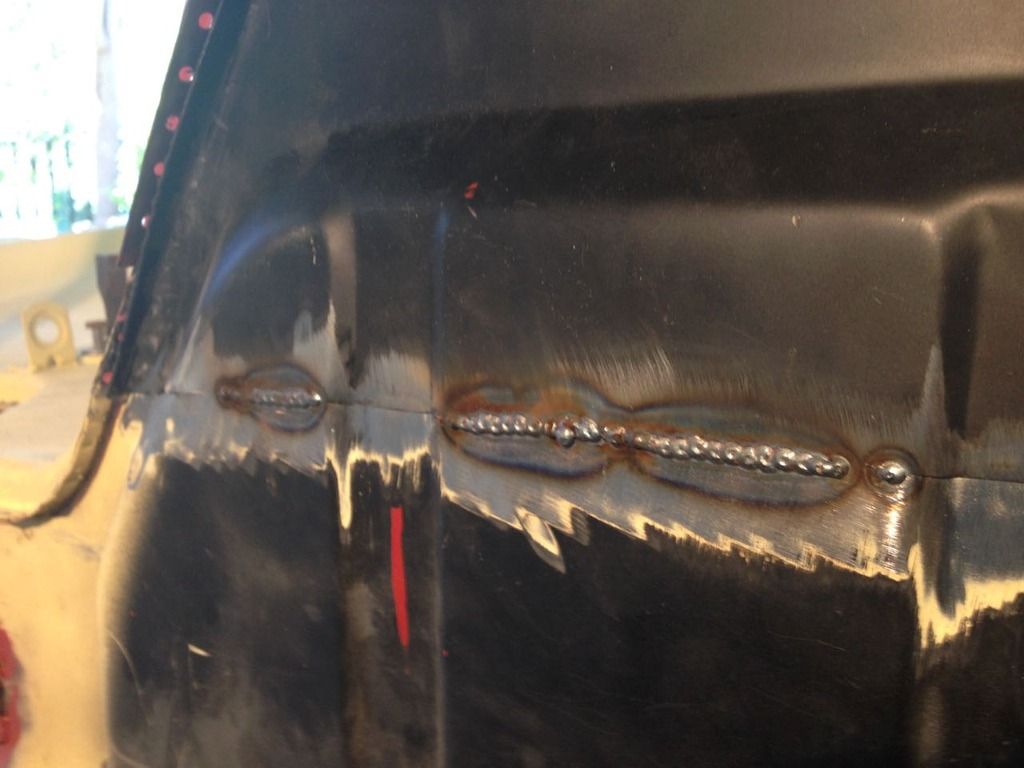
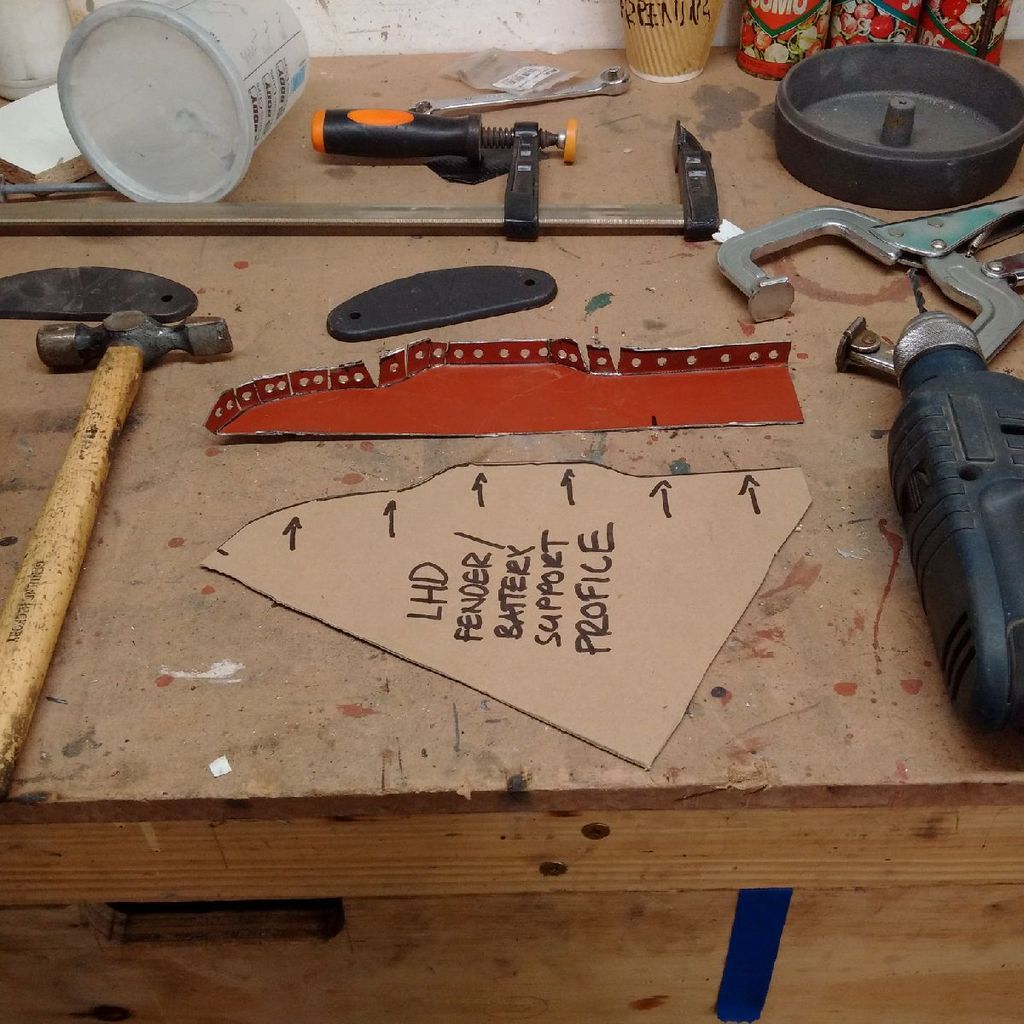
Had to juggle a bit to get the pressings to match up...because I'm obviously such a perfectionist. Just have a look at my welds

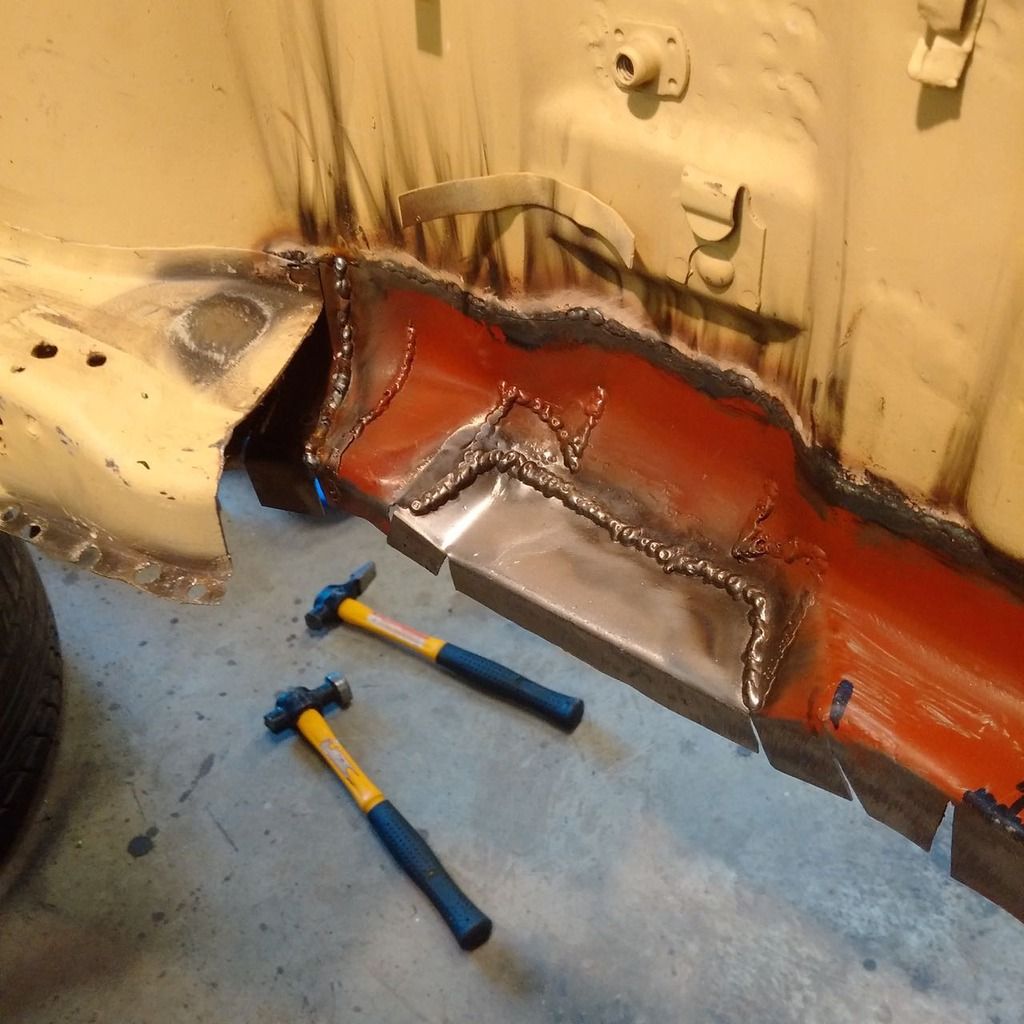
Some days my welding doesn't look half bad. Even a blind squirrel finds a nut.

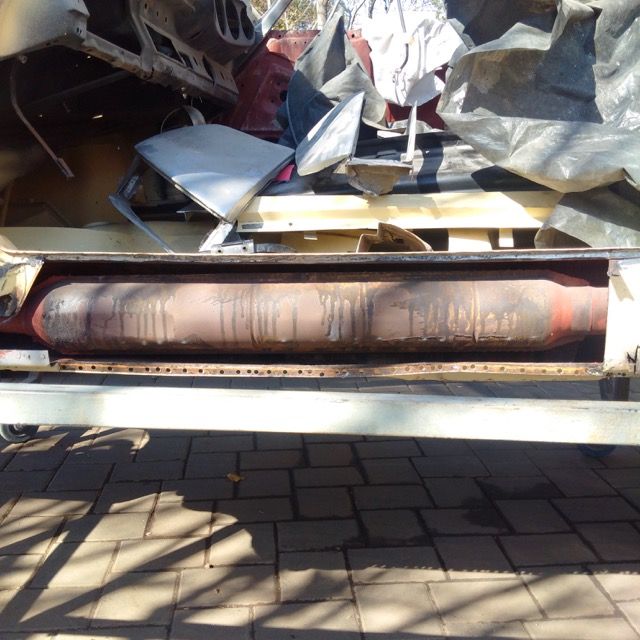
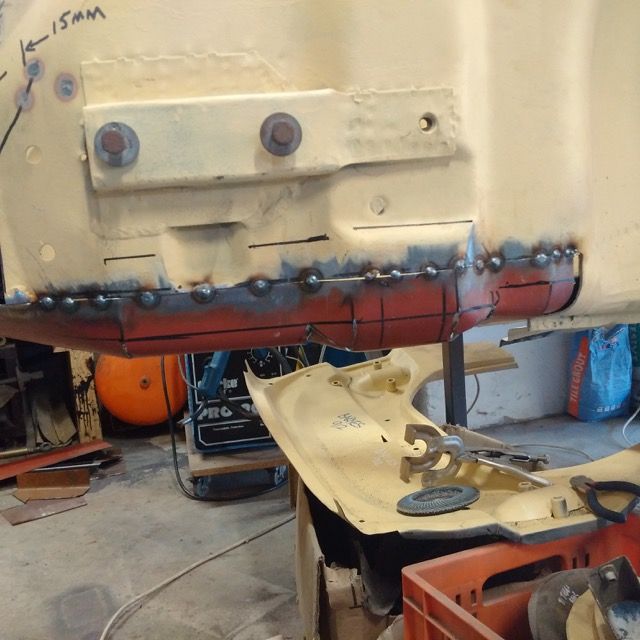
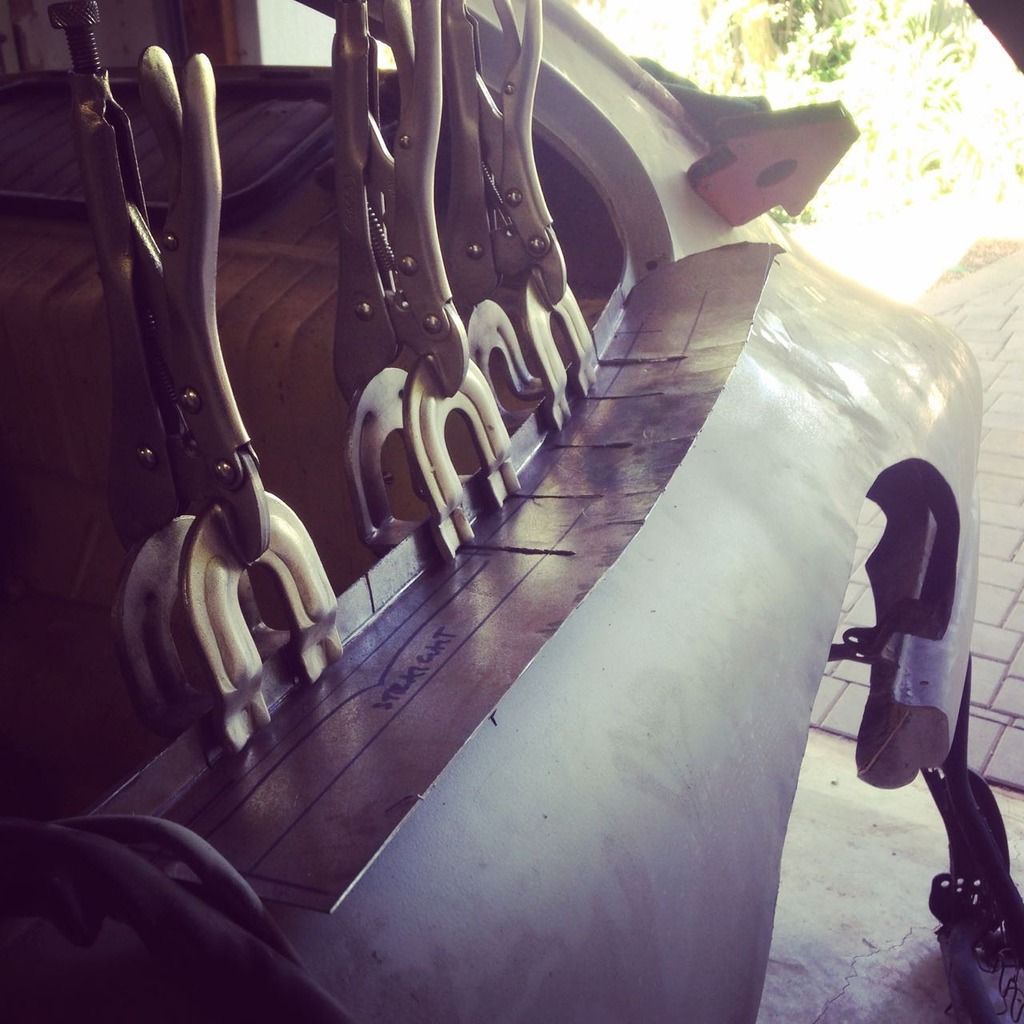
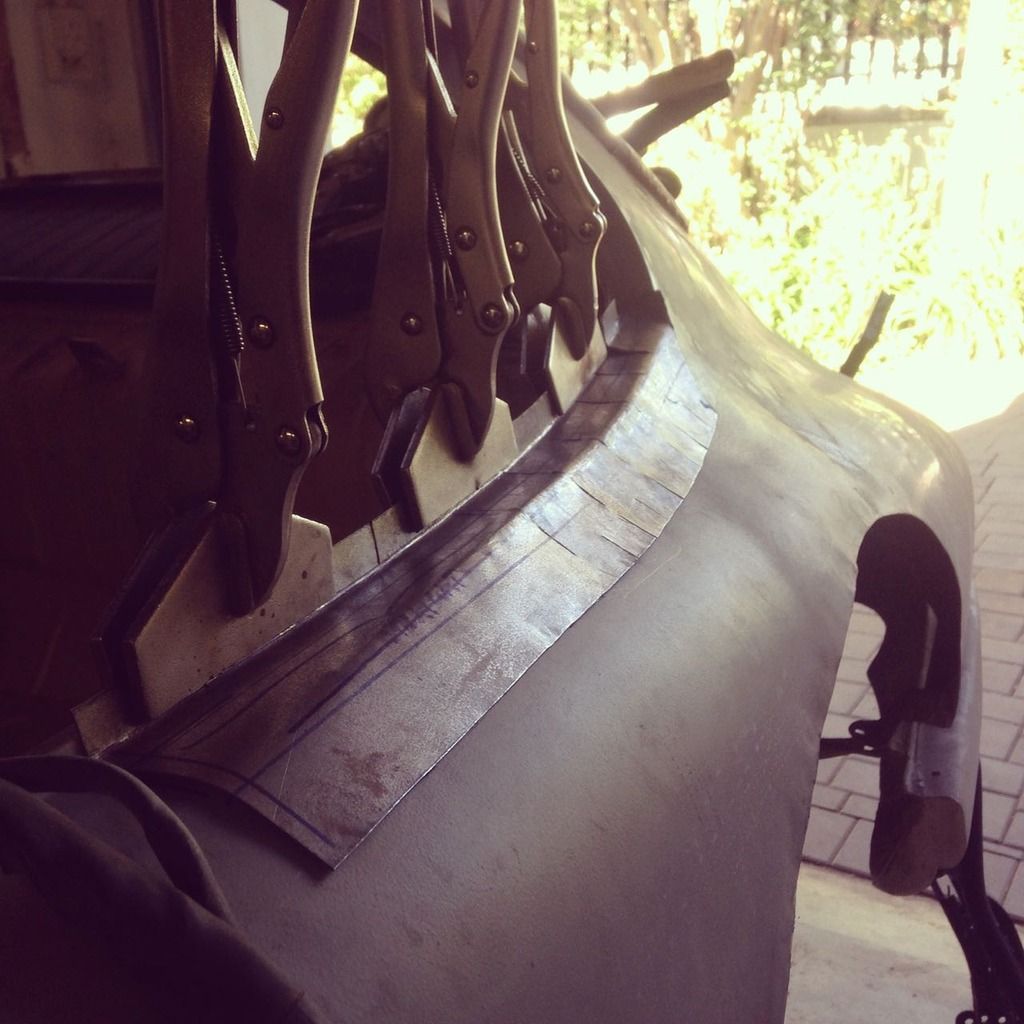
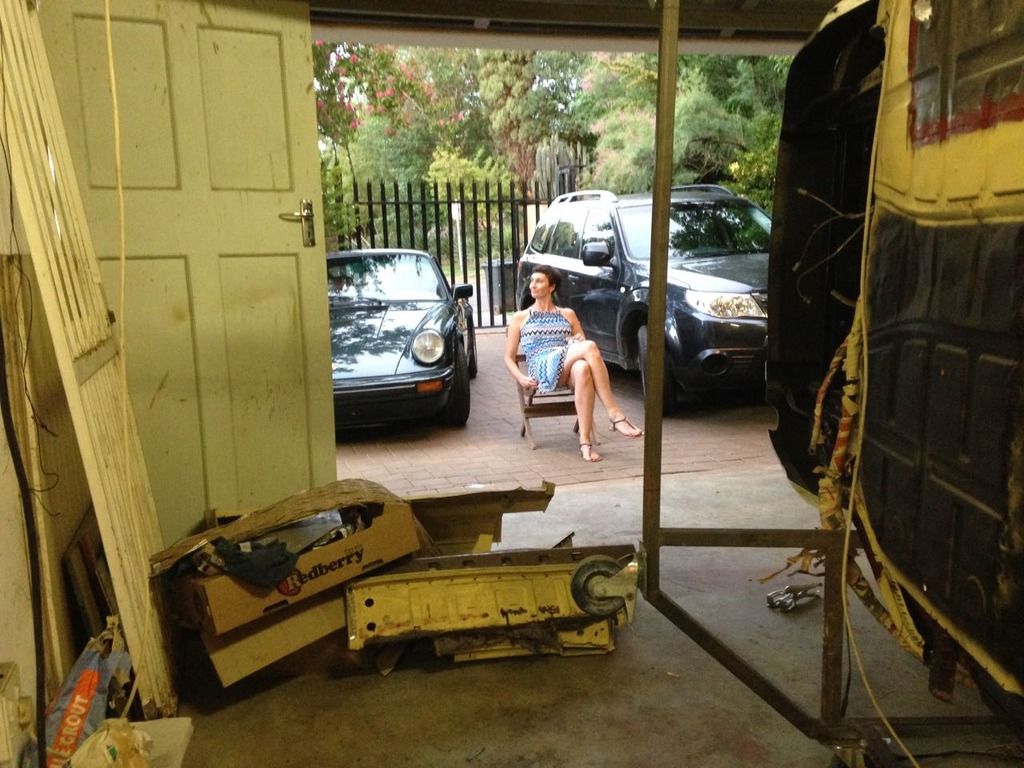
Judging by how many of these pictures are out of focus I must have been drinking for sustained periods at the time.
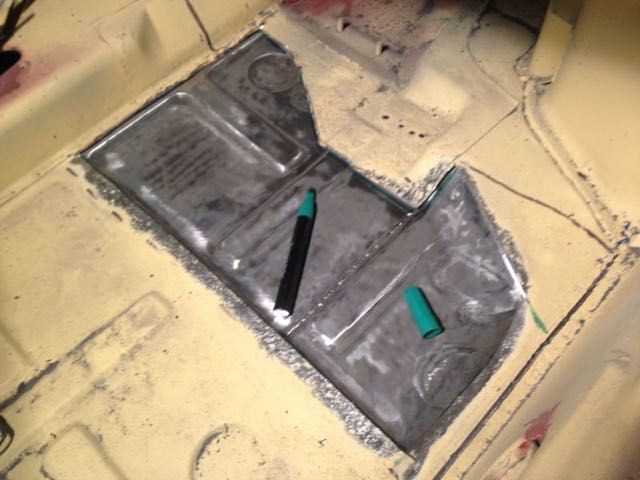
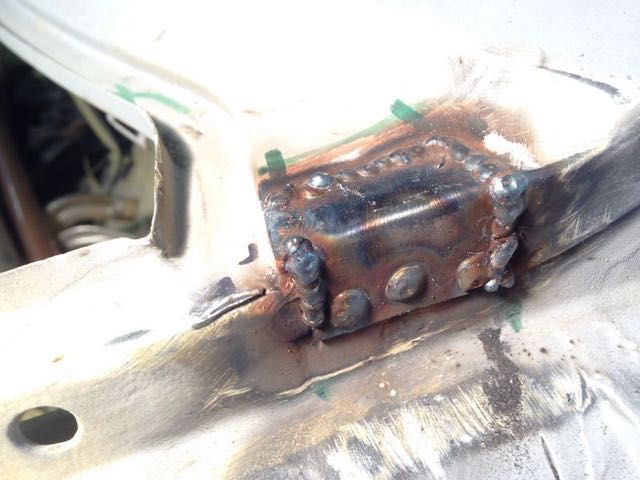
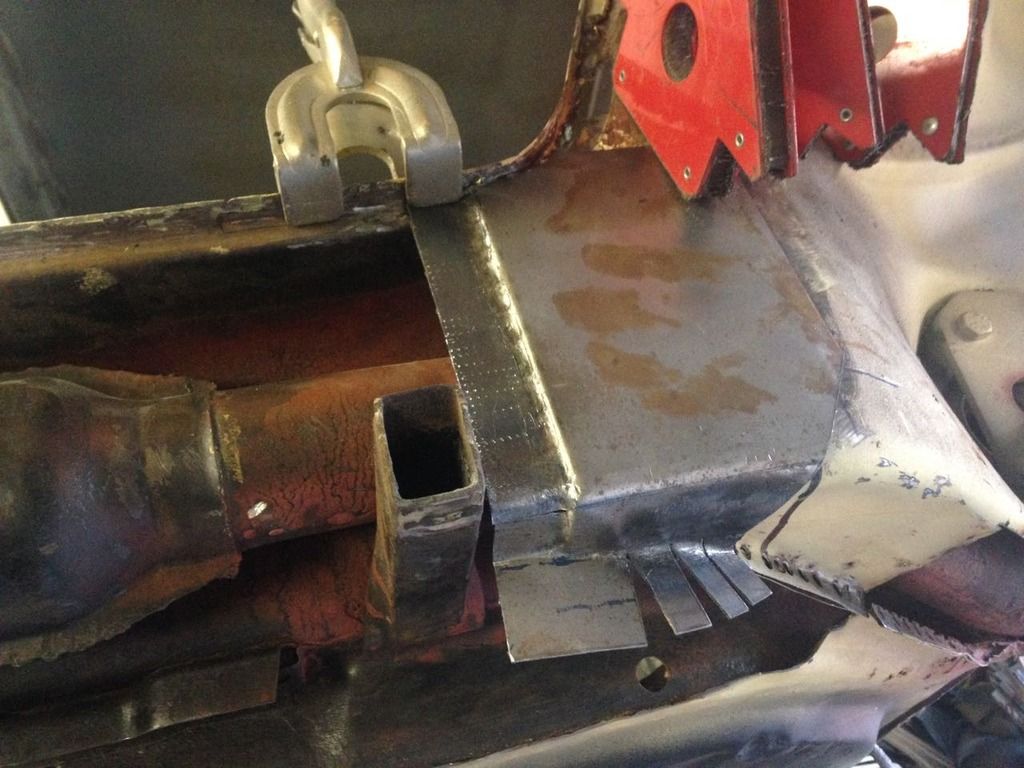
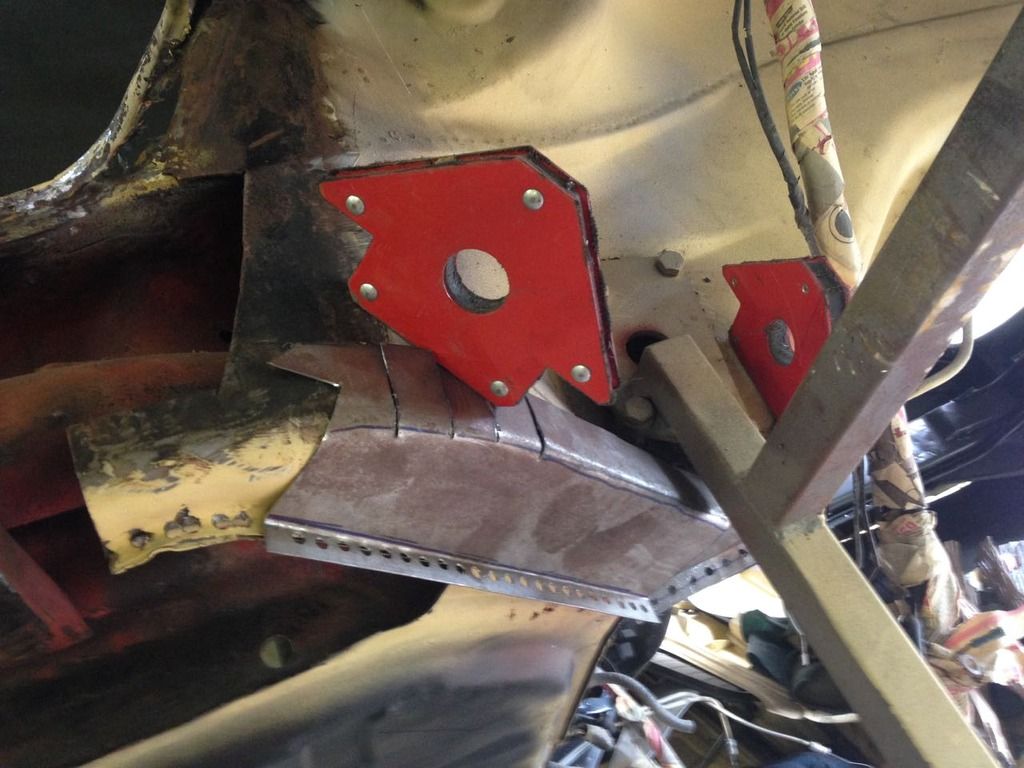
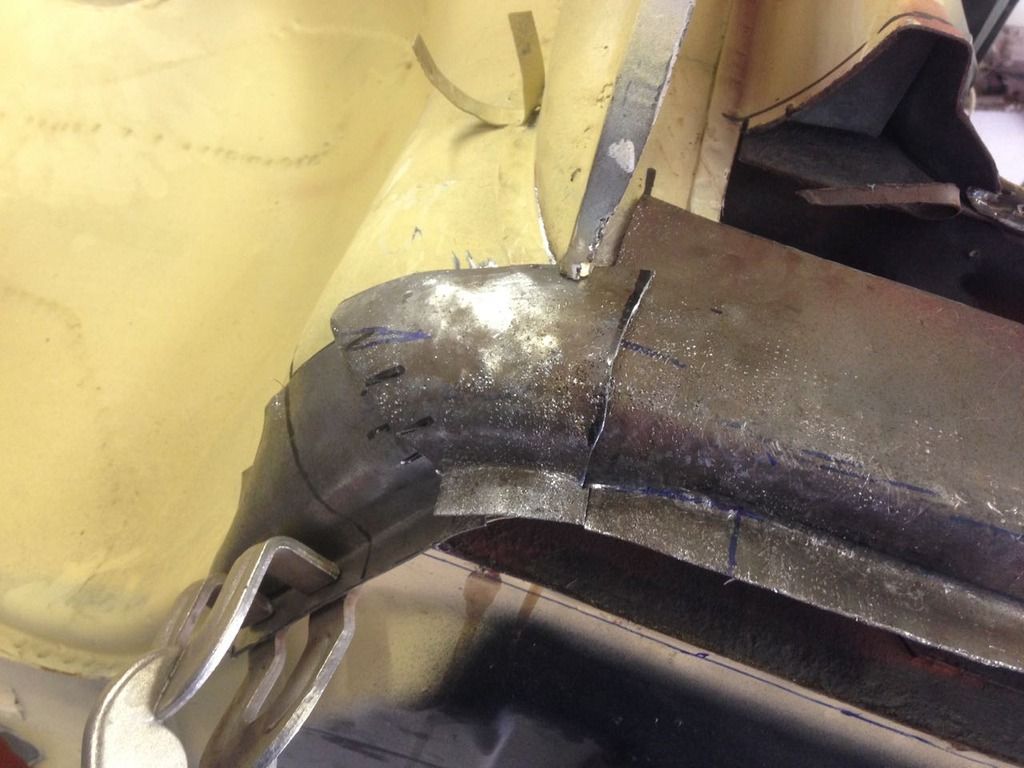
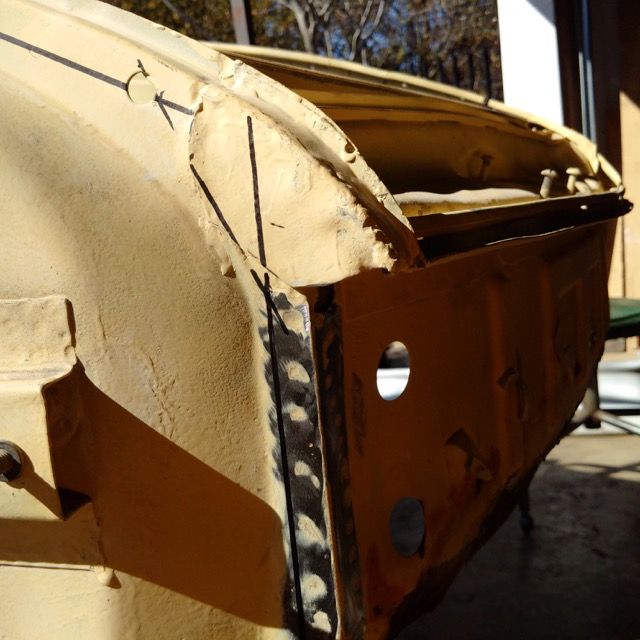
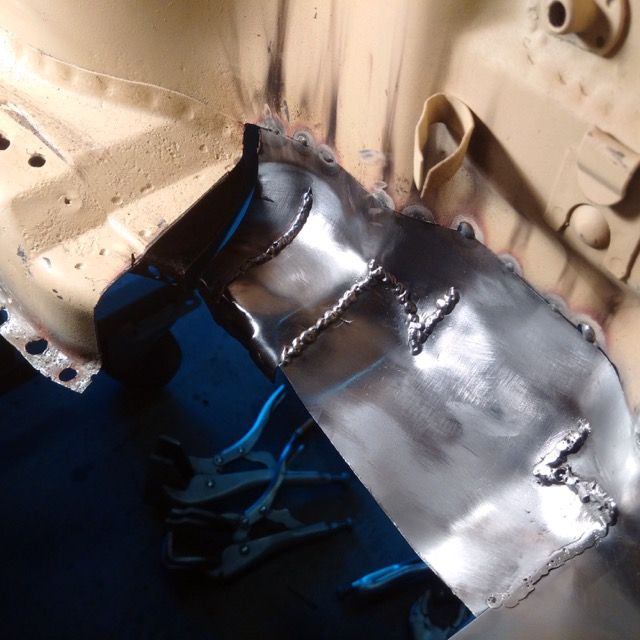
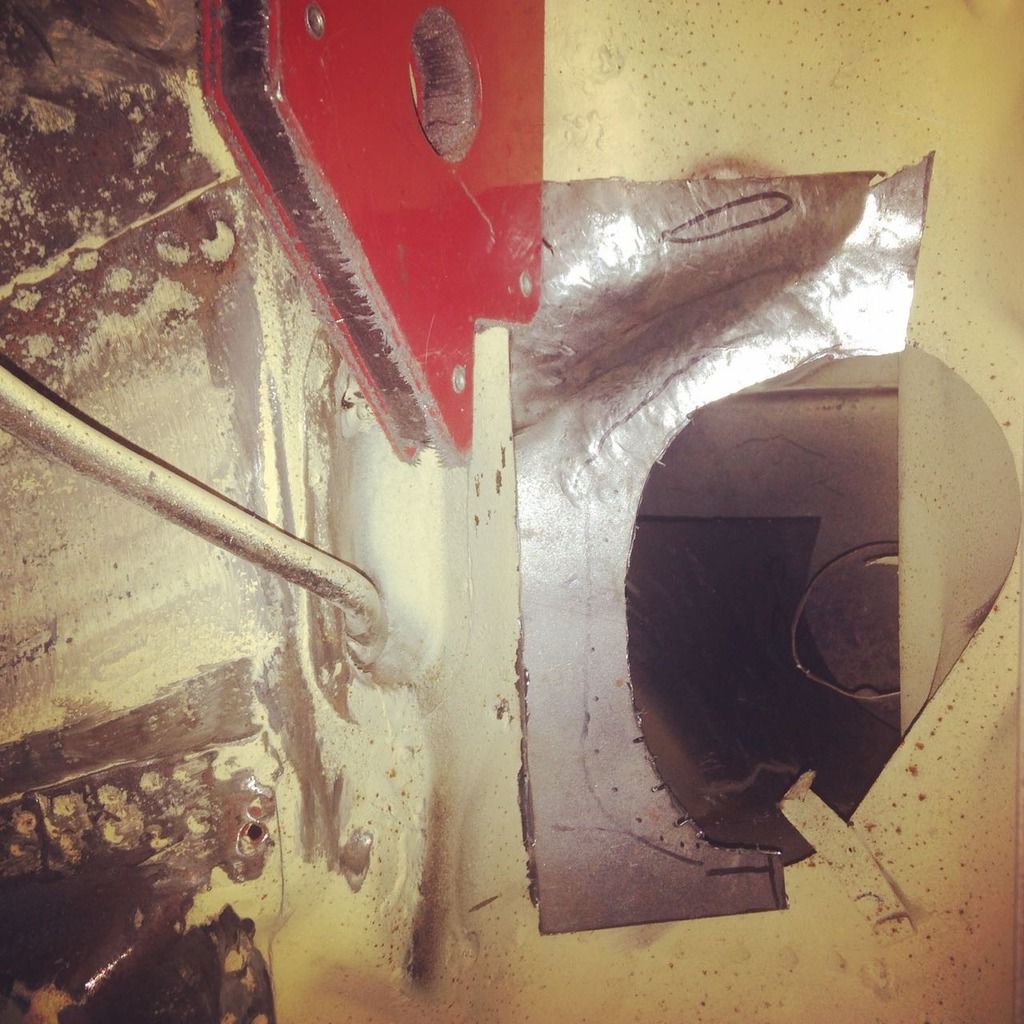
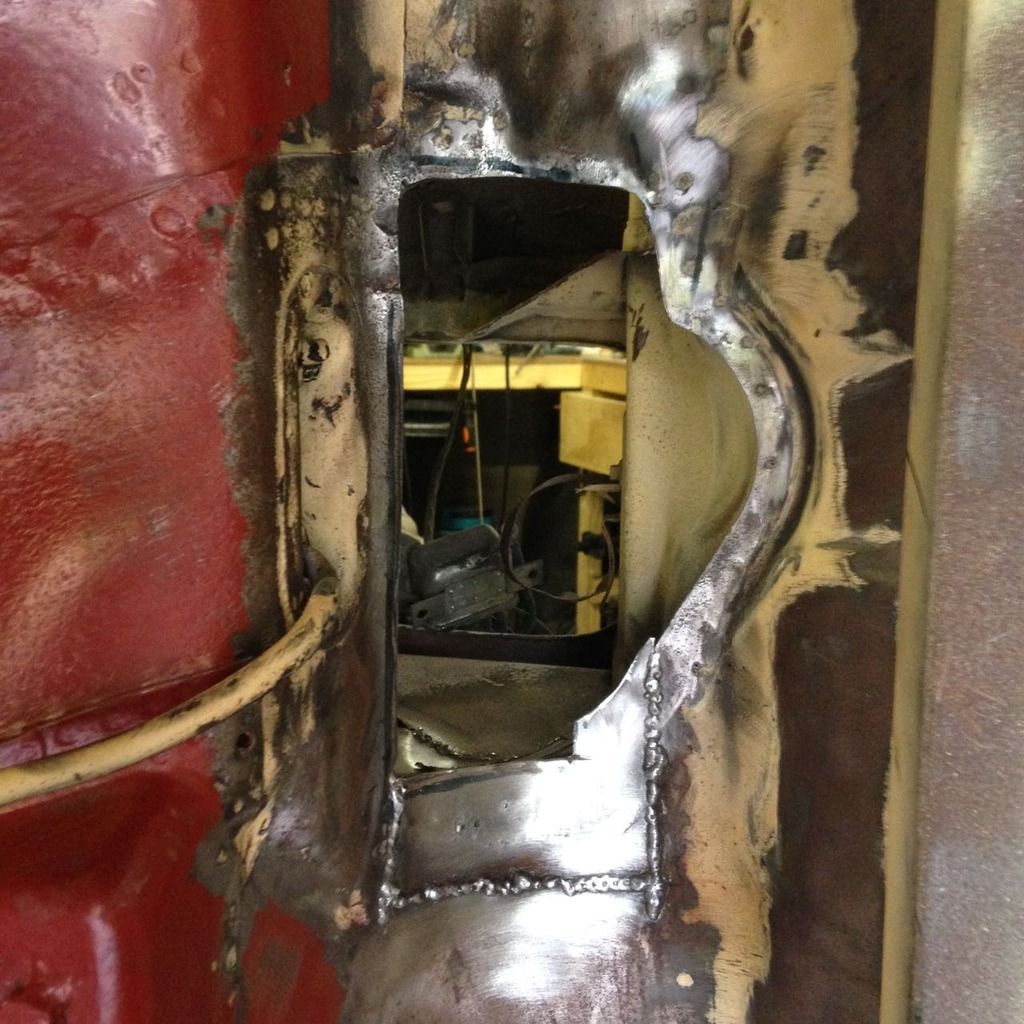
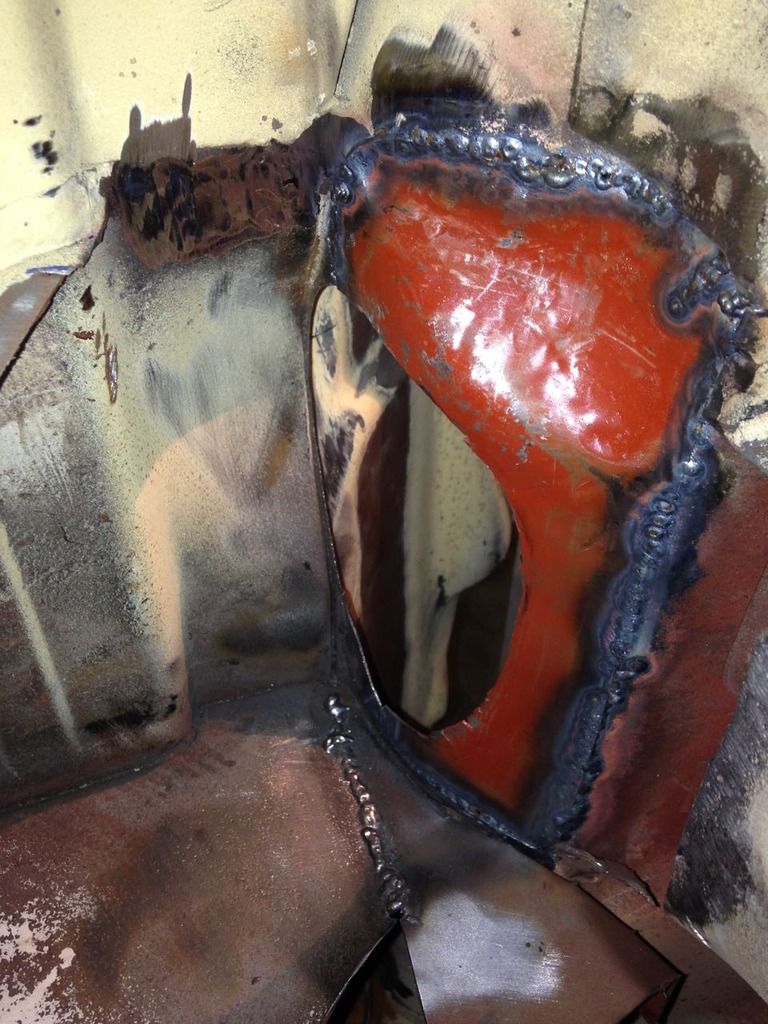
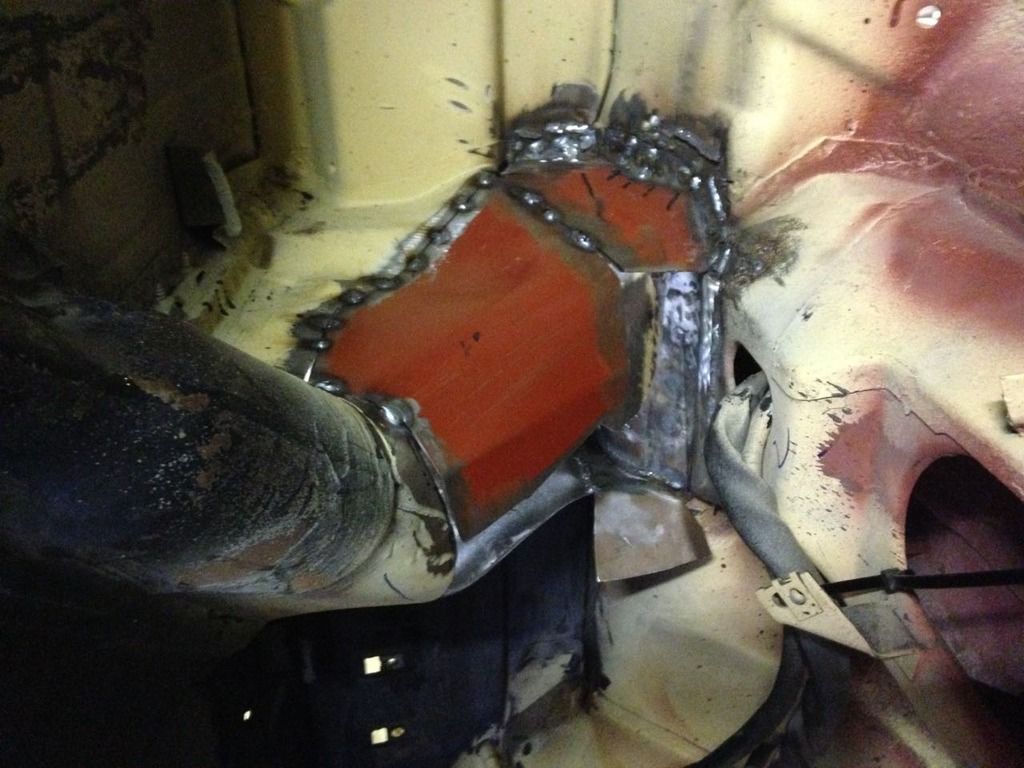
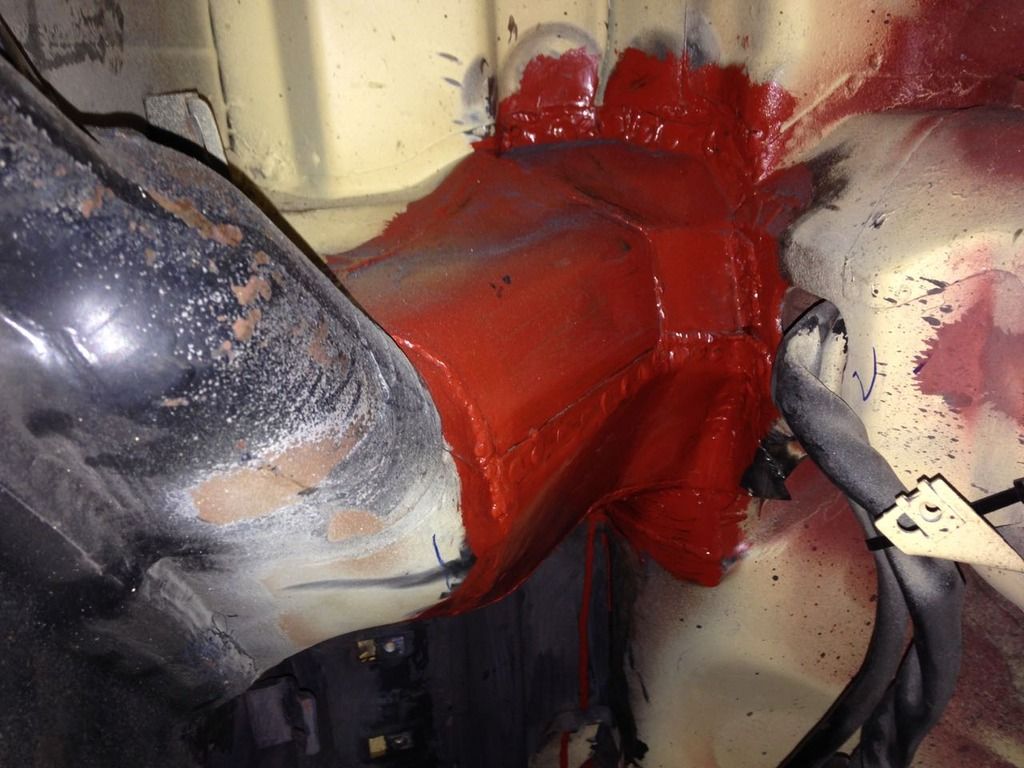
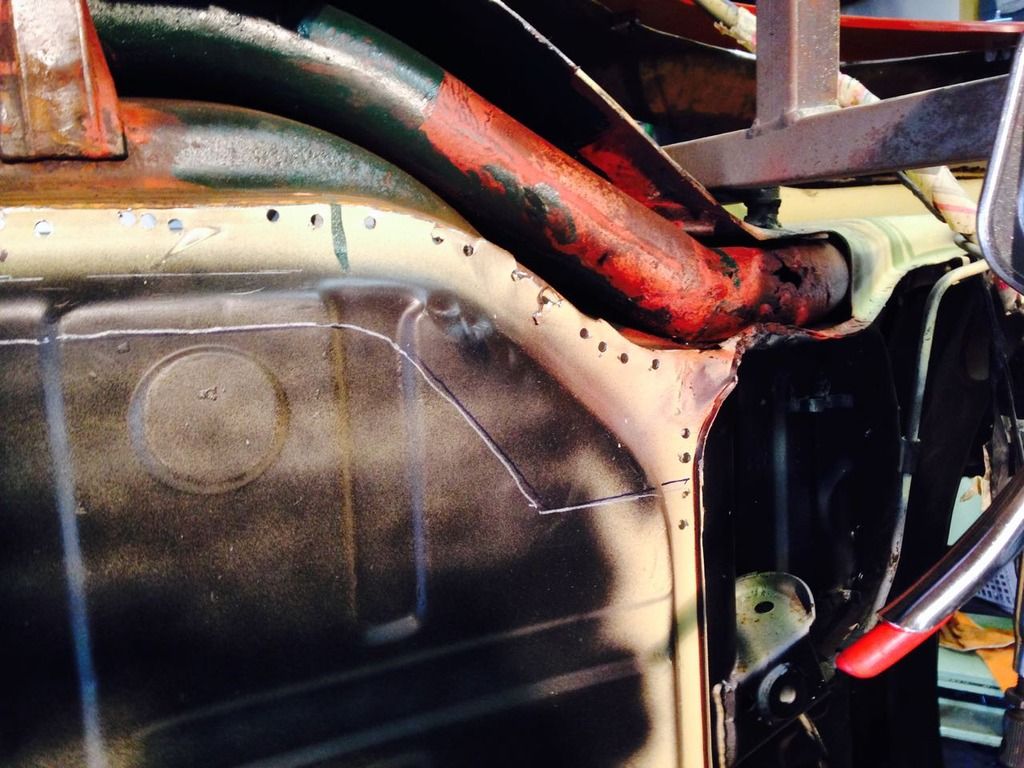
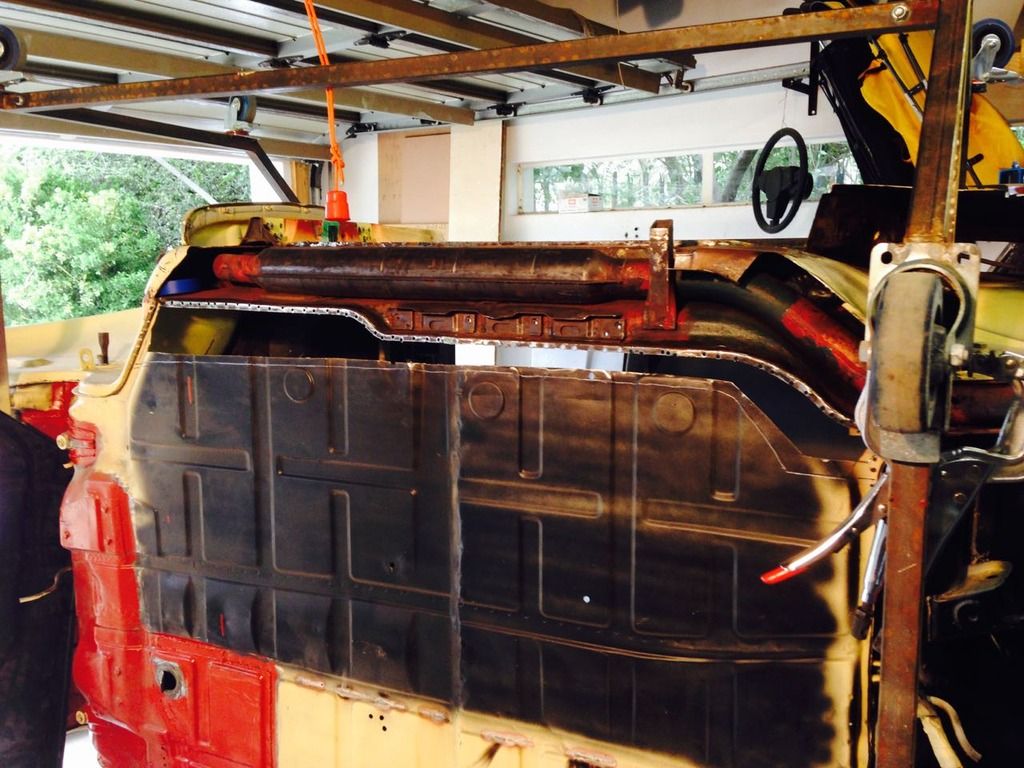
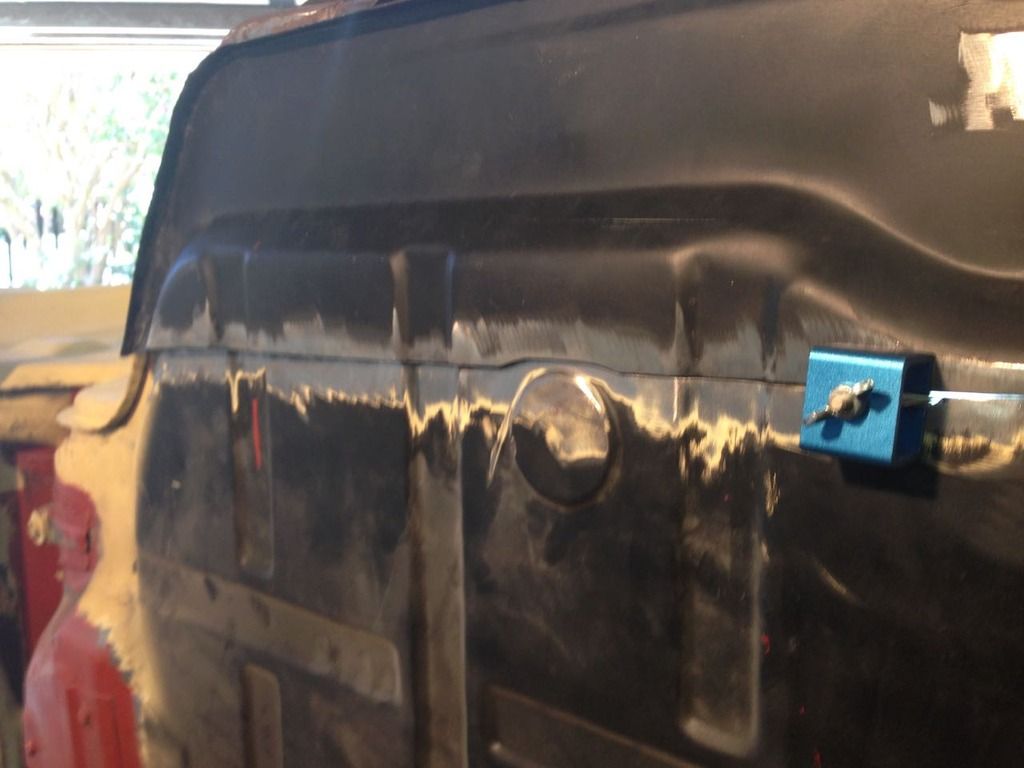
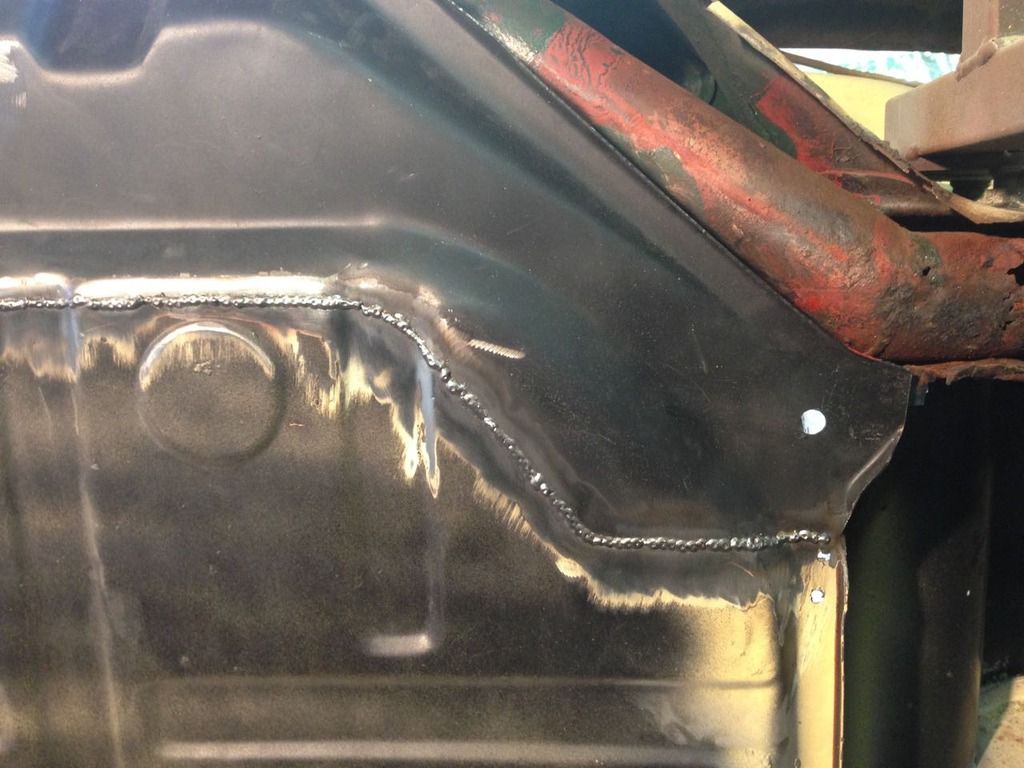
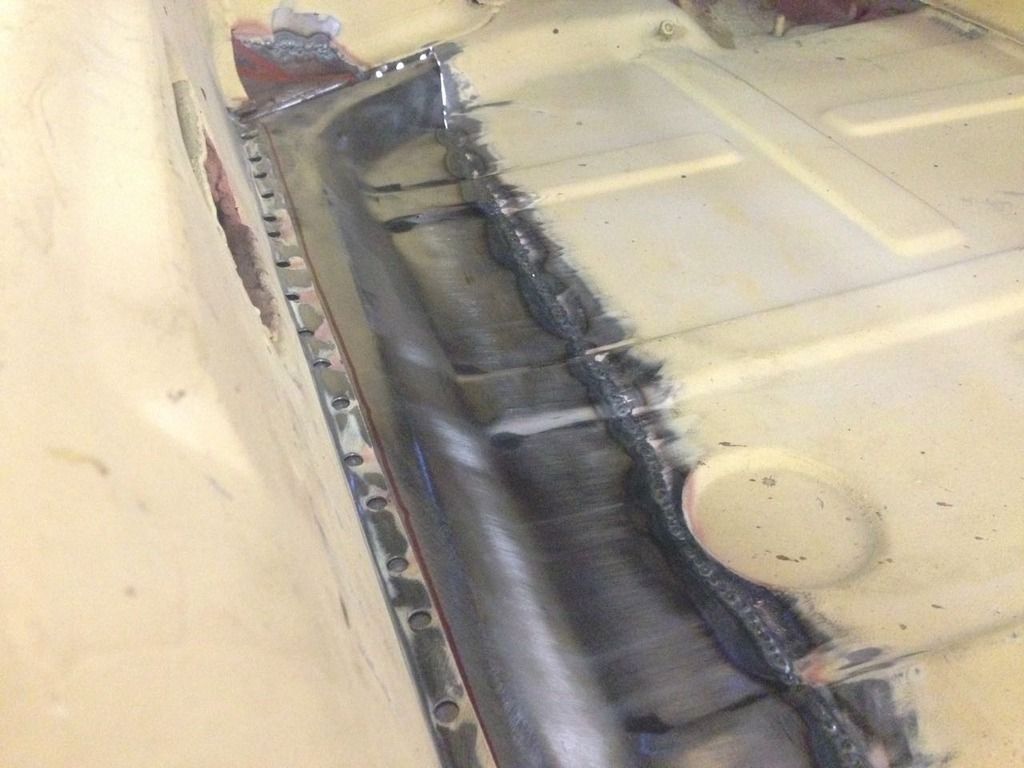
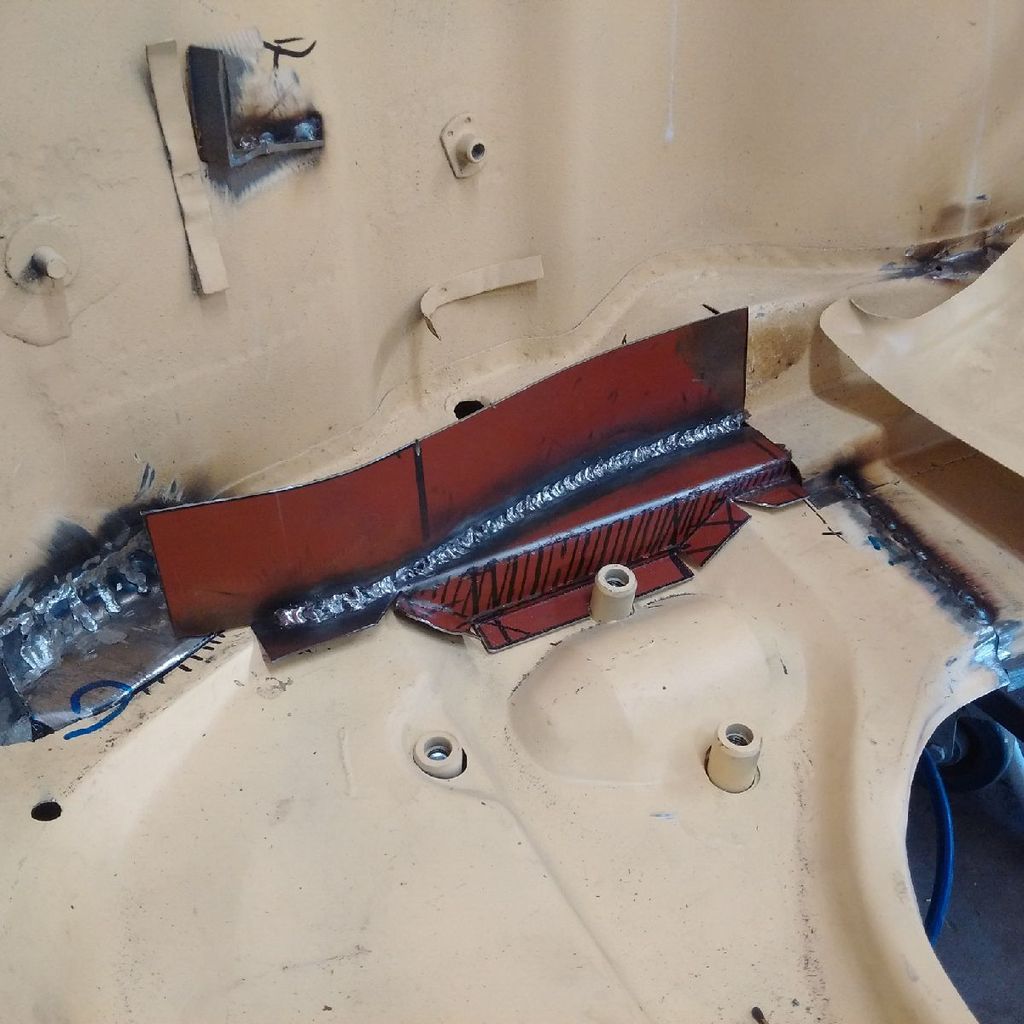
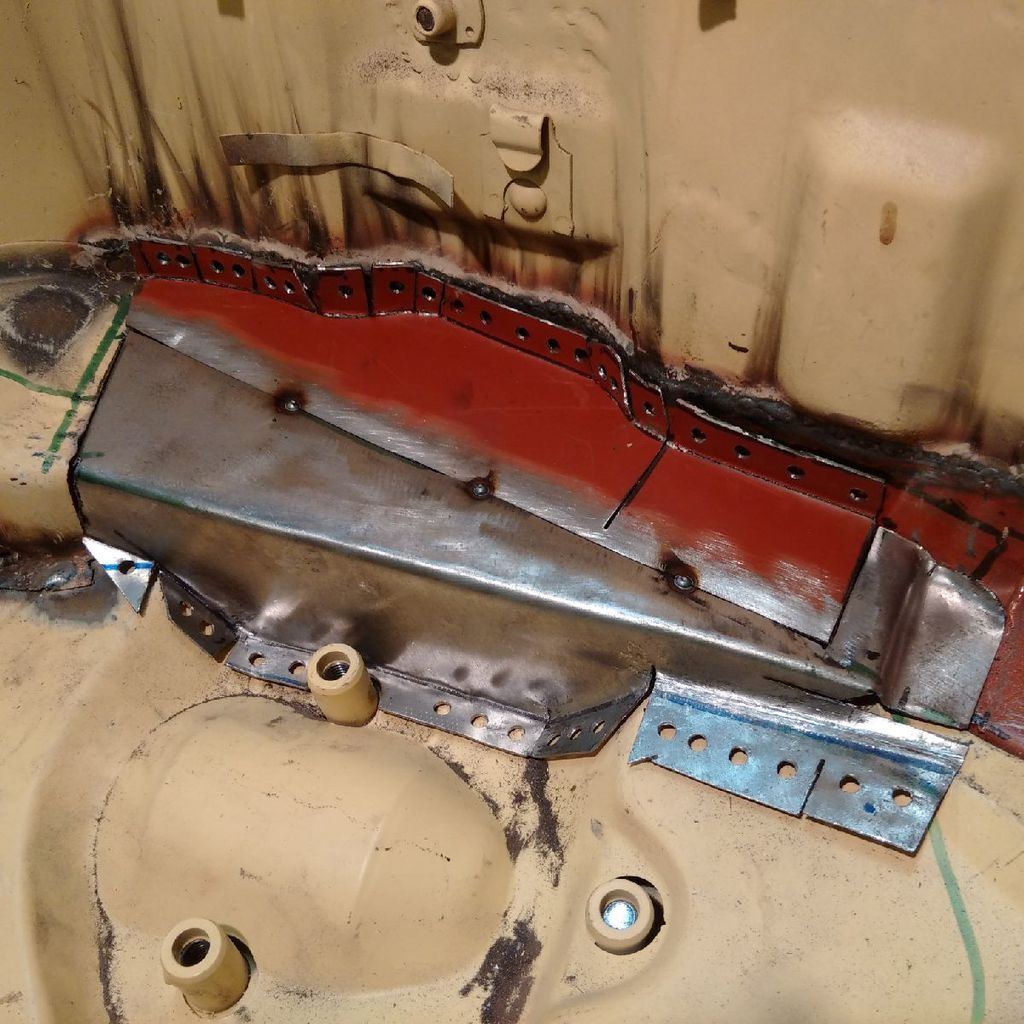
All done.
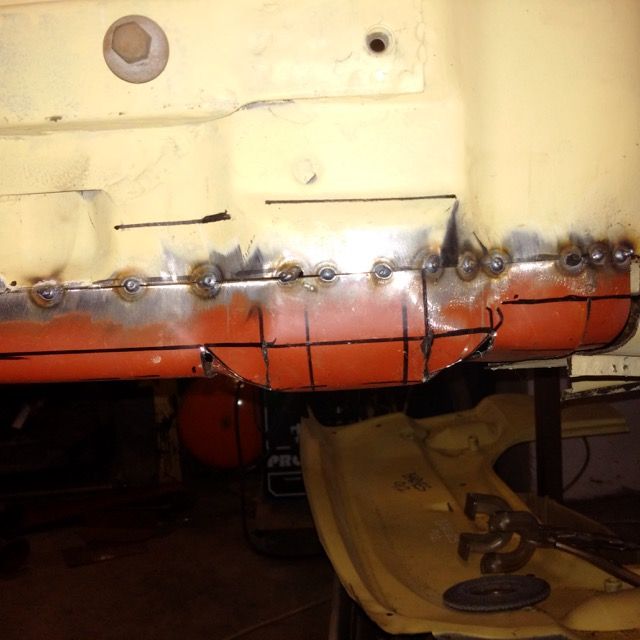
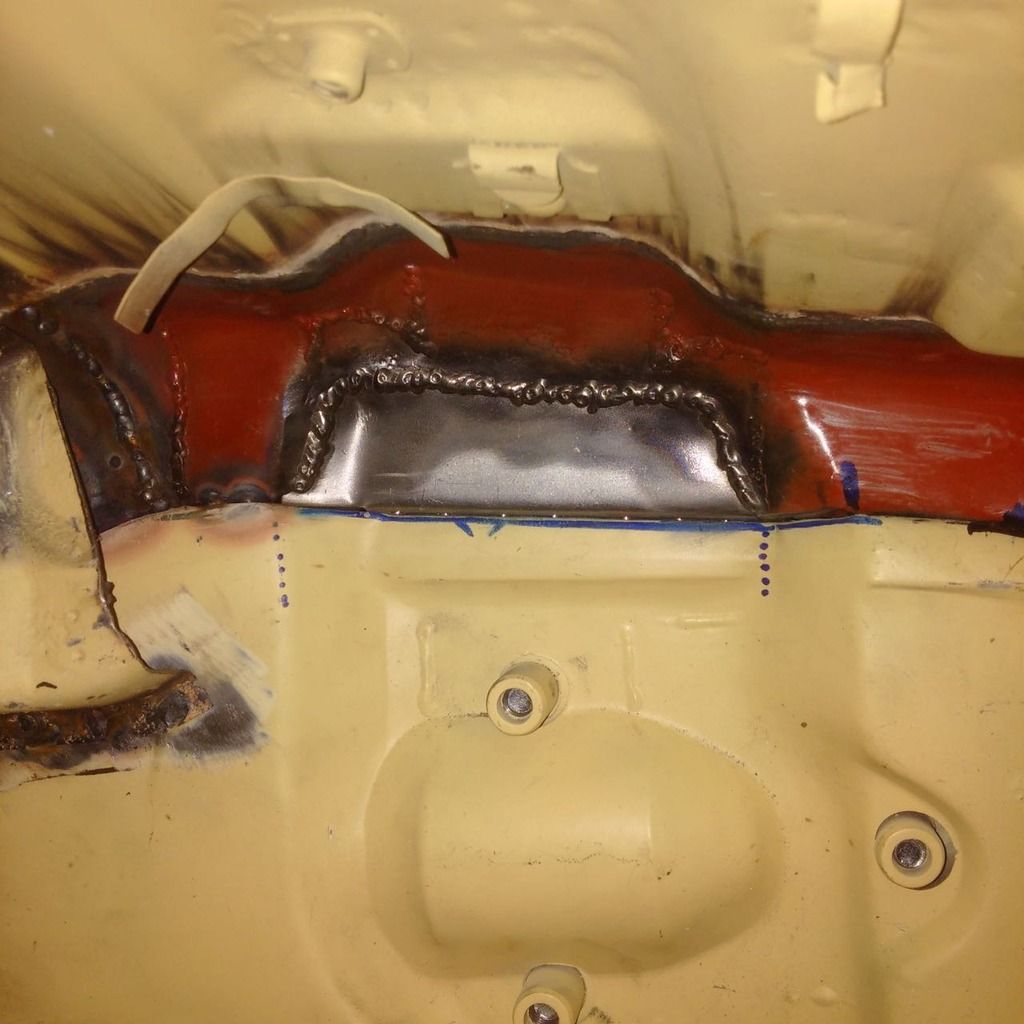
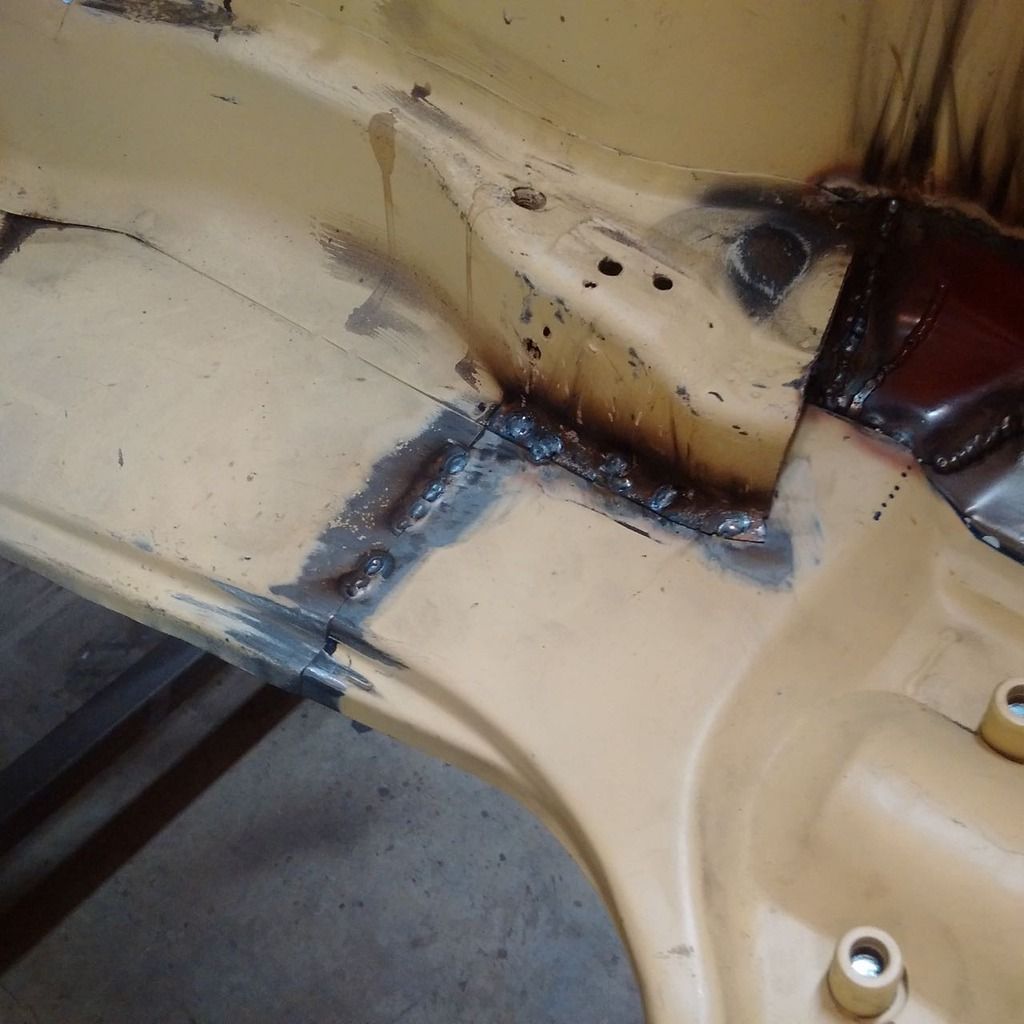
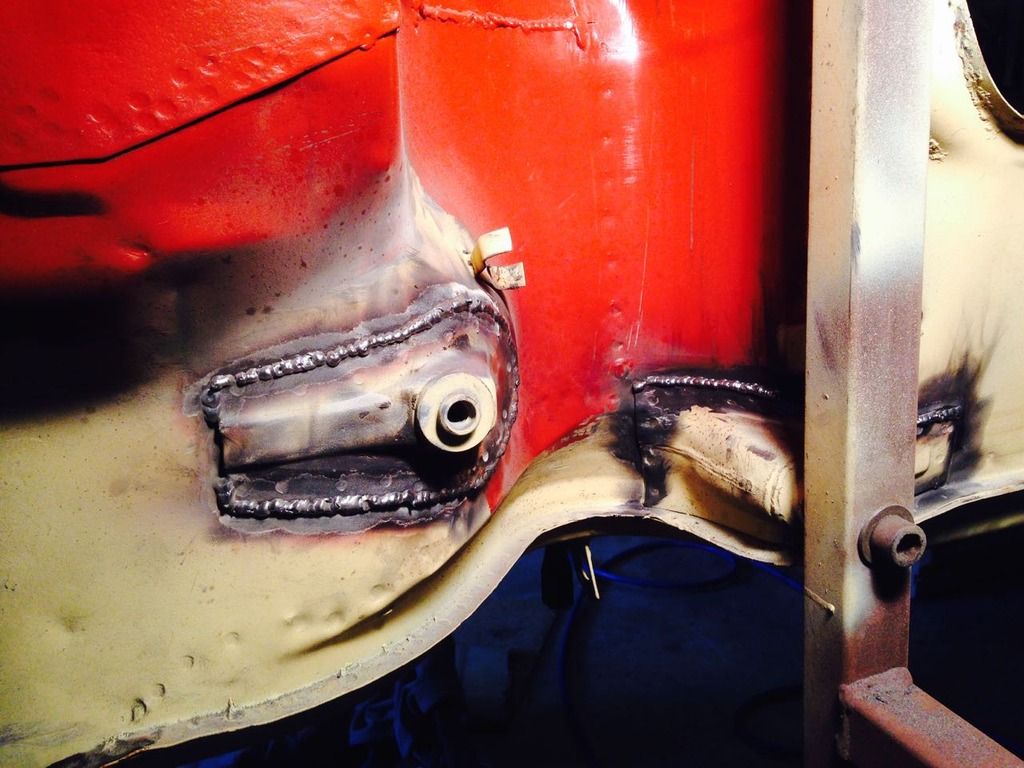
Ugly, but strong.
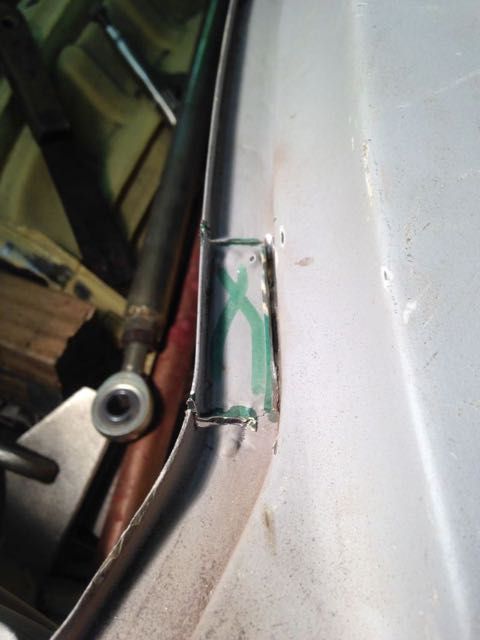
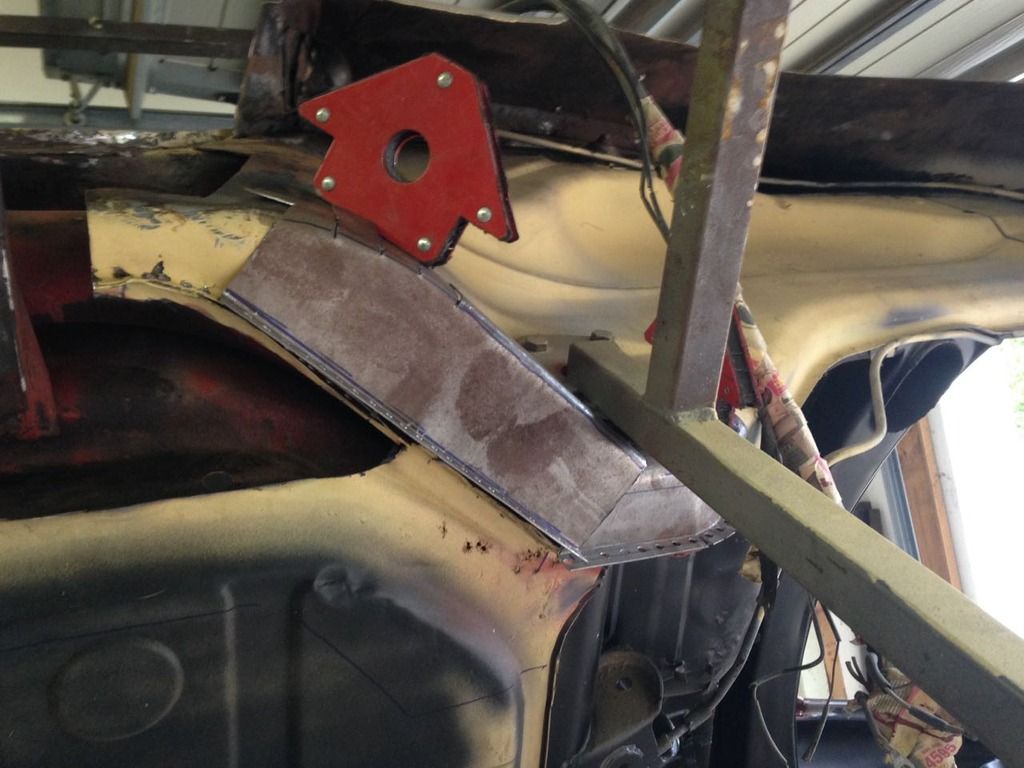
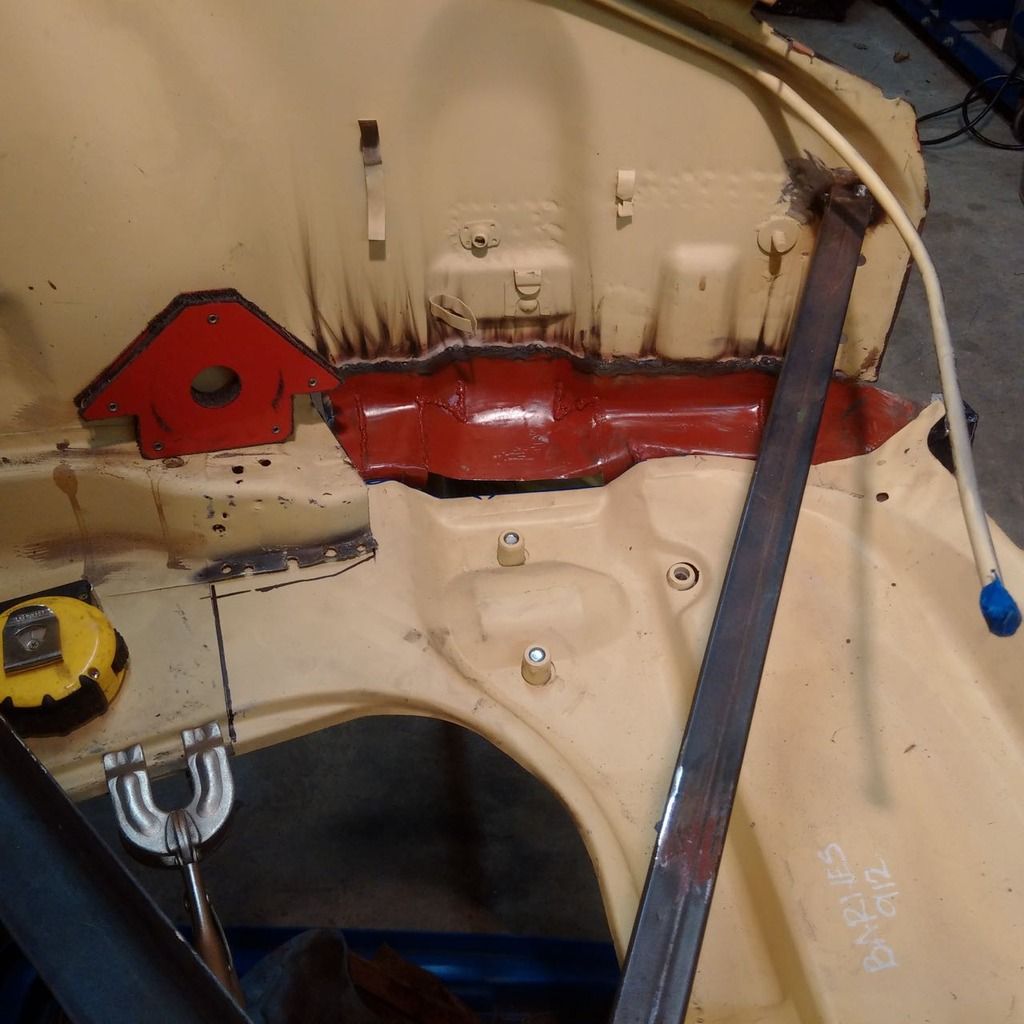
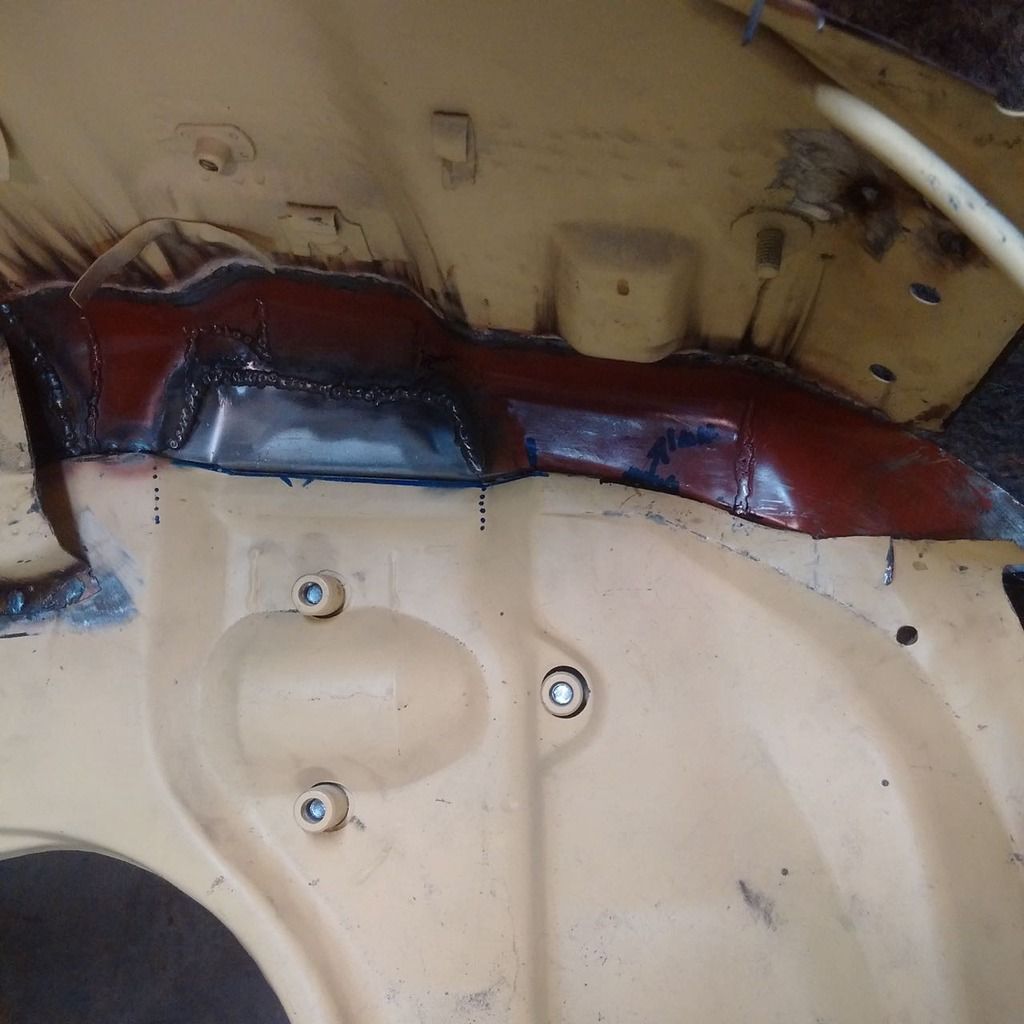
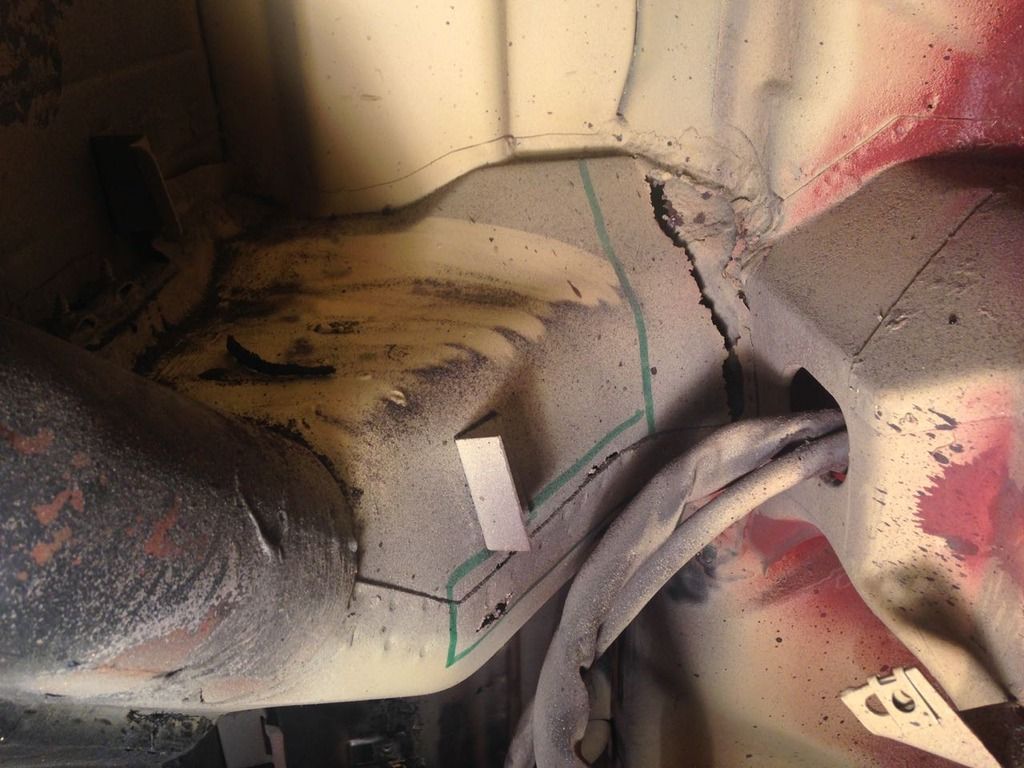
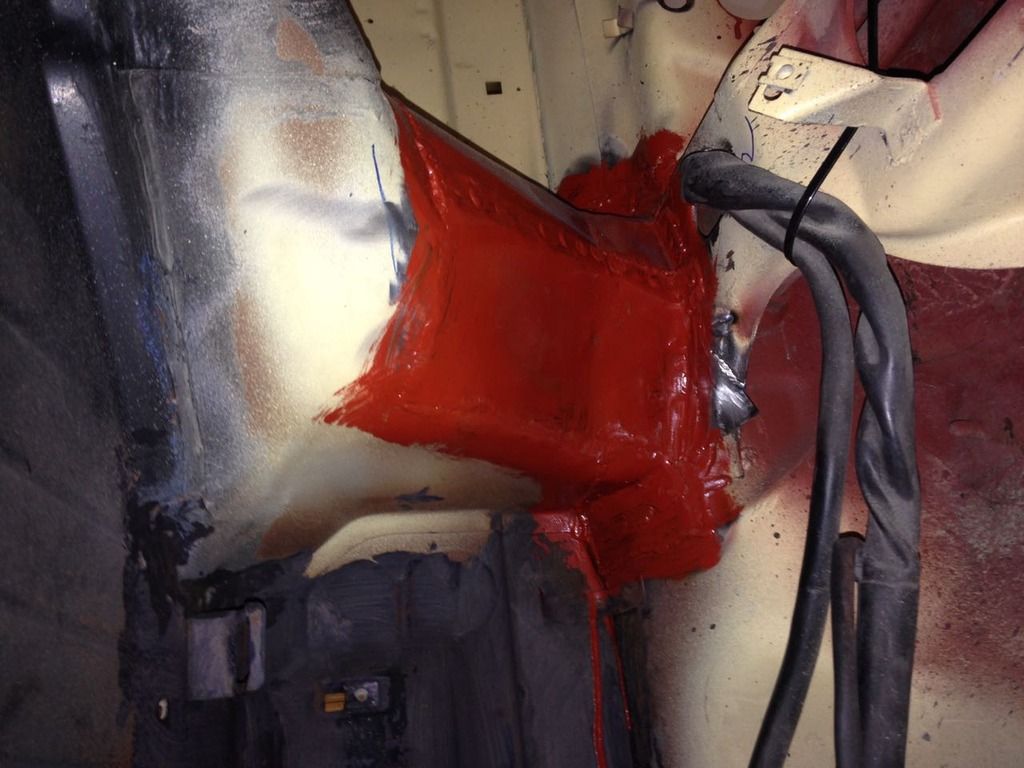
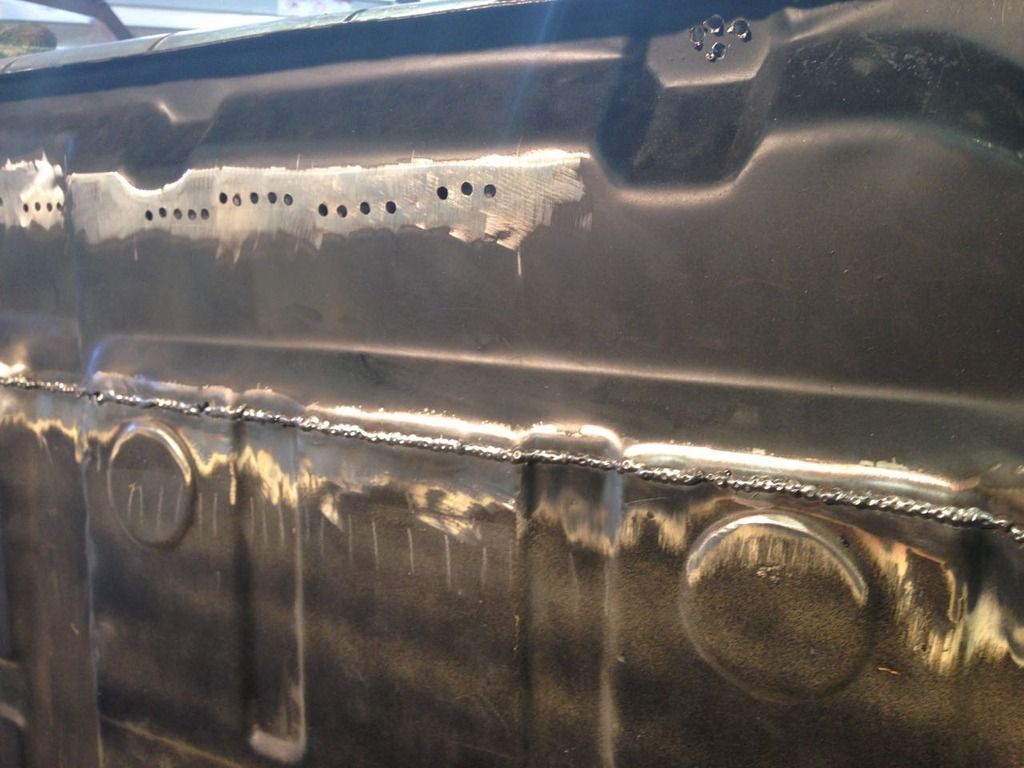
And slightly further aft of Hester's Parmesan dinner plate...
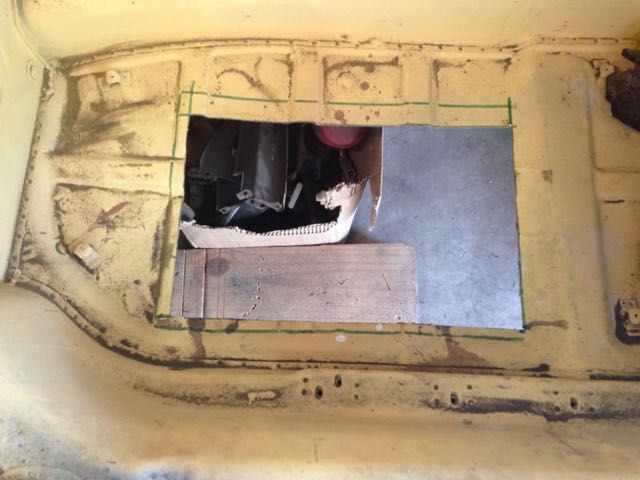
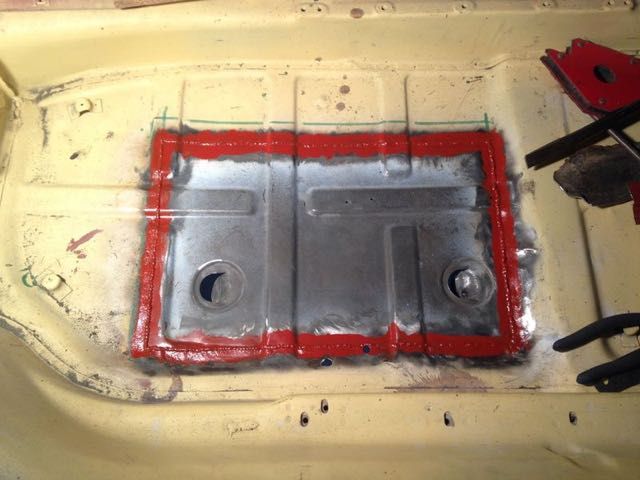
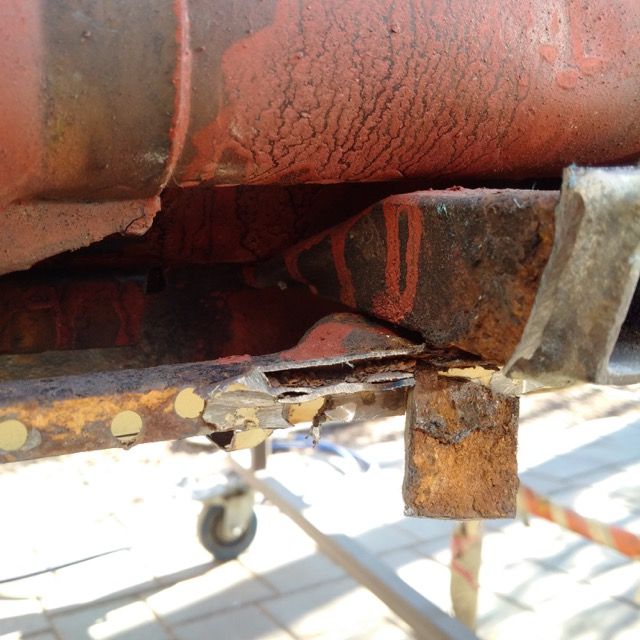
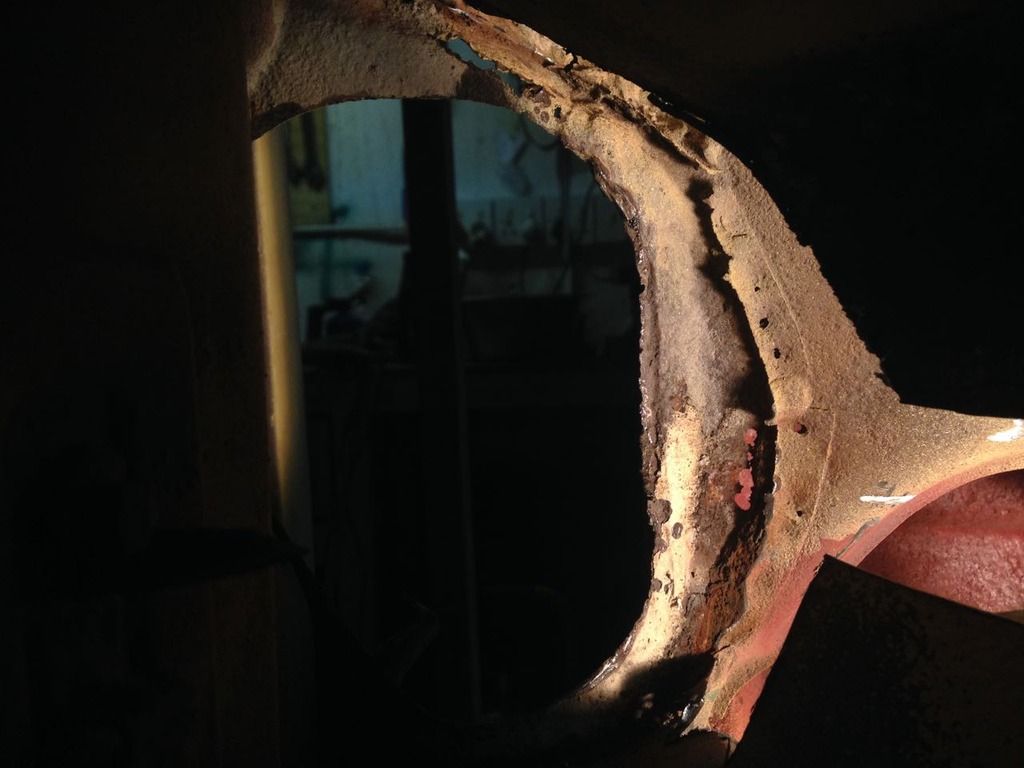
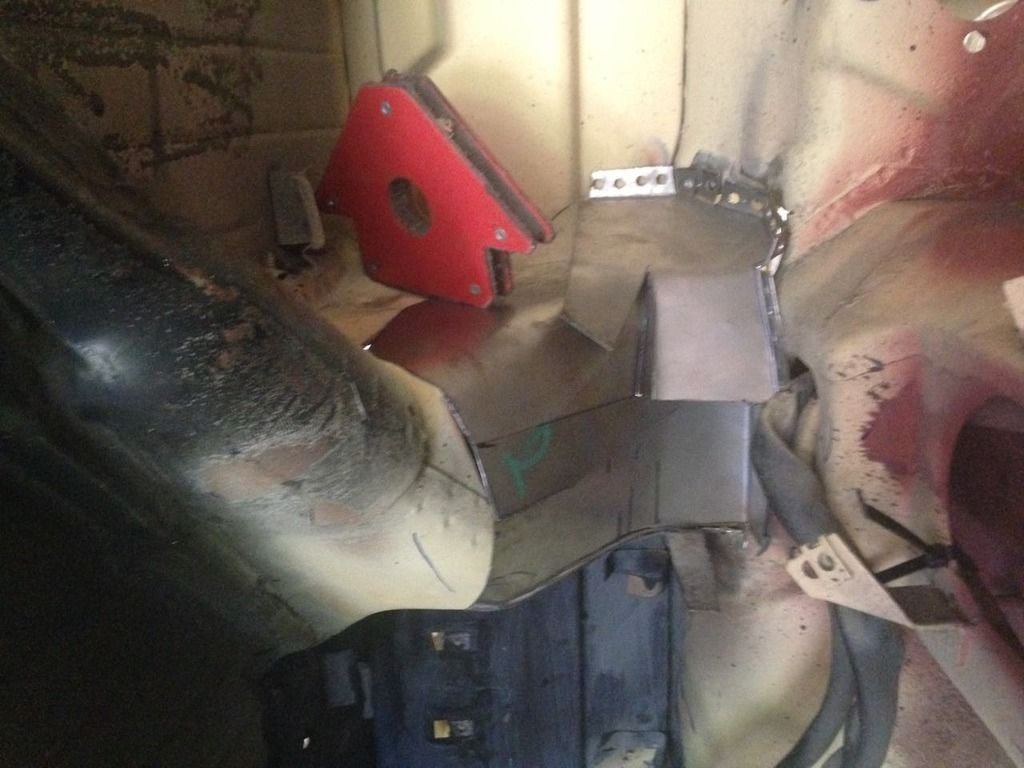
You can see from the green marker circles that for a time I considered patching it. And then I came to my senses.
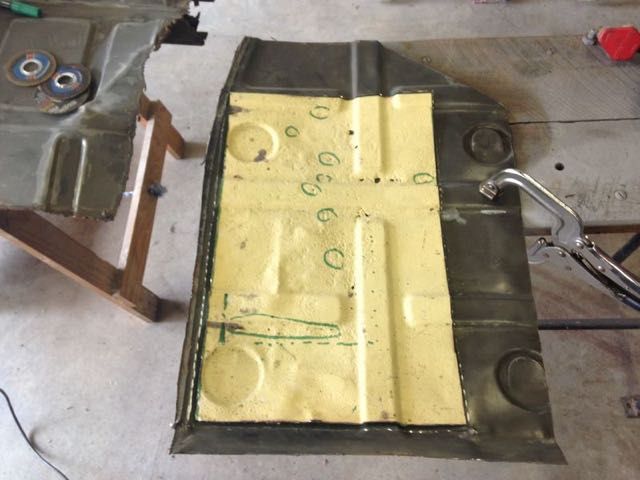
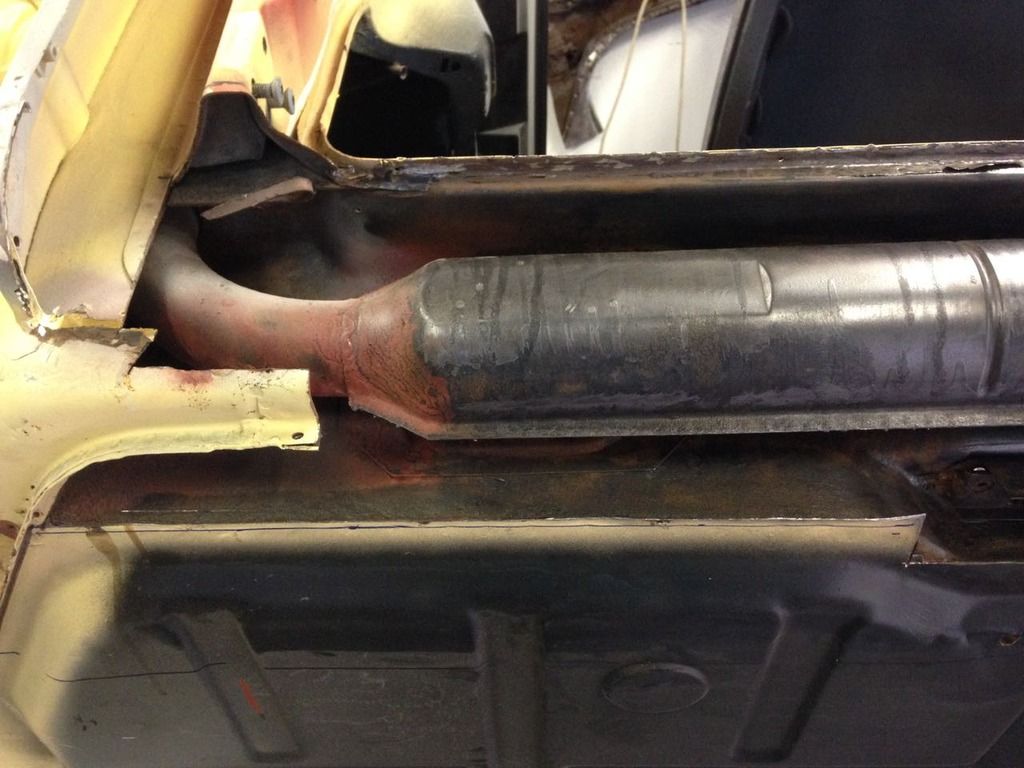
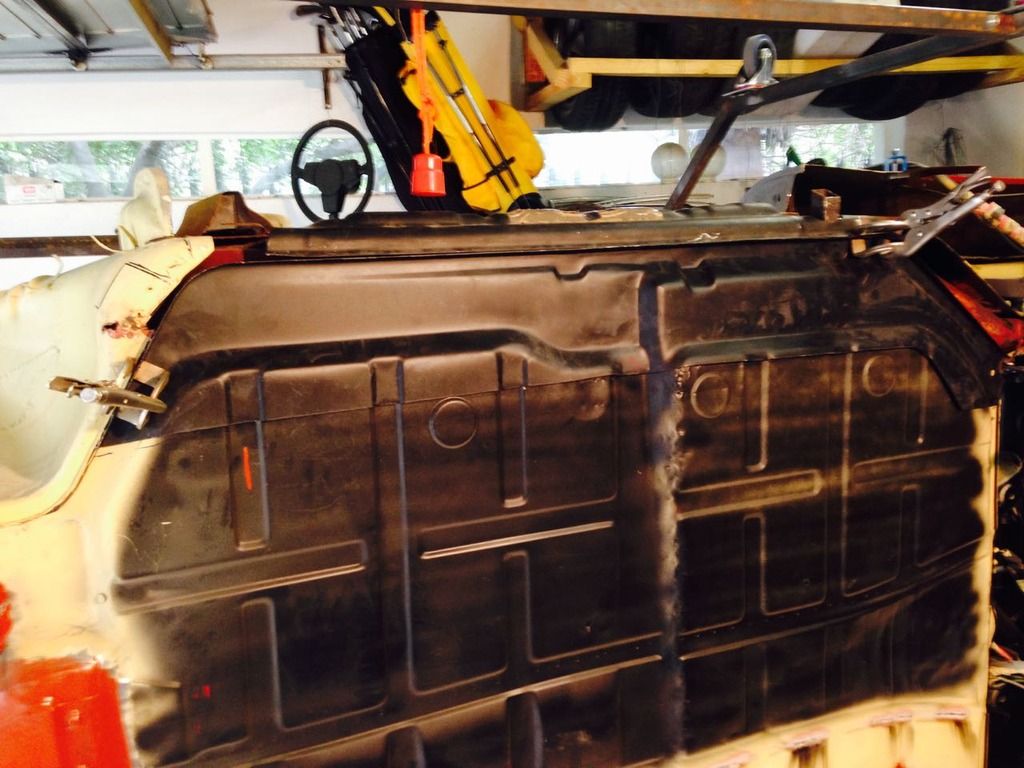
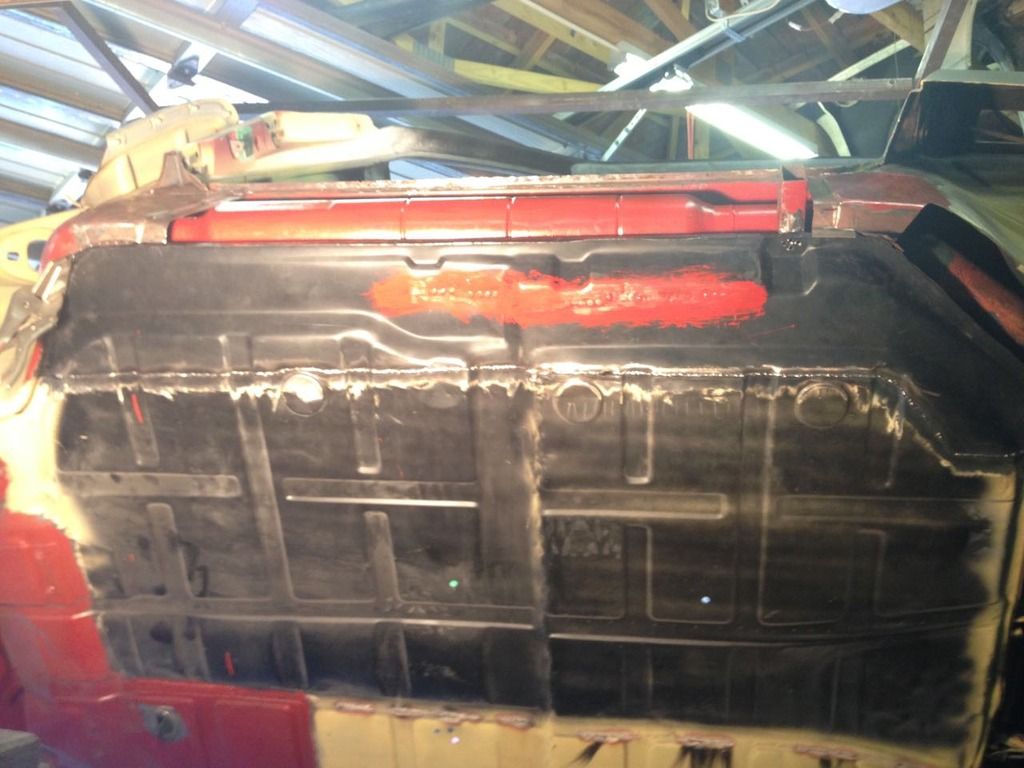
Many thanks to the toasted Targa.
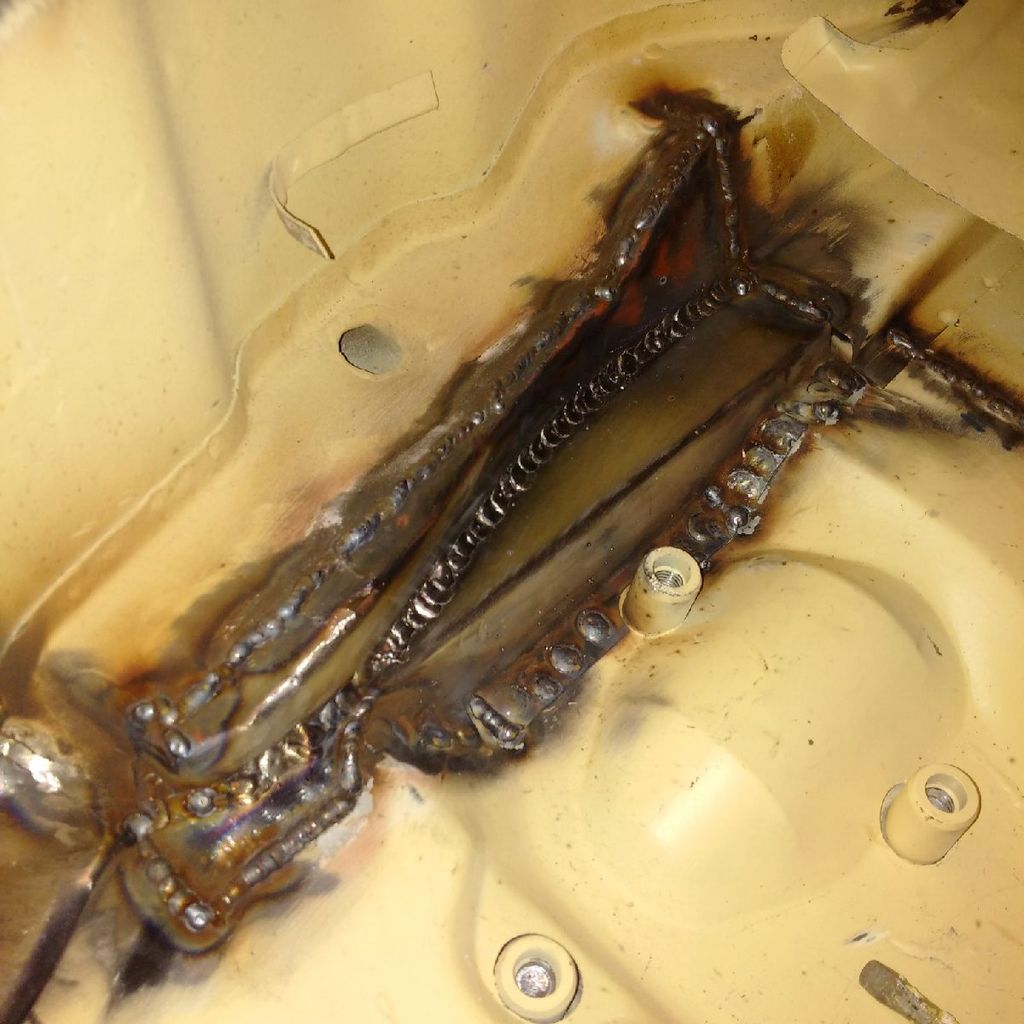
Drunk again.
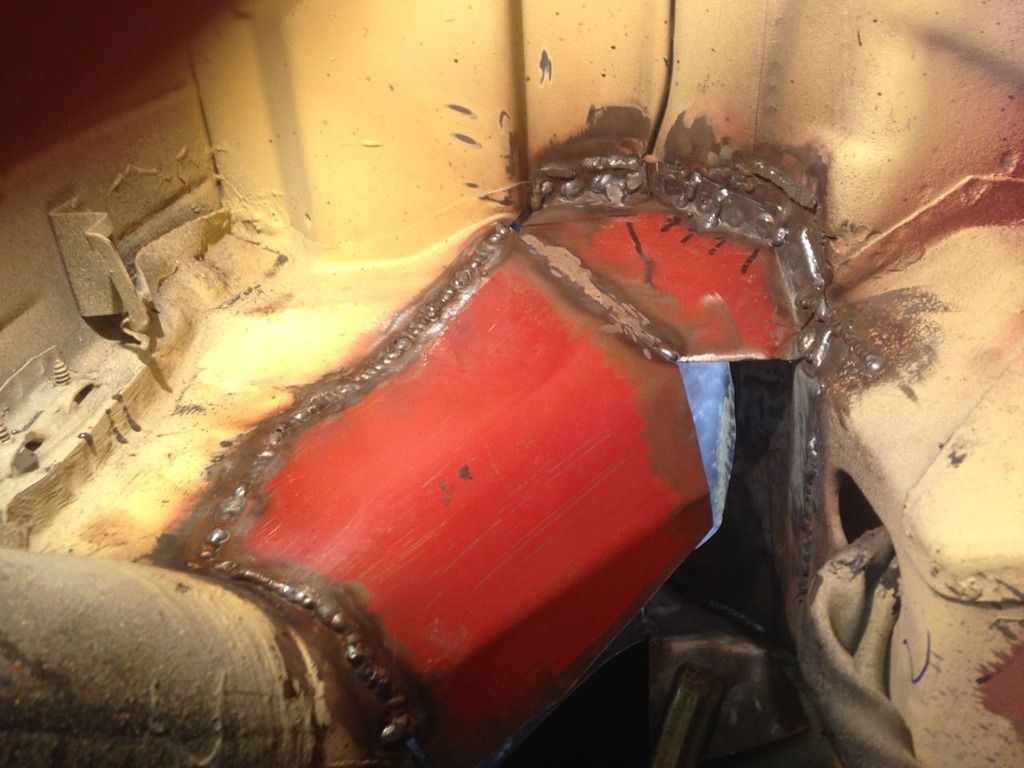
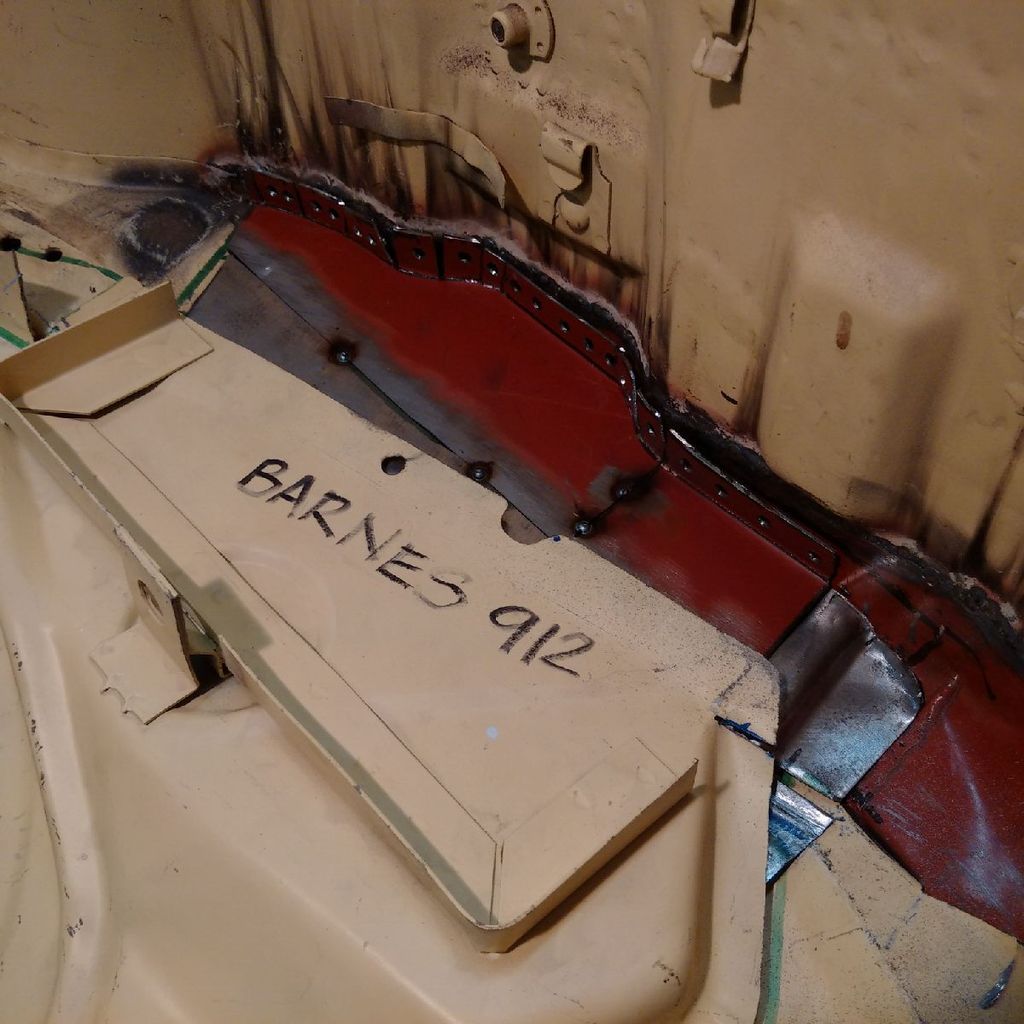
Done.


