A sort of Barn(es) find

Ongoing and archived Porsche (and other marques) restoration threads from DDK members

Moderator: Bootsy

Parkview911
DDK above all
Posts: 150
Joined: Mon Mar 24, 2014 7:00 am

Re: A sort of Barn(es) find

Post by Parkview911 »

Last year, around November I attended a metal shaping course here in Johannesburg.
It was run by a very interesting chap called Barry Ashmole.
He is a bit of an expert that has spent time with Ray Schelin, some Jag experts in the UK who's name escapes me and a few other gurus in strange parts of the world.
He is based in beautiful Stellenbosch (perhaps the most beautiful wine region the world....but I'm biased).
In this case we ran the workshop up her in JHB with 3 other nutters.

If you're looking for a motor themed mini break in a spectacular part of the world that is very cheap (when paying with Pounds) then look up Barry Ashmole on Facebook. His courses are about 250 Squid for 3 days.
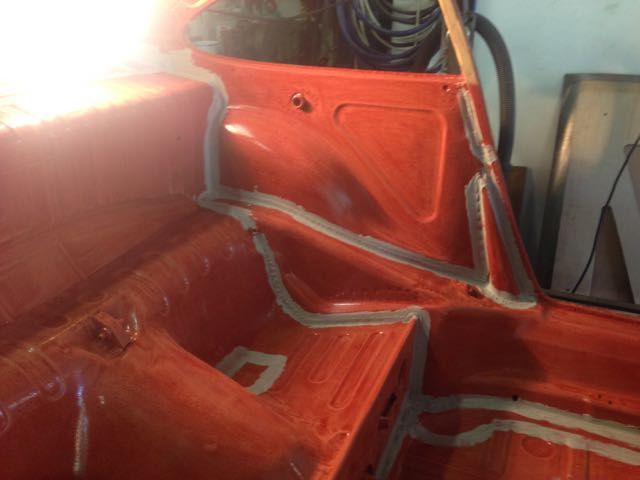
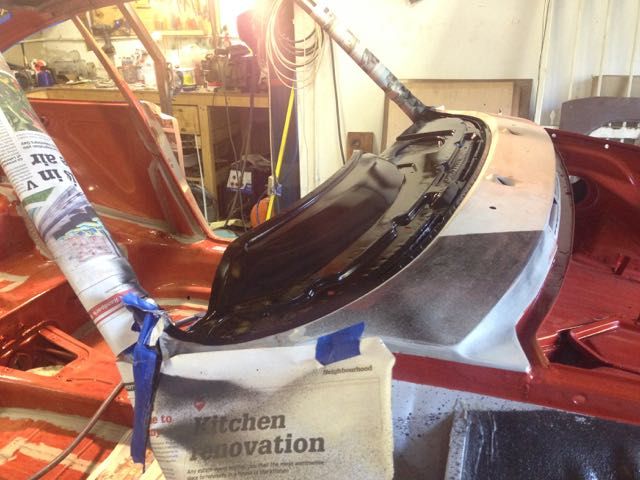
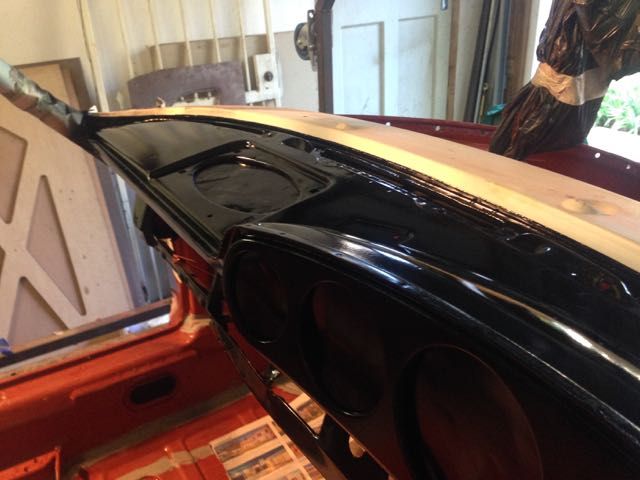
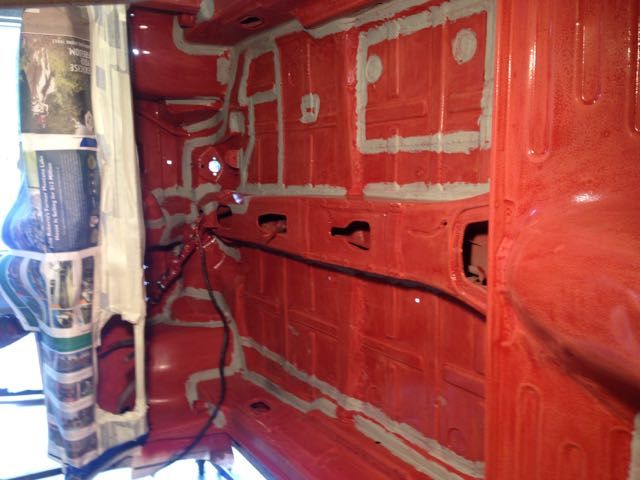
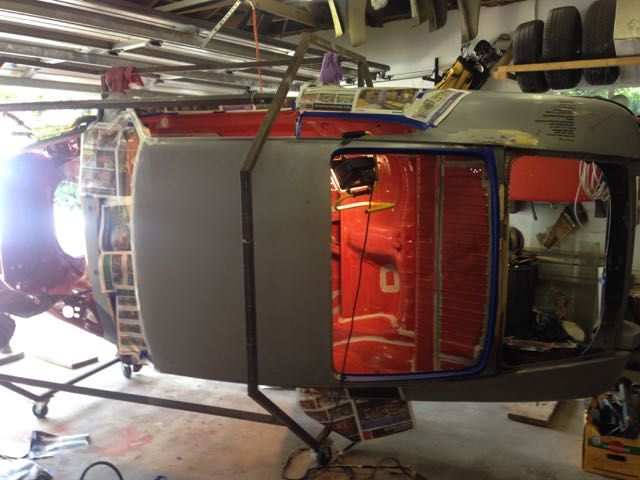
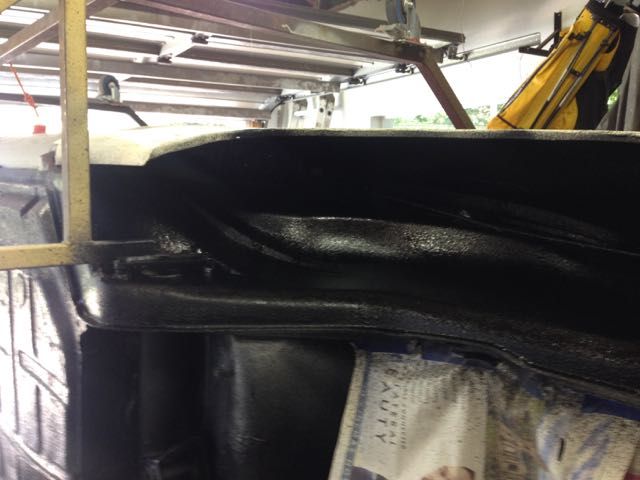
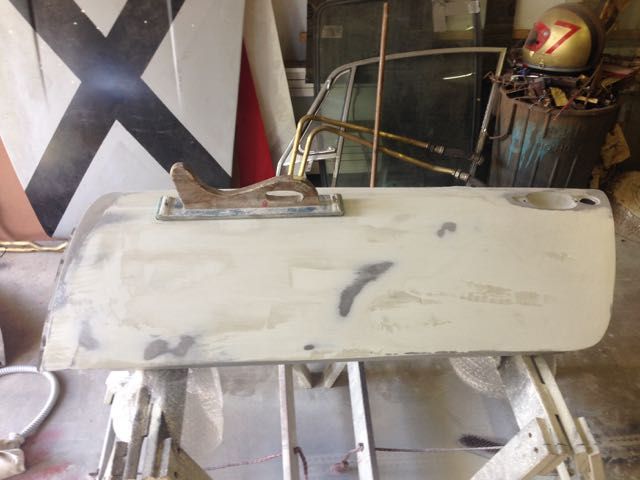
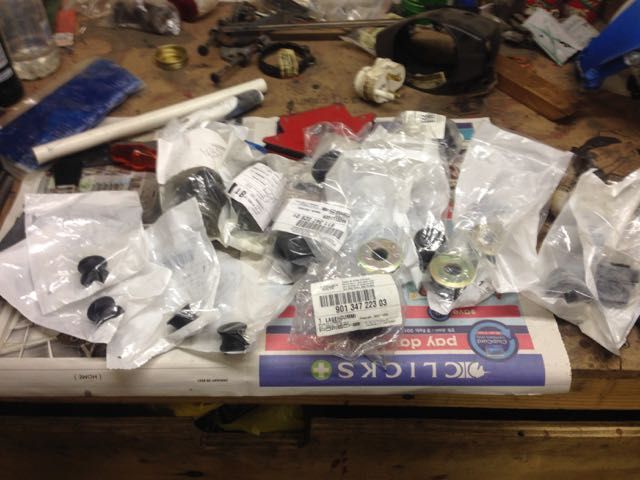
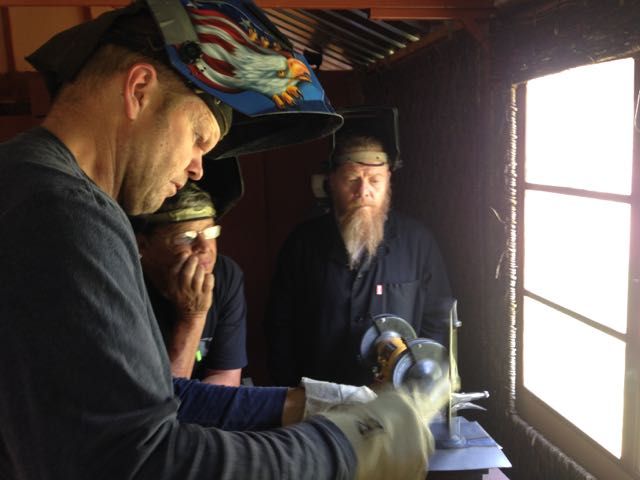
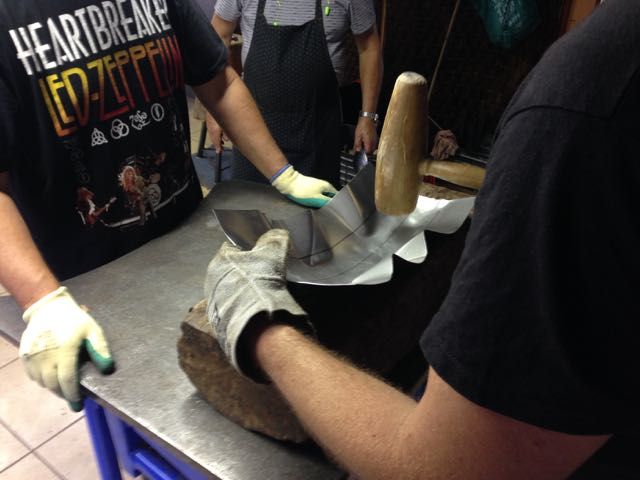
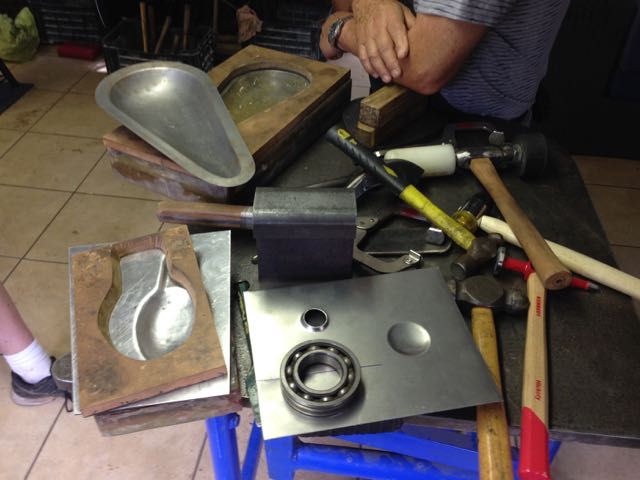
Here are some pics.
All hand tools.

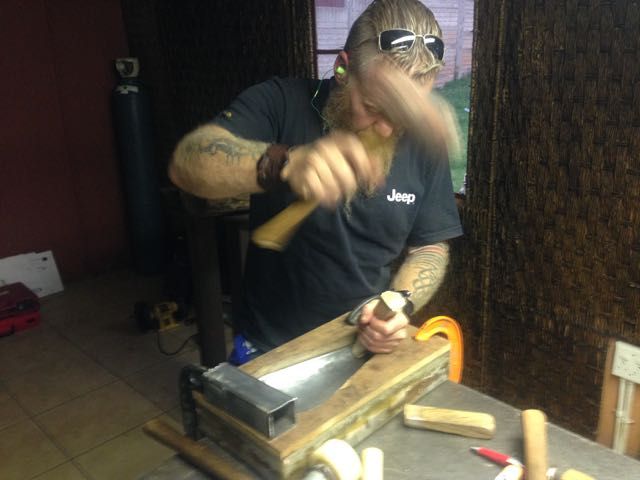
(Barry is the guy in the Welding mask)

Image

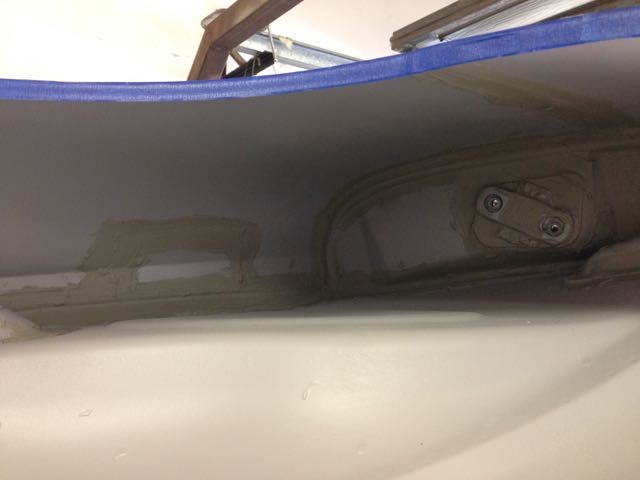
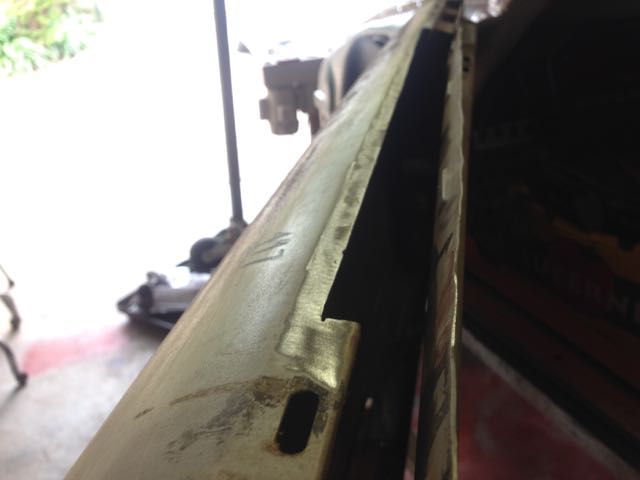
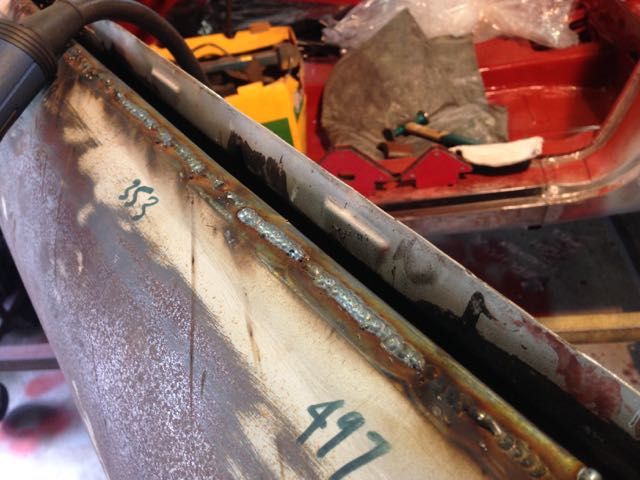
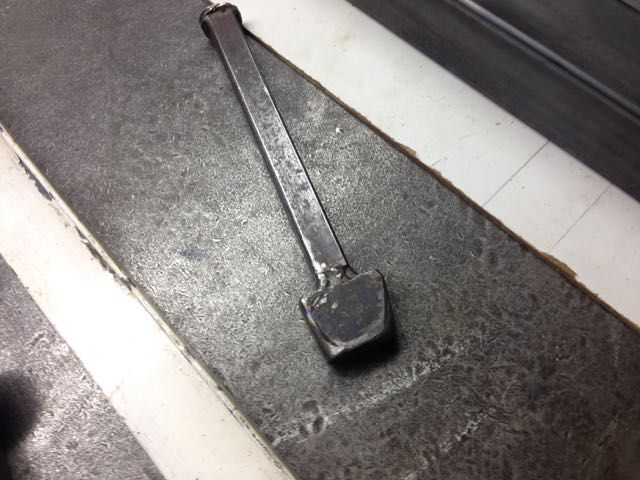
An example of his filler-less fusion TIG welding, as used on all steelwork.

Image

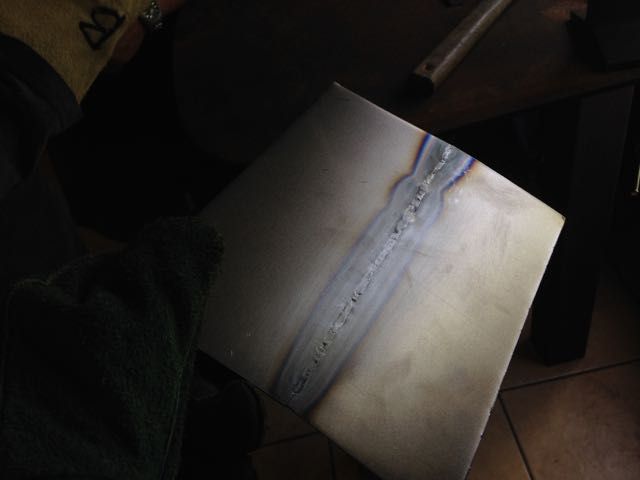
You can see from the heat pattern where he purposefully burned a hole to show us the effect of heat.
The benefit of no bead is that planishing the metal to work out stretch or shrink is much easier. Very impressive. But the accuracy needed to get two panel to sit flush, with no gap, is a skill that it seems takes years to master.

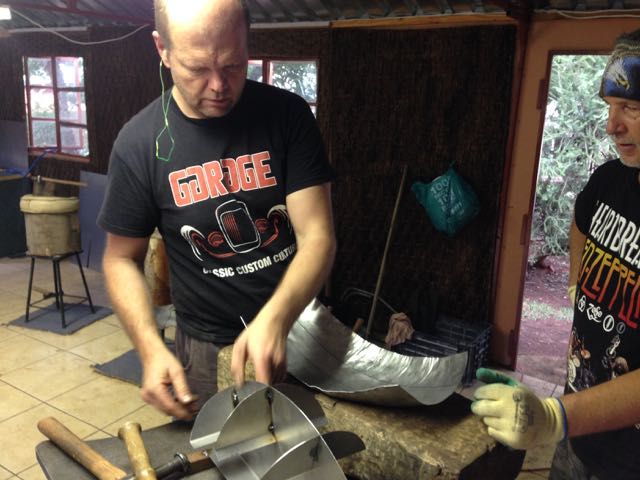
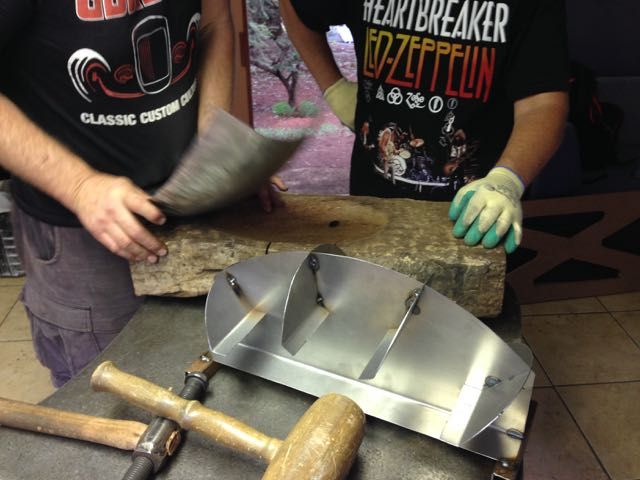
Making a buck for a fender

Image

Image

Image

Image

Image

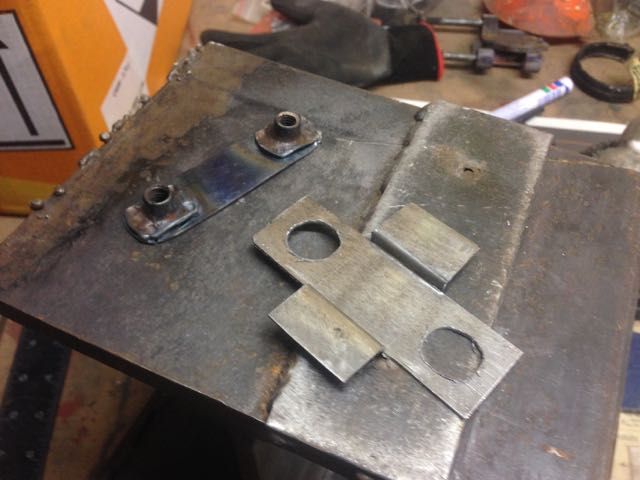
Hinge template he made.

Image

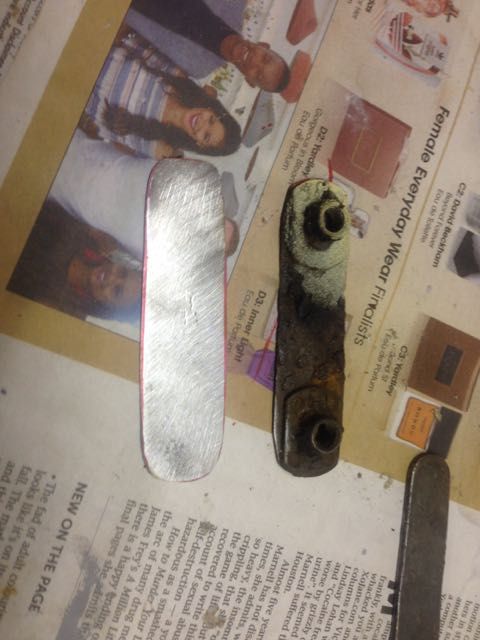
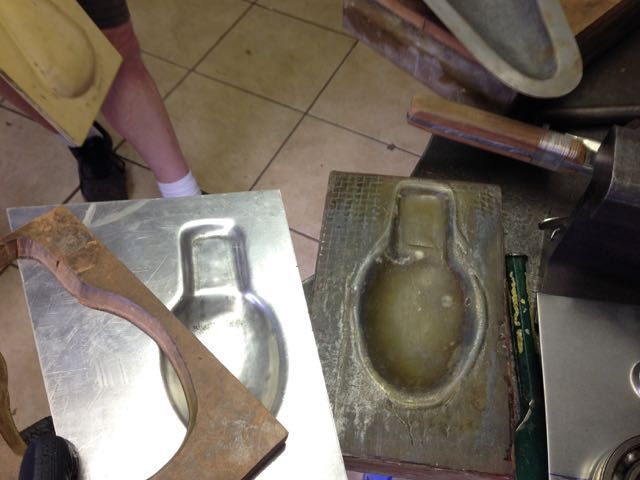
Resin and wood buck for a VW Bus door handle

Image

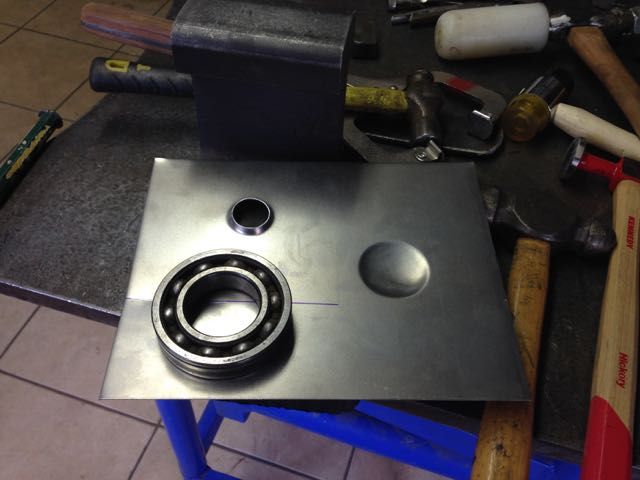
Handy use for old bearing races

Image

Image

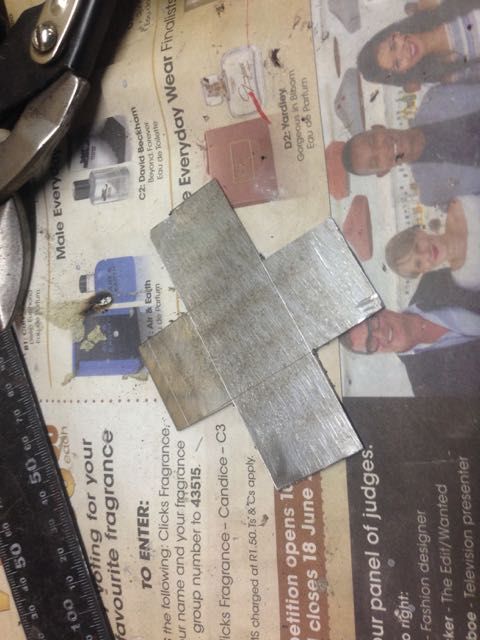
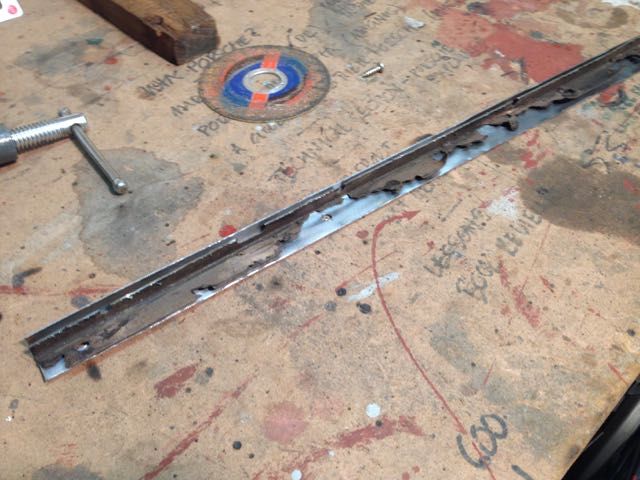
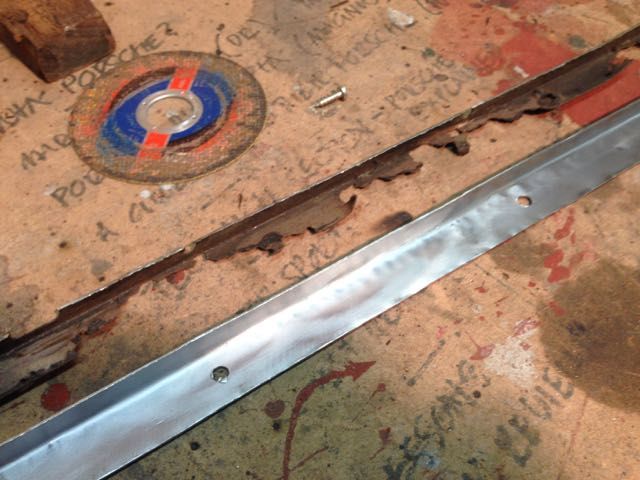
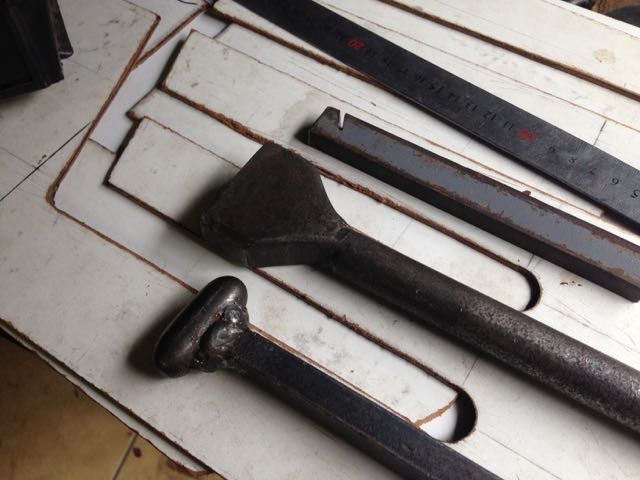
Home made tucking fork

Image

Image

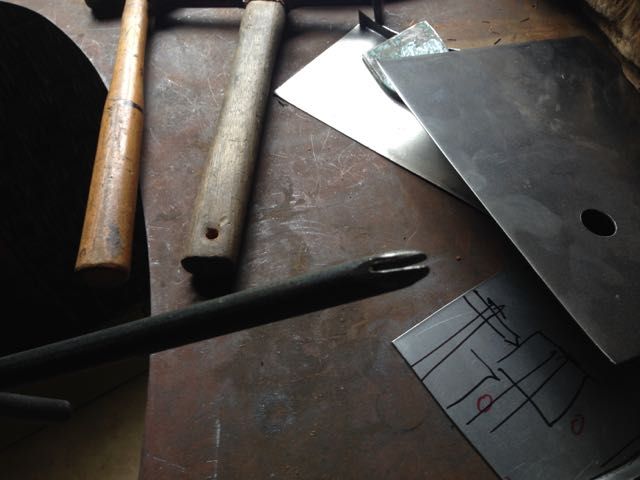
Various tools. The wonderful thing about Barry is that most of his tools are hand made with bits and pieces that lie around in a workshop. The little tucking tool is brilliant (the pic of flat bar with a diagonal slit in it)

Image

Image

Image

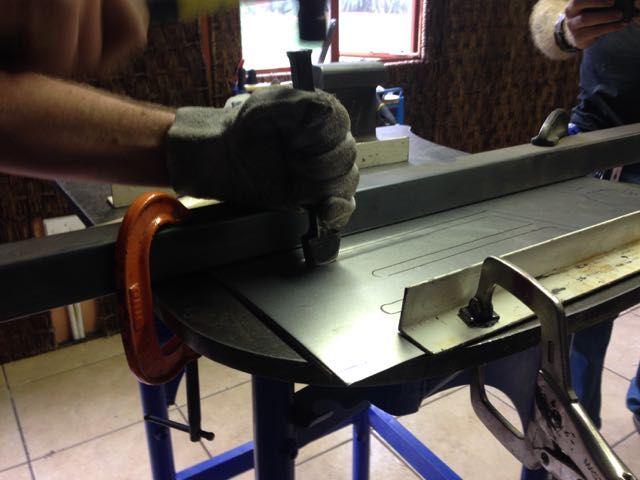
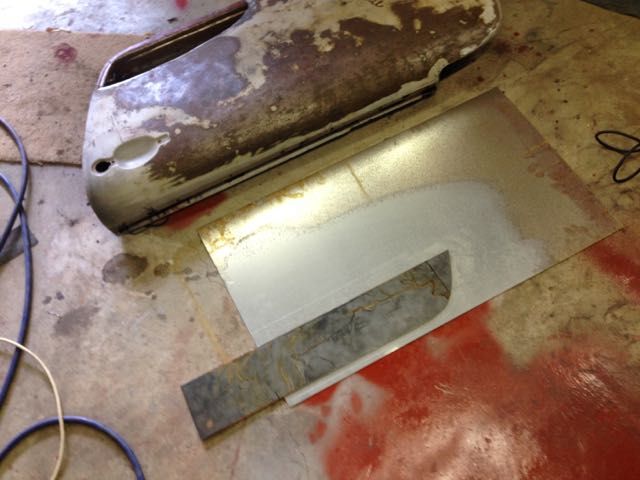
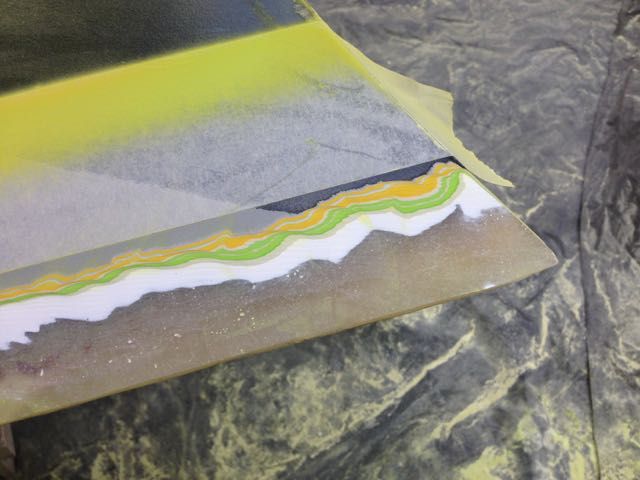
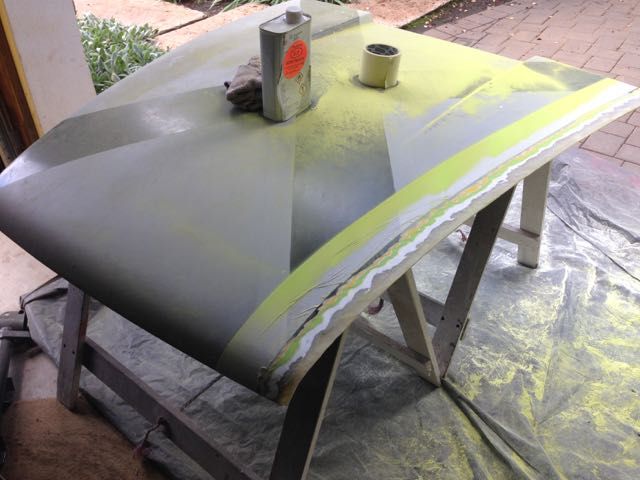
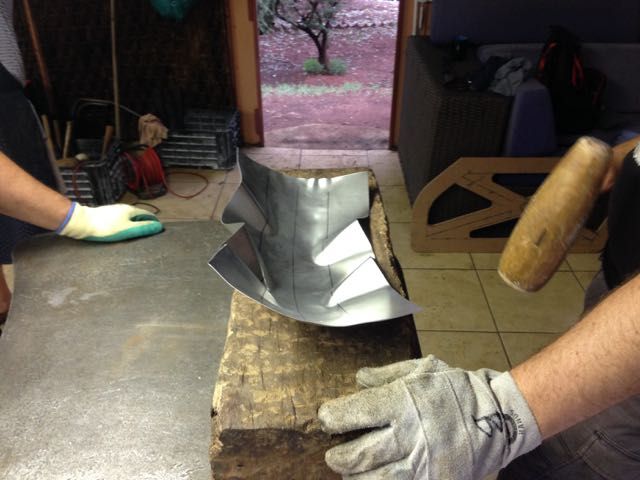
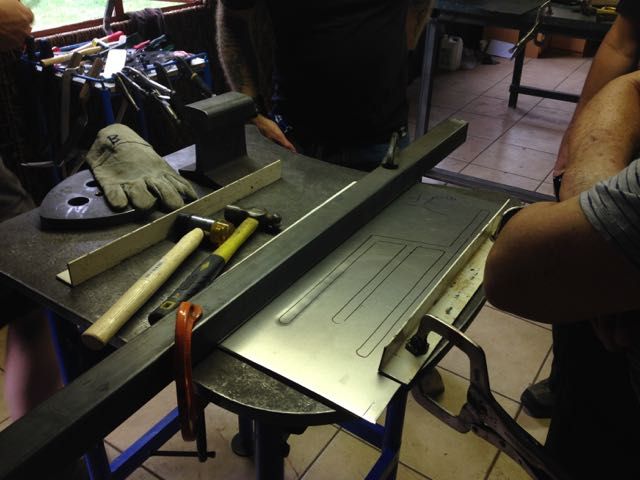
Prestretching and working a pattern with 1mm mild steel and 3mm masonite

Image

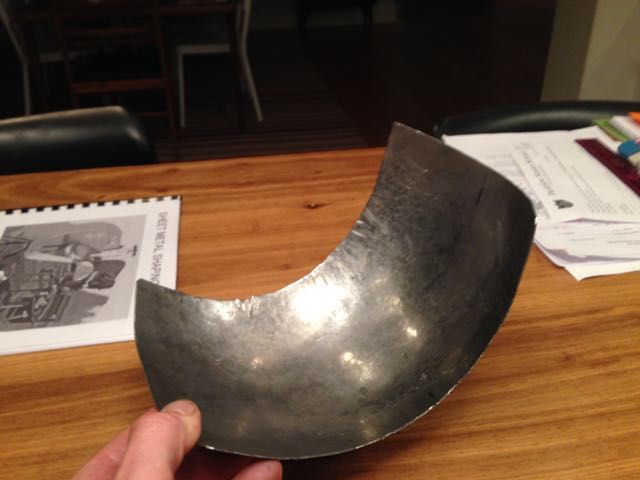
Look mom, an ashtray....a simple example of shrinking by hand using tucks, mallets, a stump and then planishing by hand.
Not bad.

Image

And of course, I've forgotten much of what I learned but have trying to practise the principles.
A great 3 days. Even if you have no aspiration to use what you have learned, I recommend one of these course (there are many masters in the UK). Great to get your brain out of work mode and to work with your hands and steel.
sladey
Nurse, I think I need some assistance
Posts: 8732
Joined: Sat Apr 23, 2005 9:08 pm
Location: Nottingham, UK

Re: A sort of Barn(es) find

Post by sladey »

Great stuff - I do fancy a course like that
The simple things you see are all complicated
I look pretty young but I'm just backdated yeah
Parkview911
DDK above all
Posts: 150
Joined: Mon Mar 24, 2014 7:00 am

Re: A sort of Barn(es) find

Post by Parkview911 »

Do it Sladey. Complete disconnect from the pressures of modern commerce and general empire building!
sladey
Nurse, I think I need some assistance
Posts: 8732
Joined: Sat Apr 23, 2005 9:08 pm
Location: Nottingham, UK

Re: A sort of Barn(es) find

Post by sladey »

Currently fumbling my way around my new lathe and loving every minute of it
The simple things you see are all complicated
I look pretty young but I'm just backdated yeah
911hillclimber
Nurse, I think I need some assistance
Posts: 18926
Joined: Mon Mar 10, 2008 6:26 pm
Location: West Midlands

Re: A sort of Barn(es) find

Post by 911hillclimber »

Could never be without my oldie now..
Use it so much just making things or making them better.

Image
73T 911 Coupe, road/hillclimber 3.2L
Lola t 492 / 3.2 hillclimb racer
Boxster 987 Gen II 2.9
Parkview911
DDK above all
Posts: 150
Joined: Mon Mar 24, 2014 7:00 am

Re: A sort of Barn(es) find

Post by Parkview911 »

sladey wrote:Currently fumbling my way around my new lathe and loving every minute of it
I am fascinated by the old lathe. Seems like a proper grown-ups piece of kit.
I seem to have a slight problem with machines and high rpm.
In my younger years, two fingers and a belt-sander, more recently, this...

Image

14 stitches.
Mini grinder with a flap disk...literally the last weld of the body work....
Parkview911
DDK above all
Posts: 150
Joined: Mon Mar 24, 2014 7:00 am

Re: A sort of Barn(es) find

Post by Parkview911 »

911hillclimber wrote:Could never be without my oldie now..
Use it so much just making things or making them better.

Image
That's a rather nice workshop Climber.
You have clearly moved well beyond 'standard' Porsche resto's.
Parkview911
DDK above all
Posts: 150
Joined: Mon Mar 24, 2014 7:00 am

Re: A sort of Barn(es) find

Post by Parkview911 »

Previous to the injury, I've been charging ahead trying to get everything done so I can get the tub back on its wheels and start with the next chapter. Lots of sanding, painting and sealing - with a few of those final welding jobs to be done.

I've done all the spraying so far in my garage. An old fan from a jumping castle helps as an extractor.

Image

Image

Image
Parkview911
DDK above all
Posts: 150
Joined: Mon Mar 24, 2014 7:00 am

Re: A sort of Barn(es) find

Post by Parkview911 »

Image

One coat then sand then seam sealer.

Image

Image

Image

Have been on two minds about what to do with this lovely detail.
Since I am considering not having a dash pad, the only option seemed to be to cover it up again, with satin black.

Image

Considering my dusty garage, the result was almost flawless.

Image

Image

Masked for final coat. Aside from having a new puppy, or a budgie, I have found a reason to buy newspapers again.

Image

The octagon is your best friend.

Image

Putting some bits back in to get an idea of colour scheme.
Floorboards from Boysowngarage and 356 wooden gear knob courtesy of someone in SOCAL.
Looks good.

Image

Later impact bumper oil cooler for the front wing.

Image

Amazingly, still has the factory sticker...

Image

Will have to weld up a bracket to support it in the wing.

Last job on the underside was to prime and rubberise the rear wings.
This retaining plate was the last rotten piece on the RHD side - understandable considering how rotten the door lock post was.

Image

The retaining nuts were okay but the rest was rubbish.

Image

Image

Image

Cheap fix.

Welded in and primed. Seam sealed.

Image

Image

Image

Image

Lovely to have it all in one colour again.
Next rubberising and satin black topcoat.
The rubberising is a messy business.
I found it helped to have a can of brushable rubberiser on hand to ensure the hard to reach places were covered. Bloody hell, it makes a mess.

The entire underside has received two coats of rubberiser and two coats of satin black topcoat.

Image

Image

Image

Image

Just the engine bay is left. Weld in the brand new engine mounts and spray.
Parkview911
DDK above all
Posts: 150
Joined: Mon Mar 24, 2014 7:00 am

Re: A sort of Barn(es) find

Post by Parkview911 »

A few other jobs while the undercoat was drying / being sanded.

My doors have been the bain of my existence: the skins warped by my own stupidity, or the various seemingly endless patches to get them solid and rust free. In truth I should have removed the skins and had fibreglass skins bonded to the steel frames. But I am stubborn and nostalgic, so trying to save the original skins seems like the best idea.

Some repairs on the LHD door.
Top of the door was rotten.
Bottom corner was rotten (and I had tried to repair it previously - only to warp the skin.
Front corner was rotten

Image

Image

Image

Image

Image

...been here before

Image

Image

And a bit of upper body workout...

Image

Image

In primer.
Ready for another few days of sanding and finishing....

Image

Image

With an injured hand I have spent my time spending money...

Image

Image

Money I need to spend to get the bucket back on its wheels.
Staggering that you can walk into PC Johannesburg, hand over a whack of cash and order parts for 1967 car, delivered from Germany 10 days later. Try that with a British or Italian car.
And to be fair, the parts are not the expensive in dollars or euros. It's our pathetic exchange rate that messes things up.

Sans welding in the engine mounts and spraying the engine bay, the body is done!
4.5 years and 14 stitches later.
Not bad for an amateur...hopefully nothing falls off when I eventually drive the thing!

The downside is that I now have to start spending money:
- electro plating
- bushes, rubbers, etc
- engine bits
- clutch

I have now exhausted my ability to do the heavy work myself.
Still, quite an achievement.

Next on the shopping list are the following:
- 1973 RS alu calipers (kind of have to really)
- Seats (importing is bloody expensive and Historika have not responded to my mails about buying shells for 3 years)
- That missing 5.5 x 15 Fuch or a set of Group 4 7R replicas
- Clutch
- Headers (will get these made up locally by a racing pro)
- Tyres

Still, nice problem to have.
911hillclimber
Nurse, I think I need some assistance
Posts: 18926
Joined: Mon Mar 10, 2008 6:26 pm
Location: West Midlands

Re: A sort of Barn(es) find

Post by 911hillclimber »

Quite a gash!
Had a spate of getting fluids (ie brake cleaner) in my eye, and that is not a good thing...
As an apprentice I loped the tip of one finger off with swarf going round in a very big drill in a VERY big drill stand., but survived since then.

About to re-build my 911 I re-built in 1989, so soon back on the old girl.

Yours is a great project, very interesting and all DIY, congratulations!
73T 911 Coupe, road/hillclimber 3.2L
Lola t 492 / 3.2 hillclimb racer
Boxster 987 Gen II 2.9
sladey
Nurse, I think I need some assistance
Posts: 8732
Joined: Sat Apr 23, 2005 9:08 pm
Location: Nottingham, UK

Re: A sort of Barn(es) find

Post by sladey »

Nice work
The simple things you see are all complicated
I look pretty young but I'm just backdated yeah
Parkview911
DDK above all
Posts: 150
Joined: Mon Mar 24, 2014 7:00 am

Re: A sort of Barn(es) find

Post by Parkview911 »

Away from the steel for a while. On to the fibreglass.
A nice change.

The gaps on either side of the bonnet are between 10 and 15mm.
The bonnet has clearly had a few previous lives.

Image

Image

Building up the edge with a 3mm piece of dowel seemed to be the best strategy.
Never having done this kind of FBG work before I'm flying blind.

Image

Image

Image

Image

Seems to have worked out okay.
Now for a few hours of sanding and filling to get the edges perfect.

Then onto the front fenders, and the bumpers.
The steel mounts glassed into the front bumper were appalling.
Boggles the mind the shortcuts people take, even when they are selling their product.
Parkview911
DDK above all
Posts: 150
Joined: Mon Mar 24, 2014 7:00 am

Re: A sort of Barn(es) find

Post by Parkview911 »

911hillclimber wrote:Quite a gash!
Had a spate of getting fluids (ie brake cleaner) in my eye, and that is not a good thing...
As an apprentice I loped the tip of one finger off with swarf going round in a very big drill in a VERY big drill stand., but survived since then.

About to re-build my 911 I re-built in 1989, so soon back on the old girl.

Yours is a great project, very interesting and all DIY, congratulations!
Considering what could have happened I think I got off lightly.
Subsequently discovered that the emergency room doctor didn't use dissolving stitches on the inside of the cut.
Have to do some remedial bodywork....

Look forward to seeing a thread on the 911 re-rebuild.

Cheers,
Matthew
Parkview911
DDK above all
Posts: 150
Joined: Mon Mar 24, 2014 7:00 am

Re: A sort of Barn(es) find

Post by Parkview911 »

sladey wrote:Nice work
Thanks Sladey.
Post Reply