Orange badge restoration
Posted: Sat Mar 23, 2013 6:14 pm
I saw Yoda asking about this subject recently. It appears the guy in Australia who did this work has sadly passed away and it has been difficult to find anyone else to do it. There were a few suggestions on the thread but no concrete leads, so.......
I decided to have a crack at the problem myself.
I am no photographer so you will have to excuse the dodgy pics but here is the result of about 20 hours work.
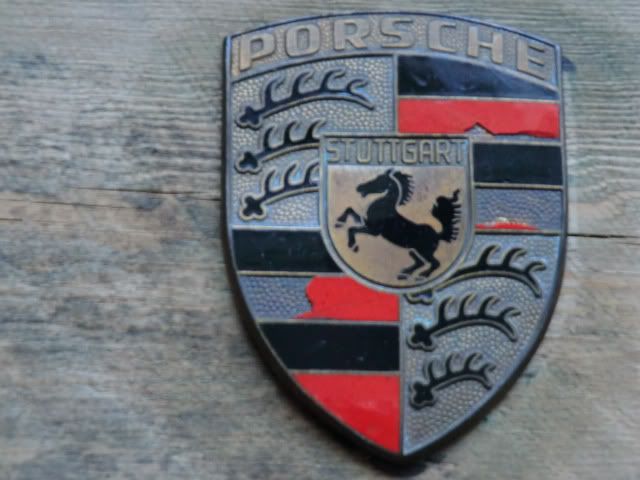
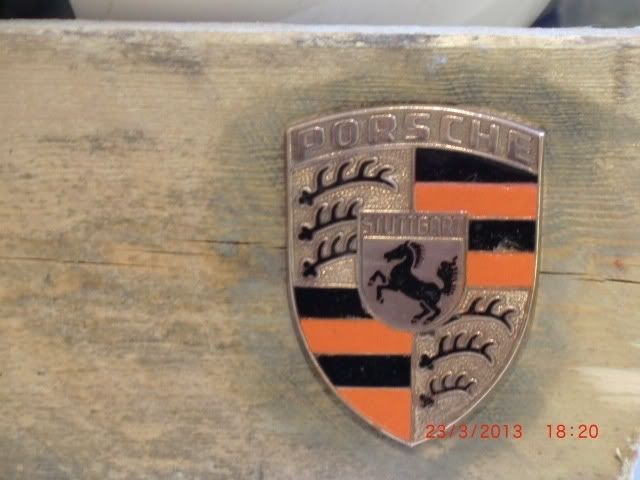
Where I started, typical early badge find,
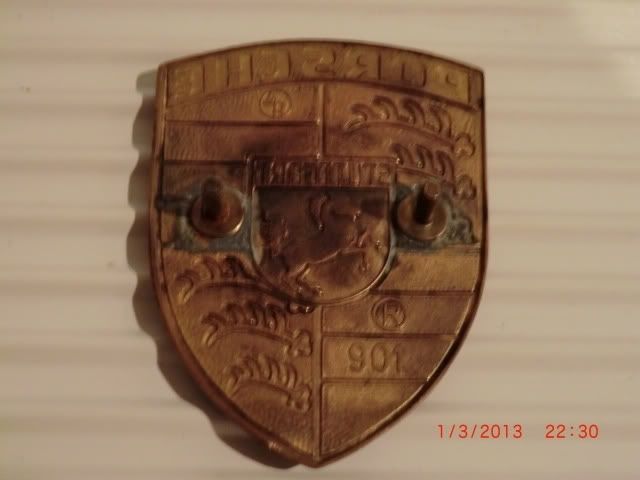
As usual the enamel is chipped or missing. The badge is weathered. Sometimes the pins are missing. Sometimes there are road dings and chips.
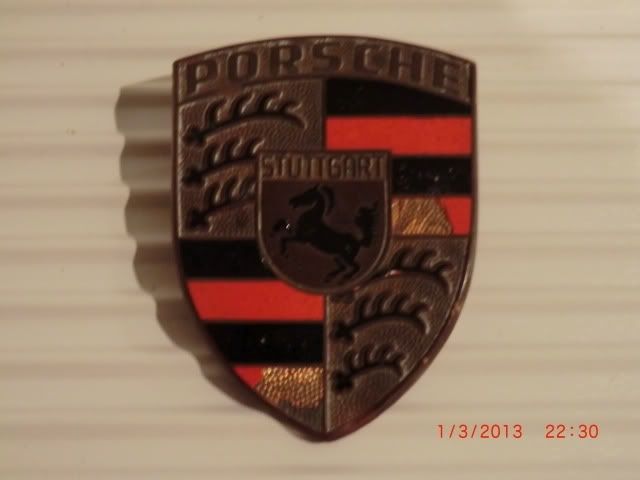
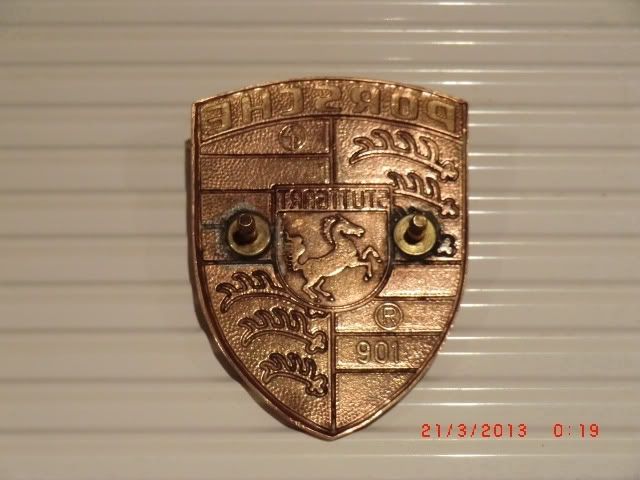
After a bit of cleaning and removal of ruined enamel I got to this,
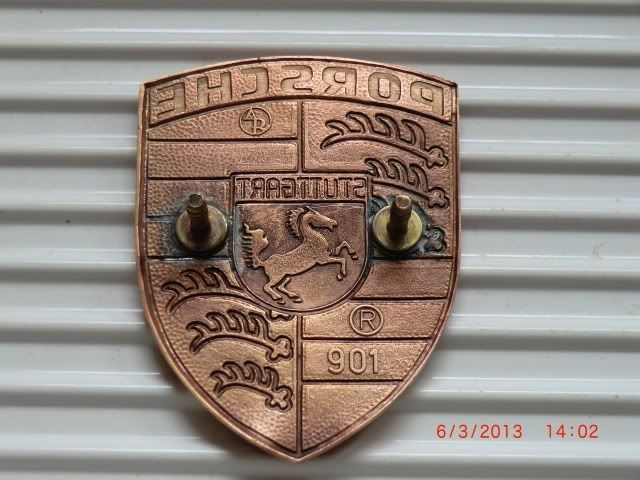
I left the black enamel untouched, there is a small chip in the short bar on the RHS. There was a big ding in the bottom point of the shield which I massaged a little better but not perfect. I then got to this,
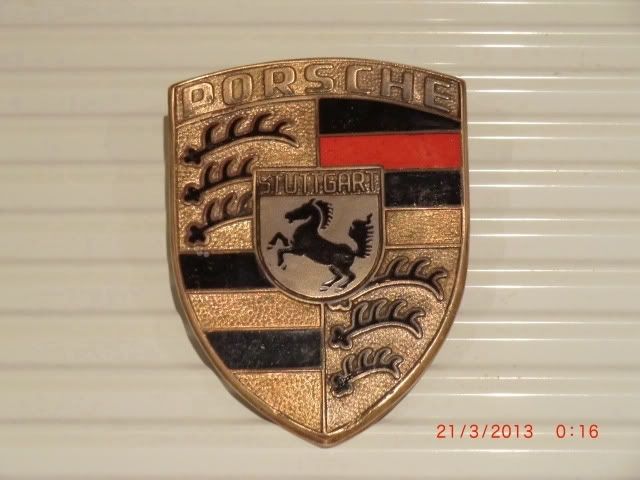
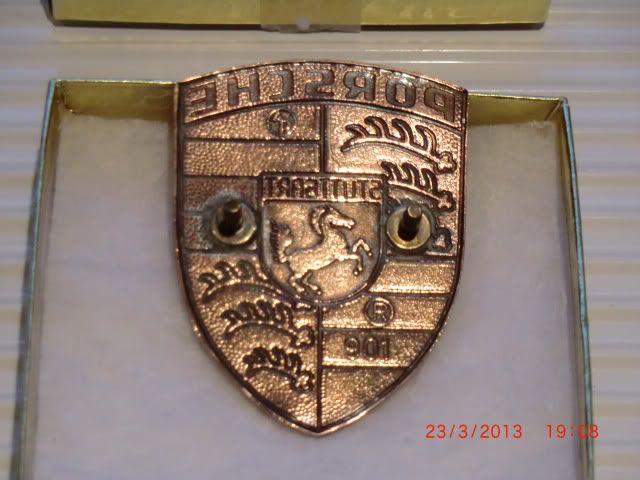
Then comes the tricky part. To ensure the orange is all the same colour I needed to remove the one good piece of orange enamel. You would think that this would be easy as the other bars seem to fall out easily. Not so, it is pretty hard to remove without damaging the badge even though it is about the thickness of a couple of sheets of paper.
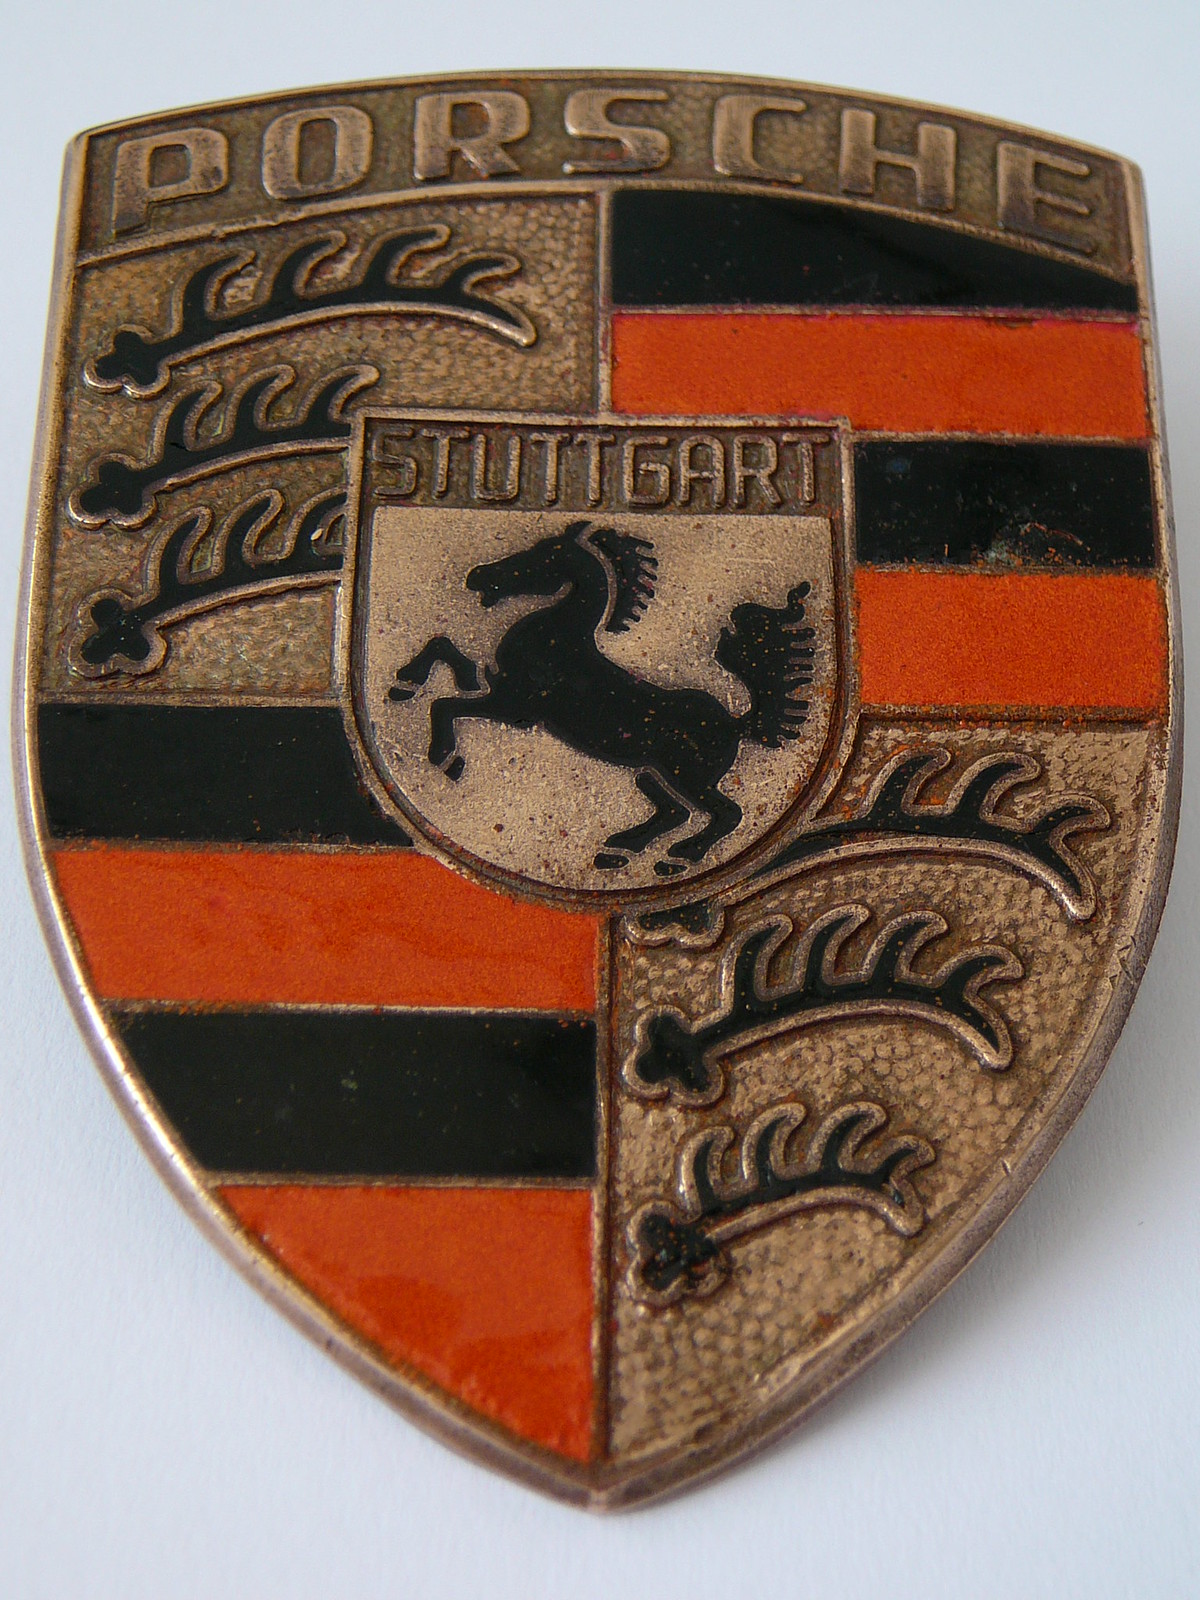
Then the enamelling. This was trial and error and I had several goes before getting a finished result. It is not perfect and I certainly could get it better next time. I learned a few tricks that help as I went along and some of the orange bars are better than others. Some are really hellish like the bottom one due to it's shape. However I got better as I went along. Then a final cleanup. I did not go overboard with this as some of the restored one look too 'blingy' for me. I tried to leave it with a patina look of an old badge.
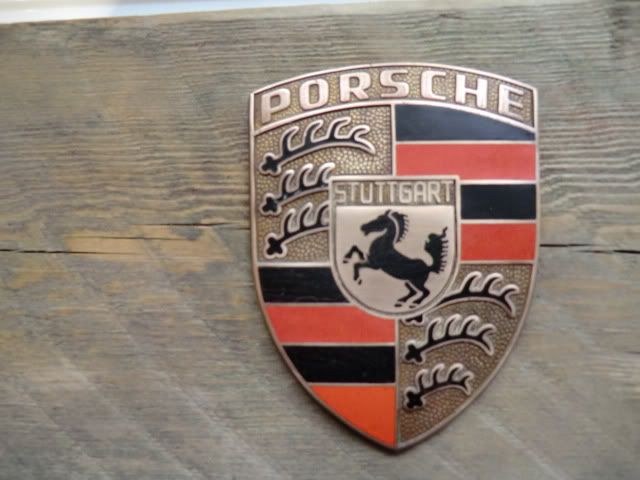
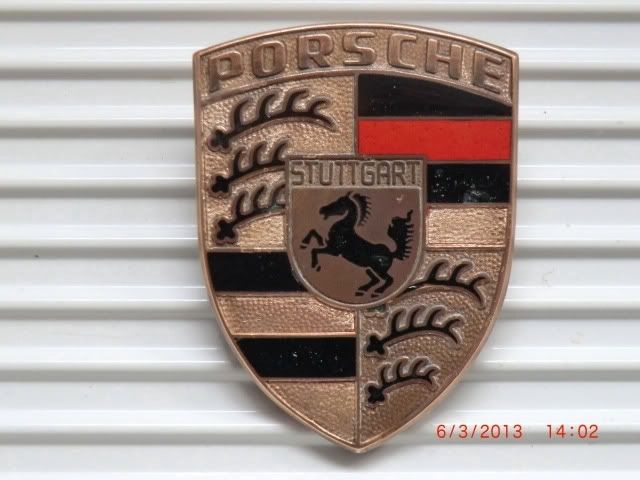
Here the finished result on the simple wooden buck I made
The only problem now is that you can see the chipped black band I decided to leave alone.
I'm pretty certain with a little more practice I could get these perfect.
Regards
Mike
I decided to have a crack at the problem myself.
I am no photographer so you will have to excuse the dodgy pics but here is the result of about 20 hours work.
Where I started, typical early badge find,
As usual the enamel is chipped or missing. The badge is weathered. Sometimes the pins are missing. Sometimes there are road dings and chips.
After a bit of cleaning and removal of ruined enamel I got to this,
I left the black enamel untouched, there is a small chip in the short bar on the RHS. There was a big ding in the bottom point of the shield which I massaged a little better but not perfect. I then got to this,
Then comes the tricky part. To ensure the orange is all the same colour I needed to remove the one good piece of orange enamel. You would think that this would be easy as the other bars seem to fall out easily. Not so, it is pretty hard to remove without damaging the badge even though it is about the thickness of a couple of sheets of paper.
Then the enamelling. This was trial and error and I had several goes before getting a finished result. It is not perfect and I certainly could get it better next time. I learned a few tricks that help as I went along and some of the orange bars are better than others. Some are really hellish like the bottom one due to it's shape. However I got better as I went along. Then a final cleanup. I did not go overboard with this as some of the restored one look too 'blingy' for me. I tried to leave it with a patina look of an old badge.
Here the finished result on the simple wooden buck I made
The only problem now is that you can see the chipped black band I decided to leave alone.
I'm pretty certain with a little more practice I could get these perfect.
Regards
Mike