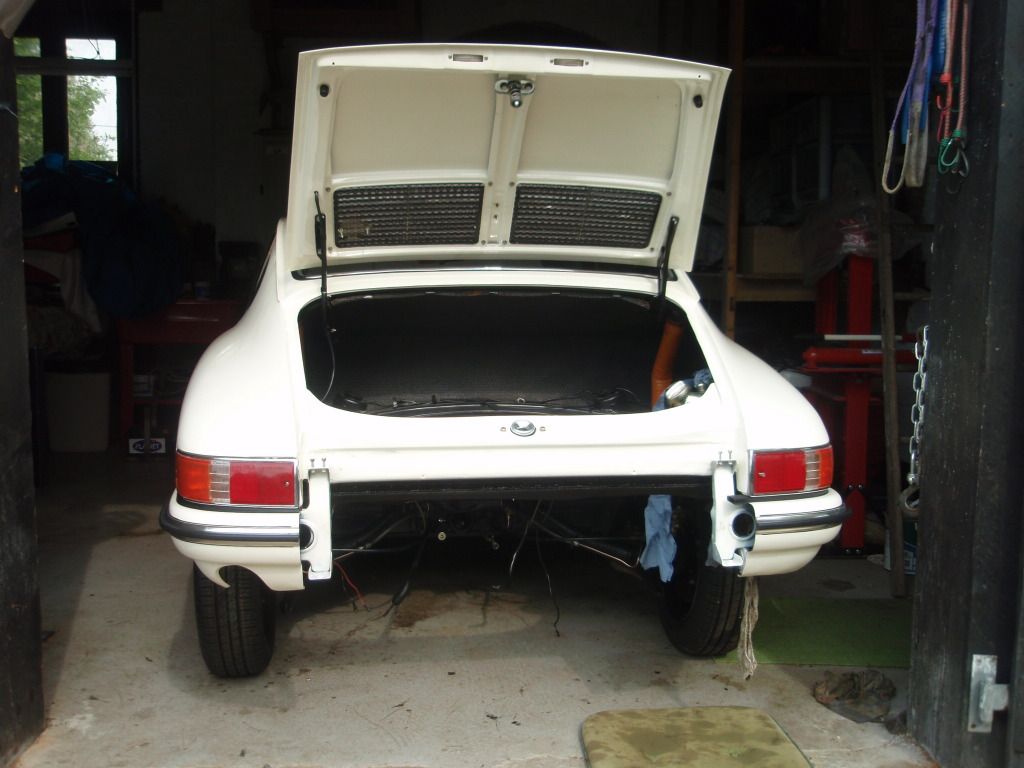
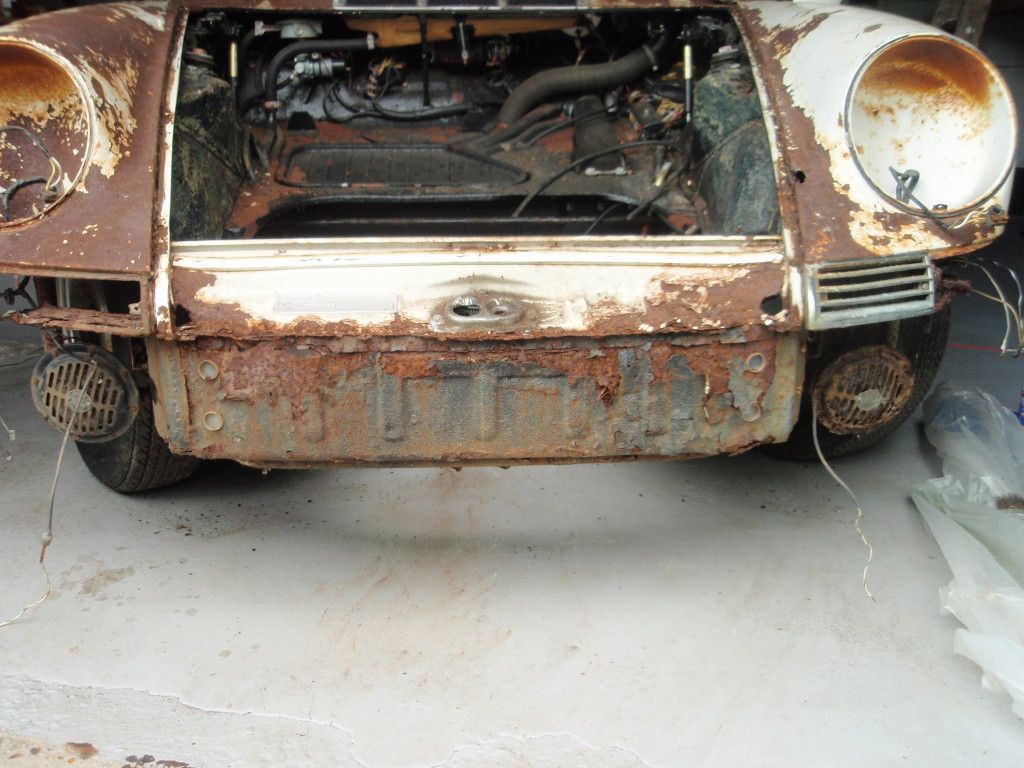
Starting to run out of things to do ... did I say I was waiting on the engine .......

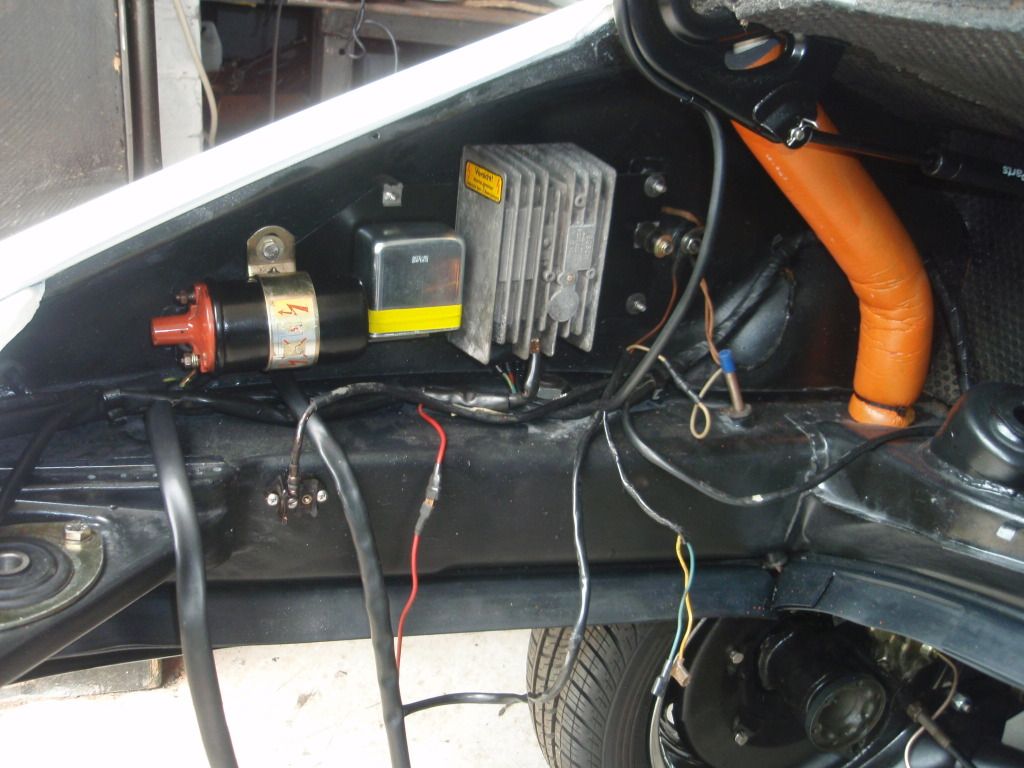
Anyway decided it was time to gird the loins (never was sure what that meant, but it seems appropriate) and commission the electrics. Fire extinguisher to the fore. After much checking and double checking that the loose ends in the engine bay could do no damage, and after some continuity checking (although having so many relays in the system really confuses things I found), I bottled out again and decided on another belt to go with my braces - so I rigged up this....
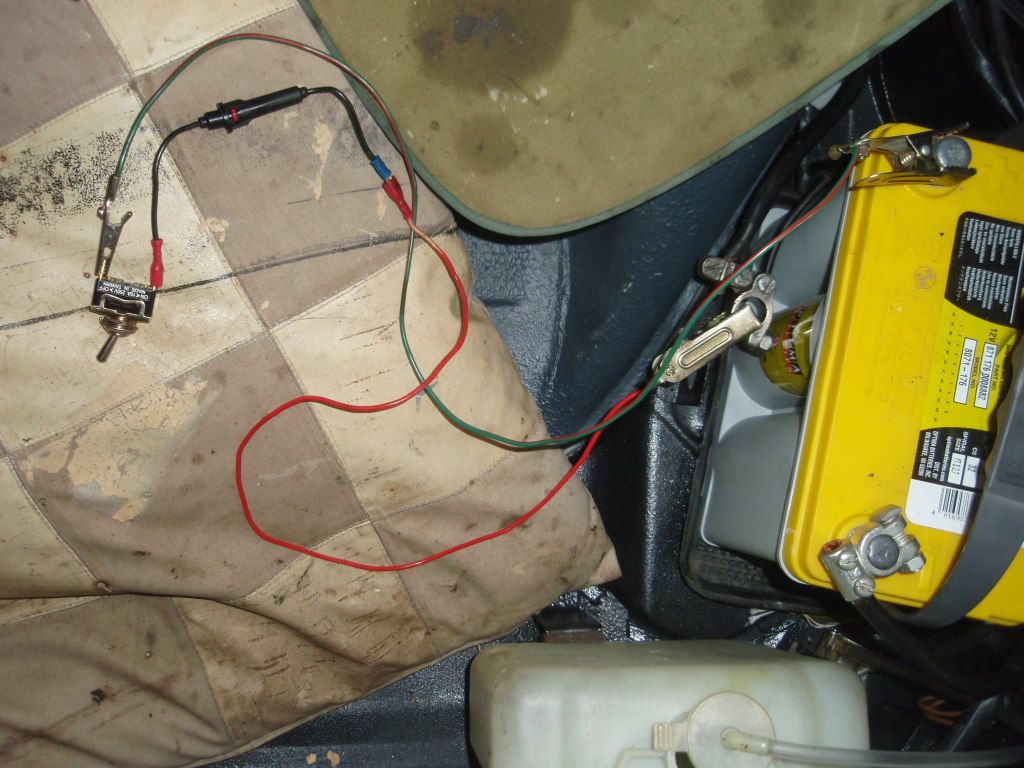
The old pillow is merely to keep it all from any possible earthing points, but basically its just an inline fuse and a switch between the +ve battery terminal and the +ve main supply to the car - the switch so I can control things quickly if needed, and the fuse to guard against a major stray short to earth, or other major power drain and to keep my heart rate down. Proved a good idea as you'll see.
Took all the fuses out and rigged the above up. Installed fuse 6 (License plate and trunk light) - they worked fine. Worked on through the rest of the white (10A?) fuses in this order 2,7,8,1,9,10,11,12 with everything working, although you need both low and high beam on both sides before some of the other functions (warning lights, fog lights off on full beam) relating to the lights work properly. So we came to fuse 4 - the blue (30A?) one - that feeds the wipers/washers. Switched on the wipers, no action, distinct smell of electric short ..... and the 10A fuse in my safety device had gone. I recalled that although I had externally refurbished the wiper mechanism and motor I had never been able to find out which of the 4 terminals and earth to connect to the battery to test it, so I had left it 'for a bit later on' ...... and of course had forgotten about it and never done it.
Didn't bother with fuse 3 (Webasto heater) - not enough balls for that one yet, and I don't plan to commission it anytime soon
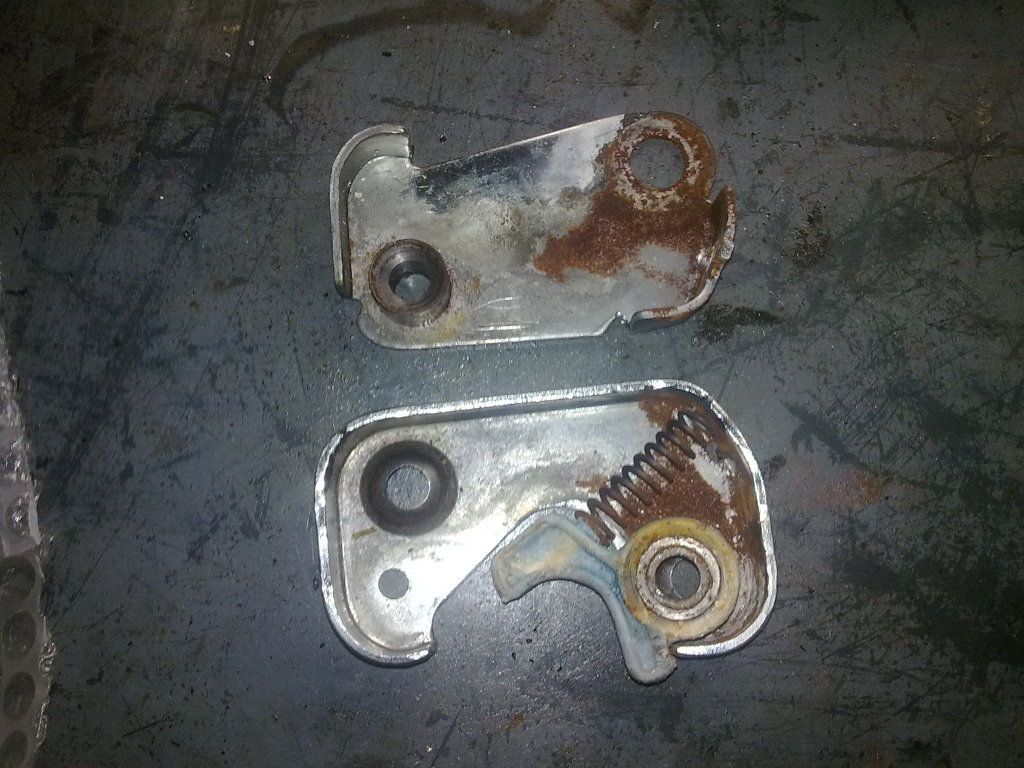
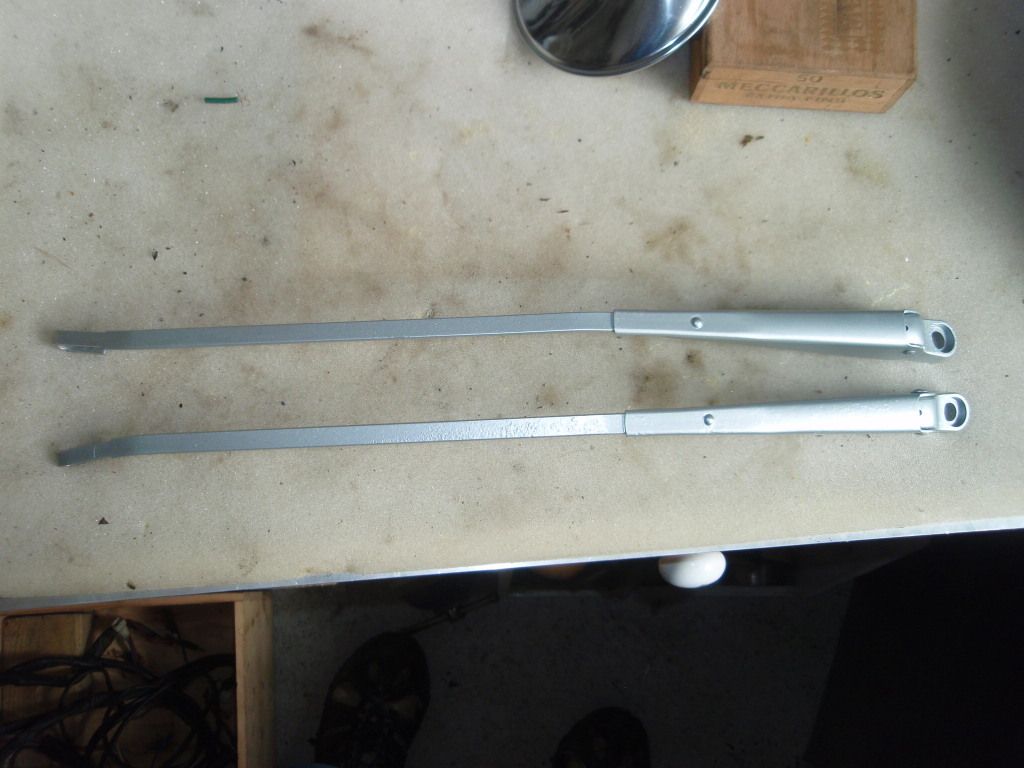
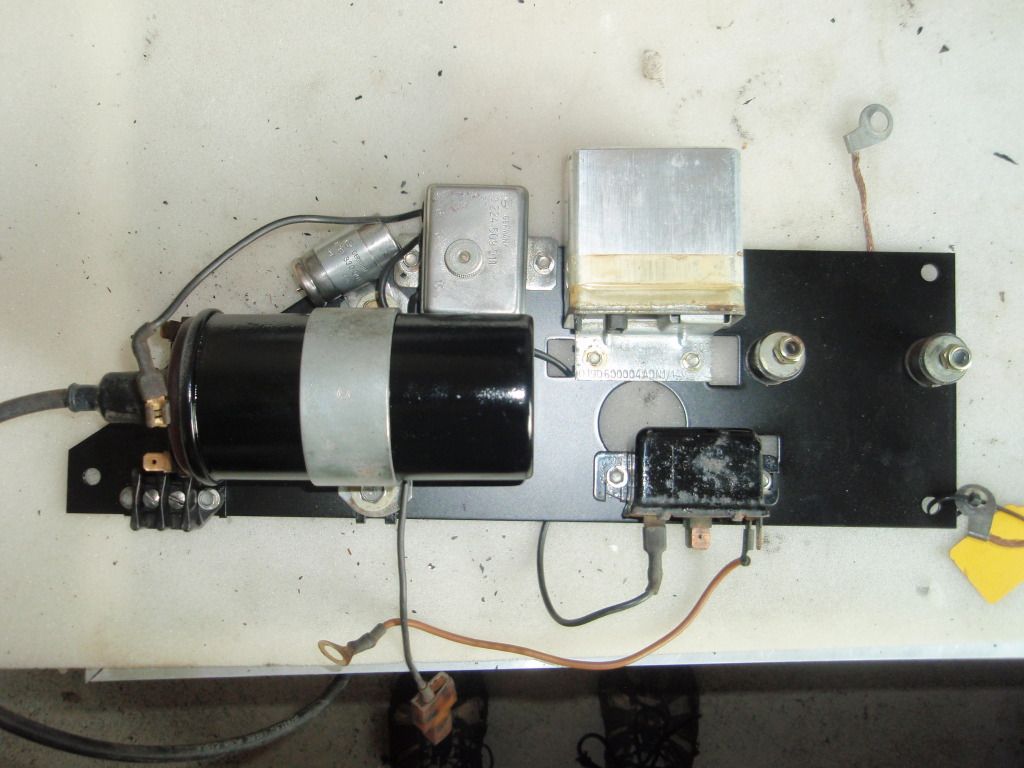
So out with the wiper mechanism - a bit of a faff with everything in place, but you can get it out with only removing the rain drain thingy. Getting out the two 8mm bolts in the canvas strap is fun, esp if you're 6' 2". Dismantled it, reattached the motor to the wiring loom without the mechanism, works fine, all three speeds. Mechanism was jammed up on one side (not surprising really after being sat for 35 years, how daft not to check it

). Soaked in diesel for the afternoon, freed up, reassembled, reinstalled and now works fine.
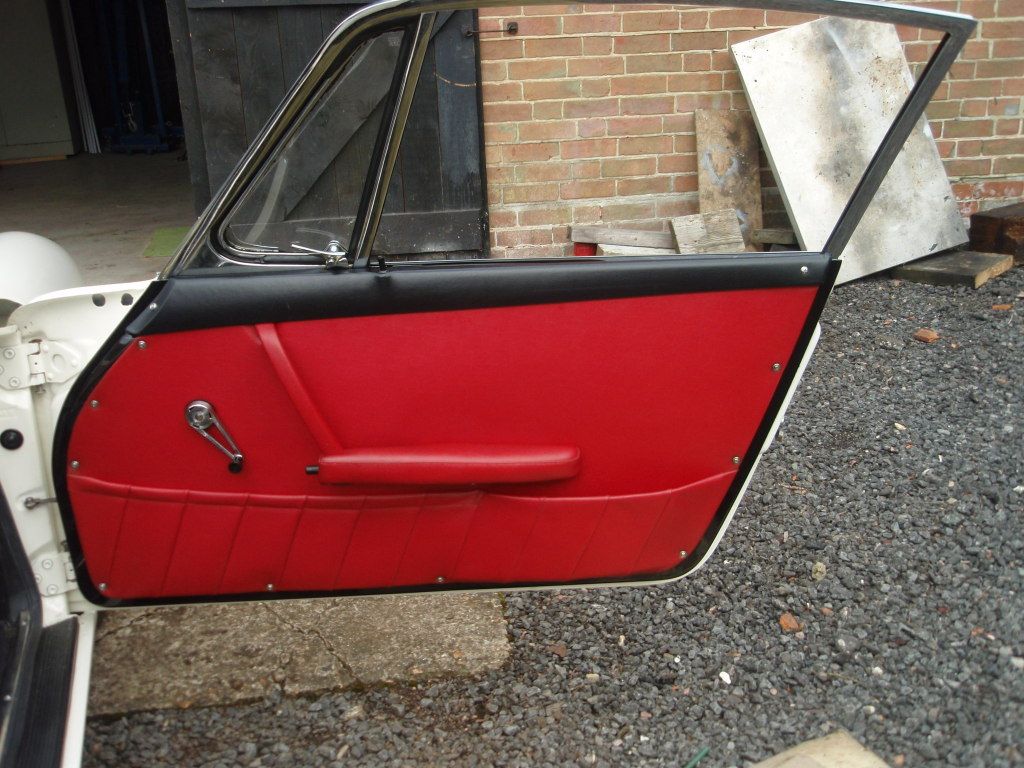
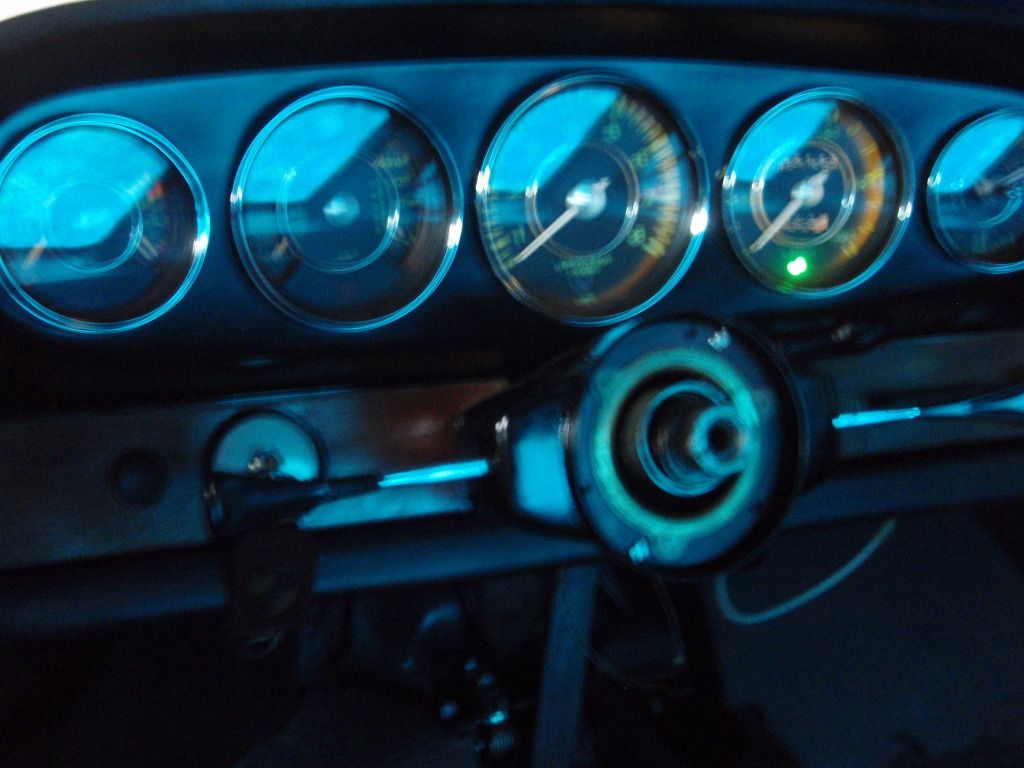
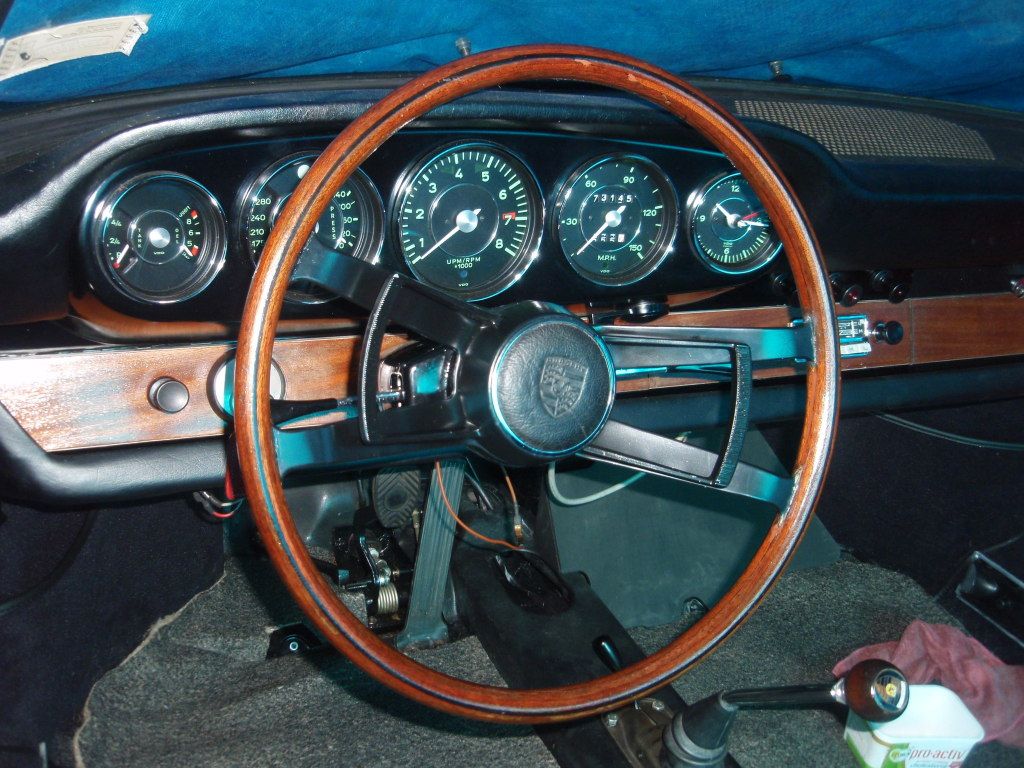
I tried to copy JohnM's nice pic of the dash lit up, but it turned out crap - clearly I was still shaking from the nerves. You'll have to trust me that they're all on and look nice. I got some (expensive) LED's in 'classic white' off a bloke on Pelican (ETarga) and they look nice both as instrument lights and especially using the appropriate colours as as warning lights - really bright and clear. Although they are a fixed polarity, so for a couple of the warning lights I had to swap the wires over to get them to work.
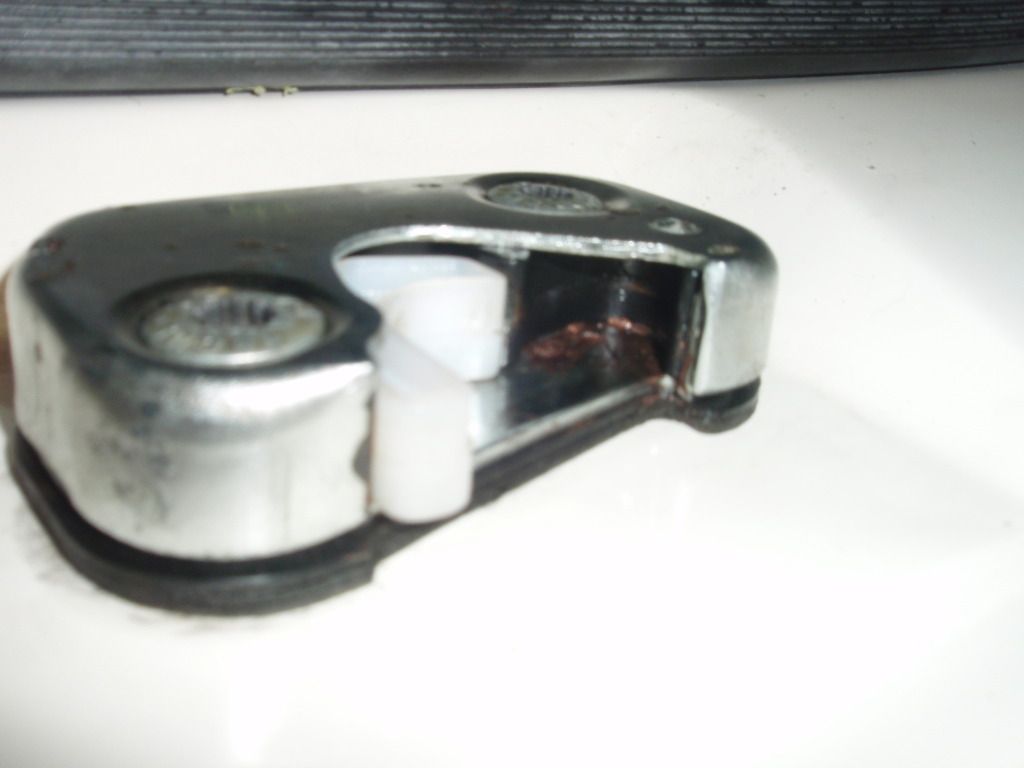
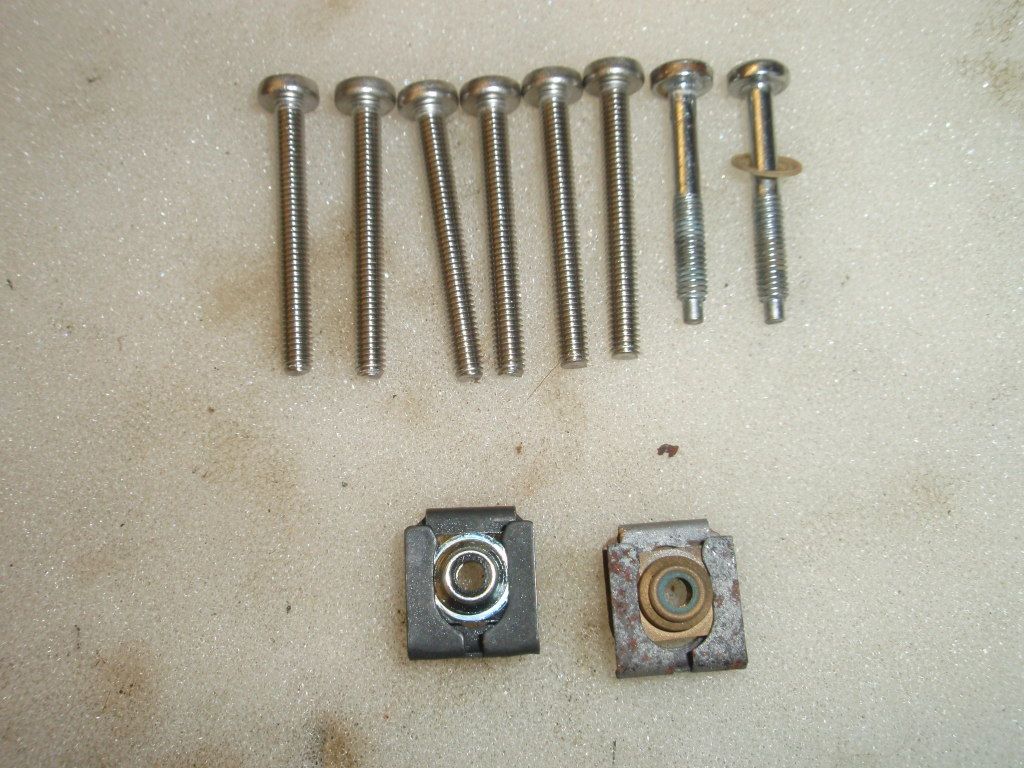
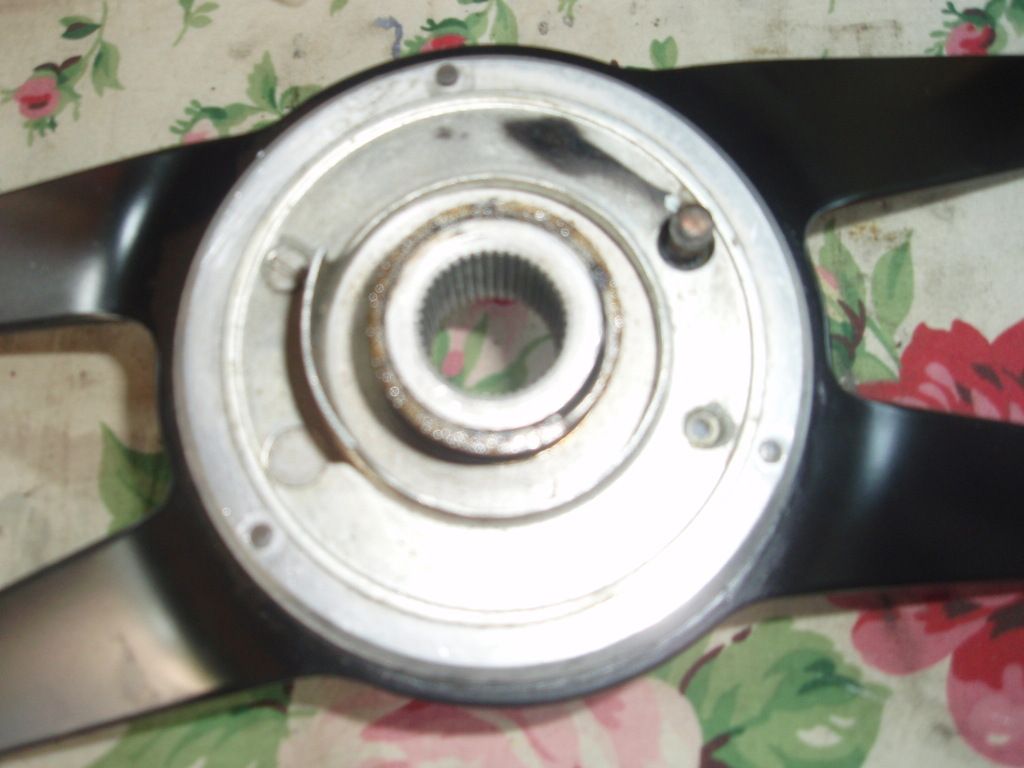
I had found that the spring that holds the two small prongs towards one another on the indicator switch inside the steering cowl so that the arm 'self cancels' when the shell is centred had disappeared. I got a replacement from Roger Bray and fitted it - fiddly but possible by just removing the horn ring and without dismantling anything else. So on with the steering wheel and horn push - only to find the logo was upside down when the wheel had the self-cancelling mechanism on the right side - the small round horn actuator dictates which way up the 'bat-wing' goes . Major sense of humour failure as I knew getting that thin chrome ring off and on again without losing the tabs was v. unlikely. Anyway if you look on the rear of the wheel there are two screws (one is already out in the photo) and two 180 deg opposing position for the ring, so swap 'em over and all is peace again.
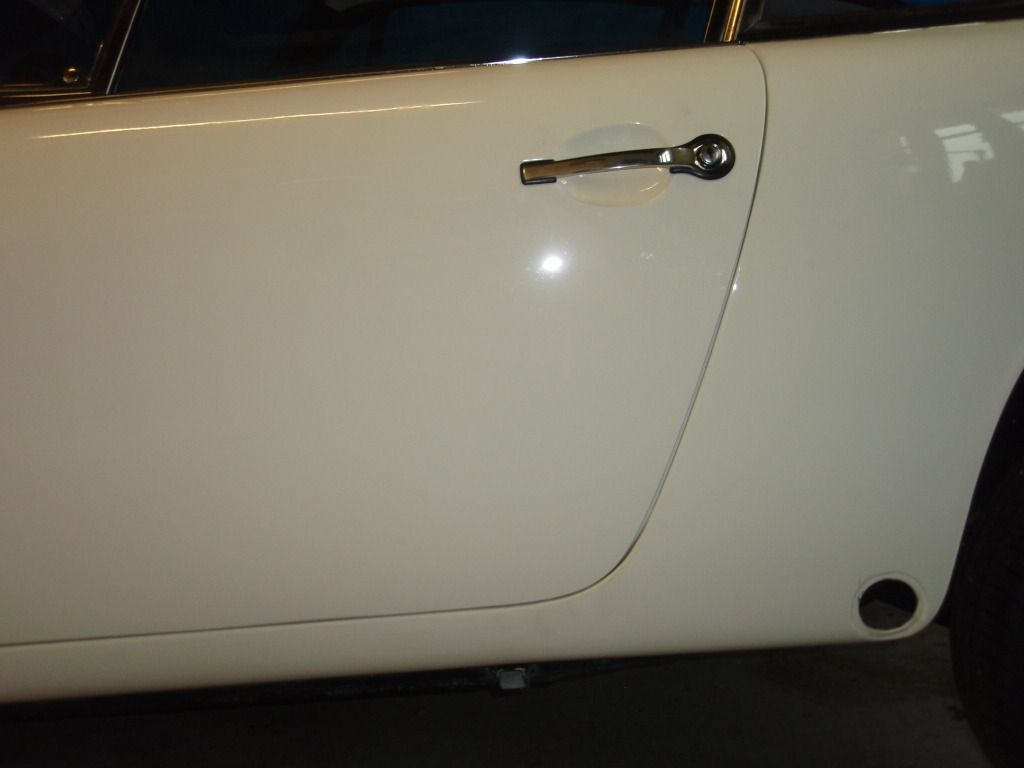
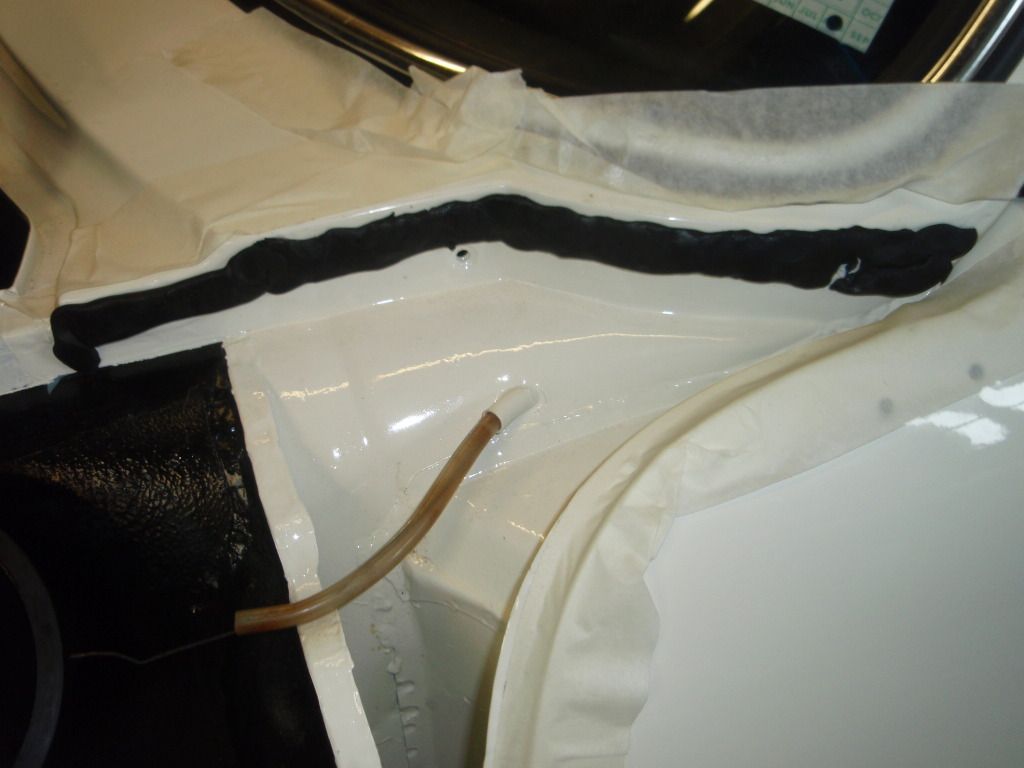
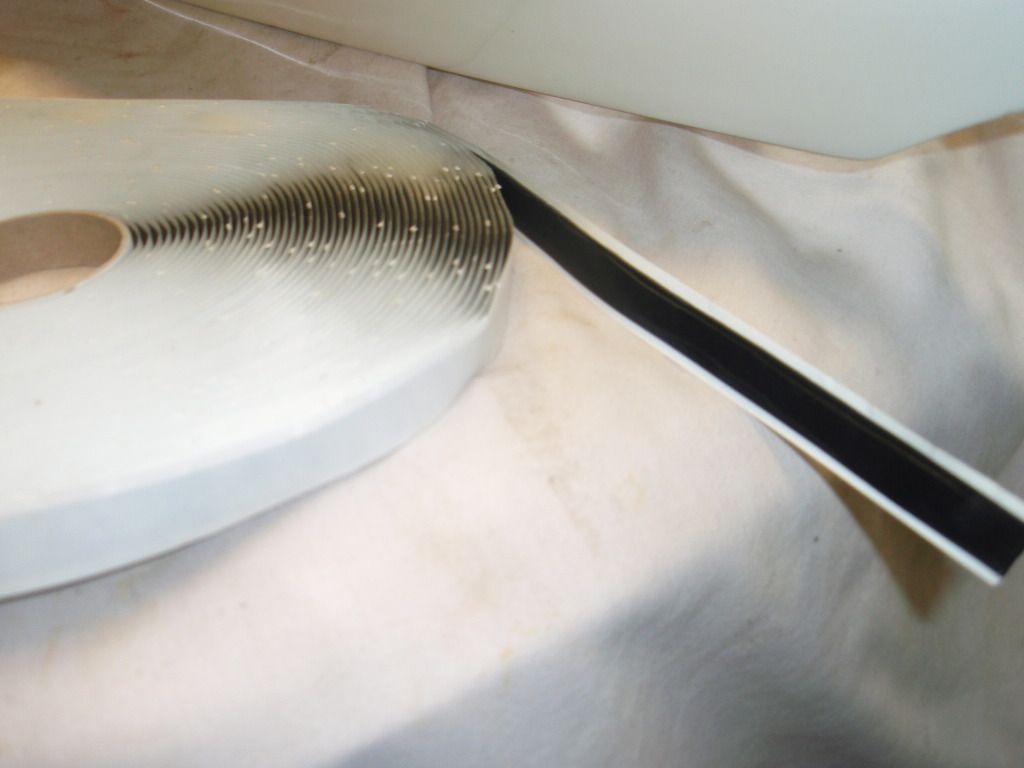
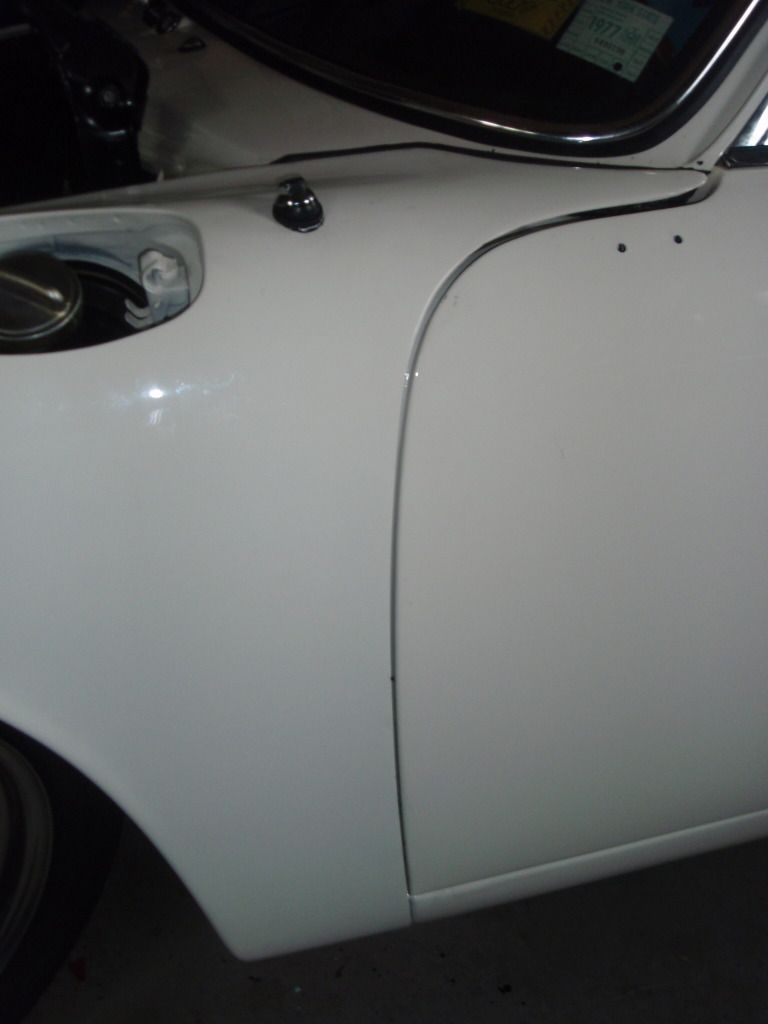
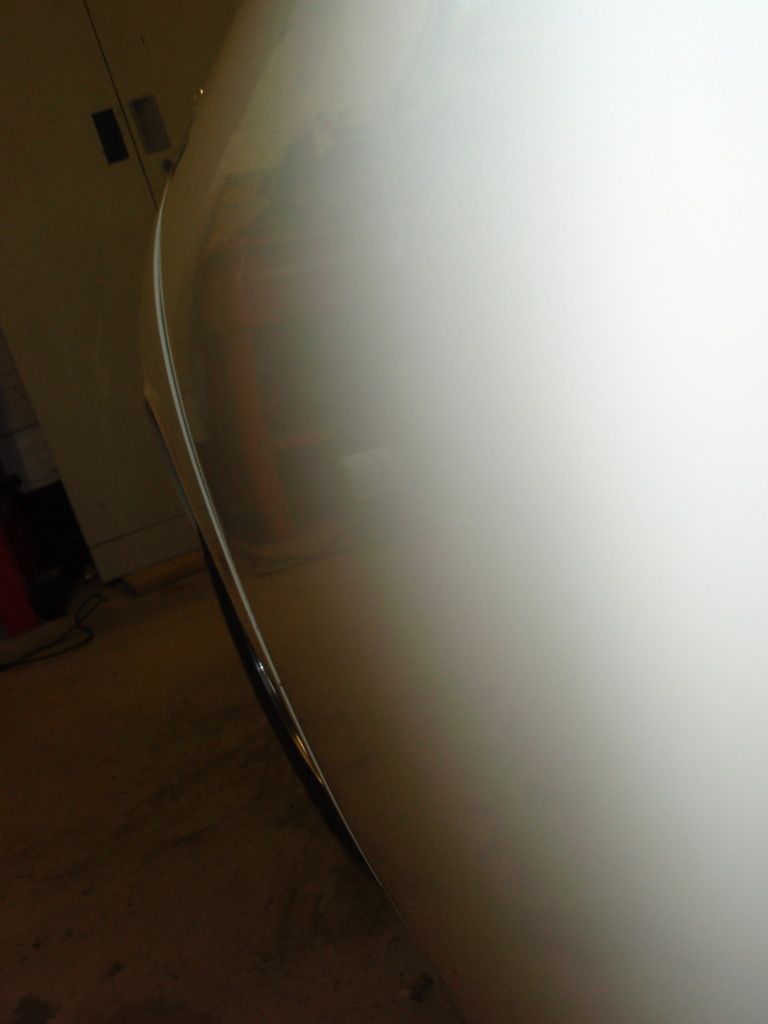
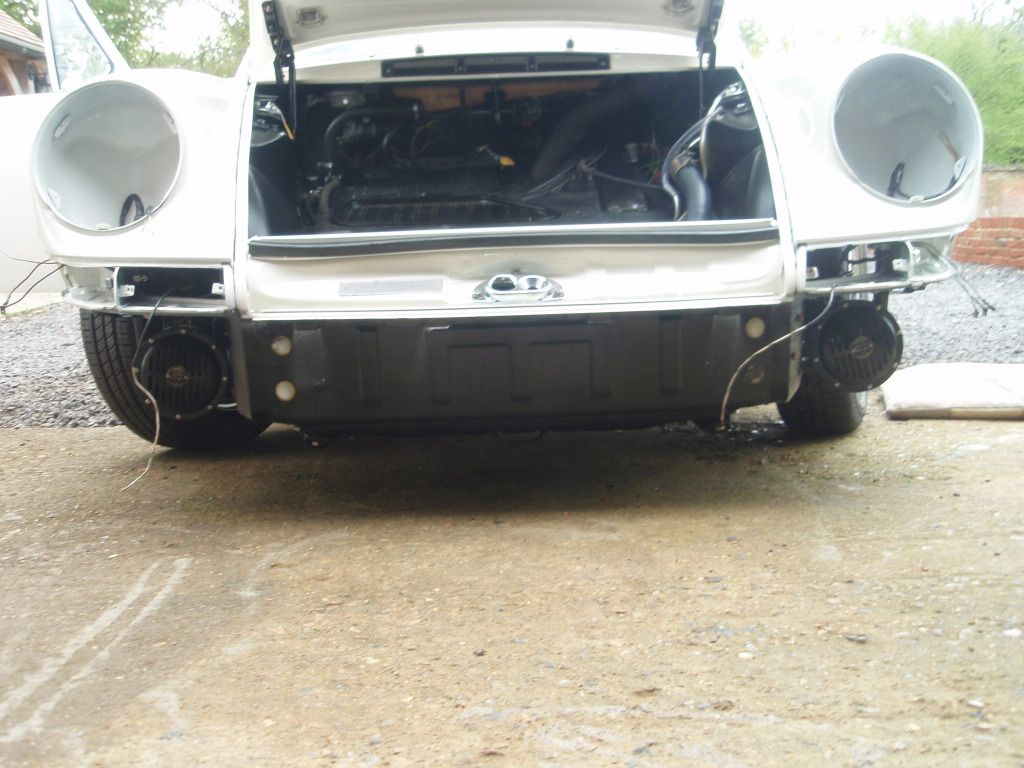
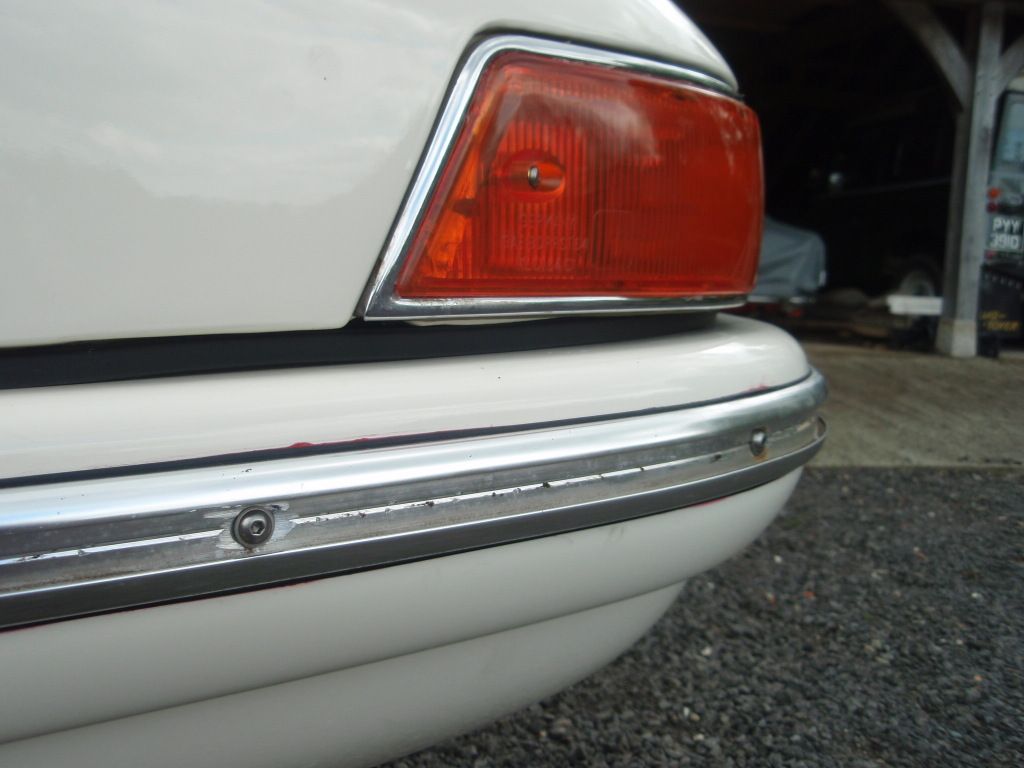
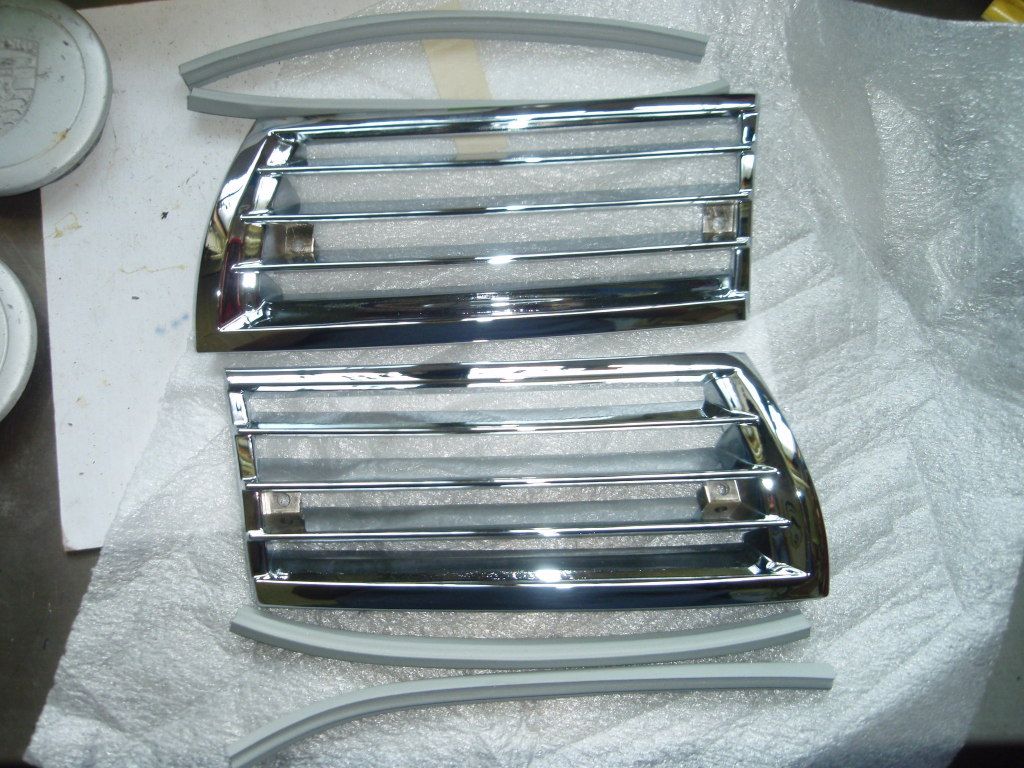
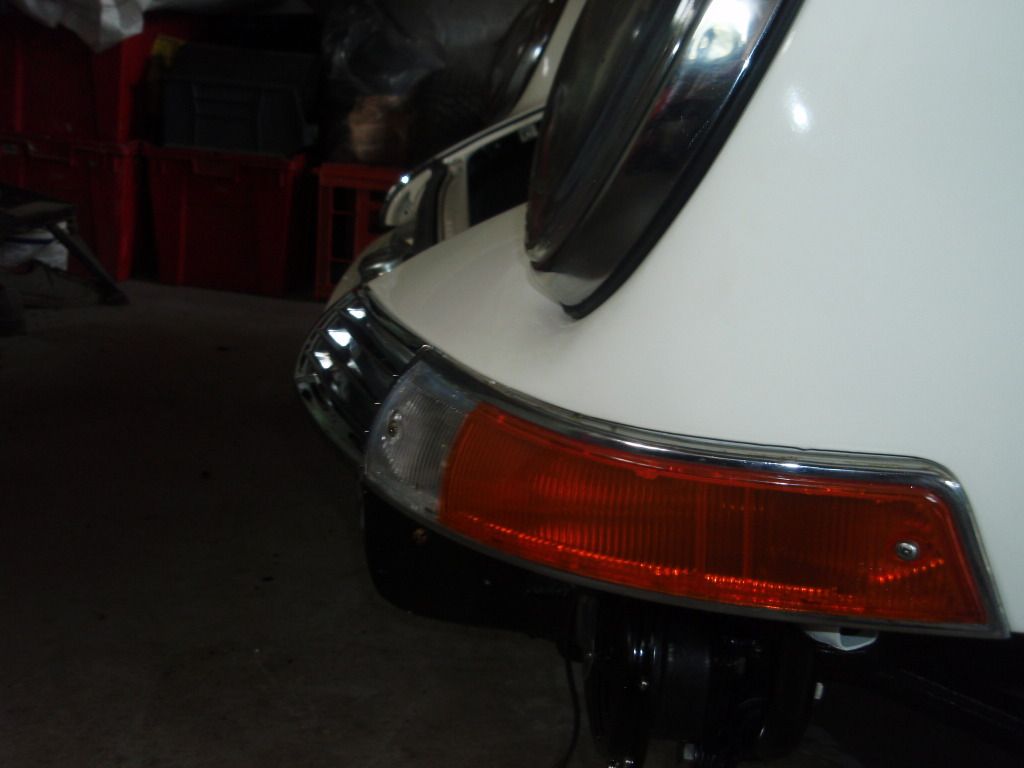
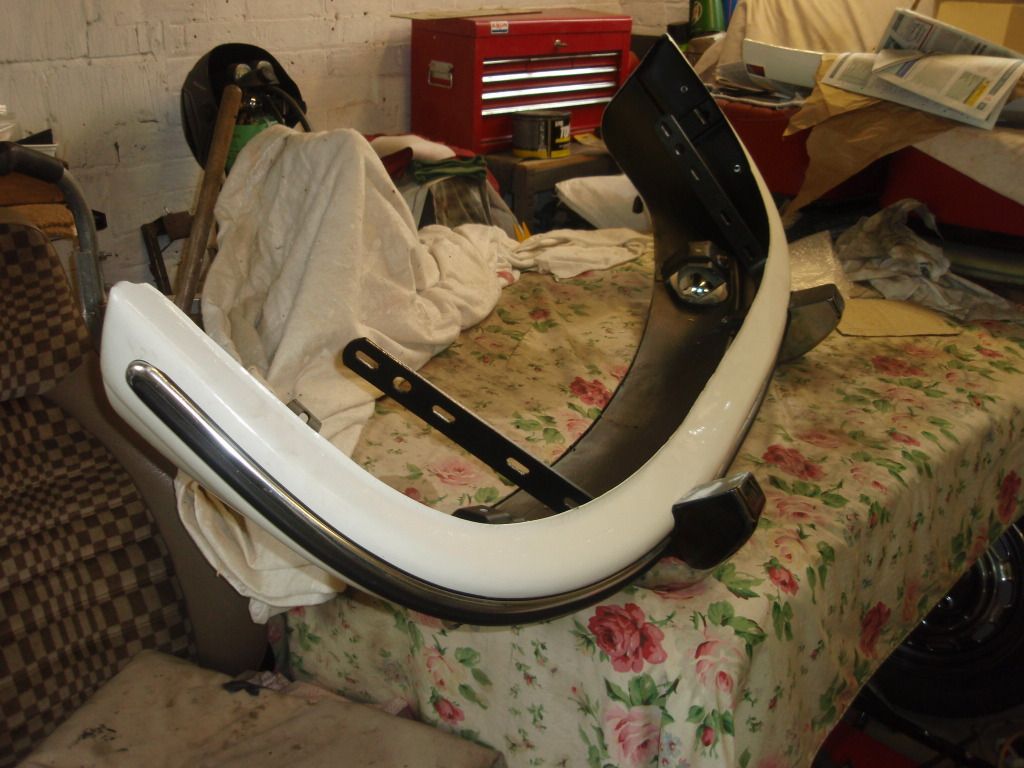
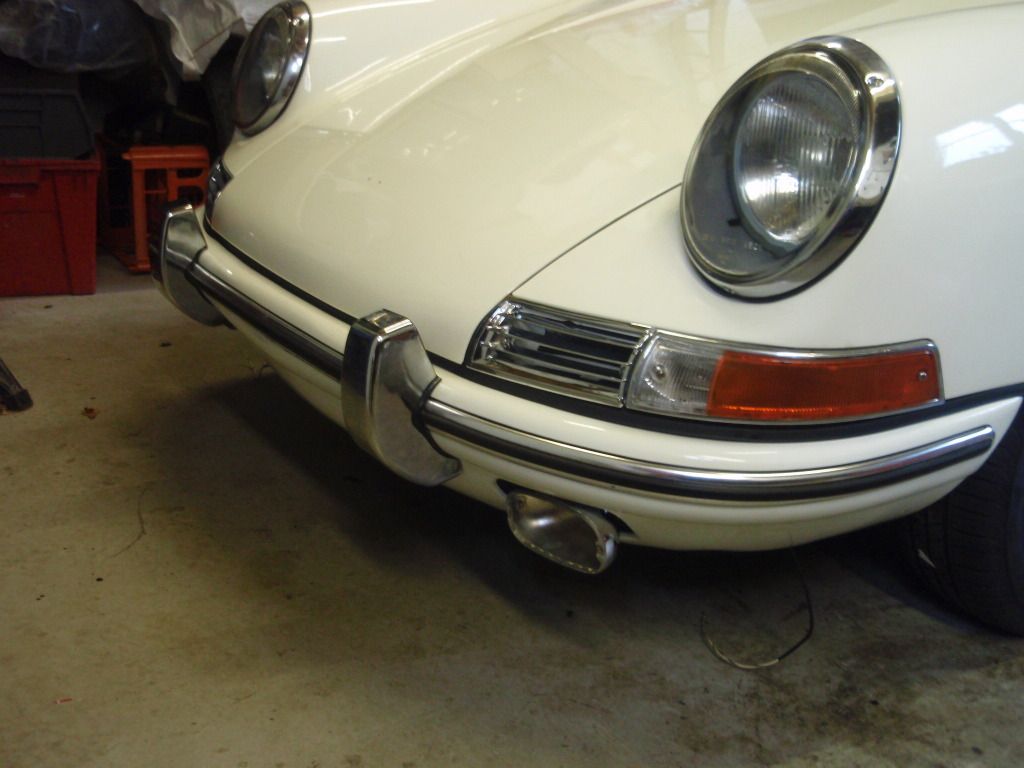
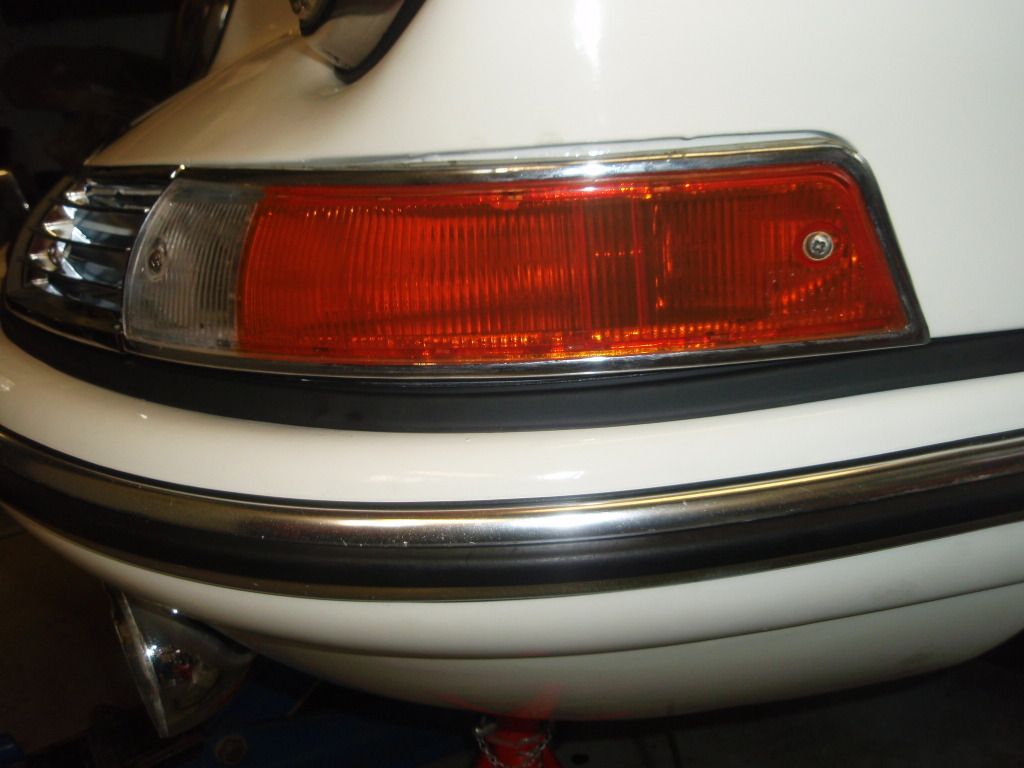
Got the right rear quarter bumper seals and trim so they were fitted as well - good for strengthening the fingers getting the trim in!

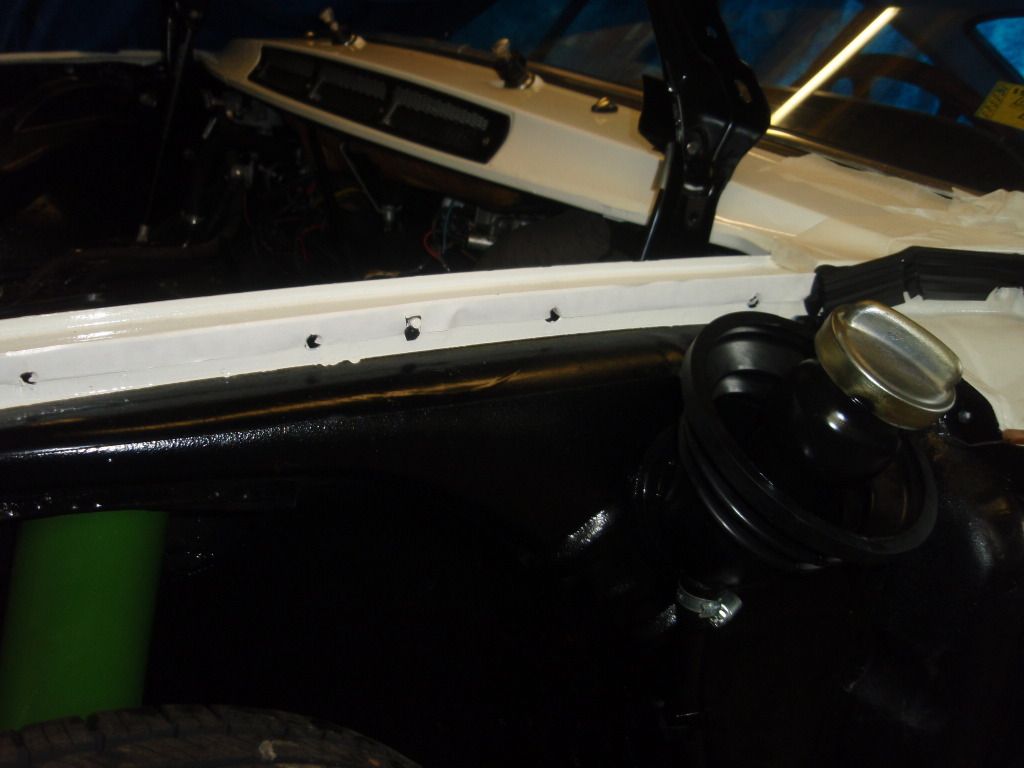
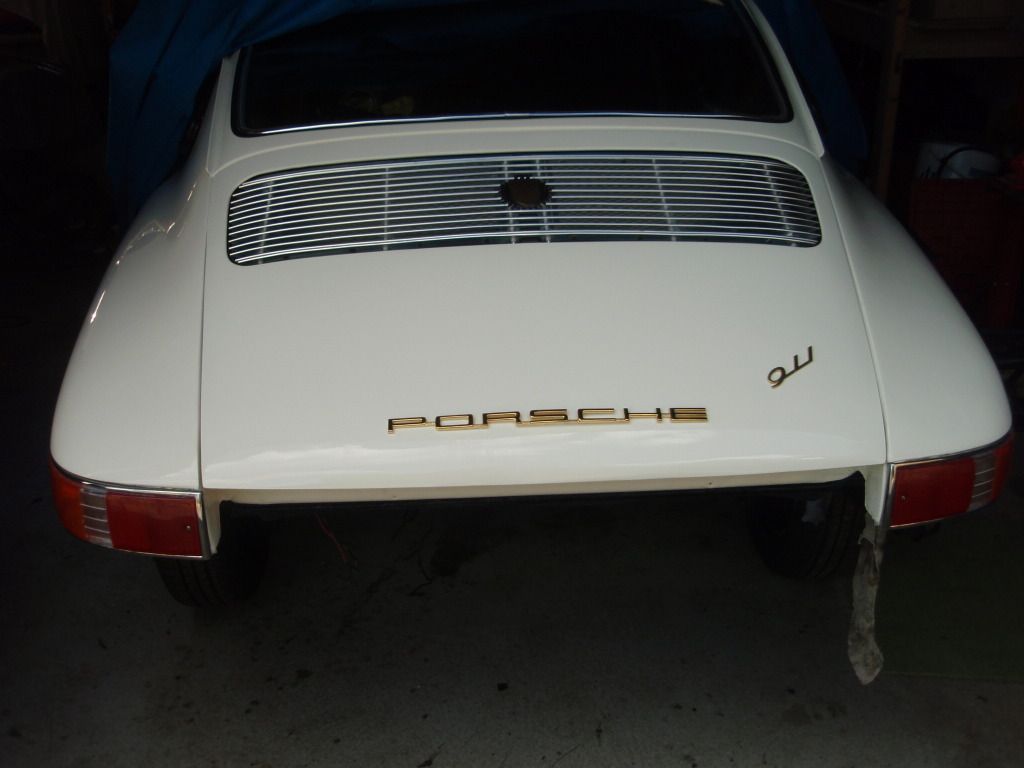
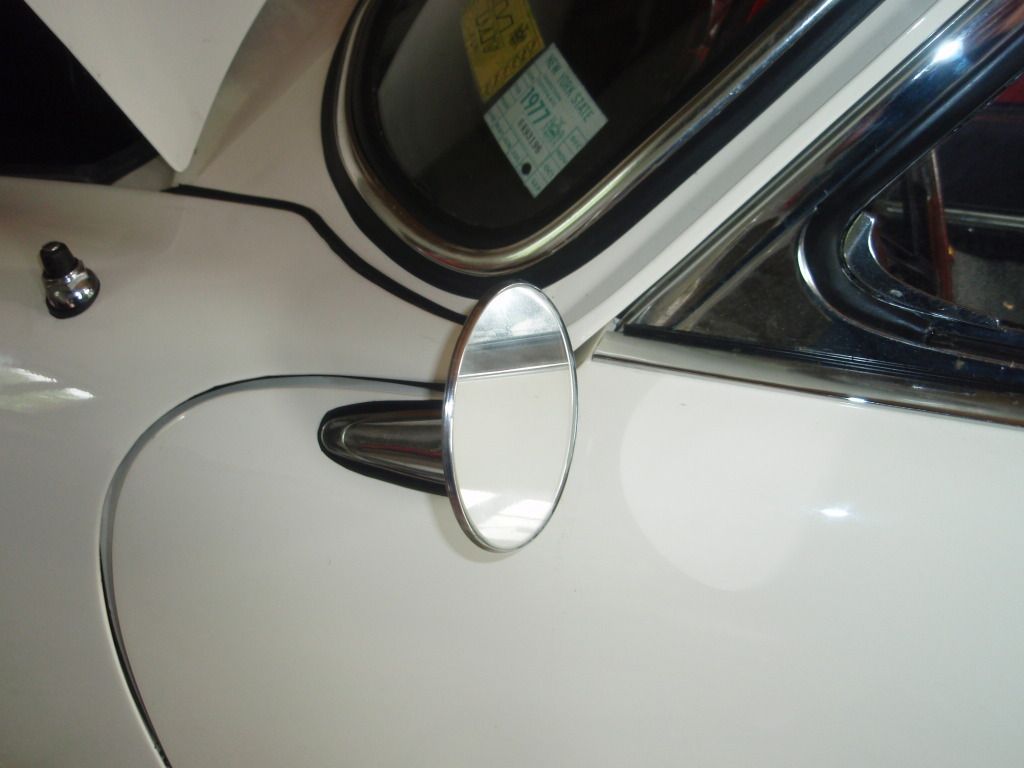
What's missing in this picture ....